Back to school contest: School pencil case with double zipper // Concurso vuelta a clases: Cartuchera escolar con doble cierre (Eng - Esp)
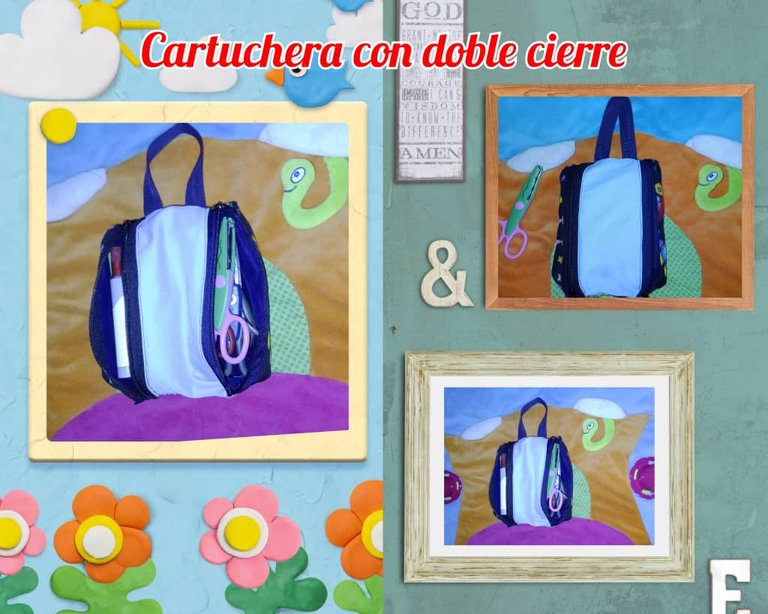
Hello creative friends, I hope you are enjoying good health, I wish you a blessed and prosperous week, we are now less than two days away from starting a new month and with it new plans and projects; On this occasion I share my entry to the Back to class contest with hive diy school pencil case; Returning to school is a very beautiful stage for children, many join high school, starting a new cycle, the youngest children begin preschool and attend school for the first time; many emotions together for returning to school to meet their friends and classmates, share the fun recess and advance in their studies; An important element in the school bag is the pencil case, to keep the pencils and colors safe and have them on hand when carrying out school activities and tasks.
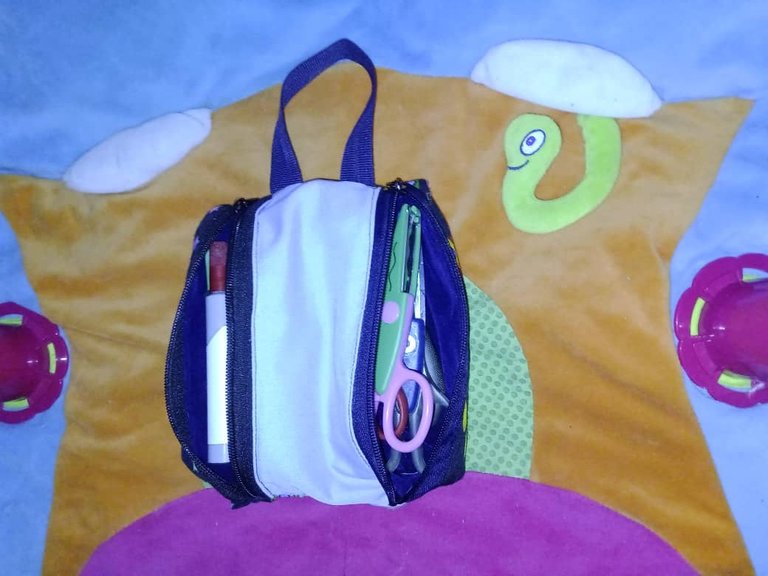
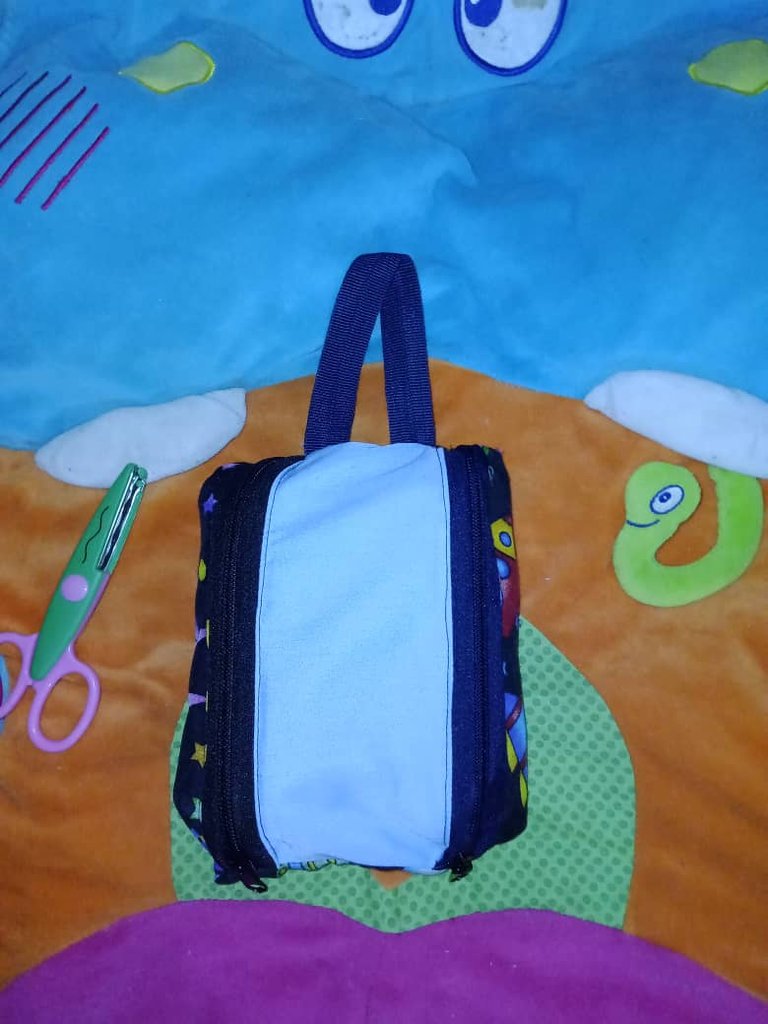
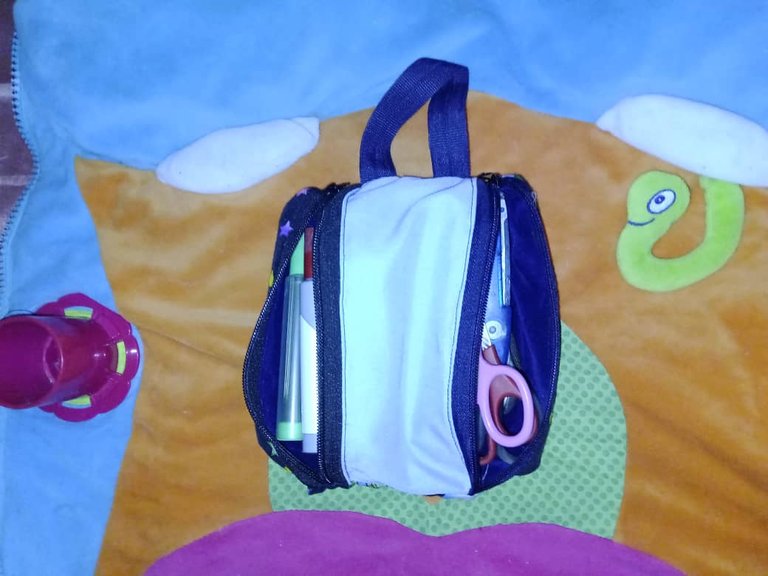
For my entry I made a pencil case with a double closure, which allows you to separately store pencils and other school supplies such as an eraser, pencil sharpener, glue, scissors, among others. I show you the manufacturing process.
Hola amigos creativos, deseo se encuentren disfrutando de buena salud, les deseo una bendecida y próspera semana, ya estamos a menos de dos días para iniciar un nuevo mes y con él nuevos planes y proyectos; en esta ocasión comparto mi entrada al Concurso Regreso a clase con hive diy cartuchera escolar; el regreso a clases es una etapa muy hermosa para los niños, muchos se incorporan al liceo, iniciando un nuevo ciclo, los niños más pequeños inician el pre escolar y asisten por primera vez a la escuela; muchas emociones juntas por la vuelta a clases para re encontrarse con sus amigos y compañeros, compartir el divertido recreo y avanzar en los estudios; un elemento importante en el bolso escolar es la cartuchera, para mantener los lapices y colores a salvo y tenerlos a la mano al momento de realizar las actividades y tareas escolares.
Para mi entrada hice una cartuchera con doble cierre, que permite guardar por separado los lapices y demás artículos escolares como borrador, sacapuntas, pega, tijera, ente otros, les muestro el proceso de elaboración.

Materials:
Printed fabric (main)
Dacron
Upholstery fabric (lining)
Scissors
Zipper (50 cm)
Slaider (2)
Poly tape (15 cm)
Materiales:
Tela estampada (principal)
Dacrón
Tela de tapicería (forro)
Tijera
Cierre (50 cm)
Slaider (2)
Cinta poly (15 cm)
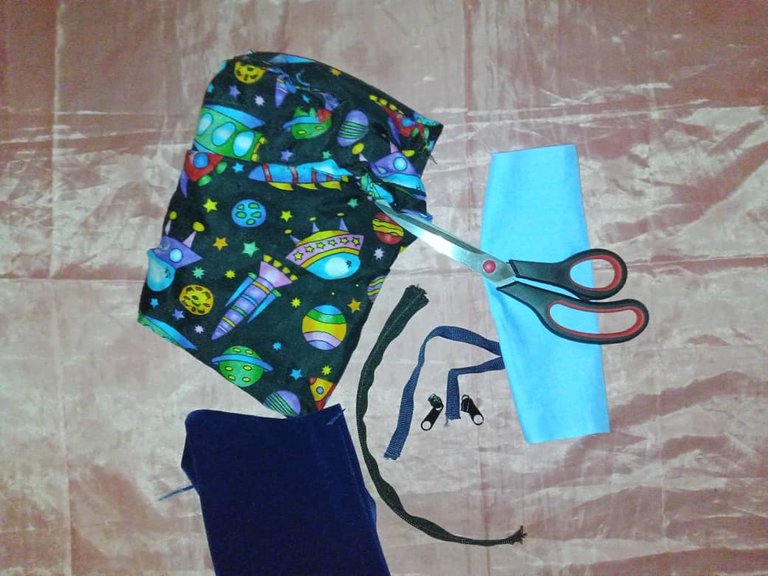

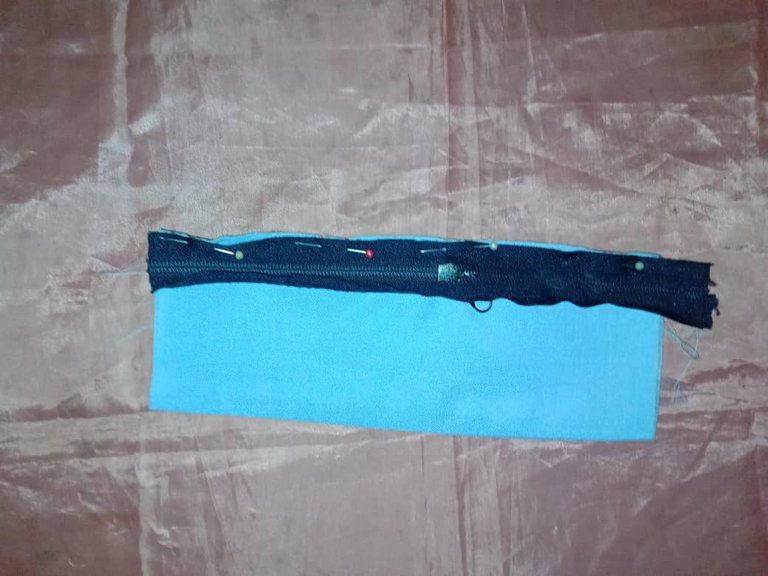
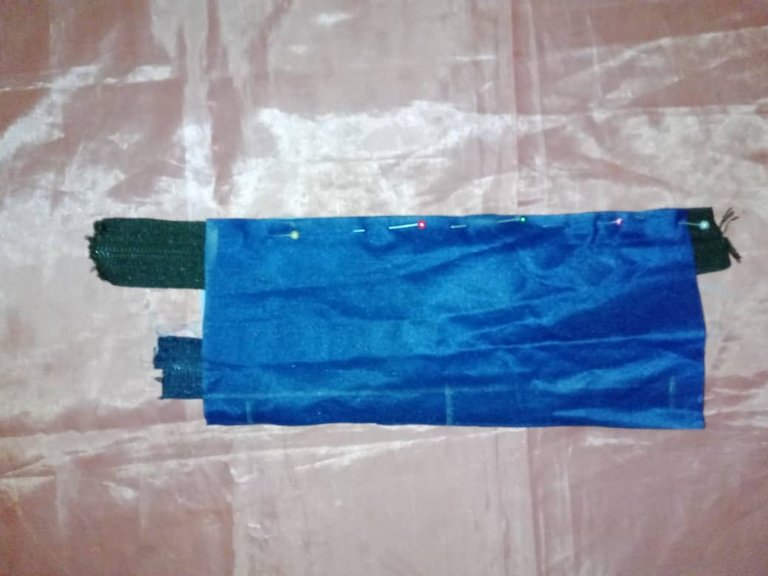
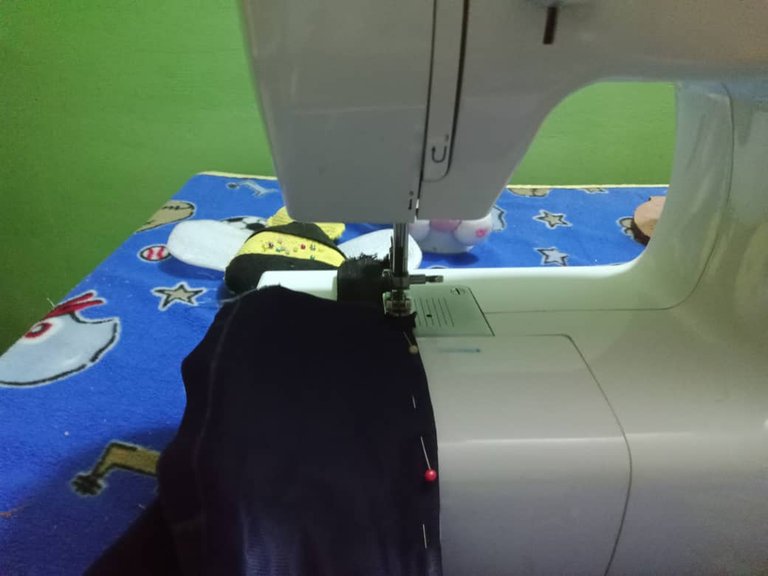
To make it, I cut four rectangles in upholstery fabric (12 * 25 cm) that will be the lining, a 25 * by 25 cm square (main fabric) and a 9 * 25 cm rectangle (center); then I glued the closures to each of the sides of the center fabric (light blue), facing the right side of the fabric and the right side of the closure, then the right side of the lining with the wrong side of the closure, I sewed with a straight stitch leaving a margin of 0 .5 cm, glued the closure, I turned and rested to secure the seam and obtain a better finish.
Para su elaboración corté cuatro rectángulos en tela de tapicería (12 * 25 cm) que serán el forro, un cuadrado de 25 *por 25 cm (tela principal) y un rectángulo de 9 *25 cm (centro); luego pegué los cierres a cada uno de los lados de la tela del centro (azul claro), enfrentando derecho de la tela y derecho del cierre, luego el derecho del forro con el revés del cierre, cosí con puntada recta dejando un margen de 0,5 cm, pegado el cierre volteé y repisé para asegurar la costura y obtener un mejor acabado.
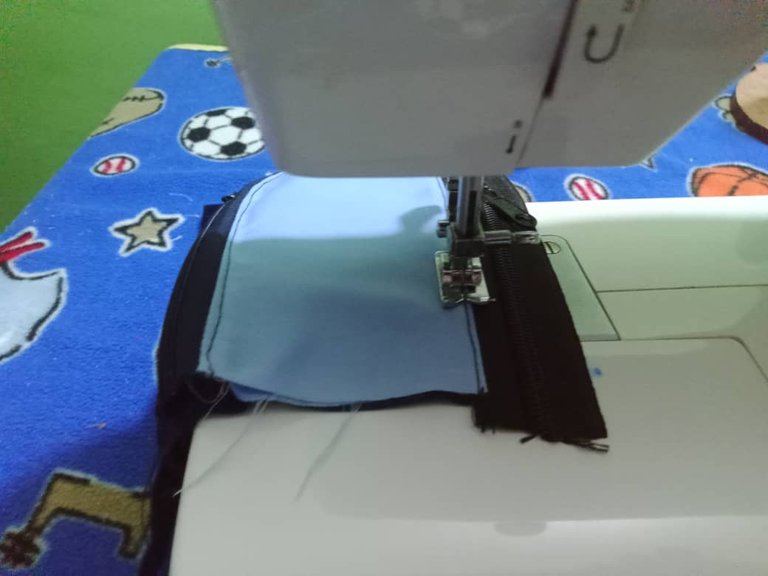

The next step is to glue the main fabric, the procedure is similar to the previous one, the main fabric is placed facing the closure, then the lining, it is sewn with a straight stitch and shelved, for more comfortable shelving you can remove the slaider and then Place it in the same direction as the other, so that they open and close the same.
El siguiente paso es pegar la tela principal, el procedimiento es similar al anterior, se coloca la tela principal enfrentada con el cierre, luego el forro, se cose con puntada recta y se repisa, para repisar con más comodidad se puede retirar el slaider y luego colocarlo en la misma dirección del otro, para que abran y cierren igual.
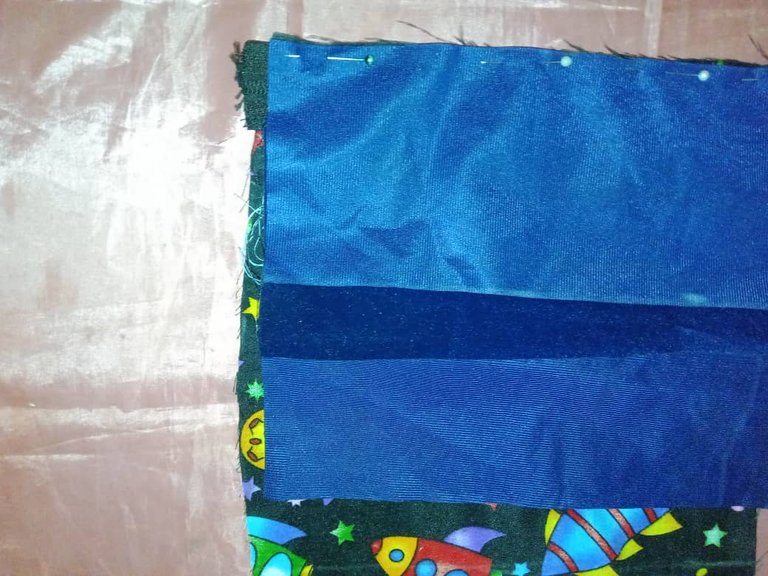
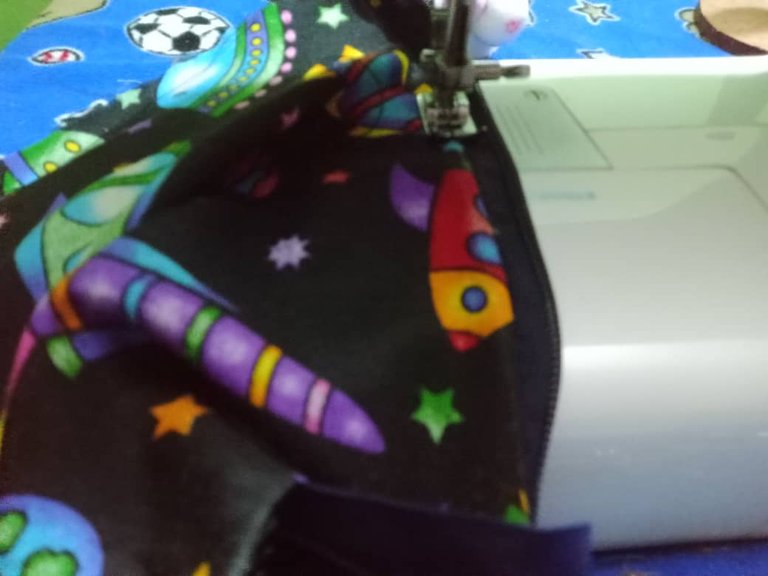
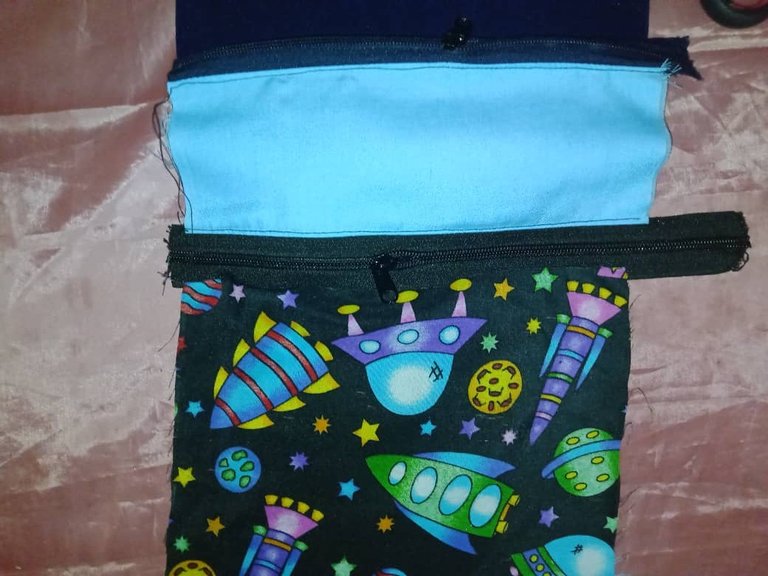

After attaching the zippers to the lining and main fabric, I faced the linings and sewed with a straight stitch, leaving an opening in one of the linings to turn the piece over.
Pegados los cierres al forro y tela principal, enfrenté los forros y cosí con puntada recta dejando una abertura en uno de los forros para voltear la pieza.
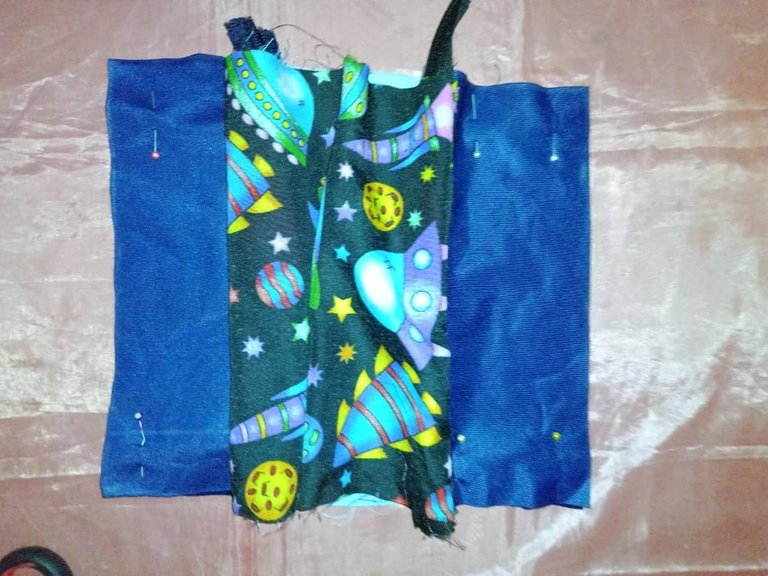
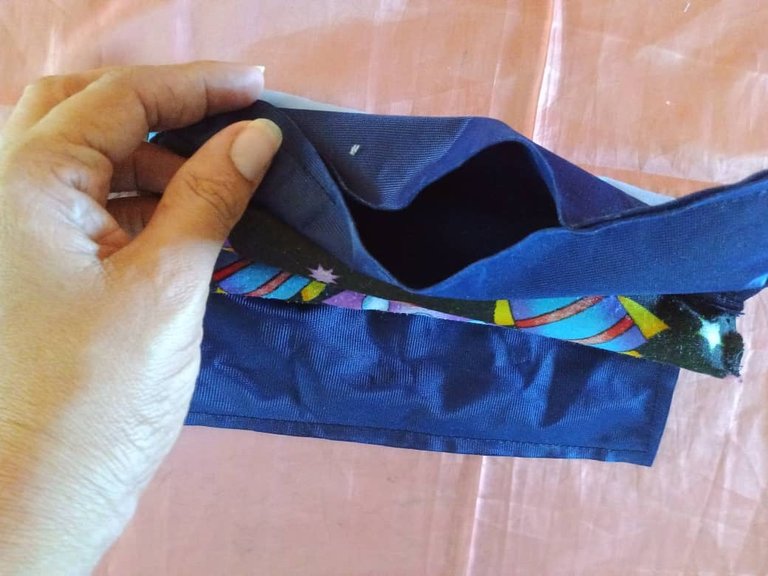

The fourth step is to sew the top and bottom of the main fabric, mark the center of the pencil case and sew with straight stitch taking care not to sew the lining, to make the work easier I marked with pins the beginning of each zipper and sewed up to where the pin indicates, then I placed the poly tape in the center very carefully sewed joining the main fabric, lining and zipper without sewing the part of the lining that I sewed previously this seam should reach the ends of each zipper.
El cuarto paso es coser la parte superior e inferior de la tela principal, se marca el centro de la cartuchera y se cose con puntada recta cuidando de no coser el forro, para mayor facilidad en el trabajo marqué con alfileres el inicio de cada cierre y cosí hasta donde indica el alfiler, luego coloqué la cinta poli en el centro con mucho cuidado cosí uniendo la tela principal, forro y cierre sin coser la parte del forro que cosí anteriormente esta costura debe llegar hasta los extremos de cada cierre.
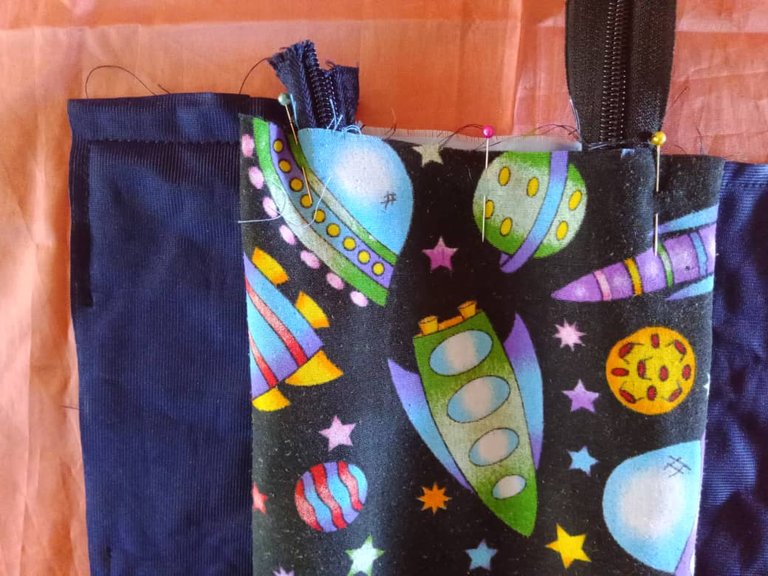
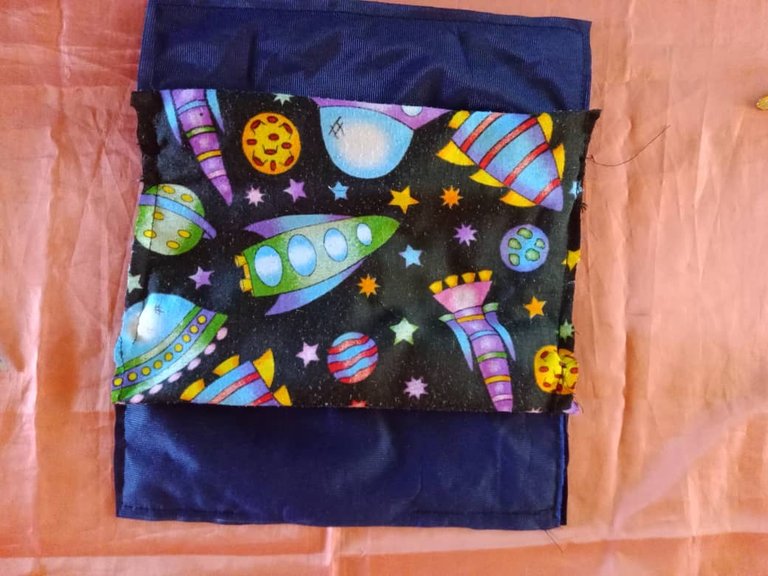

After sewing the top and bottom, I cut the excess of the zipper, and so I advanced to the last step, cut squares of 2.5 cm in the corners of the linings and main fabric, then I sewed facing the fabrics along the lines of the seam, the idea of this seam is to create a square base for the pencil case and give it a better finish, then I closed the opening with a hidden stitch and finished the pencil case.
Cosida la parte superior e inferior, corté el exceso de cierre, y así avancé al último paso, cortar cuadrados de 2,5 cm en las esquinas de los forros y tela principal, luego cosí enfrentando las telas por las líneas de la costura, la idea de esta costura es crear una base cuadrada para la cartuchera y darle un mejor acabado, luego de volteé cerré la abertura con puntada escondida y terminada la cartuchera.
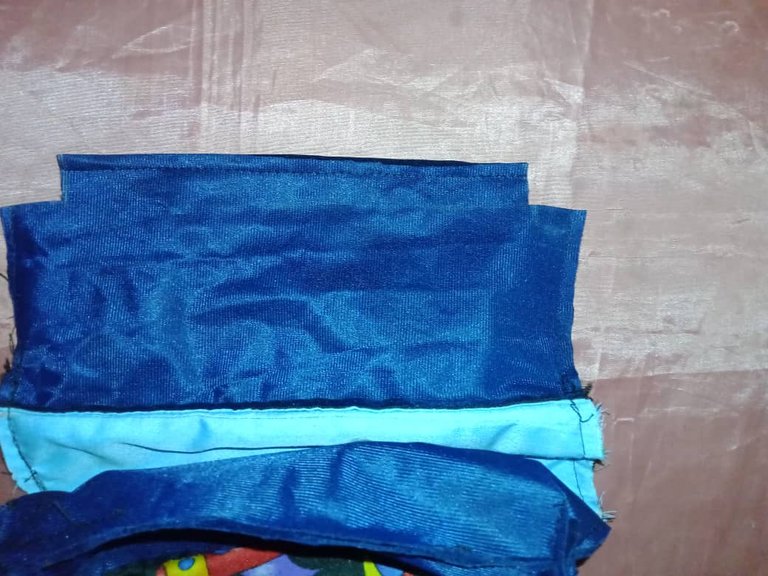
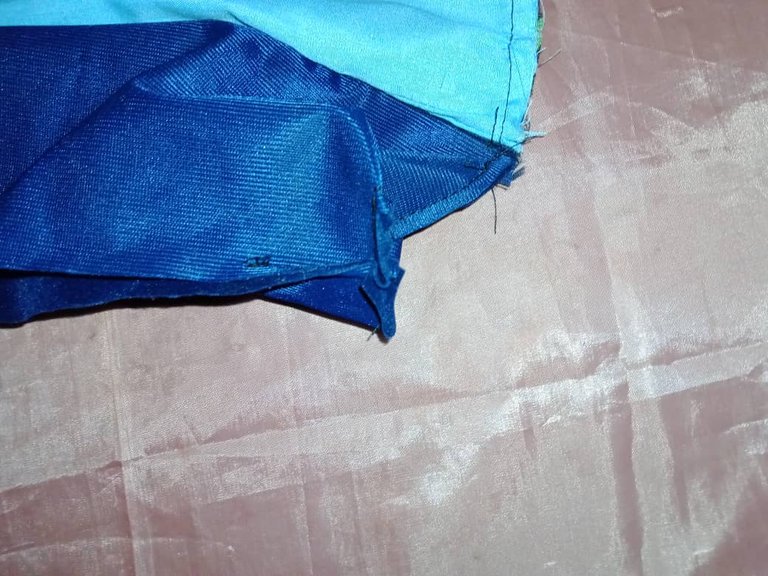
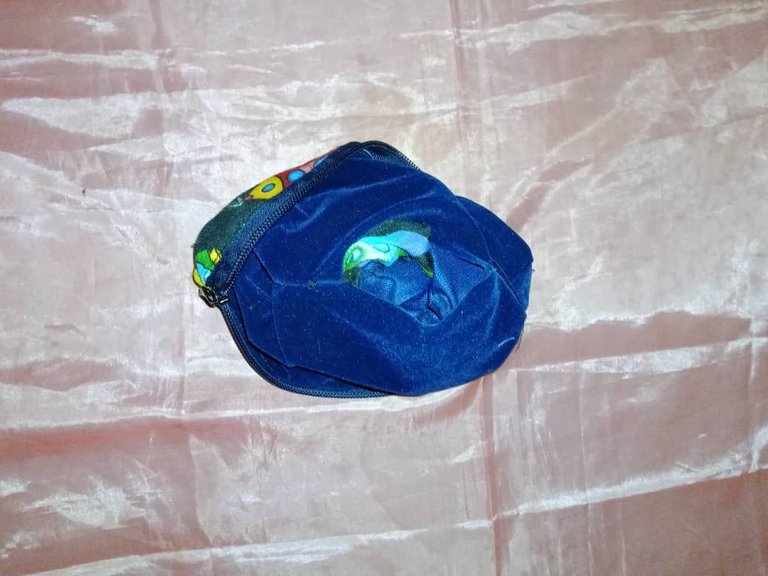

In the elaboration of the pencil case I used two colors of navy blue and black zipper, the amount I had of each one was not enough to cover 50 cm, as they are strong colors the difference is not too much and I liked the result, sewing the pencil case was easy except that the needle broke when sewing the bottom part because of the thickness of the lining fabric and zippers, I am happy with this new project for my son to take his pencils and colors to school and can organize them comfortably in each space of the pencil case.
I invite @yessi08 and @brujita18 to join this contest (editing the post)
En la elaboración de la cartuchera usé dos colores de cierre azul marino y negro, la cantidad que tenía de cada uno no era suficiente para cubrir 50 cm, como son colores fuertes no se nata mucho la diferencia y el resultado me gustó, coser la cartuchera resultó sencillo salvo que se rompió la aguja al coser la parte inferior por el grosor de la tela de forro y cierres, me siento feliz con este nuevo proyecto para que mi hijo lleve sus lapices y colores a la escuela y pueda organizarlos cómodamente en cada espacio de la cartuchera.
Invito a @yessi08 y @brujita18 a unirse a este concurso (editando la publicación)




Blessings!

¡Bendiciones!

Translated with https://www.deepl.com/translator
          All images are my own, captured by a Síragon LC-3000 camera.

   Todas las imágenes son de mi autoría, capturadas por una cámara Síragon LC-3000.
Esta muy linda, los colores que has usado y además de la tela estampada. Gran trabajo amiga!
Saludos amiga, me alegra que te haya gustado, la tela tiene un hermoso estampado espacial muy colorido, desde que vi esta tela me gustó.
Feliz martes!
Wao, un trabajo bien delicado y tedioso, amiga, pero el resultado fue genial.
Felicidades.
Hola bella, gracias por tu apoyo, me gustó el resultado de la cartuchera en especial por el diseño de la tela las naves y cohetes espaciales se ven espectaculares, los lapices y colores estarán a salvo en el infinito y más allá je, je
Feliz martes!
Que chula te quedo, me encanto el diseño y la tela con ese estampado galactico, asi la hace lucir divertida para cualquier niño 😍
Lo que me gusta tambien es que es bastante grande, yo solia llevar demasiados utiles escolares y nunca me entraban en la cartuchera jajaja ojala hubiera visto una asi jaja
Saludos ❤️
Hola @elbuhito, me alegra que te haya gustado , la tela me encanta el estampado galáctico es genial y perfecto para que los niños tengan sus lapices y colores organizados .
Te cuento que mis cartucheras siempre necesitan más espacio, llevo más que lapices y colores, casi meto la casa je, je tener espacio extra nunca está demás.
Que tengas un lindo día!
Entrada válida, gracias por compartir tu contenido de calidad y participar, te ha quedado estupenda, muy profesional, me encantó el modelo.
Saludos @equipodelta, me alegra que te haya gustado; es perfecta para guardar los lapices y también tiene suficiente espacio para guardar tijeras y otros objetos; es la primera que hago este modelo y me gustó el resultado.
Que tengas un lindo día!
@belkyscabrera me fascino la combinación de los colores y la tela azul oscucro con motivo de naves espaciales es bellisima.
Saludos y suerte en el concurso
Hola @mafalda2018, la tela con naves espaciales es bonita y los colores vibrantes , está perfecta para que los niños guarden sus lapices y se diviertan con aventuras espaciales.
Muchas gracias por tus amables palabras.
Que tengas un lindo día!