Making of a plywood cupboard.
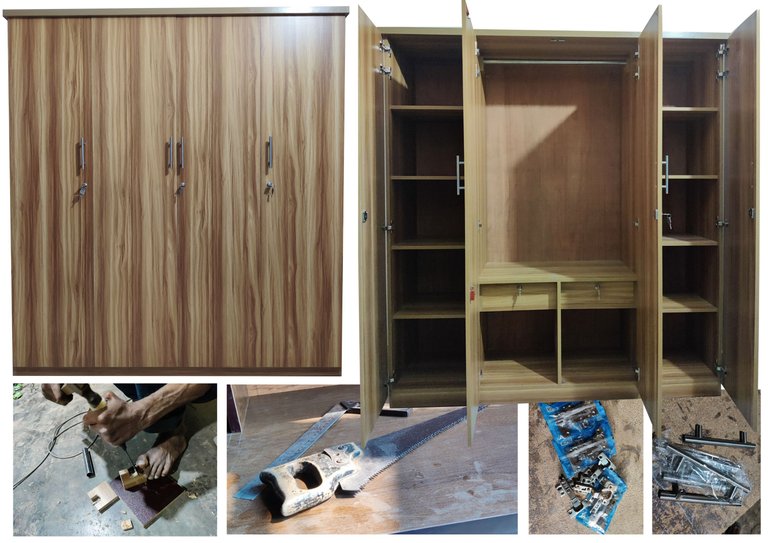
Enough talking gaming, I'm back talking about a DIY work and I'm going to give you a good insight of how to make a cupboard of plywood.

Lemme show you how I did the entire thing.
- Essentials/Tools
 |  |
|---|
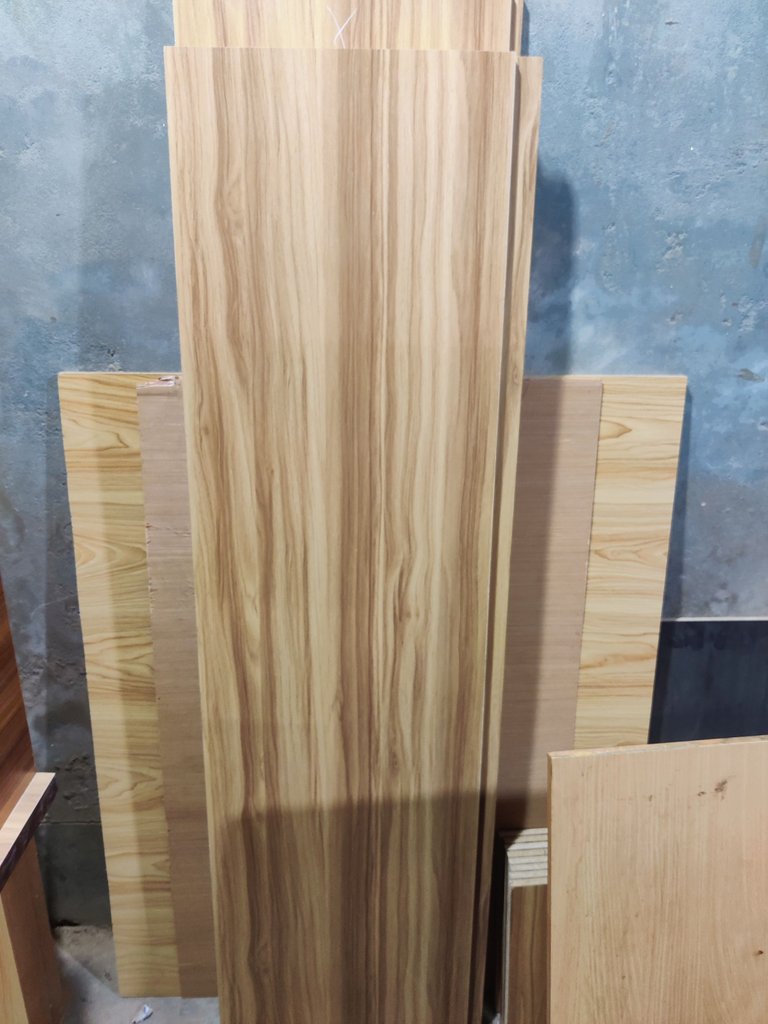
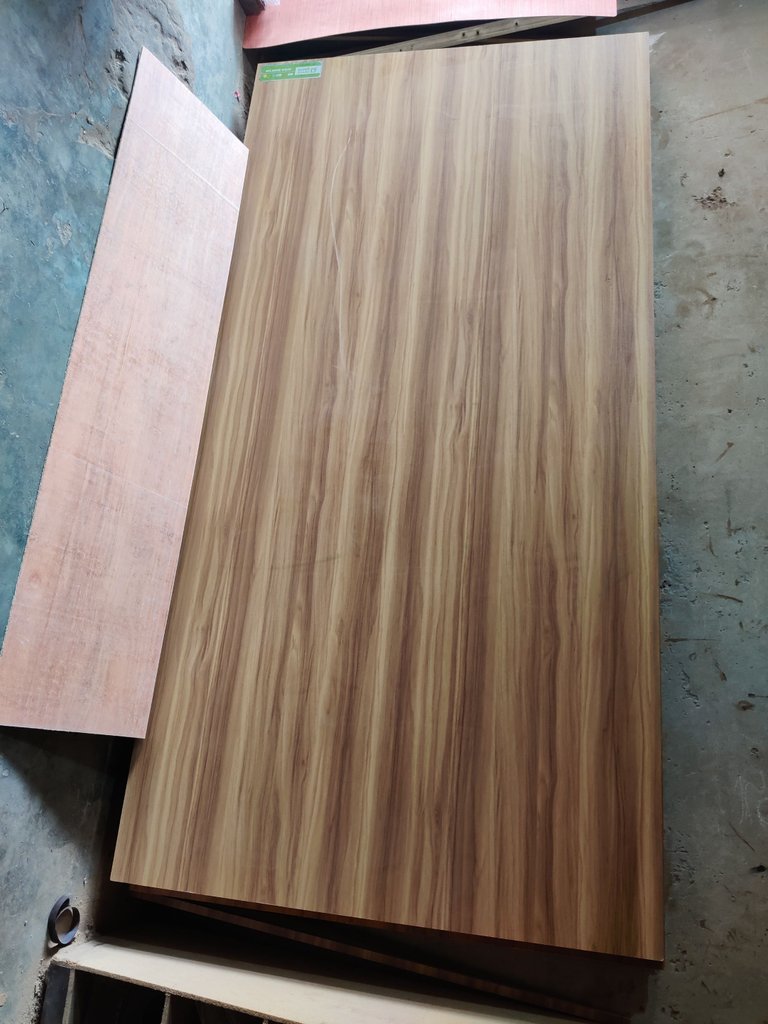
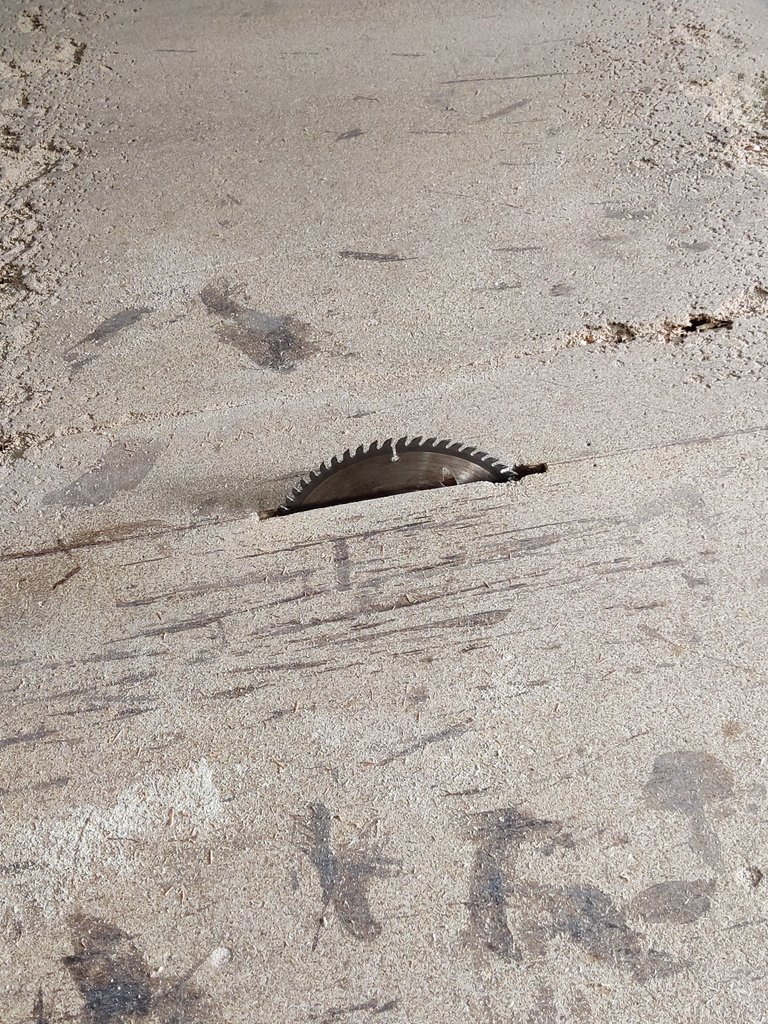
At first we needed some plywoods and there I used melamine board from superboard company and to make the cupboard, I had to choose the color carefully as I was thinking of making mor things with the same colored board for my place.
 |  |
|---|
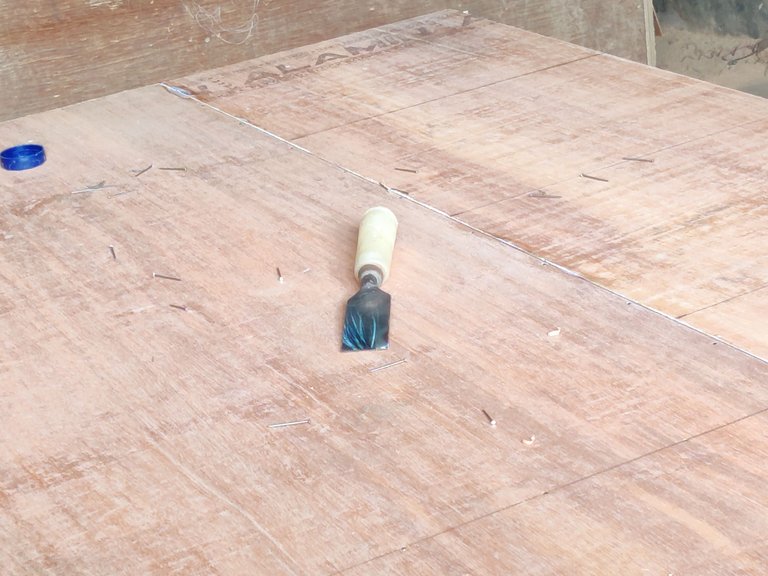
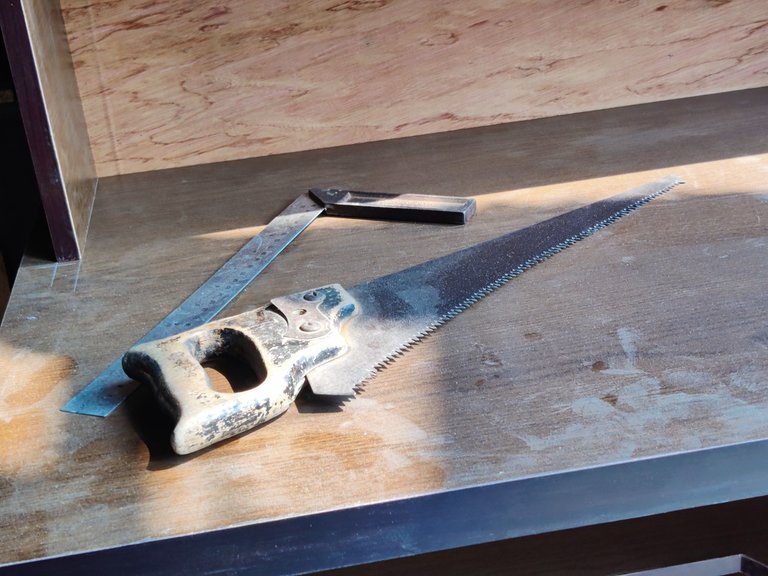
I needed a manual saw to do some cutting for some parts but it was not very important for cutting these boards as I used the electric saw blade to cut most part of the boards.
And I needed the other tool above to some finishing cuts.
 |  |
|---|
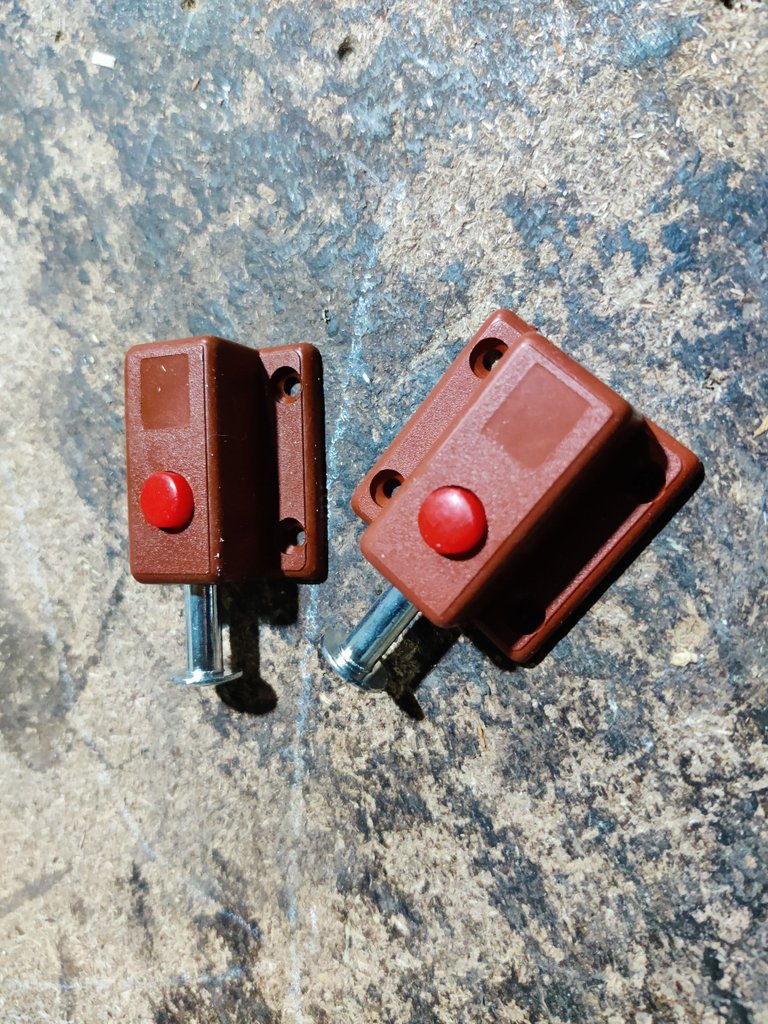
The tools on the upper left was to lock one of the middle doors from inside and then lock the other door with the door that can be locked from inside otherwise the middle doors can be locked as I didn't give any part in between the middle doors.
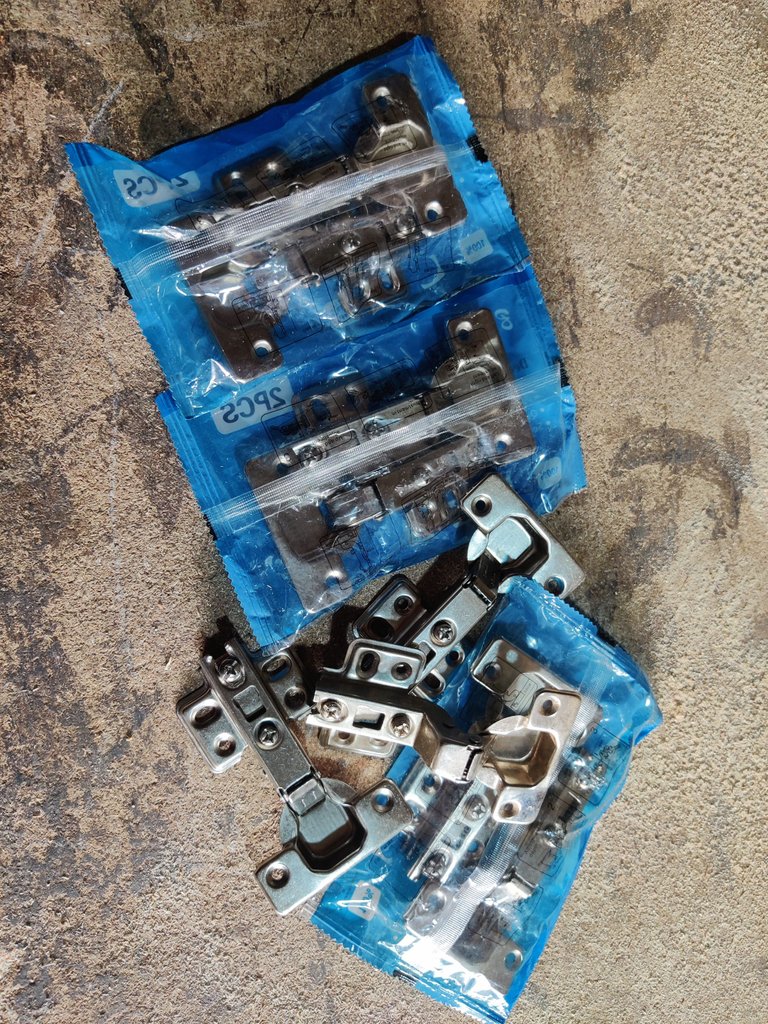
The tools on the upper right side are hinge for the doors. I used total 16 hinges in four doors (4 hinges per door).
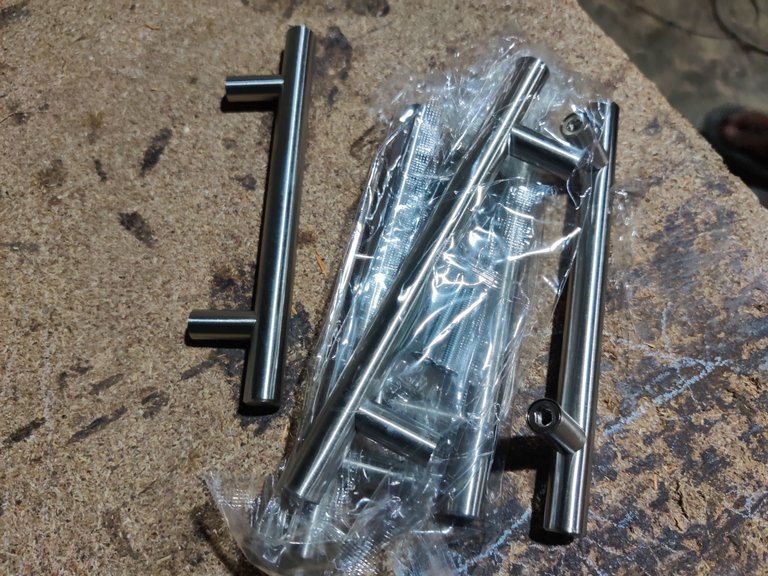
Handles to open the door easily and I see handles for such work so important as the doors can't be opened easily without handles. I used four handles on four doors.
I used locks as well, total five locks (three on three doors and two on two drawers).

- How I did it myself?
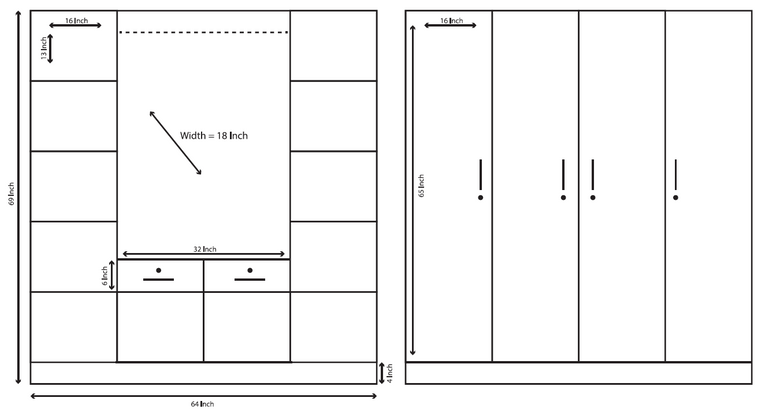
This is the design/blueprint of the cupboard that I designed myself in Adobe Illustrator.
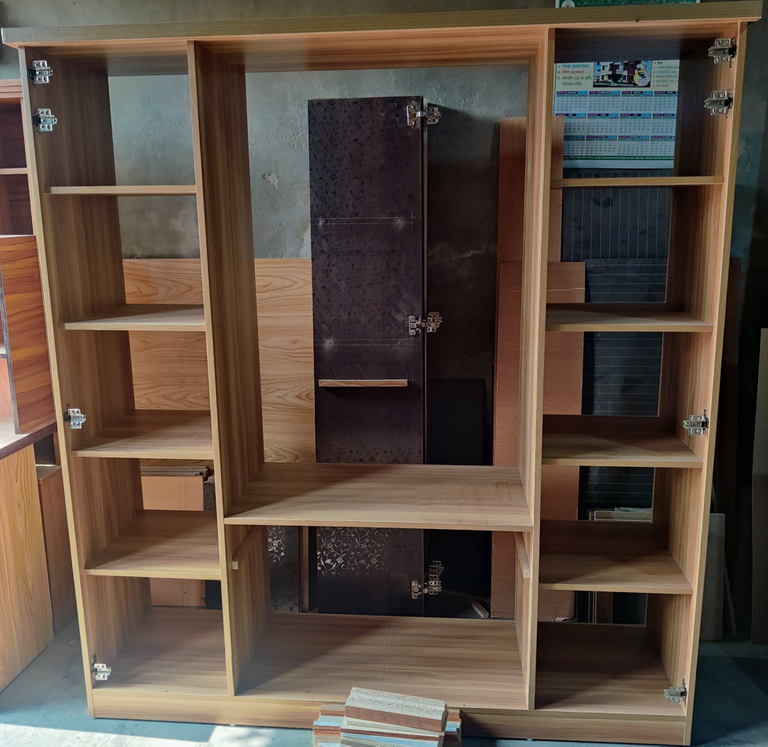
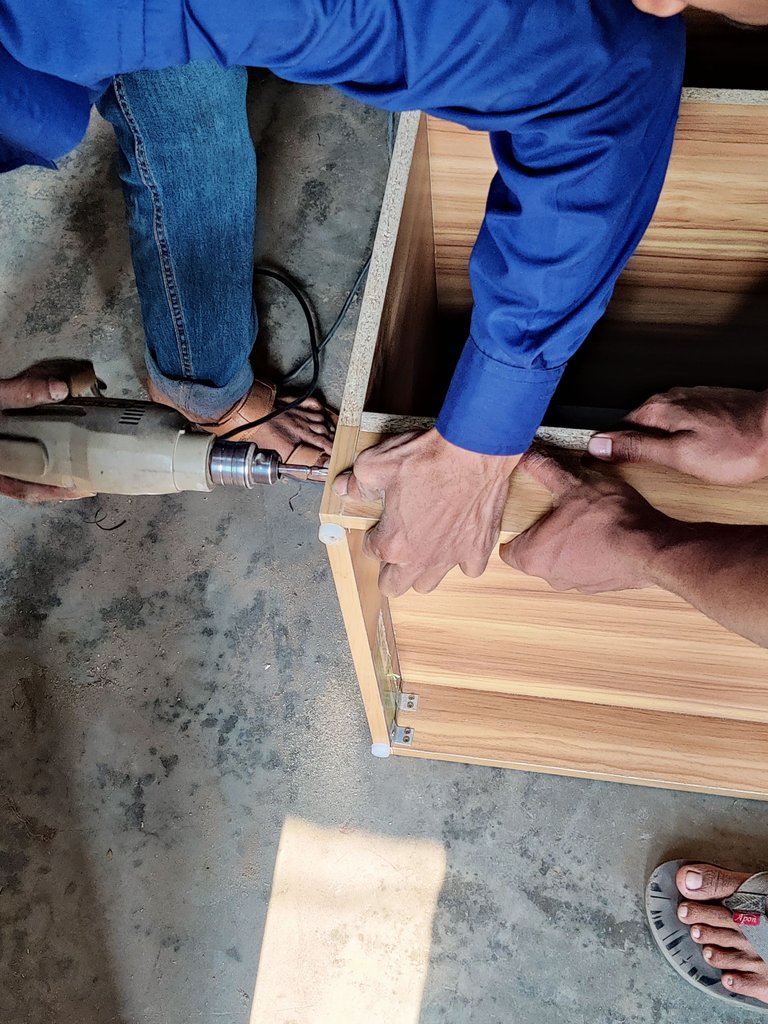
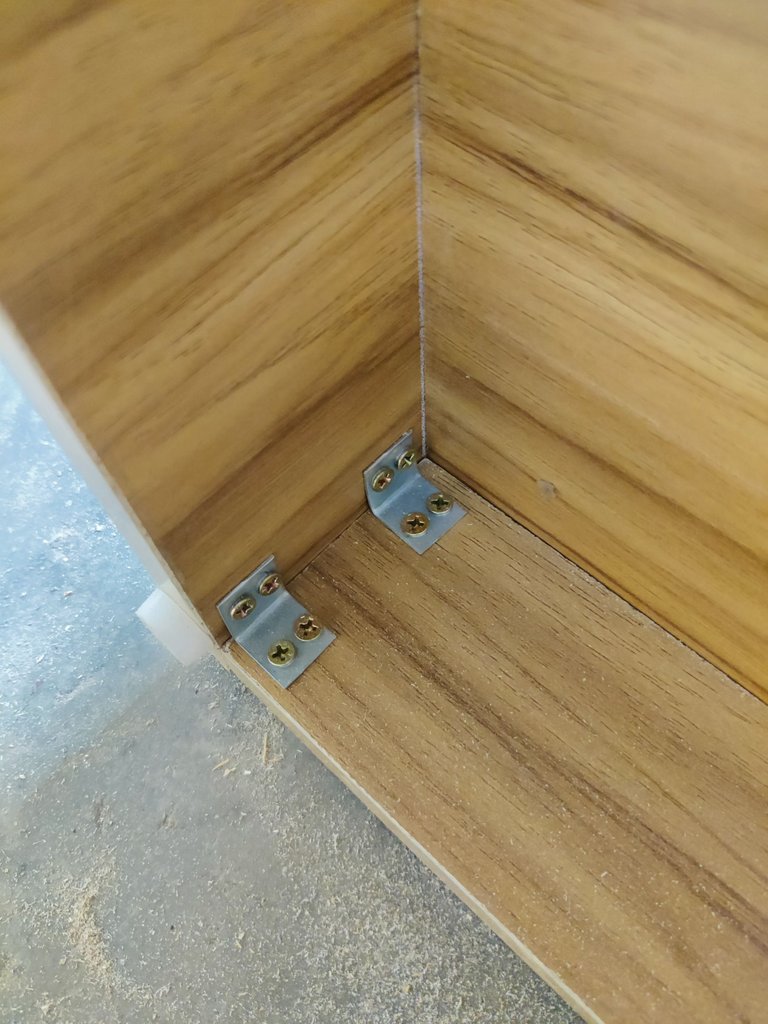
According to the measurements that I choose for each chambers, first I cut down the big boards into smaller pieces and made this initial frame and I added the hinges as well so I can attach the doors after I cut them in proper sizes.
 |  |
|---|
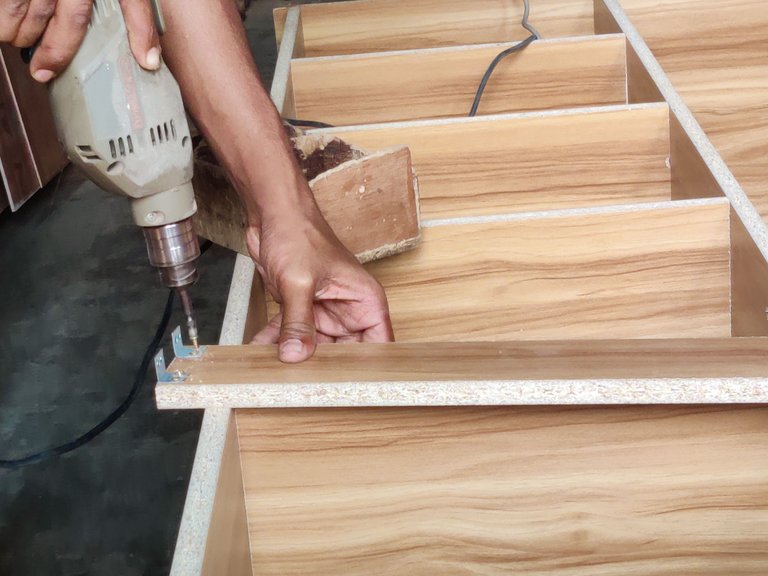
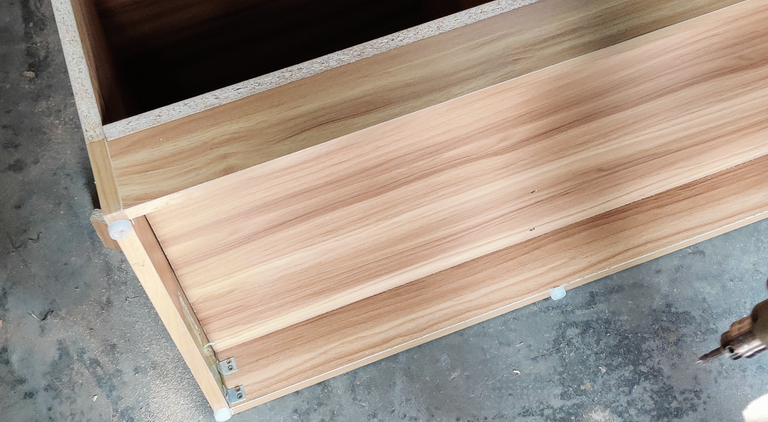
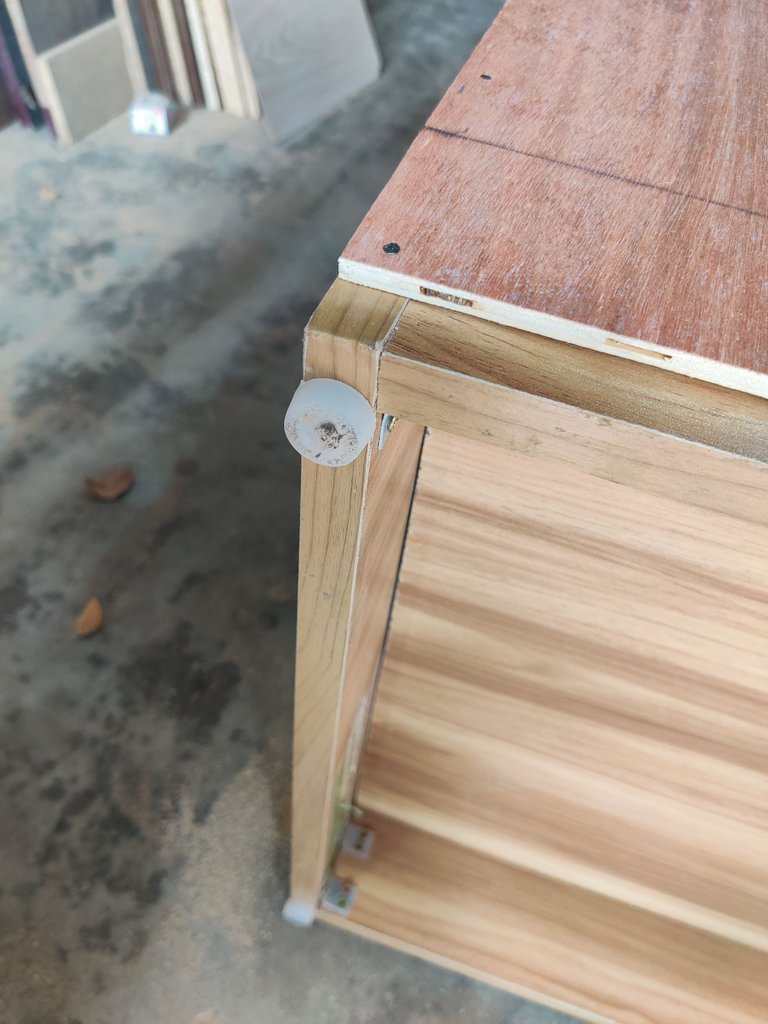
Then I used some thin parts (four parts for all four sides of the downwards which gets to be the stand of the cupboard) and attached some normal hinges to them and then attached to the lower part of the cupboard.
 |  |
|---|
And then it looks like this after I attached some rubber tools under them so the boards don't get into any trouble.
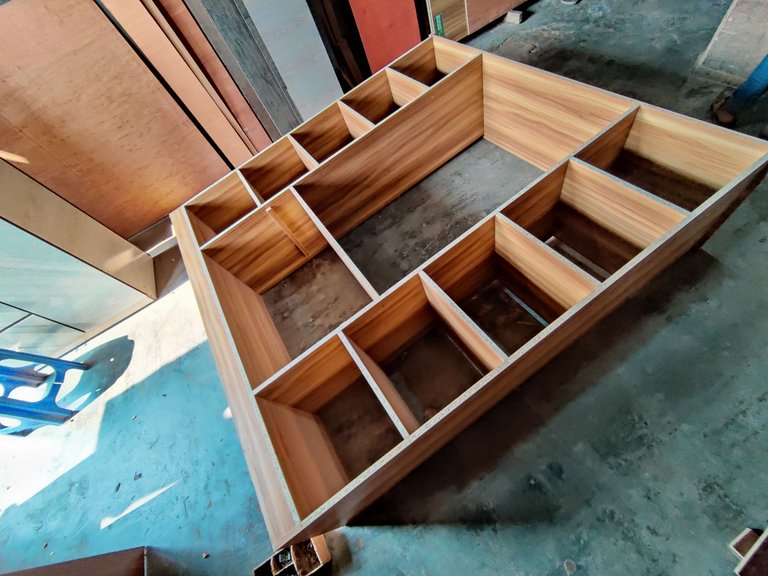
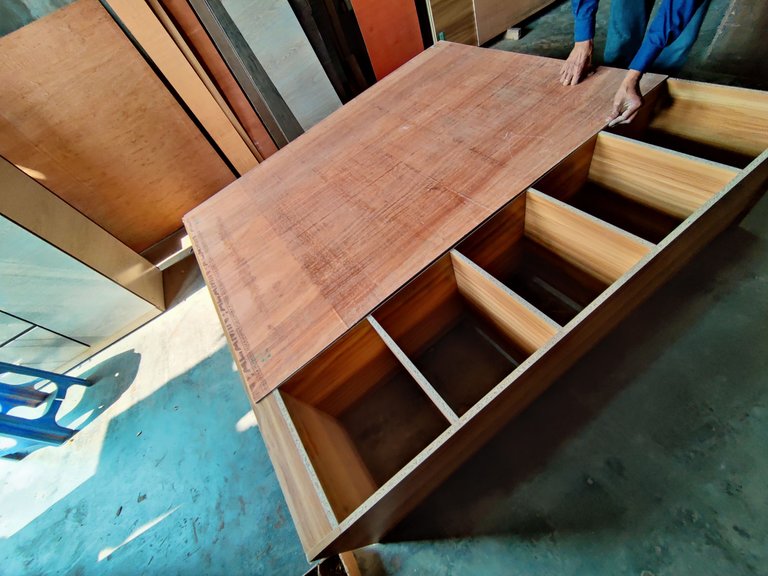
Now that the initial frame is ready with the down parts, its time to cover the back part with a thinner board which is also stronger and in good quality but costs a little more and the cupboard don't need the same strong parts in back as it gets in front and besides, the whole product gets too heavy to move if the whole thing is made with the same heavy board.
 |  |
|---|
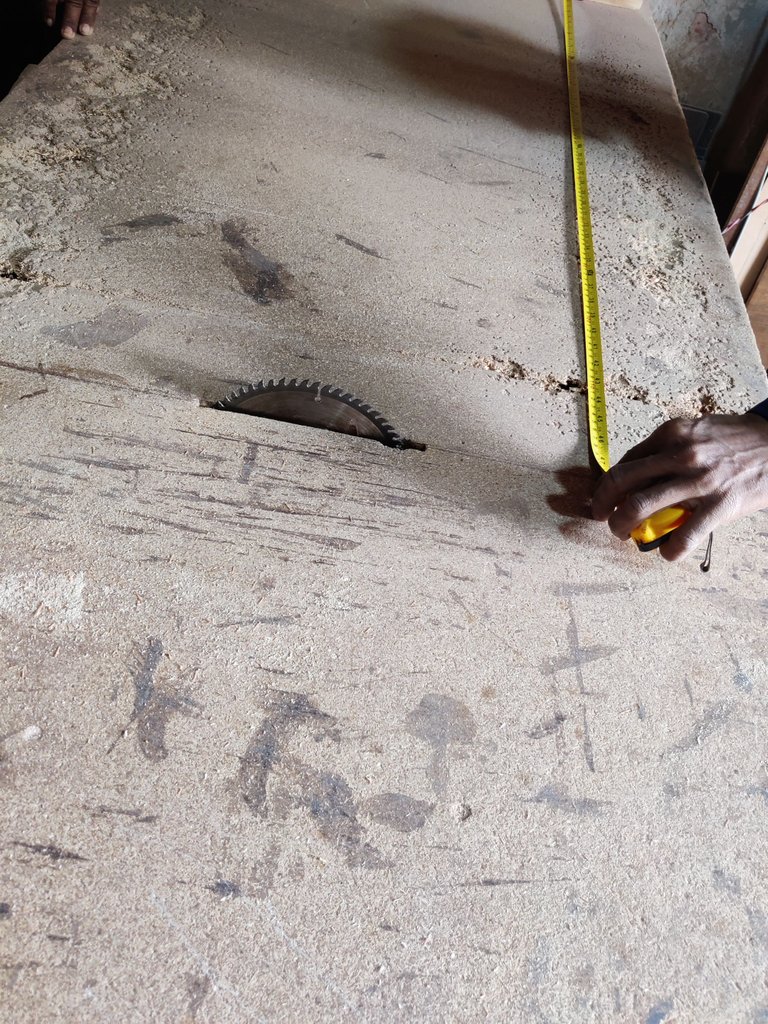
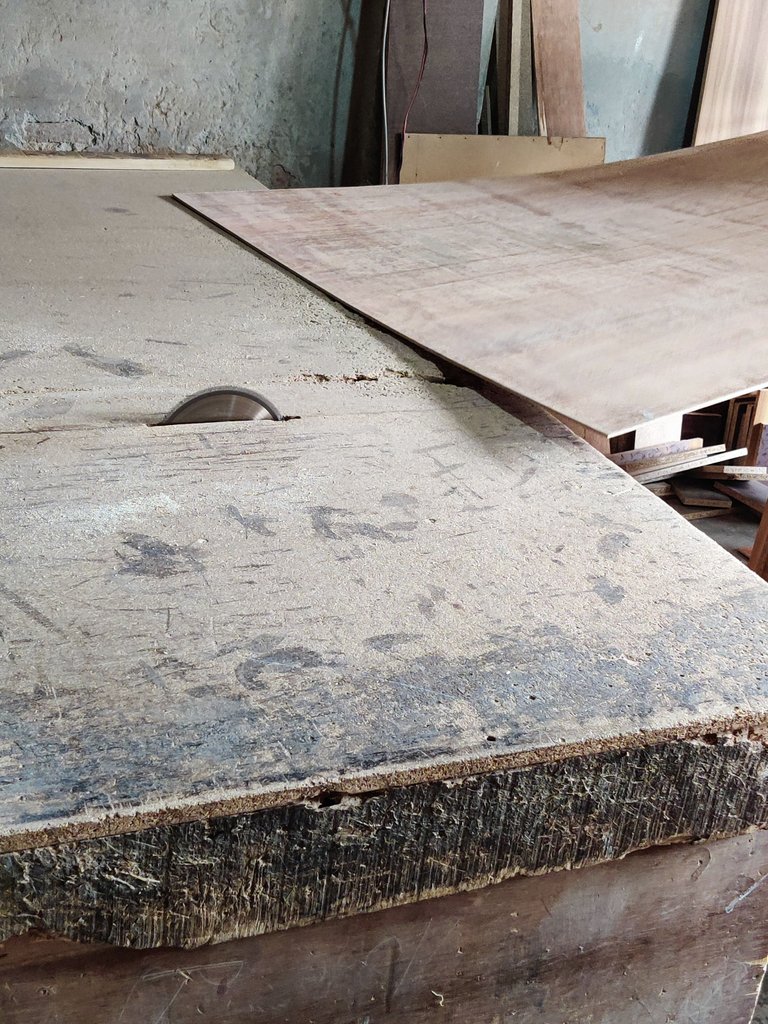
After doing some measurements, I did some cutting on the thin boards so it gets a nice look on the back part and from the inside as well.
 |  |
|---|
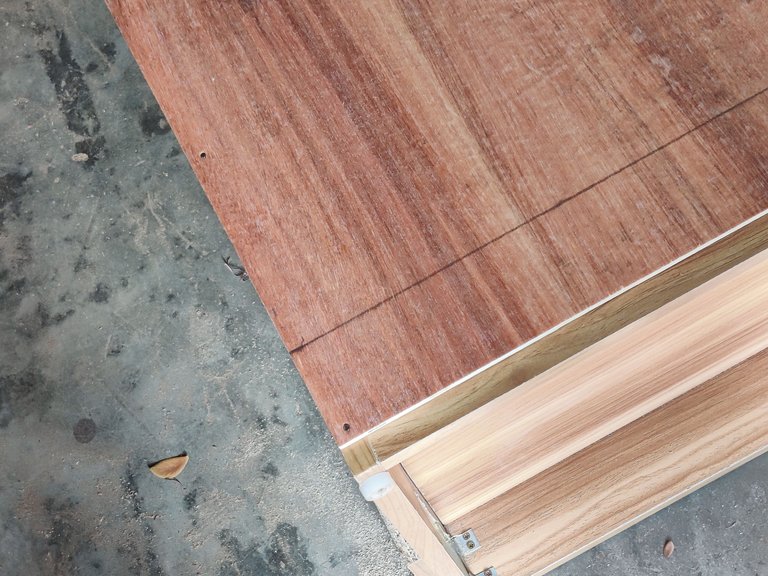
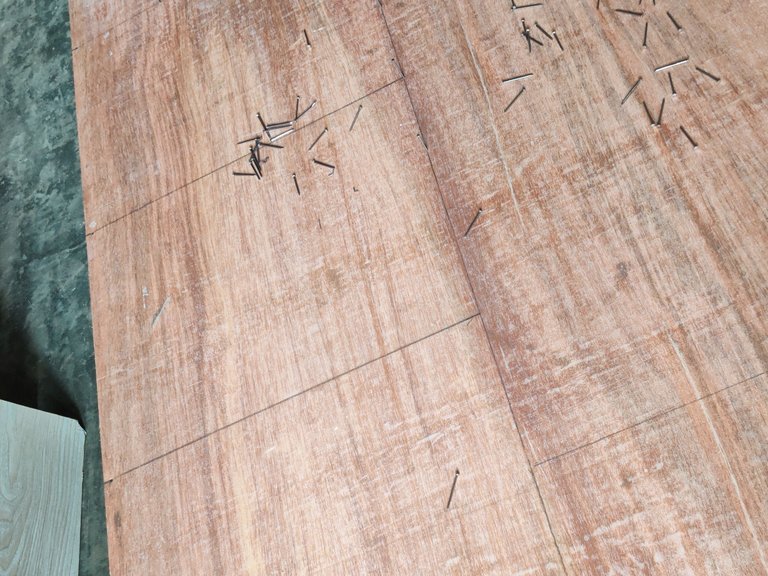
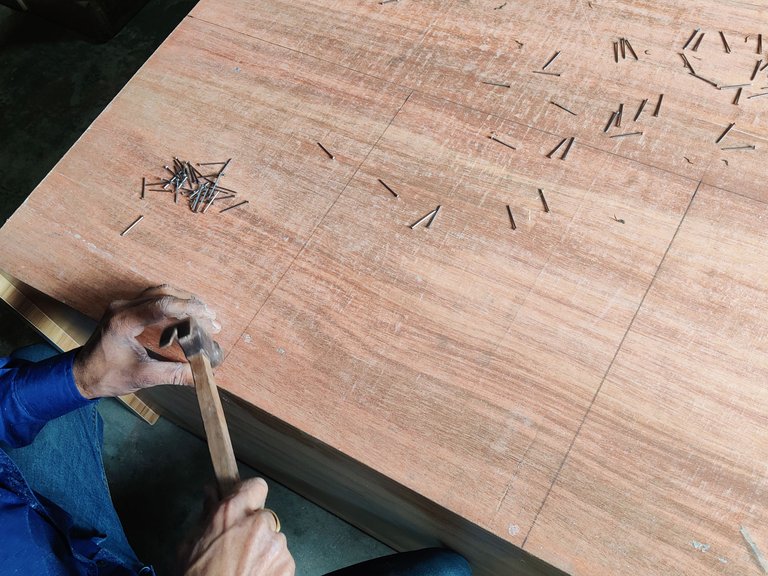
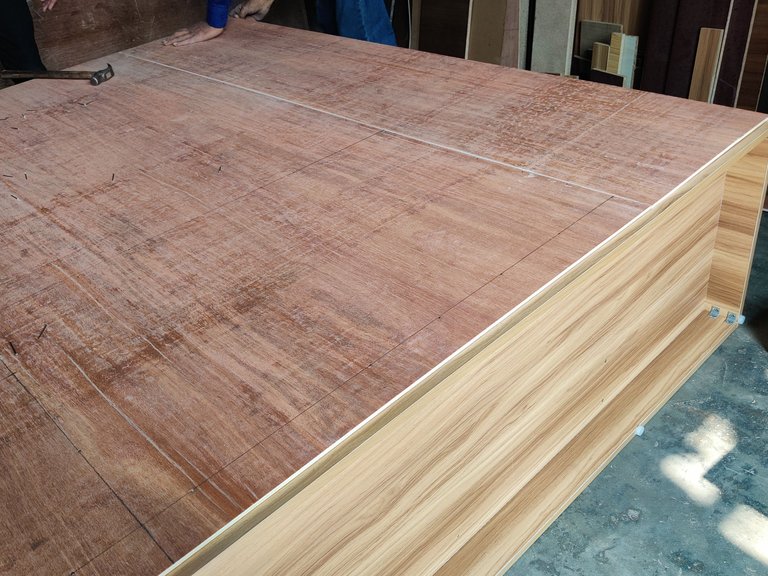
After cutting the boards, I attached it at the backpart using jolt head nail and attached them carefully and I had to do some drawing on the board so the nail/pin goes on the right space. BTW, it there's still a part of the back which was open.
 |  |
|---|
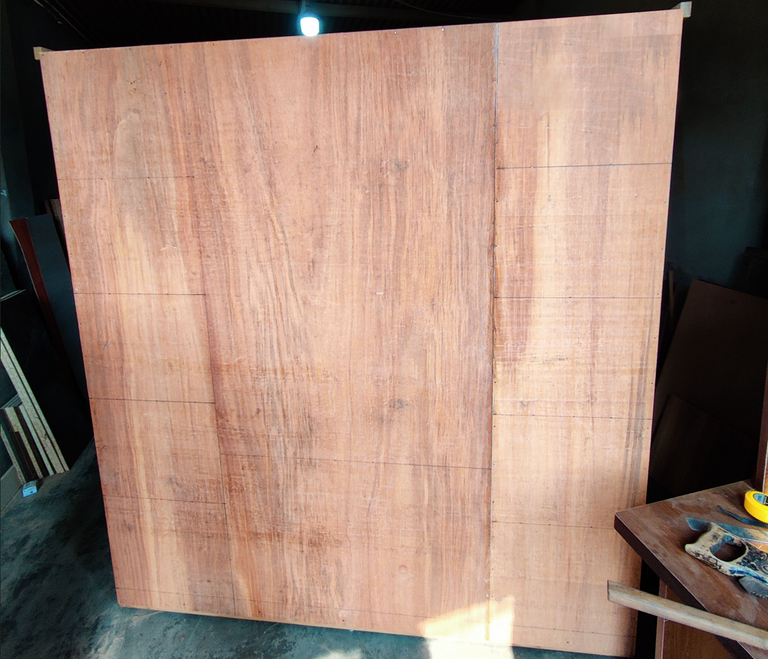
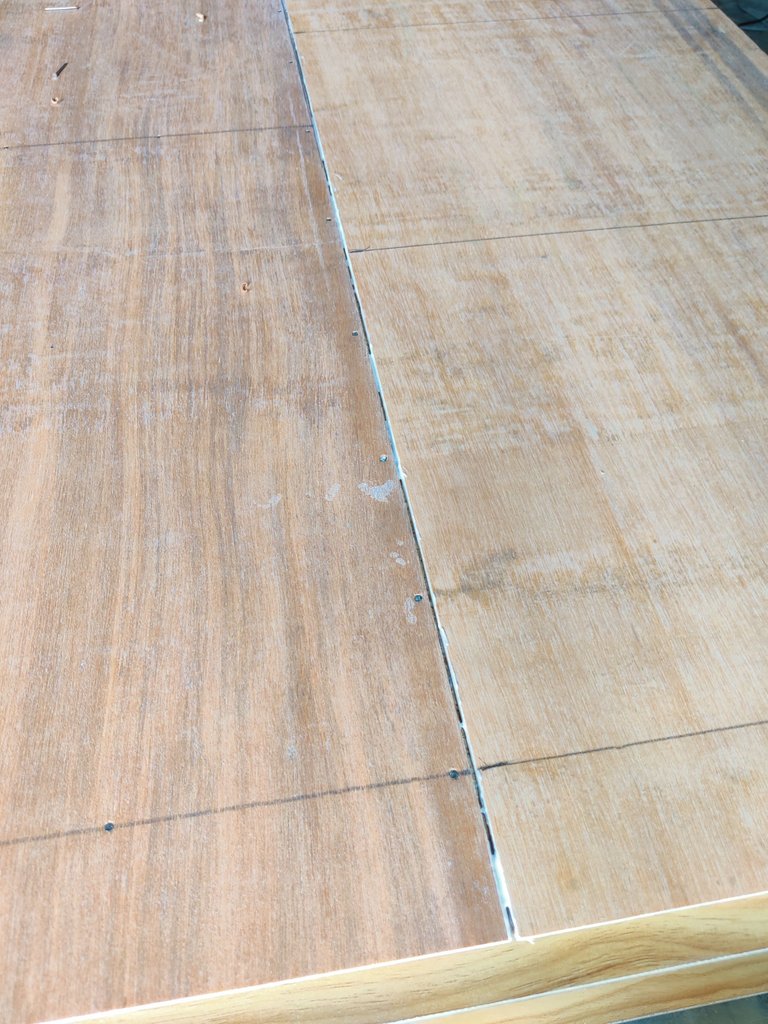
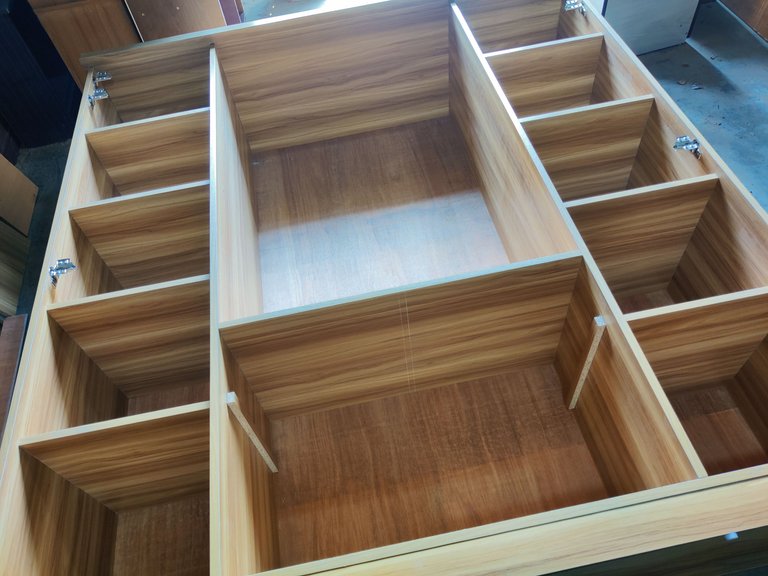
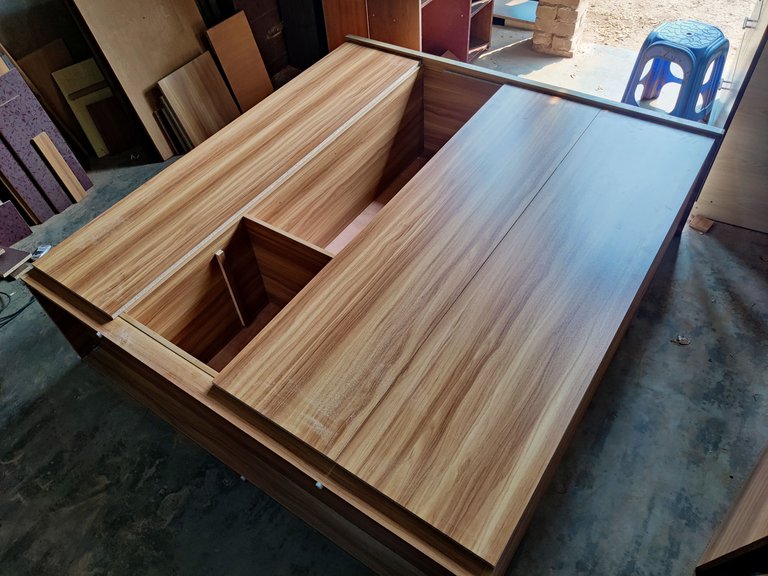
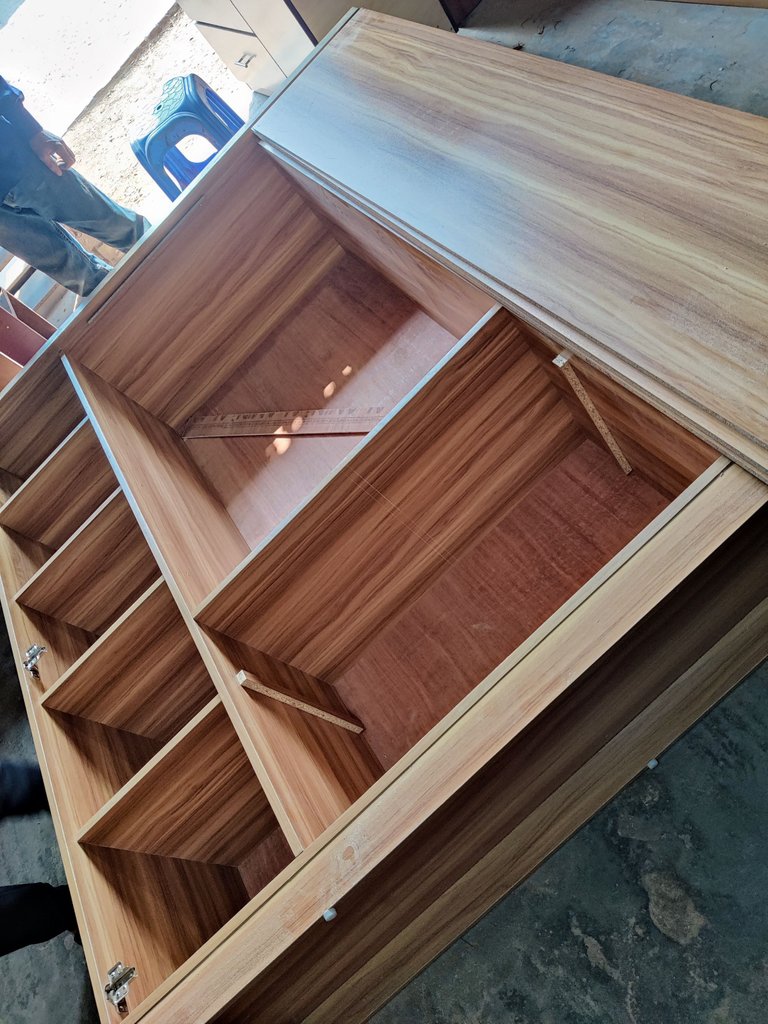
First I added some gum/glue to fill the gap of the dividends of the back part boards and then I used jolt head nails on the single part as well and they're so settled on the back part then.
 |  |
|---|
Now that the back part was done as well, it's time to work on the doors so I cut the door pieces and made sure that they're in correct size as size really matters in these works.
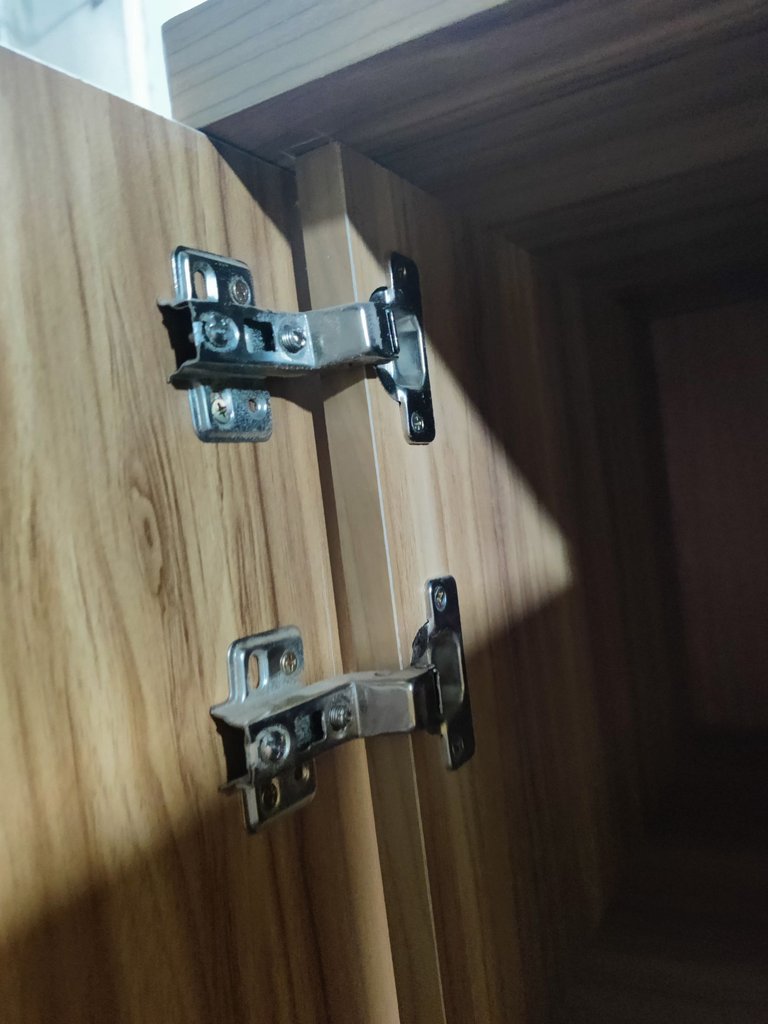 |  |
|---|
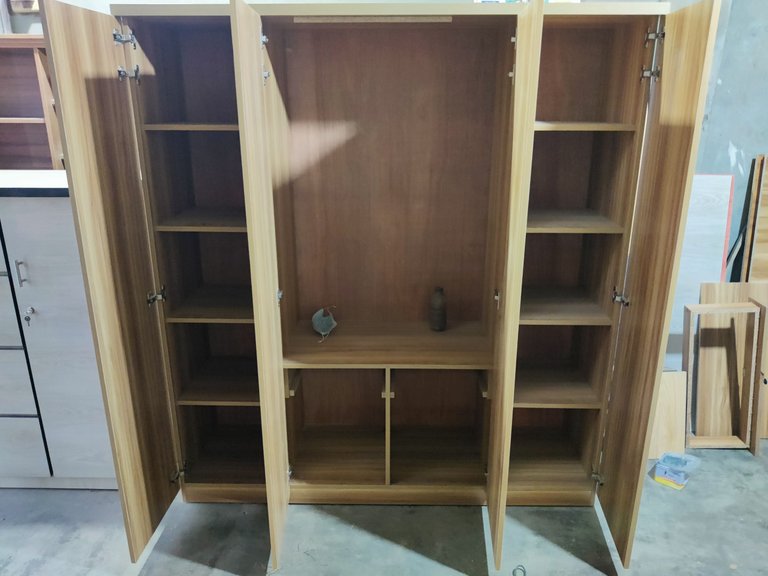
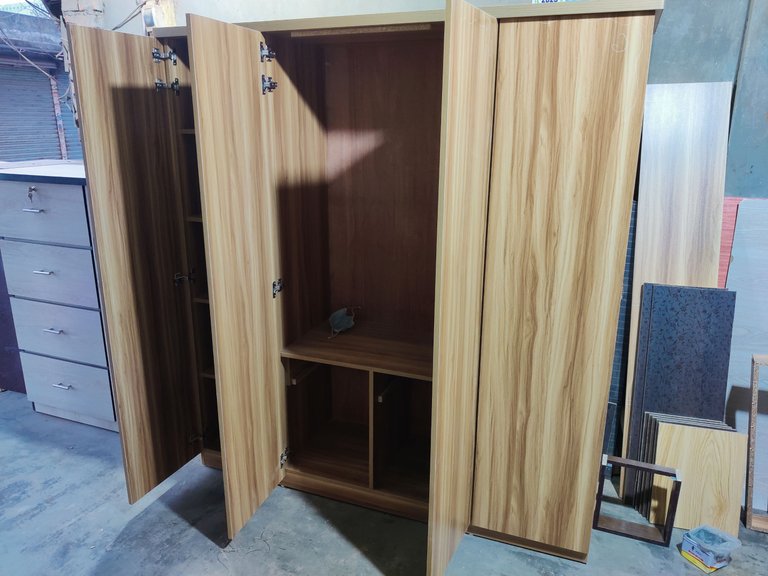
Using the special hinges, I attached the doors on front of the cupboard and now the main part of the work is done I can say that.
 |  |
|---|---|
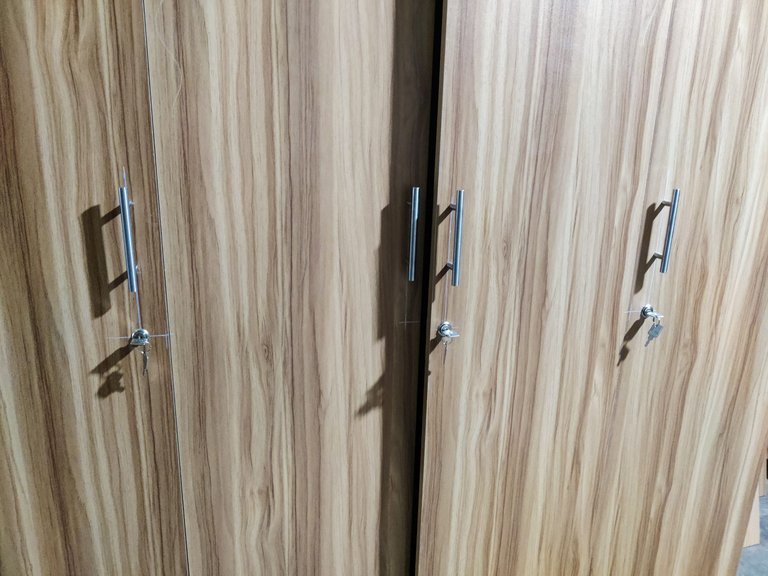 | 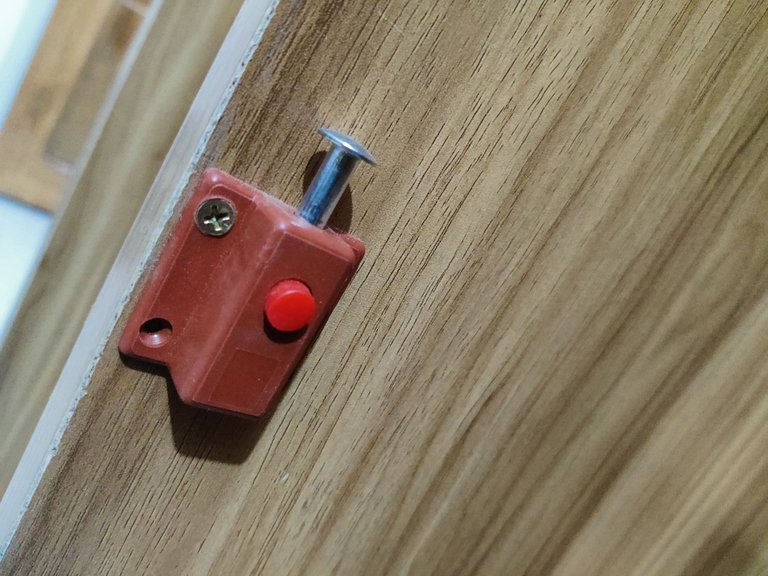 |
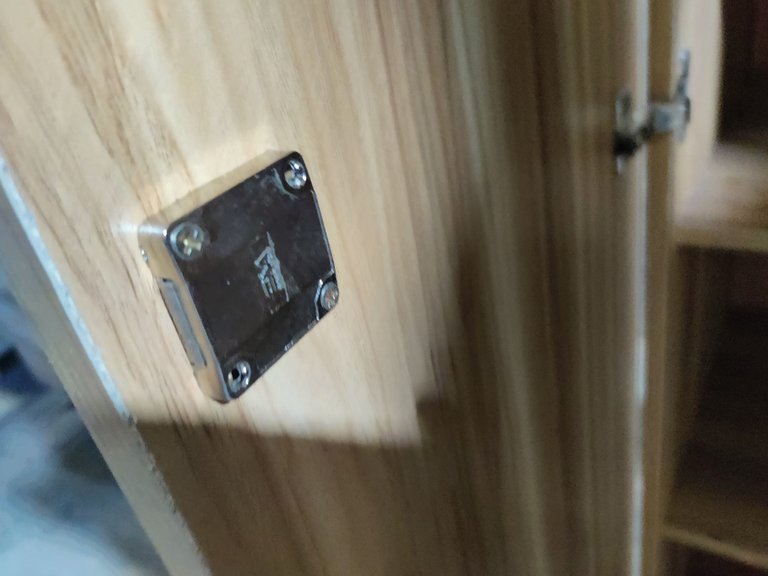
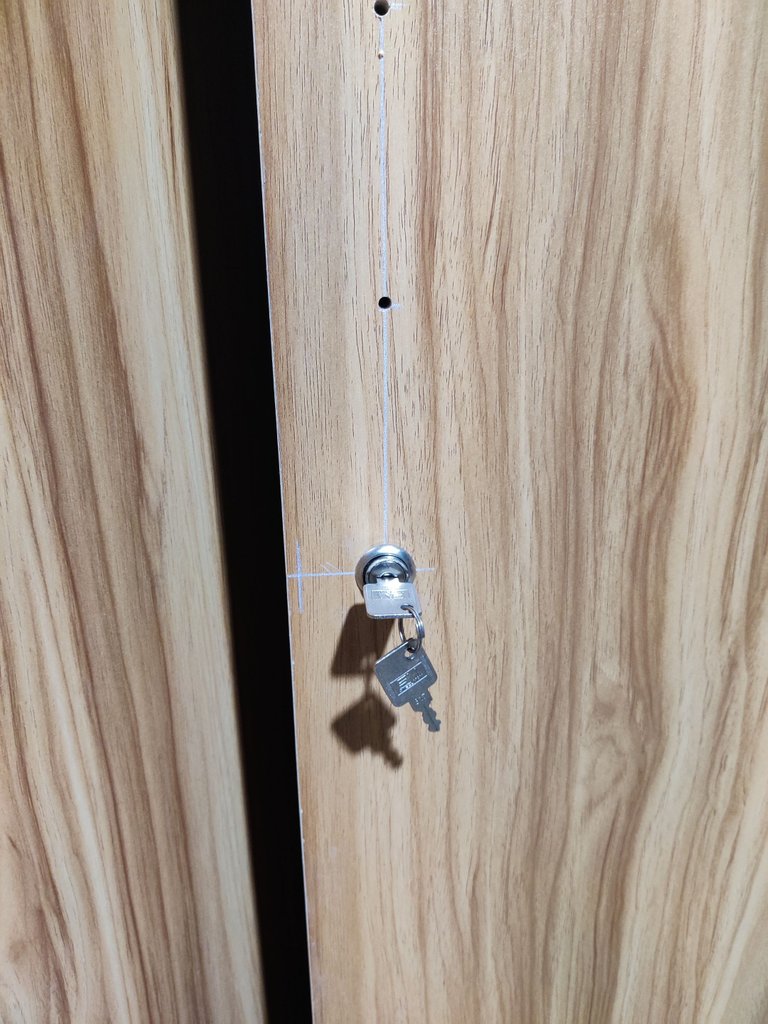
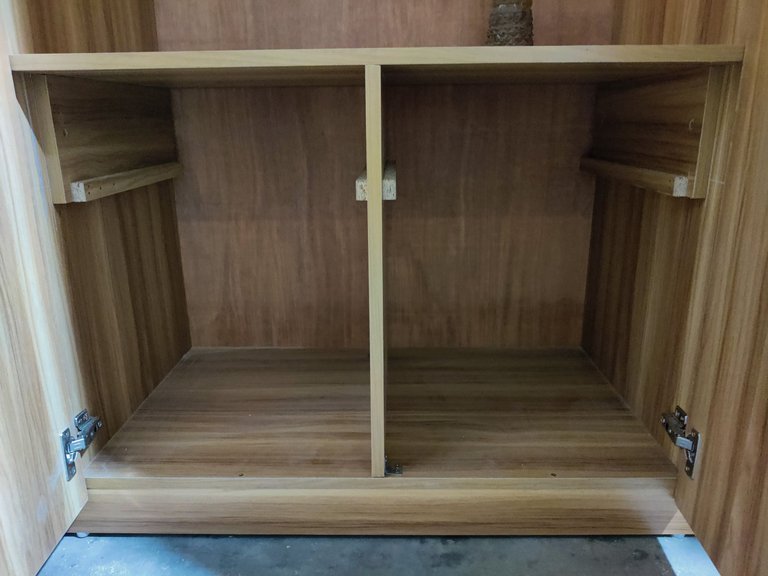
Then I attached the locks and door handles on the doors and I had to do some math there as well so they fit properly and I attached the special inside lock inside the left middle door as well.
 |  |
|---|
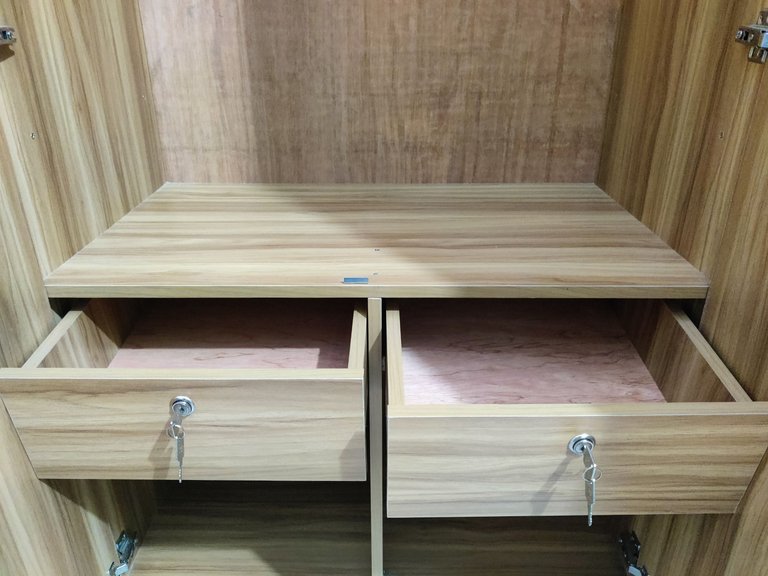
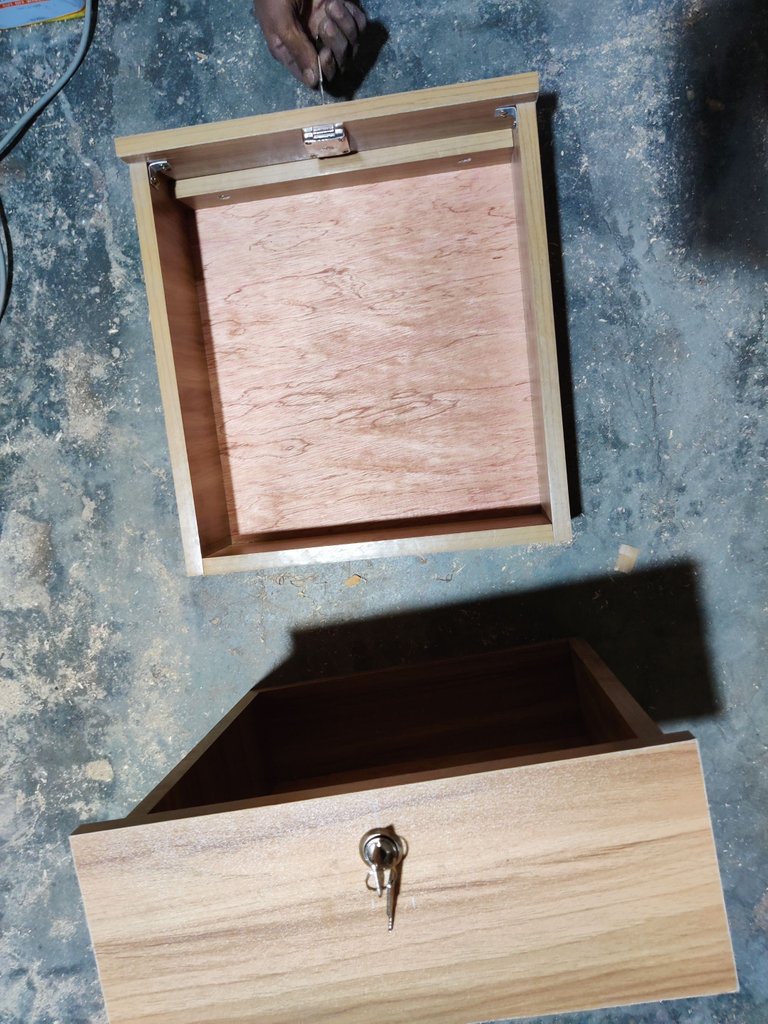
Now it was time I work on the drawers. I wanted the cupboard to have two special drawers with locks at the down-middle part. So, I first made the drawers and then I placed them inside after I attached the locks.
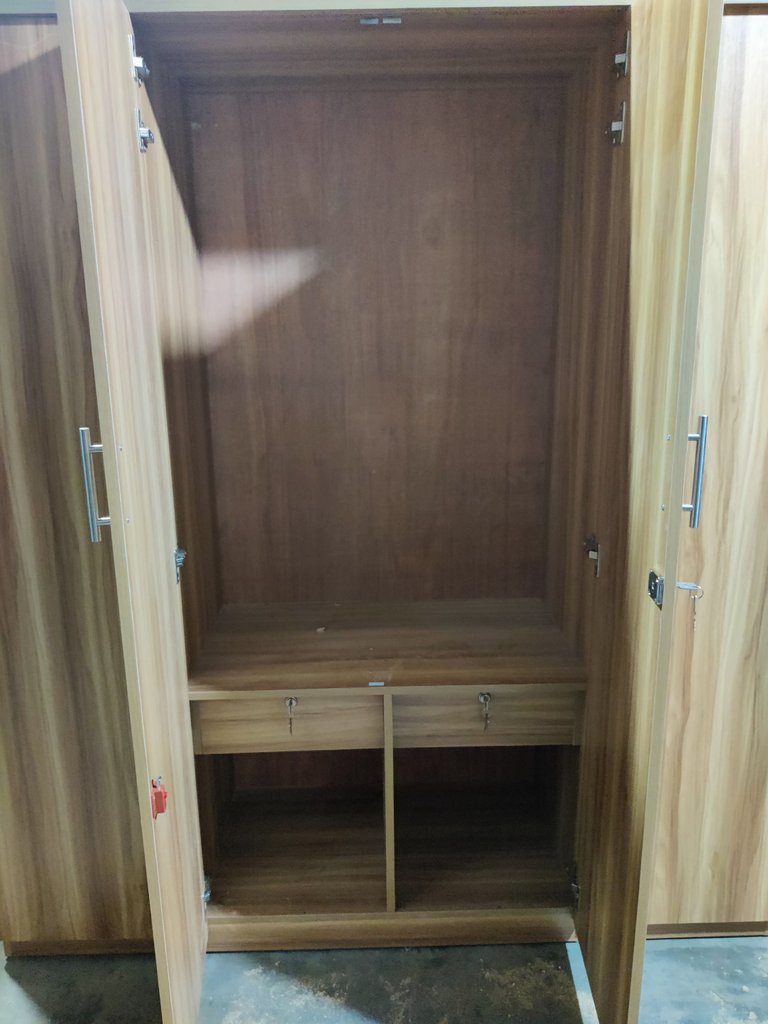 |  |
|---|
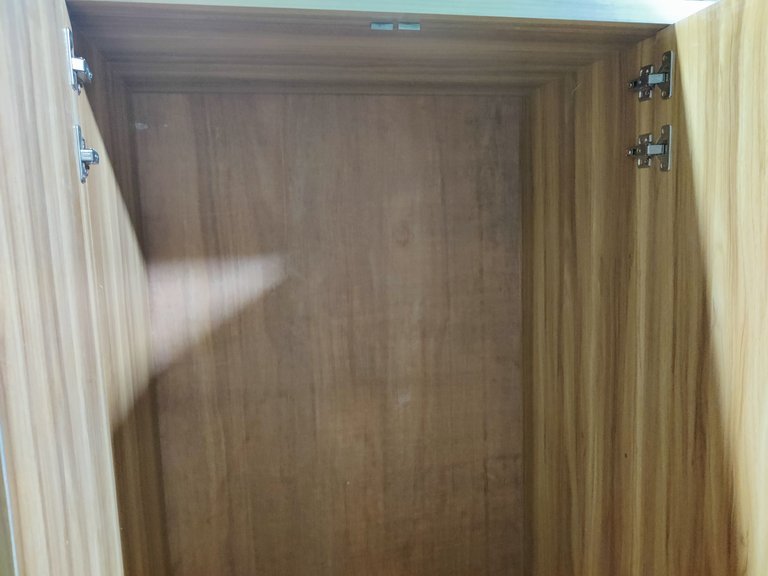
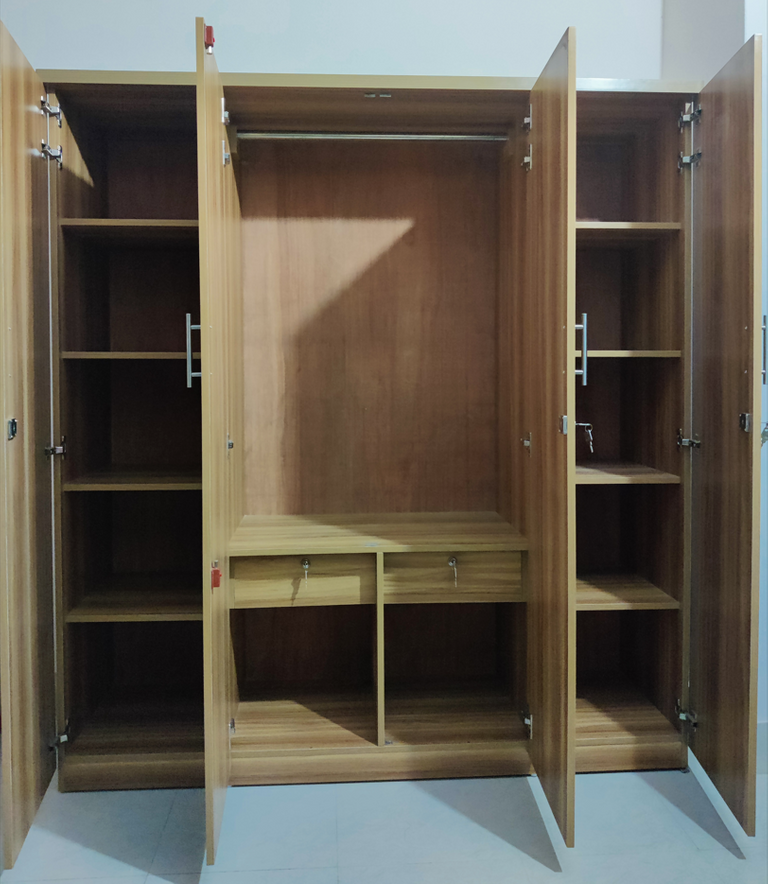
The work is almost completed but I needed a stick in the upper middle part there so I can hang my shirts with hangers.
 |  |
|---|
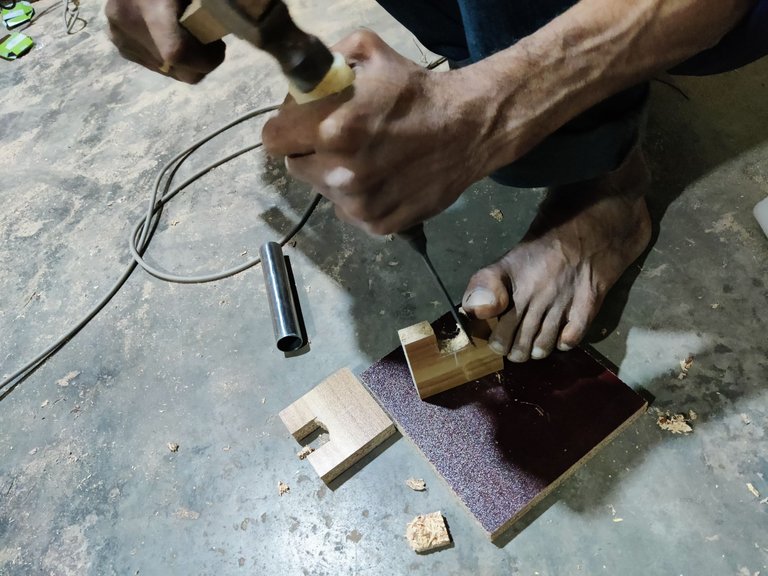
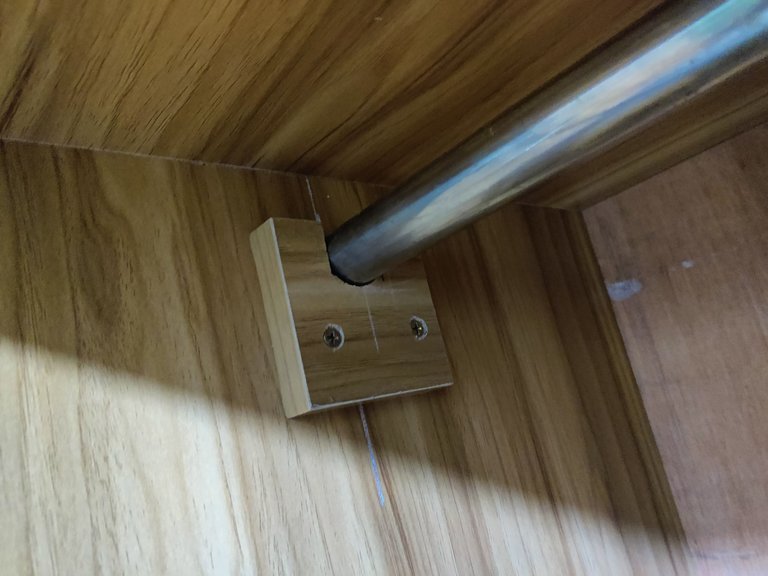
I decided to put an aluminum stick there but I needed something to hold it so I used a hammer and a cutting tool and I gave those small boards round shape that should hold the round aluminum stick and it did.
 |  |
|---|
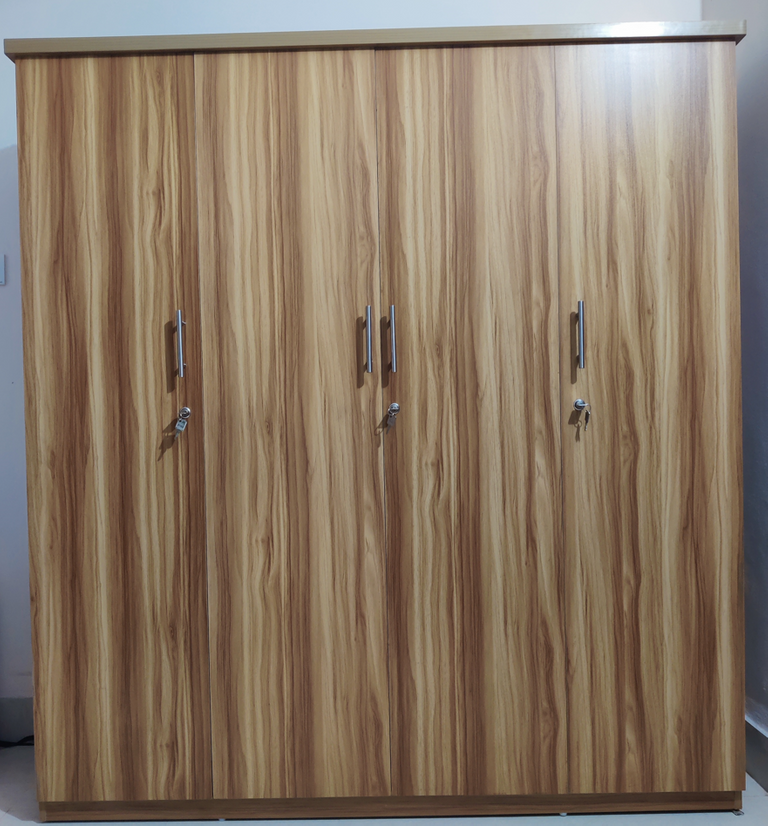
Then the work was finished and ready to be use.
We came to the finishing line of this DIY post. I didn't check on time but I think I needed around two/three days to finish the process in between my other tasks.
I may show more of my DIY practice later if I find something interesting to try on. And I got another plywood work to share later

All photos are my own except for the line breakers that I borrowed from @diyhub's post and I hope that's okay with the DIYHub team.
SEE YOU.
Congratulations!
Your post has been manually curated and reblogged.
You can follow our curation trail on Hive.Vote
If you want to support us and the authors we vote for you can upvote this comment or delegate some Hive Power to our account. Thanks!
Propose a worthy post by mentioning us in the post or in a comment.
We reblog curated posts, follow us if you wish to see them in your feed.
Thanks for the curation and reblogging the post.
It looks so easy when someone else is doing it! You did a great job, it looks awesome!
I have picked this post on behalf of the @OurPick project which will be highlighted in the next post!
"When someone else is doing it" hahaha. If you try this then you'll know that it's easy also when you do it yourself.
Thanks for picking my post for the project.
Excellent work, very aesthetic and with a good finish, I really liked it, congratulations. Greetings
Thanks for your words of appreciation, man. Encouraged me a lot.
Congratulations @frankevor! You have completed the following achievement on the Hive blockchain And have been rewarded with New badge(s)
Your next target is to reach 900 replies.
You can view your badges on your board and compare yourself to others in the Ranking
If you no longer want to receive notifications, reply to this comment with the word
STOPCheck out our last posts:
Very nice detailed post :) @tipu curate 8
Upvoted 👌 (Mana: 0/75) Liquid rewards.
Thanks a lot for the words and for curating the post.
You are a genius. Congratulations 🙂.
Thanks a lot for the compliment.