DIYHub August Contest/Bee with Quilling technique
Bienvenidos a mi blog.
Welcome to my blog.
Esta es mi participación para el concurso por el Día Mundial de las ABEJAS que genera @diyhub, de hecho es mi primera vez en esta comunidad y también haciendo un tutorial.
This is my entry for the World BEE Day contest generated by @diyhub, in fact it's my first time in this community and also making a tutorial.
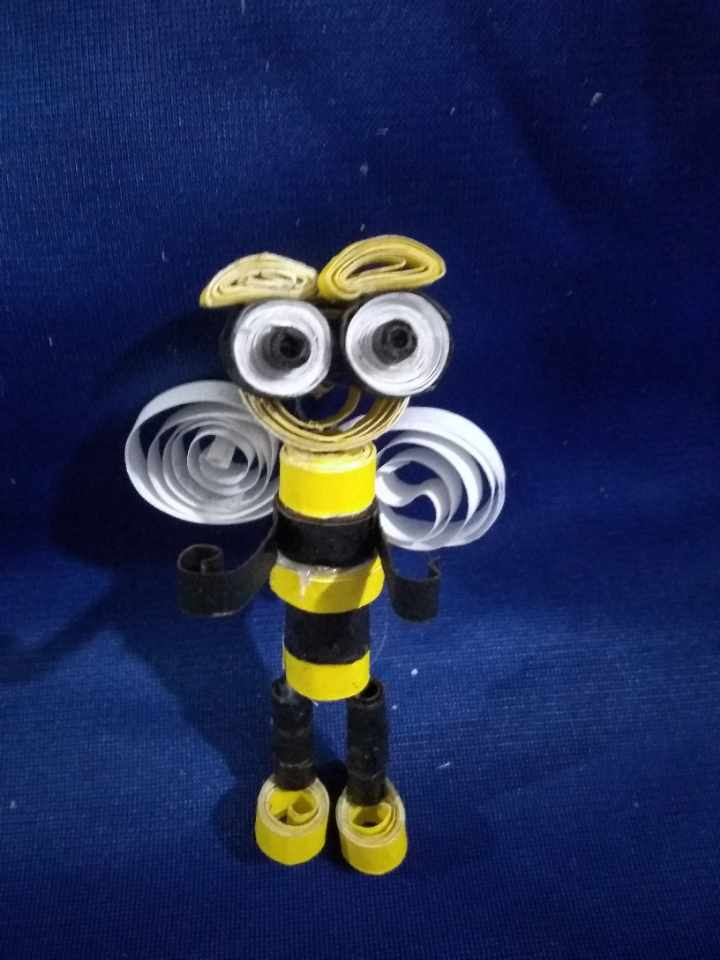
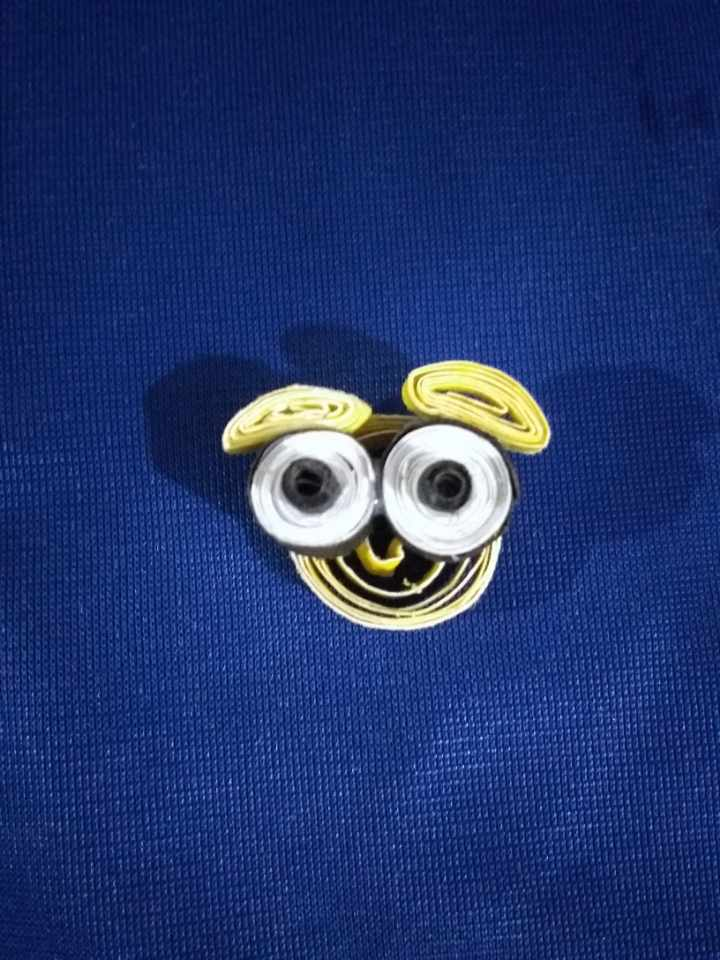
Mi entrada la he denominado Abeja Feliz porque es lo que refleja en su cara, una gran sonrisa, aparte de la expresión en sus grandes ojos. Ella está elaborada en papel con una técnica que me enseño mi madre quien también es usuario en esta plataforma, ella es @giocondina hace unos años para un trabajo en el liceo, como saben ella es maestra y tiene conocimientos en muchas áreas; se trata del Quilling, son tiras de papel de colores que se trabajan enrollándose con la ayuda de una pinza especial para elaborar los círculos y a partir de allí se le pueda dar la forma que se desee para poder hacer cualquier figura.
I have named my entry Happy Bee because that is what she reflects on her face, a big smile, apart from the expression in her big eyes. She is made of paper with a technique that my mother taught me who is also a user on this platform, she is @giocondina a few years ago for a job in high school, as you know she is a teacher and has knowledge in many areas; it is Quilling, are strips of colored paper that are worked by rolling with the help of a special clamp to develop the circles and from there you can give the shape you want to make any figure.
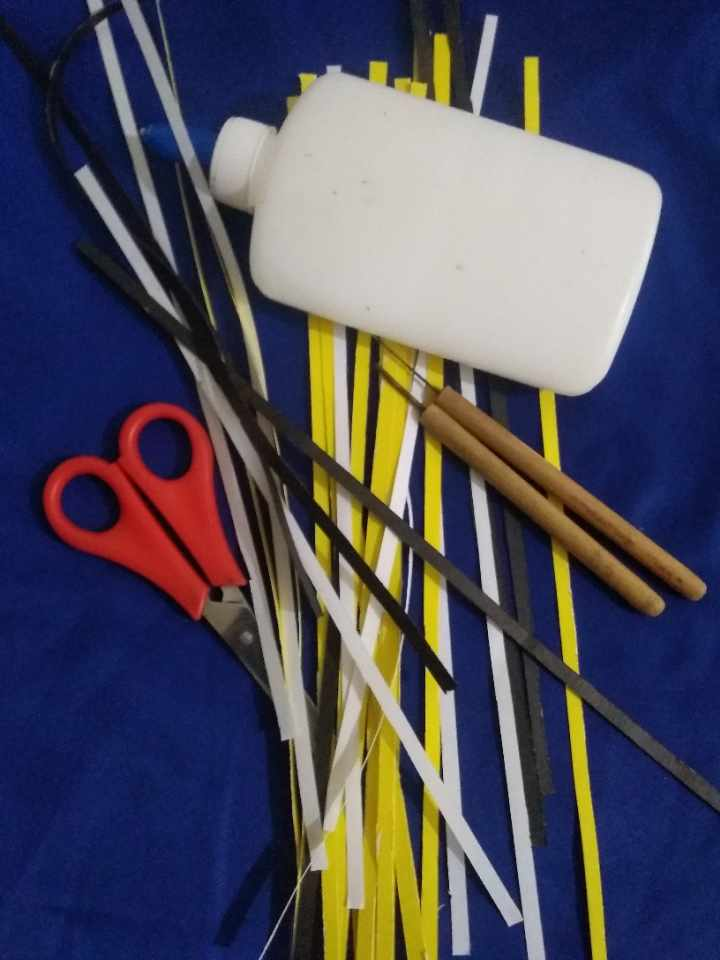
Para la ABEJA Feliz use:
Tiras para quilling de colores amarillo, blanco y negro
Pega
Pinzas para quilling
Tijera
For the Happy BEE use:
Yellow, white and black quilling strips.
Glue
Quilling tweezers
Scissors
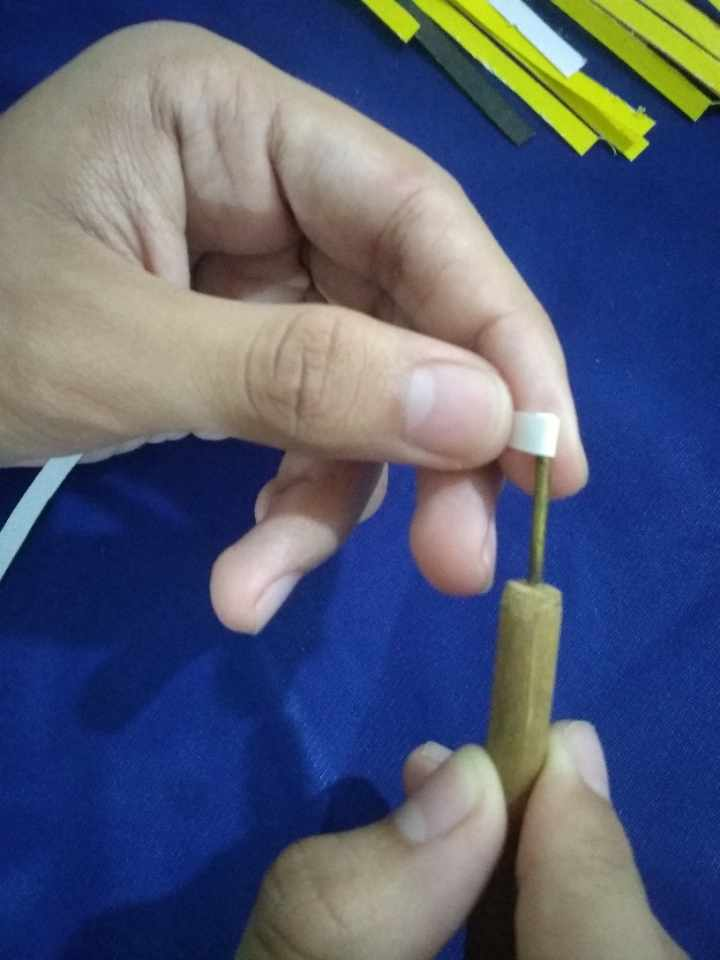
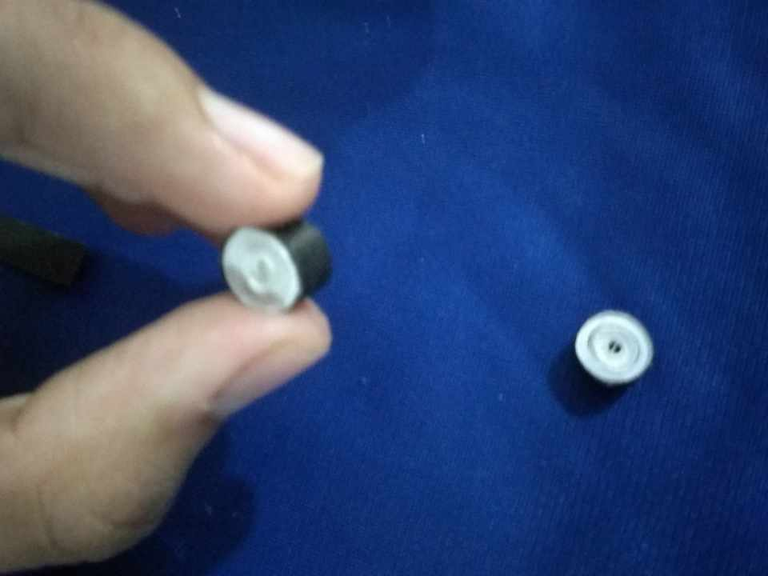
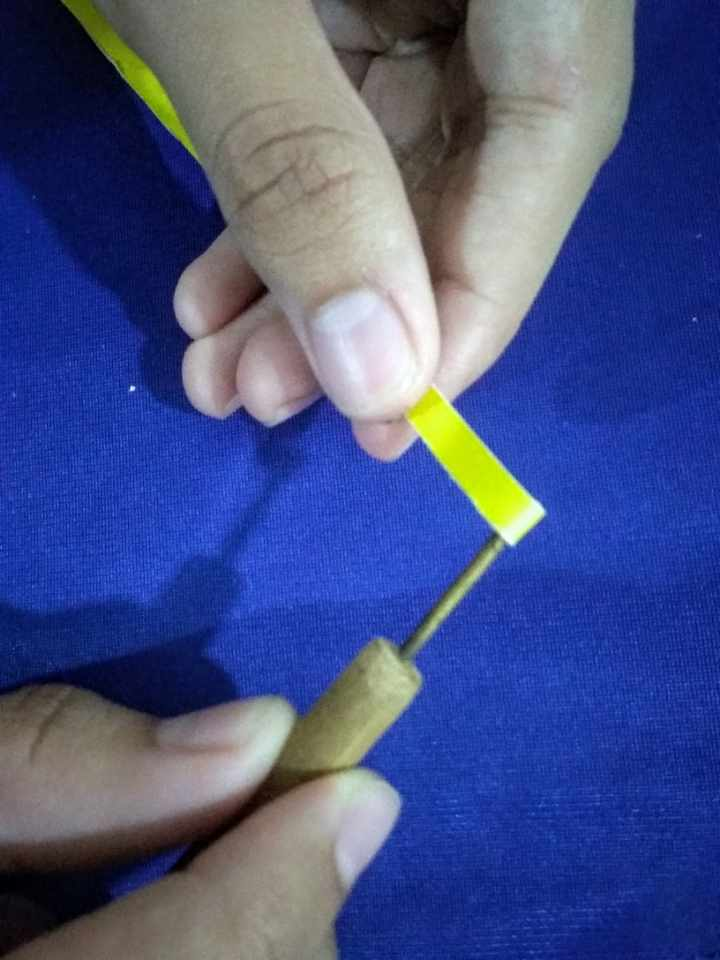
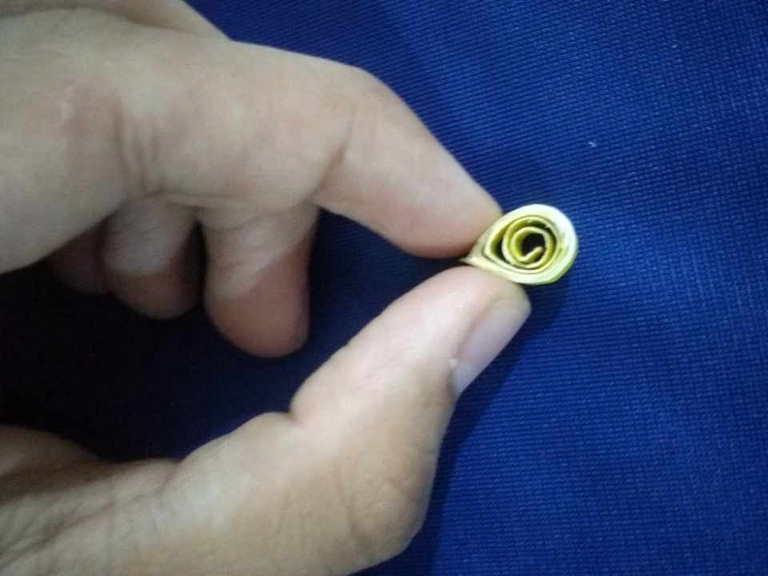
Lo primero que hice fueron los ojos y les explico que colocamos la tira en medio de la pinza que sostenemos con una mano y con la otra la tira de papel para comenzar a girar la pinza; de esa manera se logra enrollar el papel.
The first thing I made were the eyes and I explain that we place the strip in the middle of the clamp that we hold with one hand and with the other hand the strip of paper to begin to rotate the clamp; in this way the paper is rolled up.

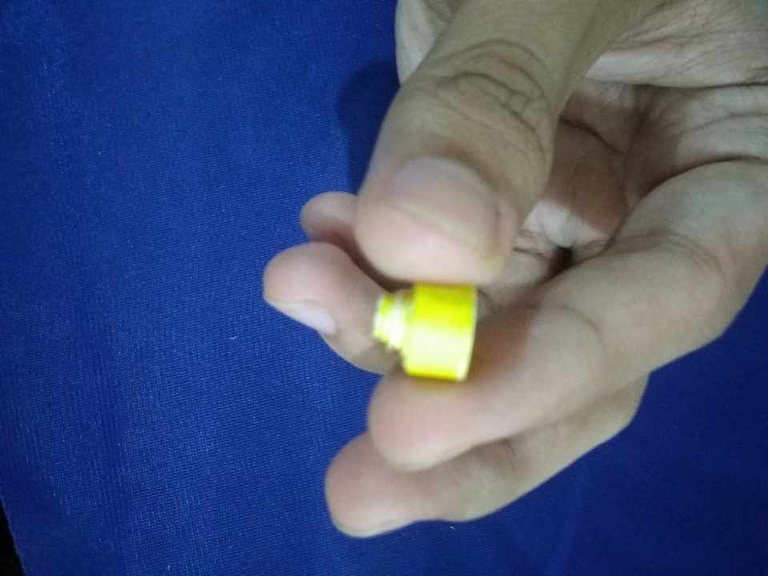
Como ven, los ojos van en blanco con una tira completa para que nos quede de buen tamaño, claro que esto es a gusto de cada quien y antes de llegar al final se coloca un poquito de pega para que no se desarme.
As you can see, the eyes are blank with a complete strip so that it is a good size, of course this is to each person's taste and before reaching the end a little bit of glue is placed so that it does not fall apart.
Encima del color blanco del ojo colocamos pega para hacer un enrollado con la tira del color negro y sellamos con pega.
On top of the white color of the eye we put glue to make a roll with the black color strip and seal with glue.
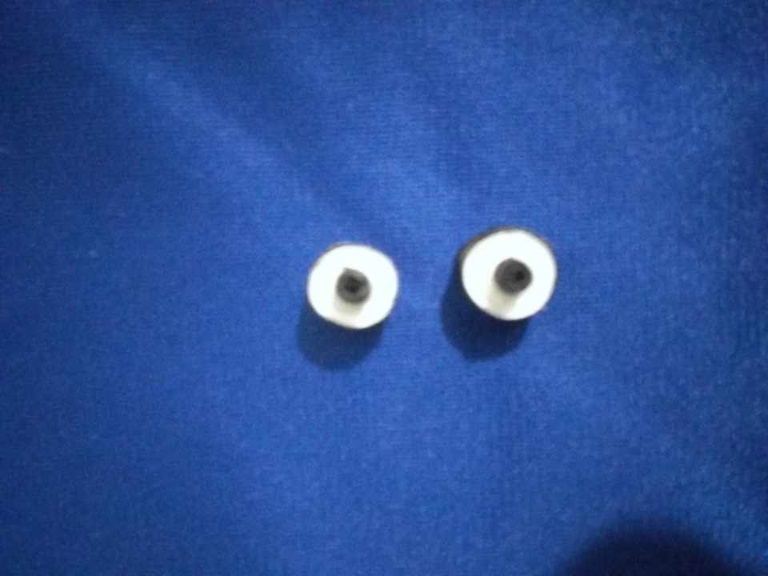
Después hacemos dos mini enrollados con tira de color negro y los pegamos en el centro de los ojos.
Then we make two mini rolls with black strip and glue them in the center of the eyes.
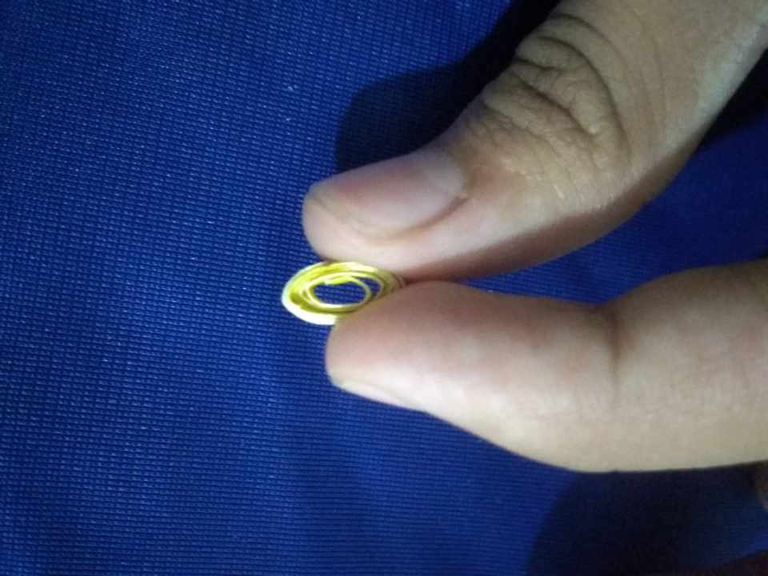
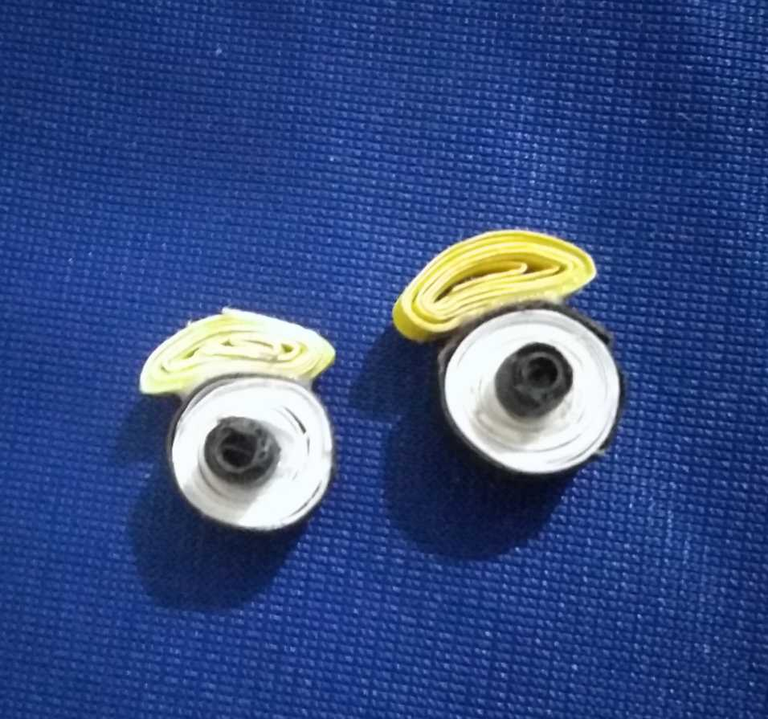
Los párpados van en color amarillo. Estos se forman haciendo enrollados, sueltos, colocar pega y después con los dedos aplanar un poco para darle forma y pegar encima de los ojos.
The eyelids are in yellow. These are formed by rolling them loosely, placing glue and then flattening them a little with your fingers to shape them and glue them on top of the eyes.
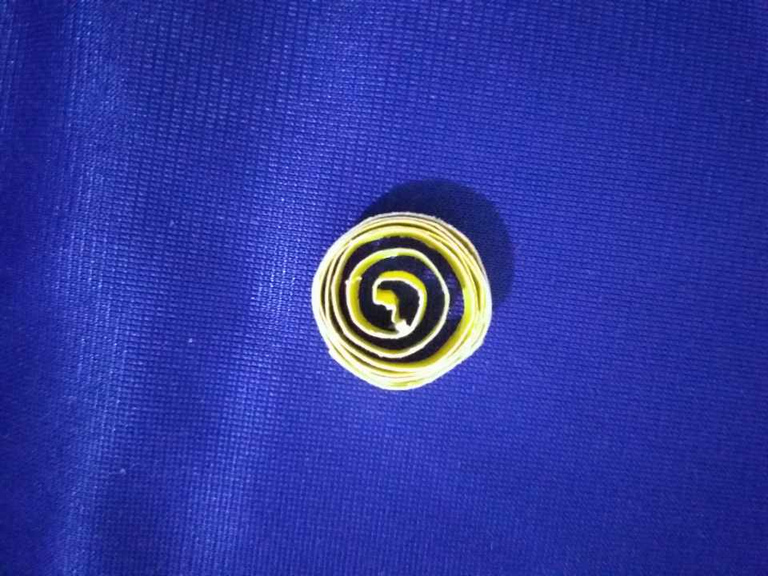
La cara como saben es un círculo en amarillo que se hace de la misma manera que hemos venido haciendo las demás piezas lo único es que aquí para hacerla más grande soltamos el enrollado hasta obtener el tamaño que se quiera, se le coloca pega y después en ella se pegan los ojos tratando de que queda a la vista la forma de la sonrisa.
The face as you know is a yellow circle that is made in the same way we have been making the other pieces, the only thing is that here to make it bigger we loosen the rolling until we get the size we want, we put glue on it and then we glue the eyes on it trying to make the shape of the smile visible.
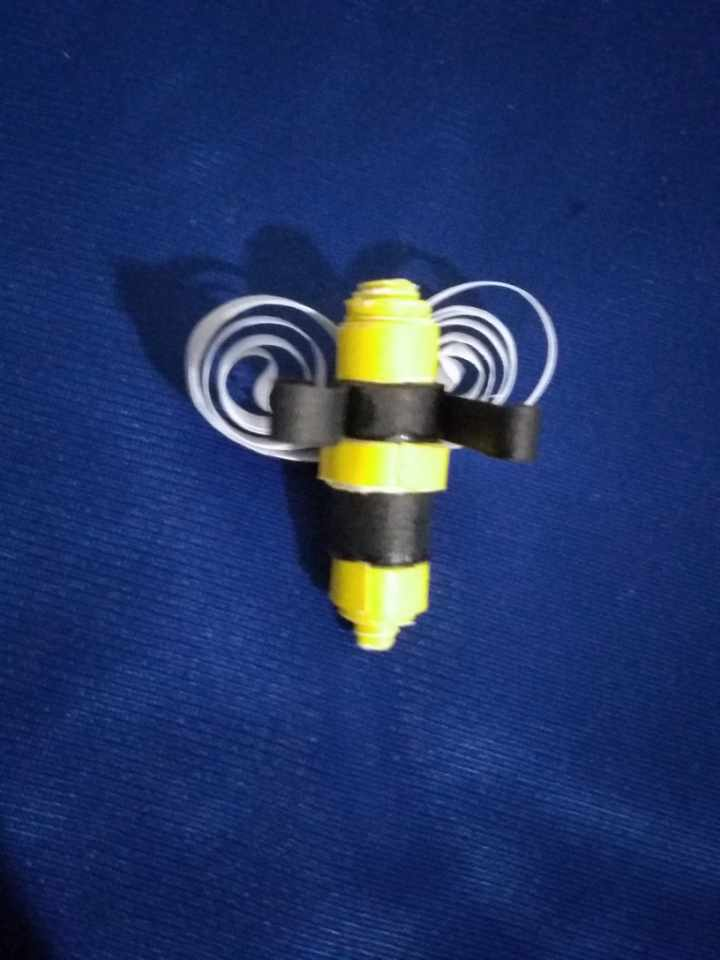
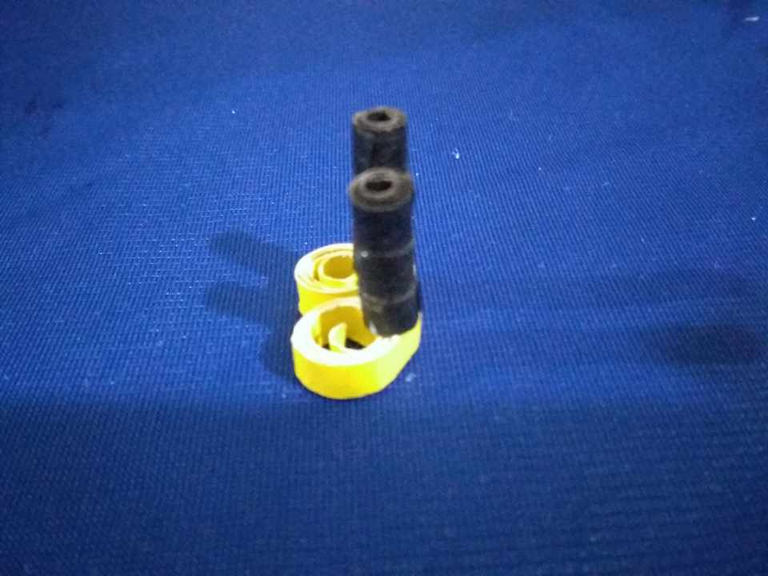
Comenzamos a trabajar en el cuerpo haciendo cinco piezas, tres amarillas de las que solo dos serán del mismo tamaño y la otra un poco más grande, y otras dos que serán en color negro y del mismo tamaño de las dos amarillas.
We start working on the body by making five pieces, three yellow ones of which only two will be the same size and the other one a little bigger, and the other two will be black and the same size as the two yellow ones.
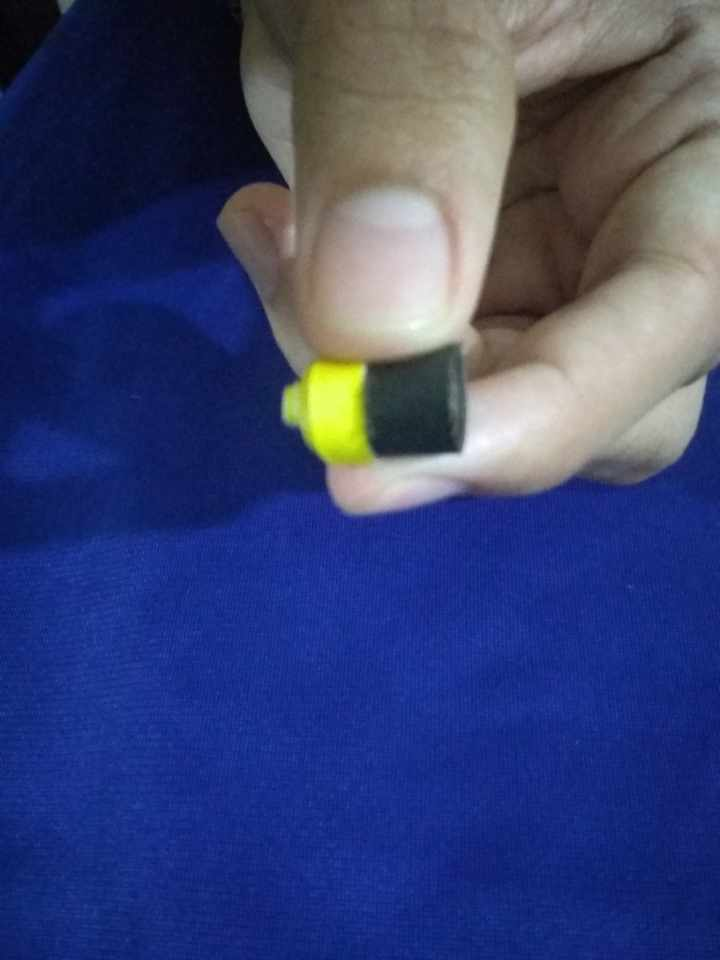
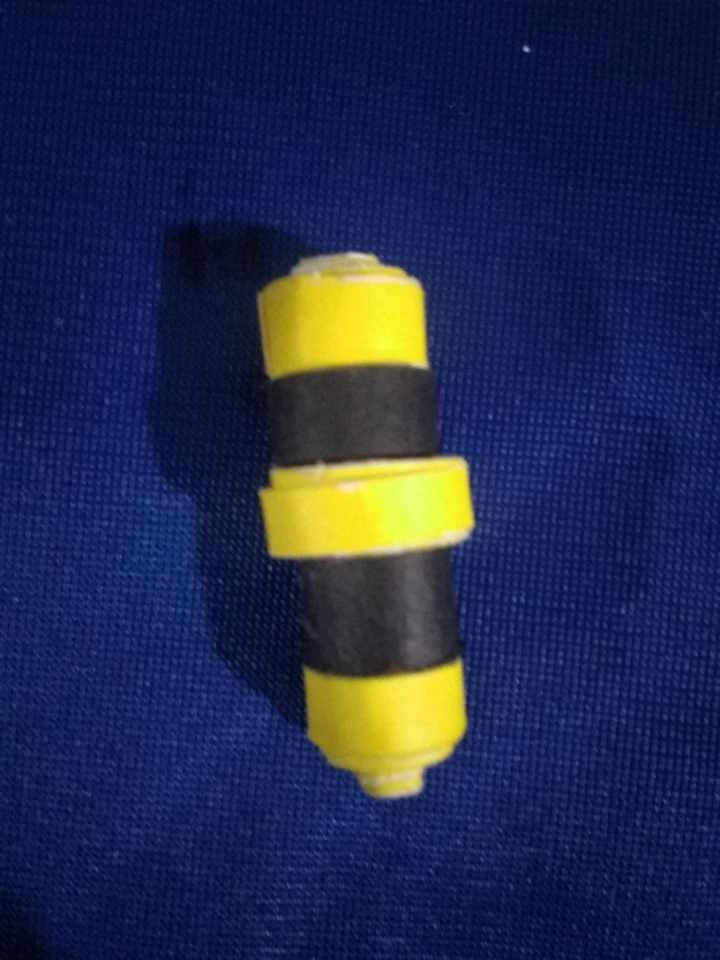
Si ven en la foto, las dos amarillas que están en la punta, se les saca un poquito el enrollado del inicio, esto es para darle mejor forma al cuerpo, entonces van de la siguiente manera: una amarilla con una negra del mismo tamaño, luego la amarilla más grande, le sigue la negra y amarilla pequeña. Así se forma el cuerpo de la abeja.
If you see in the photo, the two yellow ones that are at the tip, the winding at the beginning is removed a little bit, this is to give better shape to the body, then they go as follows: a yellow one with a black one of the same size, then the bigger yellow one, followed by the black and small yellow one. This is how the body of the bee is formed.
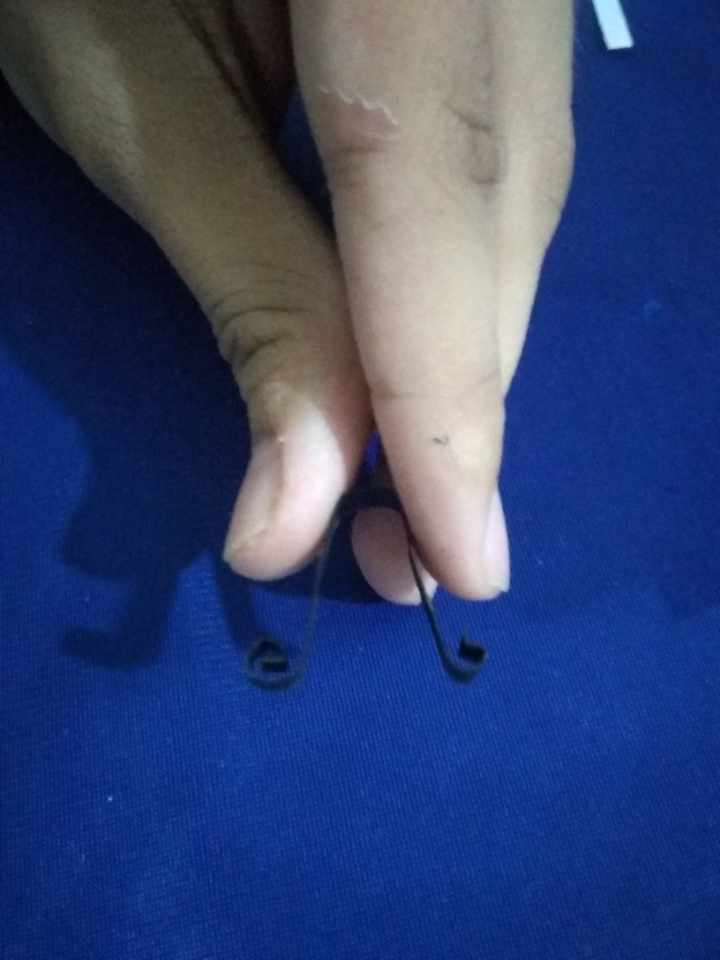
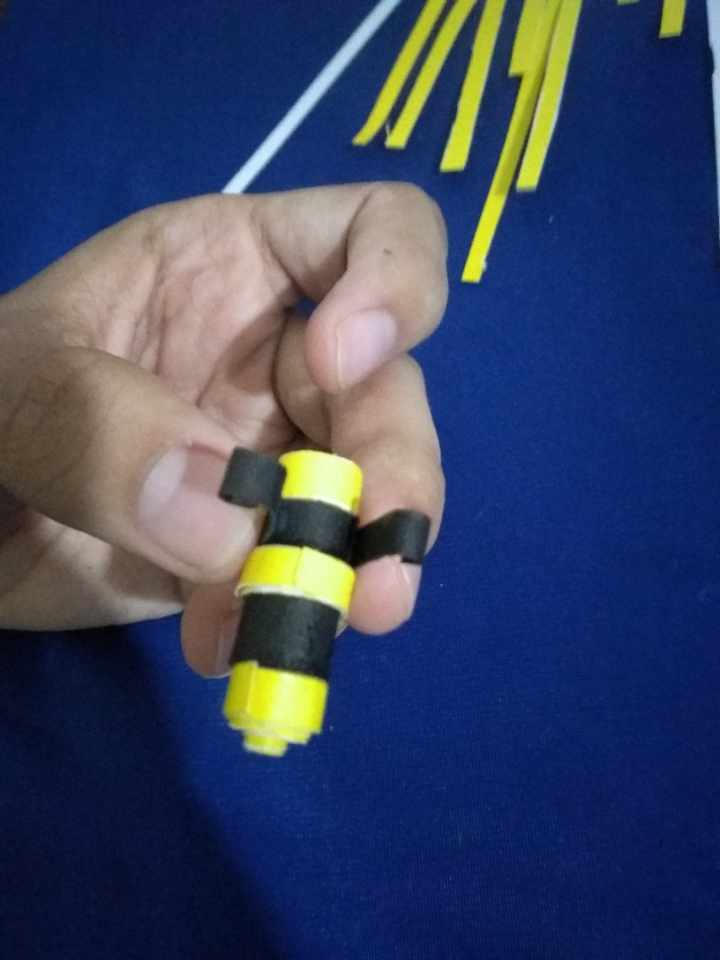
Los brazos son muy fáciles. Se toma un trozo de tira de color negro y se enrolla dos veces en cada punta para darle forma a las manos y luego se pega al cuerpo en la parte de color negro.
The arms are very easy. You take a piece of black strip and roll it twice at each end to shape the hands and then glue it to the body at the black part.
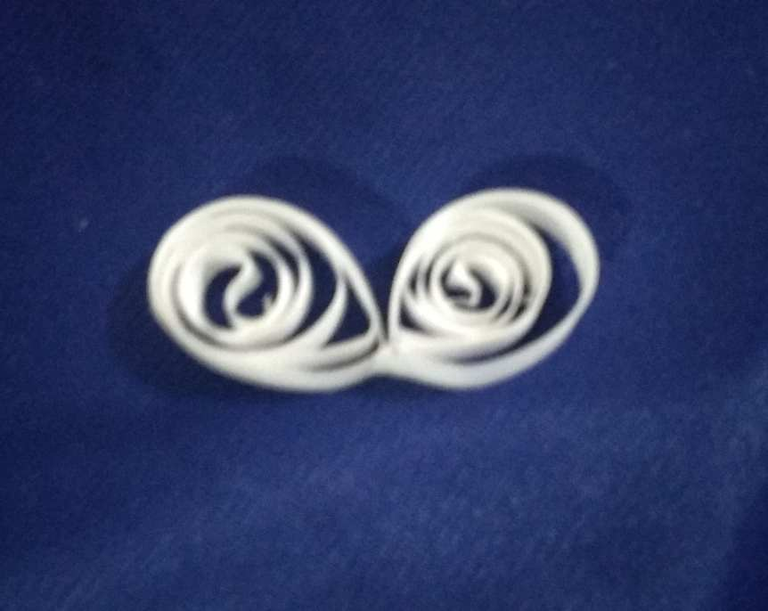
Las alas van de color blanco y las vamos a elaborar tal cual como hicimos la cara de la abeja, con una diferencia que es pellizcar en un lado para darle la forma de óvalo, las unimos con pega donde pellizcamos y, por último pegamos el cuerpo a ellas.
The wings are white and we are going to make them as we did the face of the bee, with a difference that is pinching on one side to give it the shape of an oval, we join them with glue where we pinched and finally we glue the body to them.
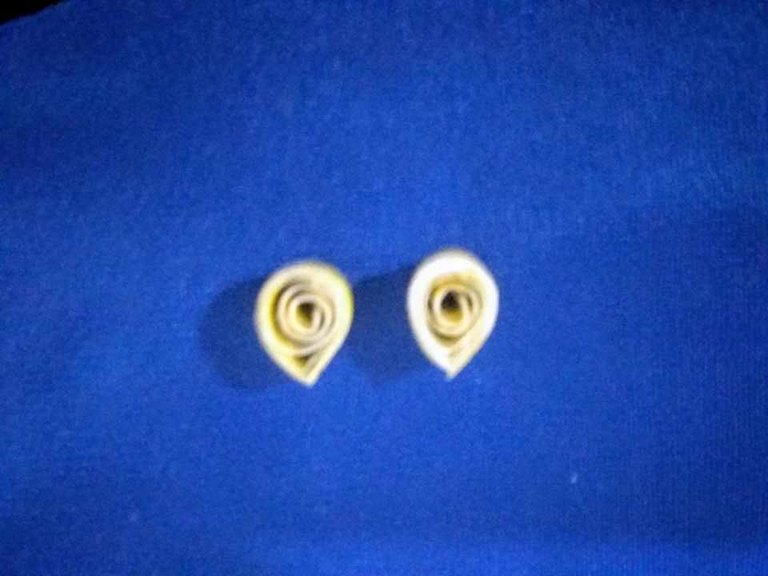
Las patitas van en color amarillo y se hacen igual que las alas, quedando como unas gotas al pellizcarlas.
The legs are yellow in color and are made in the same way as the wings, remaining as drops when pinched.
Las piernas deberían ir del mismo color de las patitas, pero como es una abeja, quise combinar con el color negro, así que para cada pierna realicé tres pequeños rollitos, los que pegué a las patas.
The legs should be the same color as the legs, but since it is a bee, I wanted to combine with the black color, so for each leg I made three small rolls, which I glued to the legs.
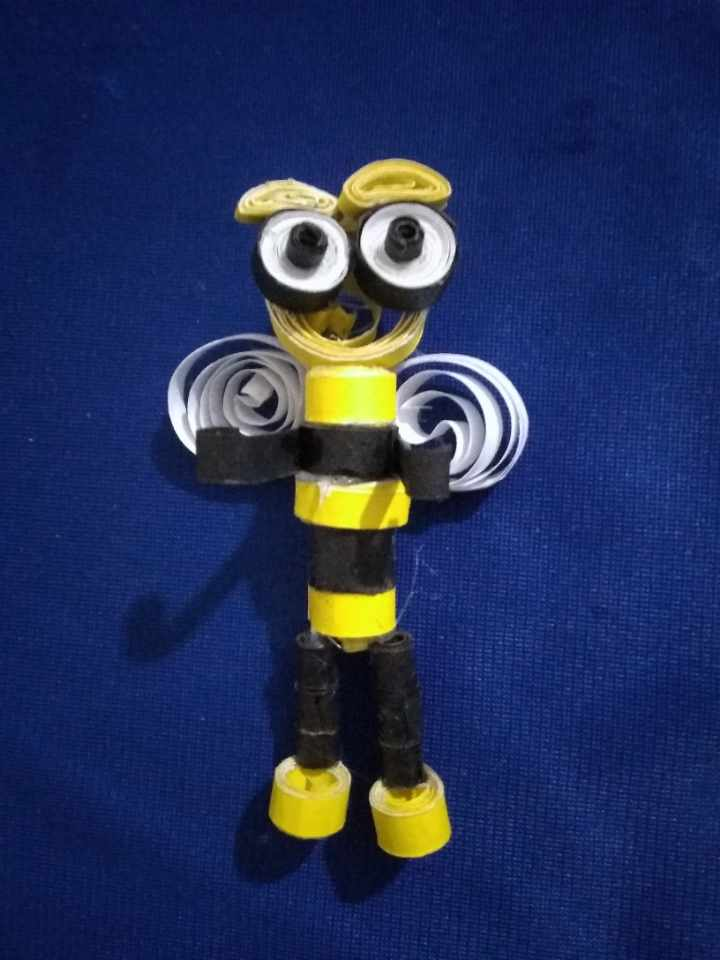
Pegando la cara del cuerpo y luego las piernas también, se logra completar la Abeja Feliz, espero sea de su total agrado.
By gluing the face of the body and then the legs as well, you can complete the Happy Bee, I hope you like it.
Si llegaste hasta aquí, gracias por leer. Te leo en los comentarios y nos vemos pronto.
If you made it this far, thanks for reading. I'll read you in the comments and see you soon.
Lindo arte, una abejita feliz como muchos de los hivers que estamos por aquí.
Gracias
I love the eyes of this your perfect creation, it's really lovely🥰🥰
Thank you
You are welcome
Must appreciate your creativity and I like the way you have created it
Congratulations @hector077! You have completed the following achievement on the Hive blockchain And have been rewarded with New badge(s)
Your next target is to reach 30 posts.
You can view your badges on your board and compare yourself to others in the Ranking
If you no longer want to receive notifications, reply to this comment with the word
STOPCheck out our last posts:
Thank you for the opportunity.
That's great @hector077! We're excited to see your commitment to Hive! Keep it up!
BTW, we noticed we miss your support for our proposal. Mays we ask you to check it out and consider supporting it?
All you need to do is to click on the "support" button on this page: https://peakd.com/proposals/248.
Thank you!
!discovery 30
This post was shared and voted inside the discord by the curators team of discovery-it
Join our Community and follow our Curation Trail
Discovery-it is also a Witness, vote for us here
Delegate to us for passive income. Check our 80% fee-back Program
Thank you