Jack-o'-lantern Macrame Necklace
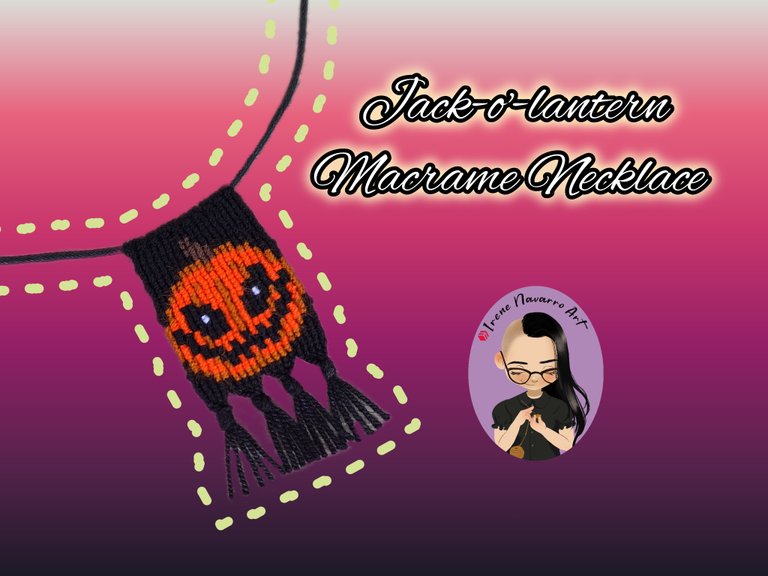
Saludos a todos en la comunidad Jewelry, estamos en octubre el mes de Halloween una de mis celebraciones favoritas a pesar de que no es costumbre en mi país, por eso me uno Concursode la comunidad con temática de Halloween, compartiendo con ustedes un tutorial para elaborar un collar en la técnica macramé con la figura de farol de Jack o calabaza de Halloween, espero a ustedes les guste. Invito a participar a @suezoe @tesmoforia @yetsimar
Greetings to everyone in the Jewelry community, it’s October, the month of Halloween, one of my favorite celebrations even though it’s not a custom in my country, that’s why I’m joining the Halloween-themed community contest, sharing with you a tutorial to make a necklace using the macramé technique with the figure of a Jack O’Lantern or a Halloween pumpkin. I hope you like it. I invite @suezoe @tesmoforia @yetsimar to participate.

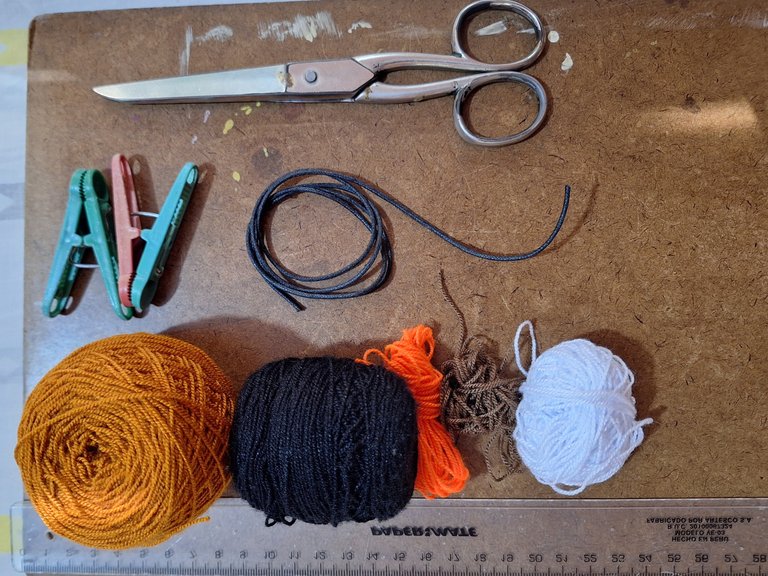
Materiales / Materials
- Hilo acrílico para crochet: negro, blanco, marrón, naranja oscuro y naranja claro.
- Cordón de yute o semicuero
- Tijera
- Tabla
- Dos pinzas para ropa
- Regla
- Patrón
- Acrylic crochet thread: black, white, brown, dark orange, and light orange.
- Jute or semi-leather cord
- Scissors
- Board
- Two clothespins
- Ruler
- Pattern

Proceso / Process
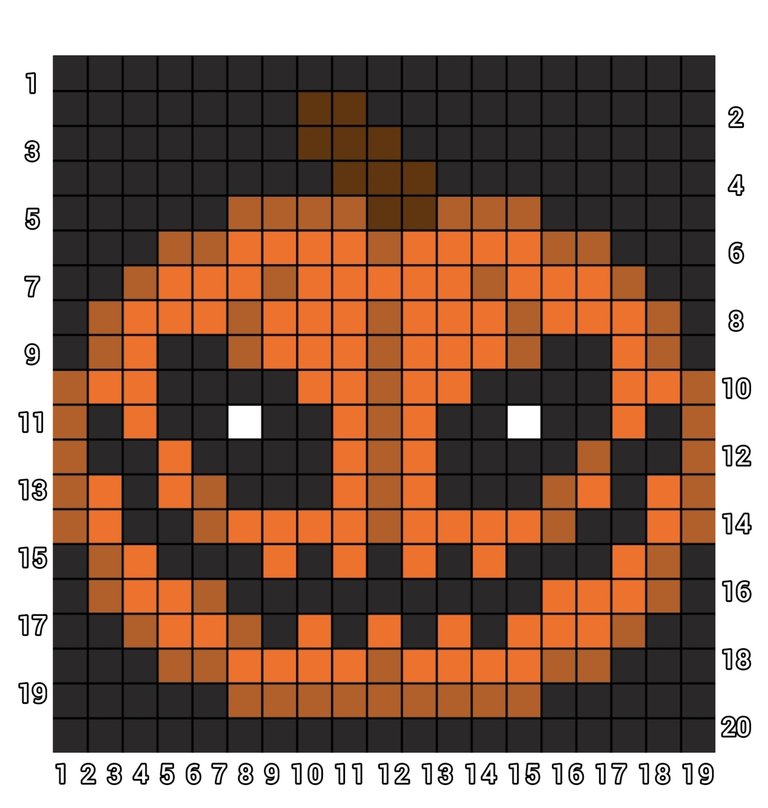
Para esta figura use un patrón de referencia, sin embargo utilice la aplicación Pixel Station para hacerlo de nuevo e incorporar la numeración correspondiente, dicho patrón consta de 19 cuadros en horizontal y 20 cuadros en vertical, esto significa que se necesitan 19 hilos guía y se trabajarán 20 hileras de nudos, puesto que cada cuadro representa a un nudo.
For this figure I used a reference pattern, however I used the Pixel Station application to do it again and incorporate the corresponding numbering, this pattern consists of 19 squares horizontally and 20 squares vertically, this means that 19 guide threads are needed and 20 rows of knots will be worked, since each square represents a knot.

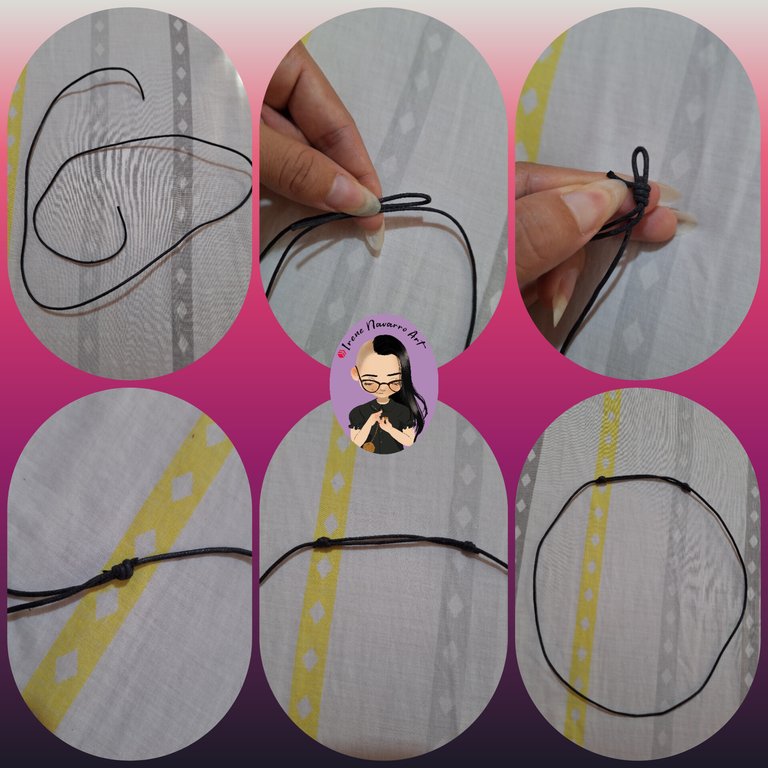
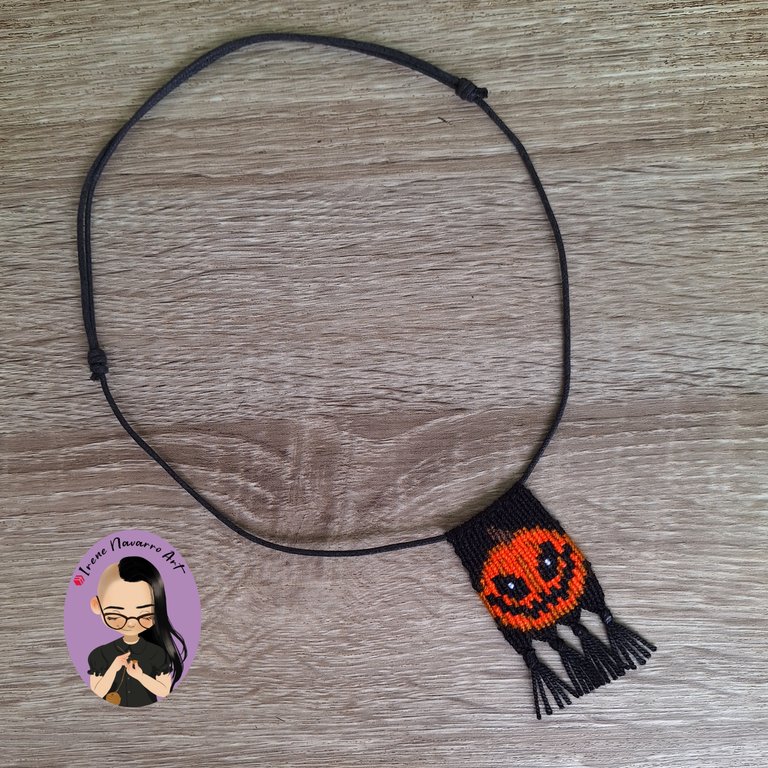
Cortar un cordón de 80 cm de largo, hacer un nudo corredizo en cada extremo, de manera que el collar pueda extenderse para pasar por la cabeza y también ajustarse al cuello.
Cut a piece of cord 80 cm long, tie a slip knot at each end, so that the necklace can extend over the head and also fit around the neck.

Con el hilo negro cortar 9 hebras de 30 cm y una hebra adicional unida al ovillo. Colocar el collar en la tabla, anudar cada una de la hebras por la mitad en el centro del cordón o collar. Ubicar la hebra unida al ovillo de primer lugar a la izquierda, de modo que queden listos los 19 hilos guía más el anudador de color negro. Sujetar el cordón con las pinzas para ropa.
Using the black thread, cut 9 strands of 30 cm each and attach an additional strand to the ball. Place the necklace on the board, knot each strand in half at the center of the cord or necklace. Place the strand attached to the ball first on the left, so that the 19 guide threads plus the black knotter are ready. Secure the cord with the clothespins.
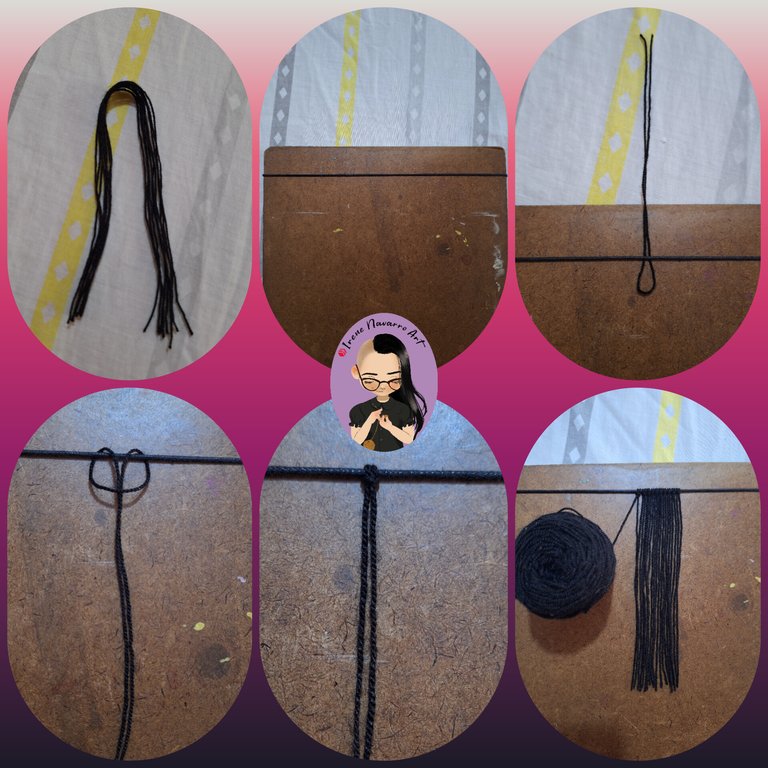

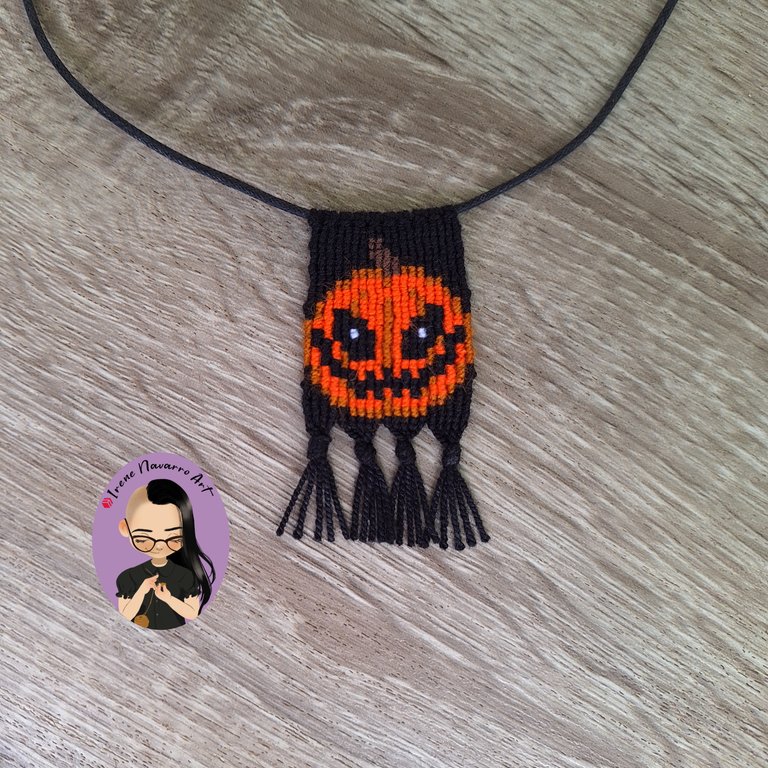
En esta técnica el hilo anudador envuelve dos veces cada uno de los hilos guía, de izquierda a derecha en las hileras impares y de derecha a izquierda en las hileras pares. Comenzar con la primera hilera solo del color de fondo, luego agregar el hilo anudador marrón para las hileras qué corresponden al tallo de la calabaza, agregar los hilos anudadores naranja claro y naranja oscuro a partir de la quinta hilera, como corresponde en el patrón. Los cambio se color de hilo anudador se hacen cruzando los hilos por detrás. La última hilera de nudos, es decir la 20, solo se hace con el hilo anudador negro.
In this technique, the knotting thread wraps around each of the guide threads twice, from left to right in the odd rows and from right to left in the even rows. Start with the first row only in the background color, then add the brown knotting thread for the rows corresponding to the pumpkin stem, add the light orange and dark orange knotting threads starting from the fifth row, as indicated in the pattern. The knotting thread color changes are made by crossing the threads behind. The last row of knots, that is, the 20th, is made only with the black knotting thread.


Al finalizar todas las hileras de nudos, dividir los hilos en 4 partes y hacer 4 nudos, cortar y emparejar los hilos para formar flecos.
After finishing all the rows of knots, divide the threads into 4 parts and make 4 knots, cut and match the threads to form fringes.


Resultado / Result
Me gustó mucho este collar y espero a ustedes les sea mucha utilidad la descripción del proceso 🎃
I really liked this necklace and I hope you find the description of the process very useful 🎃

Imágenes tomadas con dispositivo Samsung A54. Portada editada en Inshot
Pictures taken with Samsung A54 device. Cover edited in Inshot

Espero les haya gustado. Les invito a leer mis próximas publicaciones y siempre estaré dispuesta a responder sus preguntas y comentarios, también pueden seguirme y contactarme en cualquiera de mis redes sociales. ¡Muchas gracias!
I hope you liked it. I invite you to read my next publications and I will always be willing to answer your questions and comments, you can also follow me and contact me on any of my social networks. Thank you!
Facebook
Twitter
Instagram
Ko-Fi
Discord: irenenavarroart#0361
Posted Using InLeo Alpha
https://www.reddit.com/r/blogger/comments/1g3u6ln/halloween_pumpkin_necklace/
The rewards earned on this comment will go directly to the people( @irenenavarroart ) sharing the post on Reddit as long as they are registered with @poshtoken. Sign up at https://hiveposh.com. Otherwise, rewards go to the author of the blog post.
Nos encanta tenerte en esta iniciativa, un trabajo hermoso sin duda, nos encanta esa calabaza que has realizado quedo increíble 😉
Muchas gracias ☺️ me encanta este temática, ojalá me alcance el mes para hacer más cositas. Abrazos
Wow, you did a great job here, is so beautiful
Thank you ☺️
Your work looks amazing, I love the design ❤️
Thank you very much 😊
¡Preciosísimo como siempre! Realmente me fascina 😍 Me recordé que el año pasado me planteé participar en un concurso de manualidades ambientado en Halloween y no me dio chance jaja vamos a ver si puedo sumarme ésta vez, a ésta iniciativa 😉 Muchas gracias por la invitación 🤗💚
Espero que te alcance el tiempo 🥰 Muchas gracias
Hermoso macramé amiga. Es de esos que lo vez y grita Halloween inmediatamente. Muy creativo...
Muchas gracias ☺️ Saludos
Always doing the best. Weldone dear
Cómo siempre un lindo trabajo... Me encanta como se vería a crochet y me lo copiaré ☺️ para hacerlo.
Muy bueno 🎃
It's scary in a beautiful ❤️ way.
You did a great job, happy Halloween 🎃 in advance. !LUV
@irenenavarroart, @funshee(2/4) sent you LUV. | tools | discord | community | HiveWiki | <>< daily