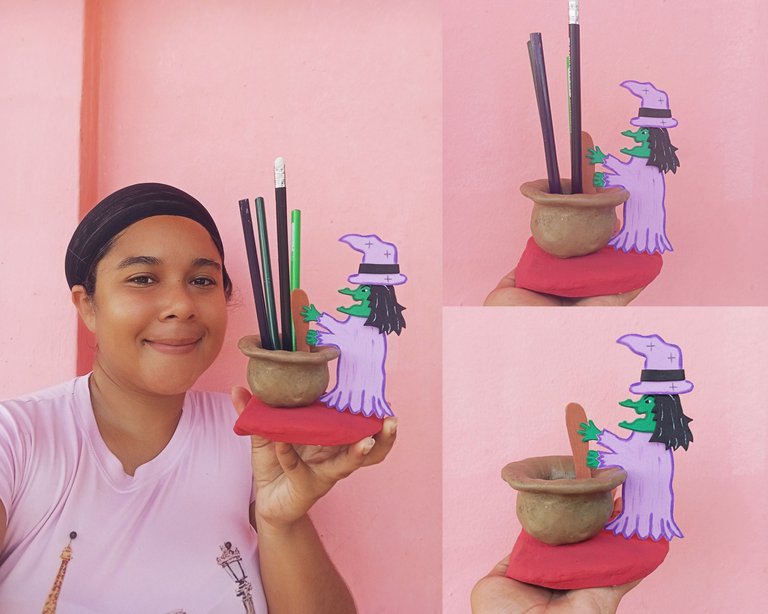
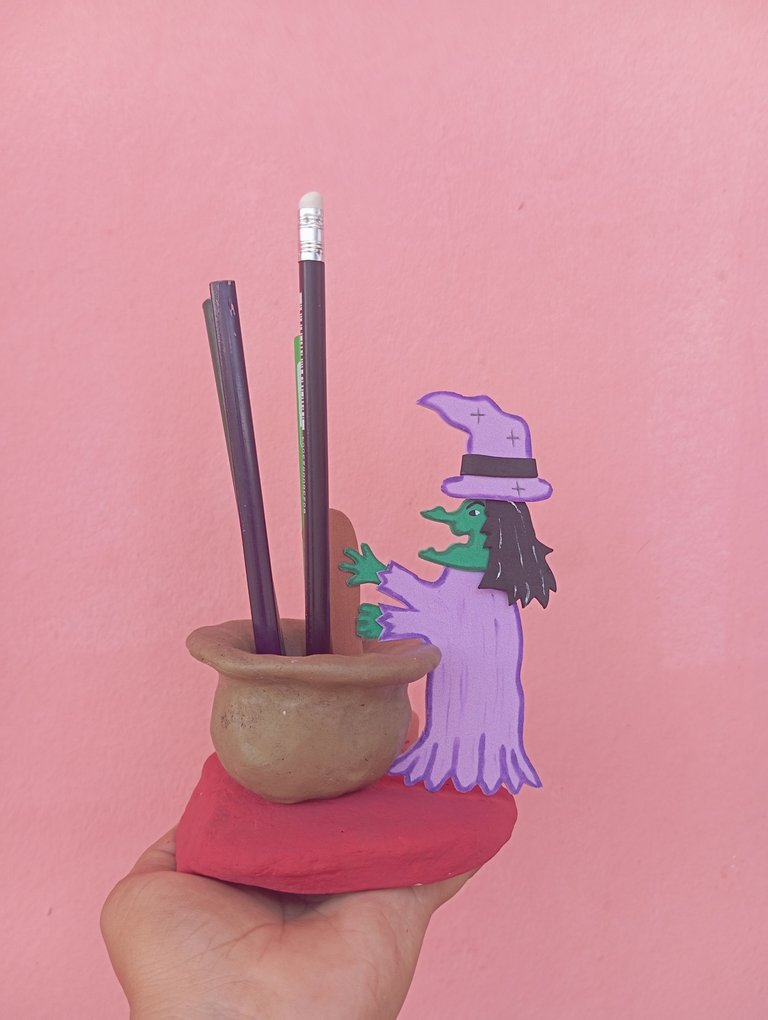
My participation in the contest: Sorceress witch pencil holder
Hola feliz y bendecida tarde tengan todos , espero que se encuentren,bien hoy les quiero compartir mi entrada al nuevo concurso de nuestra apreciada comunidad Diyhub, les cuento que este fue un reto para mí , no tenía idea cómo crear algo mágico o que la reflejara, pensando en tantas cosas se me ocurrió realizar a quien crea la magia una hechicera , pero convertirla a la vez en un portalápiz algo nuevo ,utilizando pocos materiales pero muy útiles
Hello happy and blessed afternoon have all , I hope you are , well today I want to share my entry to the new contest of our esteemed community Diyhub, I tell you that this was a challenge for me , I had no idea how to create something magical or that reflected it, thinking of so many things I came up with who creates magic a sorceress , but turn it at the same time in a pencil holder something new ,using few materials but very useful.
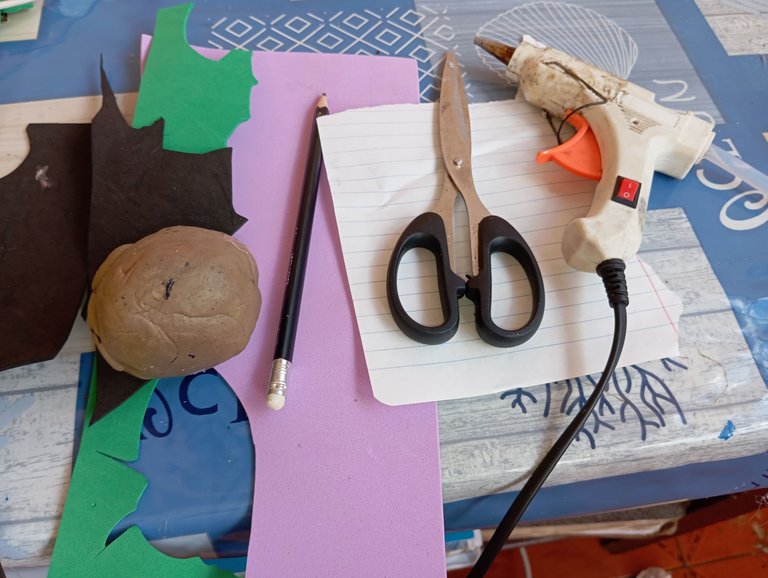
Materiales qué utilice para crear mi portalápiz:
-Foamis
-Plastilina
-Tijera
-Silicon
-Lapiz y papel
-Piedra
Materials that I used to create my pencil holder:
-Foamis
-Plastiline
-Scissors
-Silicon
-Pencil and paper
-Stone
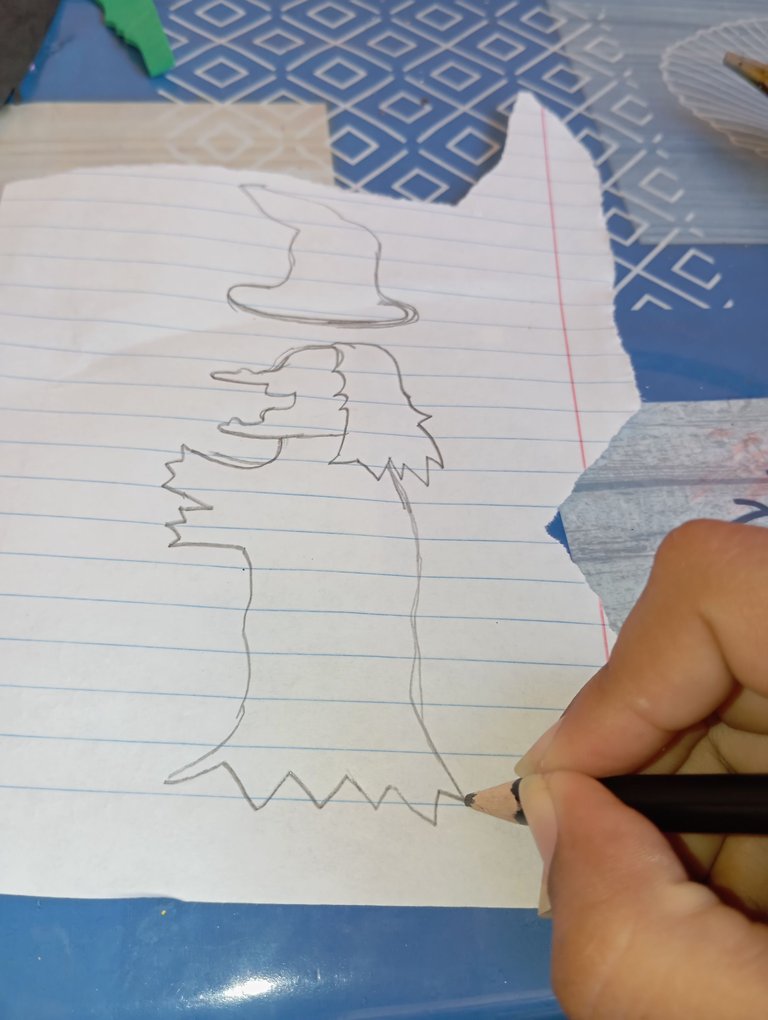
A continuación los pasos a seguir:
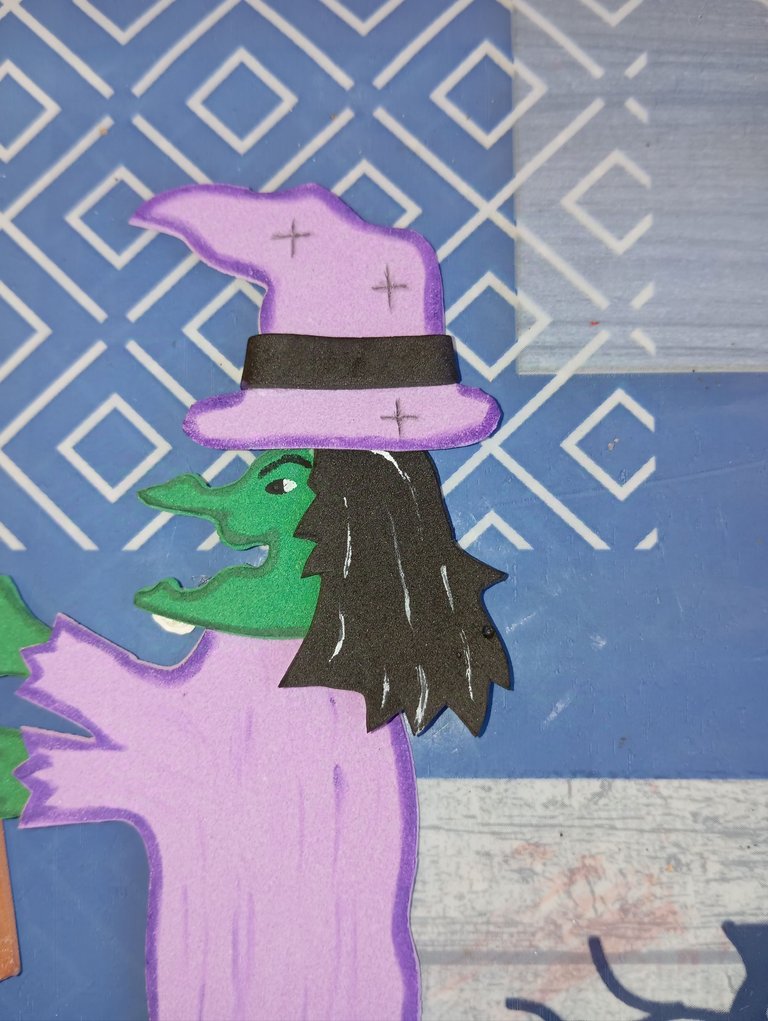
Iniciaremos primeramente realizando un patrón con el que vamos a trabajar, en este caso la temática una bruja hechicera , dibujé su bata , cabeza , cabello y sombrero
Here are the steps to follow:
We will start first by making a pattern with which we will work, in this case the theme a witch witch sorceress , I drew her robe , head , hair and hat.
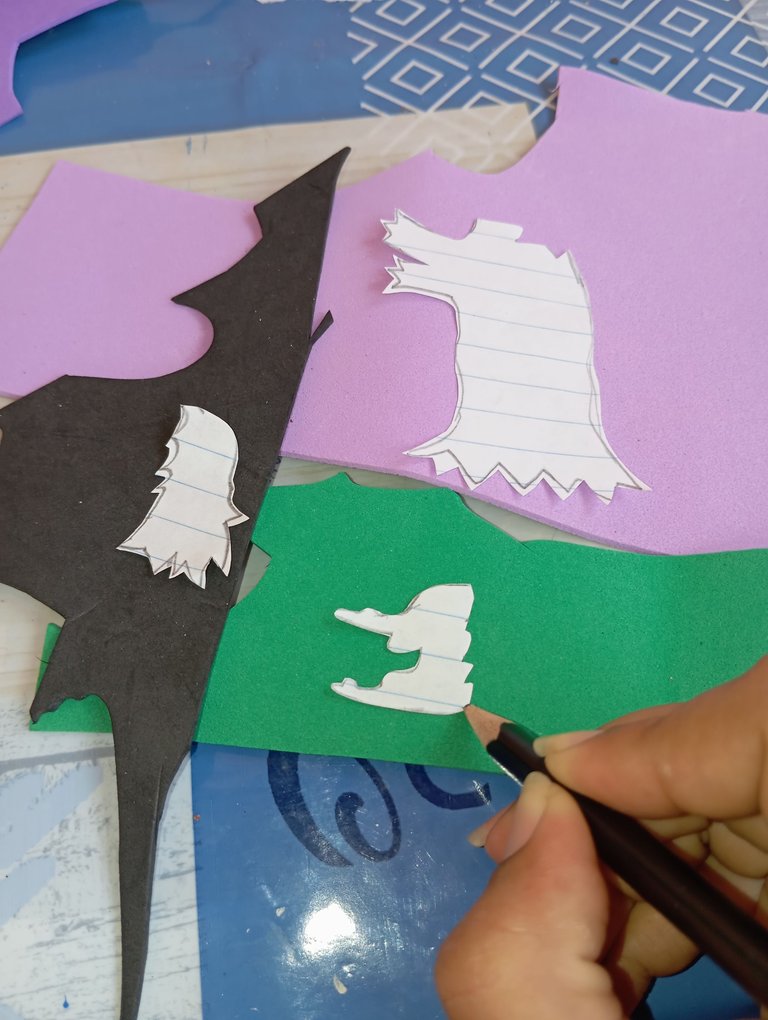
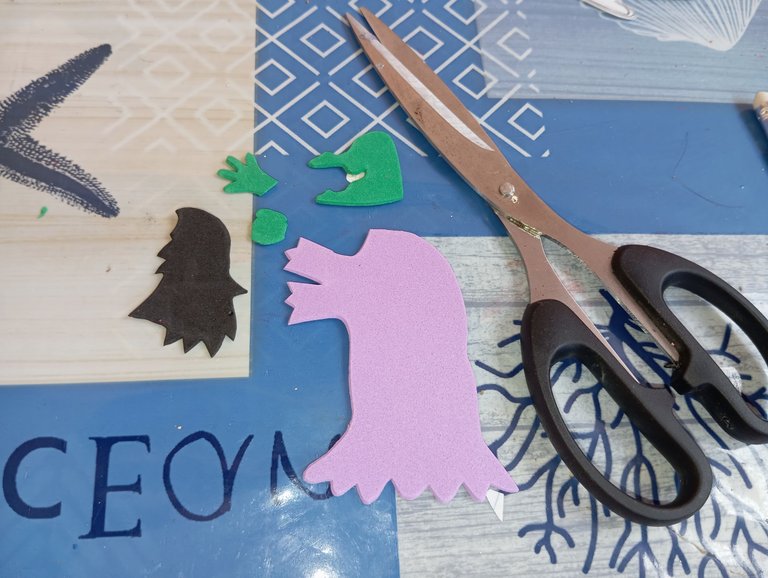
Seguidamente cuando tengamos listo nuestro patrón, vamos a proceder marcando , iniciamos con la bruja hechicera, marcamos en el foamis morado su bata , verde para su rostro, negro para el cabello
Then when we have our pattern ready, we will proceed marking, we start with the witch sorceress, we mark on the purple foamis her robe, green for her face, black for the hair.
Luego vamos a continuar tomando nuestra tijera y recortando las piezas que marcamos en el paso anterior
Then we will continue taking our scissors and cutting out the pieces we marked in the previous step.
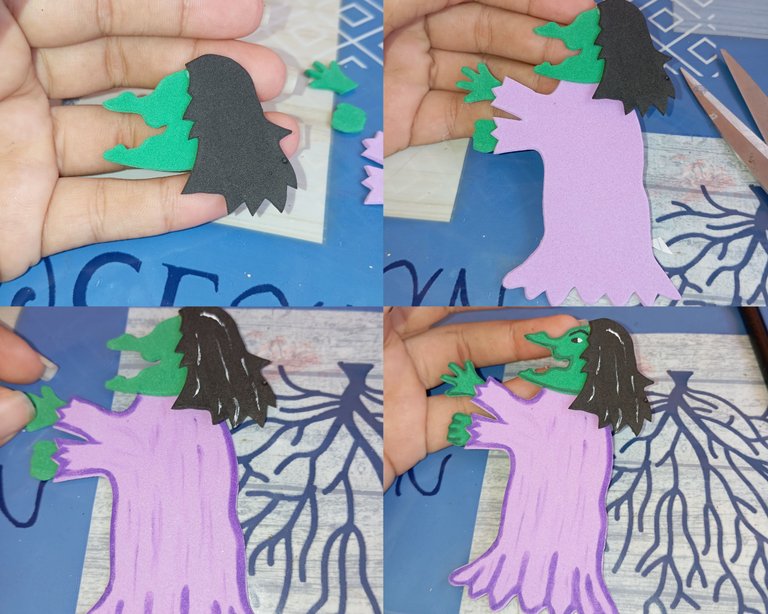
A continuación vamos a proceder pegando a la cabeza de la bruja su cabello , seguidamente continuaremos pegando su bata que es el cuerpo , seguidamente vamos a proceder retocando los bordes morado oscuro para su bata y verde oscuro para el rostro,así mismo le realicé unas canas en su cabello , por último continúe realizando su rostro,una cara maléfica
Next we will proceed by gluing her hair to the witch's head, then we will continue gluing her robe which is the body, then we will proceed by touching up the dark purple edges for her robe and dark green for the face, I also made some gray hair on her hair, finally continue making her face, an evil face.
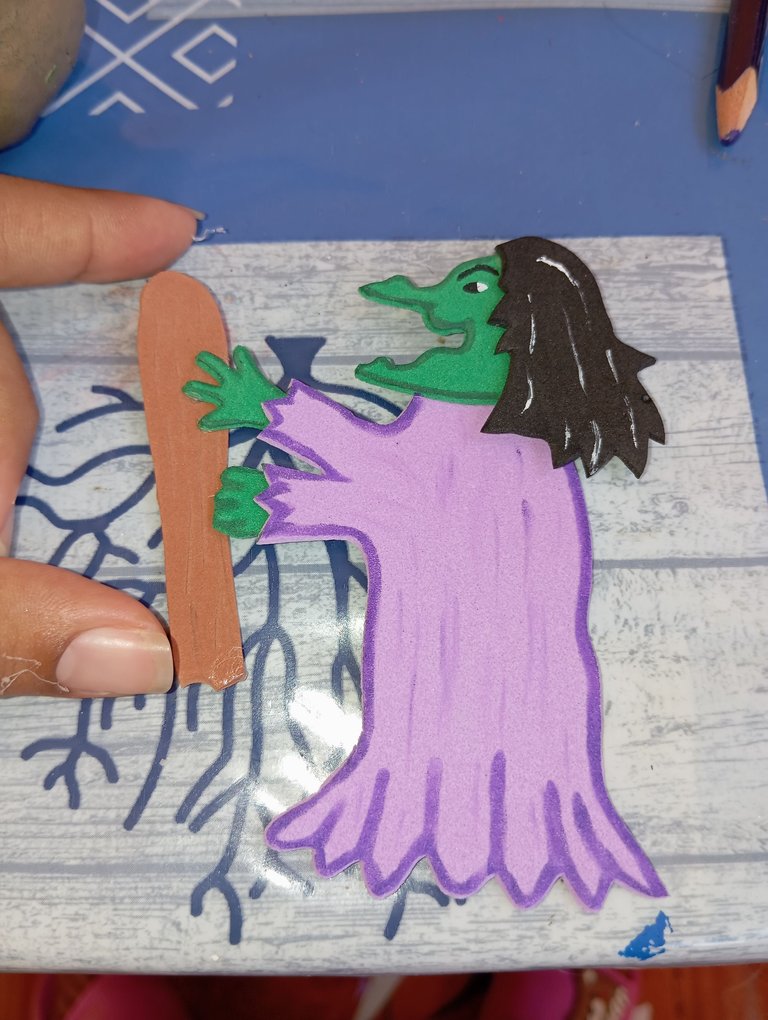
A continuación vamos a pegar en las manos un palo ya que es su instrumento para batir la posición
Next, we are going to glue a stick in her hands because it is her instrument to beat the position.
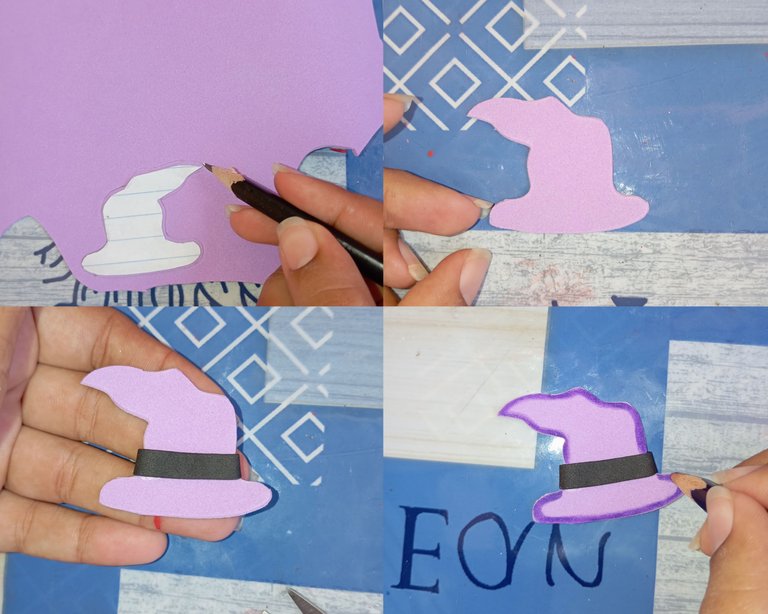
Seguidamente realizaremos el sombrero de nuestra bruja , marcaremos el sombrero en el foamis color morado que combiné con su ropa , luego lo recortamos con la ayuda de una tijera , seguidamente en la parte de abajo le pegaremos una tira de foamis negra , por último retocamos su borde con morado oscuro y realizamos unas pequeñas cruces
Next we will make the hat of our witch, we will mark the hat in the foamis purple color that I combined with her clothes, then we cut it with the help of a scissors, then at the bottom we will glue a strip of black foamis, finally we retouch its edge with dark purple and make some small crosses.
Luego vamos a continuar pegando el sombrero en todo el centro de su cabeza
Then we will continue gluing the hat all around the center of his head.
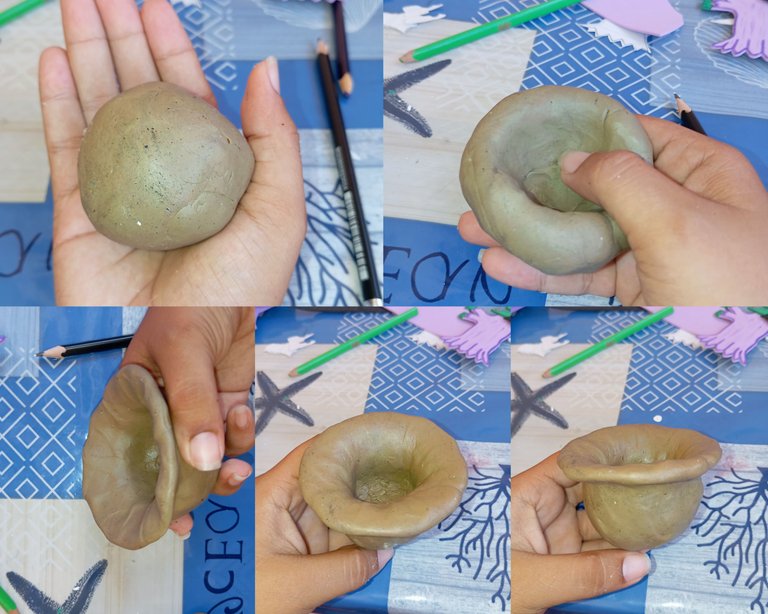
Seguidamente vamos a realizar la olla con la que la bruja hace sus pociones , tomamos la plastilina, realizamos un círculo , luego abrimos un agujero con nuestro pulgar , seguidamente vamos a llevar redondeando hacia afuera los bordes del círculo , hasta formar una pequeña olla
Next we are going to make the pot with which the witch makes her potions, we take the plasticine, we make a circle, then we open a hole with our thumb, then we are going to round out the edges of the circle, until we form a small pot.
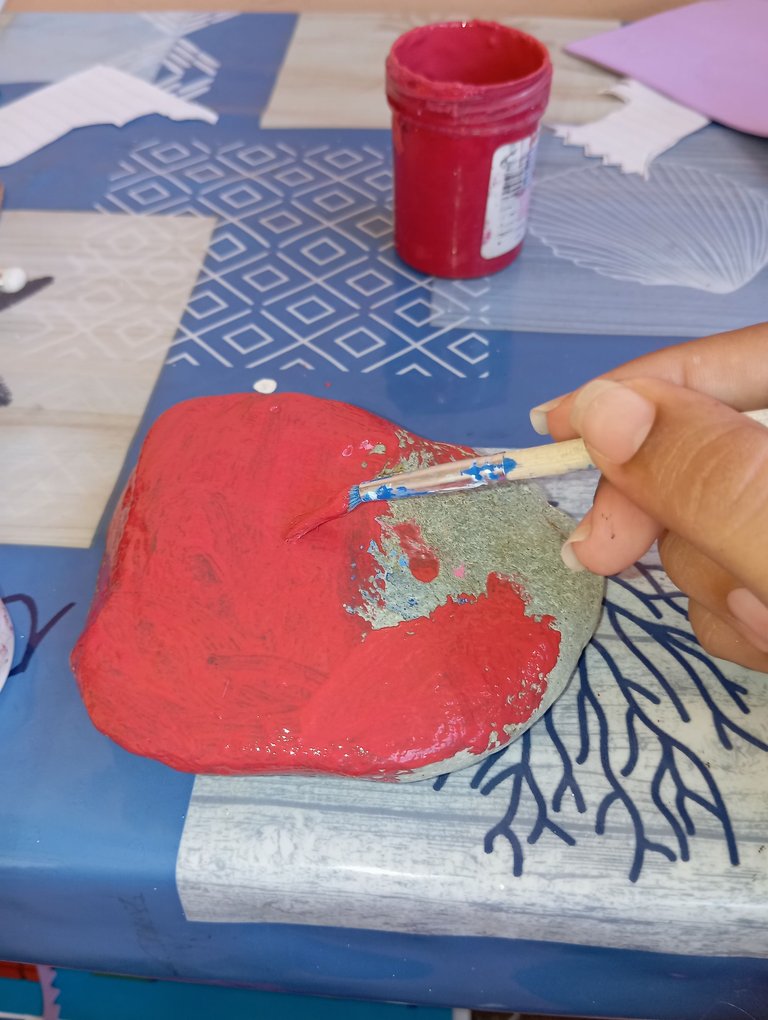
Luego continuaremos pintando la piedra color rojo dónde posará la bruja , pintamos y llevamos al sol a secar
Then we will continue painting the red stone where the witch will pose, paint and take it to the sun to dry.
Por último continuaremos situando en la piedra la bruja haciendo su hechicería en la olla
Finally, we will continue placing the witch on the stone, casting her spell on the pot.
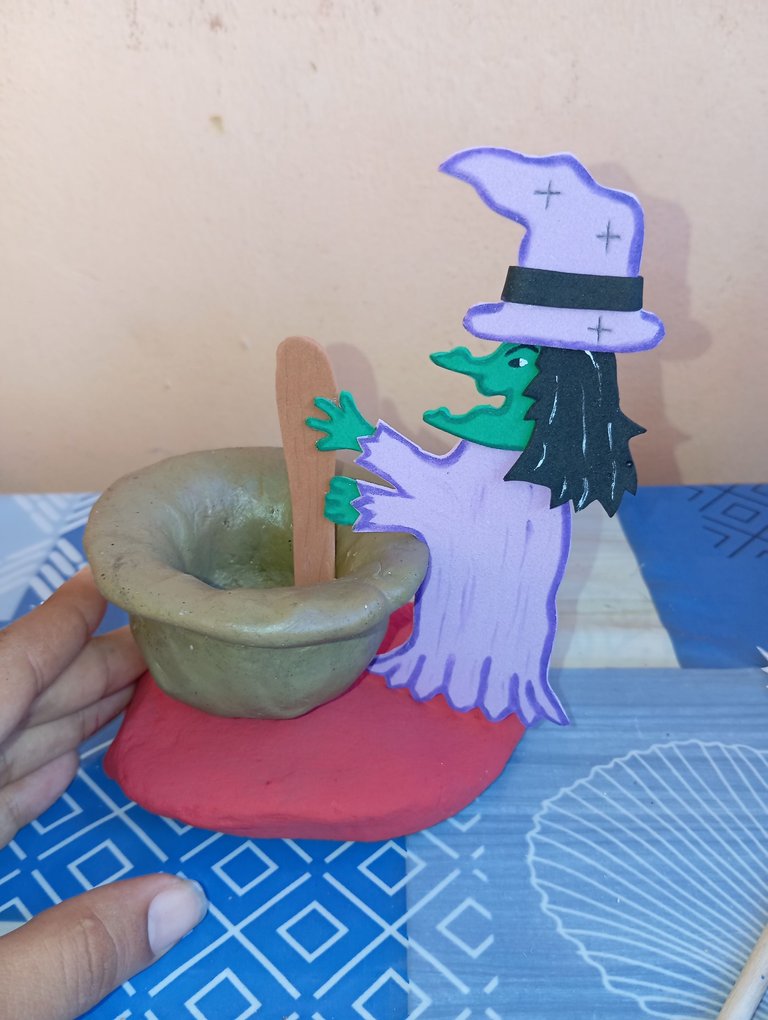
Así fue como realicé mi portalápiz de bruja hechicera, antes de finalizar le hago la invitación a mis amigas que participen y nos muestre su mejor talento @yagelybr y @rameuris
Créditos: las fotos las tomé con mi redmi 12 y traduje los textos con el traductor deepl,feliz tarde
This is how I made my witch witch pencil holder, before finishing I invite my friends to participate and show us their best talent @yagelybr and @rameuris.
Credits: the photos were taken with my redmi 12 and I translated the texts with the deepl translator, happy afternoon.
Wow! This is so beautiful and very creative, it is well detailed with the step by step process, I love the outcome. Thanks for sharing.
That's actually pretty cute (;^ω^), I like it. And what makes it extra special is that it is handmade.
This is one dramatic pencil holder, our little ones might just forget about their pencils and play as much as they want with the pencil holder😂😂
I love this pencil holder so much and I wish I could make one by myself.
Despite the challenges you encountered you still killed it!! This was such a great idea for the monthly theme, we love it and we appreciate your effort. Thanks for sharing, you rock!
Thanks My Friends
yes really it's amazing work with magical scene
This is really nice to see
Is your witch also doing some incantation?
What spell is she casting and what's her intentions.
I hope we are safe.hahaha
Nice work you've got.