New contest: Pumpkin inspired halloween lamp (Spa-Eng)
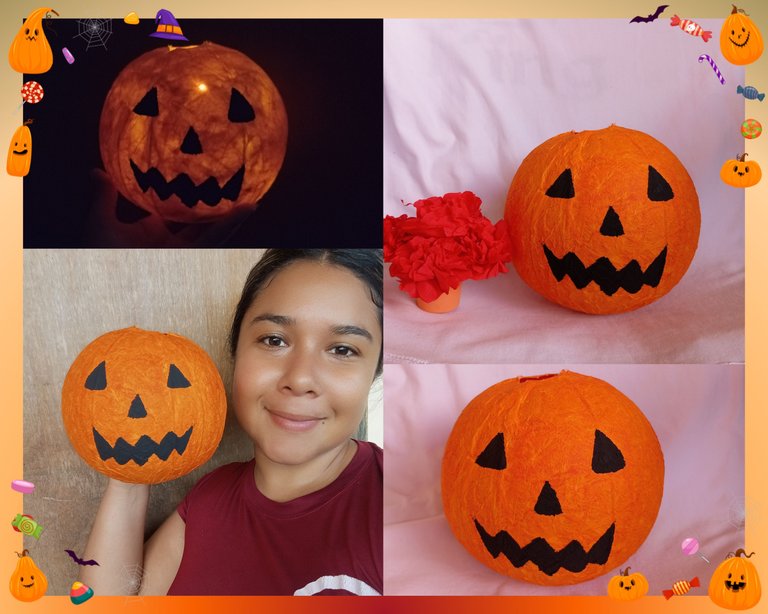
Hola buenas tardes amigos lectores y creadores de contenidos espero que se encuentren bien , hoy quiero formar parte del concurso del mes con la temática de halloween, me inspiré en una lámpara de calabaza, desde hace un tiempo tenía la idea pero me faltaban los recursos, gracias a Dios logré conseguirlo para participar espero les guste le puse mucho amor y dedicación , le hago la invitación a mis amigos para que participen @yagelybr @rameuris @moisesrojas
Hello good afternoon friends readers and content creators I hope you are well, today I want to be part of the contest of the month with the theme of halloween, I was inspired by a pumpkin lamp, for some time I had the idea but I lacked the resources, thank God I managed to get it to participate I hope you like it I put a lot of love and dedication, I invite my friends to participate @yagelybr @rameuris @moisesrojas
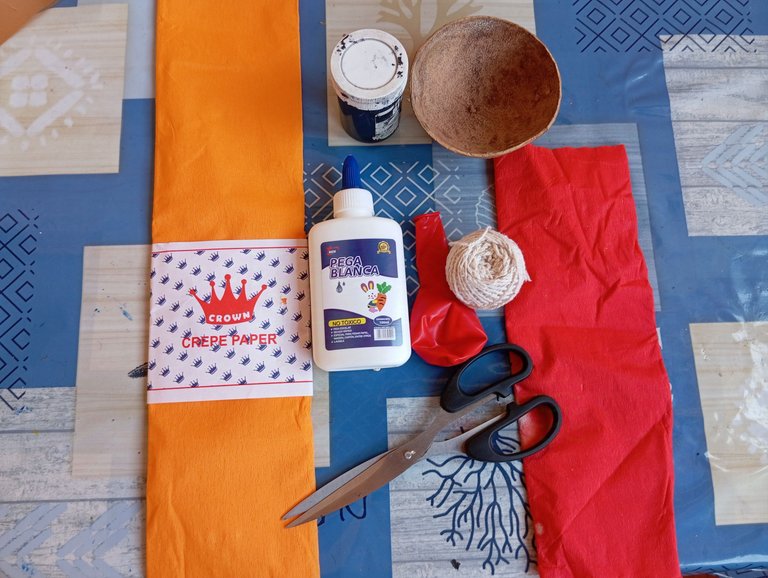
Materiales qué utilice para realizar mi lámpara de halloween:
-Bomba (globo)
-Papel crepé
-Pega blanca
-Hilo pabilo
-Tijera
-Pintura
Materials I used to make my halloween lamp:
-Bomb (balloon)
-Crepe paper
-White glue
-Wicker thread
-Scissors
-Paint
A continuación los pasos a seguir:
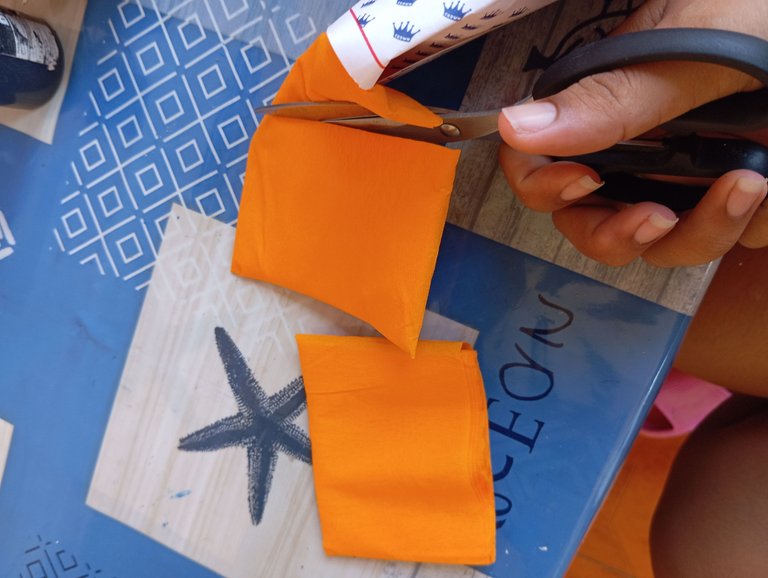
Paso número 1: iniciaremos recortando nuestro papel crepé en varias tiras gruesas
Here are the steps to follow:
Step number 1: we will start by cutting our crepe paper into several thick strips.
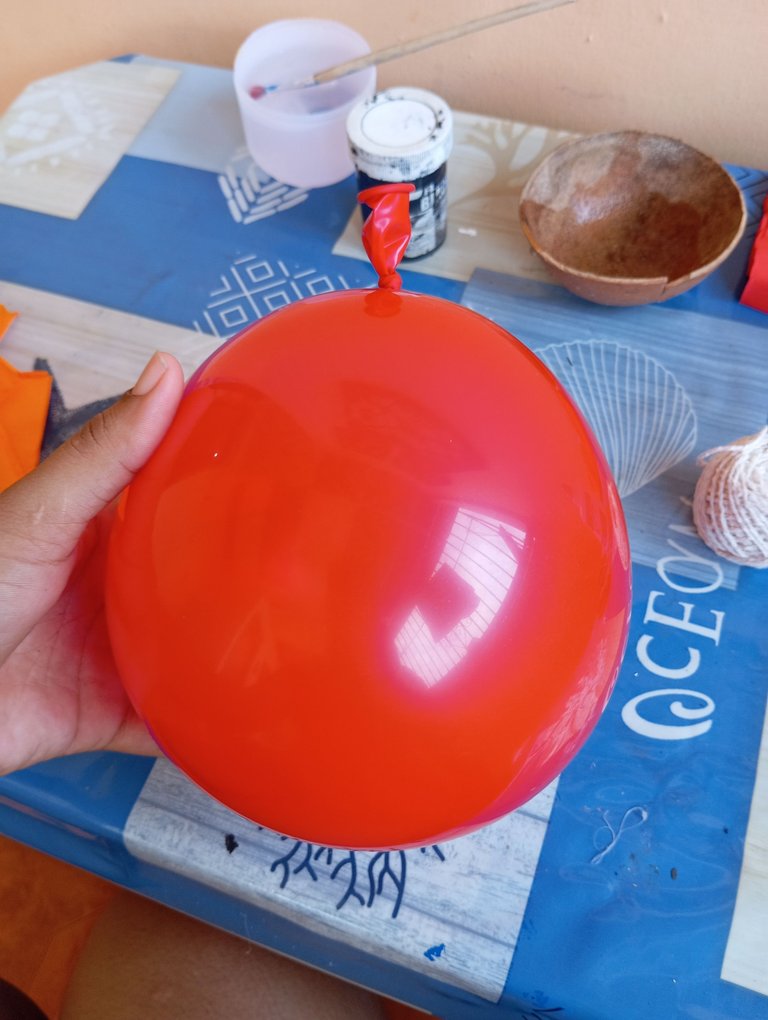
Paso número 2: luego en nuestro segundo paso vamos a continuar tomando nuestra bomba o globo y lo inflaremos , el tamaño quedará a nuestro gusto , en mi caso la utilicé pequeña
Step number 2: then in our second step we will continue taking our pump or balloon and inflate it, the size will be to our liking, in my case I used small.
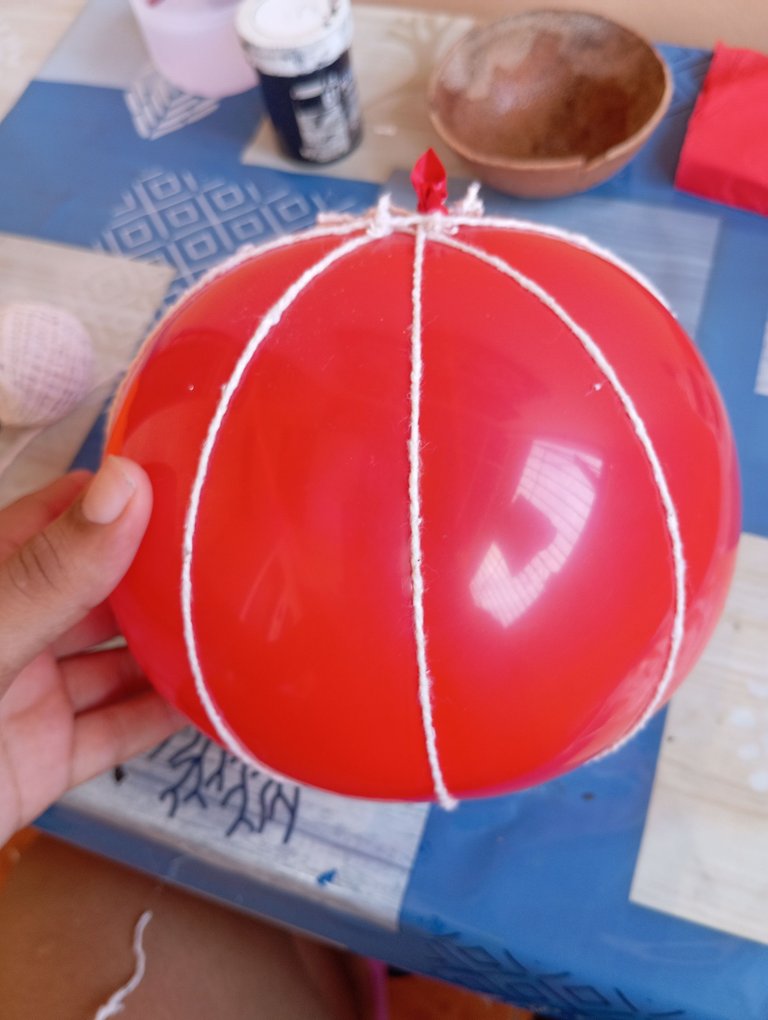
Paso número 3: en nuestro tercer paso vamos a continuar tomando el hilo pabilo y le realizamos varios amarres para similar a la calabaza de verdad
Step number 3: in our third step we will continue taking the wick thread and we will make several ties to resemble the real pumpkin.
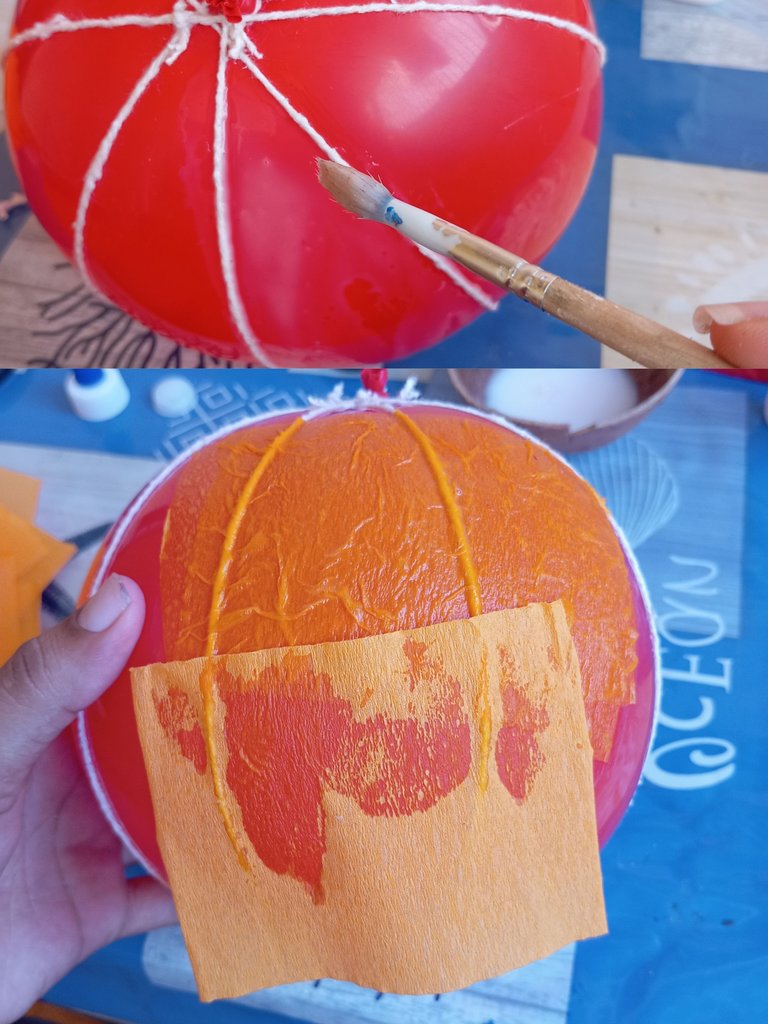
Paso número 4: en nuestro cuarto paso vamos a iniciar agregando pega blanca al globo con la ayuda de un pincel , les recomiendo mojar el pincel con agua y aplicar la pega blanca al mismo tiempo, así vamos a extender mejor la pega y economizar , una vez que agregamos pega blanca continuamos pegando el papel crepé alrededor de todo el globo , aplicamos la primera capa y dejamos secar para continuar pegando las otras capas de papel crepé
Step number 4: in our fourth step we will start adding white glue to the balloon with the help of a brush, I recommend wetting the brush with water and apply the white glue at the same time, so we will extend the glue better and economize, once we add white glue continue pasting the crepe paper around the balloon, apply the first layer and let dry to continue pasting the other layers of crepe paper.
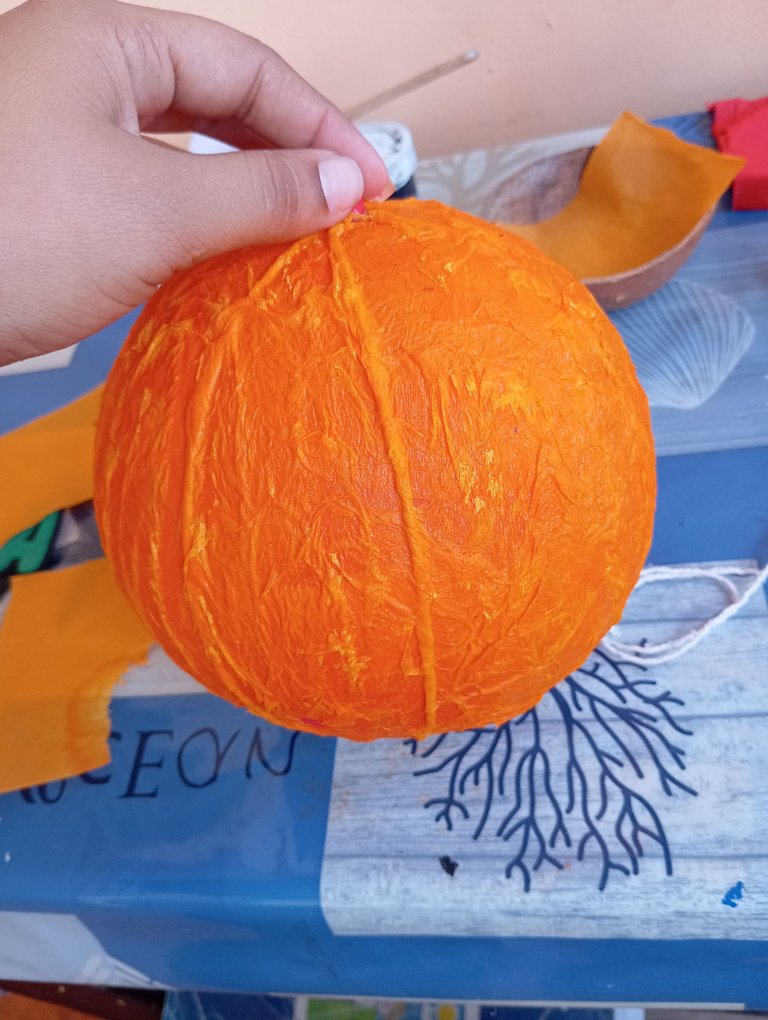
Paso número 5: así nos quedará nuestro globo , aplicamos 6 capas en total, cada capa que aplicamos dejamos expuesta al sol para que secara y quedara fuerte
Step number 5: this is how our balloon will look like, we apply 6 layers in total, each layer we leave exposed to the sun to dry and stay strong.
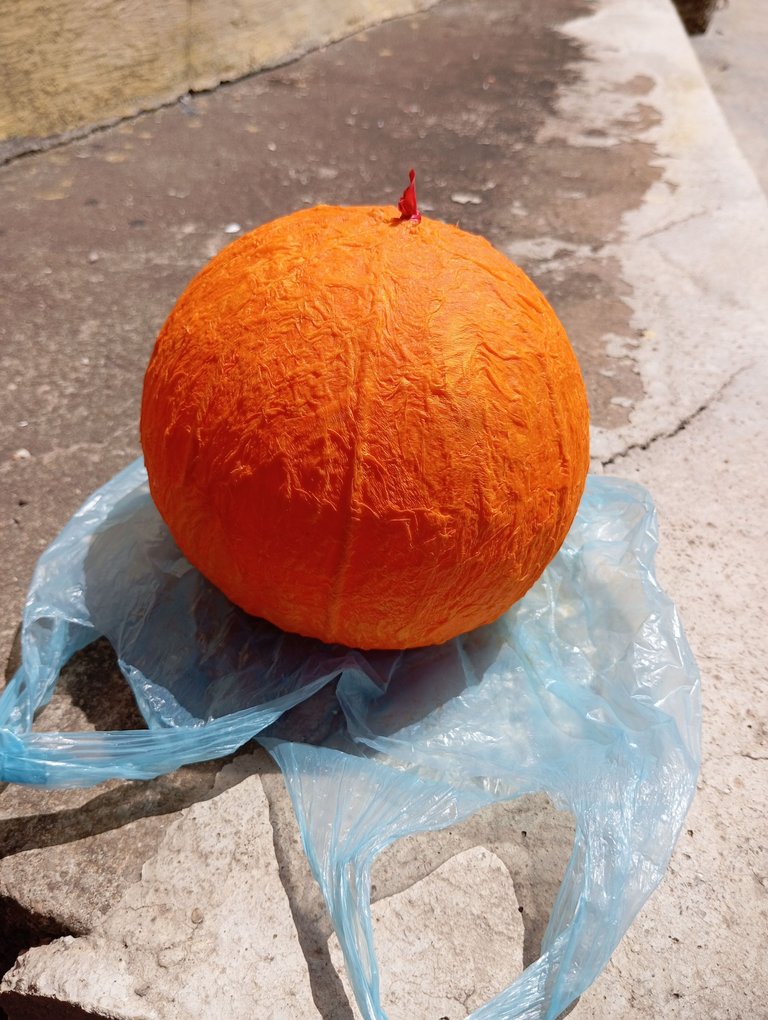
Paso número 6: una vez lista nuestra calabaza vamos a continuar llevándola al sol para que seque lo suficiente y quede lista para romper el globo
Step number 6: once our pumpkin is ready we will continue taking it to the sun to dry enough and ready to break the balloon.
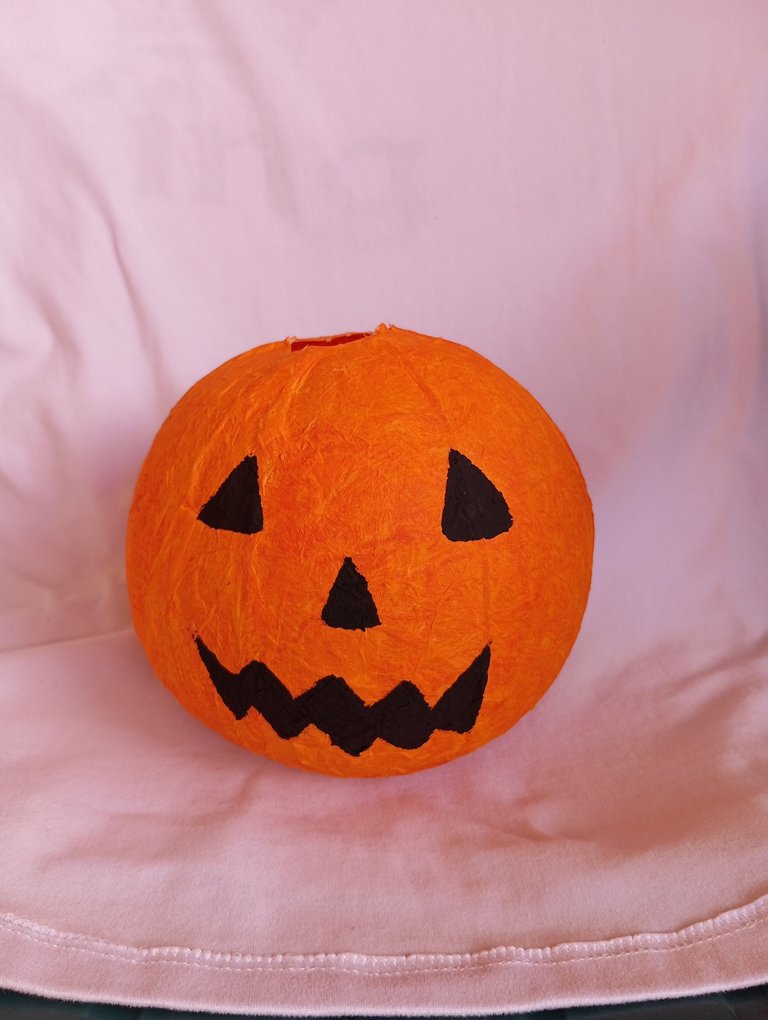
Paso número 7: en nuestro séptimo paso cuando se encuentre seca la calabaza,vamos a continuar pintando el rostro de la calabaza con pintura color negro
Step number 7: in our seventh step when the pumpkin is dry, we will continue painting the face of the pumpkin with black paint.
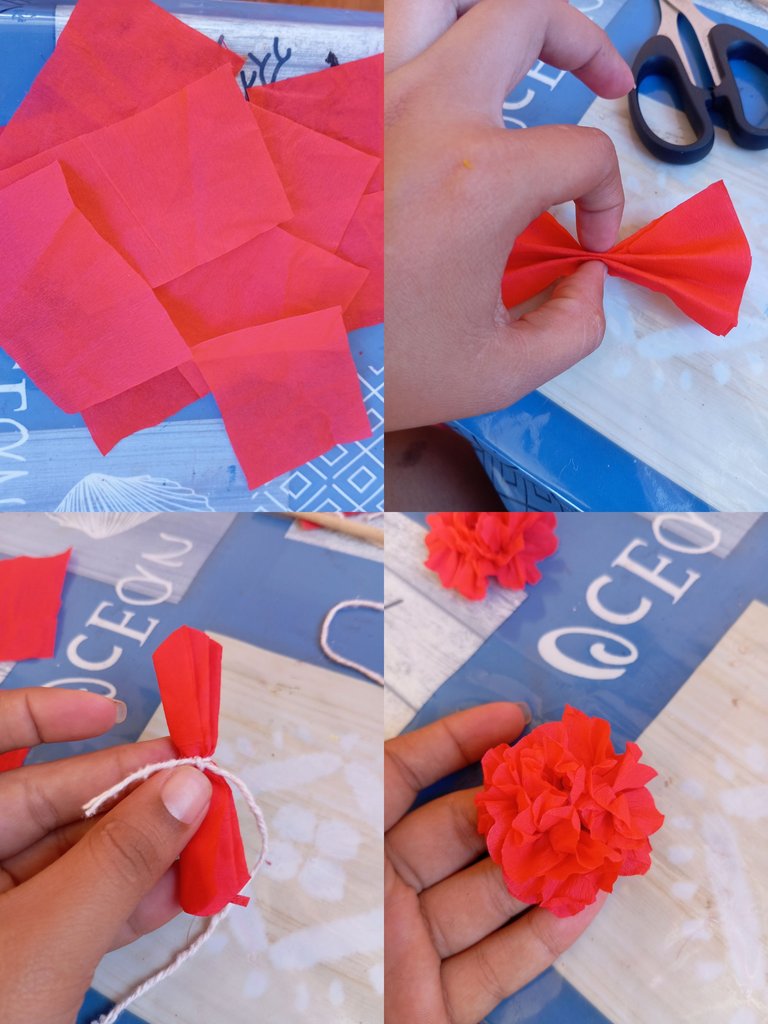
Paso número 8: a continuación vamos a realizar unas flores para decorar la lámpara de calabaza o al lado de ella, recortamos 16 cuadros de papel crepé rojo , colocamos 4 en 4, doblamos en forma de abanico y realizamos un nudo en el centro, luego continuamos abriendo y formando la flor
Step number 8: next we will make some flowers to decorate the pumpkin lamp or next to it, cut out 16 squares of red crepe paper, place 4 in 4, fold in a fan shape and tie a knot in the center, then continue opening and forming the flower.
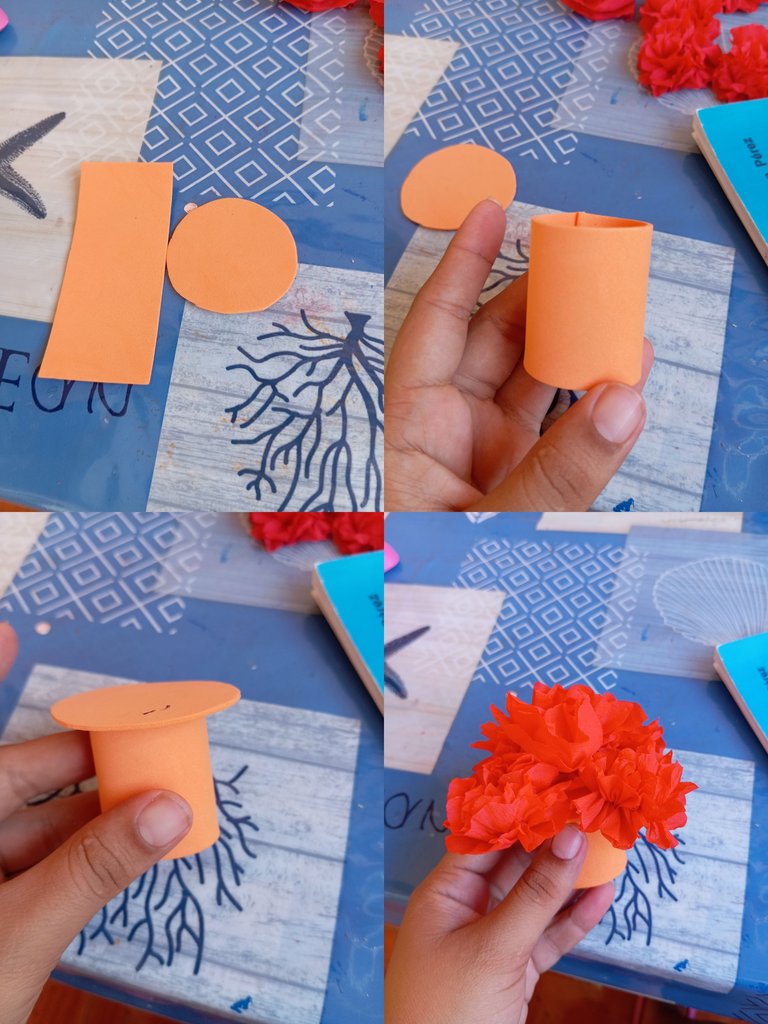
Paso número 9: luego continuaremos realizando una pequeña tapa donde irán ubicadas las flores, recortamos una tira y un círculo, pegamos formando un rollo ,luego pegamos el circulo en el centro y finalizamos pegando las flores alrededor de la tapa en la parte de arriba
Step number 9: then we will continue making a small lid where the flowers will be placed, we cut a strip and a circle, we glue forming a roll, then we glue the circle in the center and we finish gluing the flowers around the lid at the top.
Paso número 10: lista nuestra calabaza vamos a continuar introduciendo las luces para lucir nuestra lámpara de halloween
Step number 10: ready our pumpkin we will continue introducing the lights to show off our halloween lamp.
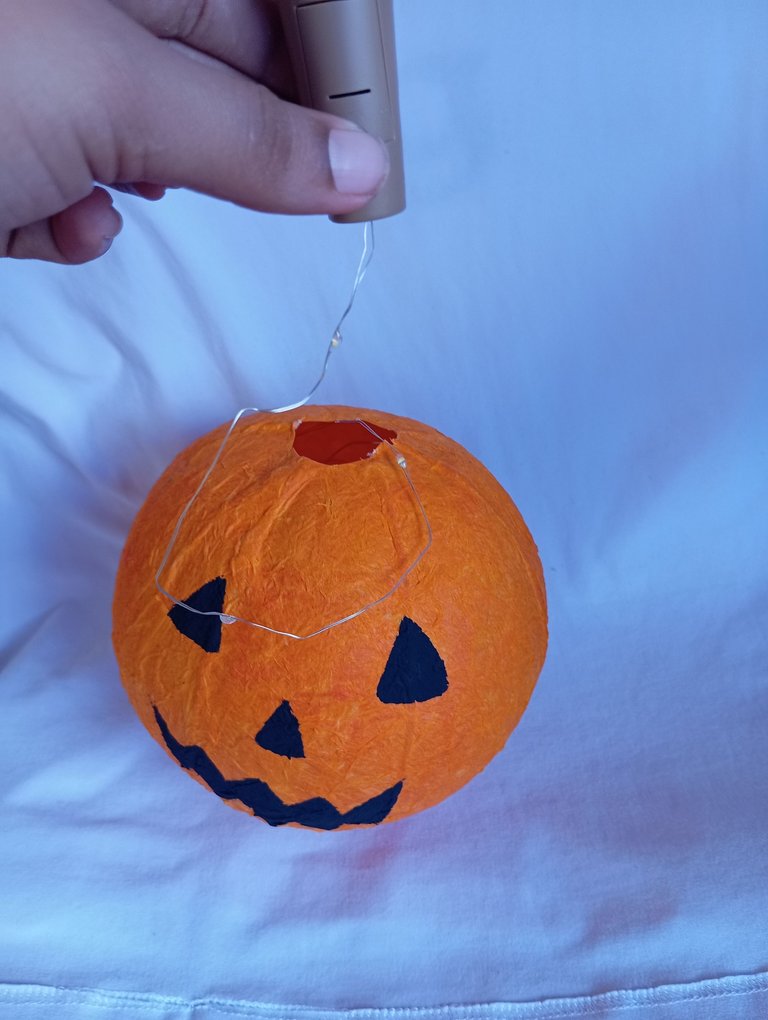
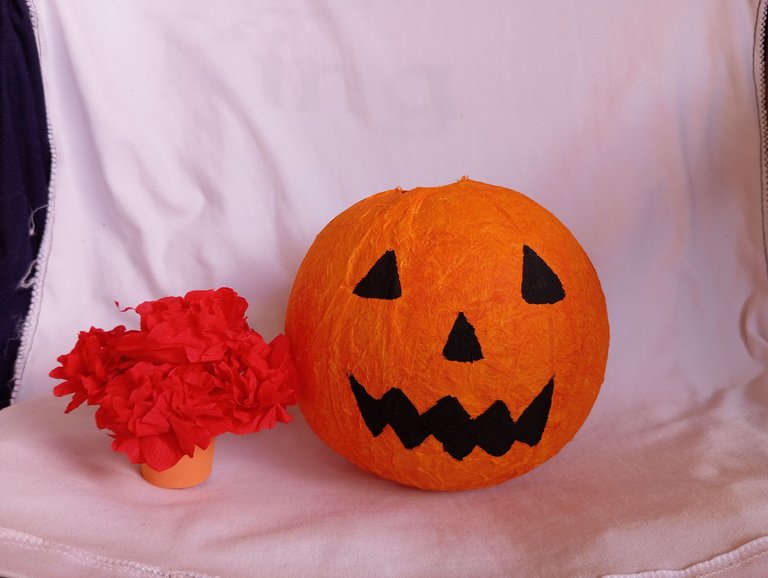
Resultado final: así fue como realicé mi lámpara de halloween inspirada en una calabaza, utilizando materiales cómodos y faciles de conseguir, ideal para decorar habitaciones y espacios que deseamos en nuestro hogar
Créditos: las fotos las tomé con mi redmi 12 y traduje los textos con el traductor deepl, feliz tarde
Final result: this is how I made my halloween lamp inspired by a pumpkin, using comfortable and easy to get materials, ideal for decorating rooms and spaces we want in our home.
Credits: the photos were taken with my redmi 12 and I translated the texts with the deepl translator, happy afternoon.
¡Felicidades! Esta publicación obtuvo upvote y fue compartido por @la-colmena, un proyecto de Curación Manual para la comunidad hispana de Hive que cuenta con el respaldo de @curie.
Si te gusta el trabajo que hacemos, te invitamos a darle tu voto a este comentario y a votar como testigo por La Colmena.
Si quieres saber más sobre nuestro proyecto, te invitamos a acompañarnos en nuestro servidor de Discord.
Hermoso trabajo para obtener la calaza de Halloween
Gracias amiga
Wow! This is amazing and creative, you have done well. Thanks for participating in the contest, all the best.
Thanks My Friends
Congratulations @jorgelissanchez! You have completed the following achievement on the Hive blockchain And have been rewarded with New badge(s)
Your next payout target is 9000 HP.
The unit is Hive Power equivalent because post and comment rewards can be split into HP and HBD
You can view your badges on your board and compare yourself to others in the Ranking
If you no longer want to receive notifications, reply to this comment with the word
STOPCheck out our last posts:
Awesome, it is a great quality work, thank you very much for sharing it in our DIYHub community. Other authors have made awesome posts referring to Halloween, I invite you to support them if you like any of their posts. Happy day Jorgelis!...
Gracias por valorar mi trabajo,saludos
Que linda idea amiga! Me encanta. Lo voy a probar el año que viene.
Gracias amiga
El resultado es espectacular. Suerte en el concurso, muy buen proyecto. Saludos.
This halloween lamp is so beautiful I don't expect a balloon making perfect halloween lamp you did a great job. Wish you best of luck for the contest.
Wow this is amazing
The procedure is really incredible