Nuevo concurso: Transformación de un Porta notas con temática de abejas | New contest: Transformation of a Bee-themed note holder
Hola mis hermosos amigos , feliz tarde tengan todos , espero que se encuentren pasando un agradable fin de semana , hoy quiero formar parte del nuevo concurso de nuestra apreciada comunidad @Diyhub , cómo siempre son increíbles sus ideas para los concursos , es increíble porque podemos darle el valor que se merecen las abejas , además de ser bellas ,nos dan la rica miel que endulza nuestro paladar, en esta ocasión realicé una transformación a un porta notas con temática de abeja , antes de continuar le invito a mis amigas para que participen @yagelybr @josdelmi
Hello my beautiful friends, happy afternoon have all, I hope you are having a nice weekend, today I want to be part of the new contest of our beloved community @Diyhub, as always are amazing ideas for contests, it's amazing because we can give the value they deserve the bees, besides being beautiful, give us the rich honey that sweetens our palate, this time I made a transformation to a note holder with bee theme, before I continue I invite my friends to participate @yagelybr @josdelmi
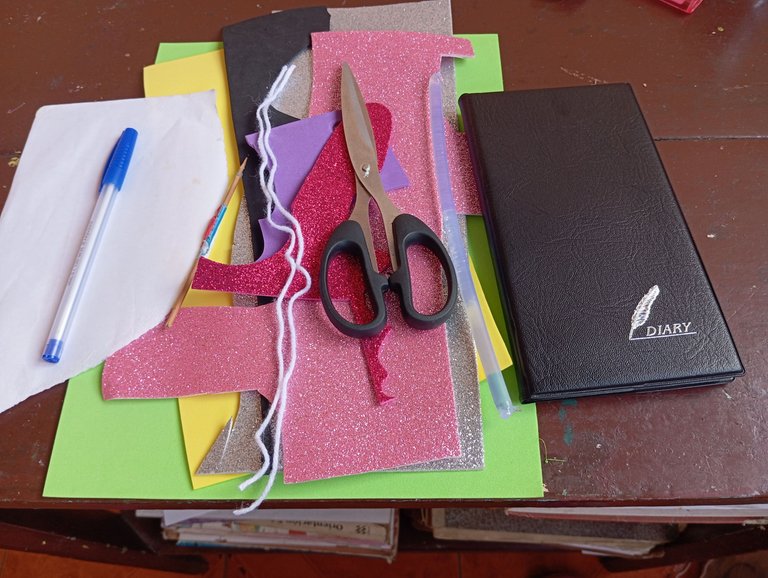
Materiales qué utilice para forrar mi porta notas :
-Porta notas
-Foamis
-Estambre
-Tijera
-Silicon
-Lapiz y papel
Materials I used to line my note holder:
-Note holder
-Foamis
-Wire
-Scissors
-Silicon
-Paper and paper
A continuación los pasos a seguir:
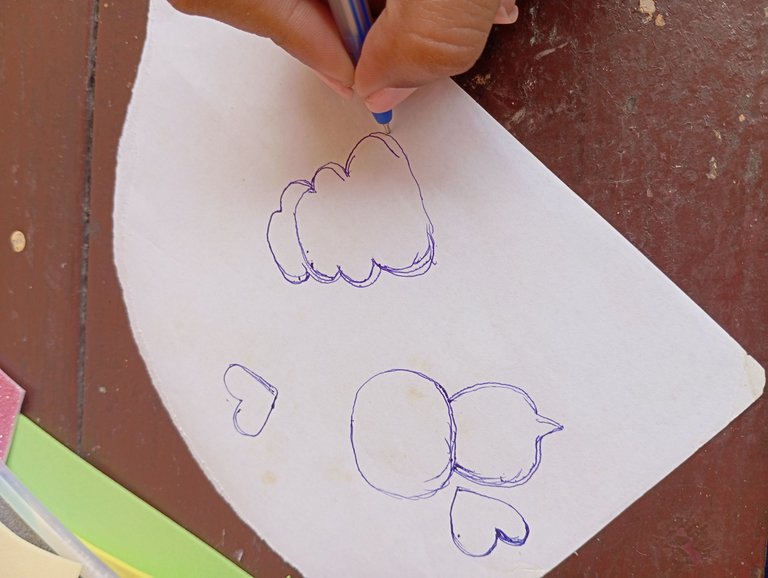
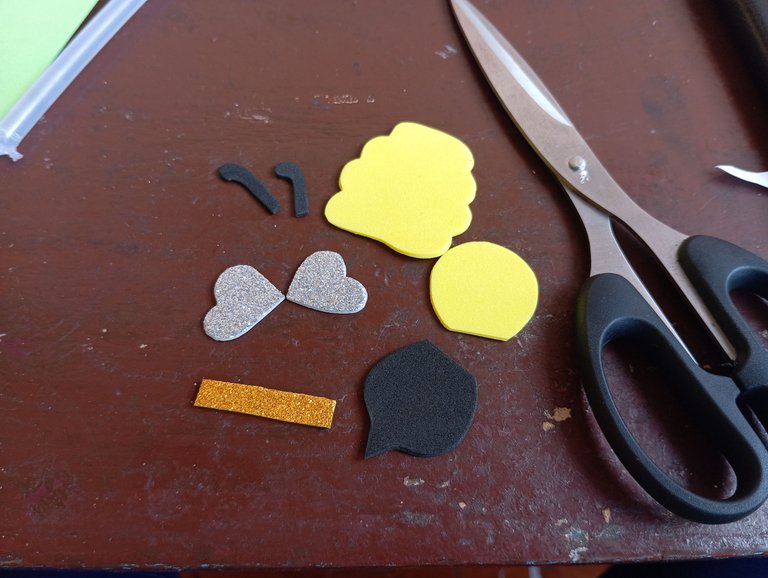
Iniciaremos realizando un patrón para trabajar por piezas y de forma cómoda , como el tema es en honor a las abejas , dibujé referente al tema , es decir ; una pequeña abeja , un corazón y un panal
Here are the steps to follow:
We will begin by making a pattern to work by pieces and in a comfortable way , as the theme is in honor of the bees , I drew referring to the theme , ie ; a small bee , a heart and a honeycomb.
Seguidamente continúe tomando las piezas y procedí marcando con la ayuda de un palito de altura, de esta manera no ensuciamos el foamis al marcar , utilicé amarillo para la cabeza y panal de la abeja , negro para su cuerpo y plateado para sus alas
Then I continued taking the pieces and proceeded marking with the help of a height stick , in this way we do not dirty the foamis to mark , I used yellow for the head and honeycomb of the bee , black for his body and silver for his wings .
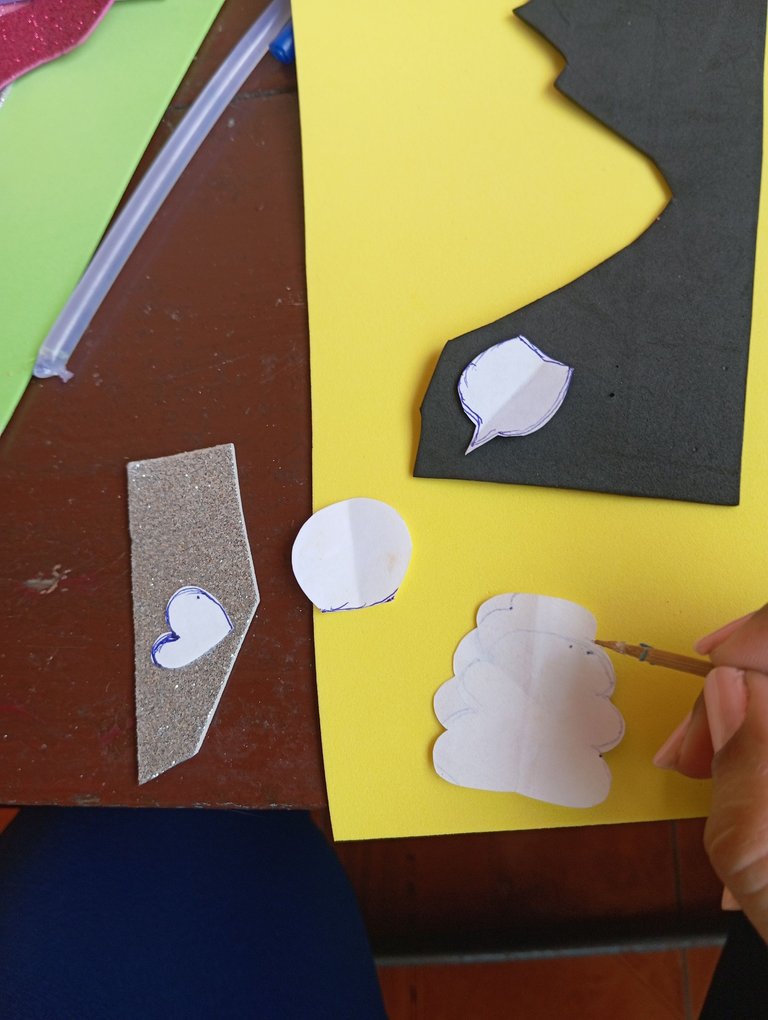
Una vez que marcamos nuestras piezas en el paso anterior, vamos a proceder recortando cada una con la ayuda de una tijera
Once we marked our pieces in the previous step, we will proceed to cut out each one with the help of a scissors.
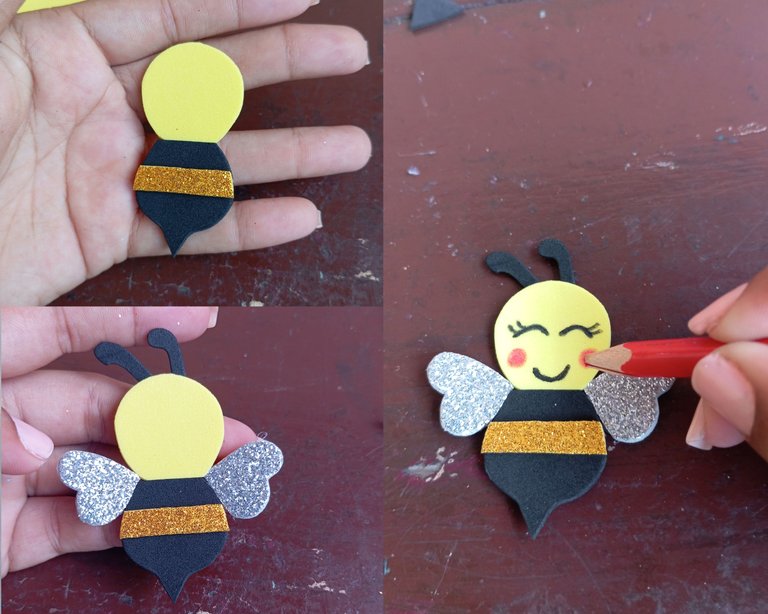
A continuación vamos a proceder realizando nuestra abeja, iniciamos pegando su cabeza al cuerpo , incluyendo su raya amarilla de forma horizontal, luego damos continuidad pegando sus alas a los lados de su cuerpo y por último sus antenas en el centro de su cabeza, para finalizar con la creación de nuestra abeja, vamos a proceder realizando su rostro, pinté la silueta de los ojos cerrados, su sonrisa y mejillas coloradas
Next we are going to proceed making our bee, we start by gluing its head to the body, including its yellow stripe horizontally, then we continue by gluing its wings to the sides of its body and finally its antennae in the center of its head, to finish with the creation of our bee, we are going to proceed making its face, I painted the silhouette of the closed eyes, its smile and colored cheeks.
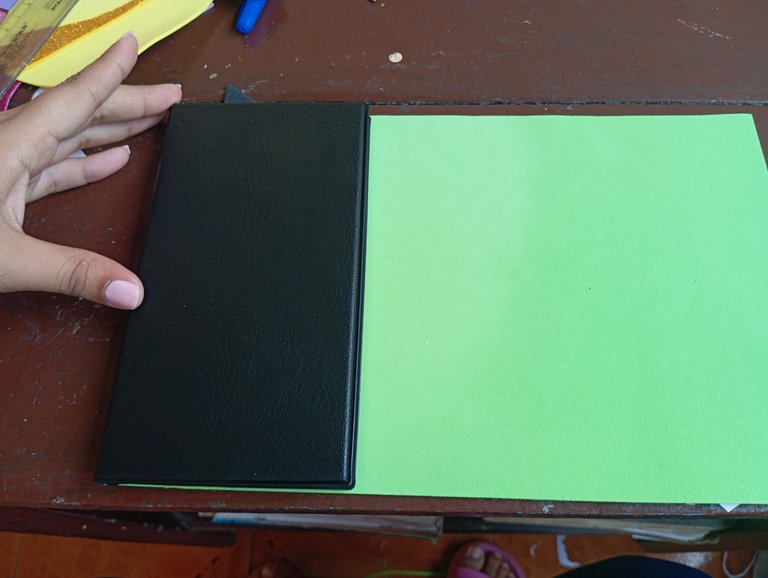
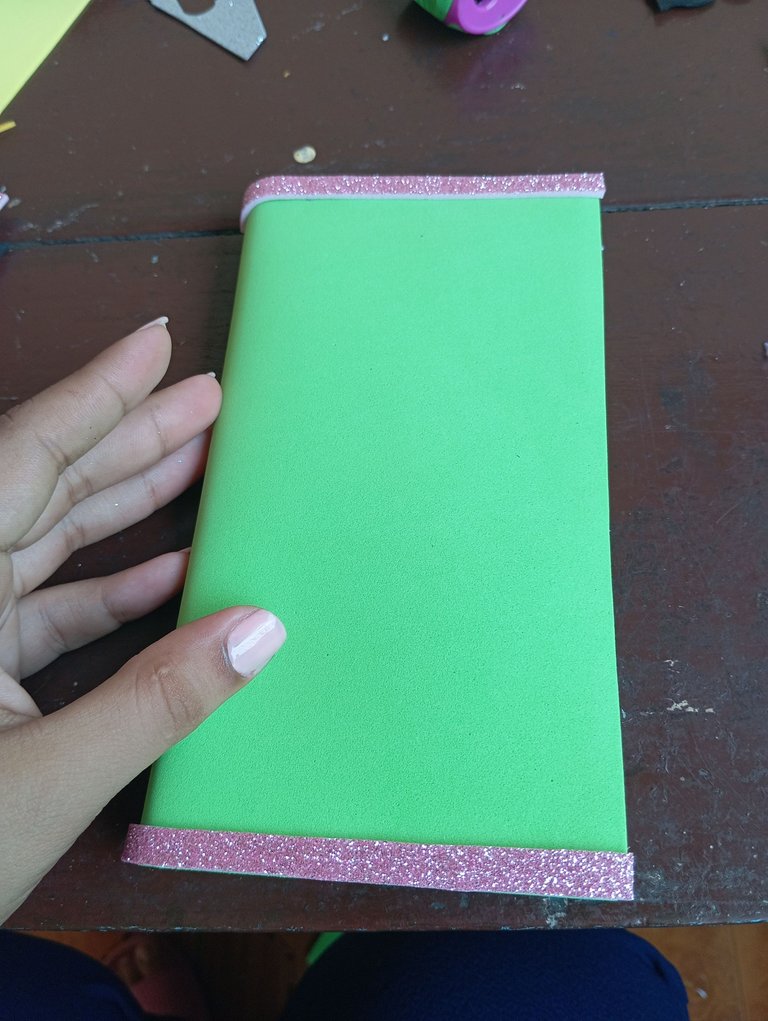
luego amigos vamos a proceder forrando nuestro porta notas, primero debemos tomar el foamis y recortarlo del mismo tamaño que el porta nota , es decir, altura y grosor , cómo lo haremos pues midiendo con el mismo porta notas
then friends we will proceed lining our note holder, first we must take the foamis and cut it to the same size as the note holder, that is, height and thickness, how we will do it by measuring with the same note holder.
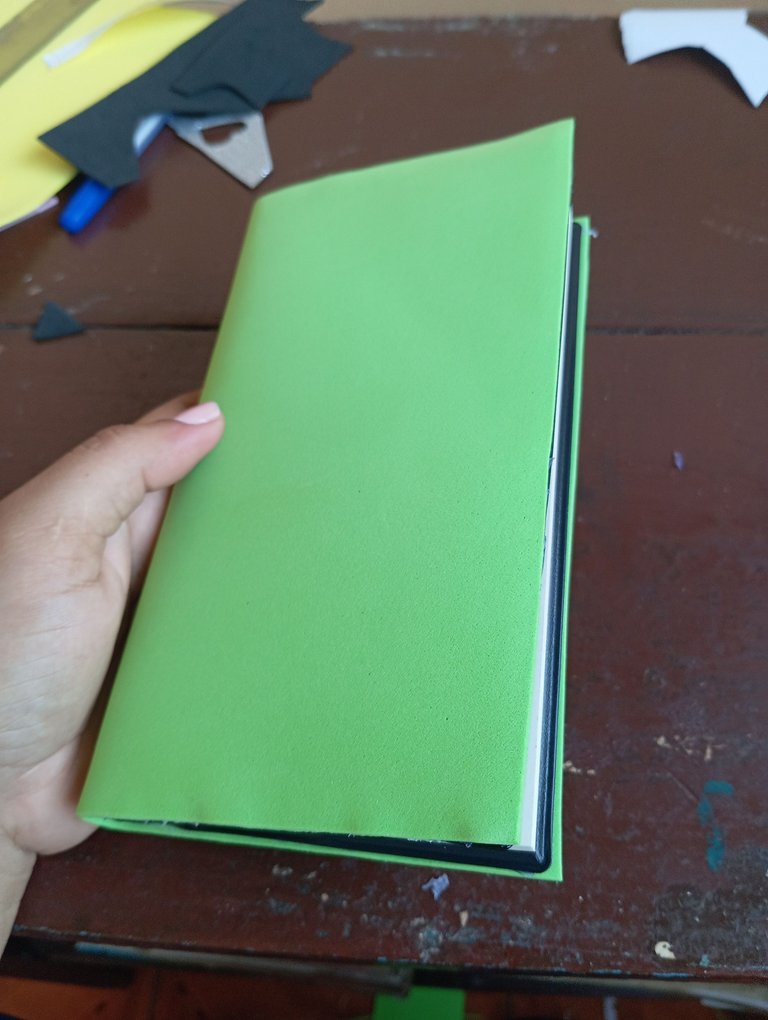
Una vez que tengamos la pieza de foamis medida con el porta notas , vamos a proceder pegando el foamis alrededor del, agregando silicón por todo los bordes y al mismo tiempo pegando
Once we have the piece of foamis measured with the note holder, we will proceed by gluing the foamis around it, adding silicone all around the edges and gluing at the same time.
Una vez listo vamos a proceder pegando en la parte frontal arriba y abajo una tira escarchada color rosada
Once ready, we will proceed by gluing a pink frosted strip on the front top and bottom.
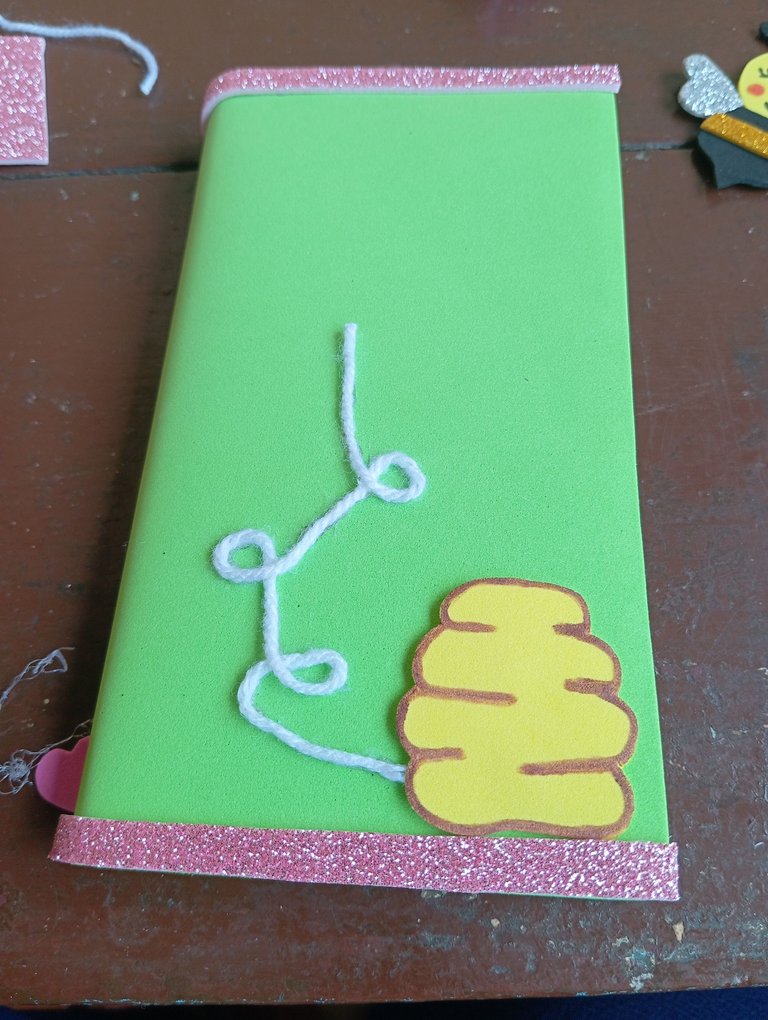
Seguidamente vamos a iniciar pegando nuestros detalles , iniciamos pegando el panal de abeja, hacia un lado pegamos el estambre de abajo hacia arriba como si saliera del panal
Next we are going to start gluing our details, we start by gluing the honeycomb, to one side we glue the stamen from bottom to top as if it was coming out of the honeycomb.
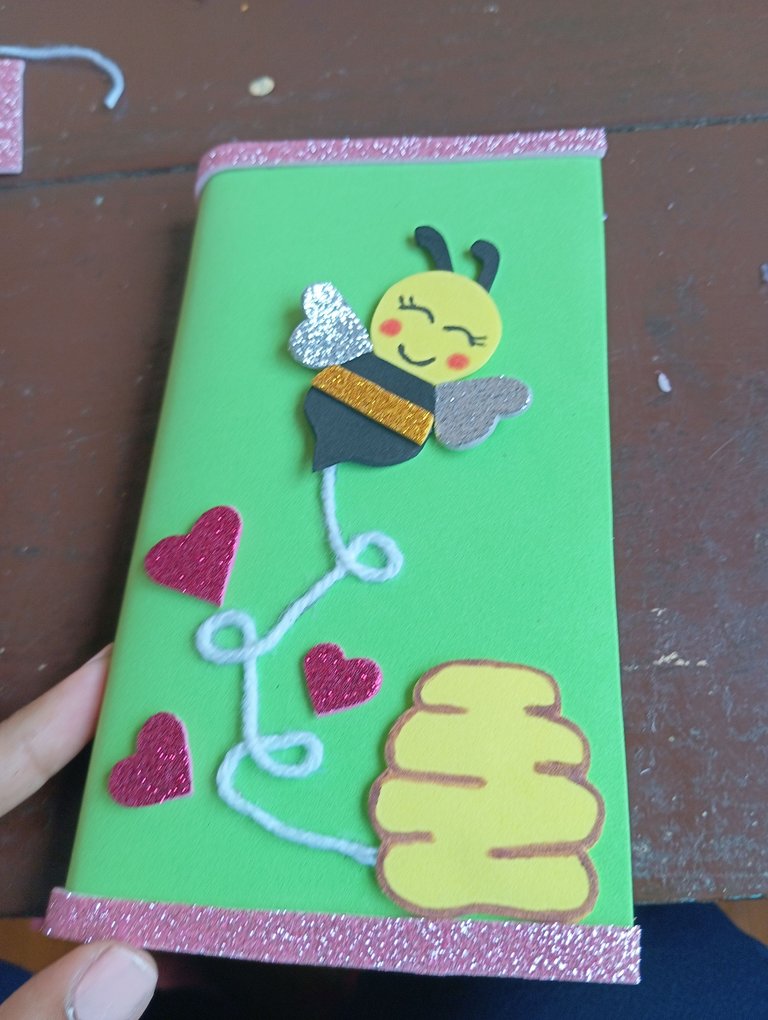
Por último vamos a continuar pegando arriba del diseño de estambre la abeja semi de lado , y en la parte de abajo unos corazones escarchados , finalizando nuestra transformación
Finally we will continue gluing the bee on the top of the yarn design, and on the bottom we will glue some frosted hearts, finishing our transformation.
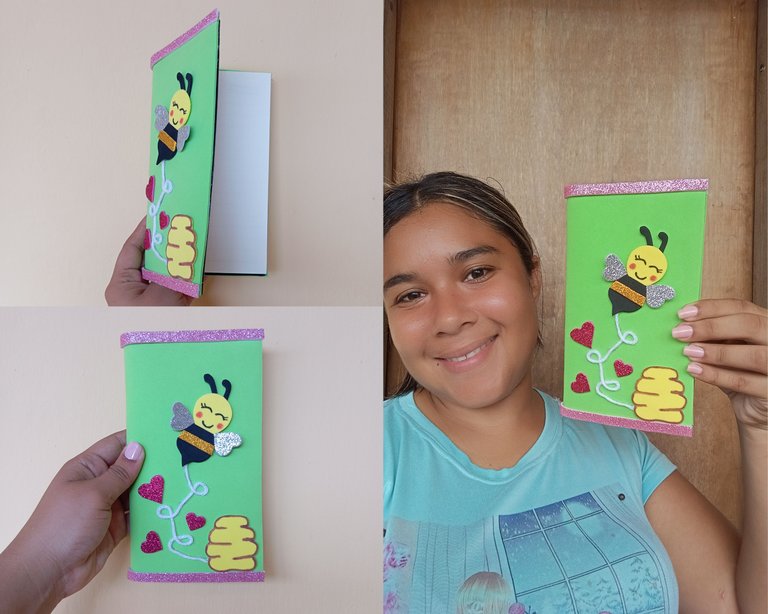
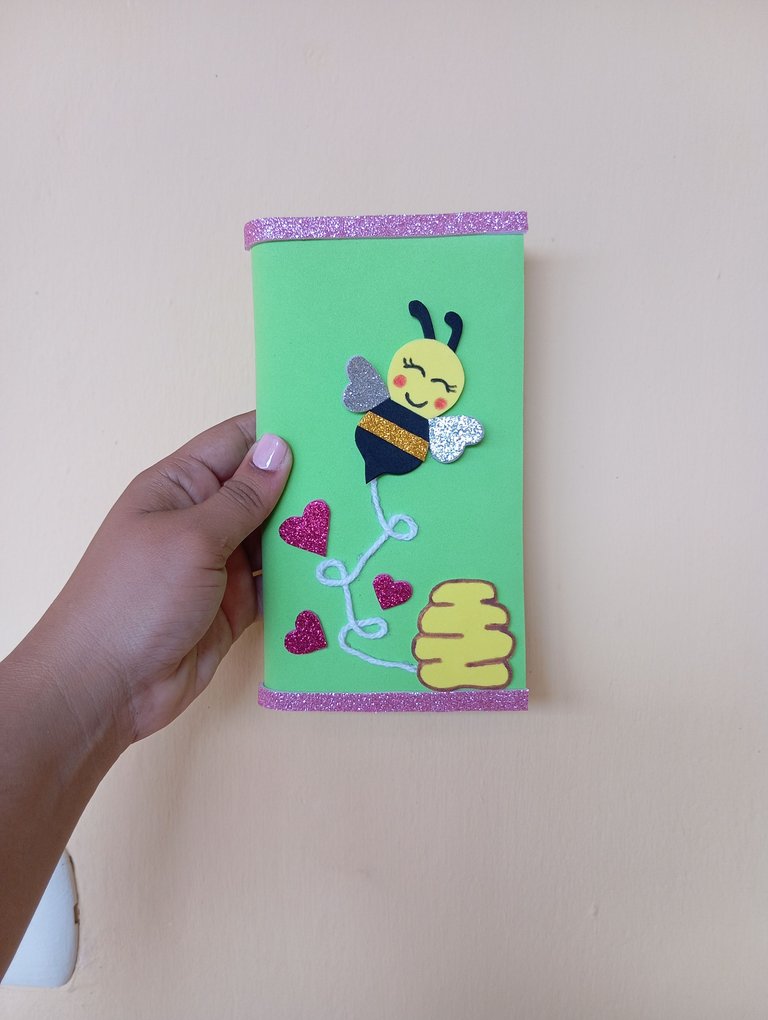
Este es el resultado final de mi hermosa transformación de un porta notas con temática de abeja , ideal para guardar nuestras cosas más importantes, agradezco por su atención, les deseo suerte a todos los participantes, hasta la próxima
This is the final result of my beautiful transformation of a note holder with bee theme, ideal for storing our most important things, thank you for your attention, I wish luck to all participants, until next time.
This note holder is super cute. Thank you for entering the contest. Good luck
thank you very much Friends, happy night
Very creative with beautiful outcome, thanks for sharing.
Thanks
!discovery 25
This post was shared and voted inside the discord by the curators team of discovery-it
Join our Community and follow our Curation Trail
Discovery-it is also a Witness, vote for us here
Delegate to us for passive income. Check our 80% fee-back Program
una idea hermosa y facil que sirve para decorar nuestras carpetas😘🤗¡un abrazo!
Así es amiga , saludos
Your work is so beautiful
Weldone