Purr-Fect DIY HUB Contest | Cat themed candy box 🐾
¡Saludos amigos creativos! | ¡Greetings creative friends!
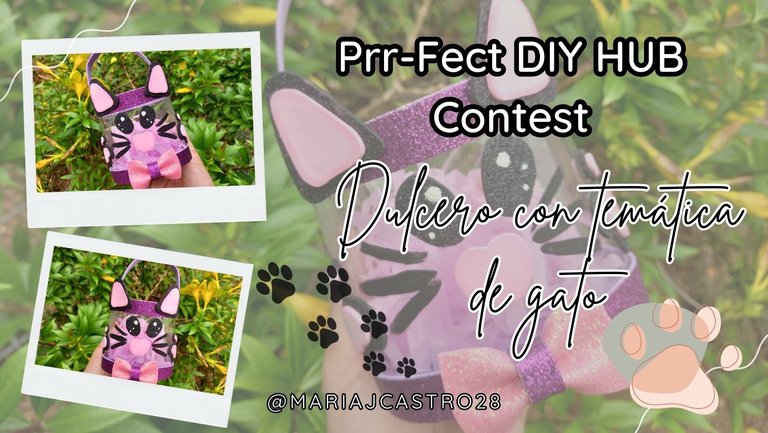
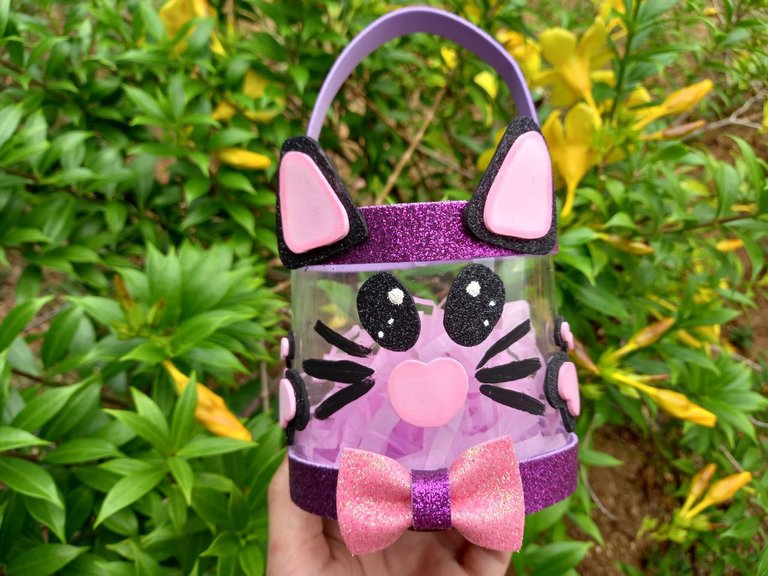
¡Feliz día! Como ya les he mencionado estoy tratando de retomar la creación de manualidades y poco a poco voy creando algunas cosas que tengo en mi lista de pendientes para luego ir mostrándoles, por esa misma razón es que en este concurso vi la oportunidad para poder crear algo nuevo a su vez participar, así que hoy les traigo mi aporte con la creación de un lindo dulcero con temática de gato elaborado con material de provecho.
Debo confesar que no tenía idea de que hacer para este concurso, sin embargo, quería poder unirme y comencé a pensar en ideas, por supuesto no quería nada común, quería algo diferente y único, así que se me ocurrió utilizar material de provecho como una botella plástica, cartón y recortes de foami de los que nunca me deshice, luego ideando un poco me decidí por un dulcero que tuviera la forma de un gatito pero que se viera tierno y adorable, hasta que finalmente concluí la idea y puse manos a la obra, espero que les guste, a continuación les muestro el procedimiento, ahora sin más, ¡vamos a crear!
¡Good day! As I have already mentioned, I am trying to resume the creation of crafts and little by little I am creating some things that I have on my to-do list and then I will show them to you, for that same reason, in this contest I saw the opportunity to create something new. in turn participate, so today I bring you my contribution with the creation of a cute cat-themed candy box made with useful material.
I must confess that I had no idea what to do for this contest, however, I wanted to be able to join and I began to think of ideas, of course I did not want anything common, I wanted something different and unique, so it occurred to me to use useful material such as a plastic bottle, cardboard and foami cutouts that I never got rid of, then devising a bit I decided on a sweet that had the shape of a kitten but that looked cute and adorable, until I finally concluded the idea and got down to work, I hope you like it, then I show you the procedure, now without more, let's create!

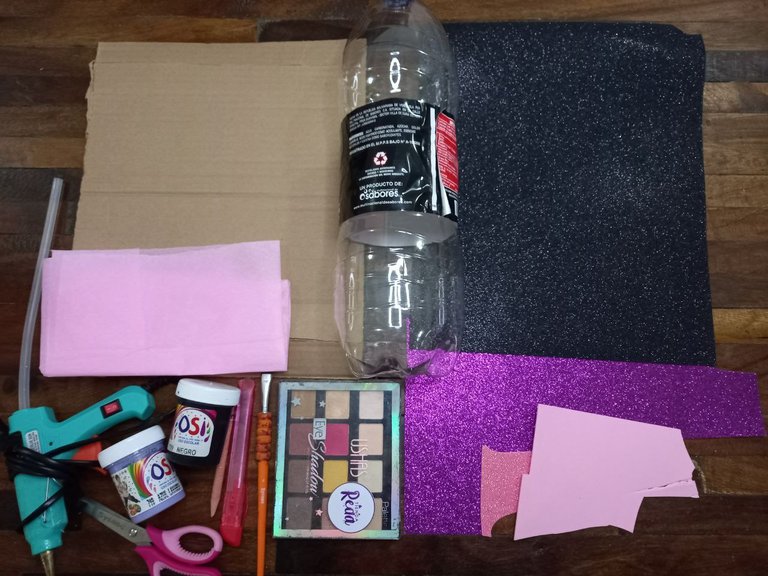
🐱 Foami escarchado negro, morado y rosado.
🐱 Foami rosado sin escarcha.
🐱 Papel de seda rosado.
🐱 Pintura al frío morada, negra y blanca.
🐱 Rubor.
🐱 Cartón.
🐱 Pincel.
🐱 Tijera.
🐱 Lápiz.
🐱 Silicón.
🐱 Cutter.
🐱 Black, purple and pink frosted foami.
🐱 Pink foami without frost.
🐱 Pink silk paper.
🐱 Purple, black and white cold paint.
🐱 Blush.
🐱 Cardboard.
🐱 Brush.
🐱 Scissors.
🐱 Pencil.
🐱 Silicone.
🐱 Cutter.

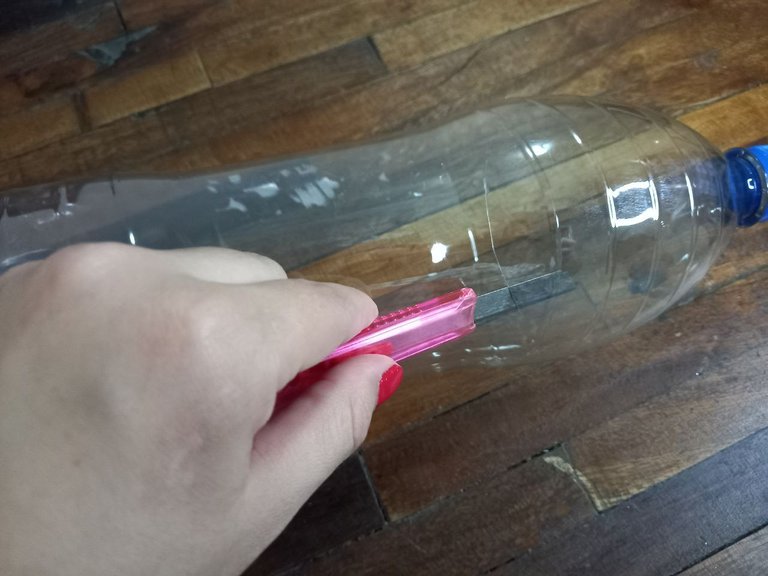
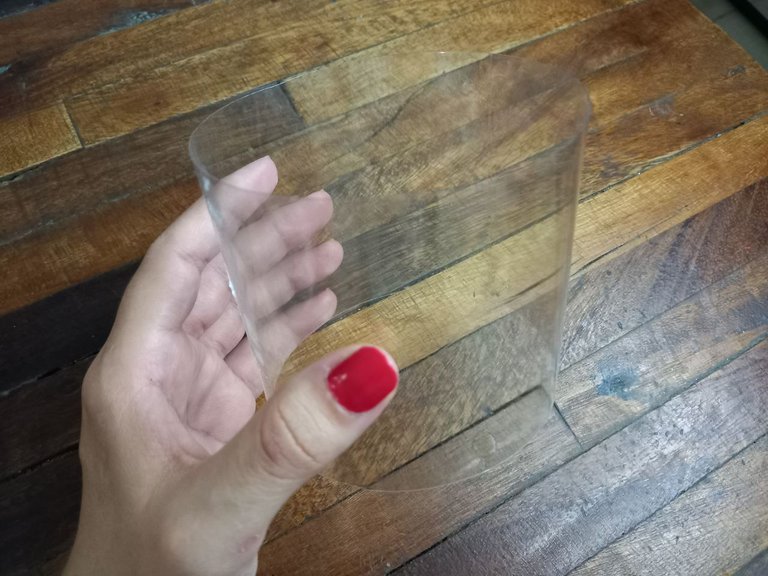
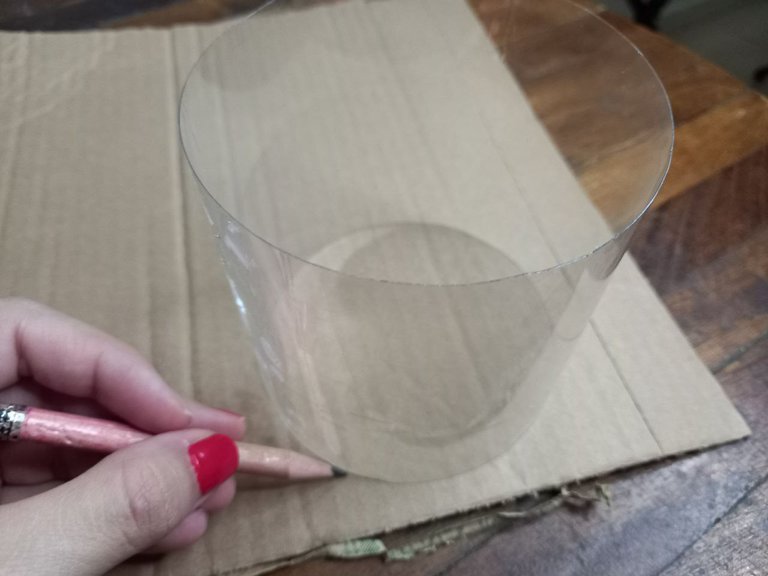
🐱 PASO 1. Lo primero que hice fue cortar con el cutter la botella plástica de refresco para extraer la parte central de esta, ya que es lisa y es perfecta para hacer el dulcero, luego con una tijera recorté los bordes para que quedaran lo más rectos posible.
🐱 STEP 1. The first thing I did was cut the plastic soda bottle with the cutter to extract the central part of it, since it is smooth and is perfect for making the candy box, then with scissors I cut the edges to that they remain as straight as possible.


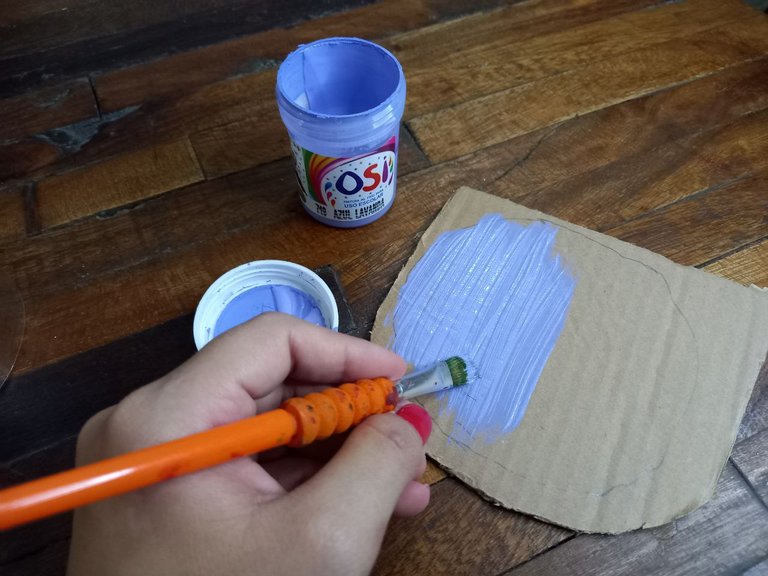
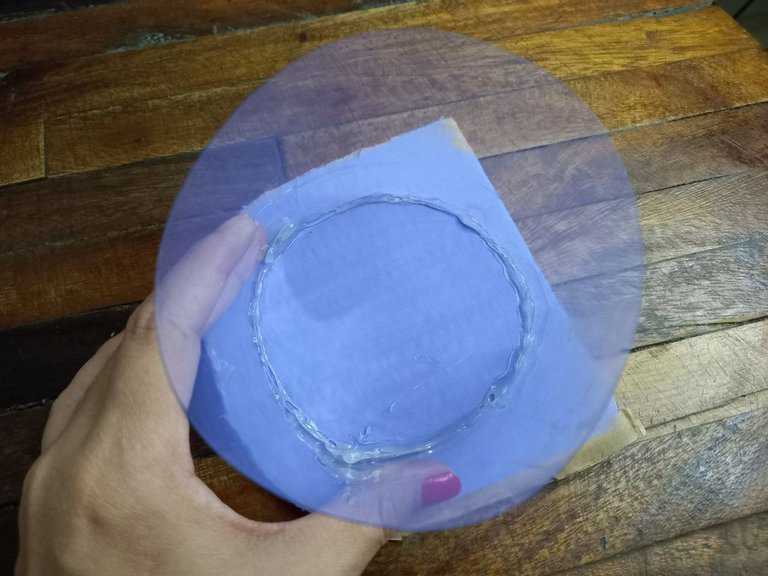
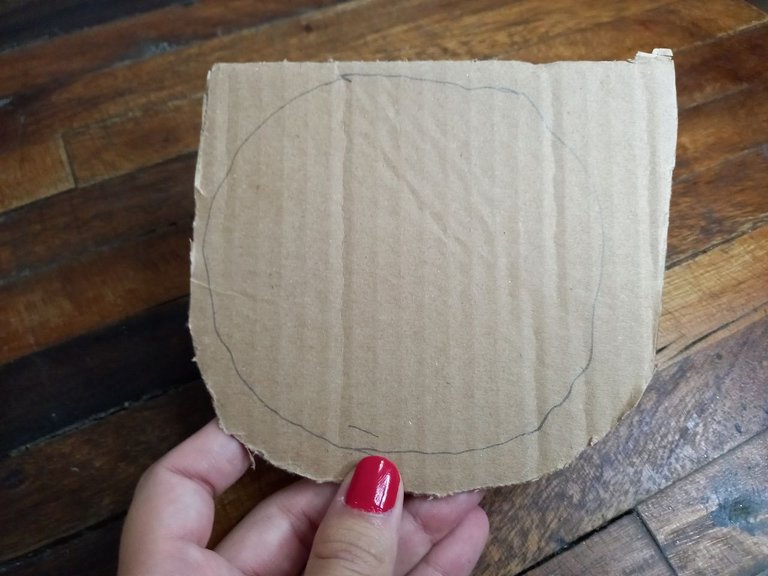
🐱 PASO 2. Seguidamente tomé la medida del plástico y recorté un trozo de cartón un poco más grande que la medida, lo pinté con pintura morada y esperé a que se secara muy bien, luego apliqué silicón en uno de los bordes de la base de plástico y la pegué sobre el cartón, una vez que se pegó bien recorté las orillas dejando el cartón al ras con el plástico, y de esta forma ya tenía la base para el dulcero.
🐱 STEP 2. Next I took the measurement of the plastic and cut a piece of cardboard a little larger than the measurement, I painted it with purple paint and waited for it to dry very well, then I applied silicone on one of the edges of the plastic base and glued it on the cardboard, once it was glued well I cut the edges leaving the cardboard flush with the plastic, and in this way I already had the base for the candy box.

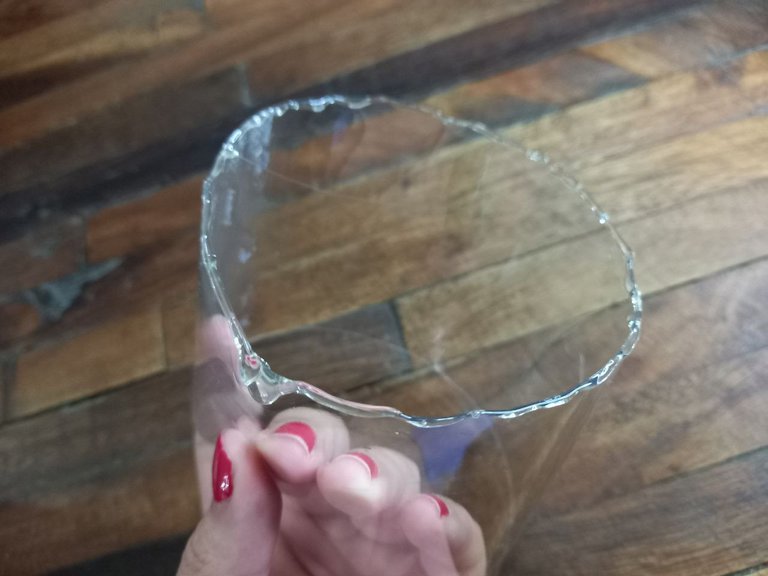
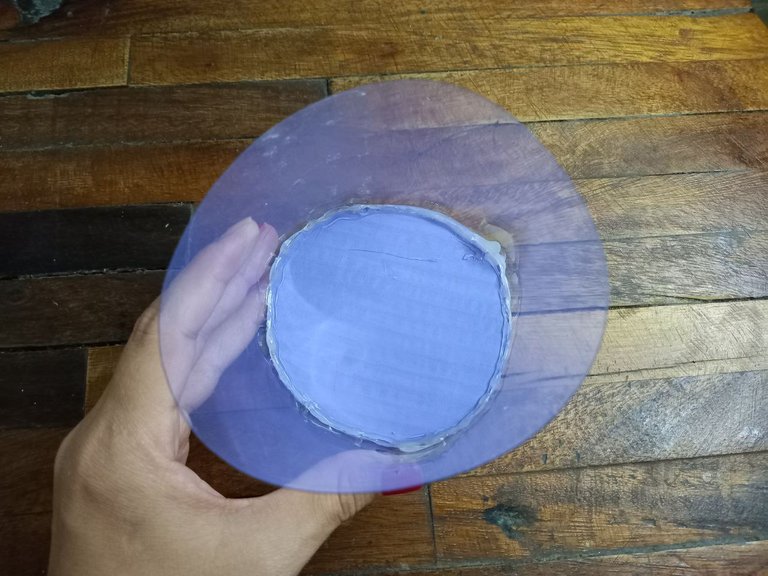
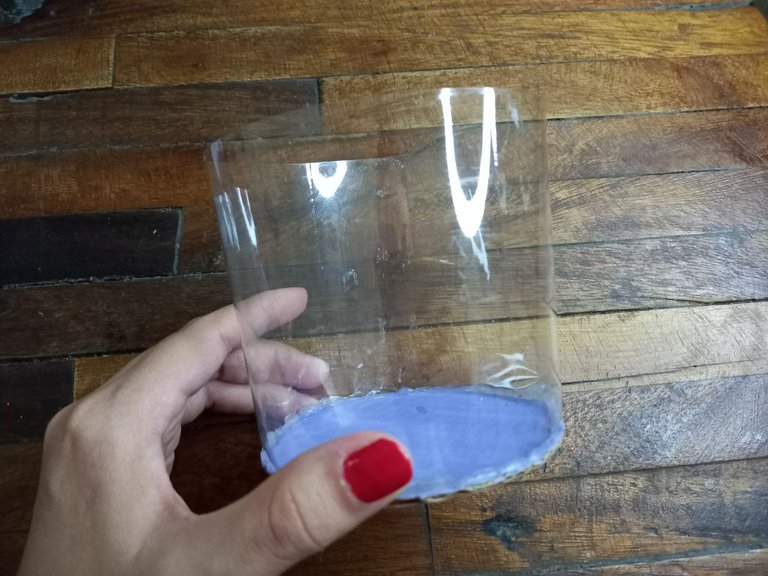

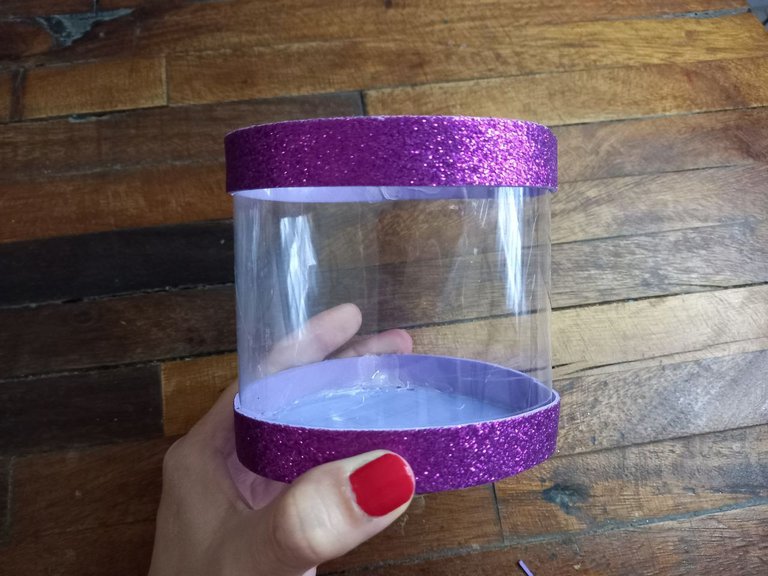
🐱 PASO 3. Recorté 2 tiras largas de unos 2 cm de ancho de foami escarchado morado y pegué cada tira en el borde superior e inferior de la base de plástico para cubrirlas.
🐱 STEP 3. I cut 2 long strips about 2 cm wide from purple frosted foam and glued each strip to the top and bottom edge of the plastic base to cover them.

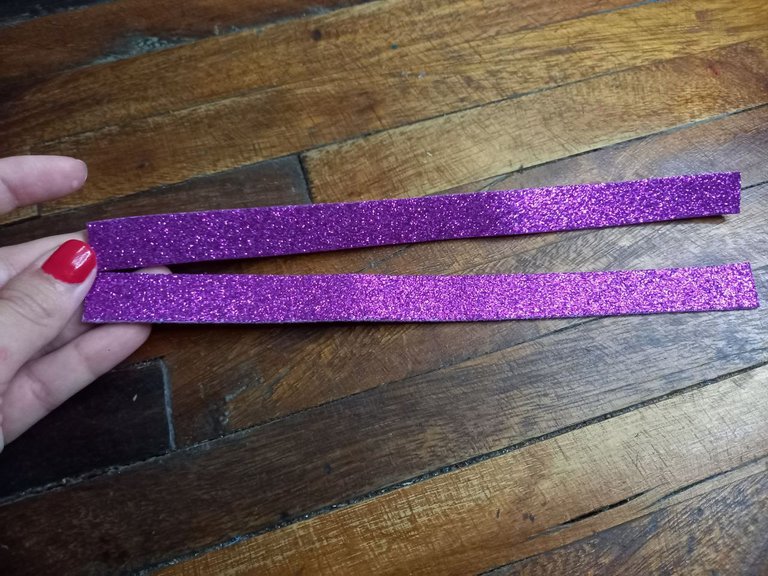

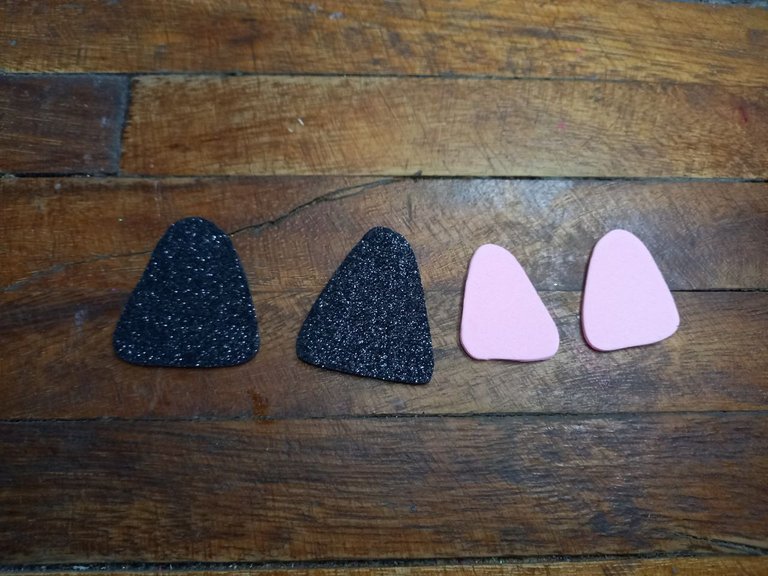
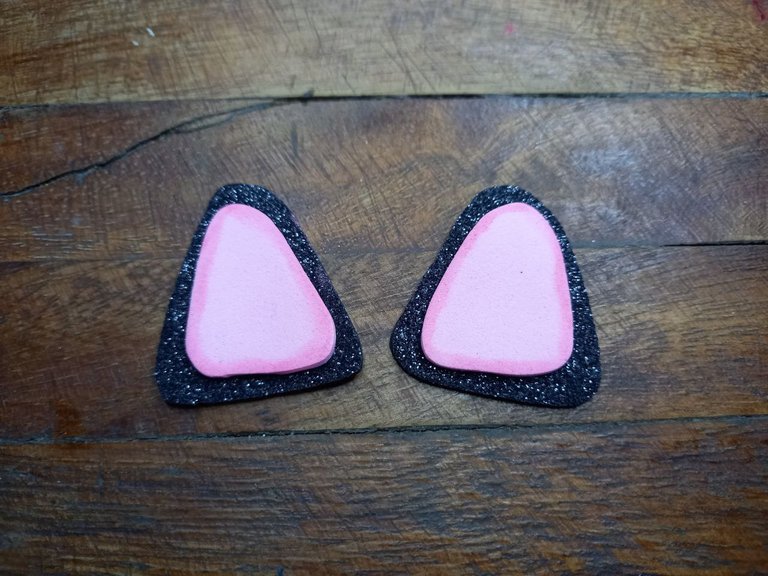
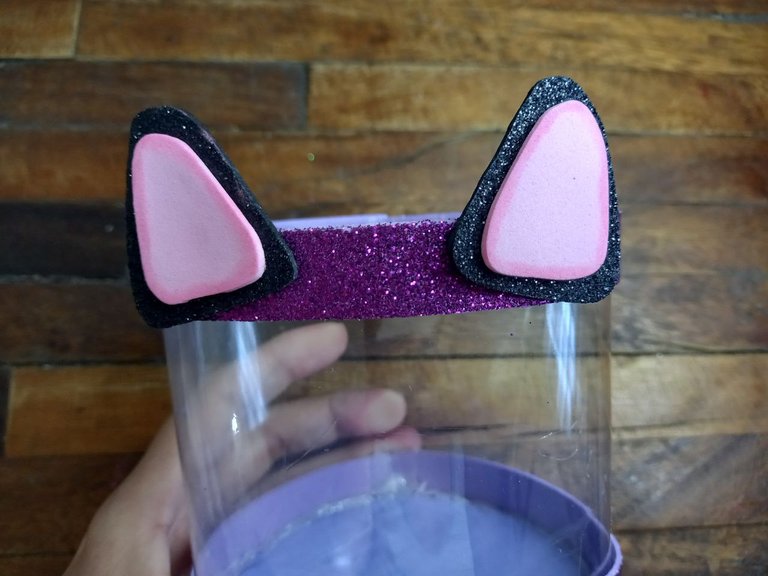
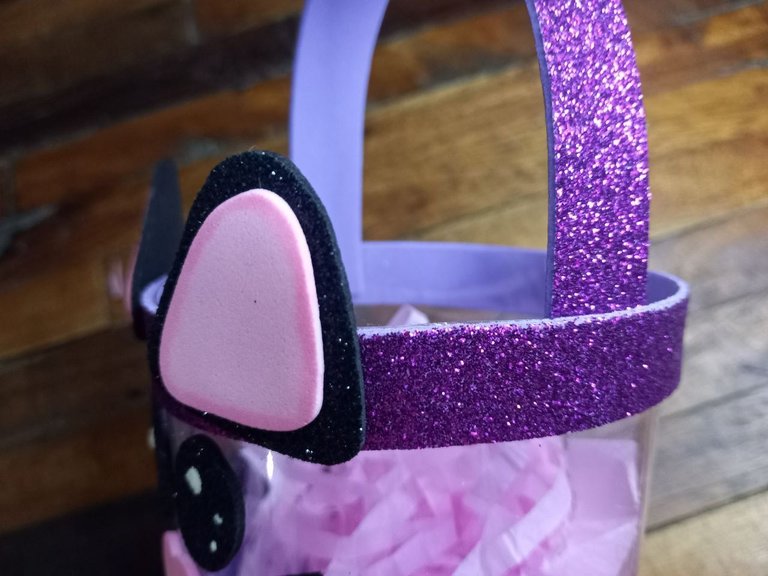
🐱 PASO 4. Hice la forma de las orejas con foami escarchado negro e hice dos piezas más pero un poco más pequeñas en foami rosado sin escarcha, a estas 2 ultimas les apliqué rubor en todo el borde y luego las pegué sobre las piezas negras, una vez listas las orejas las pegué en la parte superior frontal de la base.
🐱 STEP 4. I made the shape of the ears with black frosted foam and I made two more pieces but a little smaller in pink foam without frost, to these last 2 I applied blush all over the edge and then I glued them on the black pieces, once the ears are ready, I glued them to the upper front part of the base.


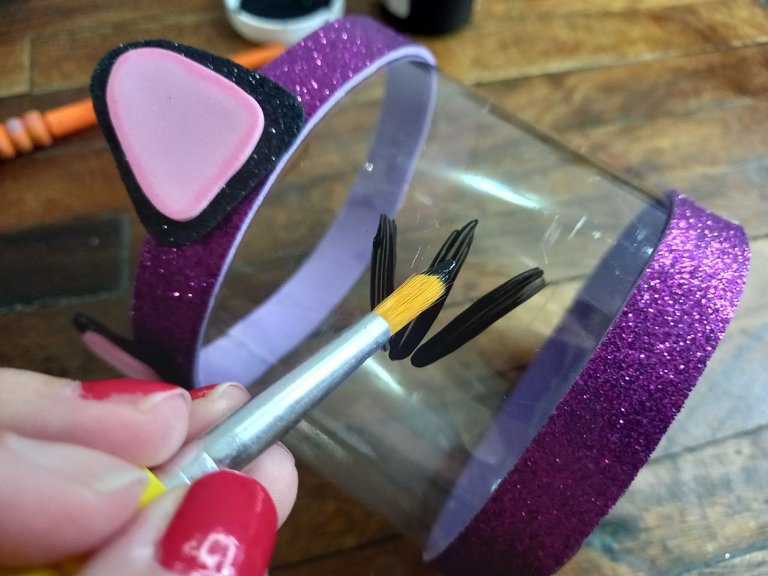
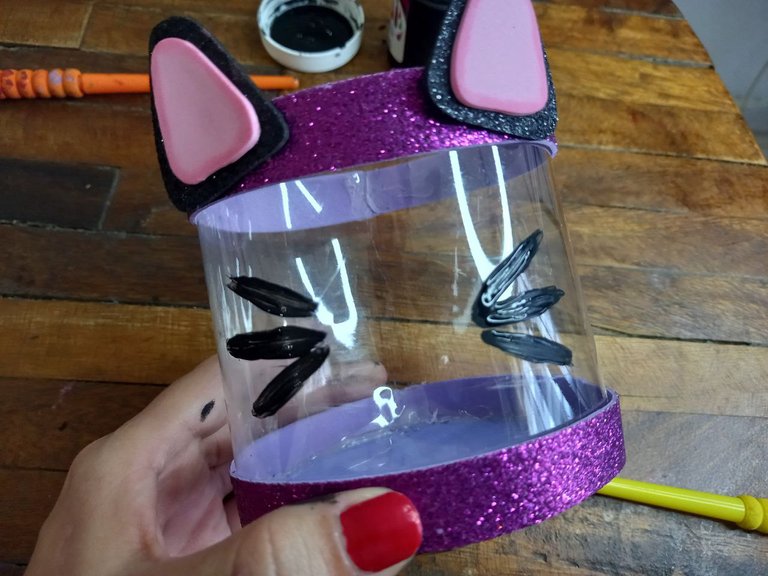
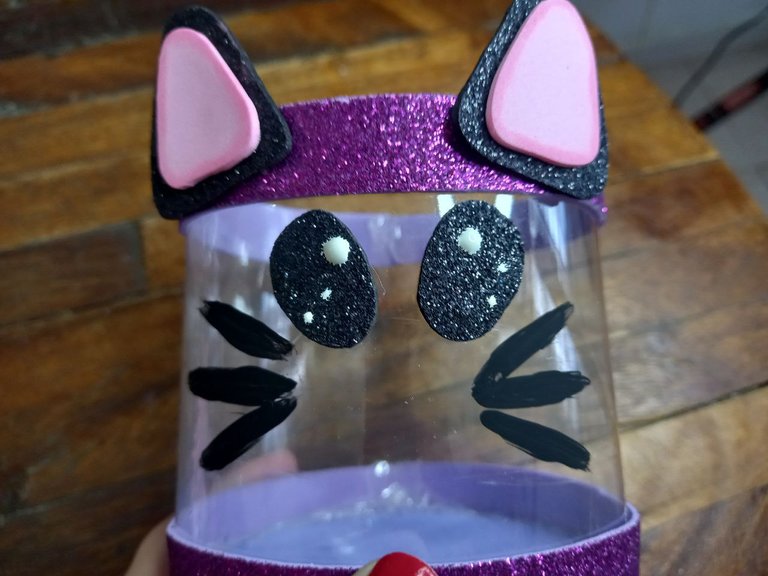
🐱 PASO 5. Con pintura negra y un pincel fino le dibujé 3 líneas de cada lado en la parte frontal para hacer los bigotes y dejé que se secara muy bien, luego en foami escarchado negro hice los ojos y les dibujé unos puntitos con pintura blanca y los pegué debajo de las orejas y sobre los bigotes justo en el centro.
🐱 STEP 5. With black paint and a fine brush I drew 3 lines on each side on the front to make the mustaches and let it dry very well, then in black frosted foam I made the eyes and drew some dots with white paint and I glued them under the ears and on the whiskers right in the center.


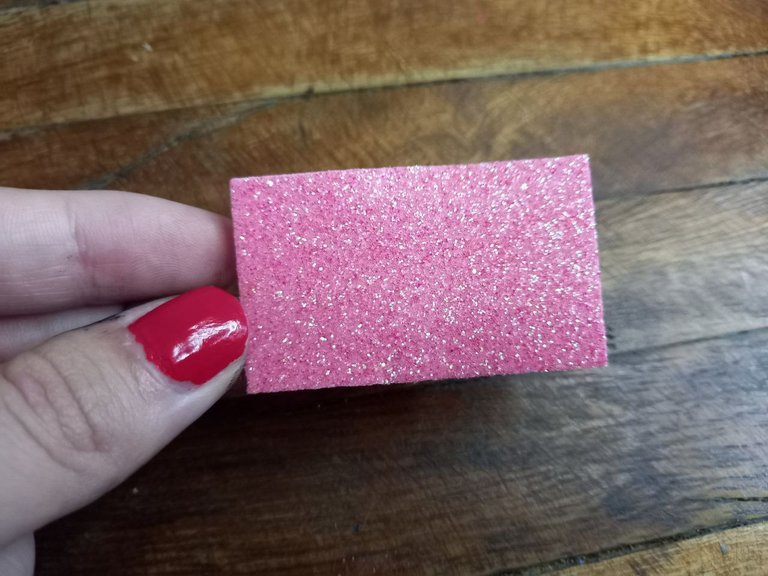
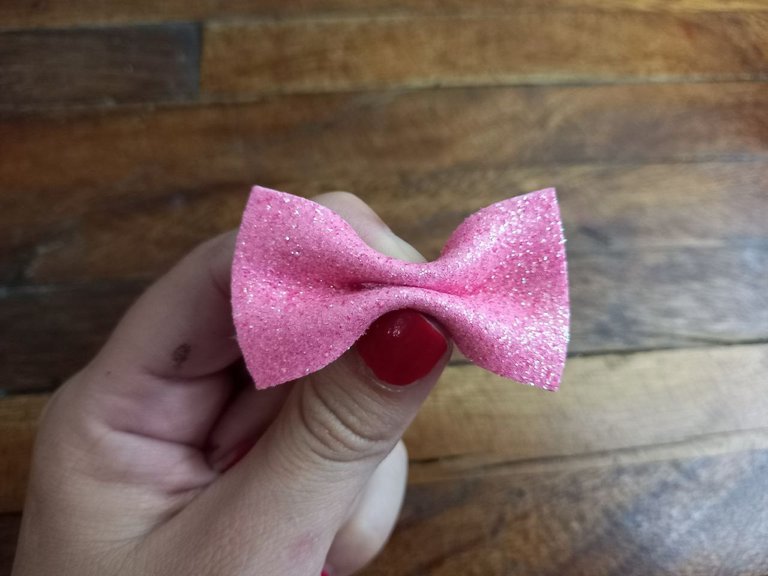
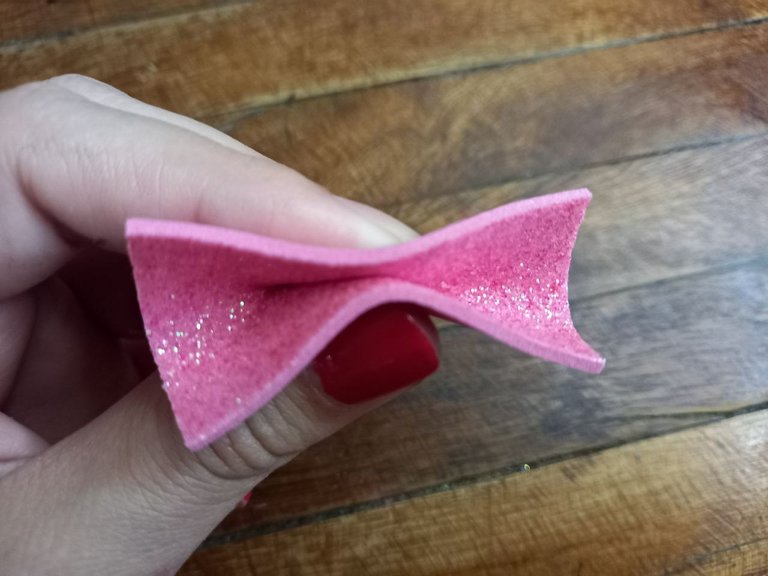
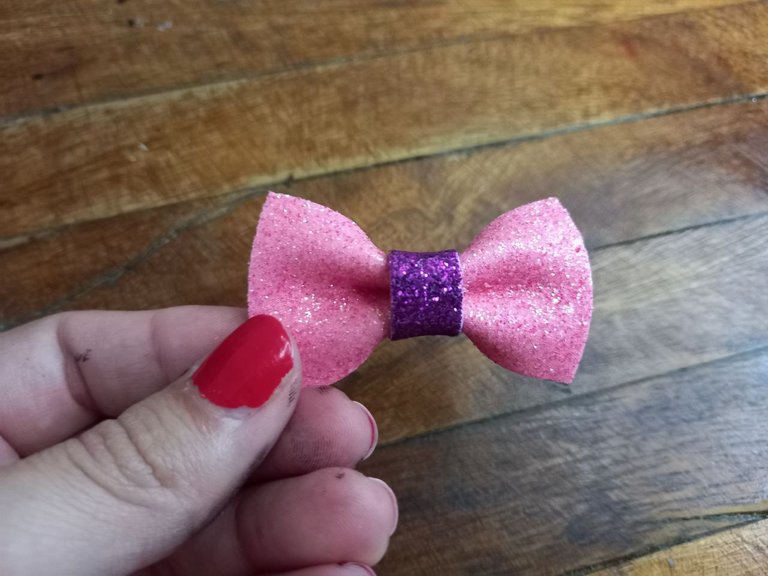
🐱 PASO 6. Recorté un rectángulo pequeño de foami escarchado rosado, le apliqué un punto de silicón en el centro y doblé hacia adentro para que se pegara, luego doblé los extremos hacia el lado contrario y pegué con silicón, por ultimo recorté una tira pequeña de foami escarchado morado y la pegué en el centro, así hice un pequeño lazo que luego pegué en el centro de la parte inferior de la base.
🐱 STEP 6. I cut out a small rectangle of pink frosted foam, applied a dot of silicone in the center and folded inwards to make it stick, then folded the ends to the opposite side and glued with silicone, finally I cut a small strip of purple frosted foam and glued it in the center, thus making a small bow that I then glued in the center of the lower part of the base.

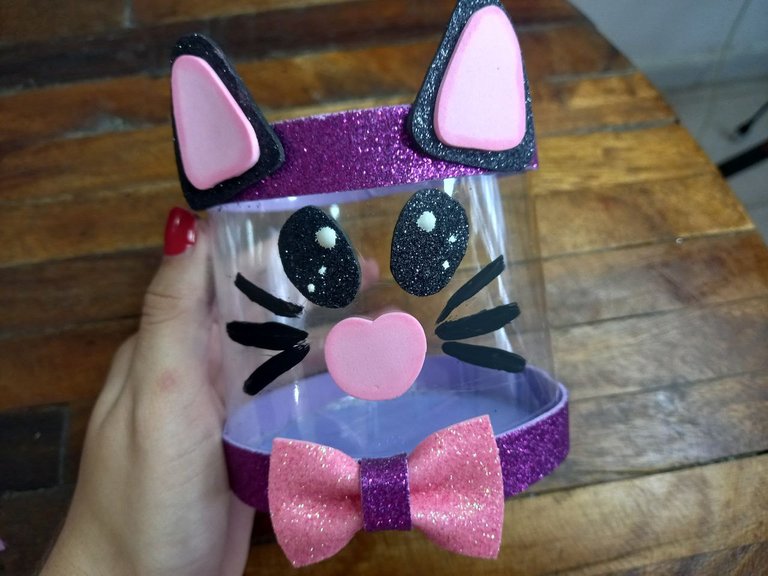

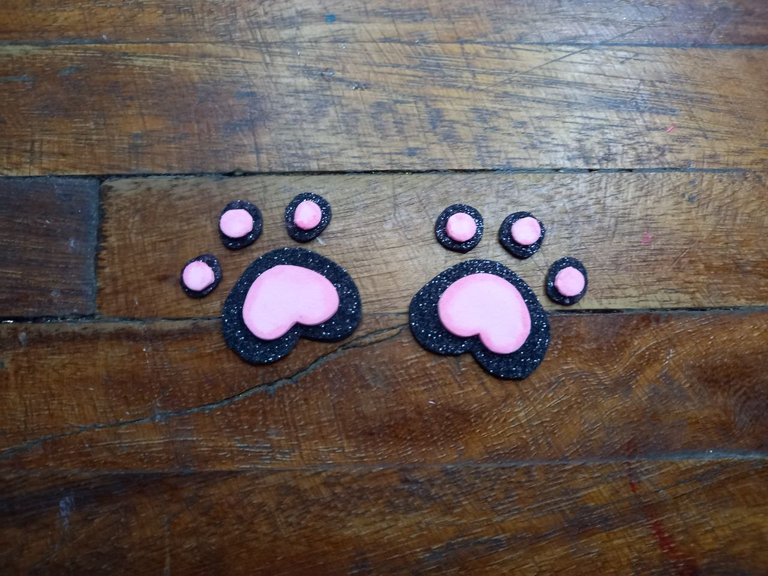
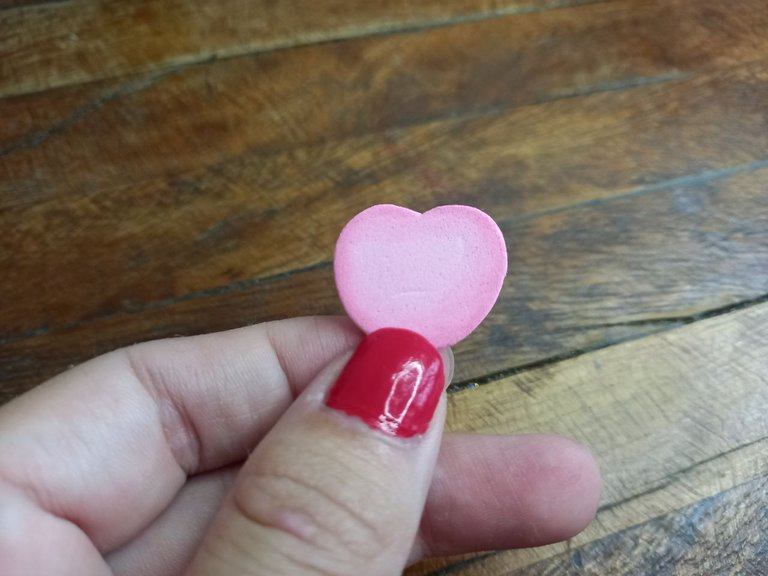
🐱 PASO 7. Hice las patitas con foami escarchado negro y le pegué encima unas piezas iguales pero más pequeñas de foami rosado sin escarcha y a estas últimas les apliqué un poco de rubor en los bordes, tal como hice con las orejas, también hice la forma de la nariz en foami rosado sin escarcha y le apliqué también rubor en todo el borde, luego pegué las patitas a los lados de la base y la nariz en el centro de los bigotes.
🐱 STEP 7. I made the legs with black frosted foam and I glued on top some equal but smaller pieces of pink foam without frost and to these last ones I applied a little blush on the edges, just as I did with the ears, I also made the shape of the nose in pink foam without glitter and I also applied blush to the entire edge, then I glued the little legs to the sides of the base and the nose in the center of the whiskers.

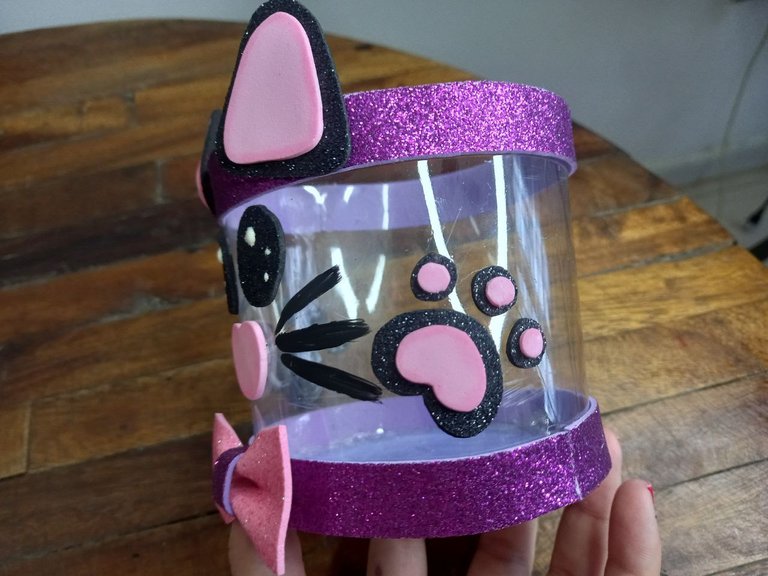
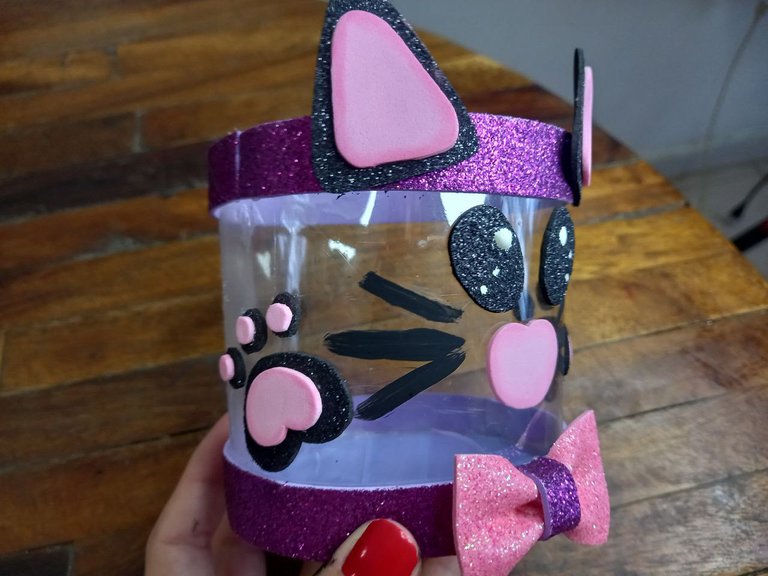
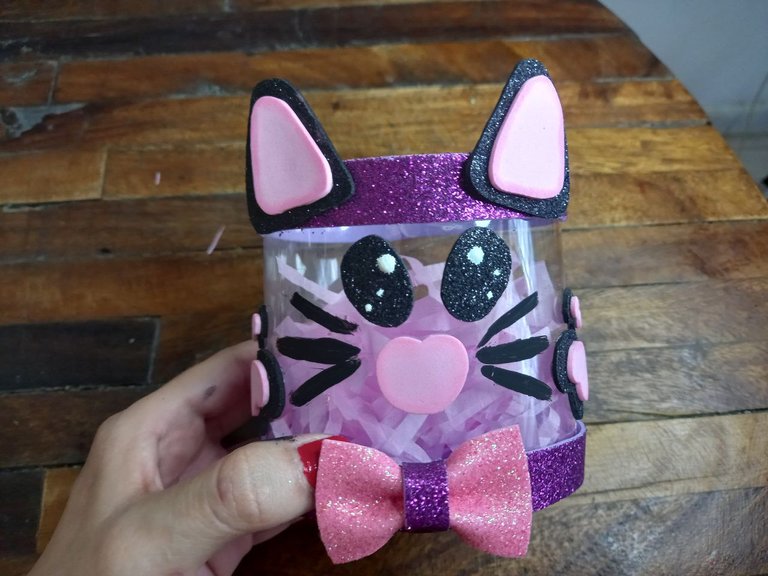

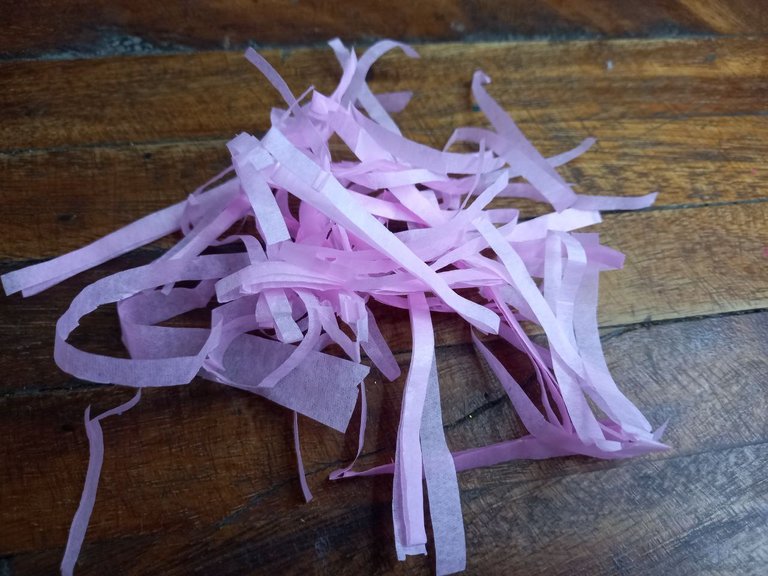
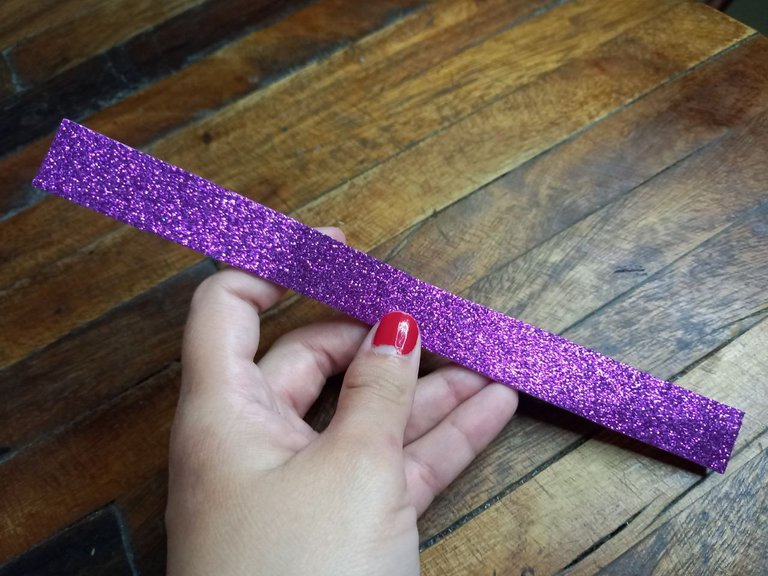
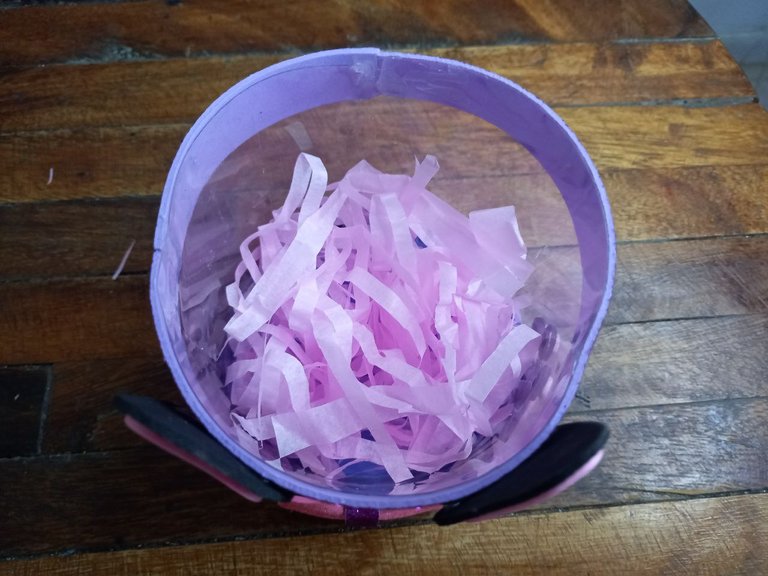
🐱 PASO 8. Recorté varias tiras muy delgadas del papel de seda rosado y las coloqué en la parte interna del dulcero, luego recorté una tira de foami morado escarchado la pegué a los lados de la parte interna del dulcero haciendo la función de soporte para este.
🐱 STEP 8. I cut several very thin strips of pink tissue paper and placed them on the inside of the candy box, then I cut a strip of frosty purple foami and glued it to the sides of the inside of the candy box doing the function support for this.

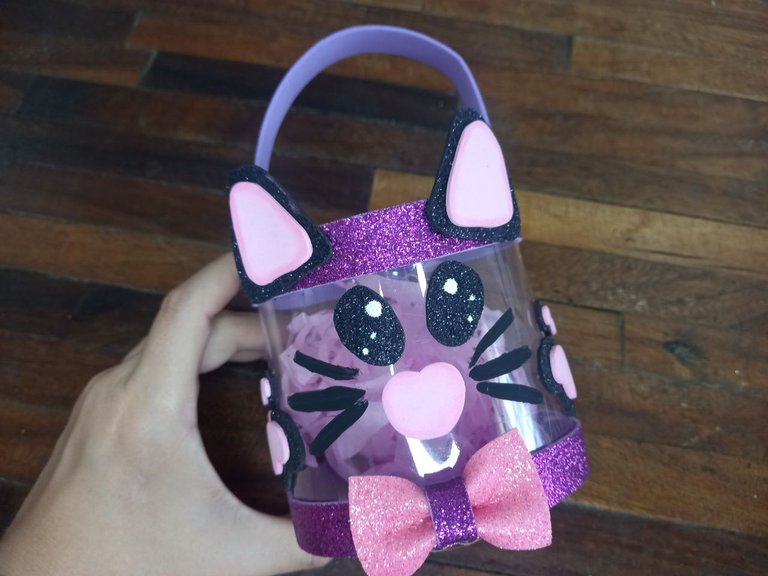

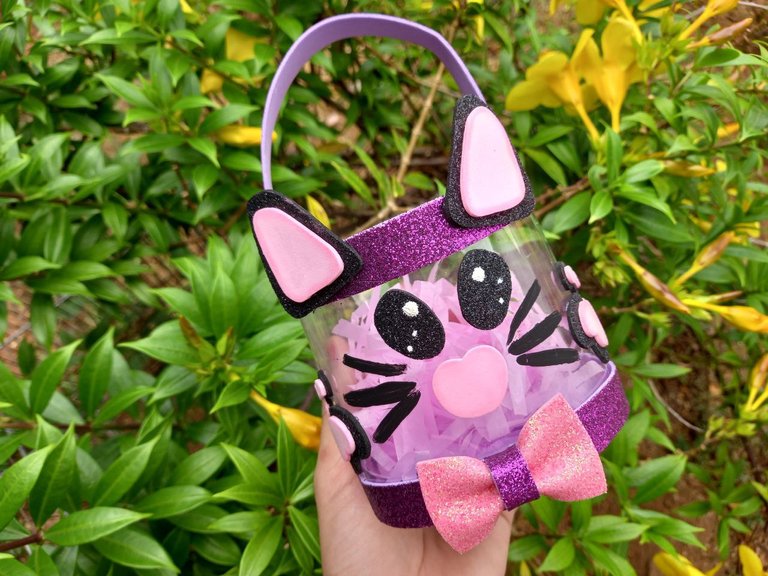
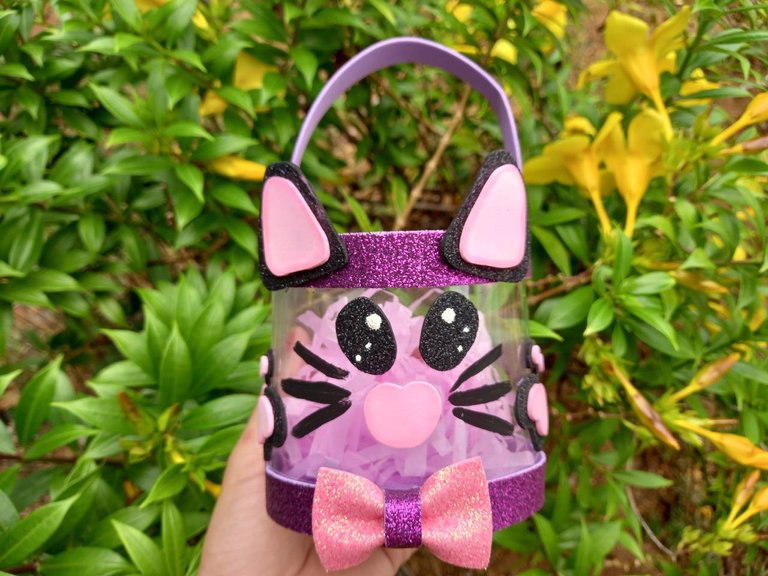
¡Y listo! De esta manera fue como hice un lindo dulcero con temática de gato para este concurso, fue muy fácil de elaborar y prácticamente usé materiales básicos, nada extraordinario y a mi parecer el resultado fue muy bueno, espero que a ustedes también les haya gustado y esta idea pueda ser de utilidad.
¡And ready! This is how I made a cute cat-themed candy box for this contest, it was very easy to make and I practically used basic materials, nothing extraordinary and I think the result was very good, I hope you liked it too and this idea may be useful.

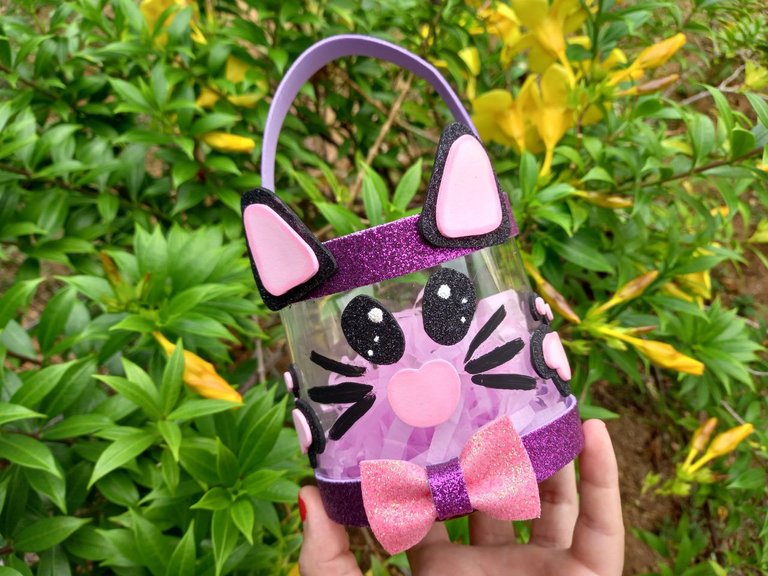
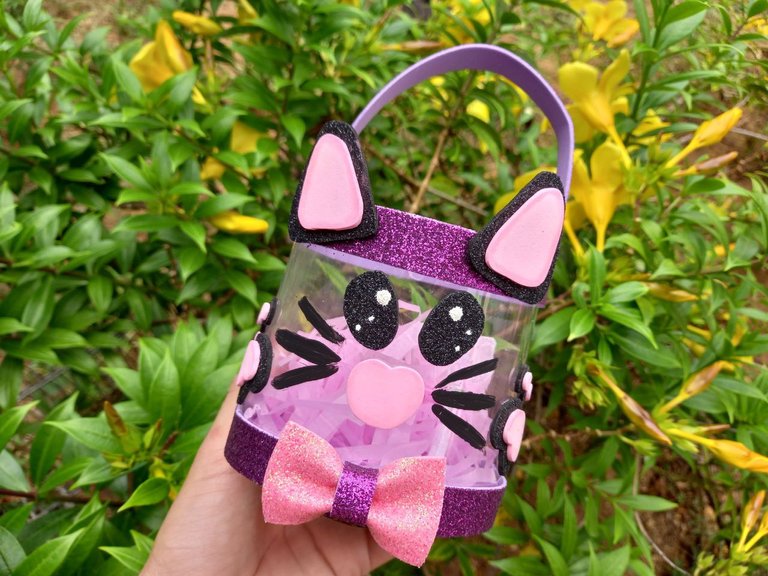

Todas las fotografías son de mi propiedad.
Fotografías capturadas con mi Samsung Galaxy A12
Separador de texto elaborado en Canva.
Nos vemos en mi próxima publicación.
¡Tengan un feliz día!
All photographs are my property.
Photos captured with my Samsung Galaxy A12
Text separator made in Canva.
See you in my next post.
¡Have a happy day!
Wow, so nicely the cat themed candy box is so beautiful thank you for sharing this idea with us.
Thank you, I am very glad to know that you liked it. Thanks for the visit.
Awww, that's a cute recycled cat box. Well done and good luck with the contest.
Thank you very much, I am glad to know that you liked my work. I didn't want to miss out on participating. Thanks for the support
Ay no puedo con esta ternura Mary! Es que cuando te pones a crear haces cosas hermosas.
Yo estoy contenta por ver qué nos compartes en navidad, no sé si te sientes como yo, pero es que hacer cositas navideñas se siente súper emocionante 😅 🤭
Ains muchas gracias amiga, tu siempre tan linda con tus comentarios 😍 Me alegra muchísimo saber que te gustó, a mi no terminaba de convencerme pero de todas formas lo quise compartir.
Yo estoy ansiosa por hacer cositas de navidad, no se en donde las voy a colocar o donde las voy a guardar después de que pase la temporada pero de que hago hago, ya ando buscando y pensando en ideas y ya quiero ver las tuyas tmabien 😍😍
muy tierno <3 voy a probar algo asi para mis gatit@s
Me alegra que te guste, espero ver como te queda 😁 Saludos!
Ayy no que cuchiii, te quedo super lindo y tierno Mary 😍
Gracias mi Vane linda 😍😍
Maryyyyy, que bello verte creando.. Me encanta!
Sin duda esta opción además de ser una preciosura muy tierna, es muy práctica de hacer, además que le damos utilidad a esos envases que muchas veces solo terminamos desechando.. 💕
Gracias mi Aliz, ya sabes, ando retomando esto pero me cuesta mucho, aun así me animé a crear esto. Me alegra que te gustara ami 😍😍
¡Felicitaciones!
Estás participando para optar a la mención especial que se efectuará el domingo 10 de septiembre del 2023 a las 8:00 pm (hora de Venezuela), gracias a la cual el autor del artículo seleccionado recibirá la cantidad de 1 HIVE transferida a su cuenta.
¡También has recibido 1 ENTROKEN! El token del PROYECTO ENTROPÍA impulsado por la plataforma Steem-Engine.
1. Invierte en el PROYECTO ENTROPÍA y recibe ganancias semanalmente. Entra aquí para más información.
2. Contáctanos en Discord: https://discord.gg/hkCjFeb
3. Suscríbete a nuestra COMUNIDAD y apoya al trail de @Entropia y así podrás ganar recompensas de curación de forma automática. Entra aquí para más información sobre nuestro trail.
4. Visita nuestro canal de Youtube.
Atentamente
El equipo de curación del PROYECTO ENTROPÍA
Muchas gracias por el apoyo!