Creation of a crochet bandana top with checkerboard effects - Creación de un top bandana a crochet con efectos damero. 👸🏻🏵🧶
Good morning my dear friends who love thread and needles, on this occasion I want to present you one of my latest crochet creations 🧶 on this occasion it is a top created with squares that give a checkerboard effect. Also for this work a pattern must be created with the measurements of the person and make a diagram of how we want the squares, depending on the thickness of the thread we locate the points and the rows that each square should have.
Buen día mis apreciados amigos amantes del hilo y las agujas en esta ocasión quiero presentarles una de mis últimas creaciones en crochet 🧶 en esta oportunidad se trata de un top creado con cuadrados que dan un efecto damero también para este trabajo se debe crear un patrón con las medidas de la persona y hacer un esquema de como queremos los cuadrados, según el grosor del hilo ubicamos los puntos y las filas que debe tener cada cuadrado.
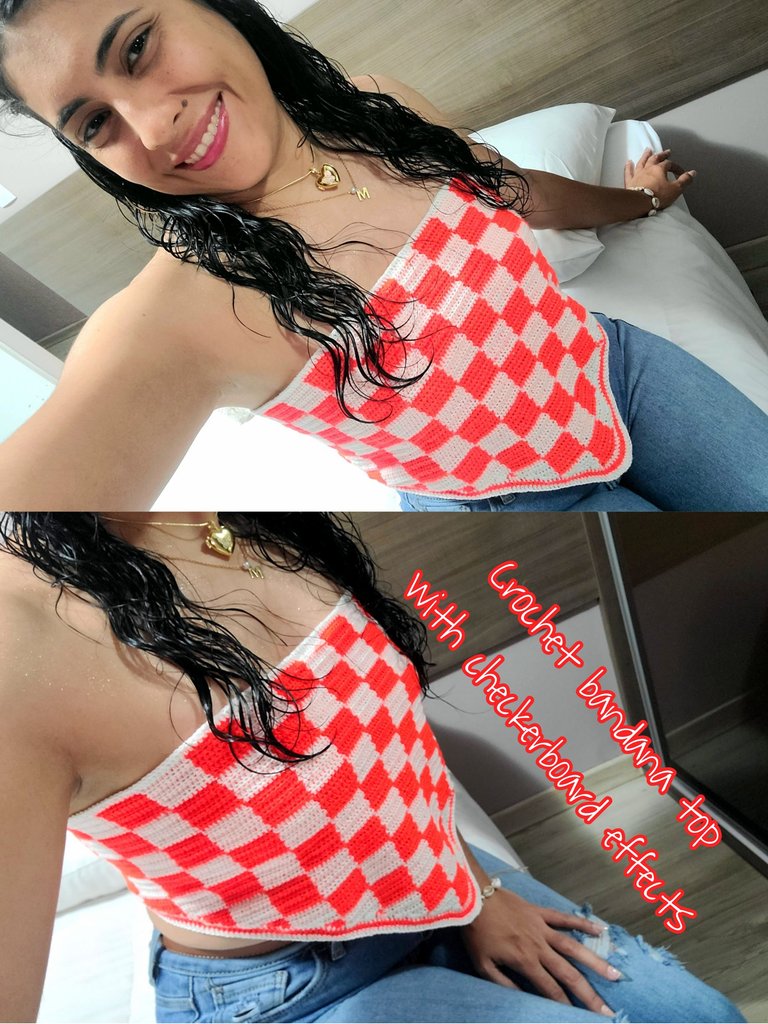
Use two colors of crochet thread: bone beige and deep orange, number 6 crochet needle, scissors and 1 meter of 1.5 cm ribbon to tie it in the back, the stitch used was: medium high stitch.
Utilice dos colores en hilo crochet: beige hueso y naranja intenso, aguja de crochet número 6, tijeras y 1 metro de cinta de 1.5 cm para anudarlo en la espalda, el punto utilizado fue: punto medio altos.

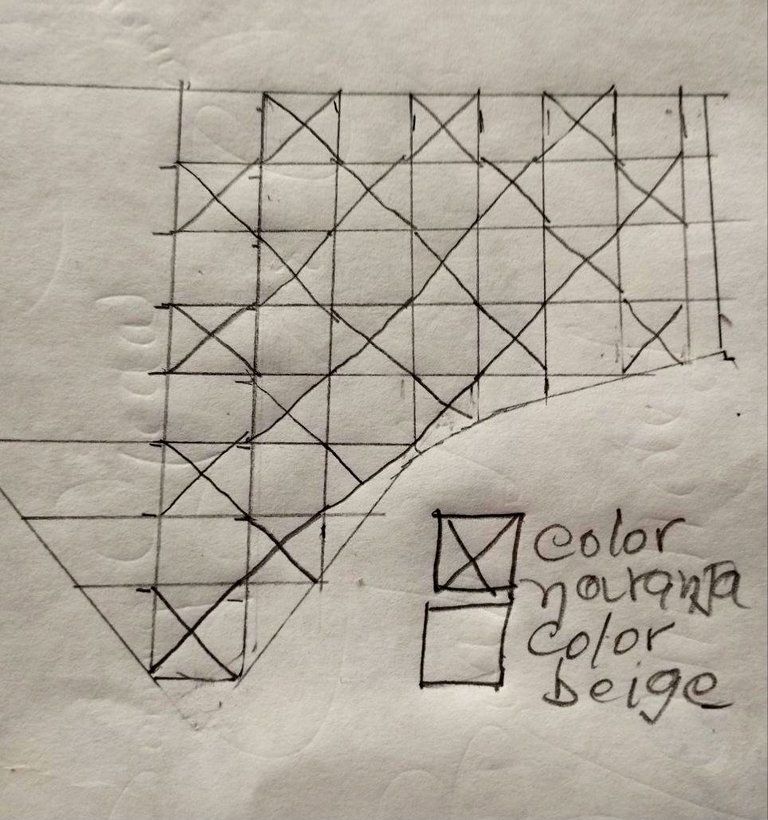
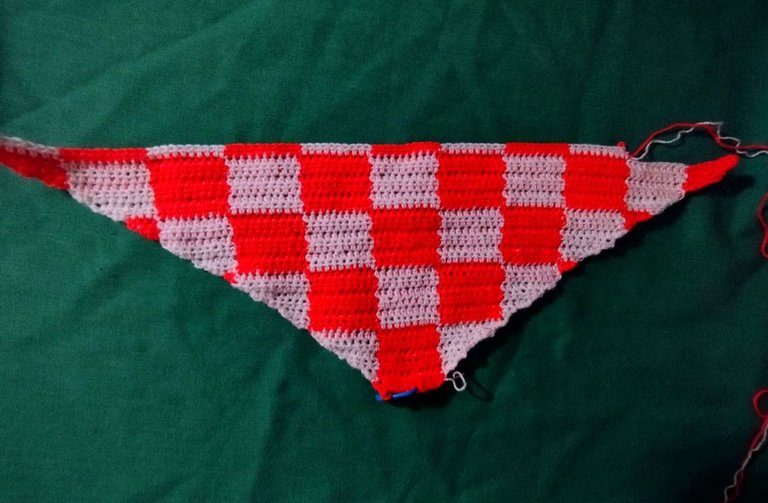
I started with the intense orange thread, I worked on this top starting to form them at the lower front part to create the squares, the squares are 7 half-high stitches x 6 rows high, we make 7 chains and we make half-high stitches on the chains and as we make rows we integrate the off-white color and we make increases on both sides, to achieve this effect we have to hide the threads inside the crochet as we progress, having made the orange squares we change the colors and We place the off-white color on the orange color and we place the orange color on the off-white color so on until the checkerboard effect is confirmed. Once we obtain the desired height on the sides, we increase the squares on the back to give the shape to the top.
Comencé con el hilo color naranja intenso,este top lo trabajé empezando a formarlos por la parte baja delantera para ir creando los cuadrados, los cuadrados son de 7 puntos medios altos x 6 filas de altura, hacemos 7 cadenas y hacemos puntos medios altos sobre las cadenas y a medida que vamos elaborando filas integramos el color hueso y vamos haciendo aumentos en ambos lados, para lograr este efecto tenemos que ir escondiendo los hilos dentro del crochet a medida que vamos avanzando, al haber concretado el cuadrados del color naranja cambiamos los colores y colocamos el color hueso sobre el color naranja y el color naranja lo colocamos sobre el color hueso así sucesivamente hasta confirmar el efecto damero, al obtener el alto deseado en los costados aumentamos los cuadrados de la espalda para darle la forma al top.
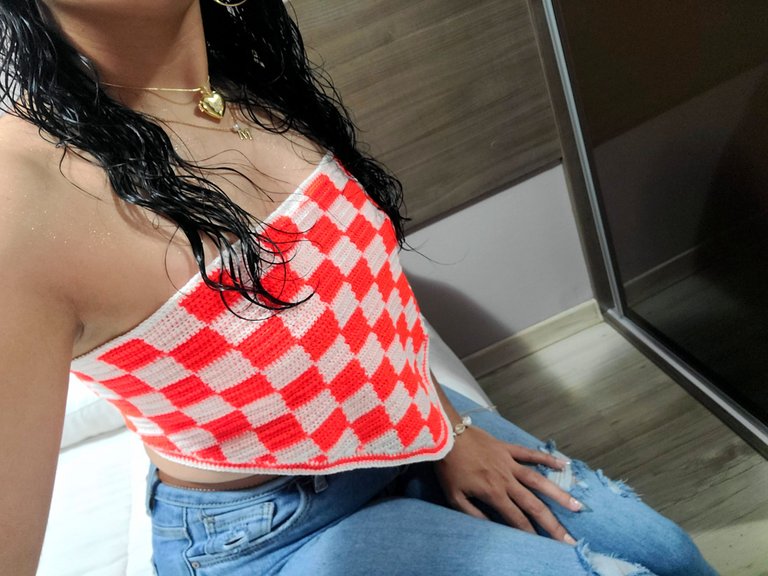
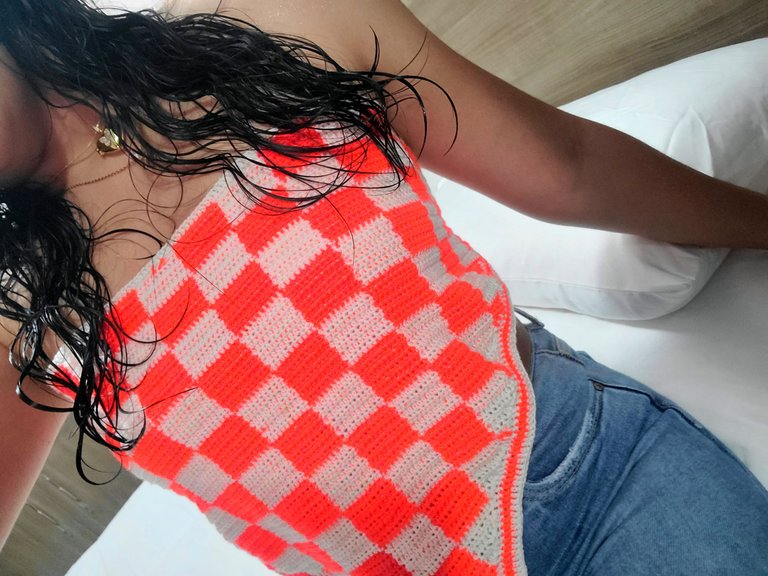
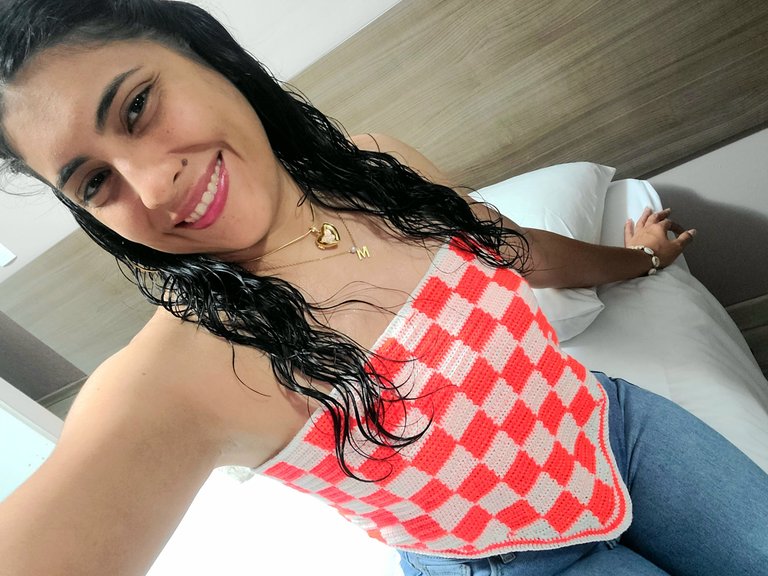
Dear crochet friends, this is a very meticulous task but not at all difficult when locating what we want to do. It is very easy to make. I think it is super pretty and very lucid. I made this piece for my daughter Daniela @dojeda and when she asked me for it, I didn't think so. I was going to be able to please her, so I looked for the photo that she provided me and I started doing my calculations until I managed to create the perfect painting for me, then I made a pattern with her measurements and I adapted it step by step with the necessary increases until I completely achieved the top and here I leave you an image and the result of my project, happy start to the week and a hug.
Estimados amigos crocheteros este es una labor muy minuciosa pero nada dificultosa al ubicar lo que queremos hacer es muy fácil de elaborar me parece súper bonita y muy lúcida, yo hice esta pieza para mi hija Daniela @dojeda y cuando me la pidió, creí que no la iba a poder complacer, entonces busque la foto que me suministro y empecé hacer mis cálculos hasta que logré crear el cuadro perfecto para mí, entonces hice un patrón con sus medidas y lo fui amoldando paso a paso con los aumentos necesarios hasta lograr por completo el top y acá les dejo una imagen y el resultado de mi proyecto, feliz inicio de semana y un abrazo.
I can only imagine the effort put in to create this masterpiece... It is beautiful and compliments your skin tone.
Thanks You
You are welcome 🤗
How you did this is still so amazing and your top fits perfectly well on you
Thanks You
Me encanta el efecto damero, te quedó hermoso.
Gracias amiga, saludos