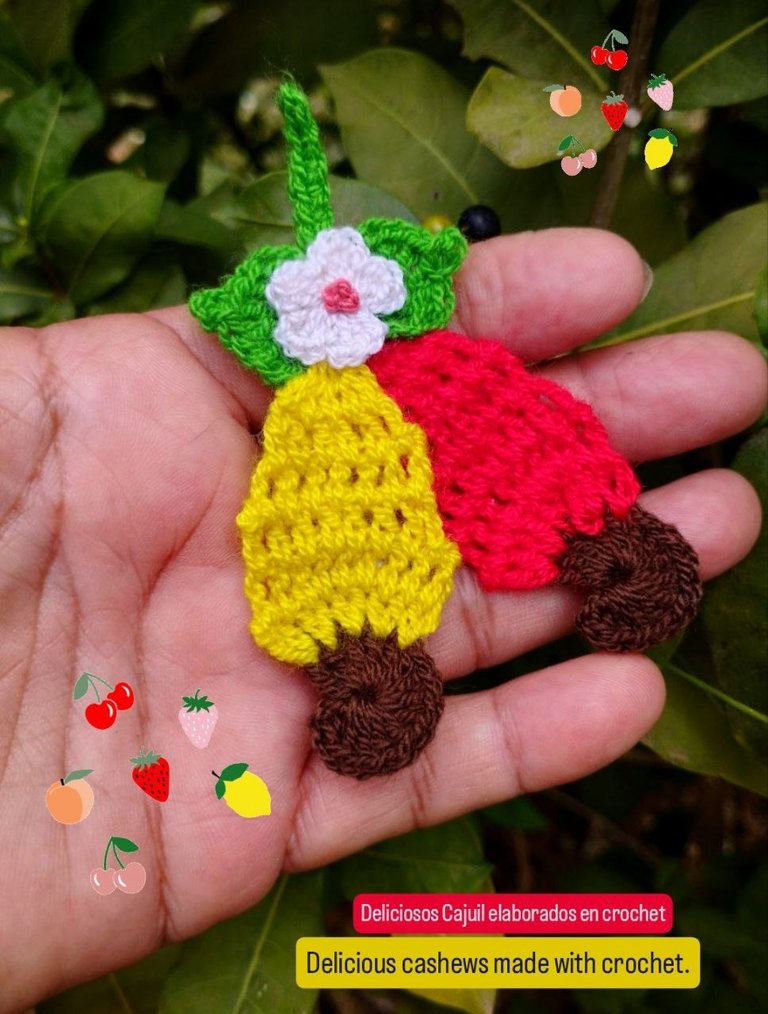
Delicious cashews made with crochet - Delicioso cajuil elaborado en crochet. 🍒🧶
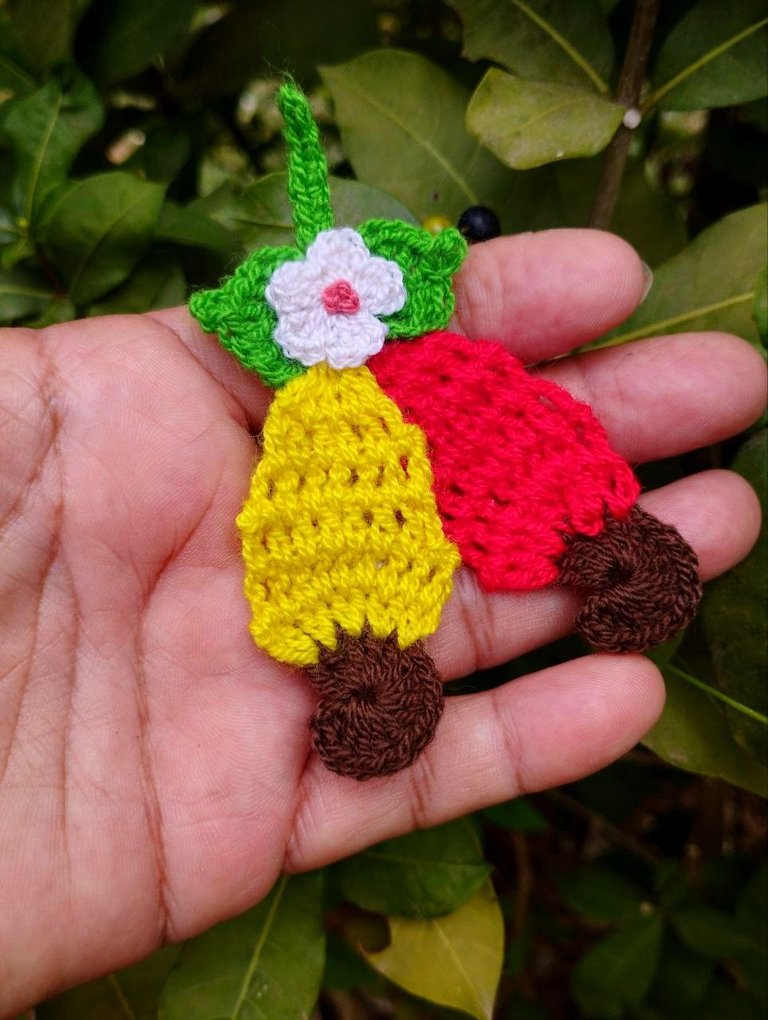
Hello my crochet friends, active again with the yarn and needles. I've been a little absent due to my multiple projects, but here we are. Today I'm leaving you a beautiful application that could also be used as a decoration for the refrigerator. It's very beautiful and consists of a pair of cashews, which are one of my favorites for sweets.
Hola mis amigos crocheteros activa de nuevo con el hilo y las agujas he estado un poquito ausente debido a mis múltiples proyectos pero acá seguimos, hoy les estoy dejando una preciosa aplicación o también podría ser utilizado como adorno para la nevera es muy bella, consiste en un par de cajuil que es de mis favoritos para dulces.
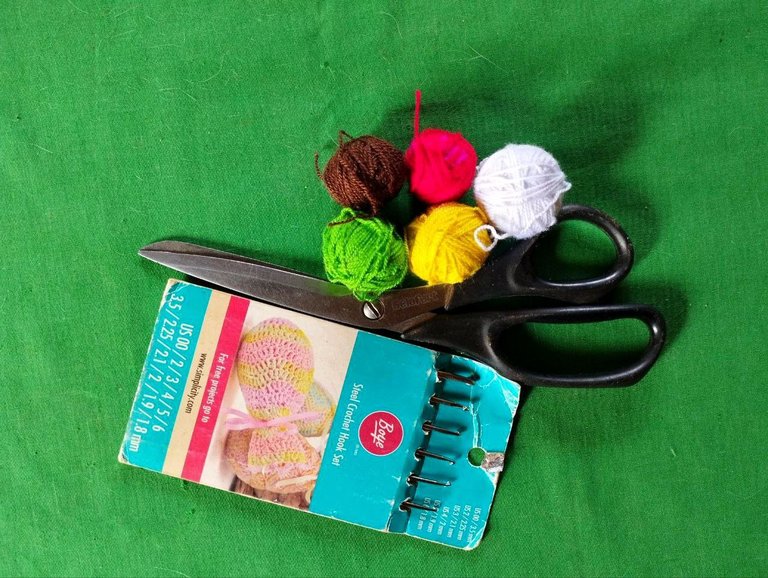
Materials used in the project: crochet threads in the colors green, red, yellow, brown and white, crochet hook number 4 and scissors, for the stitches I used: normal double crochets, single crochets, double crochets with 2 loops.
Materiales que se usaron en el proyecto: hilos de crochet en los colores y verde, rojo, amarillo, marrón y blanco, aguja de crochet número 4 y tijeras, para los puntos he usado: puntos altos normales, puntos bajos, puntos altos de 2 lazadas.
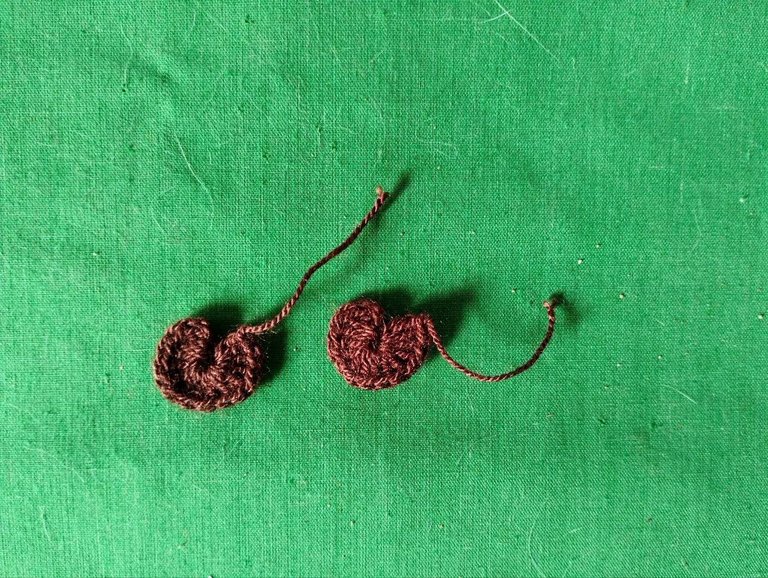
We'll start with the brown yarn to make the fruit seed. We'll make a magic ring, and inside it, we'll make 16 regular double crochets. We'll close the ring, but not the double crochets.
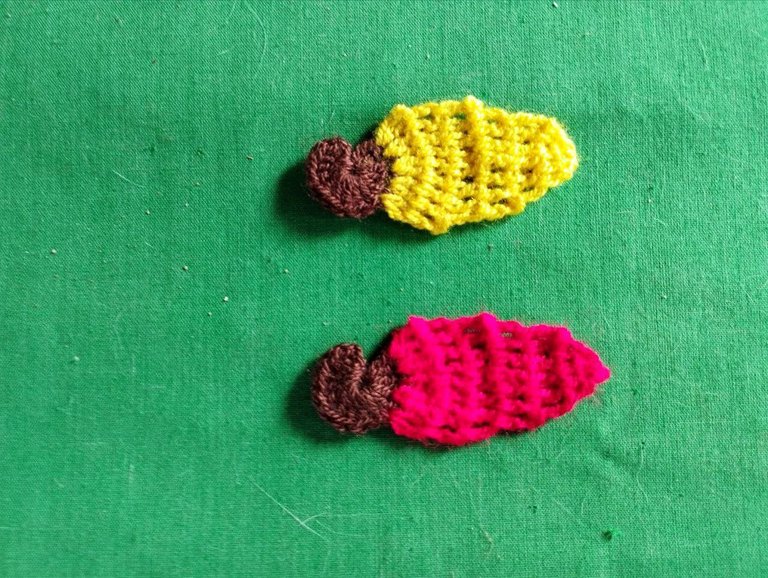
We'll add the yellow yarn, from the last brown stitch back 5 stitches, and there we'll start by making 2 regular double crochets in each space. In this row, we'll decrease, enter between the first two stitches, and pick up 3 chains. We'll work all the stitches the same in the center of the space.
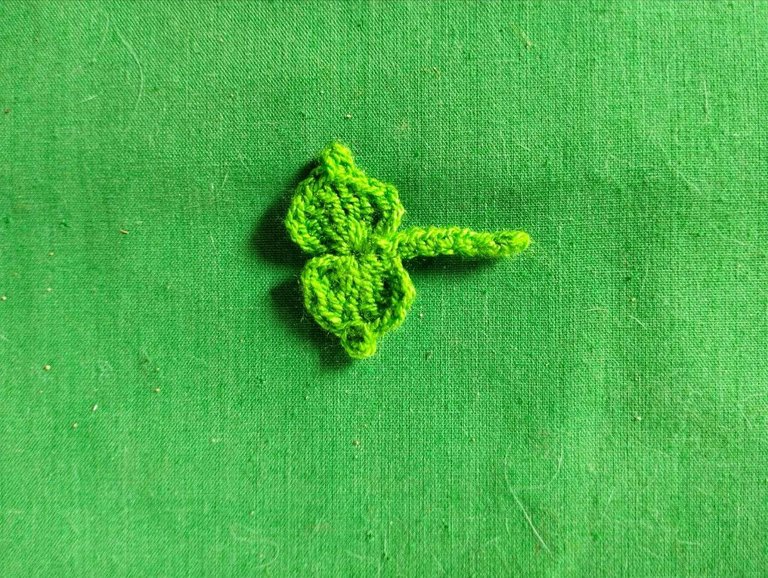
We work the next 3 rows the same way. In the last one, we decrease and take all the unbound stitches and cast them off in a single space. We cast off and cut the yarn. Then, we make another piece just like this one, but with the red yarn. We take the green yarn and start with a magic ring. Inside, we make 3 chains, 2 double crochets, 1 picot stitch, 2 double crochets, 3 chains, and cast off with a single crochet. Here, we make the stem by making 8 chain stitches and we return with single crochets. Then, we form the other leaf in the same way as the previous one.
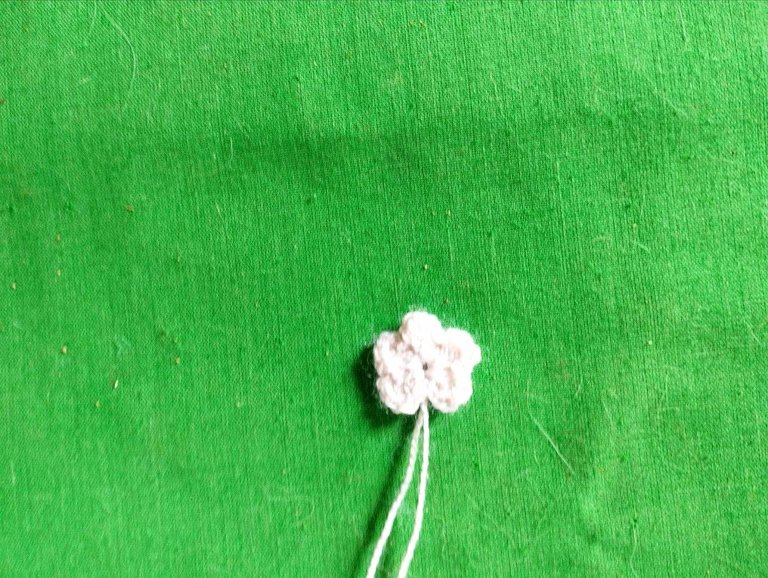
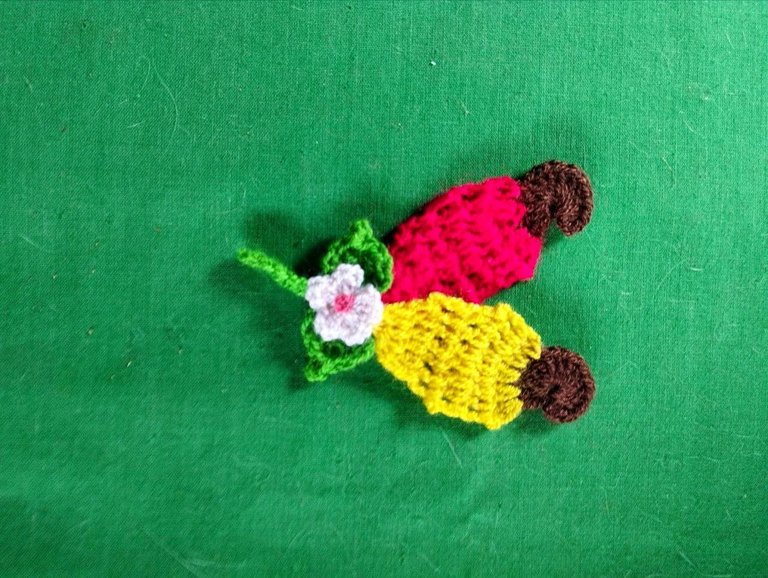
With the white yarn, we make the little flower, starting with a magic ring and inside, we make 3 chains, 2 regular double crochets, 3 chains, and cast off. We repeat this 4 more times for 5 petals. To assemble, we place the two pieces of the fruit and secure them with the yarn in the center of the leaves. Once they are well secured, we place the little flower and secure it well. We also add a center to the little flower to make it stand out.
Comenzaremos trabajando con el hilo marrón para elaborar la semilla de la fruta, haremos un anillo mágico y dentro de este hacemos 16 puntos altos normales, cerramos el anillo más no.los puntos altos.
Colocamos el color amarillo, desde el ultimo punto marrón hacia atrás 5 puntos y allí comenzare haciendo 2 puntos altos normales en cada espacio, en esta fila haremos una disminucion entramos entre los dos primeros puntos y levanto 3 cadenas y trabajamos todos los puntos igual en el centro del espacio.
Las siguientes 3 filas las trabajamos igual, en la última hacemos la disminucion y tomamos todos los puntos sin cerrar y cerramos en un solo espacio cerramos y cortamos el hilo, luego hacemos otra pieza igual a esta pero con el hilo rojo, tomamos el hilo verde y comenzaré con un anillo mágico y dentro hacemos 3 cadenas 2 puntos altos dobles, 1 punto picot, 2 puntos altos doble, 3 cadenas y cerramos con punto bajo, aquí mismo haremos el tallo haciendo 8 puntos de cadenas y nos devolvemos con puntos bajos, seguidamente formamos la otra hoja de la misma manera que la anterior.
Con el hilo blanco haremos la florecita, iniciando con un anillo mágico y dentro hacemos 3 cadenas, 2 puntos altos normales, 3 cadenas y cerramos, así repetimos 4 veces más para 5 pétalos, para el armado colocamos las dos piezas de la fruta y la cuidemos con el hilo en el centro de las hojas, al estar bien sujetas colocamos la florecita y la aseguramos bien, así mismo le colocamos un centro a la florecita para destacarla.
Well, my dear friends, this is a simple, eye-catching applique that can be used as a refrigerator or kitchen magnet. Thank you for your attention. I will continue to share it with you as much as possible. 🫂😘
Bien mis estimados amigos este es un aplique sencillo, vistoso y puede ser usado como imán para la nevera o para la cocina, gracias por su atención seguiré compartiendo con ustedes a medida de lo posible. 🫂😘

The photographs are my own, taken with my Redmi Note 11 cell phone and edited with the Instagram application, the translation of the text was done using this means: Google.
My Instagram account and work venture is:
Siriuscrochet, the magic of knitting.
Las fotografías son de mi autoría tomadas con mi celular Redmi Note 11 y editadas con la aplicación Instagram la traducción del texto la realice utilizando este medio: Google.
Mi cuenta de Instagram y emprendimiento laboral es:
Siriuscrochet, la magia de tejer.
Beautiful work, love the colors.
Thanks You
¿ᴺᵉᶜᵉˢᶦᵗᵃˢ ᴴᴮᴰ? ᵀᵉ ˡᵒ ᵖʳᵉˢᵗᵃᵐᵒˢ ᶜᵒⁿ @ruta.loans
Muchas gracias
This is beautiful
Thanks You
Welcome
It is colorful, lovely, and beautiful. It looks amazing. It is good to see how you made it. Well done!
selected by @rezoanulvibes
Thanks You