Tutorial: Design a lemon for a beautiful crochet rug (step by step) - Diseño un limón para un hermoso tapete en crochet (paso a paso). 🍋🧶
Hello hello, dear friends of Hive ❤️ today I bring you a tutorial on how to design a mat in the shape of a lemon 🍋 I leave you the step by step as an illustration of it, I hope you like it.
Hola hola, apreciados amigos de Hive ❤️ hoy les traigo un tutorial de como diseñar un tapete con la forma de un limón 🍋 les dejo el paso a paso como ilustración del mismo, espero les guste.

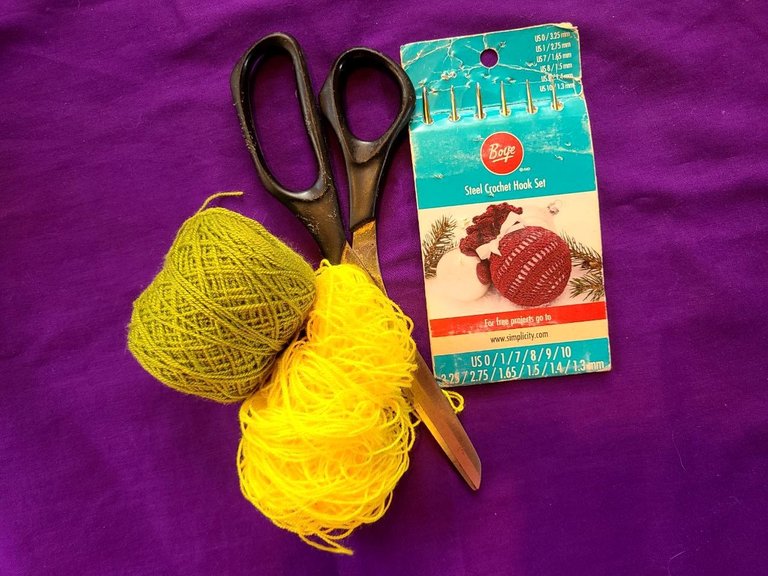
🧶 Materials to use:
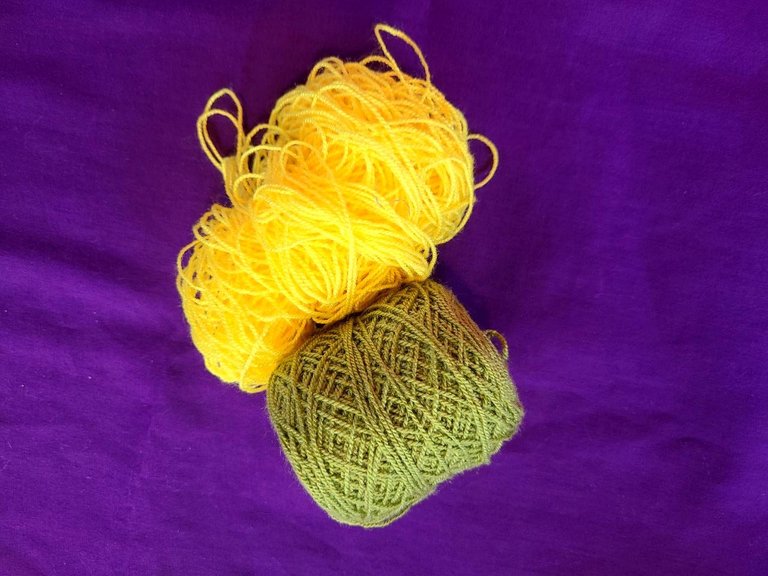
✓Crochet threads: yellow and green.
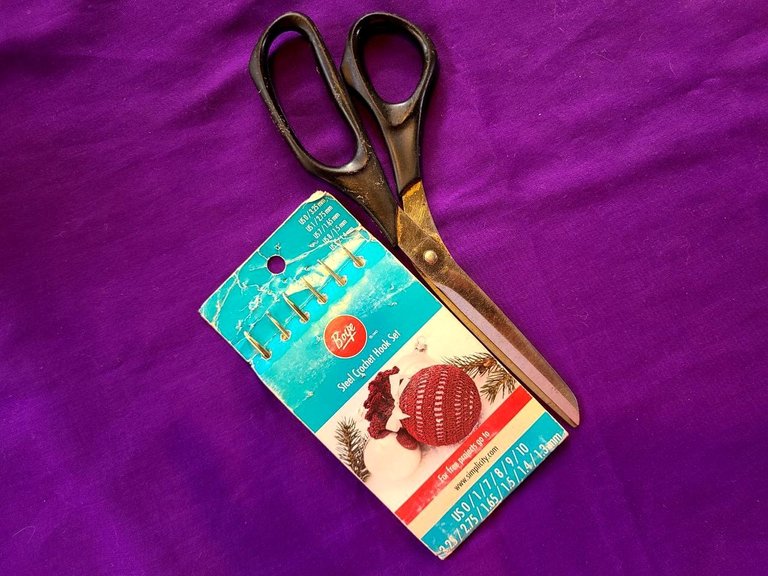
✓Crochet needle number 2.
✓Scissors.
🧶 Points to use:
✓Medium high point.
✓Normal high points.
✓Elongated high points.
✓Double high points.
✓Slided points.
✓Low points.
🧶 Materiales a utilizar:
✓Hilos crochet: amarillo y verde.
✓Aguja de crochet número 2.
✓Tijeras.
🧶 Puntos a utilizar:
✓Punto medio alto.
✓Puntos altos normales.
✓Puntos altos alargados.
✓Puntos altos dobles.
✓Puntos deslizados.
✓Puntos bajos.
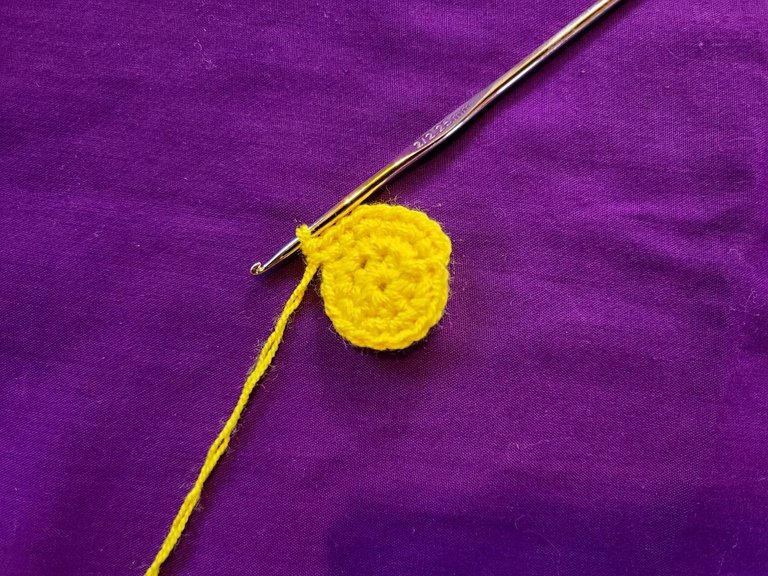
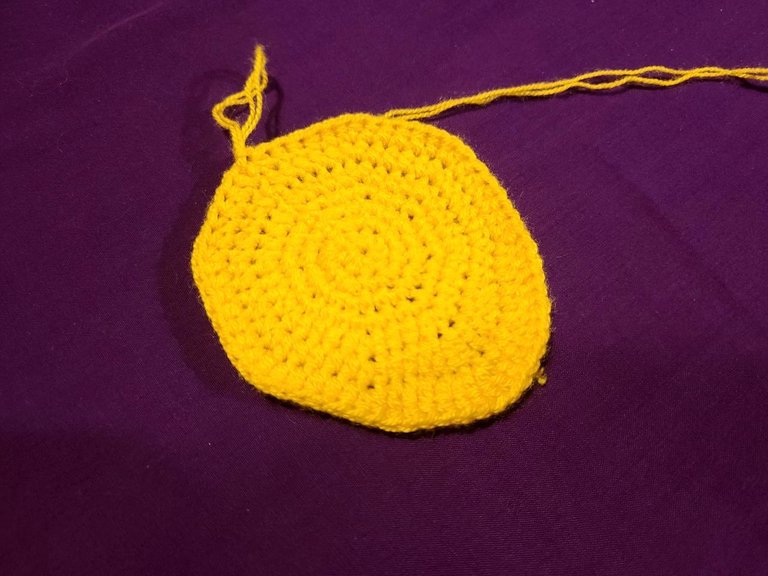
🧶 Step 1:
Row 1: We start by making a magic ring and inside it we make 8 middle stitches and close with a slip stitch.
Row 2: We make all stitches with increase.
Row 3: 1 half double crochet followed by an increase, we close with a slip stitch.
Row 4: 2 half double crochets followed by an increase, we close with a slip stitch.
Row 5: 3 half double crochets followed by an increase, we close with a slip stitch.
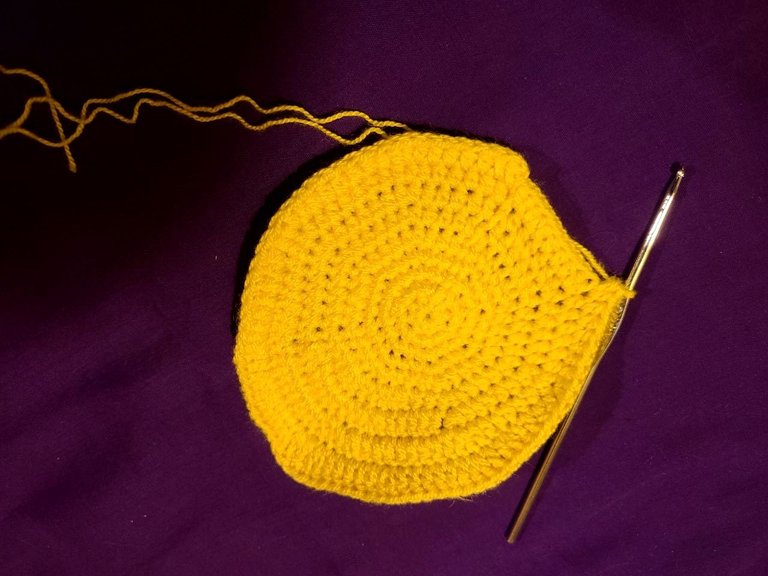
Row 6: 4 medium double crochets followed by an increase, 4 medium double crochets followed by an increase, 4 medium double crochets followed by an increase 4 normal double crochets followed by an increase, and from here we repeat all the reverse stitches and close with a slip stitch.
Row 7: 5 half double crochets followed by an increase, 5 half double crochets followed by an increase, 3 half double crochets, 2 normal double crochets followed by an increase, 5 normal double crochets followed by an increase, 1 normal double crochet, and from here we repeat all the points in reverse, and we close with a slip stitch.
Row 8: 6 half double crochets followed by an increase, 6 half double crochets followed by an increase, 3 half double crochets followed by an increase, 6 normal double crochets followed by an increase, 2 normal double crochets, 1 elongated double crochet, and from here we repeat all the points in reverse, and we close with a slipped stitch.
Row 9: 7 half double crochets followed by an increase, 7 half double crochets followed by an increase, 7 normal double crochets followed by an increase, 5 normal double crochets followed by an increase, 2 normal double crochets 3; normal treble crochet, 2 elongated treble crochets, 1 elongated treble crochet, and from here we repeat all the stitches in reverse, and we close with a slipped stitch.
Row 10: 4 single crochets, 4 half double crochets followed by an increase, 8 half double crochets followed by an increase, 8 normal double crochets followed by an increase, 5 normal double crochets followed by an increase, 3 stitches normal treble crochets, 3 elongated treble crochets followed by an increase of 3 elongated treble crochets together, and from here we repeat all the stitches in reverse, and we close with a slip stitch.
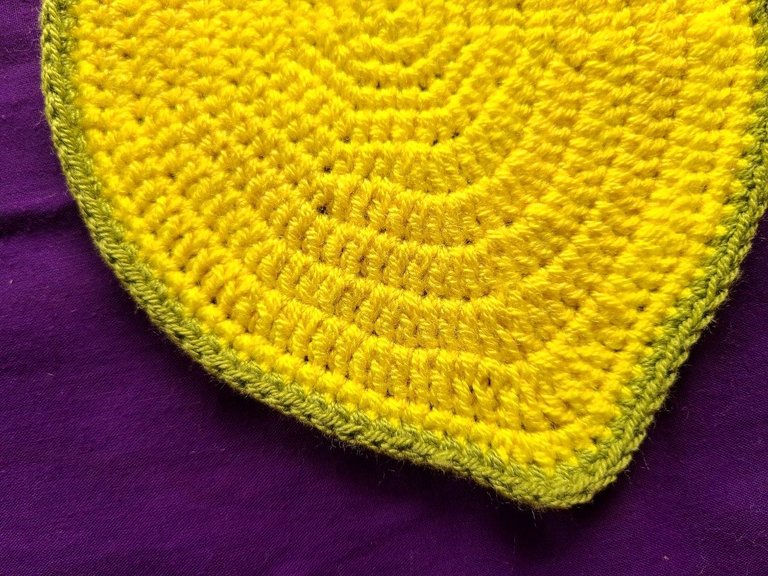
Row 11: This entire row is worked in single crochet until reaching the elongated high crochets, there on these points we work an increase of half high crochets in each one and we continue with the sequence of low crochets until finishing closing with slipped stitch.
🧶 Paso 1:
Fila 1: Empezamos haciendo un anillo mágico y dentro del mismo hacemos 8 puntos medios y cerramos con punto deslizado.
Fila 2: Todos los puntos los hacemos con aumento.
Fila 3: 1 punto medio alto seguido de un aumento, cerramos con punto deslizado.
Fila 4: 2 puntos medio altos seguidos de un aumento, cerramos con punto deslizado.
Fila 5: 3 puntos medio altos seguidos de un aumento, cerramos con punto deslizado.
Fila 6: 4 puntos medio altos seguidos de un aumento, 4 puntos medio altos seguidos de un aumento, 4 puntos medio altos seguidos de un aumento, 4 puntos altos normales seguidos de un aumento, y desde acá repetimos todos los puntos a la inversa y cerramos con punto deslizado.
Fila 7: 5 puntos medio altos seguidos de un aumento, 5 puntos medio altos seguidos de un aumento, 3 puntos medio altos, 2 puntos altos normales seguidos de un aumento, 5 puntos altos normales seguidos de un aumento, 1 punto alto normal, y desde acá repetimos todos los puntos a la inversa, y cerramos con punto deslizado.
Fila 8: 6 puntos medio altos seguidos de un aumento, 6 puntos medio altos seguidos de un aumento, 3 puntos medio altos, 3 puntos altos normales seguidos de un aumento, 6 puntos altos normales seguidos de un aumento, 2 puntos altos normales, 1 punto alto alargado, y desde acá repetimos todos los puntos a la inversa, y cerramos con punto deslizado.
Fila 9: 7 puntos medio altos seguidos de un aumento, 7 puntos medio altos seguidos de un aumento, 7 puntos altos normales seguidos de un aumento, 5 puntos altos normales seguidos de un aumento, 2 puntos altos normales 3; punto altos normales, 2 puntos altos alargados, 1 punto alto alargado, y desde acá repetimos todos los puntos a la inversa, y cerramos con punto deslizado.
Fila 10: 4 puntos bajos, 4 puntos medio altos seguidos de un aumento, 8 puntos medios altos seguidos de un aumento, 8 puntos altos normales seguidos de un aumento, 5 puntos altos normales seguidos de un aumento, 3 puntos altos normales, 3 puntos altos alargados seguidos de un aumento de 3 puntos altos alargados juntos, y desde acá repetimos todos los puntos a la inversa, y cerramos con punto deslizado.
Fila 11: Toda esta fila se trabaja en punto bajo hasta llegar a los puntos altos alargados, allí sobre estos puntos se trabaja un aumento de puntos medios altos en cada uno y seguimos con la secuencia de puntos bajos hasta finalizar cerrando con punto deslizado.
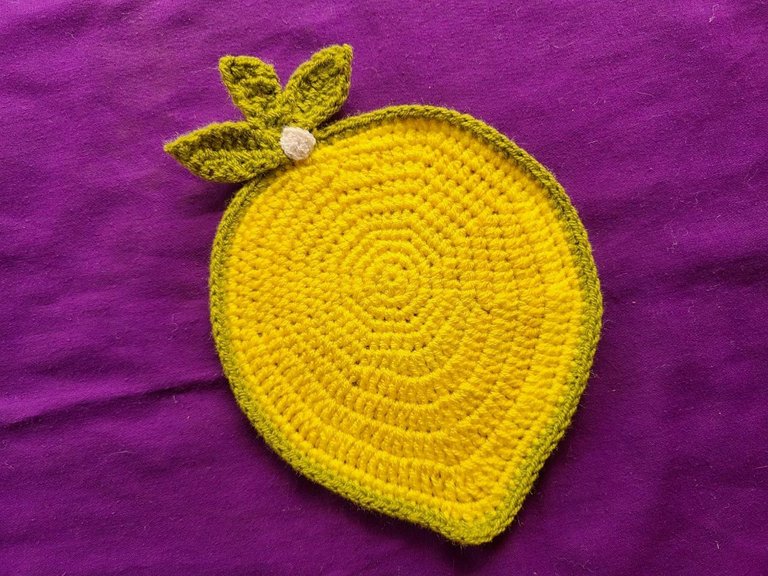
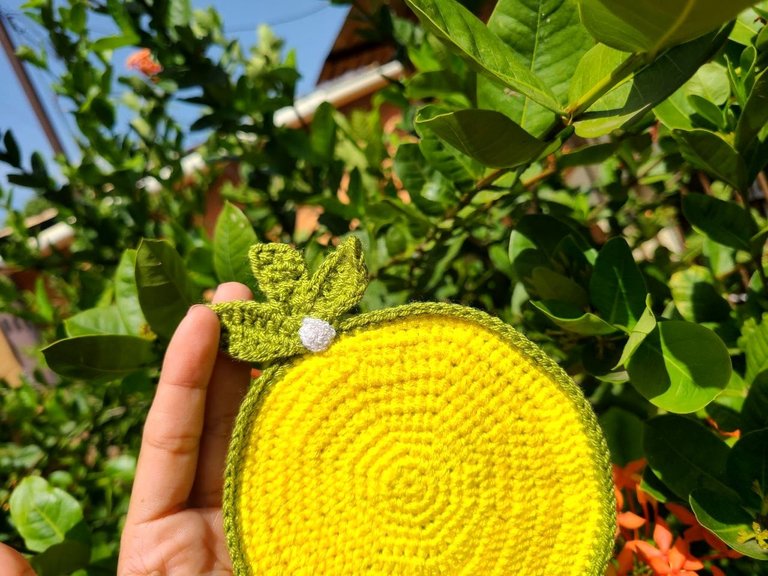
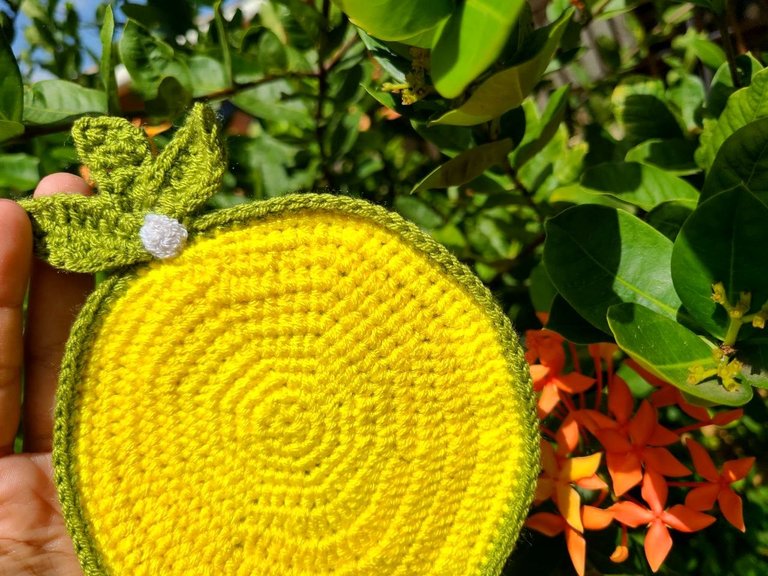
🧶 Step 2: Now we work with the green thread.
We make a row of single crochets until we reach the center and again we make an increase of medium high crochets and finish with single crochets until the end.
For the stem and leaves:
For each leaf we make 8 chains, 1 single crochet, 1 half-double crochet, 1 normal double crochet, 1 elongated double crochet, 1 normal double crochet, 1 half-double crochet, 1 single crochet and we repeat the other side of the leaf, closing with slipped stitch.
Both leaves are the same and we place them in the center to our liking.
For the stem we make 4 half-high stitches, 4 rows, in the fifth row 1 increase in single crochets and 3 half-high stitches and in the row 6 half-high stitches.
To give color to the green we make a small flower with 8 low points in white and place it between the leaves.
Note: This project was made entirely with double-stranded threads, to give greater firmness to the product.
🧶 Paso 2: Ahora trabajamos con el hilo verde.
Hacemos una fila de puntos bajos hasta llegar al centro y nuevamente hacemos un aumento de puntos medios altos y terminamos con puntos bajos hasta el final.
🧶 Para el tallo y las hojas:
Para cada hoja hacemos 8 cadenas, 1 punto bajo, 1 punto medio alto, 1 punto alto normal, 1 punto alto alargado, 1 punto alto normal, 1 punto medio alto, 1 punto bajo y repetimos el otro lado de hoja igual cerramos con punto deslizado.
Ambas hojas son iguales y las colocamos en el centro a nuestro gusto.
Para el tallo hacemos 4 puntos medio alto, 4 filas, en la quinta fila 1 aumento de puntos bajos y 3 puntos medios altos y en la fila 6 puntos medio alto.
Para darle color al verde hacemos una florecita de 8 puntos bajos en blanco y la colocamos entre las hojas.
Nota: Este proyecto fue realizado totalmente con hilos doble cabo, para darle mayor firmeza al producto.

Appreciated, once again I leave you a tutorial with its step by step, I trust that you will like this publication. Thank you for the time you take to comment on my work. Greetings. 🫂❤️
Apreciados una vez más les dejo un tutorial con su paso a paso, confío que está publicación sea de su agrado.
Gracias por el tiempo que se toman en comentar mis trabajos. Saludos. 🫂❤️

@tipu curate 2
Upvoted 👌 (Mana: 38/58) Liquid rewards.