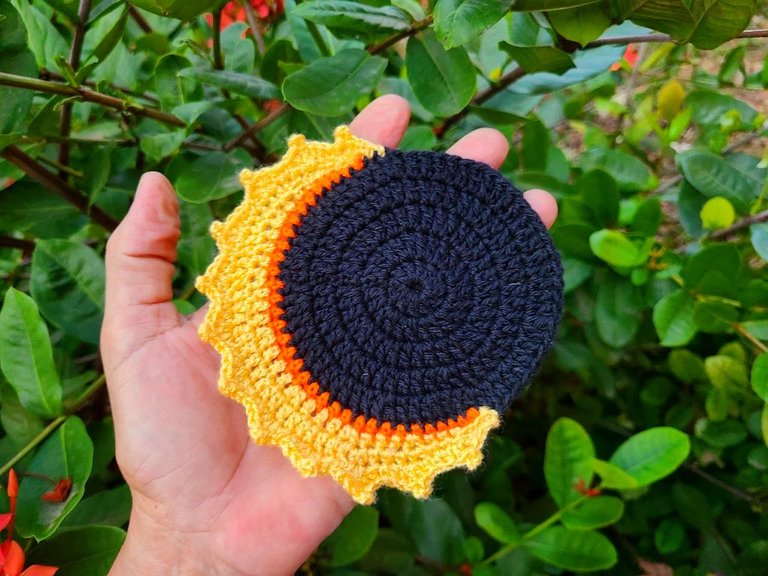
Tutorial: Design of a crochet solar eclipse, cute doily - Diseño de un eclipse de sol en crochet, lindo tapete. 🌛☀️🧶
Happy Saturday off 🌛 I hope you are enjoying it a lot, for others here we continue trying to share all our knowledge, that is why today I bring you the tutorial of a rug: Crochet sun eclipse I hope you like the project and enjoy it, this rug can be used for various purposes, it can even be made larger and given very decorative uses.
Feliz sábado de descanso 🌛 espero lo estén disfrutando bastante, para otros por acá seguimos tratando de compartir todos nuestros conocimientos, es por eso que hoy les traigo el tutorial de un tapete: Eclipse de sol en crochet espero les guste el proyecto y lo disfruten, a este tapete se le puede dar varios usos, inclusive se puede elaborar de mayor tamaño y darle usos muy decorativos.
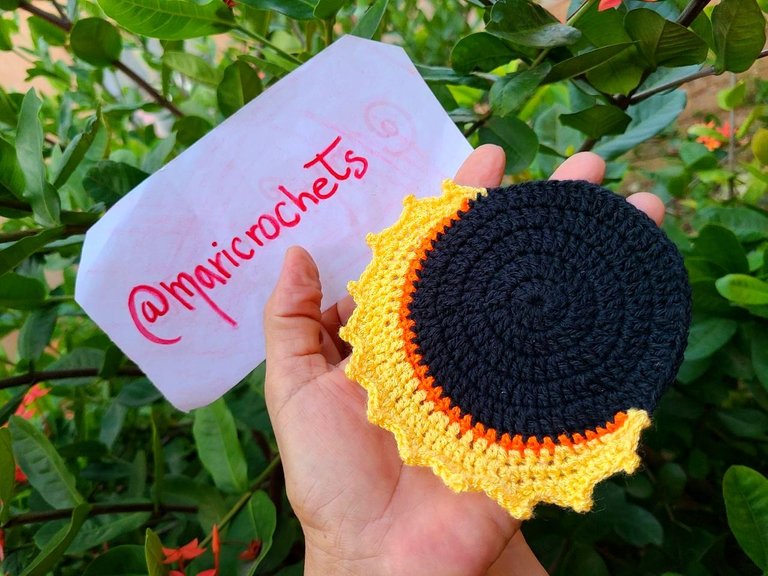
🧶 Materials to use:
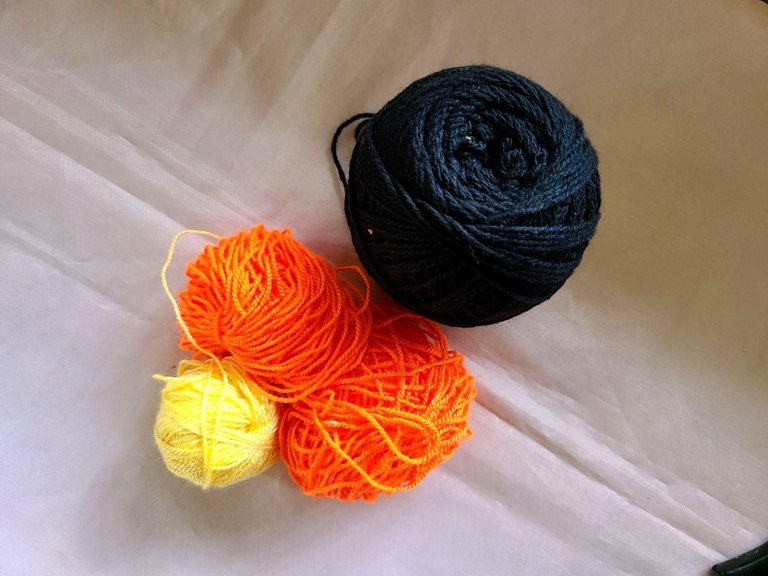
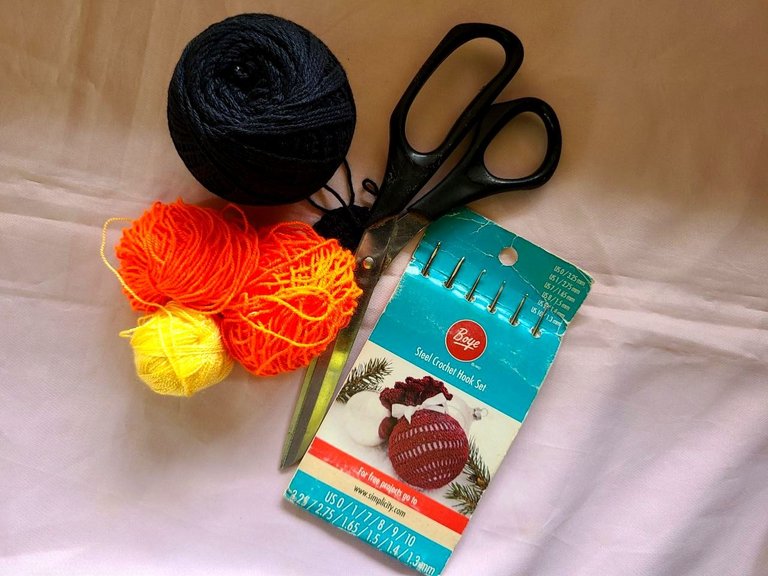
✓Black, yellow and orange crochet thread.
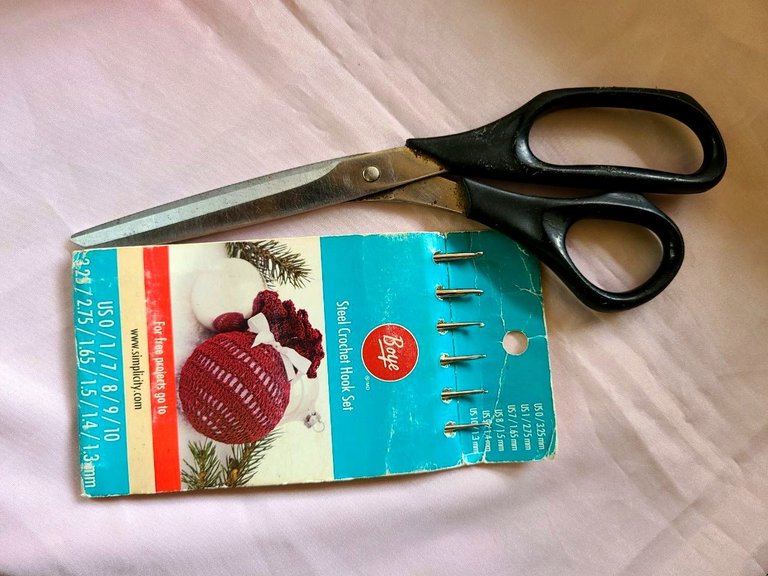
✓Crochet needle number 2.
✓Scissors.
🧶 Points we will use:
✓Normal high points. ✓Medium high points. ✓Low points. ✓Slided points.
🧶 Materiales a utilizar:
✓Hilo crochet negro, amarillo y naranja.
✓Aguja crochet número 2.
✓Tijeras.
🧶 Puntos que utilizaremos:
✓Puntos altos normales.
✓Puntos medio alto.
✓Puntos bajos.
✓Puntos deslizados.
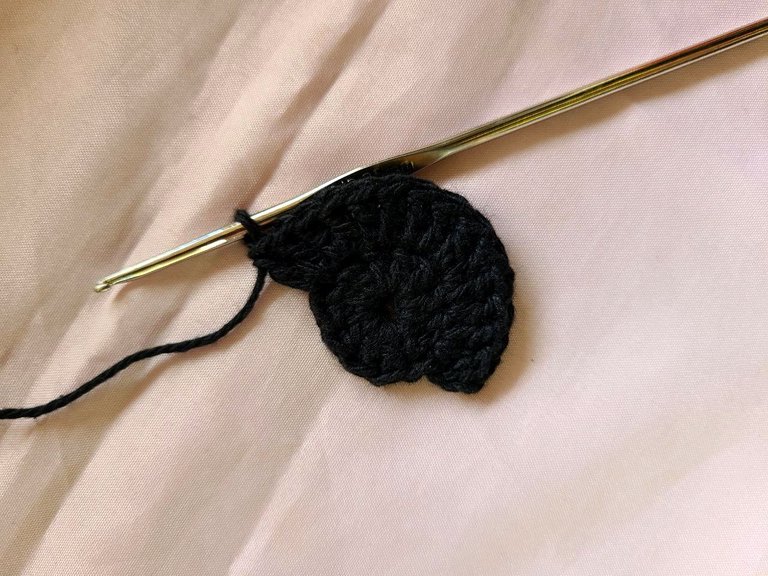
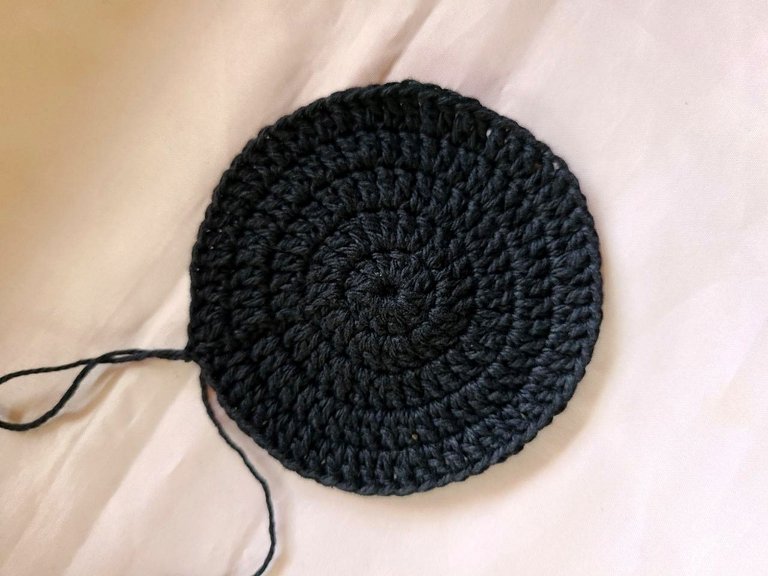
🧶 Step 1: We will use the black thread.
Row 1: We start by making a magic ring and we will place 12 normal double crochets inside it, closing with a slip stitch.
Row 2: In this row we make 2 normal double crochets, over each stitch of the previous row (24).
Row 3: 1 normal double crochet, followed by an increase, until row (36) is finished.
Row 4: 2 normal double crochets, followed by an increase, until row (48) is finished.
Row 5: 3 normal double crochets, followed by an increase, until finishing the row (60).
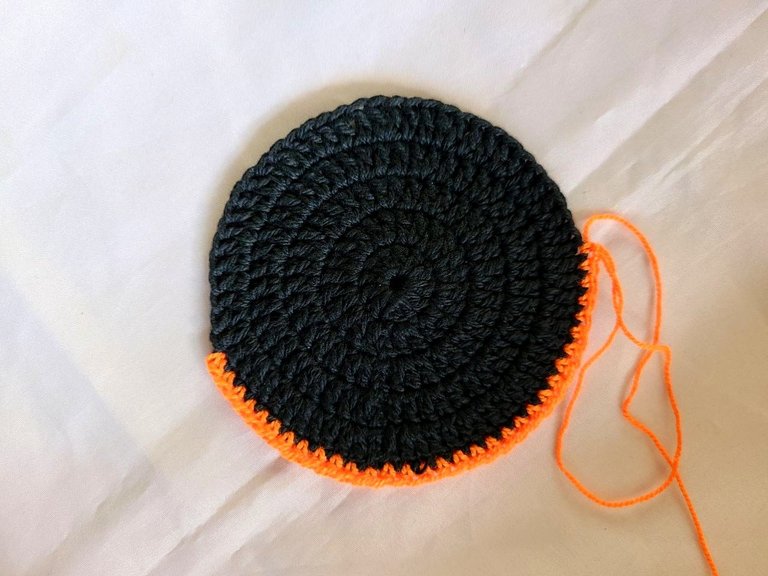
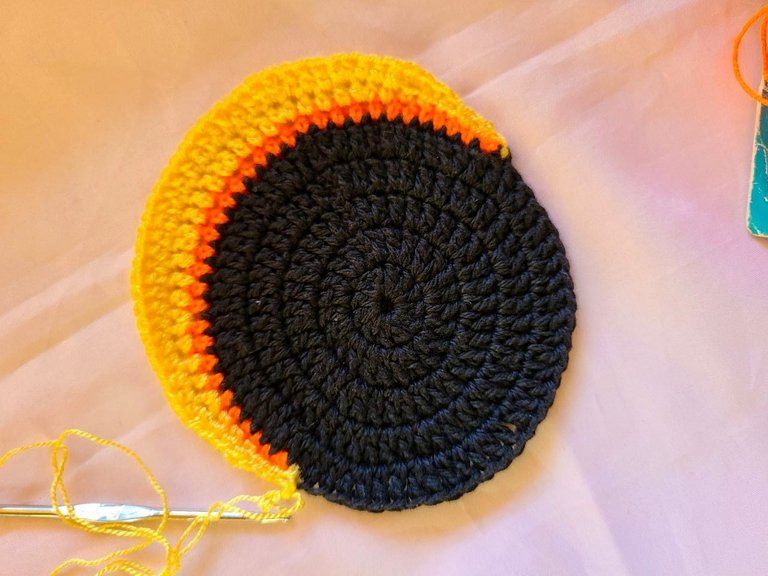
🧶 Step 2: We will use orange thread.
Single row: In this row we make 34 half double stitches.
🧶 Paso 1: Usaremos el hilo negro.
Fila 1: Comenzamos haciendo un anillo mágico y colocaremos dentro del mismo 12 puntos altos normales, cerrando con punto deslizado.
Fila 2: En esta fila hacemos 2 puntos altos normales, sobre cada punto de la fila anterior (24).
Fila 3: 1 punto alto normal, seguido de un aumento, hasta terminar la fila (36).
Fila 4: 2 puntos altos normales, seguido de un aumento, hasta terminar la fila (48).
Fila 5: 3 puntos altos normales, seguido de un aumento, hasta terminar la fila (60).
🧶 Paso 2: Usaremos hilo naranja.
Fila única: En esta fila hacemos 34 puntos medio alto.
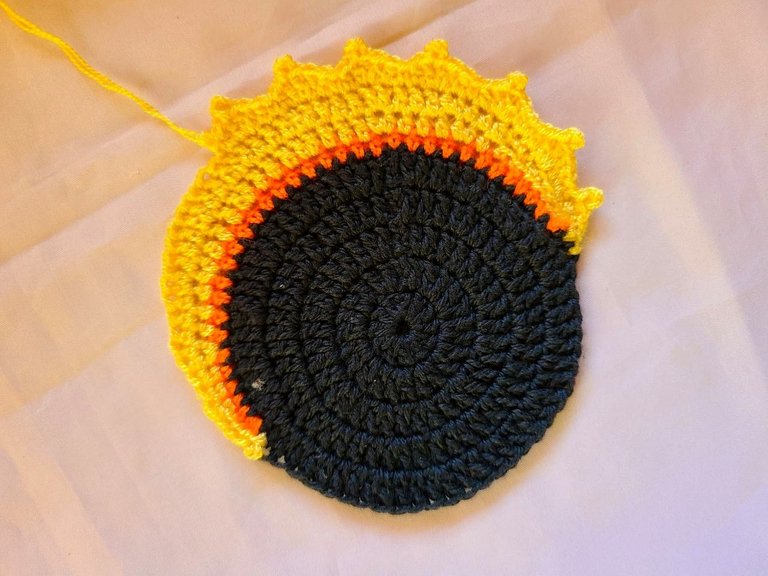
🧶 Step 3: In this step we will use the yellow thread.
Row 1: We will start with 5 slipped stitches, 5 single crochets, 3 half double crochets and an increase, 3 half double crochets and another increase, 3 double crochets, an increase, 3 double crochets, an increase, 3 stitches tall and we follow the sequence at the beginning of the row in reverse.
Row 2: 3 slipped stitches, 3 single crochets, one increase, 3 half double crochets and another increase, 3 normal double crochets, one increase, so we will make 6 groups of double crochets, to return as at the beginning of the row in Wrong Way.
Row 3: We start with 3 slipped stitches, 1 half double crochet, 1 double crochet, here we will do a picot stitch, followed by 1 half double crochet, 1 single crochet, 1 half double crochet and we make 3 double crochets again normals in the same space, making a picot stitch in the second double crochet, and we follow the order remembering to make the same stitches from the beginning to the end, we have finished the project.
🧶 Paso 3: En este paso usaremos el hilo amarillo.
Fila 1: Comenzaremos con 5 puntos deslizados, 5 puntos bajos, 3 puntos medio alto y un aumento ,3 puntos medio alto y otro aumento, 3 puntos altos, un aumento,3 puntos altos, un aumento,3 puntos altos y seguimos la secuencia del comienzo de la fila a la inversa.
Fila 2: 3 puntos deslizados, 3 puntos bajos un aumento, 3 puntos medio alto y otro aumento, 3 puntos altos normales, un aumento, así haremos 6 grupos de puntos altos, para volver como al comienzo de fila en sentido contrario.
Fila 3: Empezamos con 3 puntos deslizados, 1 punto medio alto, 1 punto alto, aquí haremos un punto picot, seguido de 1 punto medio alto, 1 punto bajo, 1 punto medio alto y volvemos hacer 3 puntos altos normales en el mismo espacio ,haciendo un punto picot en el segundo punto alto, y seguimos el orden recordando hacer los mismos puntos del comienzo al final, hemos terminado el proyecto.
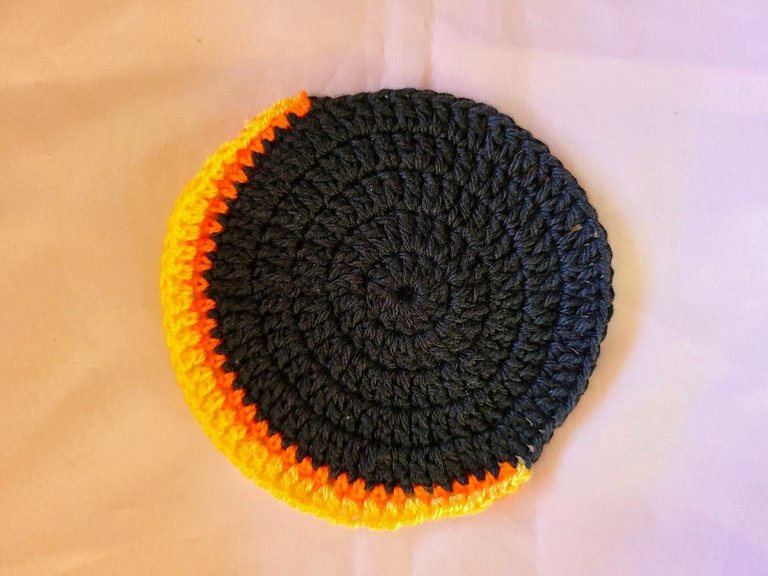
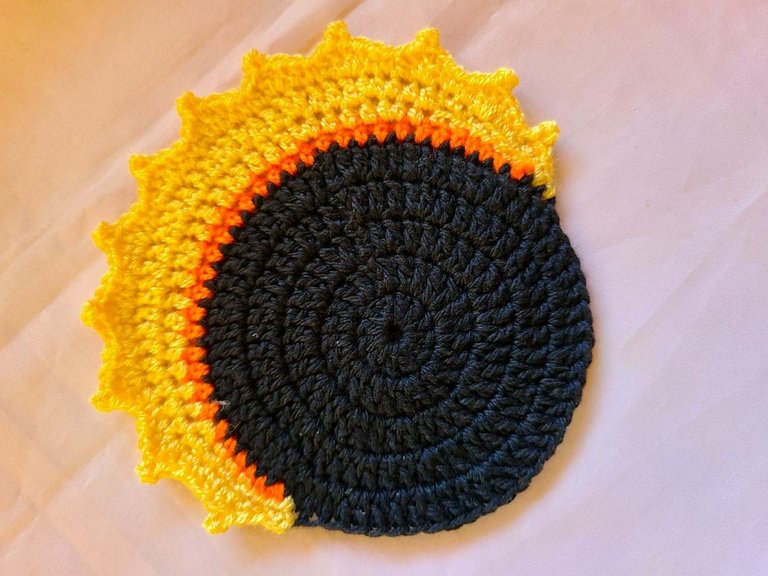
Well, as you can see, the project is simple but we can give it a lot of use ☀️ I thought the initial idea was very nice and that's why I shared it so that you can enjoy it. She was grateful for your attention, wishing you an excellent weekend. Hugs greetings.
Bueno como pueden ver el proyecto es sencillo pero le podemos dar mucha utilidad ☀️ la idea inicial me pareció muy linda y por eso los compartí con el fin de que lo disfruten. Quedó agradecida por su atención, deseándoles un excelente fin de semana. Saludos abrazos. 🫂
Congratulations @maricrochets! You have completed the following achievement on the Hive blockchain And have been rewarded with New badge(s)
Your next target is to reach 200 upvotes.
You can view your badges on your board and compare yourself to others in the Ranking
If you no longer want to receive notifications, reply to this comment with the word
STOPThanks you
That's great @maricrochets! We're impressed with your progress on Hive! Keep going and reach your new target!
This is amazing 😄
Thanks you
Excelente te felicito por tu creatividad
Muchas gracias amiga.
Ahh that’s so beautiful. The yellow and orange meeting is such a beautiful sight to behold. I love this
thank you very much, friend
You’re welcome
This is looking good and nice step by step insructions. Good work here
thank you very much, I will keep it in mind