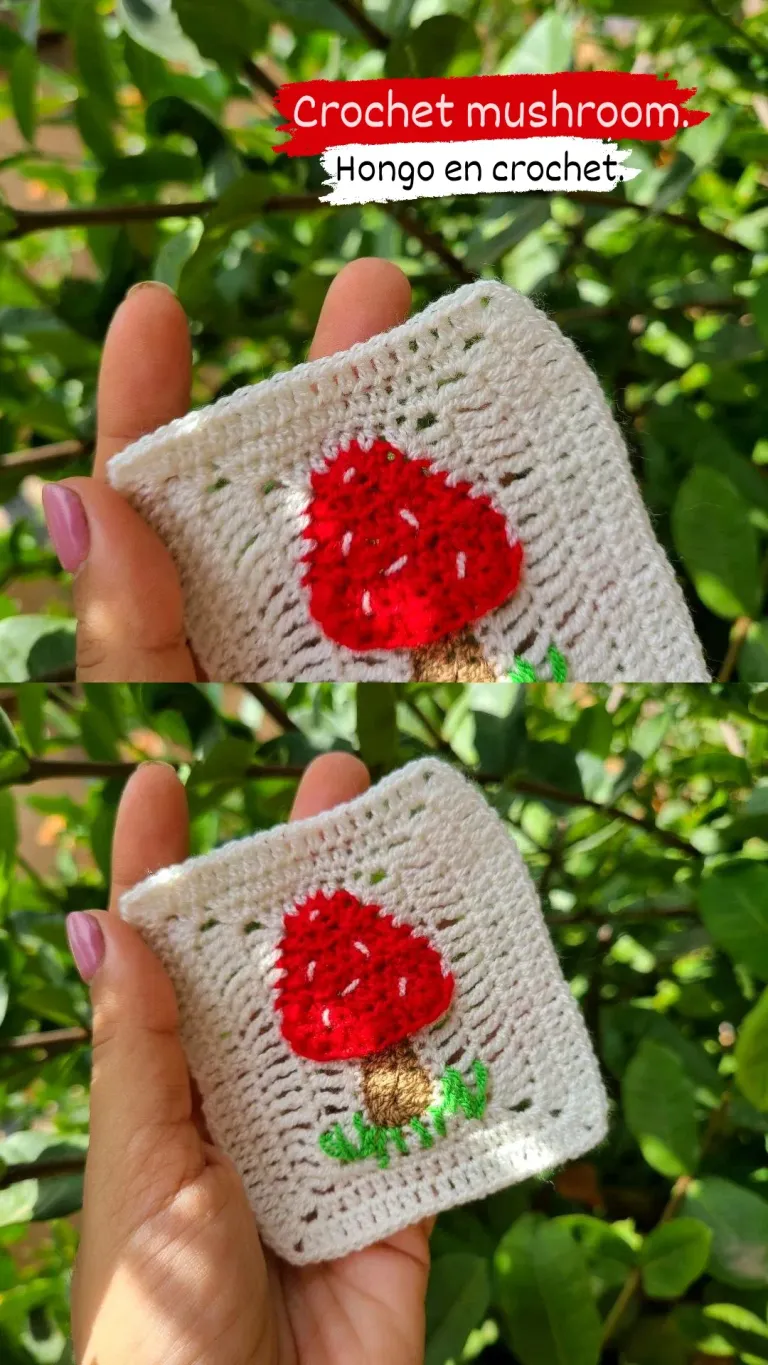
Tutorial: Design of a granny-shaped mushroom, in crochet (step by step) - Diseño de un hongo en forma de grannys, en crochet (paso a paso). 🧶🍄
Hello hello friends 🌺 today I bring you the tutorial of a mushroom inside a grannys, made in crochet step by step.
Hola hola amigos 🌺 hoy les traigo el tutorial de un hongo dentro de un grannys, elaborado en crochet paso a paso.
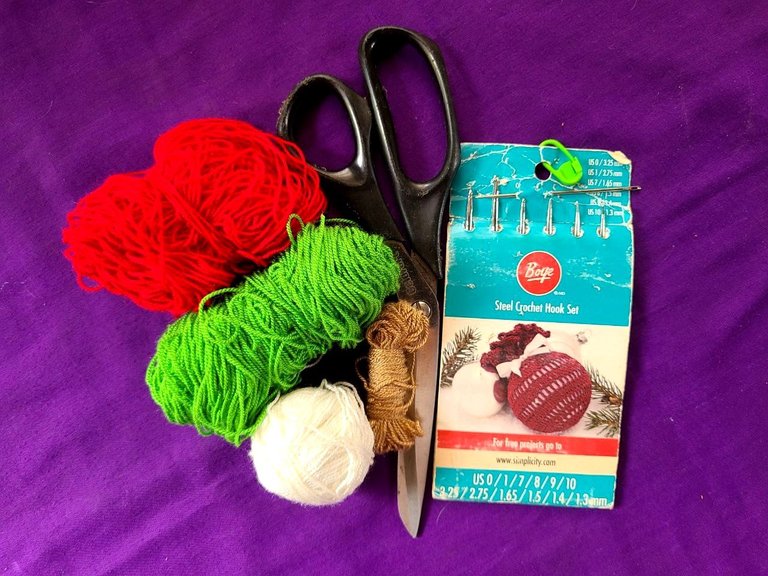
🧶 Materials to use:
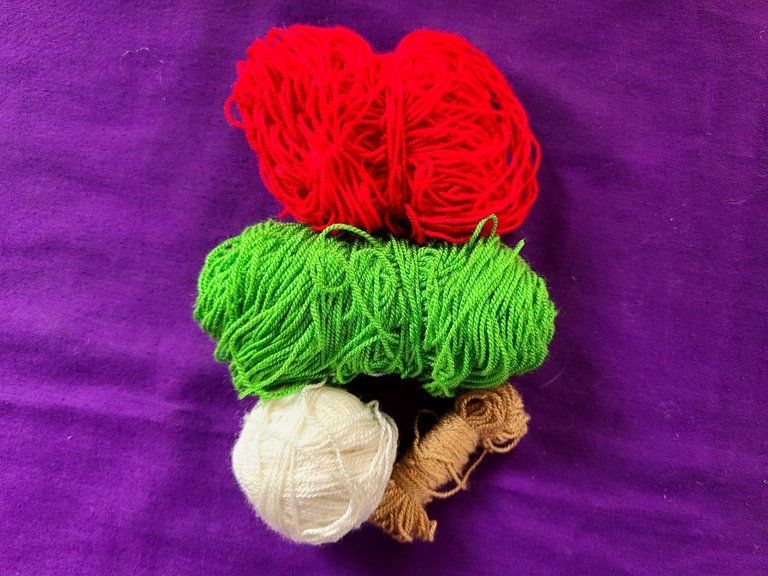
✓Crochet threads: red, light brown, bone beige and green.
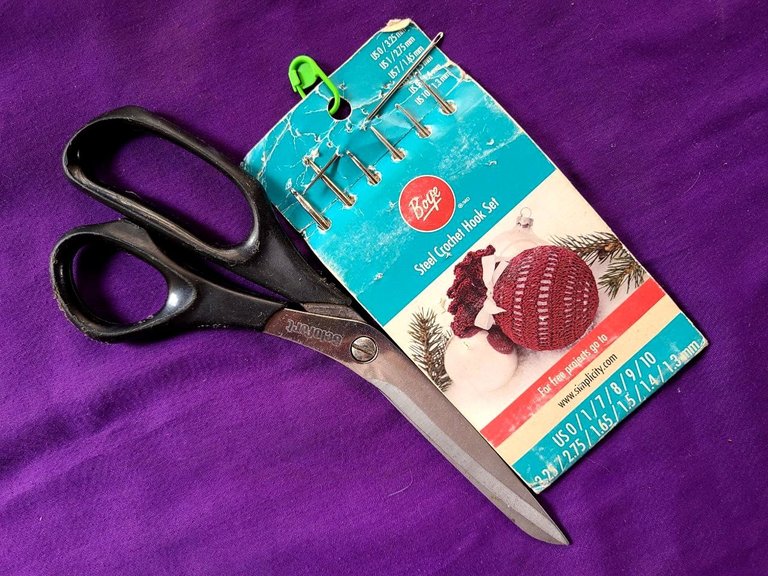
✓Crochet hook number 5
✓Sewing needle.
✓Scissors.
🧶 Points to use:
✓Double high points.
✓Normal high points.
✓High medium points.
✓Low points.
✓Slided stitch.
🧶 Materiales a utilizar:
✓Hilos de crochet: rojo, marrón claro, beige hueso y verde.
✓Aguja de crochet número 5
✓Aguja de coser.
✓Tijeras.
🧶 Puntos a utilizar:
✓Puntos altos dobles.
✓Puntos altos normales.
✓Puntos medios altos.
✓Puntos bajos.
✓Punto deslizado.
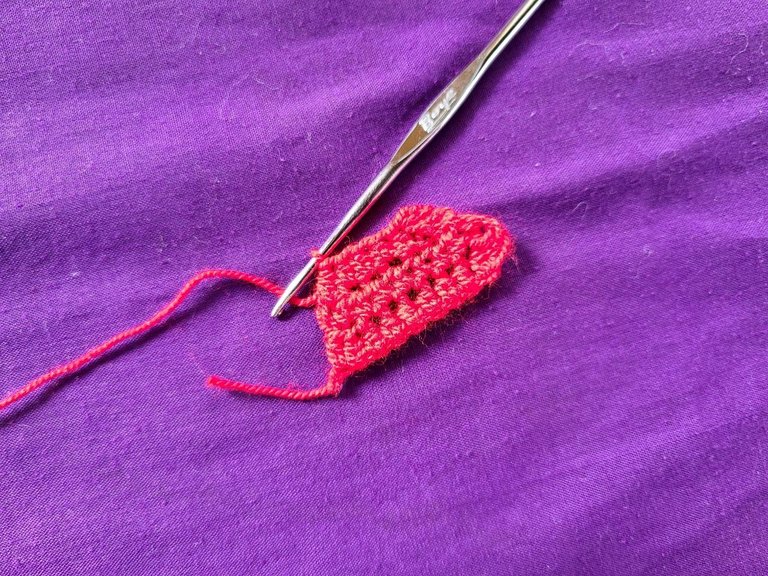
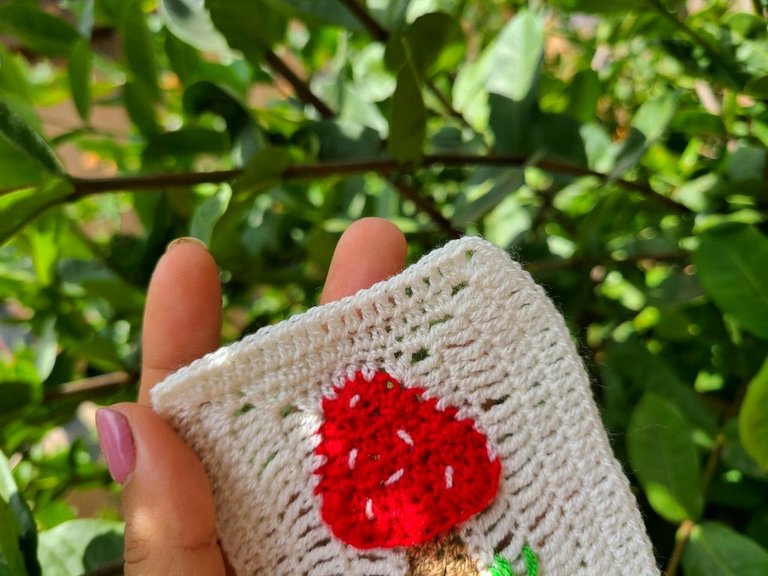
🧶 Step 1: To make the mushroom we use the color red.
Row 1: We make a chain of 11 stitches and on it we make 10 half-high stitches.
Row 2: At the beginning and end of the row we make 1 decrease, leaving a total of 8 half double stitches.
Row 3: At the beginning and end of the row we make 1 decrease, leaving a total of 6 half double stitches.
Row 4: At the beginning and end of the row we make 1 decrease, leaving a total of 4 half double stitches.
Row 5: At the beginning and end of the row we make 1 decrease, leaving a total of 2 half double stitches.
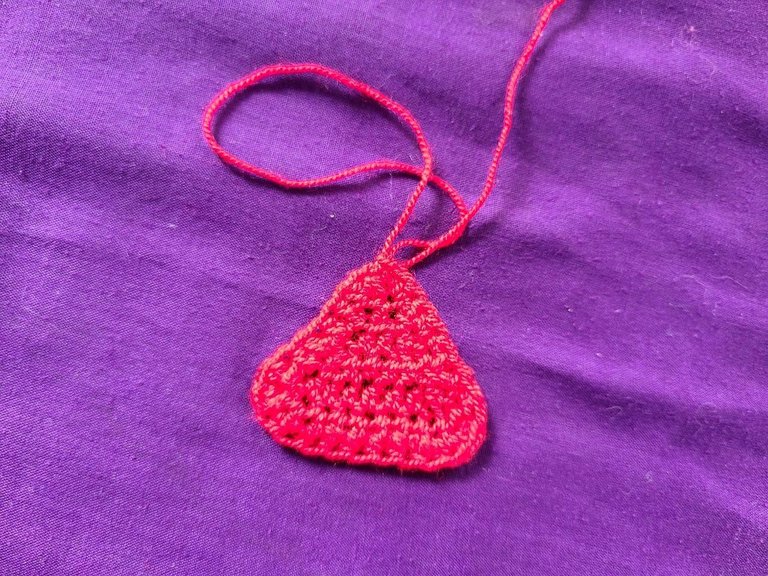
Row 6: Bind the remaining 2 stitches together.
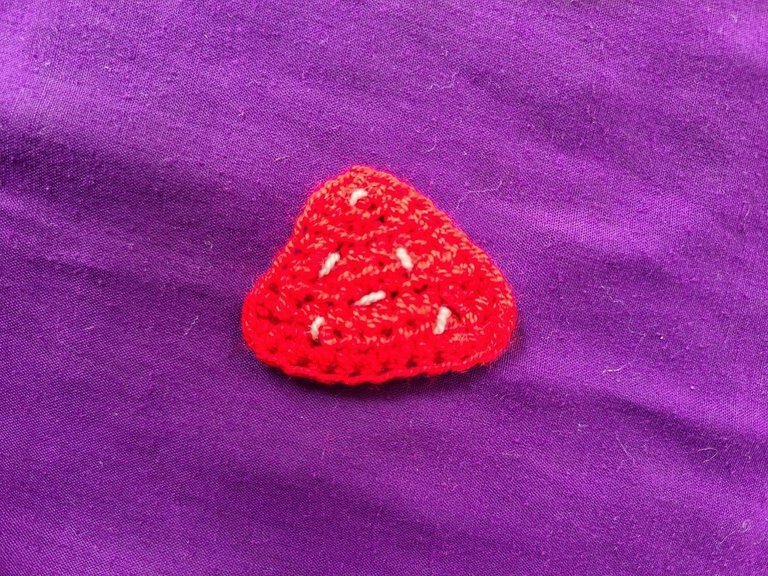
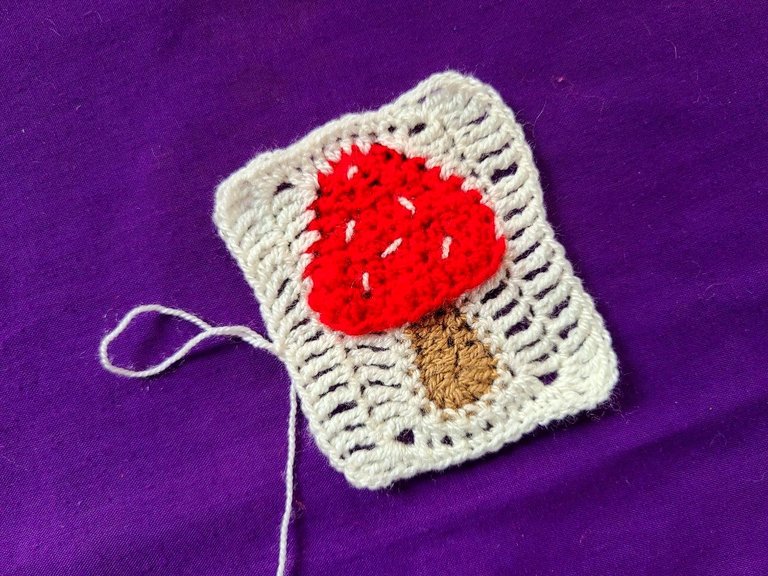
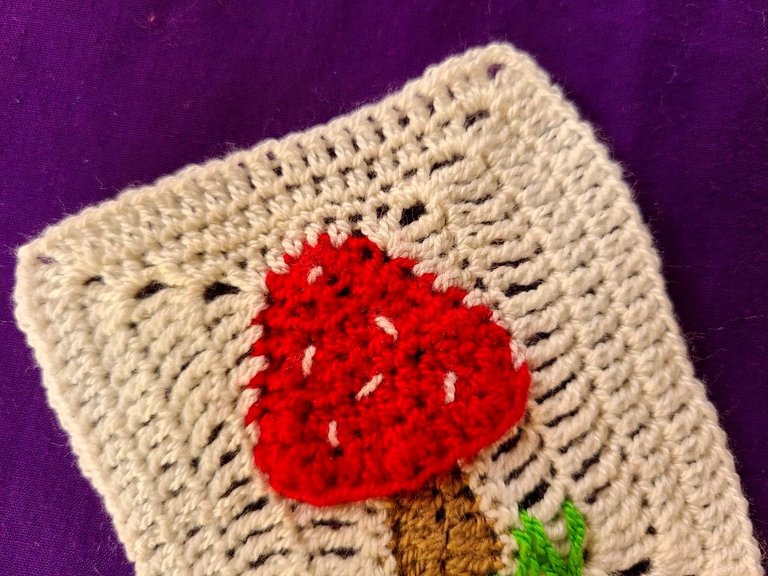
To finish the mushroom we border the entire contour of it with single stitches and finish off. For the details of the mushroom we took a needle and thread and embroidered them.
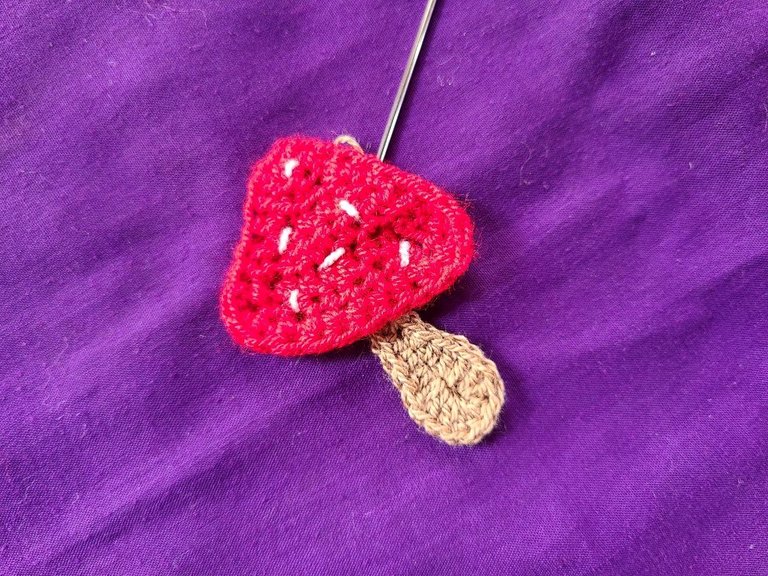
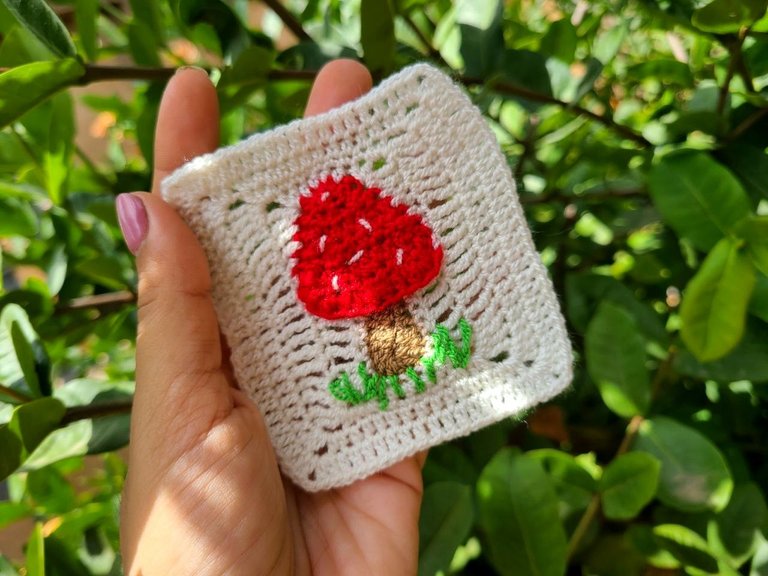
🧶 Step 2: Here we will work with a light brown.
We will do the trunk of the mushroom in the following way: we make a chain of 8 stitches and on this, 2 single crochets, 2 half double crochets, 2 normal double crochets, 2 normal double crochets together, 2 normal double crochets together, and we We return throughout the chain repeating the previous sequence in reverse. Once the trunk is finished, we proceed to join them to the mushroom.
🧶 Paso 1: Para hacer el hongo utilizamos el color rojo.
Fila 1: Hacemos una cadena de 11 puntos y sobre la misma hacemos 10 puntos medios altos.
Fila 2: Al inicio y al final de la fila hacemos 1 disminucion, quedando en total 8 puntos medio alto.
Fila 3: Al inicio y al final de la fila hacemos 1 disminucion, quedando en total 6 puntos medio alto.
Fila 4: Al inicio y al final de la fila hacemos 1 disminucion, quedando en total 4 puntos medio alto.
Fila 5: Al inicio y al final de la fila hacemos 1 disminucion, quedando en total 2 puntos medio alto.
Fila 6: Cerrar los 2 puntos restantes juntos.
Para finalizar el hongo bordeamos todo el contorno del mismo con puntos bajos y rematamos. Para los detalles del hongo agarramos una aguja con hilo y los bordamos.
🧶 Paso 2: Acá trabajaremos con un marrón claro.
El tronco del hongo lo haremos de la siguiente manera: hacemos una cadena de 8 puntos y sobre esta, 2 puntos bajos, 2 puntos medio alto, 2 puntos altos normales, 2 puntos altos normales juntos, 2 puntos altos normales juntos, y nos devolvemos por toda la cadena repitiendo en reversa la secuencia anterior. Terminado el tronco procedemos a unirlos al hongo.

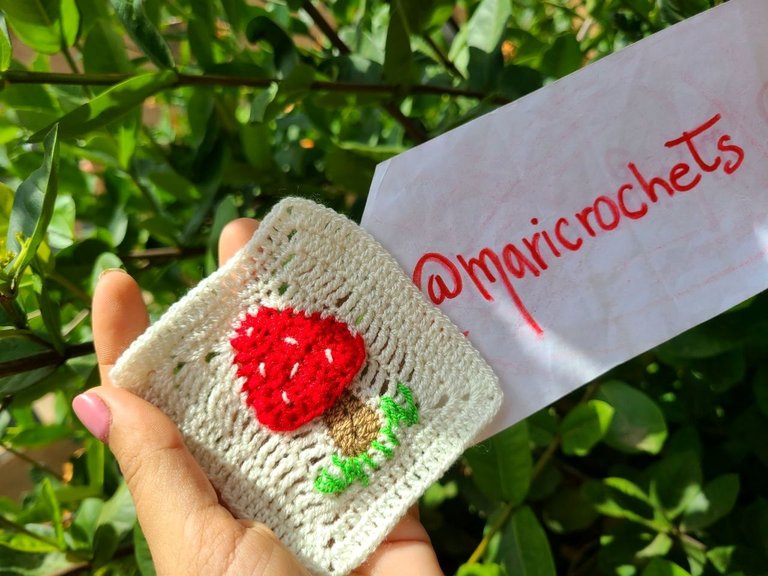
🧶 Step 3: In this case we will work with bone beige thread.
We use this color to sign the granys square.
Row 1: We position ourselves at the junction of the stem next to the mushroom and edge it with a row of single crochets.
Row 2: We lift 3 chains and make 4 double treble crochets, 2 double treble crochets, 2 chains and 2 half treble crochets in the same space, 4 half treble crochets, 2 half treble crochets, 2 chains, 2 stitches double treble crochets in the same space, 5 double treble crochets, and in the corner of the mushroom we continue like this: 2 single crochets, 1 half treble crochet, 2 normal treble crochets, 2 double treble crochets, 2 chains, 2 half treble crochets together in the same space, 4 half double crochets, 2 half double crochets, 2 chains, 2 double double crochets together in the same space, 2 normal double crochets, 1 half double crochet, 2 single crochets and we close the row.
Row 3: A lateral work like this: 14 double treble crochets, 2 double treble crochets, 2 chains, 2 half treble crochets together in the same hole, 8 single crochets, 2 half treble crochets, 2 chains, 2 double treble crochets together in the same hole, 14 double treble crochets, 2 double treble crochets, 2 chains, 2 half treble crochets together in the same space, 8 single crochets, 2 half treble crochets, 2 chains, 2 double treble crochets together in the same hole the same space, 2 half double crochets, 2 chains, 2 double double crochets.
Row 4: We work with normal double crochets, and those that appear in single crochet or half double crochet, we work in half double crochet, keeping the corners the same.
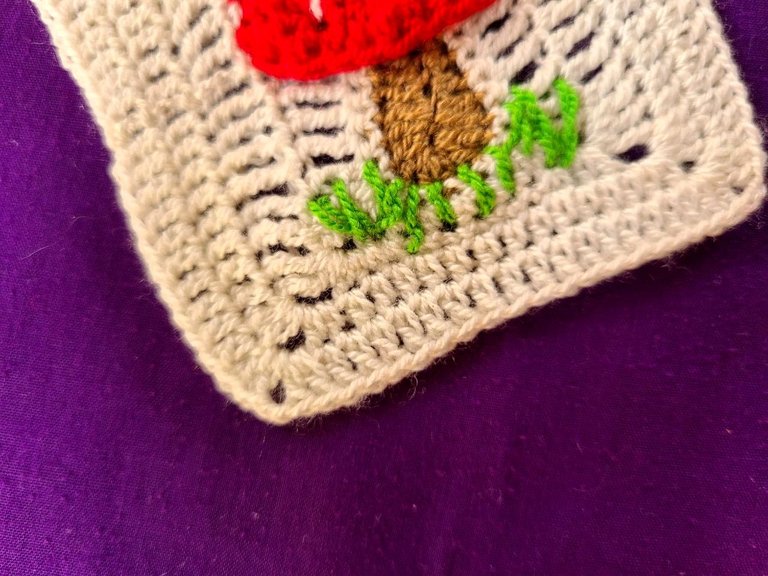
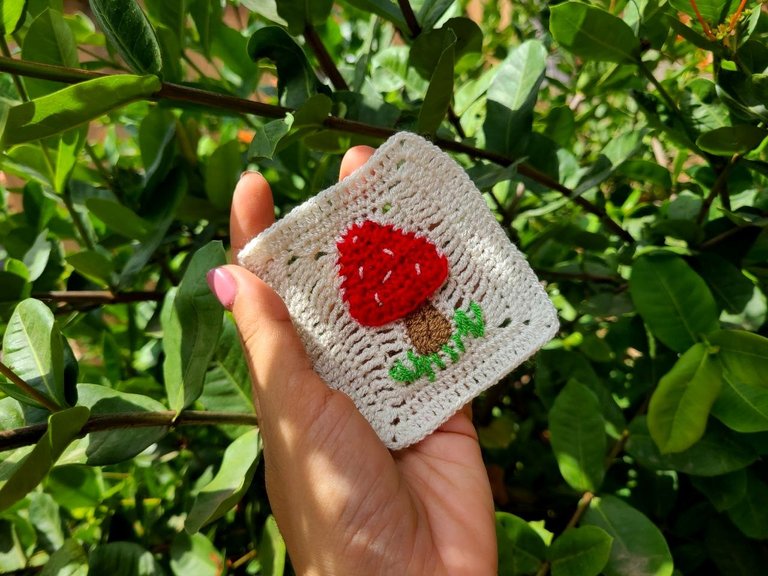
Row 5: This row is made entirely in normal double crochet, once all the grannys are finished, we take a needle with green thread, and we embroider simulating grass.
🧶 Paso 3: En este caso trabajaremos con hilo beige hueso.
Este color lo utilizamos para firmar el cuadrado del granys.
Fila 1: Nos posicionamos en la unión del tallo junto al hongo y lo bordemos con una fila de puntos bajos.
Fila 2: Levantamos 3 cadenas y hacemos 4 puntos altos dobles, 2 puntos altos dobles, 2 cadenas y 2 puntos medio alto en el mismo espacio, 4 puntos medio alto, 2 puntos medio alto, 2 cadenas, 2 puntos altos dobles en el mismo espacio, 5 puntos altos dobles, y en la esquina del hongo continuamos así: 2 puntos bajos, 1 punto medio alto,2 puntos altos normales, 2 puntos altos dobles, 2 cadenas, 2 puntos medio alto juntos en el mimo espacio, 4 puntos medio alto, 2 puntos medio alto, 2 cadenas, 2 puntos altos dobles juntos en el mismo espacio, 2 punto altos normales, 1 punto medio alto, 2 puntos bajos y cerramos la fila.
Fila 3: Un lateral de trabaja así: 14 puntos altos dobles, 2 puntos altos dobles, 2 cadenas, 2 puntos medio alto juntos en el mismo orificio, 8 puntos bajos, 2 puntos medio alto, 2 cadenas, 2 puntos altos dobles juntos en el mismo orificio, 14 puntos altos dobles, 2 puntos altos dobles, 2 cadenas, 2 puntos medio alto juntos en el mismo espacio, 8 puntos bajos, 2 puntos medio alto, 2 cadenas, 2 puntos altos dobles juntos en el mismo espacio, 2 puntos medio alto, 2 cadenas, 2 puntos altos dobles.
Fila 4: Trabajamos con puntos altos normales, y los que aparecen en punto bajo o punto medio alto, los trabajamos en medio punto alto, manteniendo las esquinas igual.
Fila 5: Está fila está hecha totalmente en punto alto normal, ya finalizado todo el granys, tomamos aguja con hilo verde, y bordamos simulando la hierva.
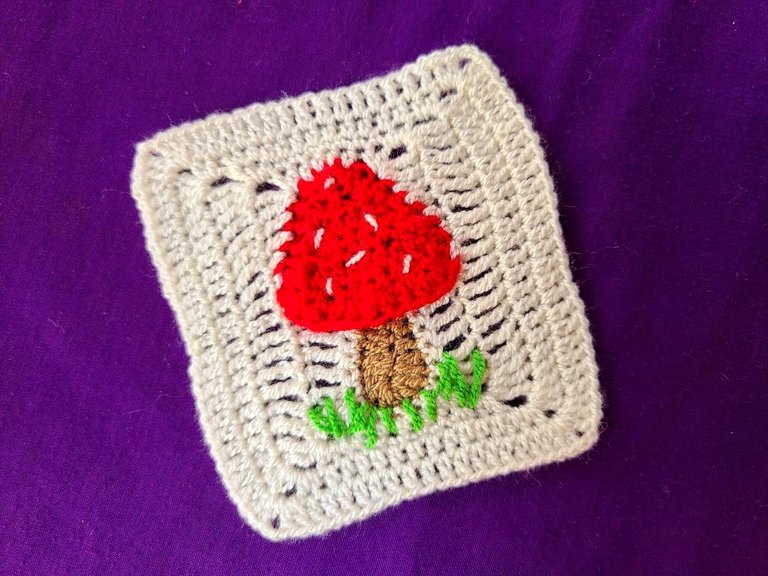
I have finished my crochet tutorial step by step, this mushroom is ideal for making bags, backpacks and other decorative works, I hope you like my publication. Thank you for the attention and time you dedicate to my publications.
He terminado mi tutorial de crochet paso a paso, este hongo es ideal para hacer bolsos, morrales y otros trabajos decorativos, espero les guste mi publicación. Gracias por la atención y el tiempo que dedican a mis publicaciones.
Hola amiga @maricrochets espero que estés bien.
Muy bonito se ve este hongo en medio del tejido. Me gustó mucho ese color base, hace que los colores del hongo resalten más.
Gracias amiga, si gracias a dios estoy bien.
Has sido votado por
PROYECTO ENLACE
'Conectando Ideas y Comunidades'
PROYECTO ENLACE es un proyecto de curación de habla hispana enfocado en recompensar contenido de calidad y apoyar autores en su proceso de crecimiento en HIVE.
Creemos y apostamos por el futuro de esta gran plataforma, y estamos muy emocionados de poder hacerla crecer junto a esta comunidad. Así que te invitamos a publicar en nuestra COMUNIDAD y estar atento a todas las actividades que tenemos preparadas y que estaremos publicando en breve.
¿QUIERES AUTOMATIZAR TUS GANANCIAS DE CURACIÓN? SE PARTE DEL PROYECTO ENLACE APOYANDO A NUESTRO TRAIL EN HIVE.VOTE INGRESA AQUÍ PARA CONOCER LOS DETALLES.
¿QUIERES INVERTIR ENLACE? DESCUBRE COMO HACERLO Y GENERAR INGRESOS DE FORMA SEMANAL MEDIANTE TU DELEGACIÓN DE HP AQUÍ TE EXPLICAMOS COMO.
Te invitamos a participar en nuestro servidor de Discord: https://discord.gg/3S9y7BbWfS
Atentamente
EQUIPO ENLACE 2024
Muchas gracias
Gracias
Sencillamente hermoso, te felicito por tu ingenio para incrustar el hongo en este cuadro, definitivamente eres una de mis creadoras favoritas, 😘👏👏👏👏👍💗
Gracias amigas estamos a la orden para colaborar
¡Felicitaciones!
1. Invierte en el PROYECTO ENTROPÍA y recibe ganancias semanalmente. Entra aquí para más información.
3. Suscríbete a nuestra COMUNIDAD, apoya al trail de @Entropia y así podrás ganar recompensas de curación de forma automática. Entra aquí para más información sobre nuestro trail.
4. Creación de cuentas nuevas de Hive aquí.
5. Visita nuestro canal de Youtube.
Atentamente
El equipo de curación del PROYECTO ENTROPÍA