Tutorial: Design of a Poke-Ball amigurumi, Pokémon house - Diseño de un amigurumi de Poke-Ball, casa de Pokémon.
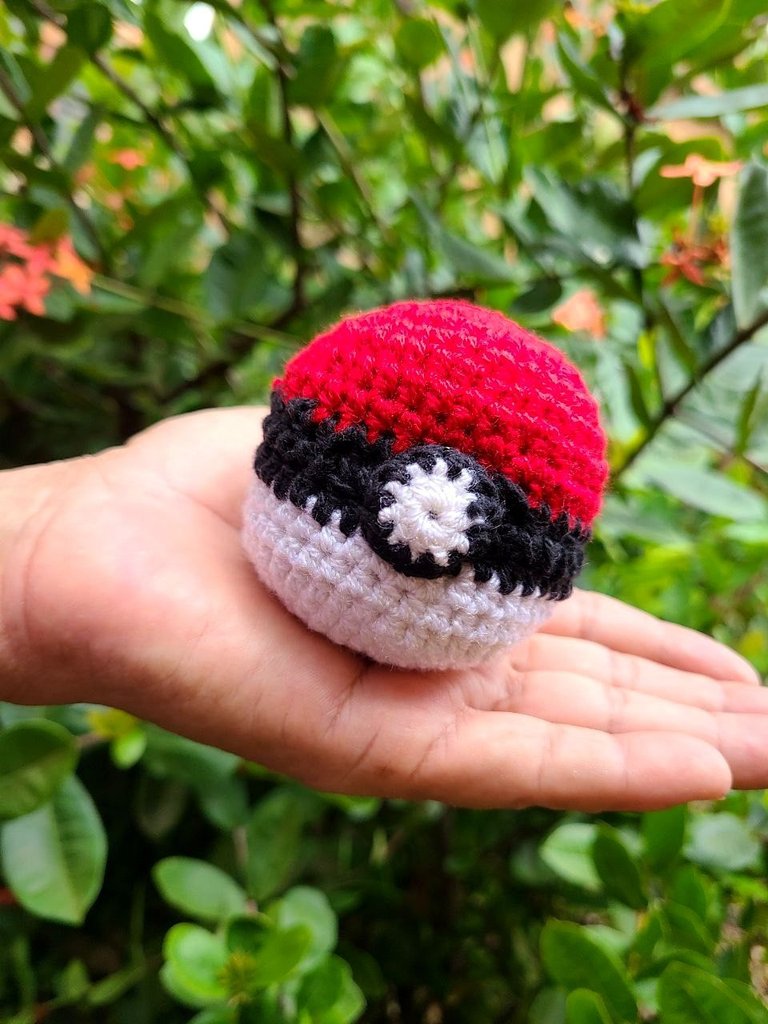
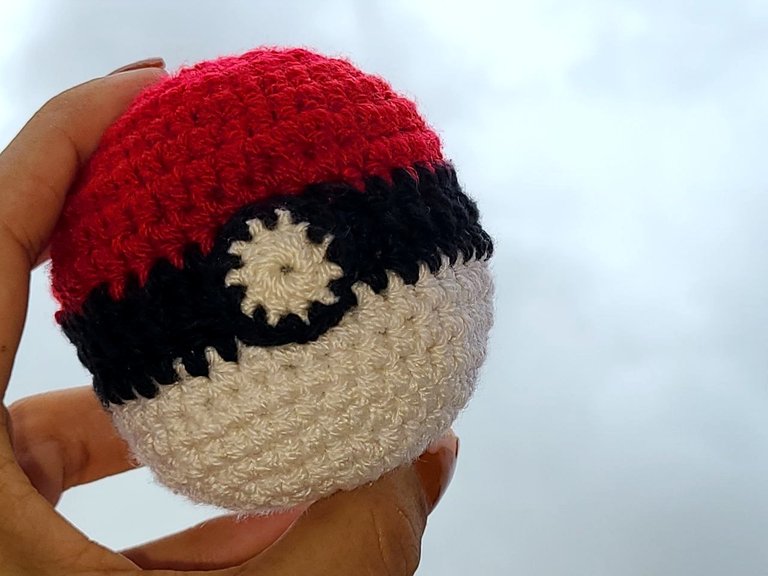
Greetings friends of Hive, happy and blessed Monday, here again today with a tutorial, designing a pokeball amigurumi for all those fans of the Pokémon anime, trusting that they will love it, like my daughter who is a Pokémon fan.
Un saludo amigos de Hive, feliz y bendecido lunes, hoy de nuevo por acá con un tutorial, diseñando un amigurumi de pokeball para todos aquellos fans del anime Pokémon, confiando en que lo van amar, como mi hija que es fan de Pokémon.
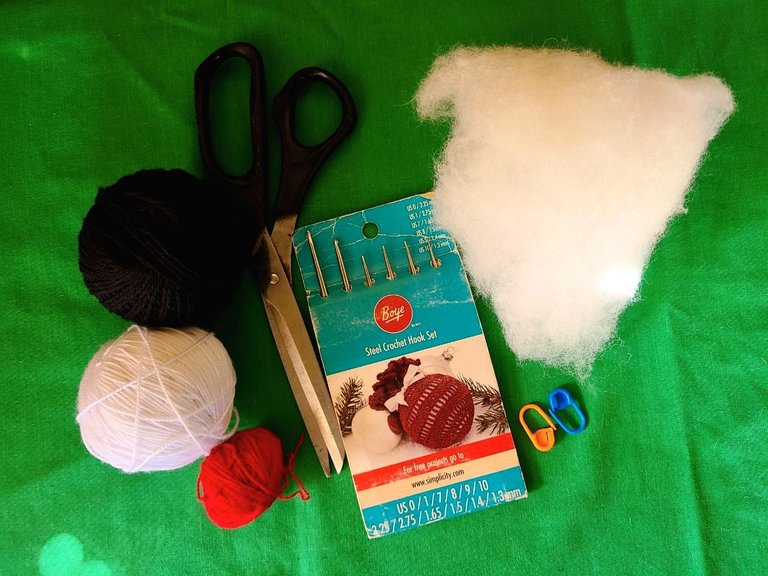
🧶 Materials to use:
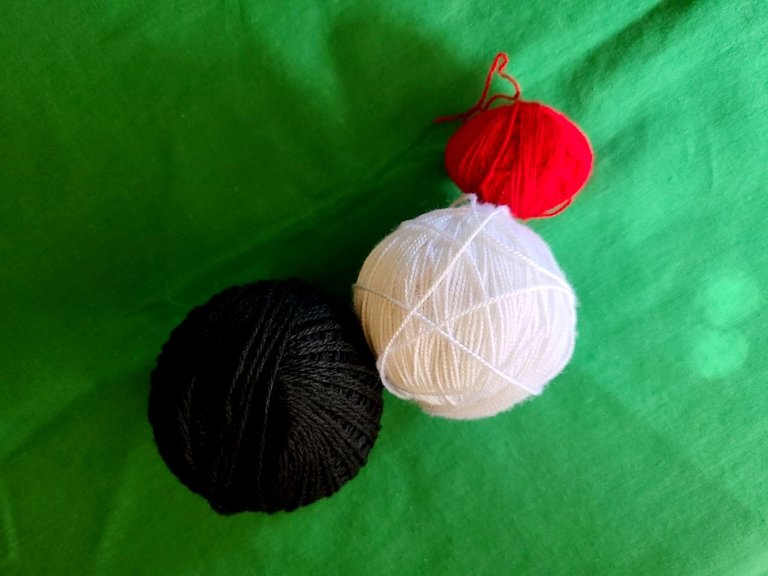
✓Threads: red, white, black.
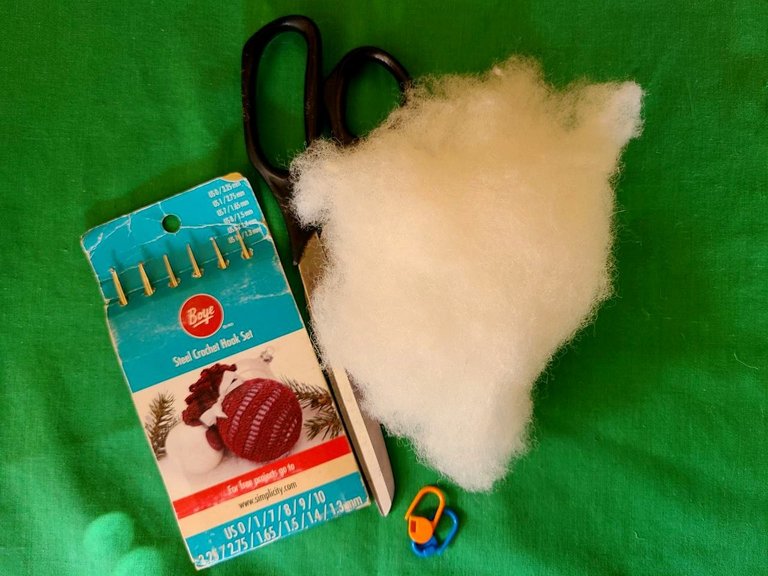
✓Needle number 1.
✓Sewing needle.
✓Synthetic filling.
✓Scissors.
🧶 Points to use:
✓Medium high point.
This project is made with two strands of thread to make the fabric firmer.
🧶 Materiales a utilizar:
✓Hilos: rojo, blanco, negro.
✓Aguja número 1.
✓Aguja de coser.
✓Relleno sintético.
✓Tijeras.
🧶 Puntos a utilizar:
✓Punto medio alto
Este proyecto está elaborado con dos hebras de hilo para que quede más firme el tejido.
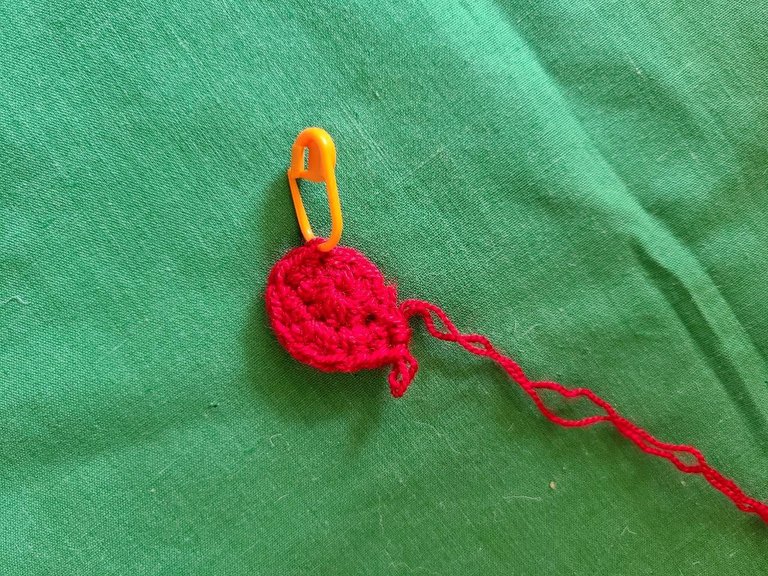
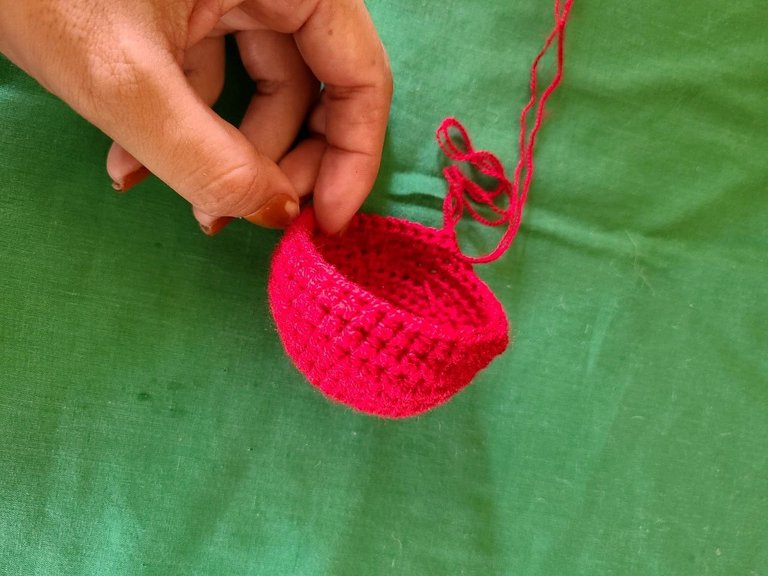
🧶 Step 1: In this case we will work with the red thread in 2 strands.
Row 1: We start by making a magic ring and placing 8 half-high stitches inside it, without closing we place a marker so as not to lose the location.
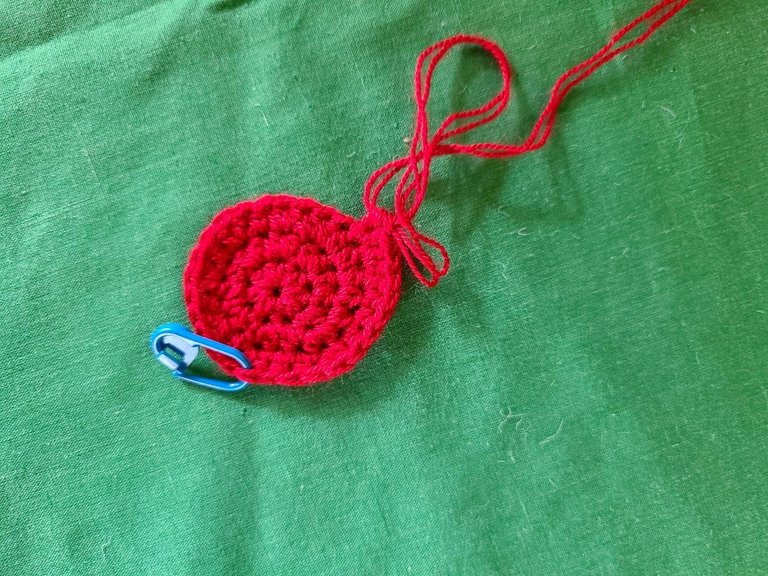
Row 2: In this row we make an increase over each stitch from the previous row (16) half double stitches.
Row 3: 1 half-high stitch and continue increasing, until you have (24) half-high stitches.
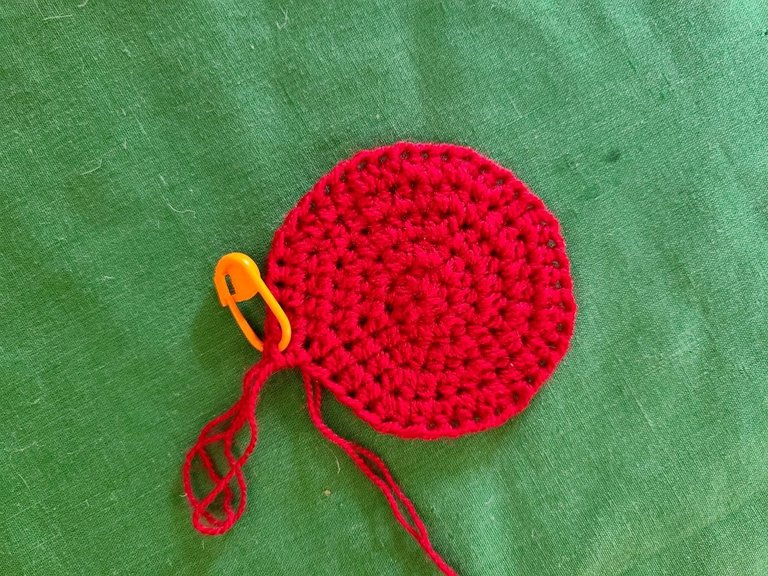
Row 4: 2 half-high stitches and continue increasing, until you have (32) half-high stitches.
Row 5: 3 half-high stitches and continue increasing, until you have (40) half-high stitches.
Rows 6, 7 and 8: In these rows we will only do half-high stitches without increases or decreases.
🧶 Paso 1: En este caso trabajaremos con el hilo rojo en 2 hebras.
Fila 1: Comenzamos haciendo un anillo mágico y colocando dentro del mismo 8 puntos medio alto, no cerramos colocamos un marcador para no perder la ubicación.
Fila 2: En esta fila hacemos un aumento sobre cada punto de fila anterior (16) puntos medio alto.
Fila 3: 1 punto medio alto y seguido en aumento, hasta lograr tener (24) puntos medios alto.
Fila 4: 2 puntos medio alto y seguido en aumento, hasta lograr tener (32) puntos medios alto.
Fila 5: 3 puntos medio alto y seguido en aumento, hasta lograr tener (40) puntos medios lo alto.
Filas 6, 7 y 8: En esta filas solo haremos puntos medios alto sin aumentos ni disminuciones.
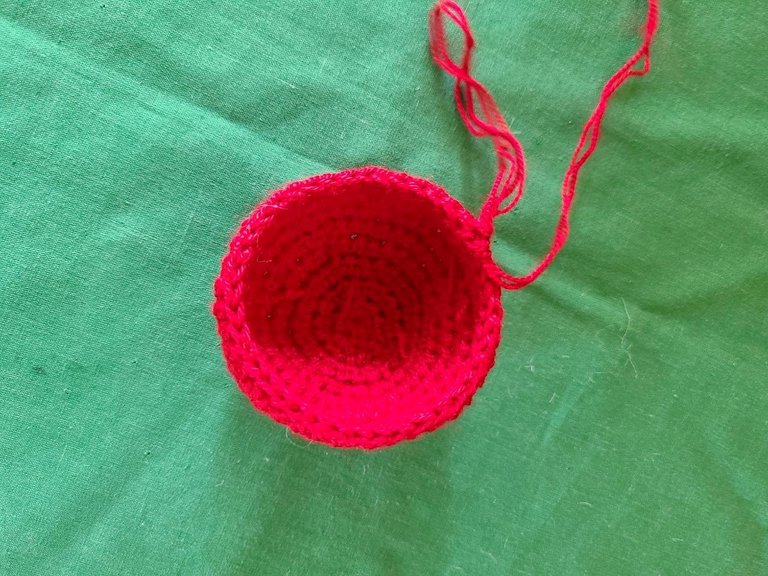
🧶 Step 2: Here we are going to include the black thread. >Single row: We work all the stitches as they appear.
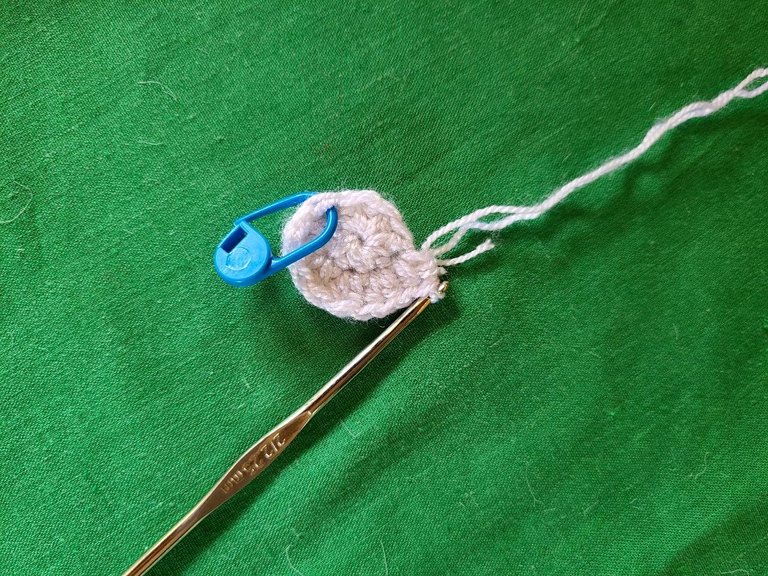
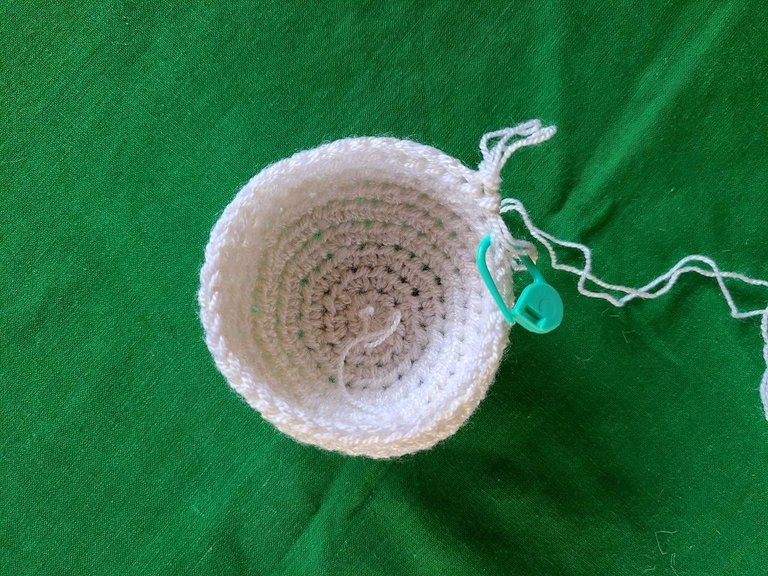
🧶 Step 3: In this case we will work with the white thread in 2 strands.
Row 1: We start by making a magic ring and placing 8 half-high stitches inside it, without closing we place a marker so as not to lose the location.
Row 2: In this row we make an increase over each stitch from the previous row (16) half-high stitches.
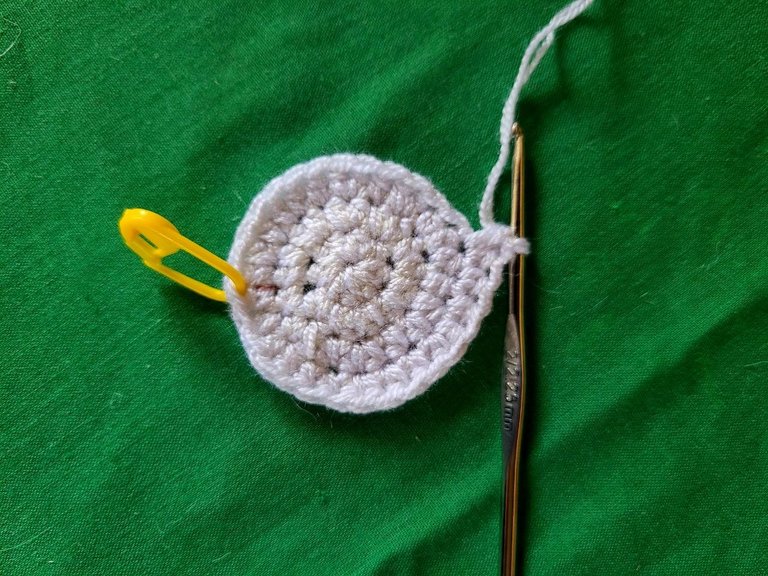
Row 3: 1 half-high stitch and continue increasing, until you have (24) half-high stitches.
Row 4: 2 half-high stitches and continue increasing, until you have (32) half-high stitches.
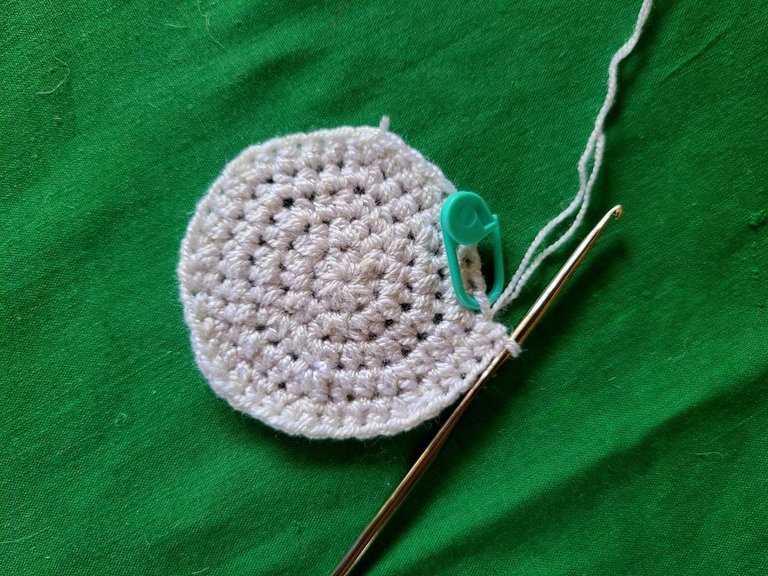
Row 5: 3 half-high stitches and continue increasing, until you have (40) half-high stitches.
Rows 6, 7 and 8: In these rows we will only do half-high stitches without increases or decreases.
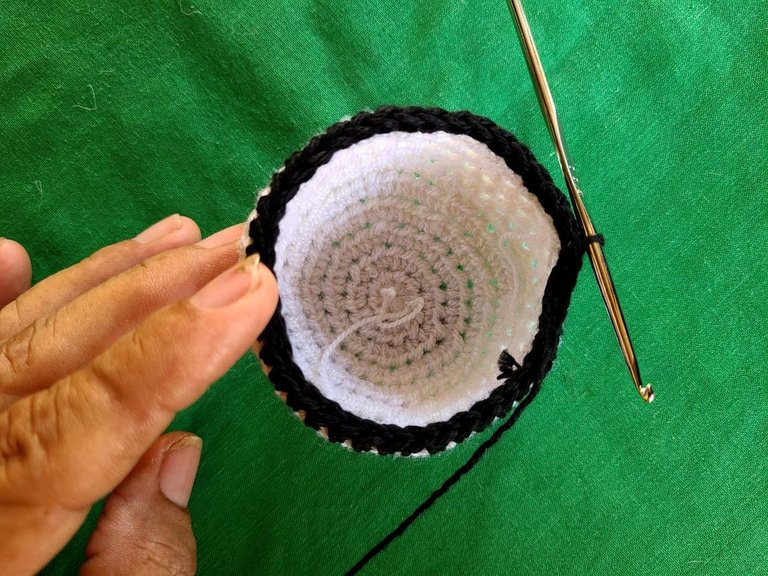
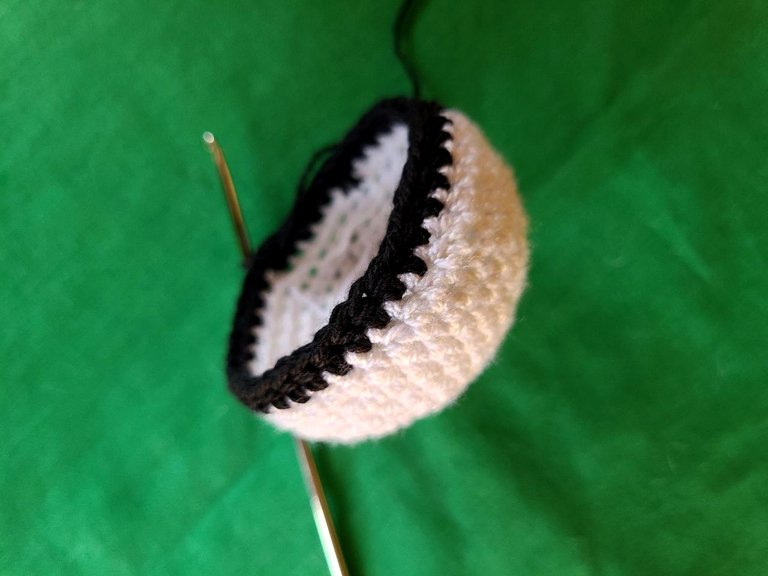
🧶 Step 4: Here we are going to include the black thread.
Single row: We work all the stitches as they appear.
🧶 Paso 2: Acá vamos a incluir el hilo negro.
Fila única: Trabajamos todos los puntos como aparecen.
🧶 Paso 3: En este caso trabajaremos con el hilo blanco en 2 hebras.
Fila 1: Comenzamos haciendo un anillo mágico y colocando dentro del mismo 8 puntos medios alto, no cerramos colocamos un marcador para no perder la ubicación.
Fila 2: En esta fila hacemos un aumento sobre cada punto de fila anterior (16) puntos medios alto.
Fila 3: 1 punto medios alto y seguido en aumento, hasta lograr tener (24) puntos medios alto.
Fila 4: 2 puntos medios alto y seguido en aumento, hasta lograr tener (32) puntos medios alto.
Fila 5: 3 puntos medio alto y seguido en aumento, hasta lograr tener (40) puntos medios alto.
Filas 6, 7 y 8: En esta filas solo haremos puntos medios alto sin aumentos ni disminuciones.
🧶 Paso 4: Acá vamos a incluir el hilo negro.
Fila única: Trabajamos todos los puntos como aparecen.
🧶 Pokeball assembly:
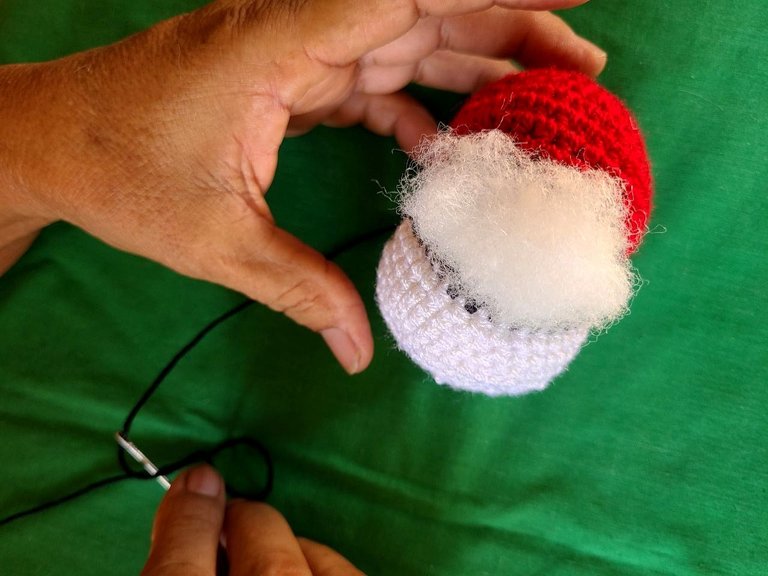
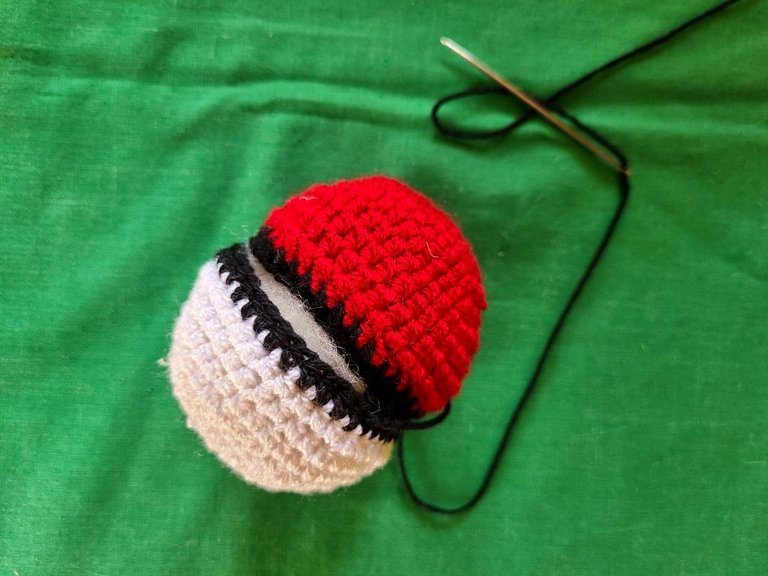
With a needle and black thread, we will sew the stitches of each of the red and white pieces, up to a certain space that allows the filling to be placed inside the pieces, and then we finish closing the pokeball.
🧶 Detail or emblem of the pokeball:
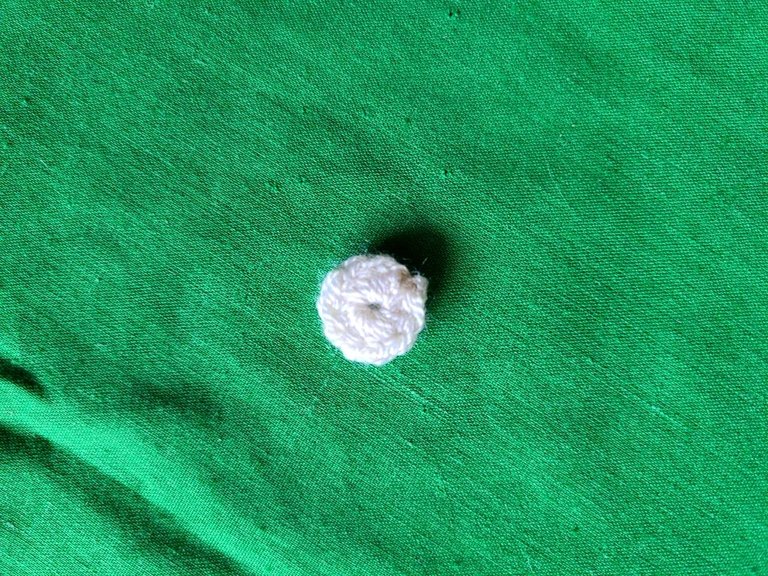
Row 1: With the white thread we make a magic ring and we will place 10 half-high stitches inside.
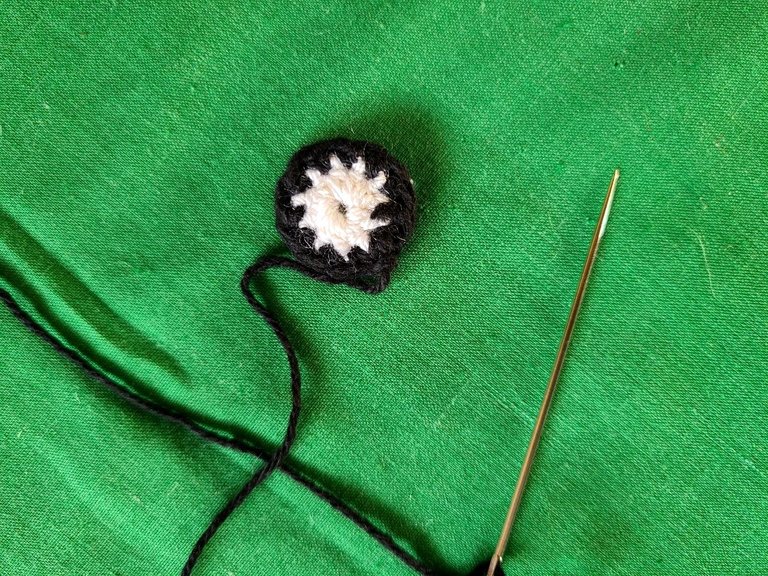
Row 2: Then with the black thread we make 10 half-high stitches on the previous white row. We proceed to place the emblem with stitches, using the sewing needle.
🧶 Armado del pokeball:
Con aguja e hilo negro, coseremos los puntos de cada una de las piezas roja y blanco, hasta cierto espacio que mis permita colocar el relleno dentro de las piezas, y posteriormente terminamos de cerrar el pokeball.
🧶 Detalle o emblema del pokeball:
Fila 1: Con el hilo blanco hacemos un anillo mágico y colocaremos dentro 10 puntos medios alto.
Fila 2: Luego con el hilo negro hacemos 10 puntos medios alto sobre la fila blanca anterior. Procedemos a colocarle el emblema con puntadas, usando la aguja de coser.
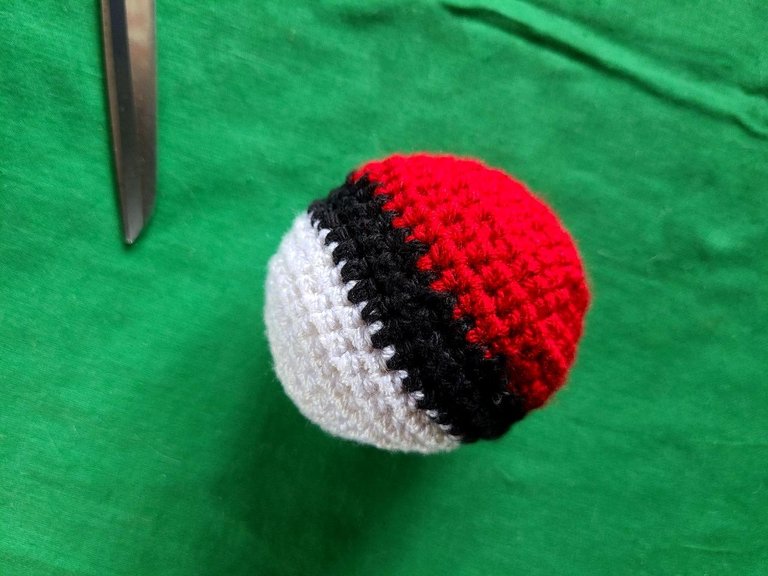
Well friends, we have finished our amigurimi regarding pokeball, for those who are lovers of Pokémon animes, here I leave you step by step, I trust that you will like it and that you will enjoy it. Grateful for the attention provided, greetings. Hugs.
Bien amigos hemos finalizado nuestro amigurimi referente a pokeball, para aquellos que son amantes a los animes de Pokémon acá les dejo el paso a paso, confío que les va a gustar y que lo van a disfrutar. Agradecida por la atención prestada, saludos. Abrazos.
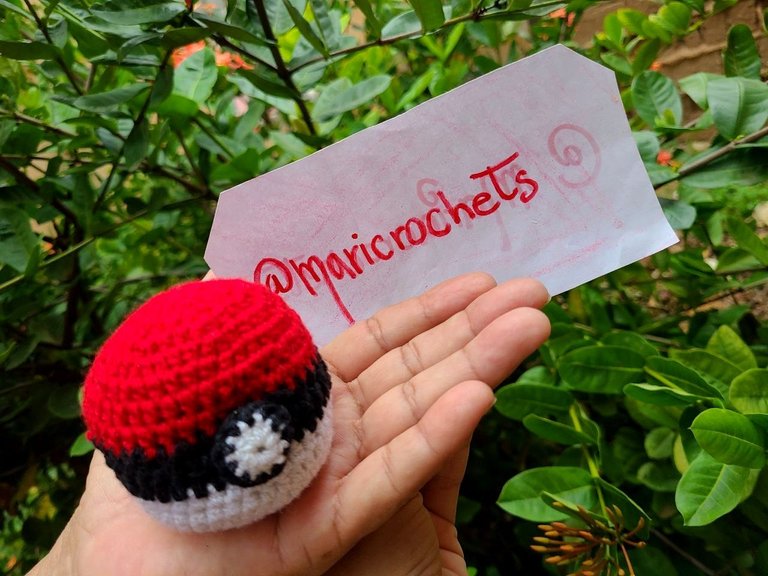

@maricrochets Me encantó😍, me recuerda cuando mi hijo @eliudgnzlz estaba pequeño amaba a Pokémon, bueno aún lo ama 😅. Saludos 🤗
Bueno en esa estamos, mi hija es fans y lleva días con la insistencia, por eso le di gusto, para que rememore recuerdos de infancia. Gracias. Saludos.
QUEDO ESPECTACULAR, ME ENCANTA MA
Estás complacida, así podrás tener tus recuerdos de infancia. Disfrútalo.😘😘
Muchas gracias
Congratulations @maricrochets! You have completed the following achievement on the Hive blockchain And have been rewarded with New badge(s)
Your next target is to reach 4750 upvotes.
You can view your badges on your board and compare yourself to others in the Ranking
If you no longer want to receive notifications, reply to this comment with the word
STOPThanks you
That's great @maricrochets! We're here to encourage you to achieve your next goals on Hive!
Thanks you
Muy linda la pokebola. Soy fans de este tipo de creaciones referidas a Pokémon.
Te quedó chévere 😄 me encanta.
Gracias amiga
@anamariag ves ma.., también tienes que darme el gusto jajajjaja quiero uno, aunque si no es mucho pedir, también un Pokémon jajajaja
PD: muy calidad la pokebola 10\10
Ok, pronto trataré de complacerte, gracias amigo.
Hola @maricrochets, esta bola Pokemon te quedó genial, recuerdo que le tejí una parecida a mi hijo mayor cuando tenía como 10 años, aún la conserva. Me gustó mucho este proyecto, gracias por compartirnos el paso a paso. Saludos 🤗
Hello, my mother also makes the "jewelry".
You have a lot of talent. Congratulations!
thank you so much. greetings
the Pokemon Ball is perfection. 👏🏿
thank you so much. greetings
Keep up the good work. 👏
Recognized by Mystic artist Gudasol
You are loved.
Interested to to help music map cXc.world spread more good vibes on Hive?.