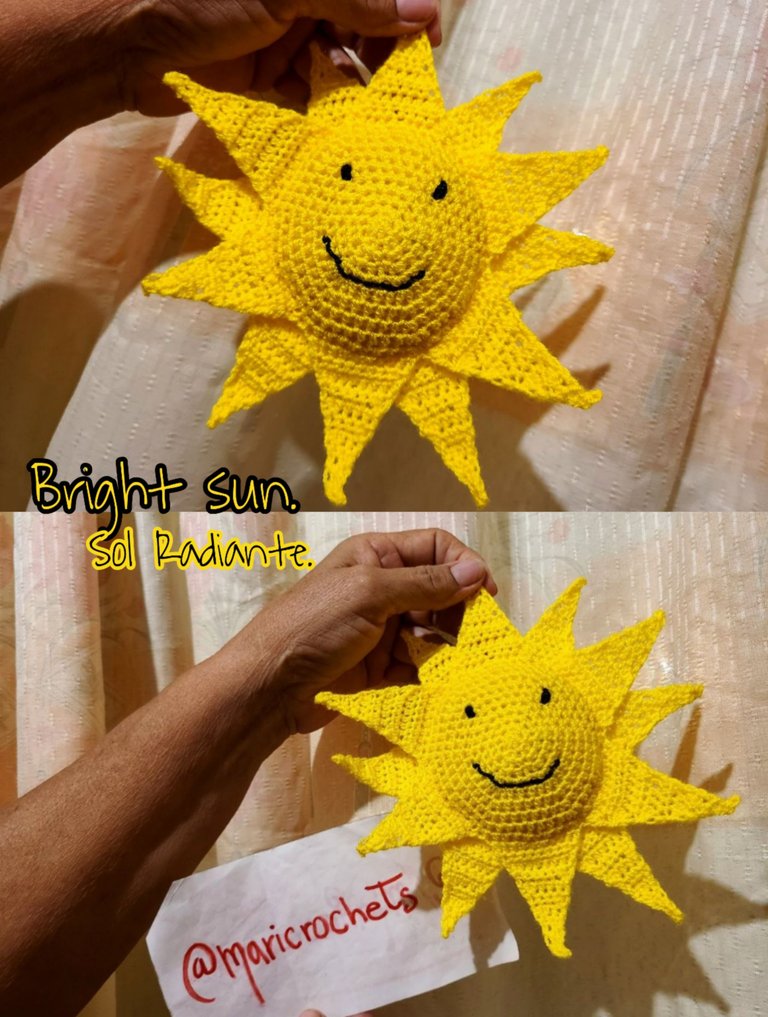
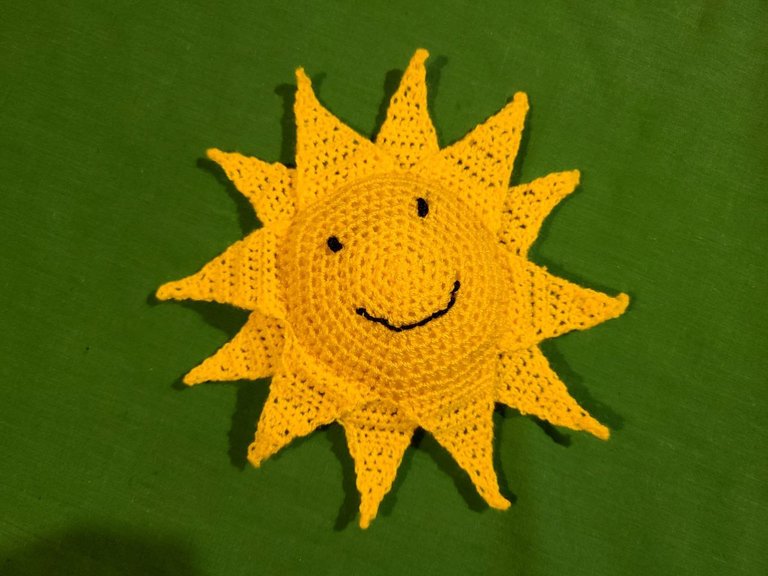
Tutorial: Design of a radiant sun in amigurimi (step by step) - Diseño de un radiante sol en amigurimi (paso a paso). 🌞🧶
Hello friends 🌞 happy and blessed Thursday, once again I share with you a very cheerful crochet tutorial, this time it is a radiant sun, in the form of amigurumi, it is very simple to do that is why I usually leave you the step by step, to Let them verify how simple it can be, without further comments. Enjoy it.
Hola amigos 🌞 feliz y bendecido jueves, una vez más les comparto un tutorial de crochet muy alegre, en esta oportunidad se trata de un sol radiante, en forma de amigurumi, es muy sencillo de realizar por eso acostumbro dejarles el paso a paso, para que verifiquen lo sencillo que puede ser, sin más comentarios.disfrútenlo
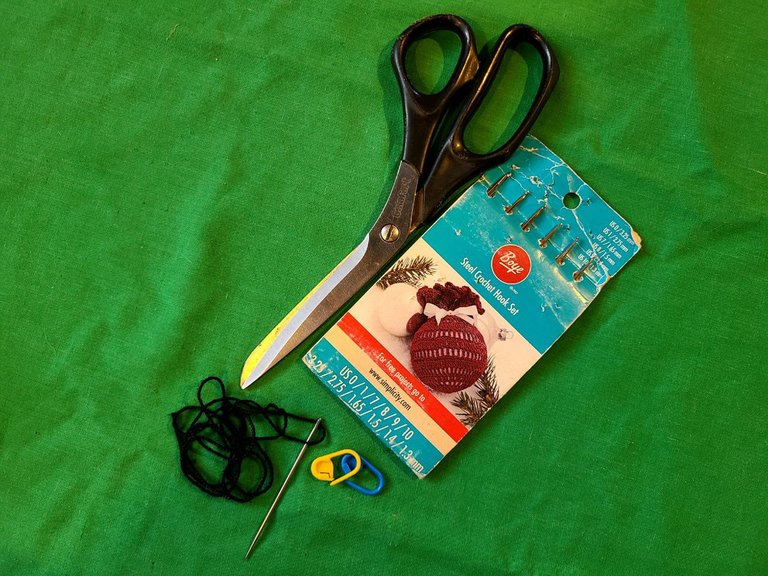
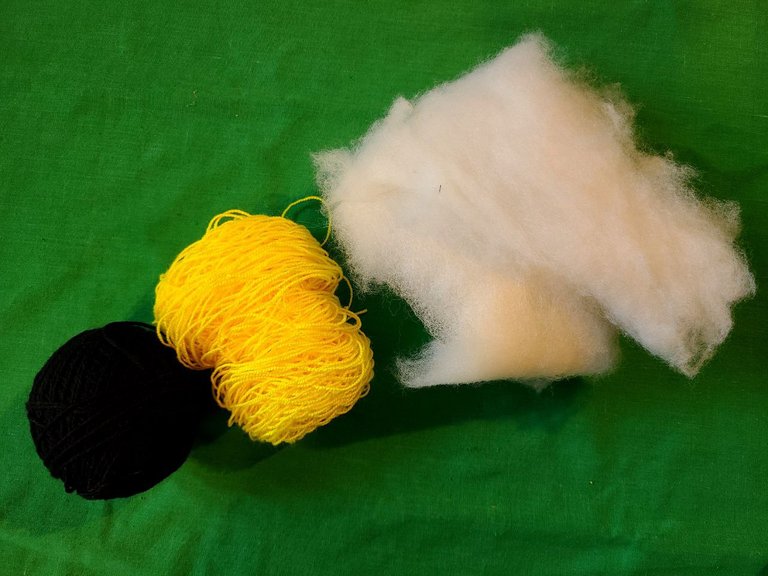
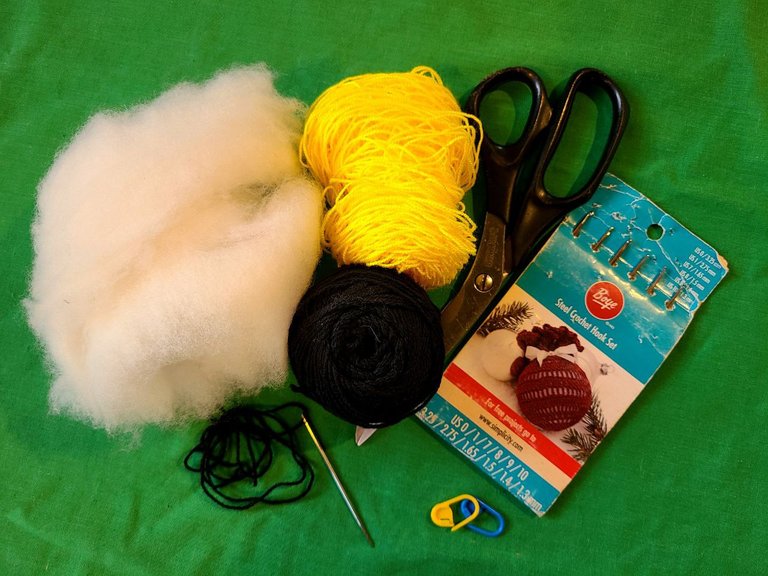
🧶 Material to use:
✓Crochet thread: yellow and black. ✓Synthetic filling.
✓Crochet needle number 7.
✓Sewing needle.
✓Scissors.
🧶 Point to use:
✓High medium points.
🧶 Material a utilizar:
✓Hilo crochet: amarillo y negro.
✓Relleno sintético.
✓Aguja crochet número 7.
✓Aguja coser.
✓Tijeras.
🧶 Punto a utilizar:
✓Puntos medios altos.
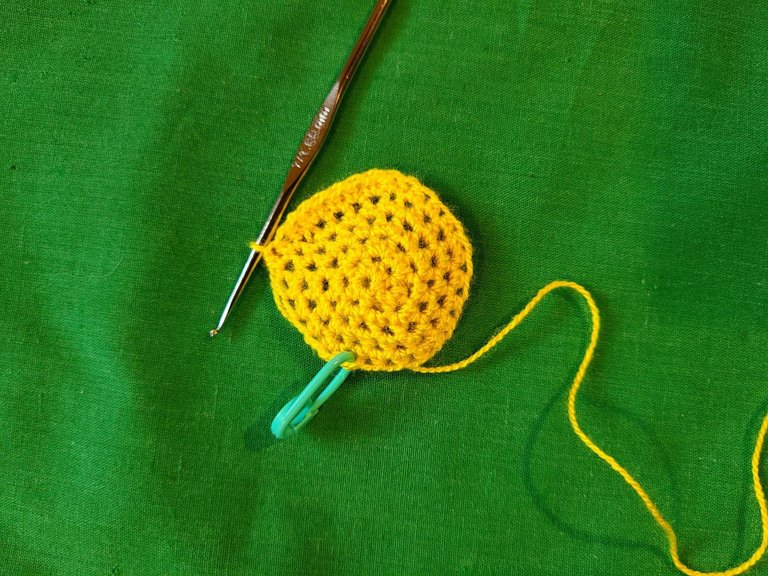
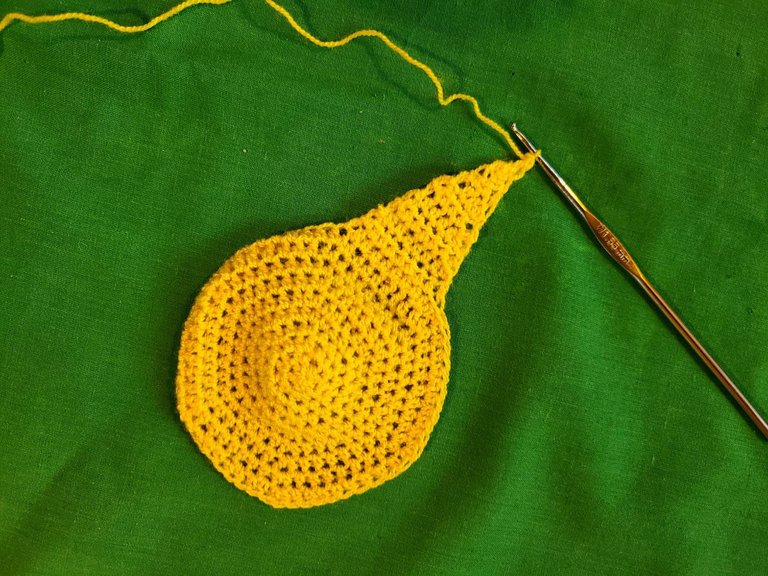
🧶 Step 1: The project is all worked in yellow.
Row 1: We start by making a magic ring and inside it we will place 6 half double crochets.
Row 2: The entire row is increases (12).
Row 3: 1 half double crochet, followed by 1 increase (18).
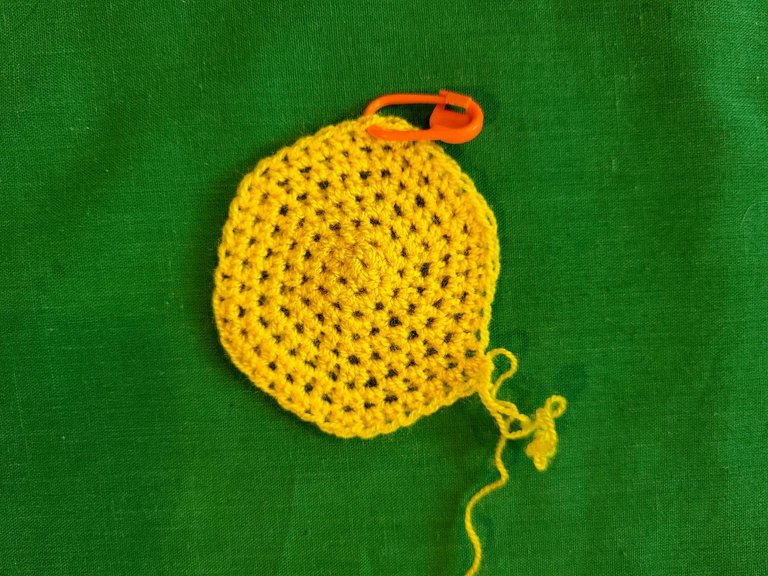
Row 4: 2 half double crochets, followed by 1 increase (24).
Row 5: 3 half double stitches, followed by 1 increase (30).
Row 6: 4 half double stitches, followed by 1 increase (36).
Row 7: 5 half double stitches, followed by 1 increase (42).
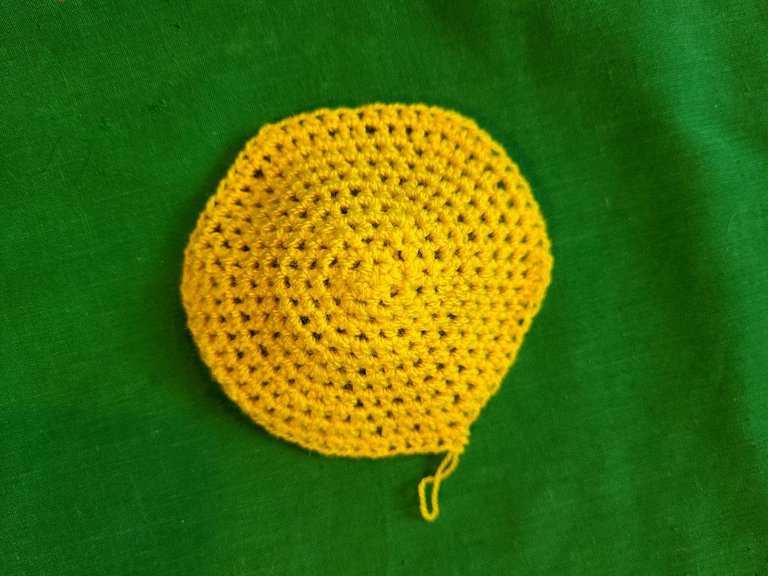
Row 8: 6 half double stitches, followed by 1 increase (48).
Row 9 and 7: Half double stitches, followed by 1 increase (54).
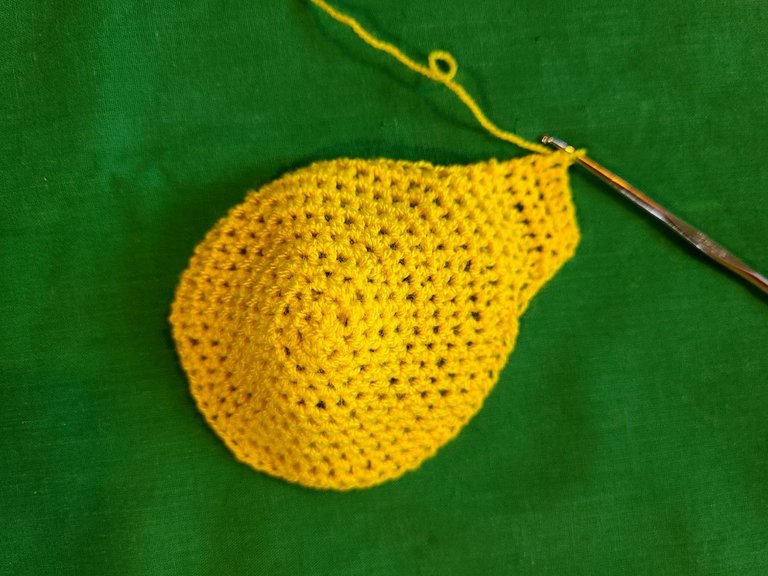
Row 10: 8 half double stitches, followed by 1 increase (60).
To make this sun we need 2 equal parts of the body with their peaks.
🧶 Paso 1: El proyecto está trabajado todo lo en color amarillo.
Fila 1: Empezamos haciendo un anillo mágico y dentro del mismo colocaremos 6 puntos medios altos.
Fila 2: Toda la fila son aumentos (12).
Fila 3: 1 punto medio alto, seguido de 1 aumento (18).
Fila 4: 2 puntos medio alto, seguido de 1 aumento (24).
Fila 5: 3 puntos medio alto, seguido de 1 aumento (30).
Fila 6: 4 puntos medio alto, seguido de 1 aumento (36).
Fila 7: 5 puntos medio alto, seguido de 1 aumento (42).
Fila 8: 6 puntos medio alto, seguido de 1 aumento (48).
Fila 9 y 7: Puntos medio alto, seguido de 1 aumento (54).
Fila 10: 8 puntos medio alto, seguido de 1 aumento (60).
Para hacer este sol necesitamos 2 partes iguales del cuerpo con sus picos.

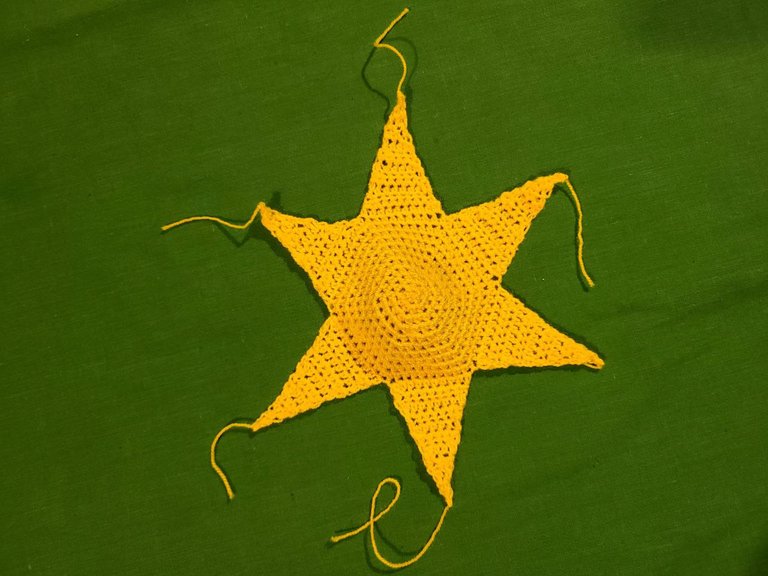
🧶 Step 2: We will work the individual peaks in yellow.
Row 1: We make 10 half double crochets.
Row 2: We make 8 half double crochets and the last two stitches we make 1 decrease (9).
Row 3: We make 7 half double crochets and the last two stitches we make 1 decrease (8).
Row 4: We make 6 half double crochets and the last two stitches we make 1 decrease (7).
Row 5: We make 5 half double crochets and the last two stitches we make 1 decrease (6).
Row 6: We make 4 half double crochets and the last two stitches we make 1 decrease (5).
Row 7: We make 3 half double crochets and the last two stitches we make 1 decrease (4).
Row 8: We make 2 half double crochets and the last two stitches we make 1 decrease (3).
Row 9: We make 1 half double crochet and the last two stitches we make 1 decrease (2).
Row 10: We make 1 decrease (1).
We finish off and hide the remaining thread, in this way we will make the 5 remaining peaks.
🧶 Paso 2: Trabajaremos los picos todos individuales en color amarillo.
Fila 1: Hacemos 10 puntos medios altos.
Fila 2: Hacemos 8 puntos medios altos y los dos últimos puntos hacemos 1 disminucion (9).
Fila 3: Hacemos 7 puntos medios altos y los dos últimos puntos hacemos 1 disminucion (8).
Fila 4: Hacemos 6 puntos medios altos y los dos últimos puntos hacemos 1 disminucion (7).
Fila 5: Hacemos 5 puntos medios altos y los dos últimos puntos hacemos 1 disminucion (6).
Fila 6: Hacemos 4 puntos medios altos y los dos últimos puntos hacemos 1 disminucion (5).
Fila 7: Hacemos 3 puntos medios altos y los dos últimos puntos hacemos 1 disminucion (4).
Fila 8: Hqcemos 2 puntos medios altos y los dos últimos puntos hacemos 1 disminucion (3).
Fila 9: Hacemos 1 puntos medios altos y los dos últimos puntos hacemos 1 disminucion (2).
Fila 10: Hacemos 1 disminucion (1).
Rematamos y escondemos el hilo restante, de esta forma haremos los 5 picos restantes.
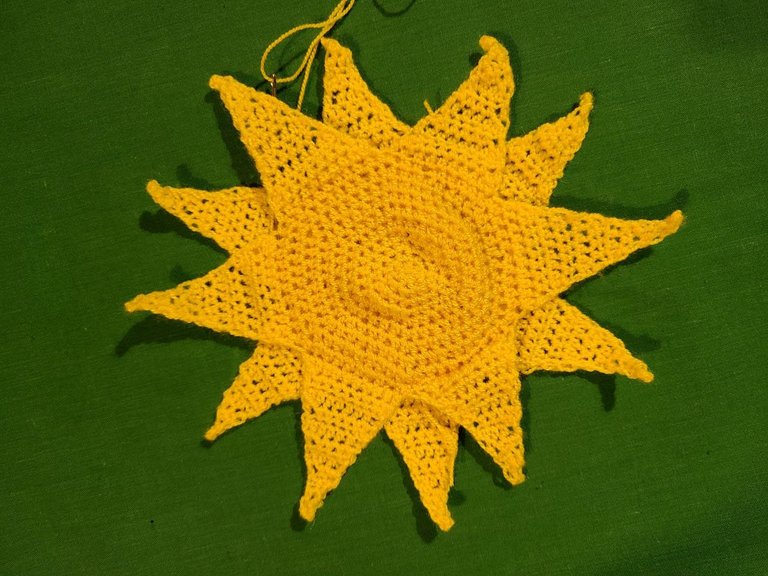
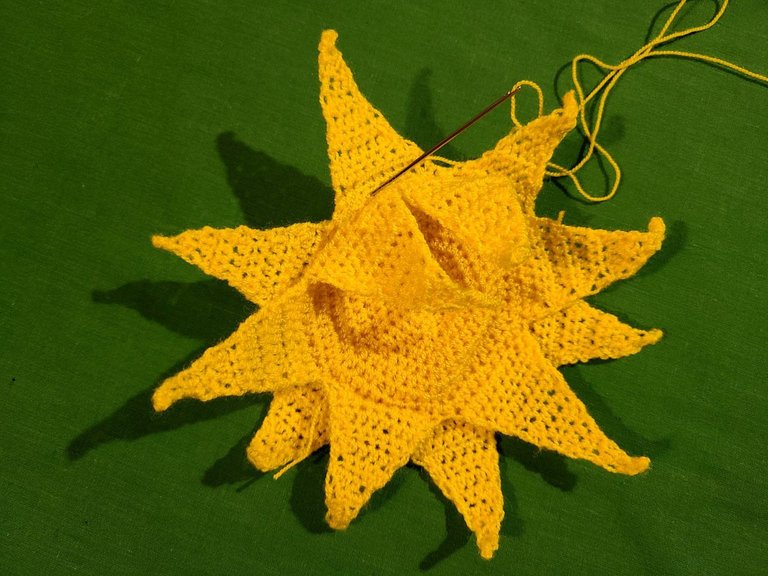
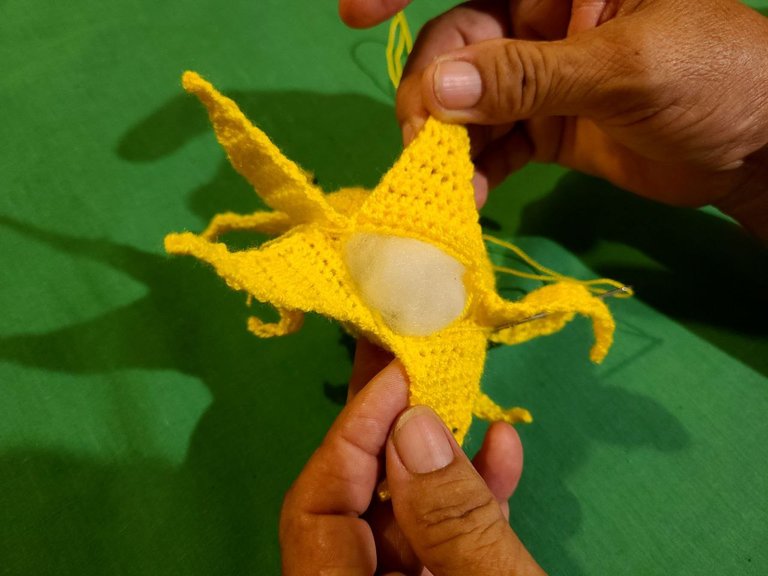
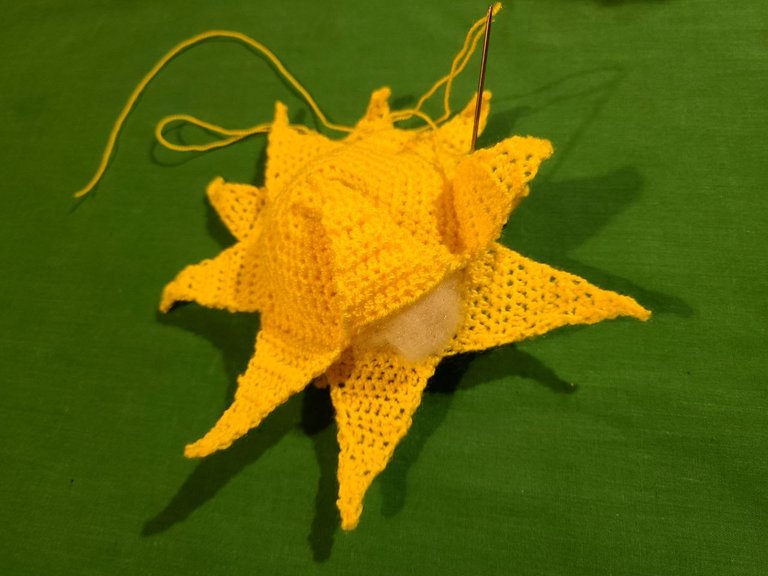
🧶 Armed by the sun:
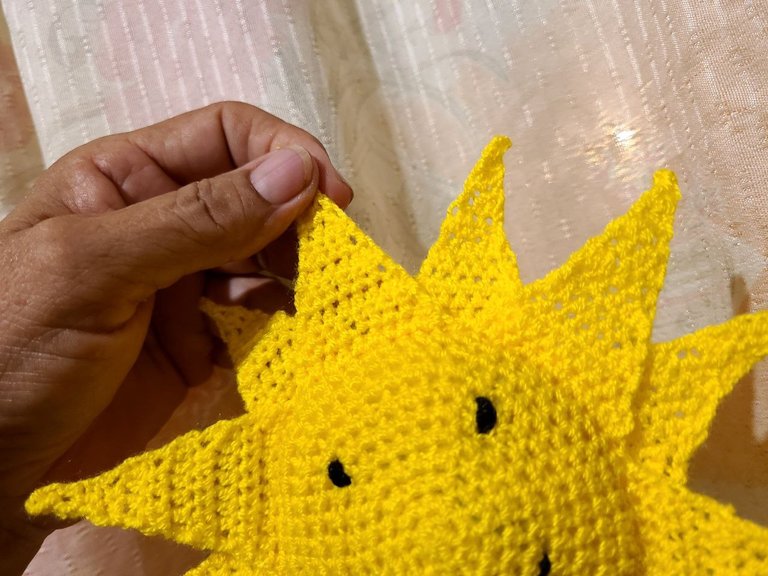
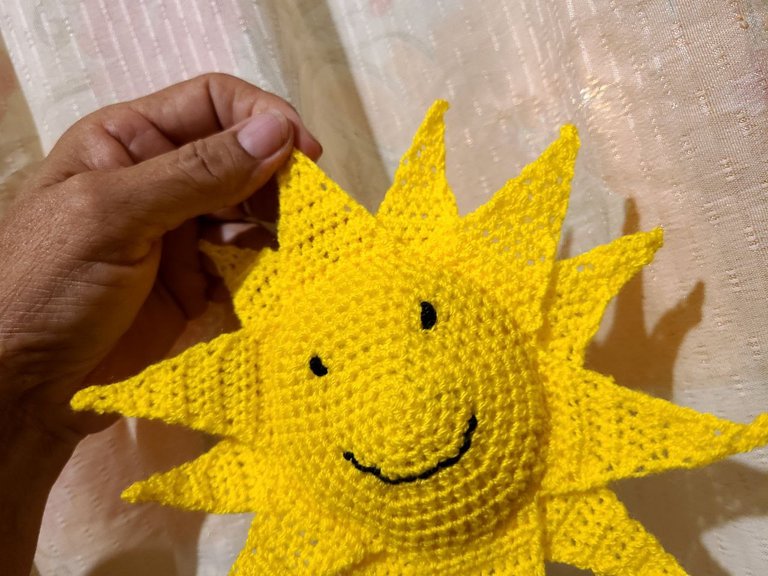
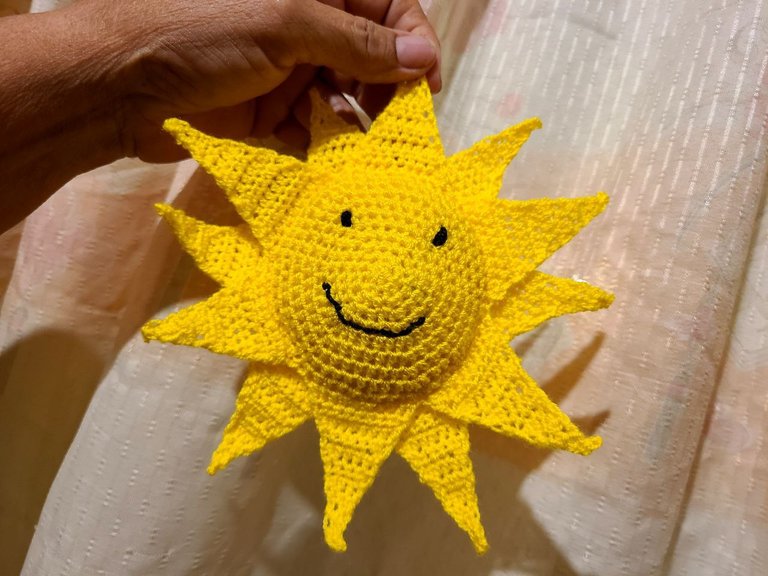
We take both faces and place them crossing the peaks so that they can be seen in greater quantity, and we proceed to join them with a seam on the inside of both faces.
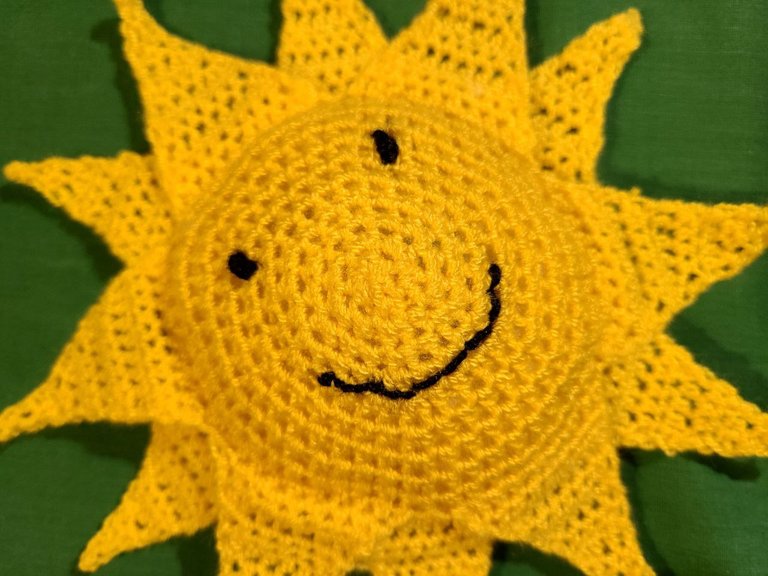
Later with black thread we embroider the eyes and mouth.
🧶 Armado del sol:
Tomamos ambas caras y las colocamos cruzando los picos para que se vean en mayor cantidad, y procedemos a unirlos con una costura por dentro de ambas caras.
Posteriormente con el hilo negro bordamos los ojos y la boca.
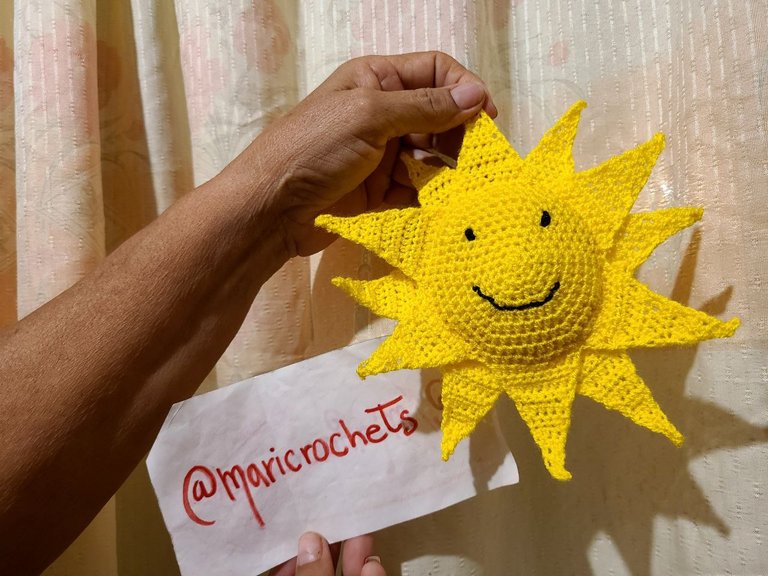
Well, friends, there is not much left to say, this publication, like the previous ones, I hope you like and accept it, enjoy it and don't be afraid to start doing it, little by little you will find the motivation and enthusiasm that these tasks provoke, good luck to you those who try.
Thank you very much for the attention you always give me, a hug with great respect.
Bueno amigos ya no queda mucho por decir, está publicación como las anteriores espero sean de agrado y aceptación, disfrutenla y no les dé miedo empezar a realizarlas, poco a poco van a encontrar la motivación y el entusiasmo que estás labores provocan, suerte a quienes lo intenten.
Muchas gracias por la atención que siempre me prestan, un abrazo con mucho respeto.
Great work of art.
Thank you very much for your support
Súper lindo..! ☀️
Gracias Dany 🥰
Congratulations @maricrochets! You have completed the following achievement on the Hive blockchain And have been rewarded with New badge(s)
Your next target is to reach 7000 upvotes.
You can view your badges on your board and compare yourself to others in the Ranking
If you no longer want to receive notifications, reply to this comment with the word
STOPCheck out our last posts:
Thanks you
You're a true champion @maricrochets! Keep striving for greatness and you'll reach your Hive goals in no time.
Thanks for the support
This is really amazing 🥰
thank you so much
You are highly welcome
Thanks you
Welcome