Tutorial: Designing a crochet Kiwi, cup holder (step by step) - Diseñando un Kiwi en crochet, posa tazas (paso a paso). 🧶🥝
Hello friends, taking into account that it is already the weekend ☀️ I bring you a quick and simple tutorial, it is a cup mat with an image of Kiwi 🥝 I hope you like it completely.
Hola amigos, tomando en cuenta que ya es fin de semana ☀️ les traigo un tutorial rápido y sencillo, se trata de un tapete posa taza con imagen de Kiwi 🥝 espero sea de su total agrado.
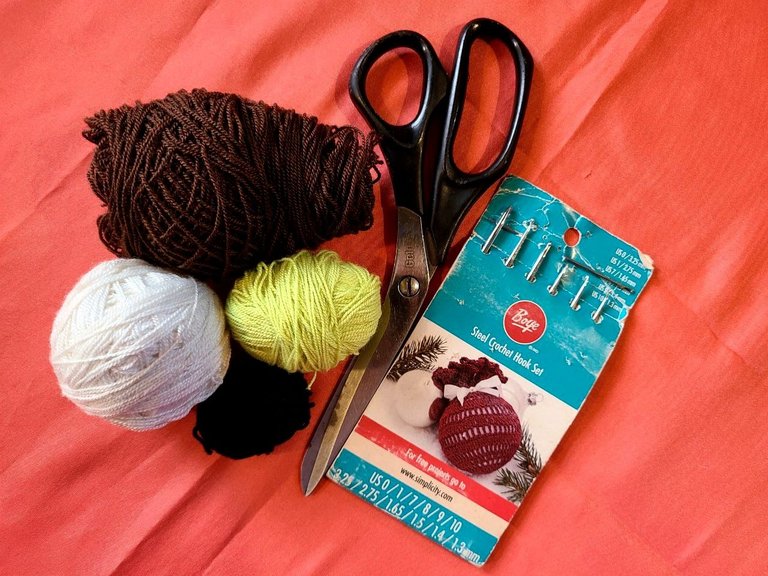
🧶 Materials to use:
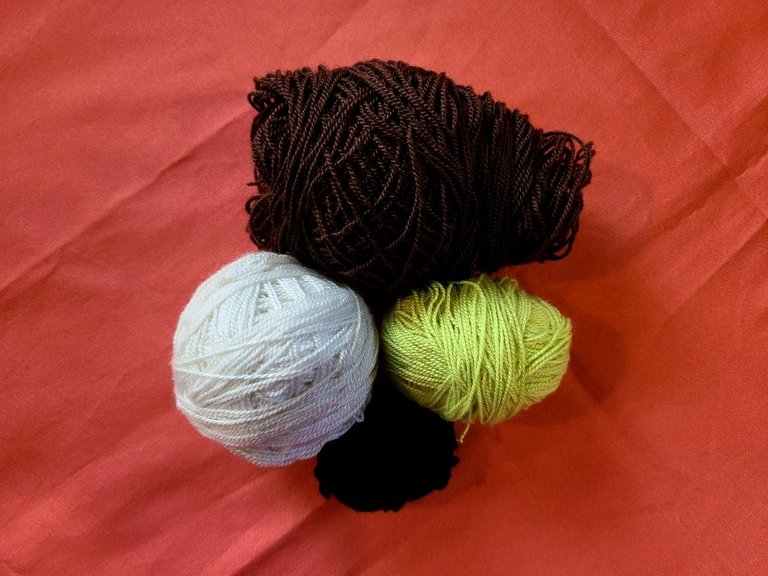
✓Crochet thread: Off-white, soft green, dark brown and black.
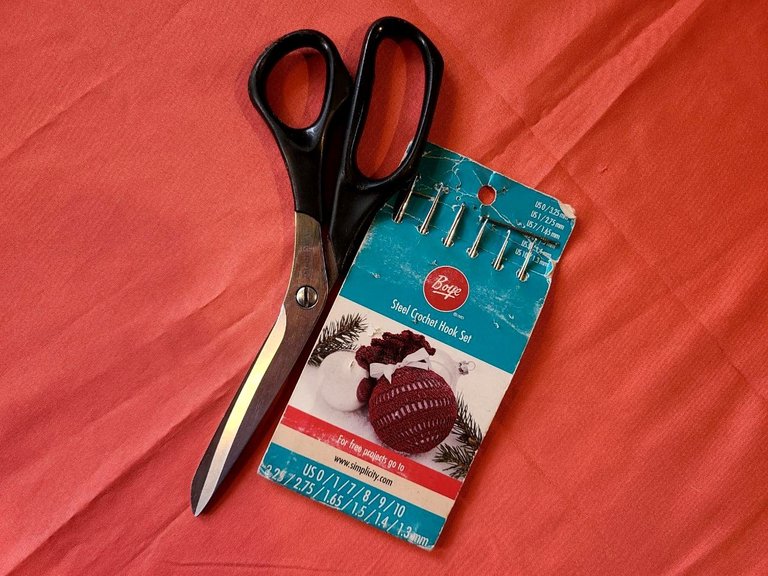
✓Crochet needle number 7.
✓Sewing needle.
✓Scissors.
🧶 Points to use:
✓Elongated high points.
✓High medium points.
✓Slided points.
🧶 Materiales a utilizar:
✓Hilo crochet: Beige hueso, verde suave, marrón oscuro y negro.
✓Aguja de crochet número 7.
✓Aguja de coser.
✓Tijeras.
🧶 Puntos a utilizar:
✓Puntos altos alargados.
✓Puntos medios altos.
✓Puntos deslizados.
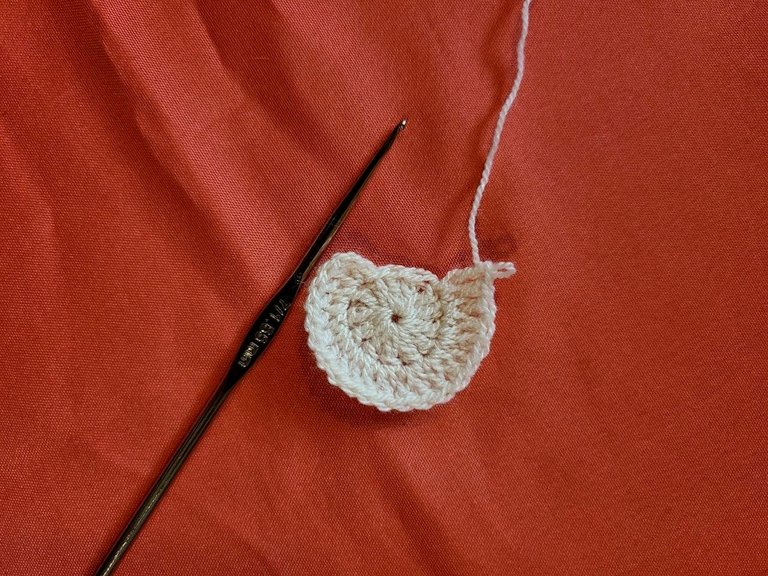
🧶 Step 1: This step is in bone beige yarn.
Row 1: We start with a magic ring and inside it we make 12 elongated double crochets.
Row 2: Entire row in increases (24).
Row 3: 1 long double crochet, followed by an increase (36).
🧶 Paso 1: Este paso es en hilo beige hueso.
Fila 1: Comenzamos con un anillo mágico y dentro del mismo hacemos 12 puntos altos alargados.
Fila 2: Toda la fila en aumentos (24).
Fila 3: 1 punto alto alargado, seguido de un aumento (36).
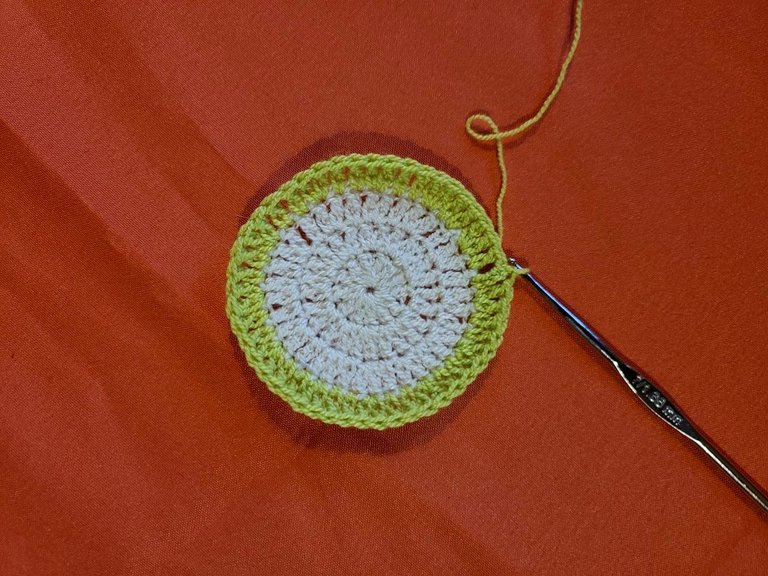
🧶 Step 2: In this row we change the thread.
Row 4: 2 elongated double crochets, followed by an increase (48).
Row 5: 3 elongated double crochets, followed by an increase (60).
Row 6: 4 elongated double crochets, followed by an increase (72).
Row 7: 5 elongated double crochets, followed by an increase (84).
🧶 Paso 2: En esta fila hacemos cambio de hilo.
Fila 4: 2 puntos altos alargados, seguido de un aumento (48).
Fila 5: 3 puntos altos alargados, seguido de un aumento (60).
Fila 6: 4 puntos altos alargados, seguido de un aumento (72).
Fila 7: 5 puntos altos alargados, seguido de un aumento (84).

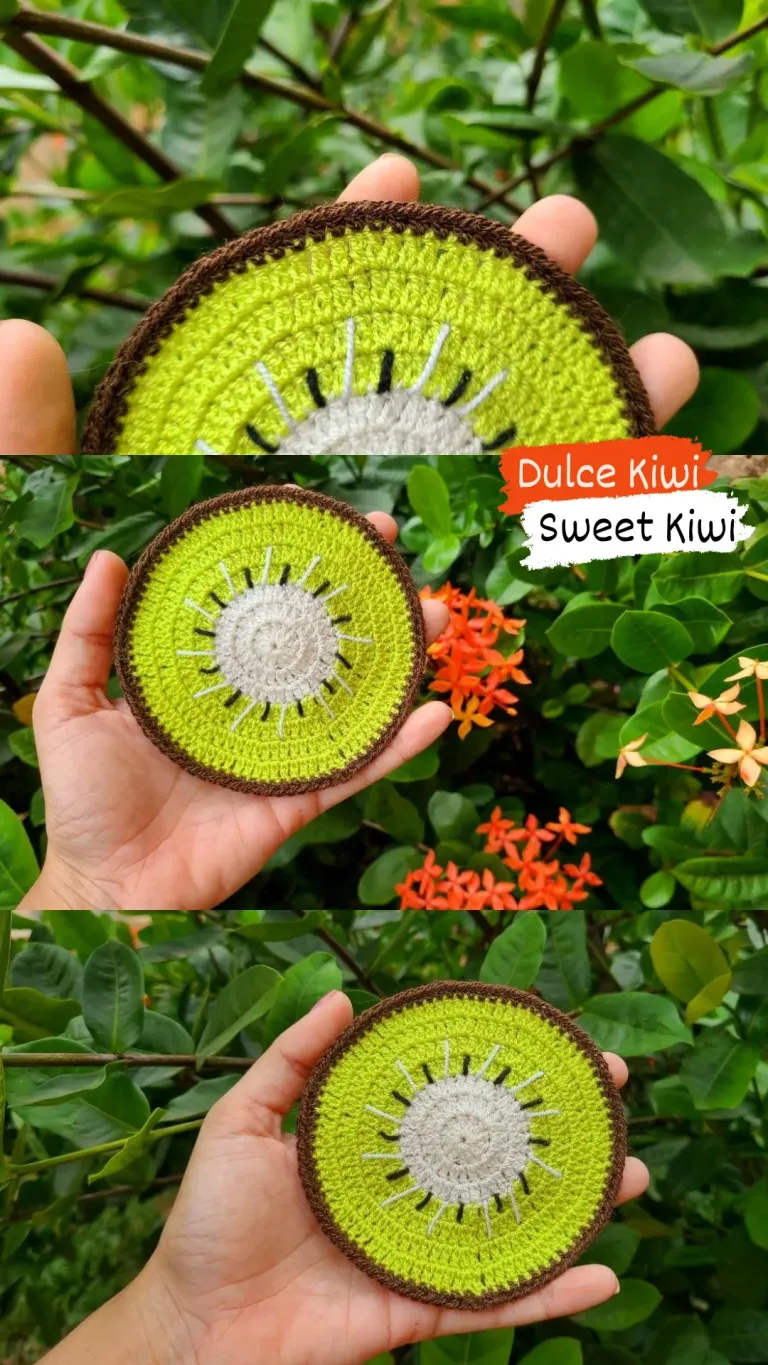
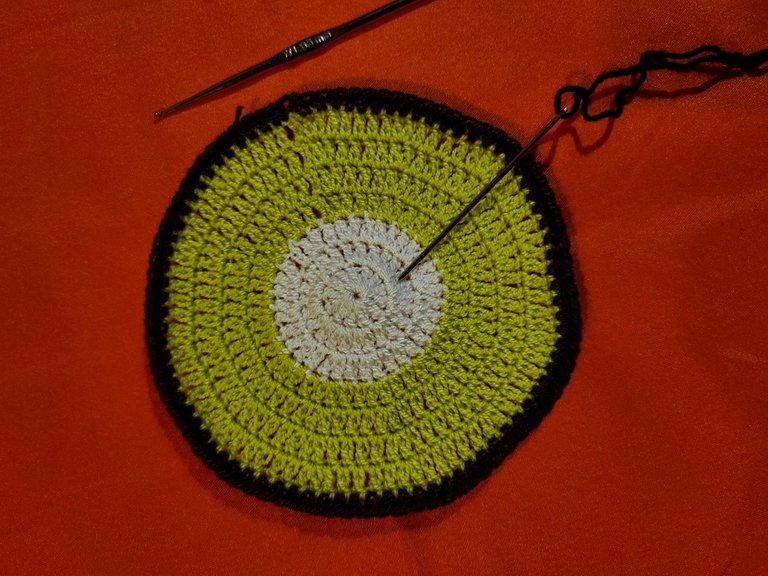
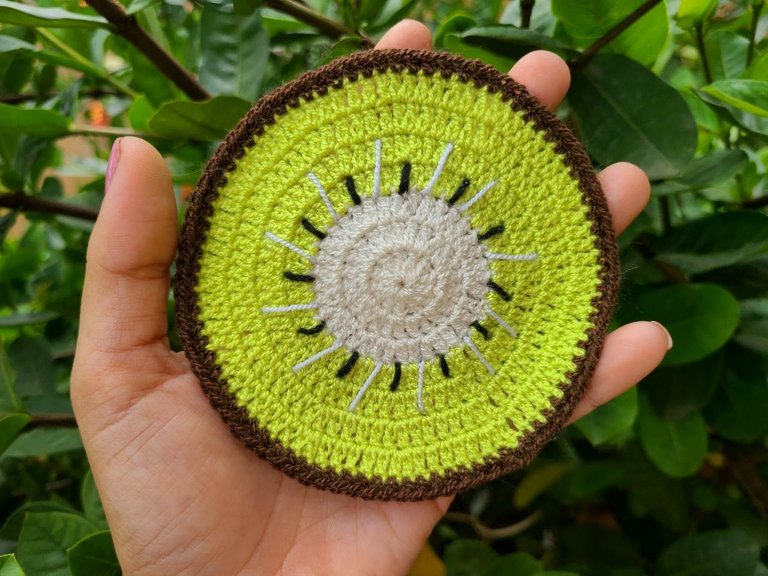
🧶 Step 3: In this row we again change the thread to brown.
Row 8: This row is all in half double crochets, as they appear without increases or decreases.
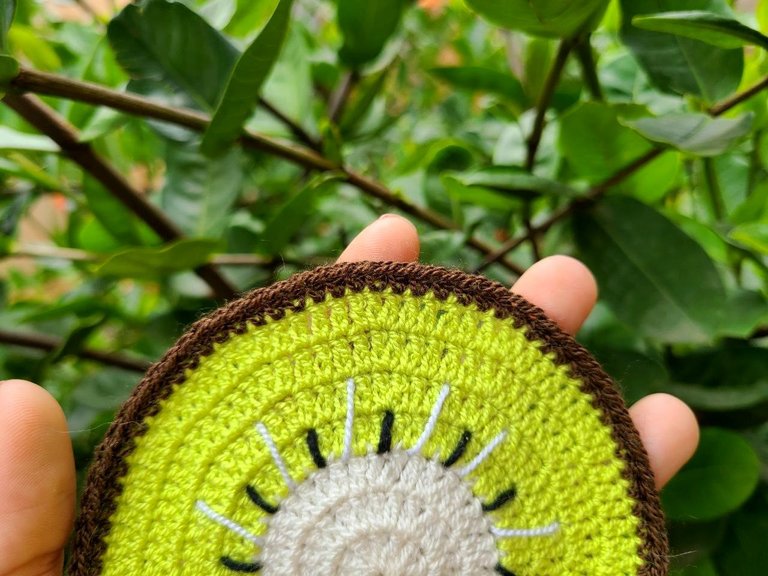
With black thread and needle we proceed to embroider the black dots, giving the appearance of seeds. With the beige thread we show off the ribs.
🧶 Paso 3: En esta fila nuevamente cambiamos el hilo por el color marrón.
Fila 8: Esta fila está toda en puntos medios altos, tal como aparecen sin aumentos ni disminuciones.
Con hilo negro y aguja procedemos a bordar los puntos negros, dando la apariencia de semillas. Con el hilo beige aparentamos las nervaduras.
Well friends, as I told you before, this is a very simple project to do, here I leave the tutorial step by step, to make it easier to understand.
Once again I thank you for taking the time to view my posts, thank you. Greetings, have a nice weekend.
Bien amigos como les dije anteriormente este es un proyecto muy sencillo de realizar, acá les dejo el tutorial paso a paso, para que sea más fácil de entender.
Nuevamente les agradezco el tiempo que se toman en ver mis publicaciones, gracias. Saludos que tengan un bonito fin de semana. 🩷
Te ha quedado súper lindo y colorido!!! Especial para una merienda a la tarde en verano!! 🌞
Muchas gracias, Saludos
Mmm nice!
I literally thought of making something similar some days back.
I like the colors
Great job
Thanks friend, greetings
You’re welcome
Wow!!
This is incredible😳😳😳
Thanks you
Ay que bonito quedó
Gracias, saludos
Gracias, saludos
Saludos @maricrochets, quelindo quedó el kiwi, parecereal , es una lástima que no se puede comer,ñ porque se ve delicioso je, je. 😋 🥝🥝🥝
Que tengas una excelente semana!
Now, this right here is nice!
Congrats, you made it so neat!