Tutorial: Designing a cute little chicken in crochet (step by step) - Diseñando una linda gallinita en crochet (paso a paso). 🐔🧶
Happy day friends crochet creators, this time I have brought you a tutorial based on a chicken-shaped pot holder, I hope you enjoy it as always. 🐔🧶
Felíz día amigos creadores de crochet, en esta oportunidad les he traído un tutorial basado en un agarra ollas en forma de gallina, espero lo disfruten como siempre. 🐔🧶
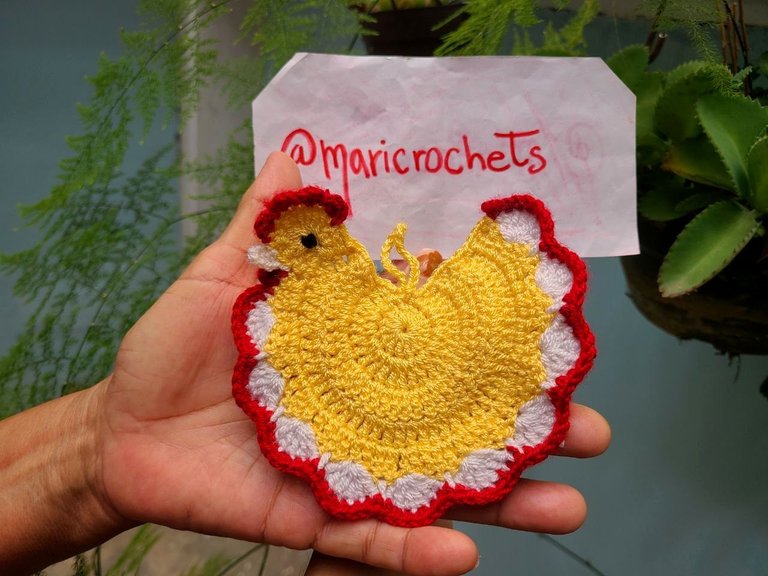
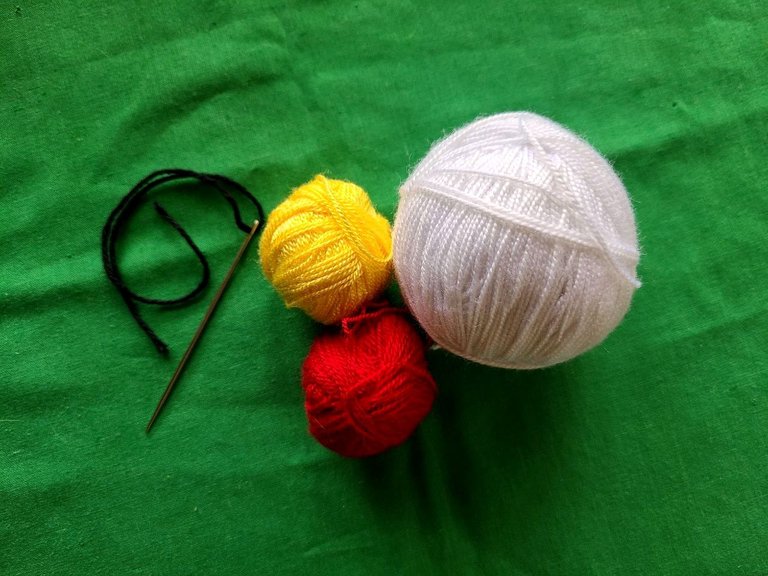
🧶 Materials to use:
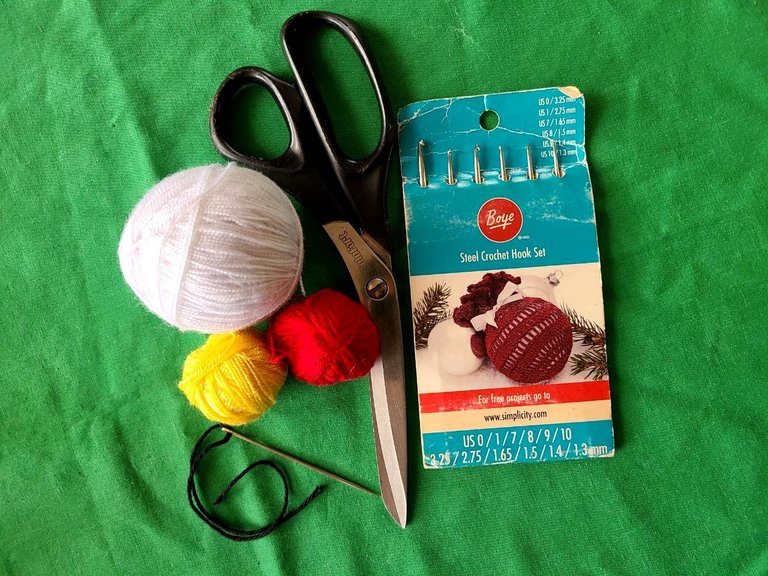
✓Crochet threads: yellow, white, red and black.
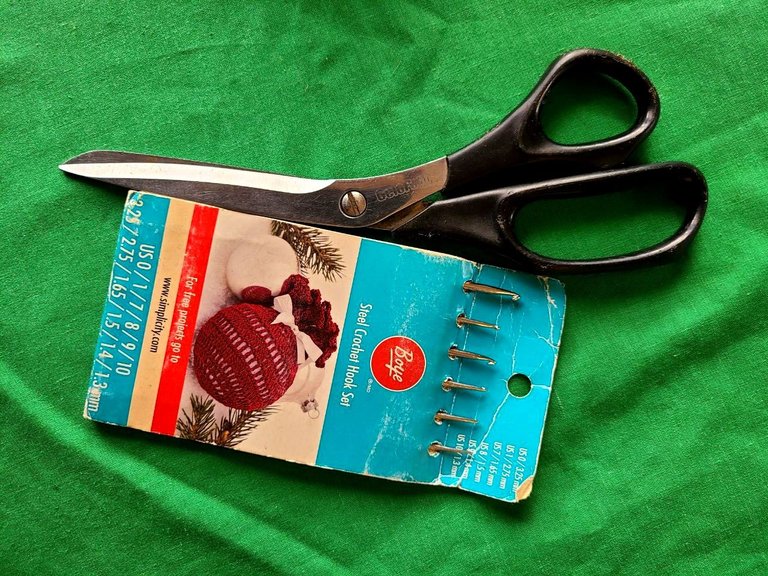
✓Crochet needles number 7.
✓Scissors.
🧶 Points to use:
✓Elongated high points.
✓High points.
✓Low points.
✓Slided points.
✓Chain points.
This project is all made with two-strand yarn.
🧶 Materiales a utilizar:
✓Hilos crochet: amarillo, blanco, rojo y negro.
✓Agujas crochet número 7.
✓Tijeras.
🧶 Puntos a utilizar:
✓Puntos altos alargados.
✓Puntos altos.
✓Puntos bajos.
✓Puntos deslizados.
✓Puntos cadenas.
Este proyecto está elaborado todo con hilo de dos hebras.
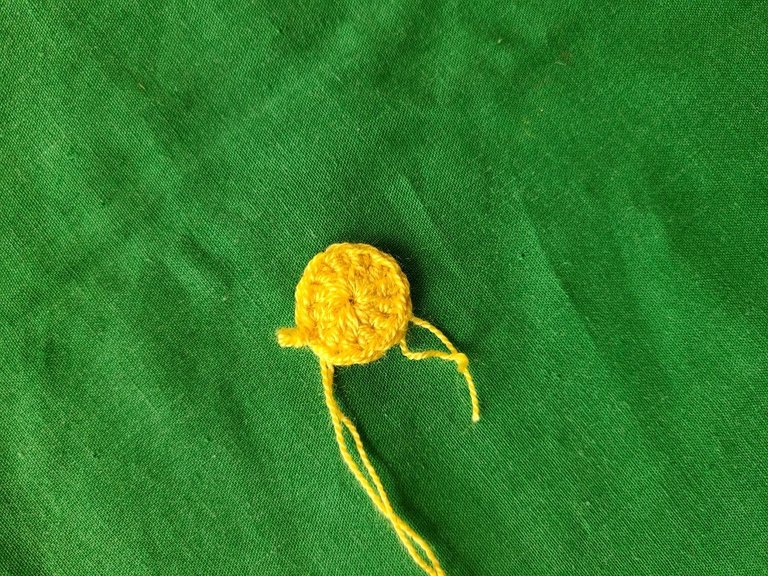
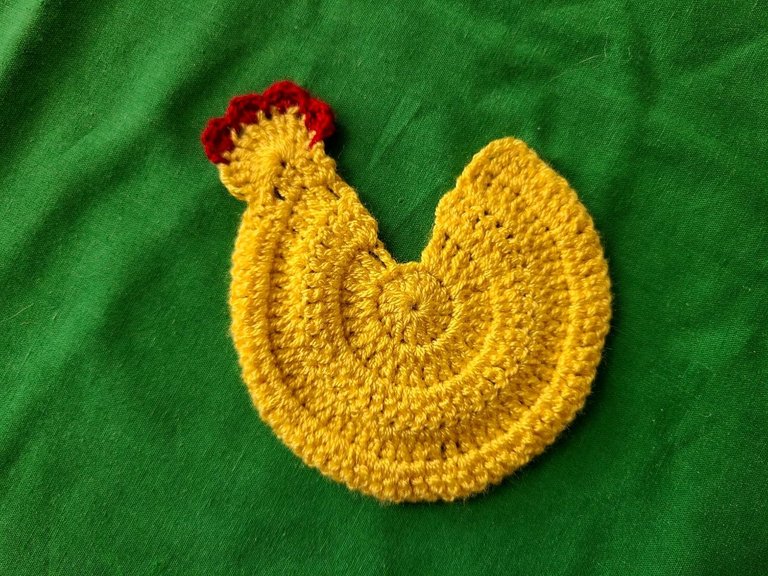
🧶 Step 1: This work is done in the color yellow.
Row 1: We make a magic ring, and inside it we make 14 double crochets, closing with a slip stitch.
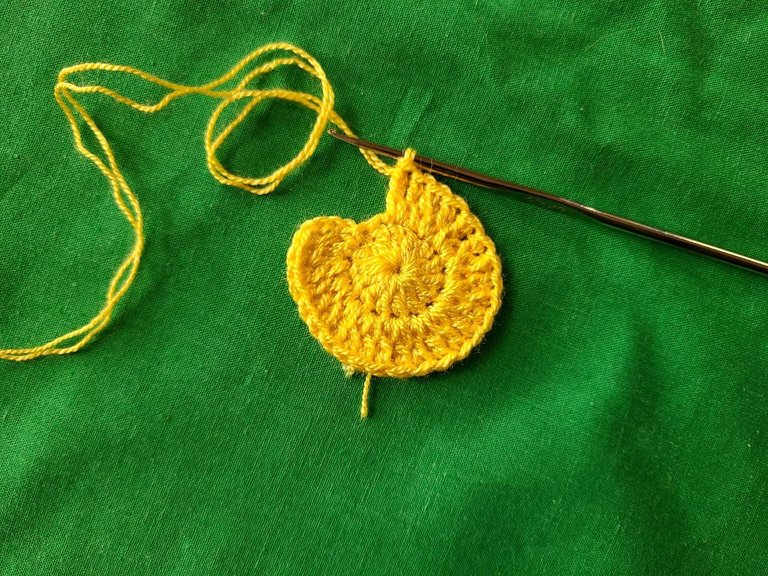
Row 2: In this row we work an increase in elongated treble crochets, in each stitch of the previous row, and we leave the last stitch free.
Row 3: We work 2 elongated treble crochets and in the next one an increase in elongated treble crochets, 1 elongated treble crochet, and an increase follows, like this until the row is finished.
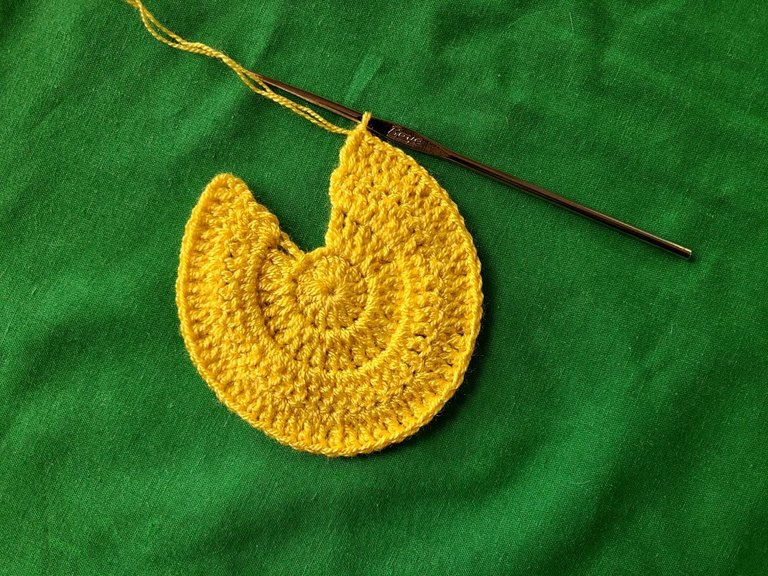
Row 4: 2 elongated treble crochets, 1 increase of 2 elongated treble crochets, 2 elongated treble crochets, and the increase continues, like this until the row is finished.
Row 5: 3 elongated double crochets, 1 increase of 2 elongated double crochets, 3 elongated double crochets, and the increase continues, like this until the end of the row.
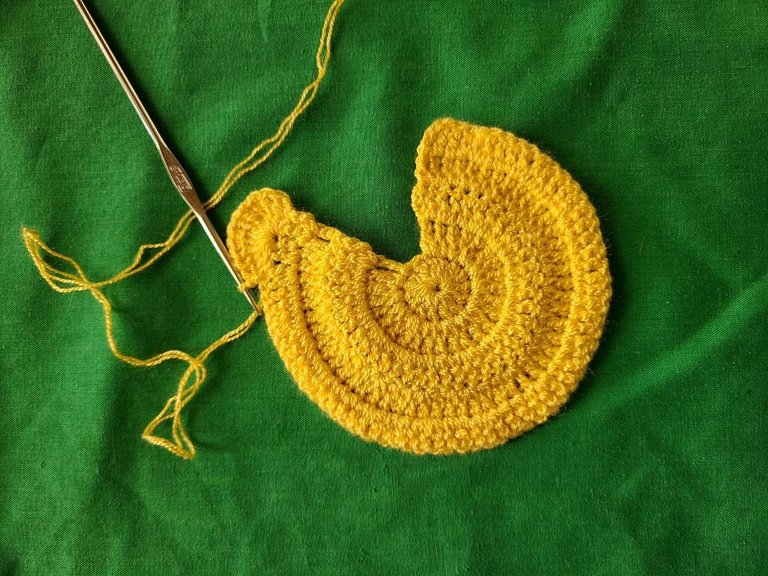
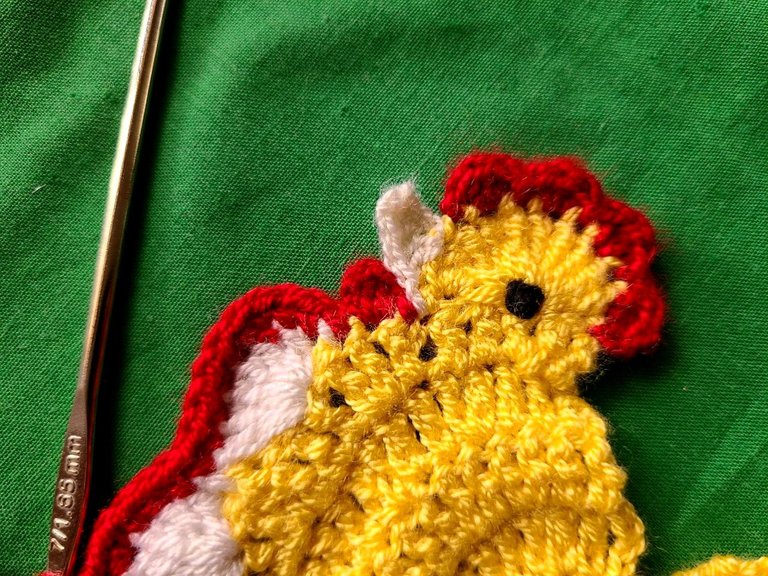
Row 6: To form the head of the chicken. We do this stitch with double treble crochets.
We take two yarn overs on the needle, skip 1 stitch and in the next stitch we make a shell, with double treble crochets, again we skip another stitch and close the next one with a slipped stitch, we cut the yellow thread.
In the part where the hen is open we make some single crochets and in the center, 20 chain stitches to form the hanging loop.
🧶 Paso 1: Este trabajo está laborado en el color amarillo.
Fila 1: Hacemos un anillo mágico, y dentro del mismo hacemos 14 puntos altos, cerrando con punto deslizado.
Fila 2: En esta fila trabajamos un aumento de puntos altos alargados, en cada punto de la fila anterior, y dejamos libre el último punto.
Fila 3: Trabajamos 2 puntos altos alargados y en el siguiente un aumento de puntos altos alargados, 1 punto alto alargado, y sigue un aumento, así hasta terminar la fila.
Fila 4: 2 puntos altos alargados, 1 aumento de 2 puntos altos alargados, 2 puntos altos alargados, y sigue el aumento, así hasta terminar la fila.
Fila 5: 3 puntos altos alargados, 1 aumento de 2 puntos altos alargados, 3 puntos altos alargados, y sigue el aumento, así hasta terminar la fila.
Fila 6: Para formar la cabeza de la gallina. Este punto lo hacemos con puntos altos dobles.
Tomamos dos lazadas en la aguja, saltamos 1 punto y en el siguiente punto elaboramos una concha, de puntos altos dobles, nuevamente saltamos otro punto y cerramos en el siguiente con un punto deslizado, cortamos el hilo amarillo.
En la parte donde queda abierta la gallina le hacemos unos puntos bajos y en el centro, 20 puntos de cadena para formar la lazada de colgar.
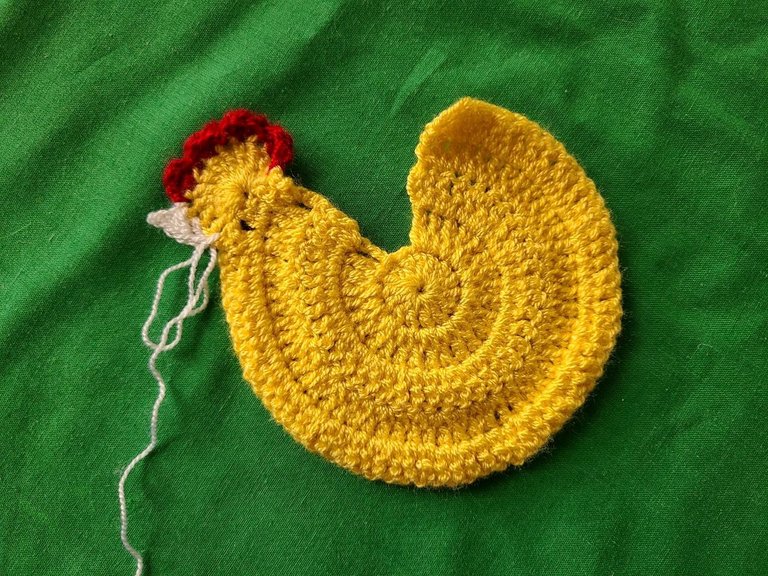
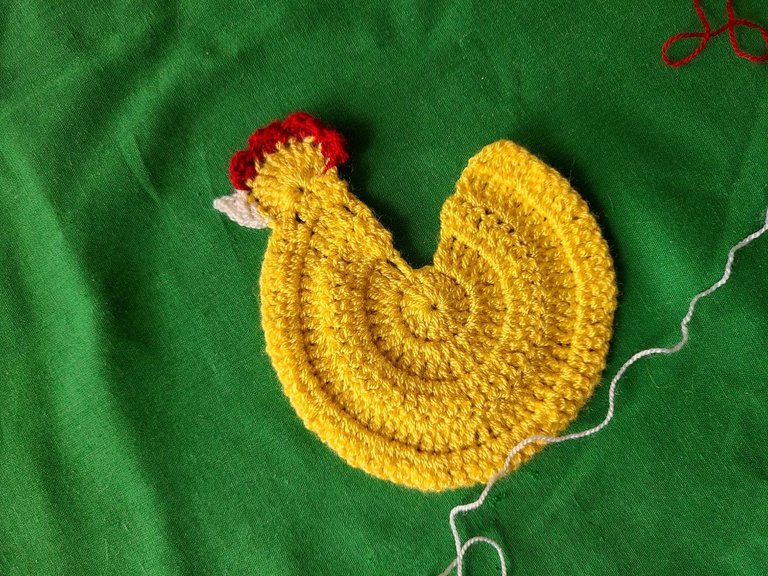
🧶 Step 2: On this side we work it with the white thread.
Single row: We work around the body a series of fans of 6 elongated double crochets, as follows: 1 slipped stitch, we skip a space and in the next we make the fan of 6 elongated double crochets, again one stitch slipped, and we continue until the end of the row.
For the peak we take the last 2 stitches of the head, and we do it this way: we raise 5 chains, we return with a single crochet, a half-double crochet, a normal double crochet and a double crochet, and we close with a stitch slid jumping 2 spaces.
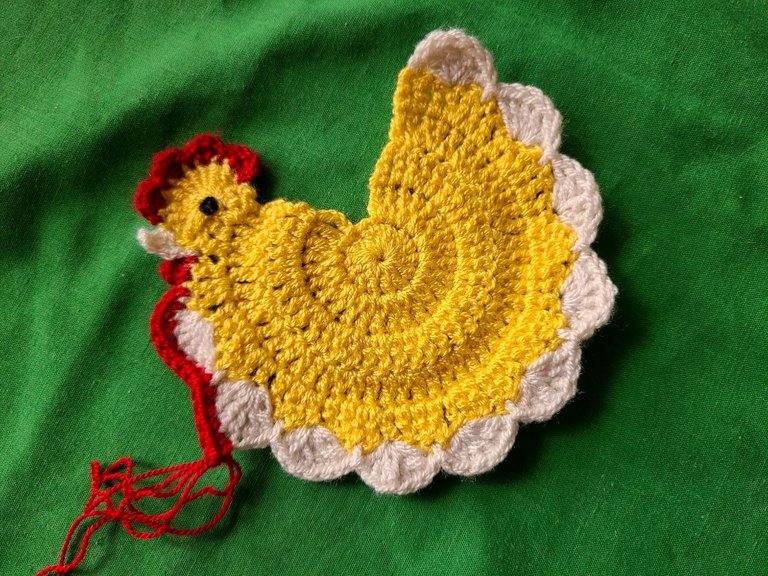
🧶 Step 3: This step is worked with the red thread.
Single row: We start with the head, we place ourselves in the row where the head begins, we make a slipped stitch, and in the next point 3 normal double crochets in the same point, we continue with delicate stitch, another fan of 3 points until you form 4 groups, which would be the top part of the head.
Under the peak we make a fan of 3 normal double crochets in a single stitch and close with a slip stitch. From there we make single crochets in each white fan by making 2 single crochets in the center of each fan. We have finished this project. For the eye we can do it with thread or if we have a bead that can be used we place it, imitating an eye.
🧶 Paso 2: A este lado lo trabajamos con el hilo blanco.
Fila única: Trabajamos alrededor del cuerpo una serie de abanicos de 6 puntos altos alargados, de la siguiente forma: 1 punto deslizado, saltamos un espacio y en el siguiente hacemos el abanico de 6 puntos altos alargados, nuevamente un punto deslizado, y seguimos hasta finalizar la fila.
Para el pico tomamos los 2 últimos puntos de la cabeza, y lo hacemos de esta forma: levantamos 5 cadenas, nos devolvemos con un punto bajo, un punto medio alto, un punto alto normal y un punto doble, y cerramos con un punto deslizado saltando 2 espacios.
🧶 Paso 3: Este paso está trabajado con el hilo rojo.
Fila única: Empezamos por la cabeza, nos ubicamos en la fila donde comienza la cabeza, hacemos un punto deslizado, y en el siguiente punto 3 puntos altos normales en el mismo punto, seguimos con punto delicado, otro abanico de 3 puntos hasta formar 4 grupos,que sería la parte alta de la cabeza.
Debajo del pico le hacemos en un punto único un abanico de 3 puntos altos normales y cerramos con punto deslizado.
A partir de allí hacemos puntos bajos en cada abanico blanco haciendo 2 puntos bajos en el centro de cada abanico.
Hemos terminado este proyecto. Para el ojo podemos hacerlo con hilo o si tenemos alguna mostacilla que se pueda utilizar lo colocamos, imitando un ojo.
Dear friends, we have finished one more project, here I am leaving the publication for you to enjoy, and thus be able to share all the details that are presented in it. Very grateful for your attention, thank you. Greetings.
Estimados amigos hemos finalizado un proyecto más, acá estoy dejando la publicación para que la disfruten , y así poder compartir todos los detalles que en ella se presentan.
Muy agradecida por su atención, gracias. Saludos.
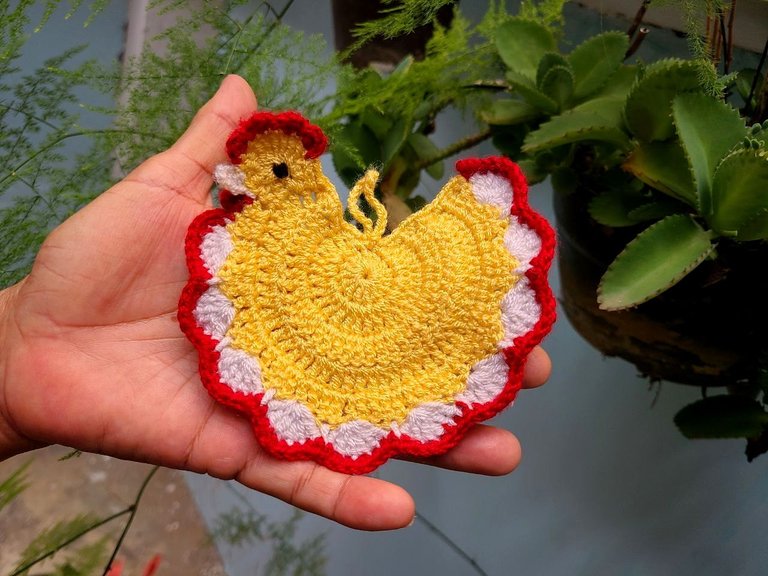
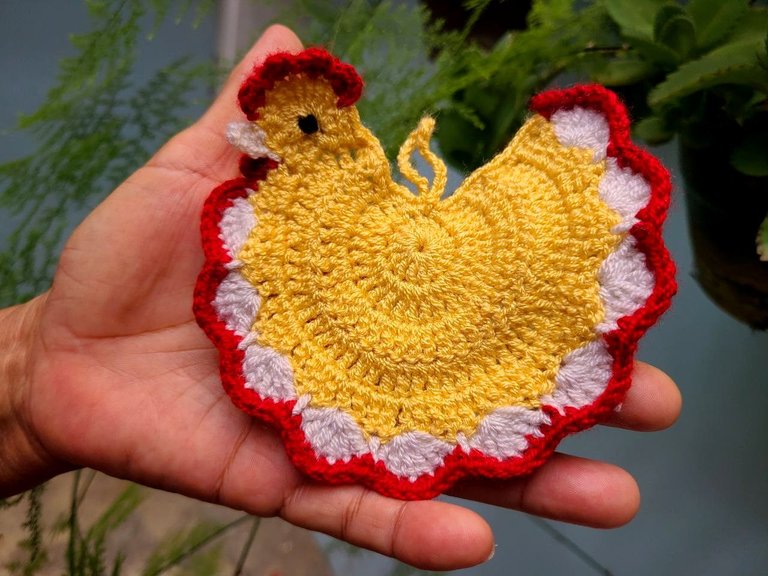
That little chicken you designed is so cute. It looks great. Well done! Keep it up!
thank you so much. greetings
Te quedo demasiado linda esta gallinita, siempre me han gustado las gallinas para decorar la cocina. Gracias por el tutorial amiga.
Gracias amiga, la idea es seguir compartiendo.
Exacto amiga, esa es la idea seguir creando para compartir.💖
Está hermosa!! Me gusta mucho como resaltan los colores y el diseño es ideal para el uso que va a tener en la cocina ❤❤
Gracias amiga, si los colores resaltan bastante
Congratulations @maricrochets! You have completed the following achievement on the Hive blockchain And have been rewarded with New badge(s)
Your next target is to reach 6000 upvotes.
You can view your badges on your board and compare yourself to others in the Ranking
If you no longer want to receive notifications, reply to this comment with the word
STOPCheck out our last posts:
Thanks you.
All good @maricrochets! You have what it takes to achieve this new goal on Hive! Keep it up!
Hermosa gallina te felicito
Gracias amiga
El resultado es hermoso amia @maricrochets
Siempre he admirado el arte del tejido!
Gran trabajo!
Muchas gracias amiga. Saludos
Que práctico y hermoso trabajo. Admirable 👏
What a practical and beautiful job. Admirable 👏
Muchas gracias. Saludos.
I am always amazed at your craft. Another cute one! 😍😍😍
thank you very much, friend. greetings
Lovely creation inspired by chicken.
It looks so real and colorful.
Well done
thank you very much, friend. greetings
Keep up the good work. 👏
Recognized by Mystic artist Gudasol
You are loved.
Interested to to help music map cXc.world spread more good vibes on Hive?.