☢️ Tutorial: Designing a radioactive symbol in crochet (step by step) - Diseñando un símbolo radiactivo en crochet (paso a paso). ☢️🧶
Hello friends, happy and blessed Friday, we are on the weekend again, here in Maracaibo-Venezuela today is a holiday, it commemorates another year of the signing of the independence act, therefore our weekend is long.
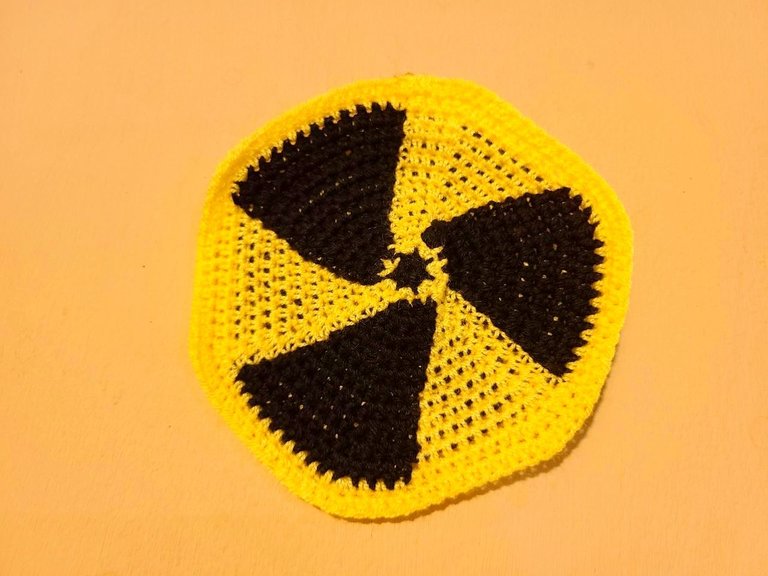
Once again I bring you a tutorial with its step by step, this time it is a small mat, which designs a radioactive symbol, you can give it various uses, it can be designed in the size you want, I found it quite practical and simple, I hope you like it.
Hola amigos, feliz y bendecido viernes, estamos en fin de semana nuevamente, acá en Maracaibo- Venezuela hoy es día festivo, se conmemora un año más de la firma del acta de independencia, por lo tanto nuestro fin de semana es largo.
De nuevo les traigo un tutorial con su paso a paso, en esta oportunidad se trata de un pequeño tapete, que diseña un símbolo radiactivo, pueden darle varías utilidades, se puede diseñar del tamaño que tu quieras, me pareció bastante práctico y sencillo, espero les guste.
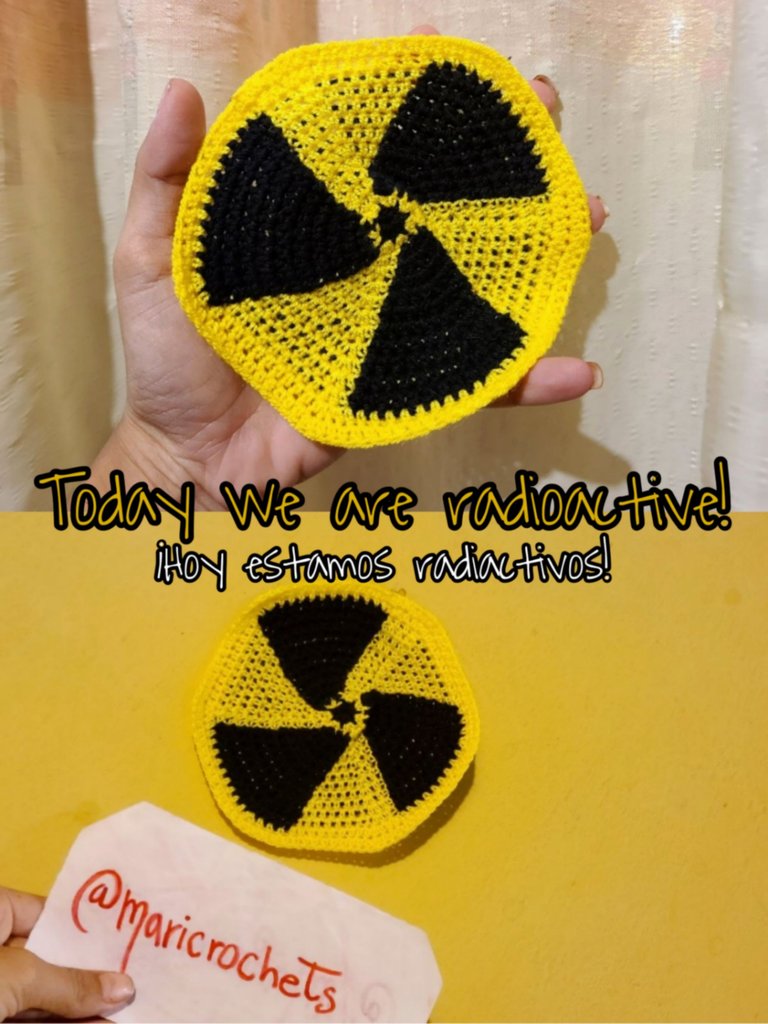
🧶 Materials to use:
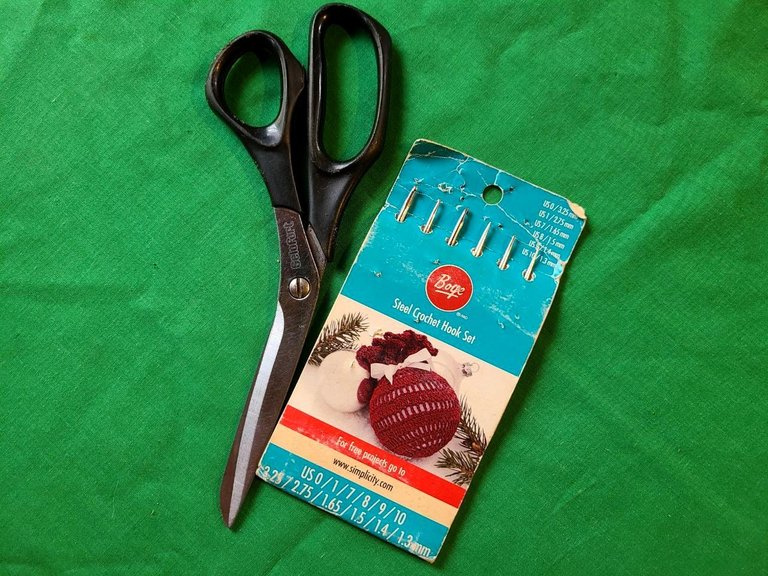
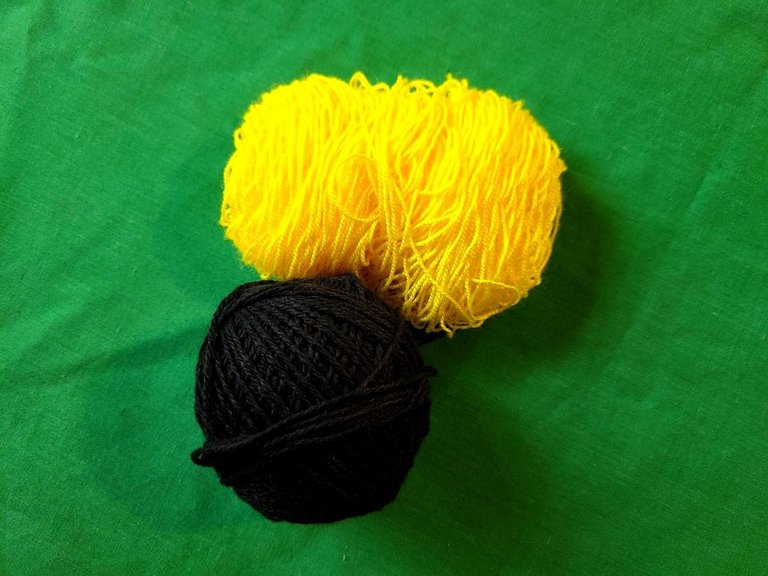
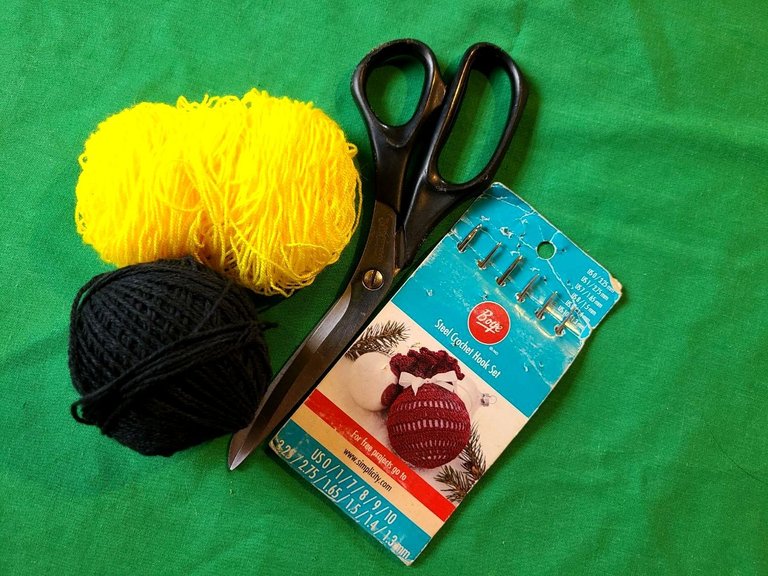
✓Crochet threads: yellow and black. ✓Crochet needles number 7.
✓Scissors.
🧶 Points to use:
✓High middle points.
✓Slided points.
🧶 Materiales a utilizar:
✓Hilos crochet: amarillo y negro.
✓Agujas crochet número 7.
✓Tijeras.
🧶 Puntos a utilizar:
✓Puntos medios altos.
✓Puntos deslizados.
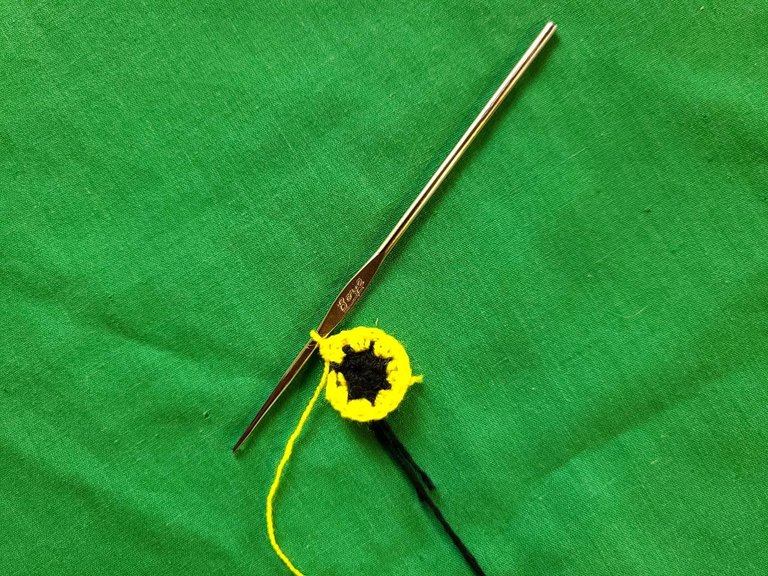
🧶 Step 1: We will work with the black thread.
Row 1: We will start by making a magic ring, inside it we will make 7 half double stitches.
🧶 Step 2: Here we will integrate the yellow thread.
Row 2: In this row we will work all the stitches with increase (14).
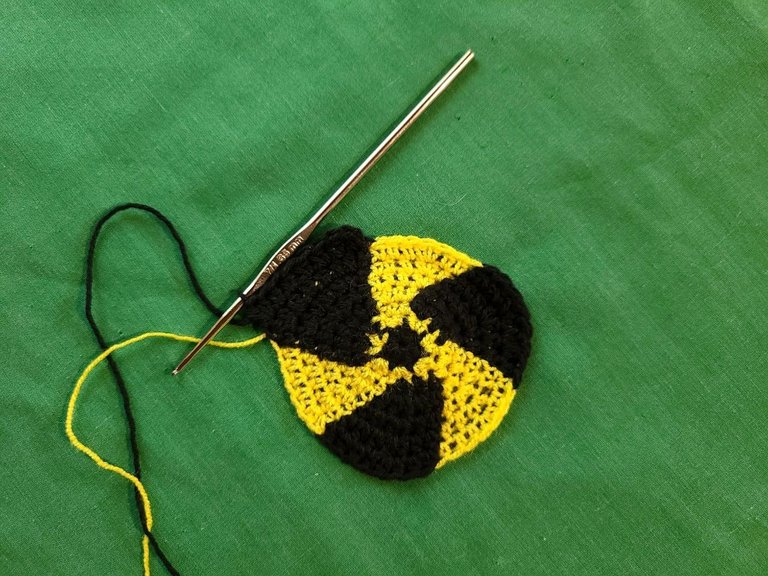
Row 3: In this row we begin the design as follows:
✓With the black thread: 1 half double crochet followed by 1 increase and another half double crochet
✓With the yellow thread: 1 increase followed by 1 half double crochet.
✓With black thread: 1 half double crochet, followed by an increase and 1 half double crochet.
✓With the yellow thread: 1 half-double stitch in the black space doing the increase, 1 half-double stitch, 1 half-double stitch.
✓With the black thread: 1 half-double stitch over the yellow stitch and we make the increase, 1 half-double stitch, and 1 increase.
✓With yellow thread: 1 half double crochet, followed by 1 increase (21).
Row 4: Work by making 2 half double crochets and an increase, taking care that they increase (1) stitch in each space, black would be 5 stitches and yellow would be 4 stitches (27).
Row 5: Work by making 3 half-double crochets and an increase, taking care that they increase (1) stitch in each space, black would be 6 stitches and yellow would be 5 stitches (33).
Row 6: Work by making 4 half double crochets and an increase, taking care that they increase (1) stitch in each space, black would be 7 stitches and yellow would be 6 stitches (39).
Row 7: Work by making 5 half-double crochets and an increase, taking care that they increase (1) stitch in each space, black would be 8 stitches and yellow would be 7 stitches (45).
🧶 Paso 1: Trabajaremos con el hilo negro.
Fila 1: Empezaremos haciendo un anillo mágico, dentro del mismo haremos 7 puntos medio alto.
🧶 Paso 2: Acá integraremos el hilo color amarillo.
Fila 2: En esta fila trabajaremos todos los puntos con aumento (14).
Fila 3: En esta fila comenzamos el diseño de la siguiente manera:
✓Con el hilo negro: 1 punto medio alto seguido de 1 aumento y otro punto medio alto
✓Con el hilo amarillo: 1 aumento seguido de 1 punto medio alto.
✓Con hilo negro: 1 punto medio alto, seguido de un aumento y 1 punto medio alto.
✓Con el hilo amarillo: 1 punto medio alto en el espacio del negro haciendo el aumento, 1 punto medio alto, 1 punto medio alto.
✓Con el hilo negro: 1 punto medio alto sobre el punto amarillo y hacemos el aumento, 1 punto medio alto, y 1 aumento.
✓Con hilo amarillo: 1 punto medio alto, seguido de 1 aumento (21).
Fila 4: Se trabaja haciendo 2 puntos medios altos y un aumento, cuidando que vayan aumentando (1) punto en cada espacio, color negro serían 5 puntos y color amarillo serían 4 puntos (27).
Fila 5: Se trabaja haciendo 3 puntos medios altos y un aumento, cuidando que vayan aumentando (1) punto en cada espacio, color negro serían 6 puntos y color amarillo serían 5 puntos (33).
Fila 6: Se trabaja haciendo 4 puntos medios altos y un aumento, cuidando que vayan aumentando (1) punto en cada espacio, color negro serían 7 puntos y color amarillo serían 6 puntos (39).
Fila 7: Se trabaja haciendo 5 puntos medios altos y un aumento, cuidando que vayan aumentando (1) punto en cada espacio, color negro serían 8 puntos y color amarillo serían 7 puntos (45).

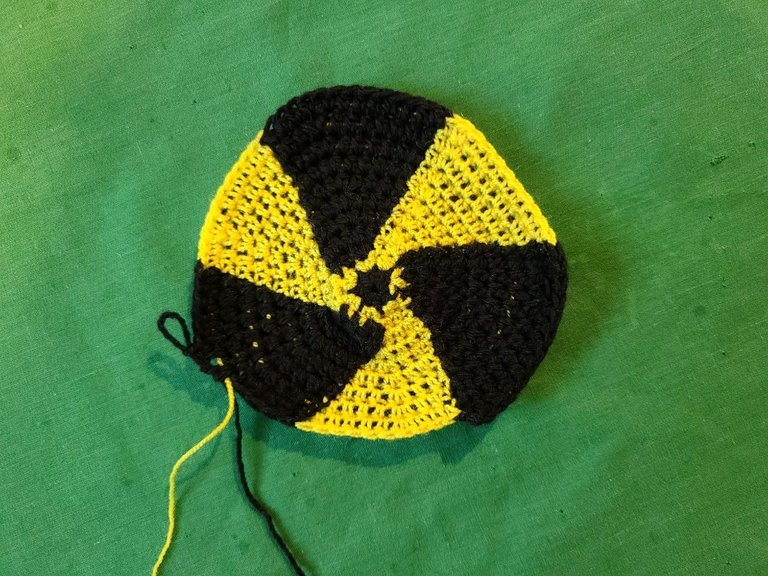
Row 8: Work by making 6 half double crochets and an increase, making sure that they increase (1) stitch in each space, black would be 9 stitches and yellow would be 8 stitches (51).
Row 9: Work by making 7 half-double crochets and an increase, taking care that they increase (1) stitch in each space, black would be 10 stitches and yellow would be 9 stitches (57).
Row 10: Work by making 8 half-double crochets and an increase, making sure that they increase (1) stitch in each space, black would be 11 stitches and yellow would be 10 stitches (63).
Row 11: Work by making 9 half-double stitches and an increase, making sure that they increase (1) stitch in each space, black would be 12 stitches and yellow would be 11 stitches (69).
Row 12: Work by making 10 half-double stitches and an increase, taking care that they increase (1) stitch in each space, black would be 13 stitches and yellow would be 12 stitches (75).
Row 13 and 14: Everything is made in yellow without increases or decreases.
Fila 8: Se trabaja haciendo 6 puntos medios altos y un aumento, cuidando que vayan aumentando (1) punto en cada espacio, color negro serían 9 puntos y color amarillo serían 8 puntos (51).
Fila 9: Se trabaja haciendo 7 puntos medios altos y un aumento, cuidando que vayan aumentando (1) punto en cada espacio, color negro serían 10 puntos y color amarillo serían 9 puntos (57).
Fila 10: Se trabaja haciendo 8 puntos medios altos y un aumento, cuidando que vayan aumentando (1) punto en cada espacio, color negro serían 11 puntos y color amarillo serían 10 puntos (63).
Fila 11: Se trabaja haciendo 9 puntos medios altos y un aumento, cuidando que vayan aumentando (1) punto en cada espacio, color negro serían 12 puntos y color amarillo serían 11 puntos (69).
Fila 12: Se trabaja haciendo 10 puntos medios altos y un aumento, cuidando que vayan aumentando (1) punto en cada espacio, color negro serían 13 puntos y color amarillo serían 12 puntos (75).
Fila 13 y 14: Toda esta elaborada en color amarillo sin aumentos ni disminuciones.
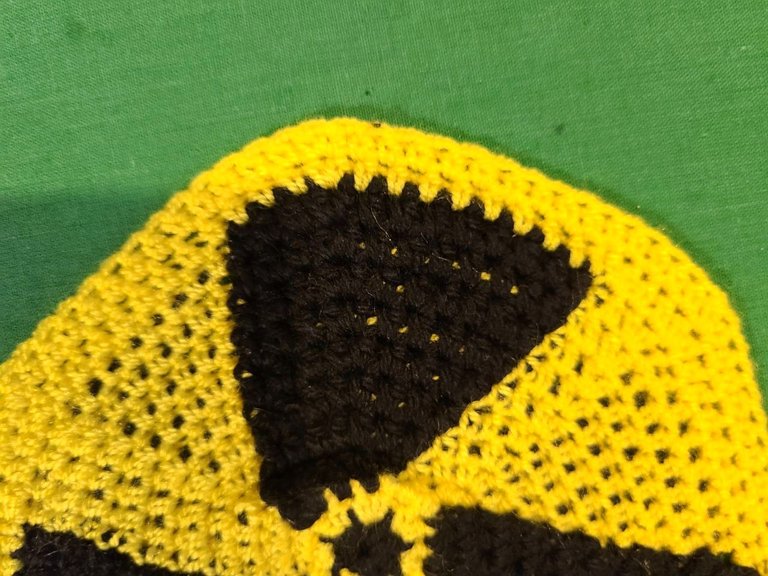
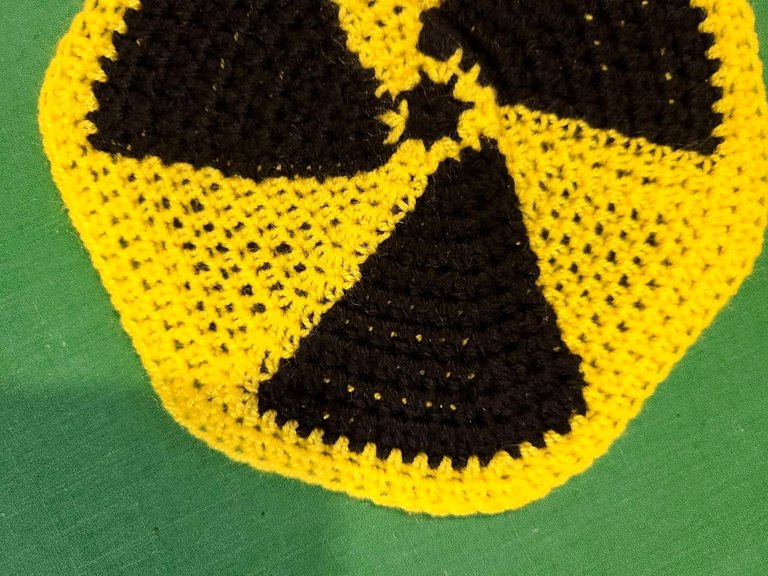

Dear friends, once again I have finished my project, I hope it is to your complete satisfaction, wishing you a very happy weekend, that you enjoy it very much.
In Maracaibo the rain has been a bit tedious, but here we continue to trust that the best will always happen.
Grateful for the time you dedicate to my publications and for your very positive comments, thank you, thank you. Hugs. 🙏🏻🙏🏻
Apreciados amigos, una vez más he terminado mi proyecto espero sea de su total agrado, deseándoles un muy feliz fin de semana, que lo disfruten mucho.
Por Maracaibo la lluvia ha sido un poco tediosa, pero acá seguimos confiando que siempre suceda lo mejor.
Agradecida por el tiempo que le dedican a mis publicaciones y por sus comentarios tan positivos, gracias, gracias. Abrazos. 🙏🏻🙏🏻

Congratulations @maricrochets! You have completed the following achievement on the Hive blockchain And have been rewarded with New badge(s)
Your next target is to reach 50 posts.
You can view your badges on your board and compare yourself to others in the Ranking
If you no longer want to receive notifications, reply to this comment with the word
STOPCheck out our last posts:
Thanks you
That's great @maricrochets! We're thrilled with your commitment to Hive! Let's go for this new goal!
So cute! Such a nice color combination. :D
Thanks you
Me encanto tu tejido, cuidado no pase sin comentar, jeje feliz fin de semana
Gracias amiga siempre las tengo presente, igual para ti .
Que llindo trabajo me encantó la combinación de colores y el patrón de tejido.
Saludos!
Muchas gracias, feliz fin de semana
¡Felicitaciones!
Estás participando para optar a la mención especial que se efectuará el domingo 7 de julio del 2024 a las 8:00 pm (hora de Venezuela), gracias a la cual el autor del artículo seleccionado recibirá la cantidad de 1 HIVE transferida a su cuenta.
¡También has recibido 1 ENTROKEN! El token del PROYECTO ENTROPÍA impulsado por la plataforma Steem-Engine.
1. Invierte en el PROYECTO ENTROPÍA y recibe ganancias semanalmente. Entra aquí para más información.
2. Contáctanos en Discord: https://discord.gg/hkCjFeb
3. Suscríbete a nuestra COMUNIDAD y apoya al trail de @Entropia y así podrás ganar recompensas de curación de forma automática. Entra aquí para más información sobre nuestro trail.
4. Visita nuestro canal de Youtube.
Atentamente
El equipo de curación del PROYECTO ENTROPÍA
Muchas gracias por su apoyo