Tutorial: Paw patrol, puppy footprints for appliqués - Patrulla canina, huellas de perrito para apliques. 🐾🧶
Very good night, how are you? Once again I give you a very curious crochet tutorial, puppy footprints, they are some appliques that can be very useful and help with the decoration of a baby basket, these appliques are placed on blankets, blankets, bodysuits, also on cloths and on many other pieces. I hope you like these appliques, and the ideas for using them.
Muy buenas noches, como están? una vez más les regalo un tutorial en crochet muy curioso, huellas de perrito, son unos apliques que pueden dar mucha utilidad y ayudar con la decoración de una canastilla para bebé, estos apliques se colocan en mantas, cobijas, body también en pañitos y en muchos otras piezas. Espero les gusten dichos apliques, y las ideas para utilizarlos.
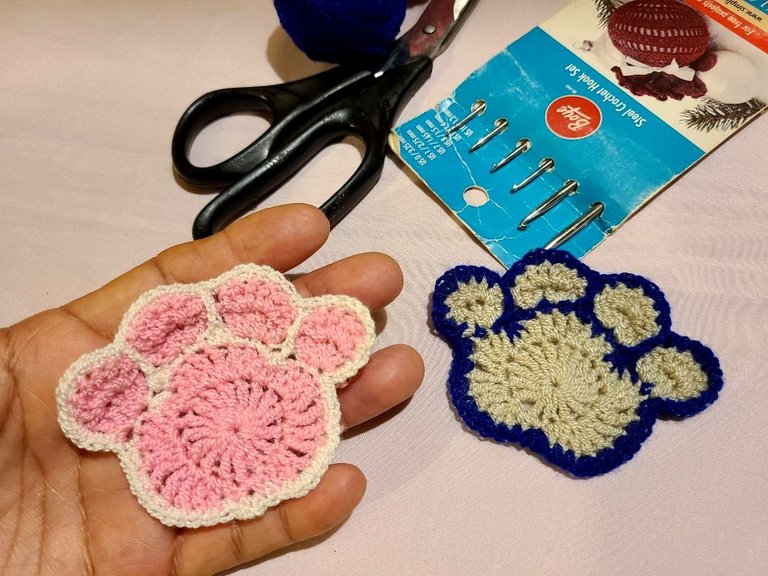
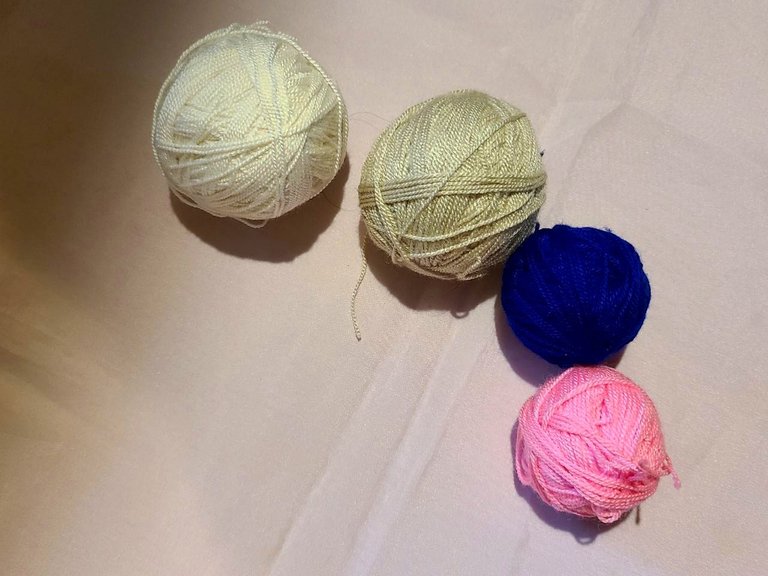
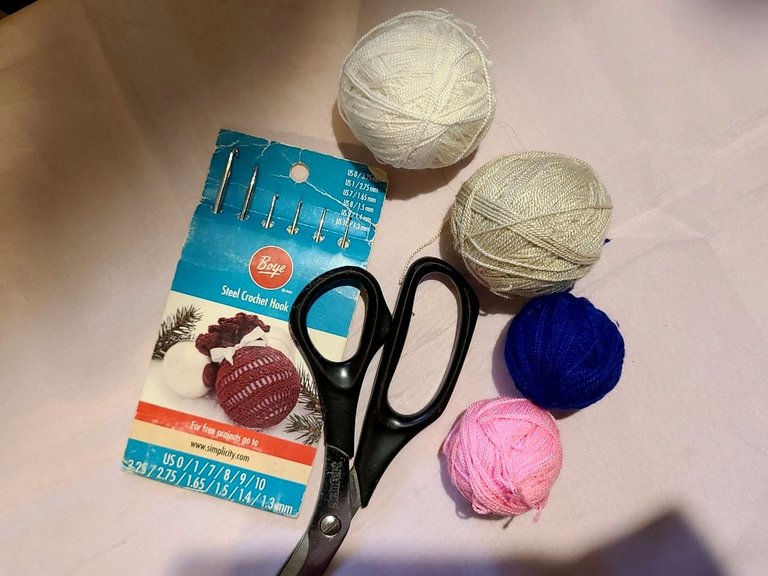
🧶 Materials to use in the appliqués:
✓Crochet threads colors: Very light blue and gray, Pink and white.
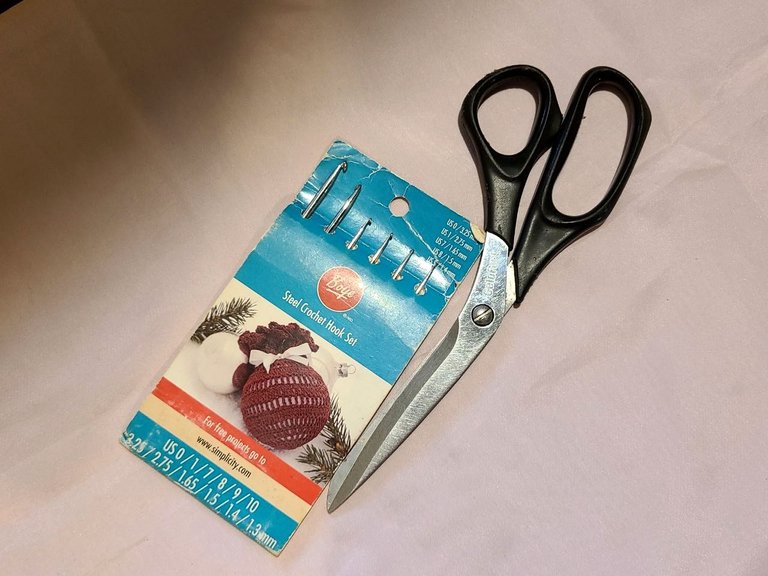
✓Crochet needle number 2.
✓Scissors.
🧶 Materiales a utilizar en los apliques:
✓Hilos crochet colores: Azul y gris muy claro, Rosa y blanco.
✓Aguja crochet del número 2.
✓Tijeras.
🧶 Preparation of the applique:
🧶 Step 1: With the gray or white thread as a base:
Row 1: We begin by making a magic ring, and inside it we make 16 double treble crochets, we close the magic ring and at the same time the treble crochets with a slipped stitch.
Row 2: 1 single crochet is made in the first hole, another single crochet in the next hole, and then we make a half double crochet, and in the same space 2 elongated double crochets, there would be 3 stitches in the same hole, then 2 double treble crochets together in the next hole, and 2 double treble crochets together in the other point, we continue with 2 elongated treble crochets together, and a half treble crochet in the same place, and a single crochet, this is how it looks. formed one side of the leg, again 1 half treble crochet, and elongated treble crochet together, in the next space 1 elongated treble crochet and a double treble crochet together, then 1 double treble crochet and 1 elongated treble crochet together in the same hole, Follow 1 elongated double crochet and a half double crochet together again, 1 half crochet in the next stitch, it would be the toe part of the leg, now continue repeating what we did at the beginning of the row creating the other side of the leg , and we finish with a slipped stitch to close.
File 3: With the blue thread, all in single crochet, we begin by introducing the needle into the same hole that we closed the gray thread, and there we start with 3 single crochets in a row, then we make 5 increases of 2 single crochets in the following points, 2 more single crochets, then we take 3 single crochets and close them together making a decrease, as if it were one, we continue with 6 groups of increases of 2 single crochets in the same hole, and again we make the decrease of the 3 single crochets closed together, and once again we repeat the first part working the stitches in reverse from the decrease.
🧶 Elaboración del aplique:
🧶 Paso 1: Con el hilo gris o el blanco como base:
Fila 1: Comenzamos haciendo un anillo mágico, y dentro del mismo hacemos 16 puntos altos dobles, cerramos el anillo mágico y a la vez los puntos altos con un punto deslizado.
Fila 2: Se hace 1 punto bajo en el primer orificio, otro punto bajo más en el siguiente orificio, y seguido hacemos un medio punto alto,y en el mismo espacio 2 puntos altos alargados, serían 3 puntos en el mismo orificio, luego 2 puntos altos dobles juntos en el siguiente orificio , y 2 puntos altos dobles juntos en el otro punto, continuamos con 2 puntos altos alargados juntos, y un medio punto alto en el mismo lugar, y un punto bajo, así queda formado un lateral de la patica, nuevamente 1 medio punto alto, y punto alto alargado juntos, en el siguiente espacio 1 punto alto alargado y un punto alto doble juntos, luego 1 punto alto doble y 1 punto alto alargado juntos en el mismo orificio, sigue 1 punto alto alargado y un medio punto alto juntos de nuevo, 1 medio punto en el punto siguiente,sería la parte de los dedos de la patica, ahora sigue repetir lo que hicimos al comienzo de la fila creando el otro lateral de la patica, y terminamos con un punto deslizado para cerrar.
Filia 3: Con el hilo azul, toda en punto bajo, comenzamos introduciendo la aguja en el mismo orificio que cerramos el hilo gris, y allí empezamos con 3 puntos bajos seguidos, luego hacemos 5 aumentos de 2 puntos bajos en los siguientes puntos, 2 puntos bajos más, luego tomamos 3 puntos bajos y los cerramos juntos haciendo una disminucion , como si fuese uno solo, continuamos con 6 grupos de aumentos de 2 puntos bajos en el mismo orificio, y nuevamente hacemos la disminución de los 3 puntos bajos cerrados juntos, y una vez más repetimos la primera parte trabajando los puntos a la inversa desde la disminución.
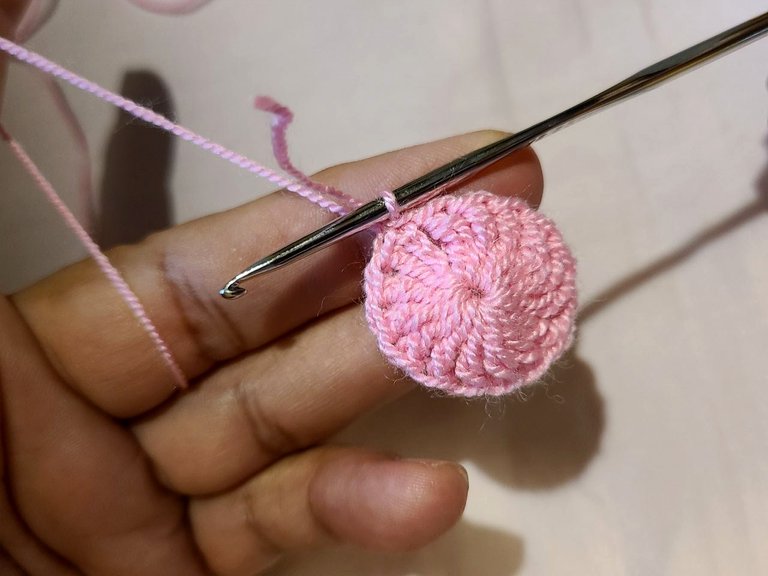
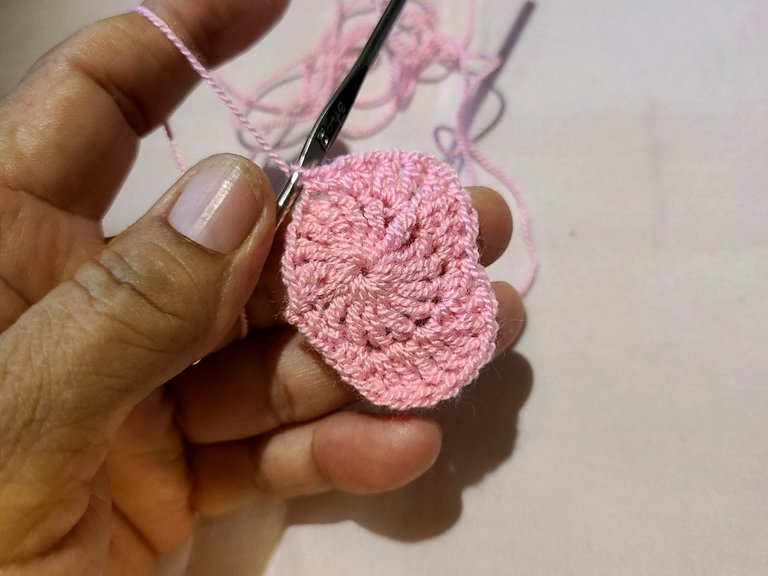
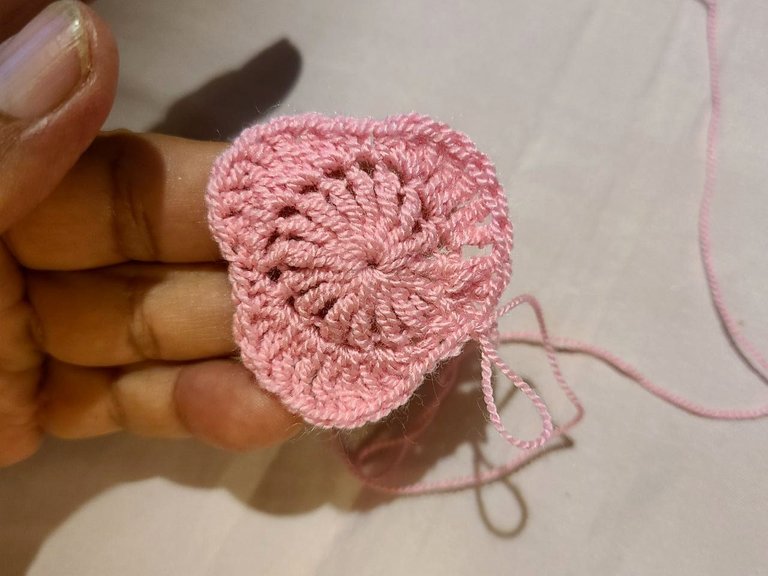
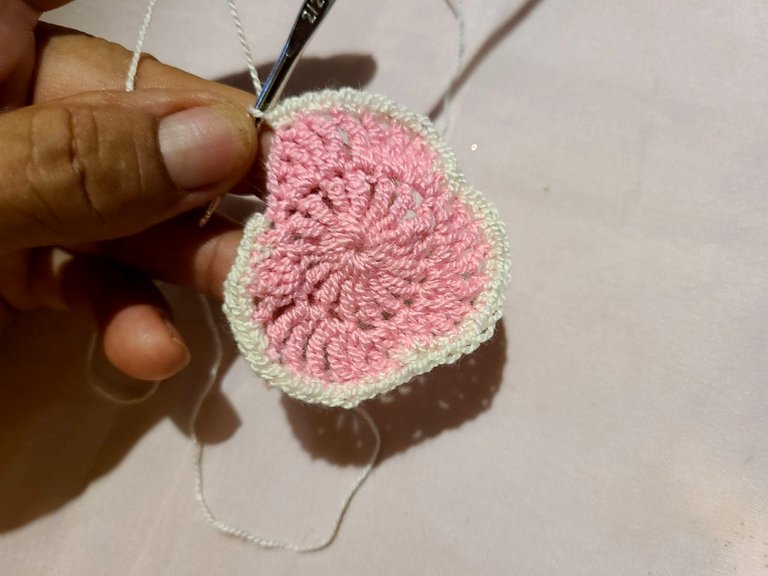
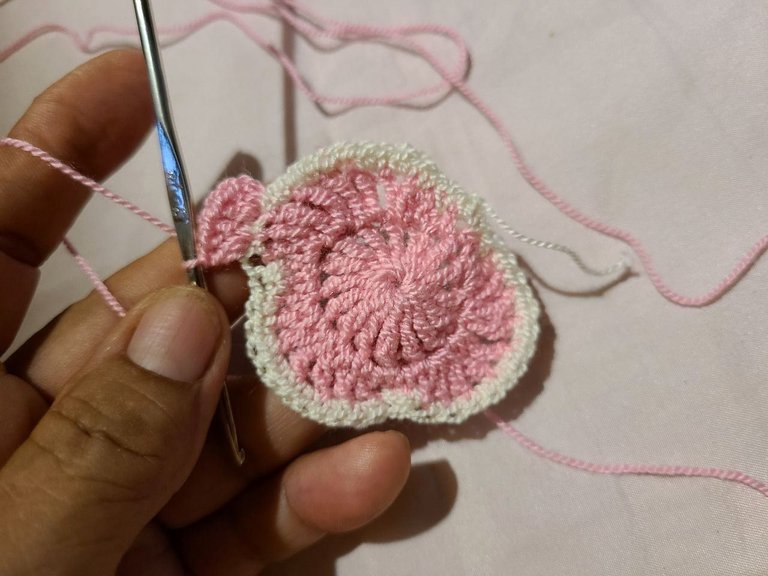
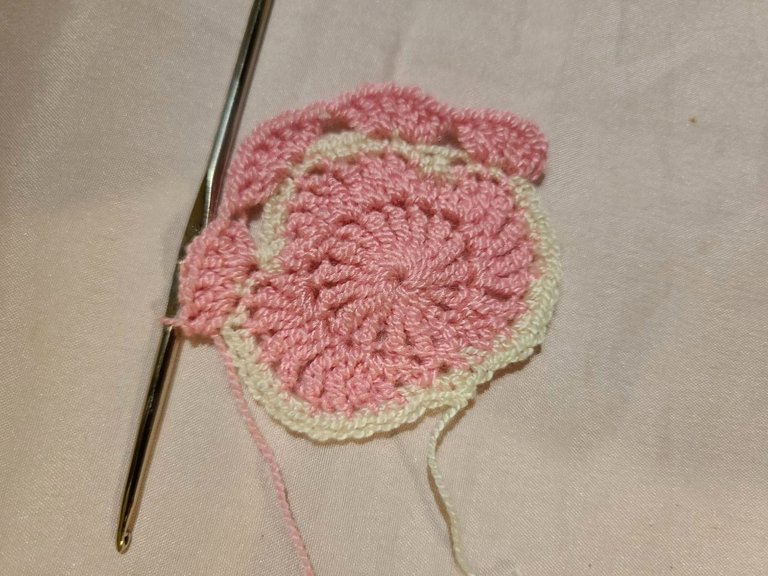
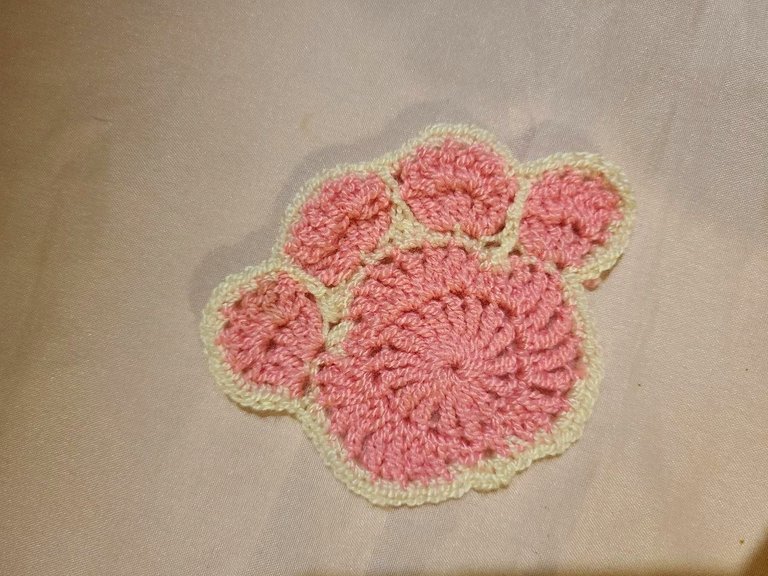
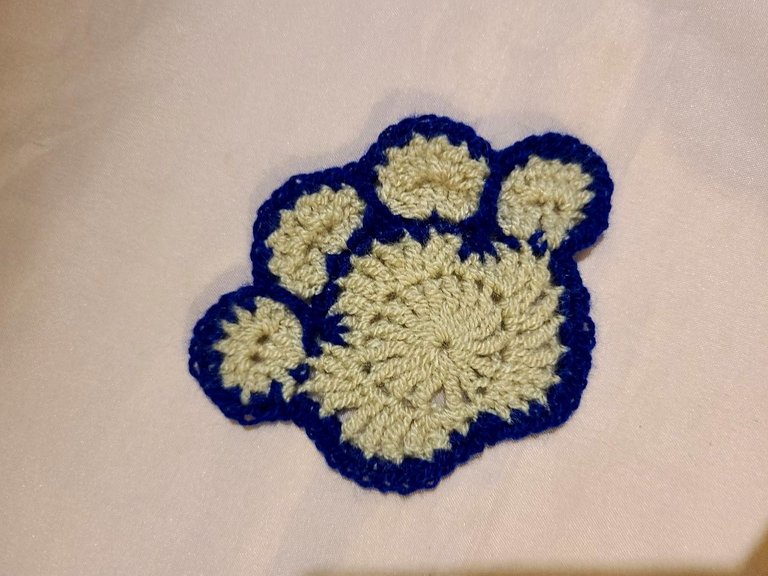
Row 4: We start again with pink, we take the 3 stitches together as a reference and count 2 stitches back there we position ourselves and go up 2 chains and make 2 double crochets right there, then 3 double crochets, we skip 3 spaces and in the fourth we make 3 double crochets, and next to it 3 more double crochets, again we jump 4 spaces and repeat the 3 double crochets, and 3 more to the side, then we jump 3 spaces and in the 4th, 3 double crochets, followed by 2 double crochets and a half double crochet.
Row 5: 1 chain and in the center points we make 2 groups of double crochets, then at the union of the previous groups we make a slipped stitch, and thus we repeat the 3 remaining groups and we have finished the row.
Row 6: Blue thread, where we finish the fingers on the side, but in the blue thread we prick and raise 5 single crochets, then 2 single crochets, 2 increases in single crochets, 2 more single crochets and the union of The groups make an elongated double crochet taking the decrease of 3 stitches from behind, and we continue with the other groups in the same way until we close the blue thread on the other side.
Fila 4: Empezamos de nuevo con rosado,tomamos como referencia los 3 puntos juntos y contamos 2 puntos hacia atrás allí nos posicionamos y subimos 2 cadenas y hacemos 2 puntos altos allí mismo, luego 3 puntos altos, saltamos 3 espacios y en el cuarto hacemos 3 puntos altos, y al lado 3 puntos altos más, nuevamente saltamos 4 espacios y el repetimos los 3 puntos altos, y 3 más al lado, luego saltamos 3 espacios y en el 4, 3 puntos altos, seguido de 2 puntos altos y un medio punto alto.
Fila 5: 1 cadena y en los puntos del centro hacemos 2 grupos de puntos altos, luego en la unión de los grupos anteriores hacemos un punto deslizado, y así repetimos los 3 grupos restantes y hemos terminado la fila.
Fila 6: Hilo azul, dónde terminamos los deditos en el lado, pero en el hilo azul pinchamos y subimos 5 puntos bajos, luego 2 puntos bajos,2 aumentos de puntos bajos, 2 puntos bajos más y la unión de los grupos hacemos un punto alto alargado tomando la disminución de 3 puntos por detrás, y continuamos con los otros grupos igual hasta cerrar en el hilo azul del otro lado.
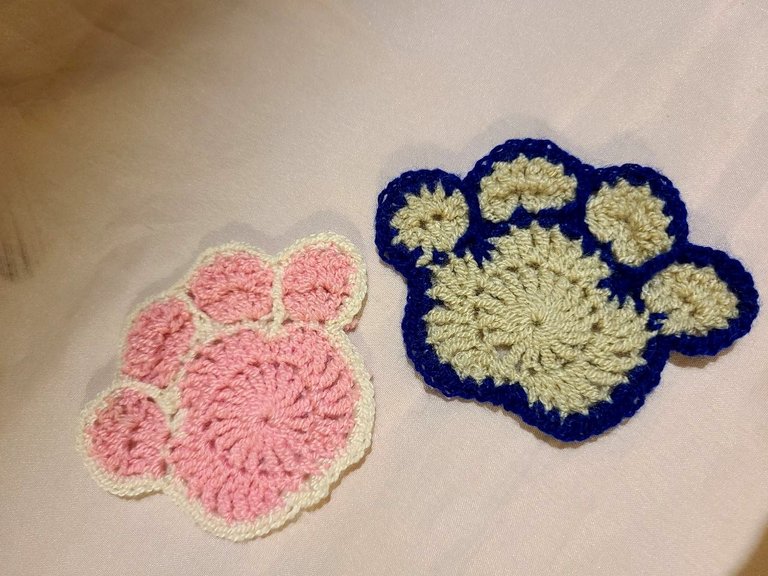
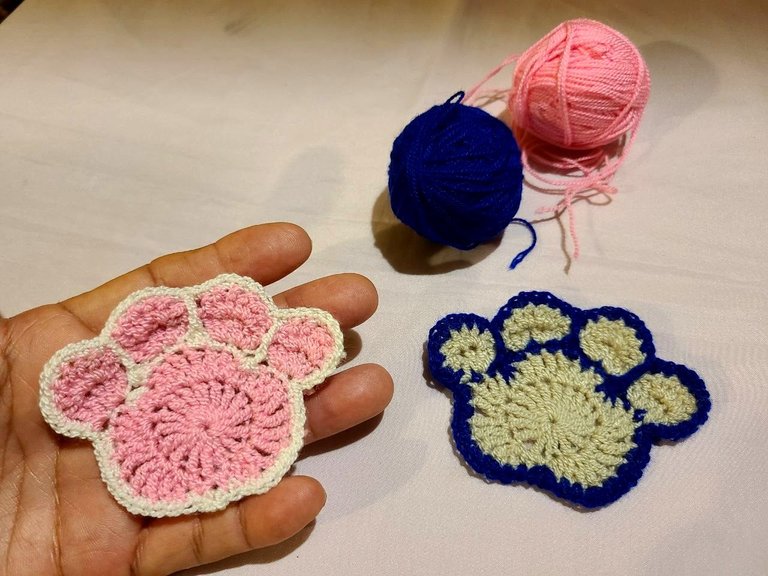

Thanking you for the acceptance and joy with which you share my publications, and with the hope that once it is useful and learning, everything that I try to convey here. Hugs greetings.
Dándoles gracias, por la aceptación y alegría con que comparten mis publicaciones,y con la esperanza que una vez sea de utilidad y aprendizaje, todo lo que aquí trato de transmitir. Saludos, abrazos. 🧶
Congratulations @maricrochets! You have completed the following achievement on the Hive blockchain And have been rewarded with New badge(s)
Your next target is to reach 2250 upvotes.
You can view your badges on your board and compare yourself to others in the Ranking
If you no longer want to receive notifications, reply to this comment with the word
STOPCheck out our last posts:
thank you very much
Awesome job @maricrochets! Keep pushing yourself and you'll reach your Hive goals before you know it.
BTW, we noticed we miss your support for our proposal. Mays we ask you to check it out and consider supporting it?
All you need to do is to click on the "support" button on this page: https://peakd.com/proposals/248.
Thank you!
Preciosos apliques querida, te felicito ideales para unas amiguitas que tengo por allí. que tengas un lindo y feliz día
Gracias, complacida de poder aportar ideas. Feliz día 🙏🏻
This is so cute 😍🐾
Thank you, baby details are usually very cute. 🙏🏻
Aaaaayy que bellezaaa.. quede enamorada de este proyecto! Lindo trabajo! 😍😍😍
Graciassss, también yo, me alegra poder aportar excelentes ideas. Saludos.
Hola Mari. Que lindo y prolijo que es tu trabajo, me gustó mucho este detalle para adornar alguna camita de nuestras mascotas. Quedó precioso, felicitaciones ❤️
Gracias, todo queda a nuestra imaginación, solo tenemos que explotarla en algún instante. 🫂 🙏🏻
Hermoso. Me parece un gran idea elaborar este tipo de apliques, son muy auténticos.
Saludos.
Si tengo muchas ideas, poco a poco las iré publicando. Gracias por la aceptación a mis post.
Que cositas mas lindas 😍 lindo trabajo de crochet ☺️👍
Gracias, muy agradecida. Saludos.