Kelp Initiate- Splinterlands Art Contest Week 338! [ENG/ESP]
Hello to all the Alien Art Hive and splinterlands community! 👋
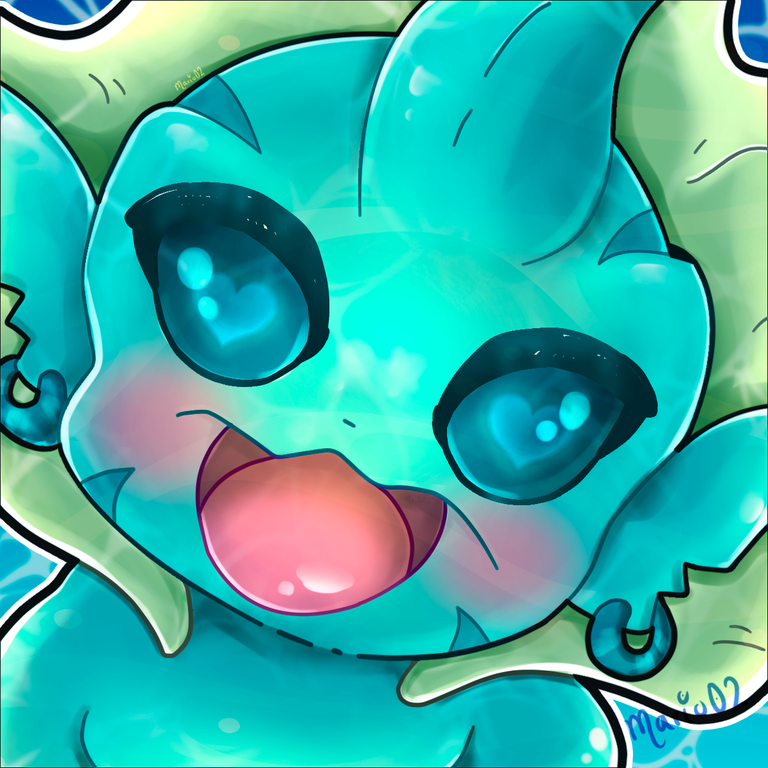
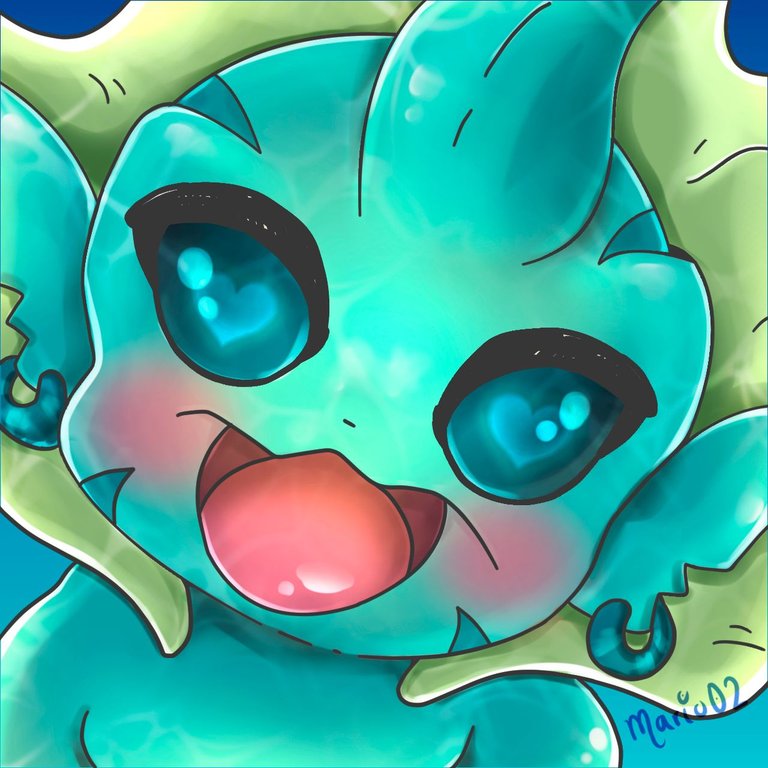
After skipping a few entries, today I want to share with you my entry to this week's @splinterlands contest. For this opportunity I have made a kawaii version of Kelp Initiate, I have always imagined this character in a tender and adorable way, it is difficult for me to see him in another way, so for this illustration I made a kind of funny portrait, where the character will infect us with his great charisma, I hope you like this version and without further ado, I leave you with my process!
Hola a toda la comunidad de Alien Art Hive y splinterlands! 👋
Luego de saltarme algunas participaciones, el día de hoy quiero compartir con ustedes mi entrada al concurso de @splinterlands de esta semana. Para esta oportunidad he realizado una version tipo kawaii de Kelp Initiate, este personaje siempre lo he imaginado de una manera tierna y adorable, se me hace difícil verlo de otra manera, por lo que para esta ilustración realice una especie de retrato divertido, donde el personaje nos contagiara de su gran carisma. ¡Espero que les guste esta versión y sin mas, los dejo con mi proceso!

Creative Process | Proceso Creativo📘✏️
Paso 1:
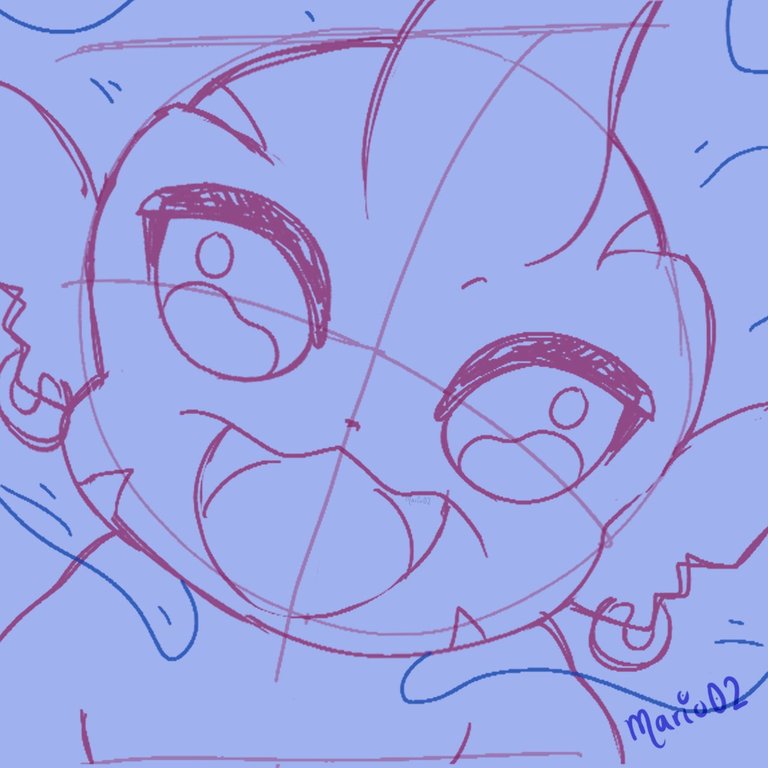
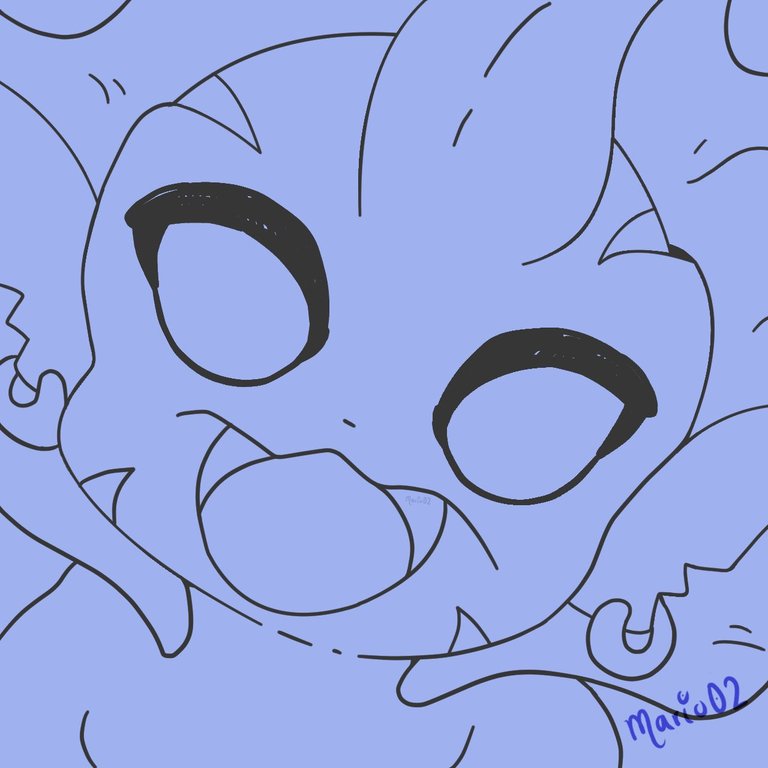
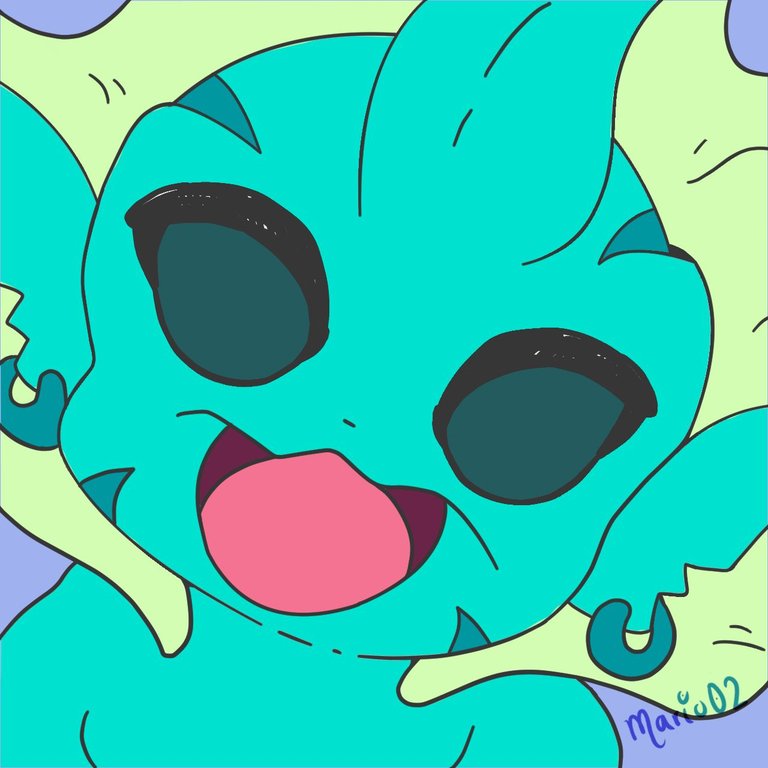
For this illustration I chose to make a portrait type composition, my main idea was to make the character under the water showing a charismatic smile with adorable eyes, with this idea I began to develop the sketch, cleaning more and more the lines until I got a clearer and more visible sketch, until finally I was drawing the final lineart of the illustration.
Para está ilustración opte por realizar una composición tipo retrato, mi idea principal era realizar al personaje debajo del agua mostrando una carismática sonrisa con ojos adorables, con está idea comencé a desarrollar el boceto, limpiando cada vez mas las líneas hasta lograr un boceto mas claro y visible, hasta que finalmente fui trazando el lineart final de la ilustración.
 |
 |
Paso 2:
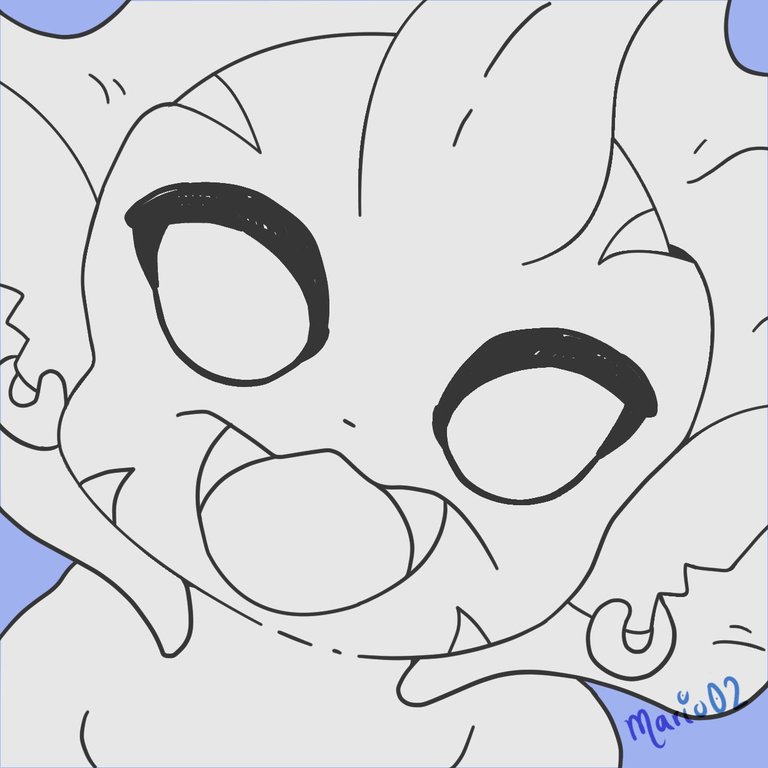
Then I started the color process, here I applied a layer of light gray throughout the character as a kind of mask to stay within the lines, then I applied the base colors, these are usually the same as the original reference, with some variations in the saturation of the tones.
Luego comencé el proceso de color, aquí apliqué una capa de color gris claro en todo el personaje como una especie de máscara para no salirme de las líneas, posteriormente fuí aplicado los colores base, estos suelen ser los mismos de la referencia original, con algunas variaciones en la saturación de los tonos.
 |
 |
Paso 3:
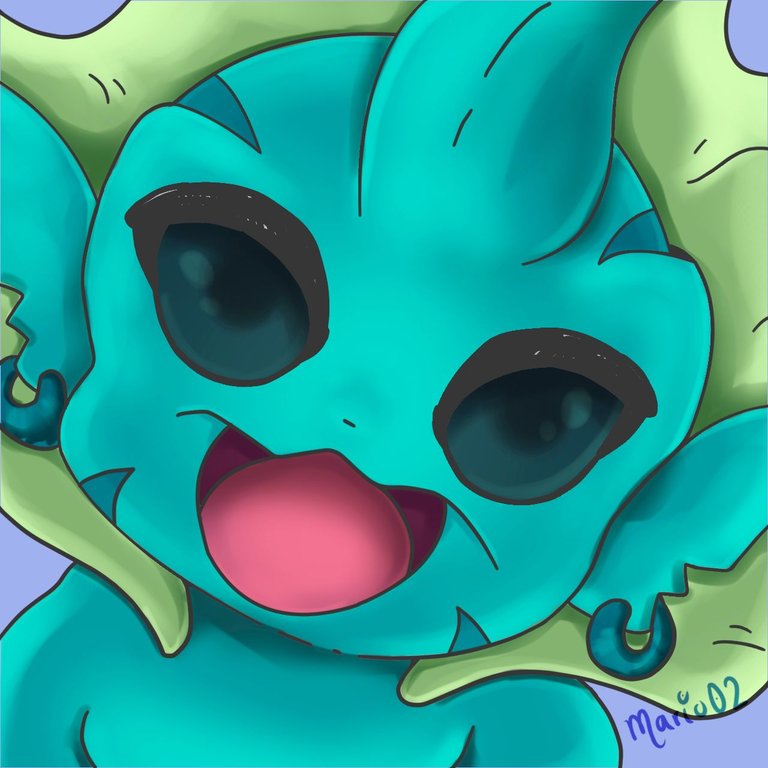
The next thing was to start working on the shadows and illuminations of the illustration, starting with the shadows which I was doing with an airbrush, this to make a general vision of them, these I was deepening them with a hard brush of low opacity to give a little more volume. Using the same technique I applied the illuminations, also using layer blending modes for a more striking effect.
Lo siguiente fue comenzar a trabajar en las sombras e iluminaciones de la ilustración, iniciando con las sombras las cuales fui haciendo con un pincel tipo aerógrafo, esto para realizar una visión general de las mismas, estas las fui profundizando con un pincel duro de baja opacidad para darle un poco mas de volumen. Utilizando la misma técnica aplique las iluminaciones, ayudándome también de modos de fusión de capa para un efecto mas llamativo.
 |
 |
Paso 4:
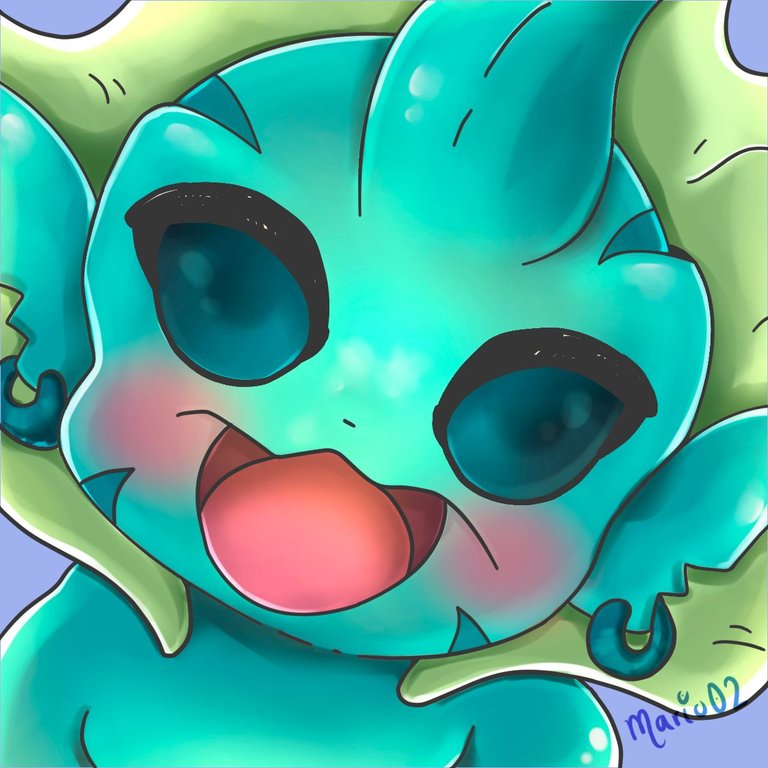
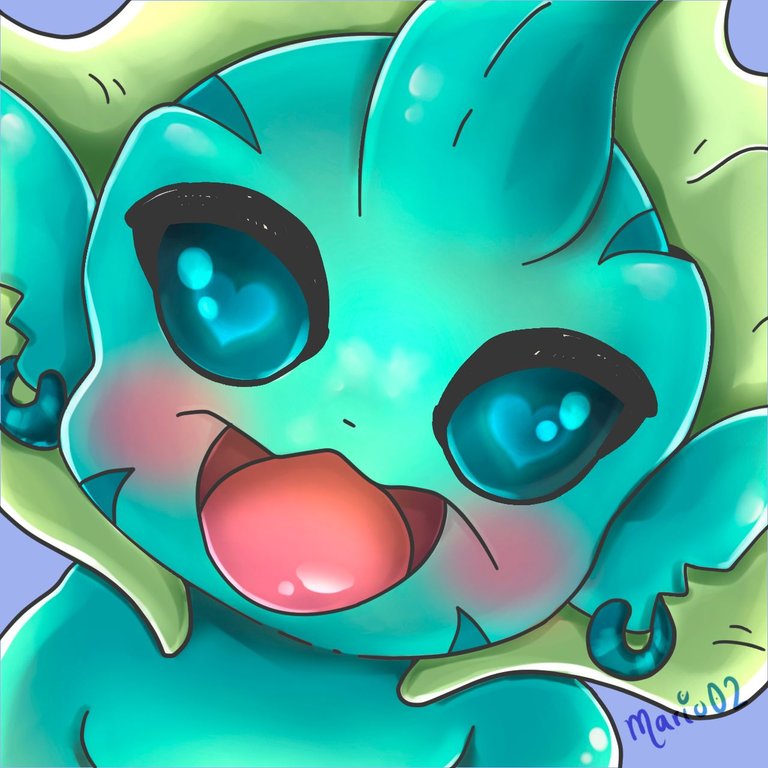
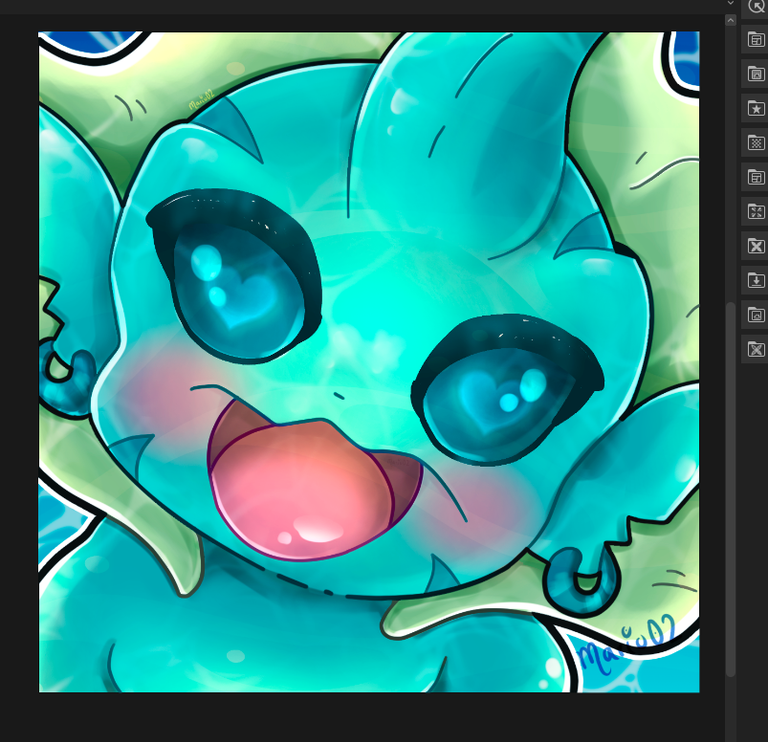
Then to finish with the character I proceeded to give the final details in which I added some white sparkles, and for the eyes I chose to use some blue hearts to give a more emotional and adorable effect to the character, and finally I added a blue gradient for the background and with a brush I made a water effect which would be all over the character to give the effect of being underwater.
Luego para ir culminando con el personaje procedí a dar los detalles finales en lo que agregue algunos destellos en color blanco, y para los ojos opte por utilizar unos corazones en color azul para darle un efecto mas emotivo y adorable al personaje, y por ultimo agregue un degradado color azul para el fondo y con un pincel hice un efecto de agua el cual estaría en todo el personaje para dar efecto de que esta debajo del agua.
 |
|
Final Art | Arte Final😉🎨
Finally I worked a little more on the background, having little space what I did was to add some lines to give a water effect, at this point I chose to color the lineart to better integrate the elements and added a white outline to the character to separate it from it.
Finalmente trabaje un poco mas en el fondo, al tener poco espacio lo que hice fue agregar algunas líneas para dar efecto de agua, en este punto opte por colorear el lineart para integrar mejor los elementos y agregue un contorno blanco al personaje para separarlo del mismo.
Thank you very much for reading!
See you in a future publication! 🙏
¡Muchas gracias por leer!
¡Nos vemos en una próxima publicación! 🙏


Join Here!
Tools Used | Herramientas Utilizadas:
- Photoshop CC versión 64 bits
- Clip Studio Paint
- Tablet Huion H610 PRO V2

Discord: marioart02
The illustration and separators used in the post are my property.
Translated with DeepL (free versión)
Congratulations @mario02! You have completed the following achievement on the Hive blockchain And have been rewarded with New badge(s)
Your next target is to reach 33000 upvotes.
You can view your badges on your board and compare yourself to others in the Ranking
If you no longer want to receive notifications, reply to this comment with the word
STOPCheck out our last posts:
https://x.com/AlienArtHive/status/1907530980900089946
Thank you! 🙏
Thanks for sharing! - @isaria

Thank you for the support!