Sarius- Splinterlands Art Contest Week 285! [ENG/ESP]
Sarius! ⚔️
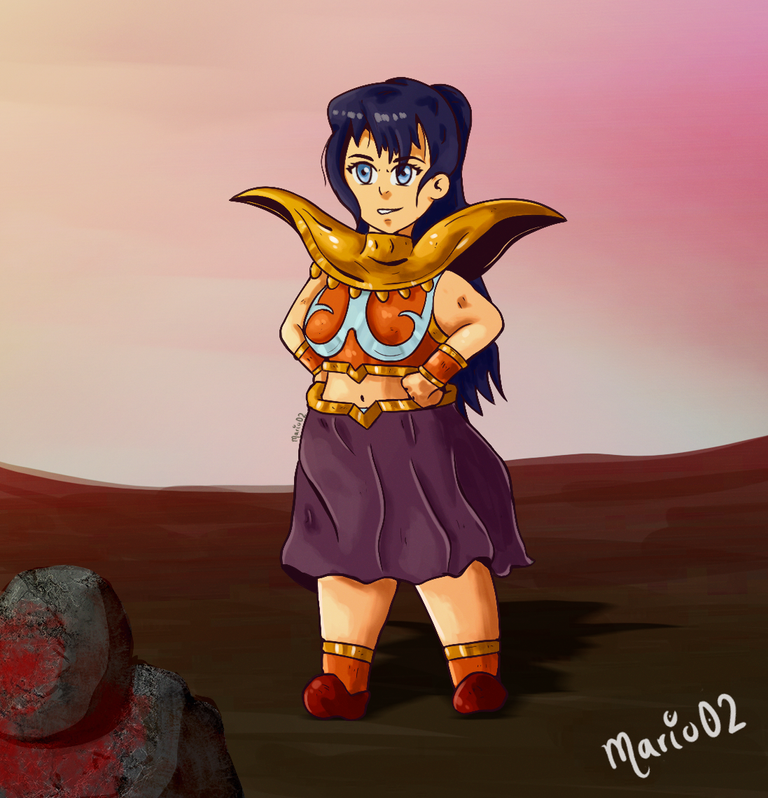
Happy evening/night alien community! 👽
I hope everyone here is doing very well. I want to share with you all my participation a bit late for the @splinterlands art contest. This time I have chosen Sarius as a reference character, the design of this great warrior motivated me a lot to make my own version. In this case I chose to go back to my kawaii style, I hope you like it. Let's start!
¡Feliz tarde/noche comunidad de aliens! 👽
Espero que todos aquí se encuentren muy bien. Quiero compartir con todos ustedes mi participación un poco tarde para el concurso de arte de @splinterlands. Esta vez he elegido como personaje de referencia a Sarius, el diseño de esta gran guerrera me motivo mucho para realizar mi propia versión. En este caso opte por volver un poco a mi estilo mas kawaii, espero les guste. Comencemos!

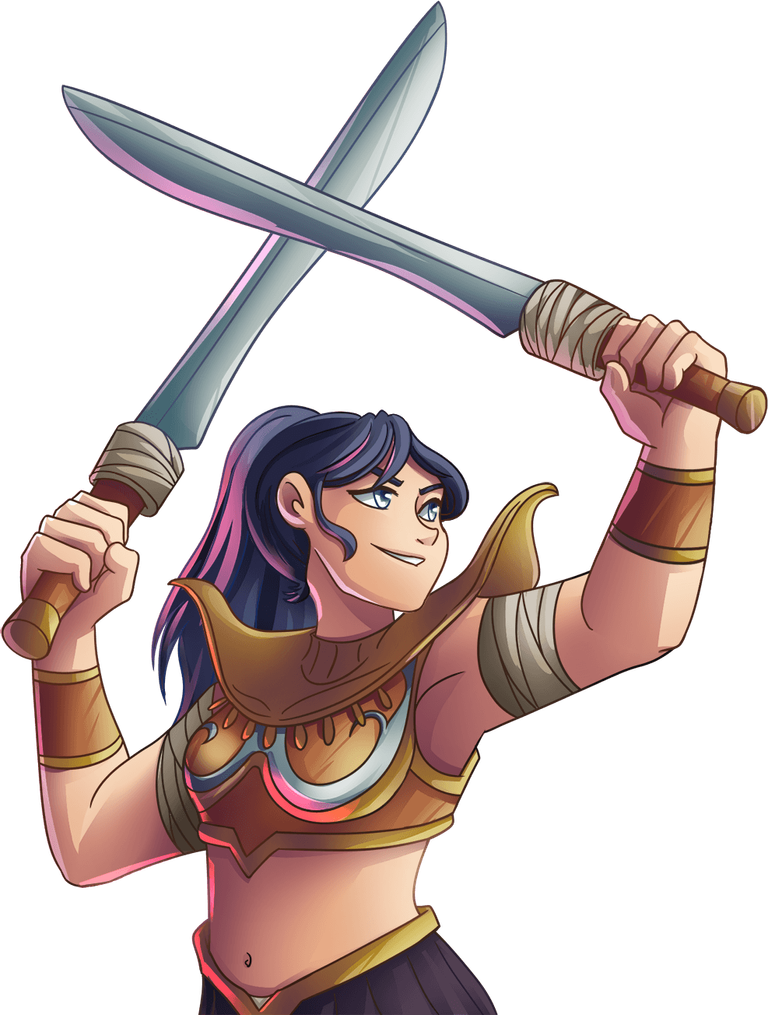
REFERENCE

Creative Process | Proceso Creativo💡
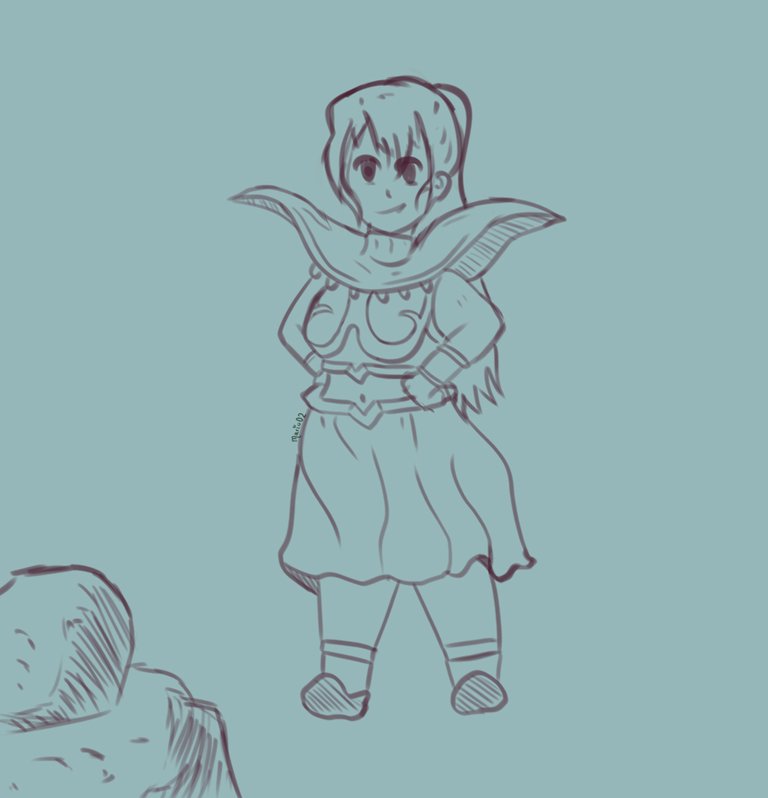
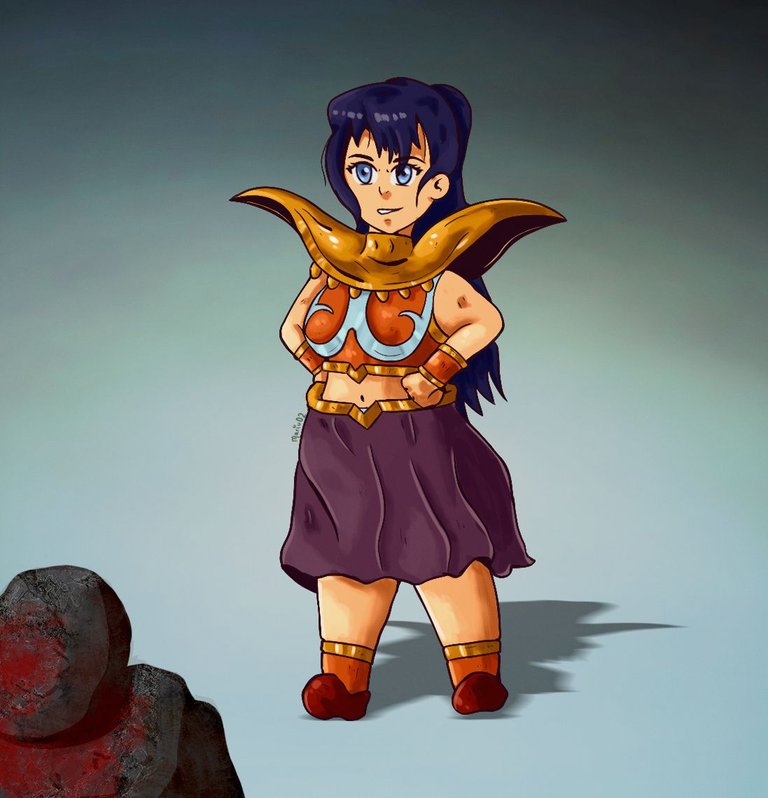
For this design I began by making small sketches to define the composition of the illustration, although I had many ideas I decided on one where my character would be in the centre of the image next to a rock, which would be full of blood after fighting a great battle and winning. I defined the sketch with thick lines and low opacity and then I made the final lineart of the character.
Para este diseño comencé realizando pequeños bocetos para definir la composición de la ilustración, aunque tenia muchas ideas me decidí por una donde mi personaje estuviera en el centro de la imagen junto a una roca, la cual estaría llena de sangre luego de librar un gran combate y resultar ganadora. Definí el boceto con líneas gruesas y de baja opacidad para luego pasar a realizar el lineart final del personaje.
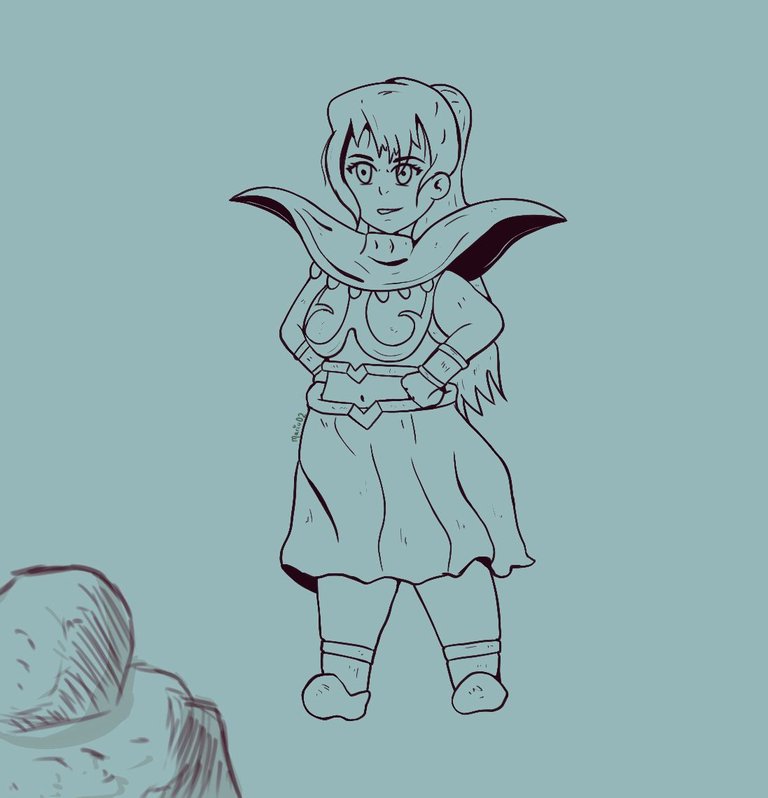
After I finished detailing my lineart I started to work on the colour of the character. First I made a base layer following the outline of the line, then in different layers I placed the base colours following the original character's palette.
Después de terminar de detalla mi lineart comencé a trabajar en el color del personaje. Primero realice una capa base siguiendo el contorno de la línea, luego en diferentes capas pase a colocar los colores base siguiendo la paleta del personaje original.
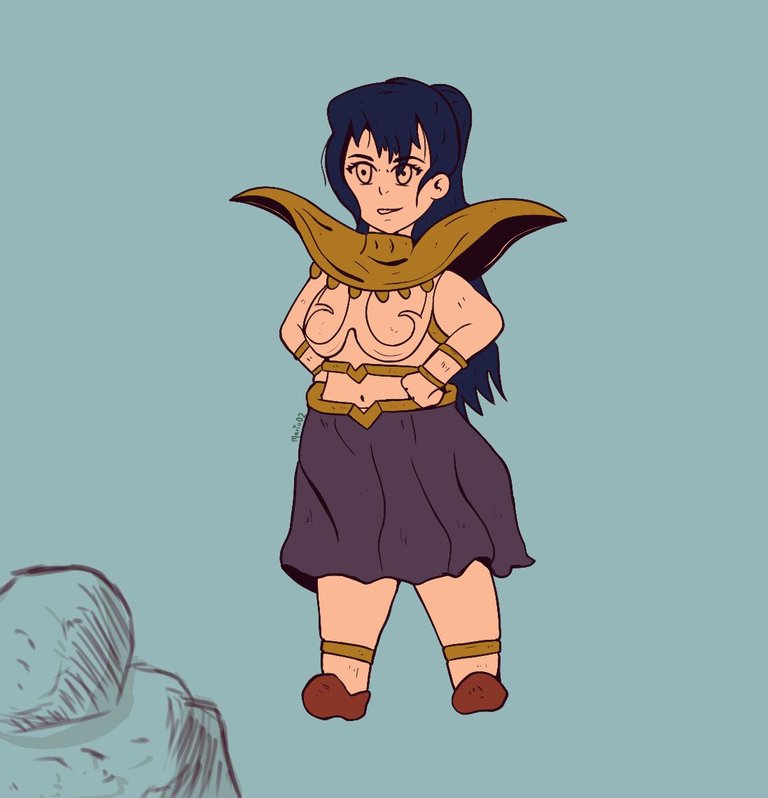
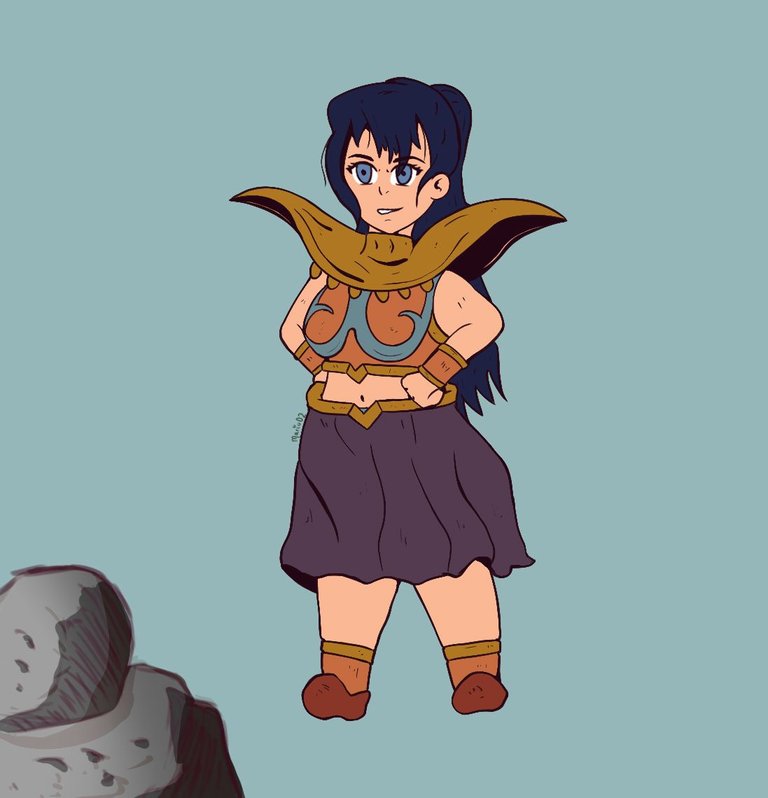
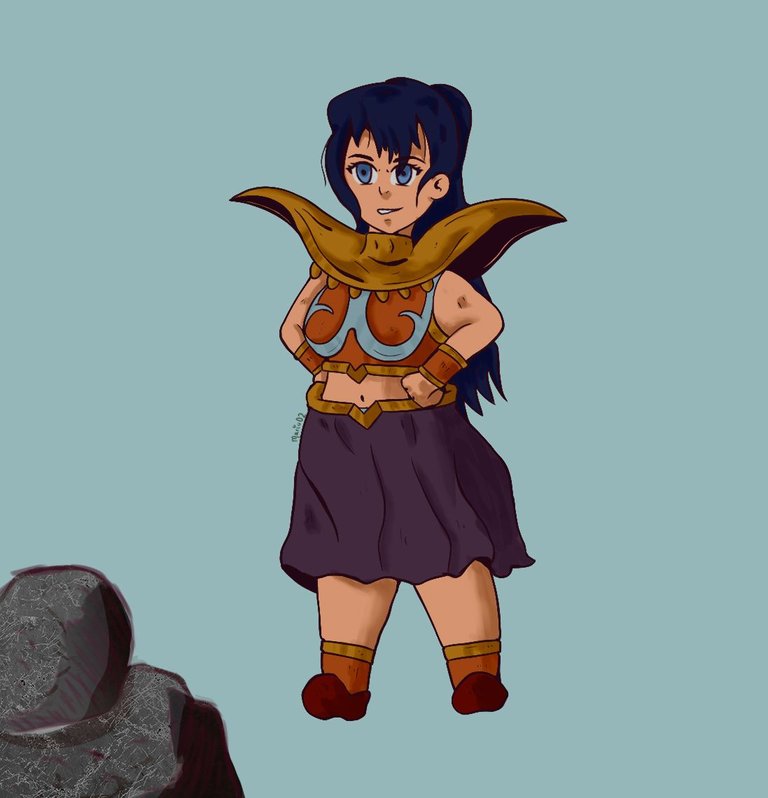
At this point I moved on to work on the lights and shadows of the elements. First I worked on the shadows, these I made with a semi-hard brush and with low opacity, this to give different finishes and textures in the strokes. Then with the same brush and a lighter tone I applied the illumination of the elements to give a little more volume. For the rock I used textured brushes and textures to give a more realistic rock finish.
I then added some additional details such as some lighting and the effect of the blood on the rock to complement my composition.
En este punto pase a trabajar en las luces y sombras de los elementos. Primero trabaje en las sombras, estas las realice con un pincel semiduro y con baja opacidad, esto para ir dando diferentes acabados y texturas en los trazos. Luego con el mismo pincel y un tono mas claro fui aplicando la iluminación de los elementos para ir dando un poco mas de volumen. Para la roca utilice pinceles texturizados y texturas para dar el acabado de una roca mas realista.
Luego fui agregando algunos detalles adicionales como algunas iluminaciones y el efecto de la sangre en la roca para complementar mi composición.
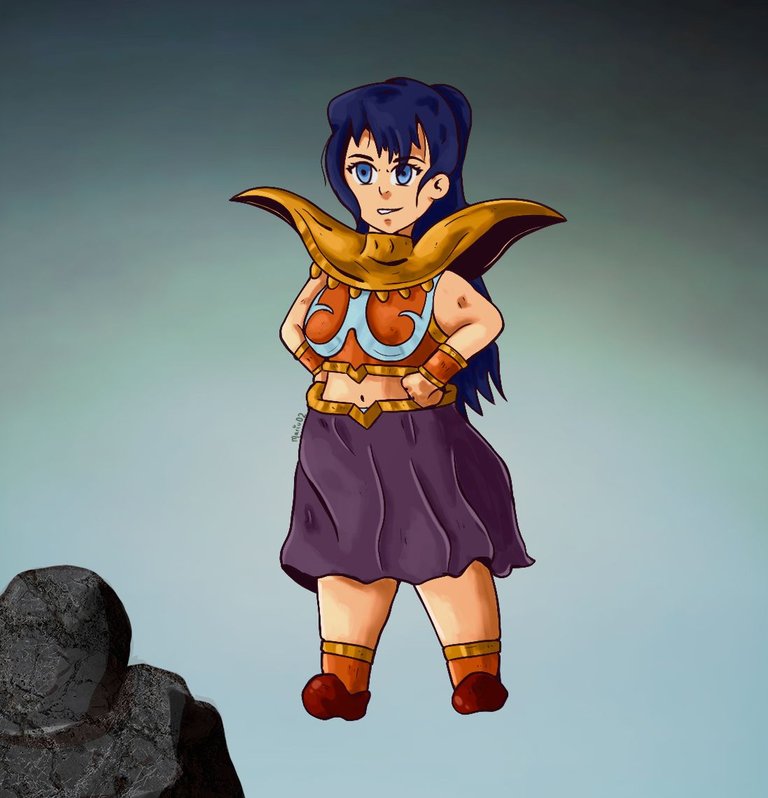
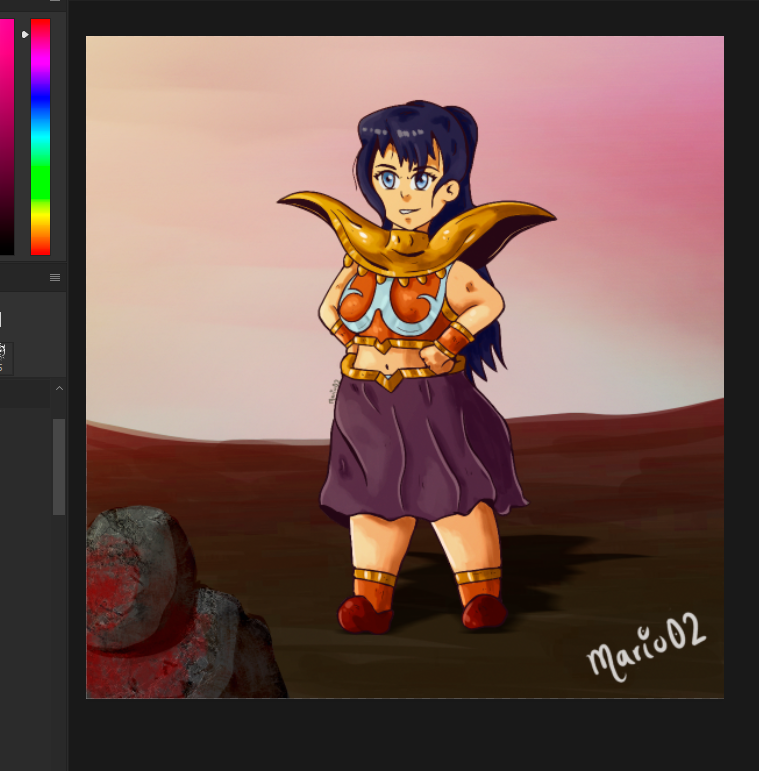
Finally I started to work on the background of the illustration, with the same brush I was marking a floor with several strokes to make them look superimposed. Then I played with some warm tones and soft brushes to integrate this background with the character.
Thanks so much for watching and see you next time! 🙏
Por último comencé a trabajar en el fondo de la ilustración, con el mismo pincel fui marcando un piso con varios trazos para que se vieran superpuestos. Luego fui jugando con algunos tonos cálidos y pinceles suaves para integrar este fondo con el personaje.
¡Muchas gracias por ver y hasta la próxima! 🙏

Tools Used | Herramientas Utilizadas:
- Photoshop CC versión 64 bits
- Tablet Huion H610 PRO V2

The illustration and separators used in the post are my property.
Translated with DeepL (free versión)
That was cute, 😊
!PIZZA
!PGM
BUY AND STAKE THE PGM TO SEND A LOT OF TOKENS!
The tokens that the command sends are: 0.1 PGM-0.1 LVL-0.1 THGAMING-0.05 DEC-15 SBT-1 STARBITS-[0.00000001 BTC (SWAP.BTC) only if you have 2500 PGM in stake or more ]
5000 PGM IN STAKE = 2x rewards!
Discord
Support the curation account @ pgm-curator with a delegation 10 HP - 50 HP - 100 HP - 500 HP - 1000 HP
Get potential votes from @ pgm-curator by paying in PGM, here is a guide
I'm a bot, if you want a hand ask @ zottone444
$PIZZA slices delivered:
@eustace-kidd(1/5) tipped @mario02
Checkout our BDVoter Daily Hive Showcase & Participate into our Daily giveaway to win various prize.
Es un diseño que veo difícil (claro, yo no sé dibujar), me alegro de que no lo haya asustado la idea, siga perfeccionándose amigo.
Mucho ánimo.
Congratulations @mario02! You have completed the following achievement on the Hive blockchain And have been rewarded with New badge(s)
Your next target is to reach 19000 upvotes.
You can view your badges on your board and compare yourself to others in the Ranking
If you no longer want to receive notifications, reply to this comment with the word
STOPCheck out our last posts: