September Contest: MAGIC MINI-TELEVISION
Greetings dear friends of DIYHUB, I hope you are having a wonderful day, today I come here to make my second participation in the monthly contest: 🪄 DIYHub September Contest: Let's Make Magic🔮✨
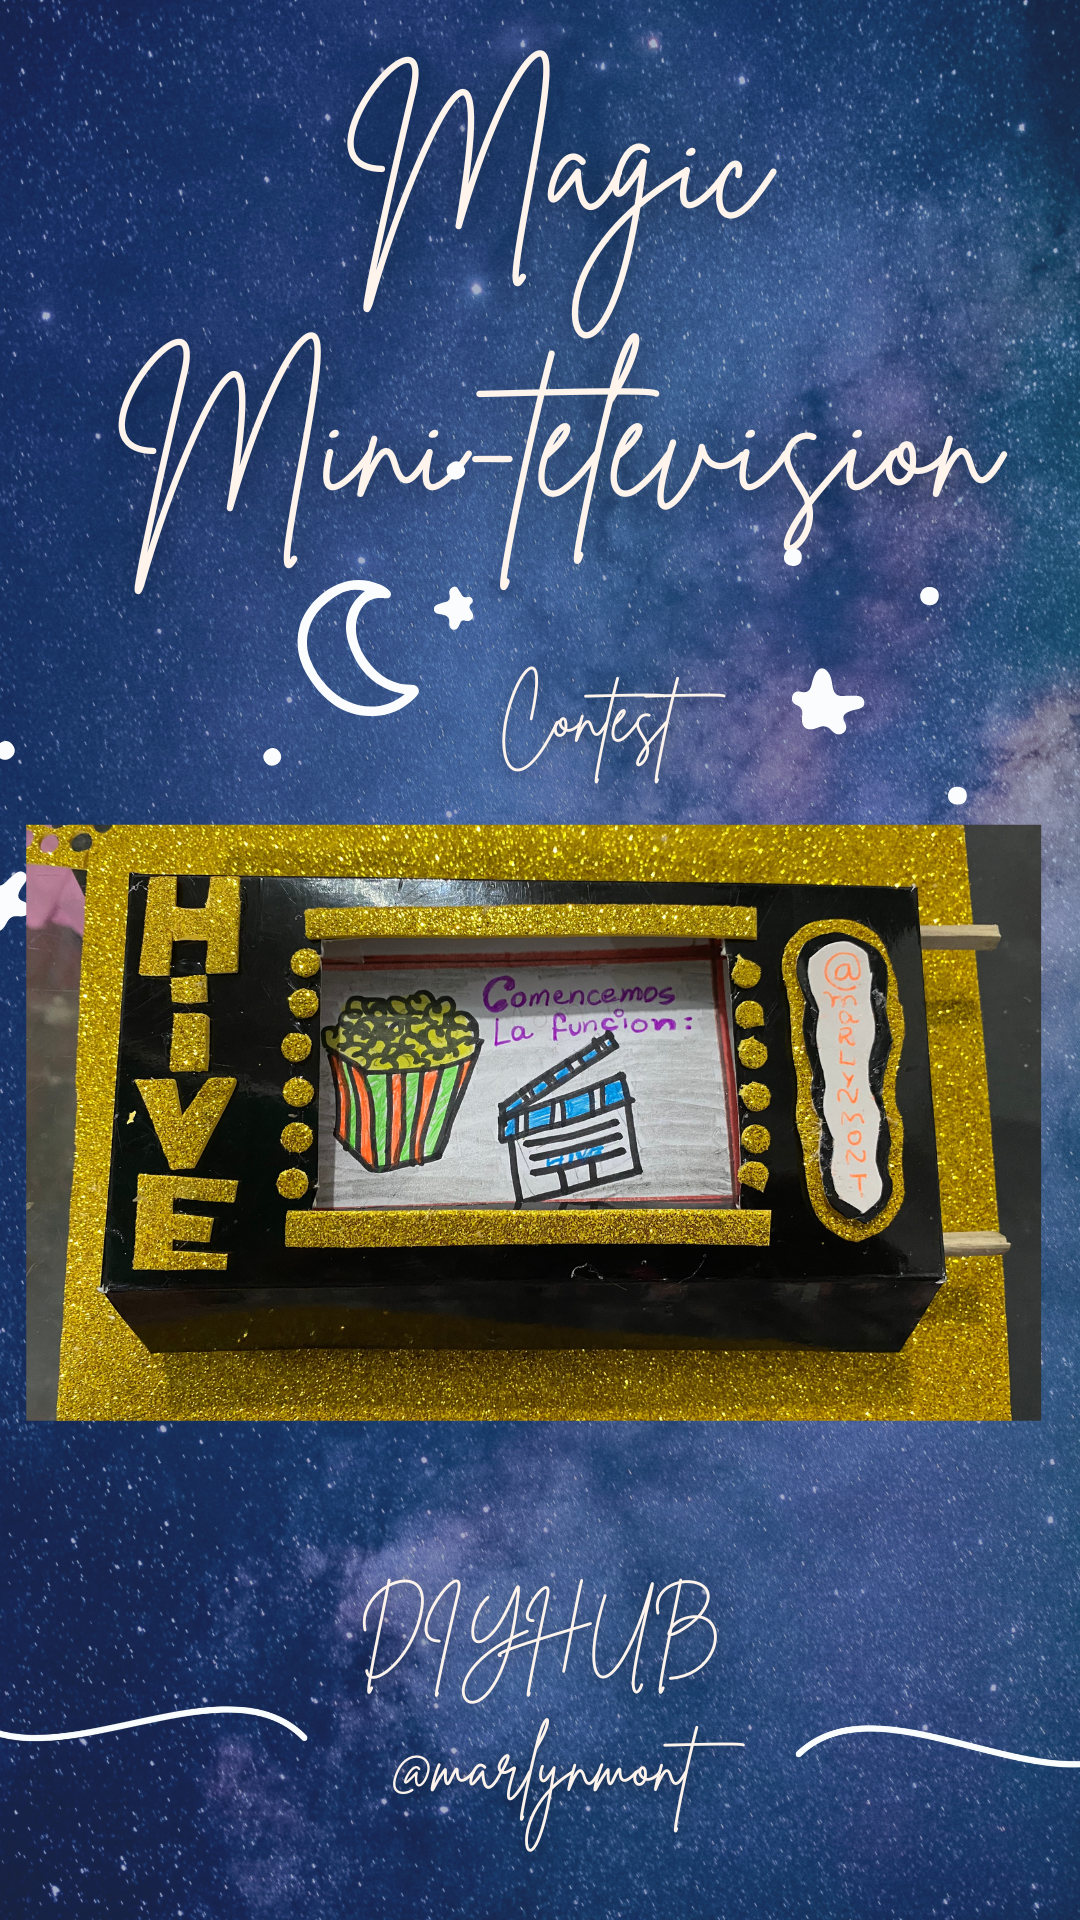
Have you ever seen a magic television? Yes, a magic one that works without electricity 🤭, well today I want to share with you a magical idea to make a mini television 📺 that works with your creativity and that you can use to give to a loved one perhaps as a birthday card, anniversary card or perhaps a graduation card, join me and I will show you how to make it:
Saludos queridos amigos de DIYHUB, espero estéis teniendo un maravilloso día, hoy vengo por acá a hacer mi segunda participación en el concurso mensual: 🪄 DIYHub September Contest: Let's Make Magic🔮✨
Has visto alguna vez una televisión mágica? Si mágica que funcione sin electricidad 🤭, pues hoy quiero compartir con ustedes una mágica idea para hacer una mini televisión 📺 que funciona con tu creatividad y que puedes utilizar para obsequiar a un ser querido tal vez como una tarjeta de cumpleaños, de aniversario o quizás de graduación, acompáñame y te muestro cómo hacerla:
➖➖➖🪄🔮✨➖➖➖
MATERIALS
MATERIALES
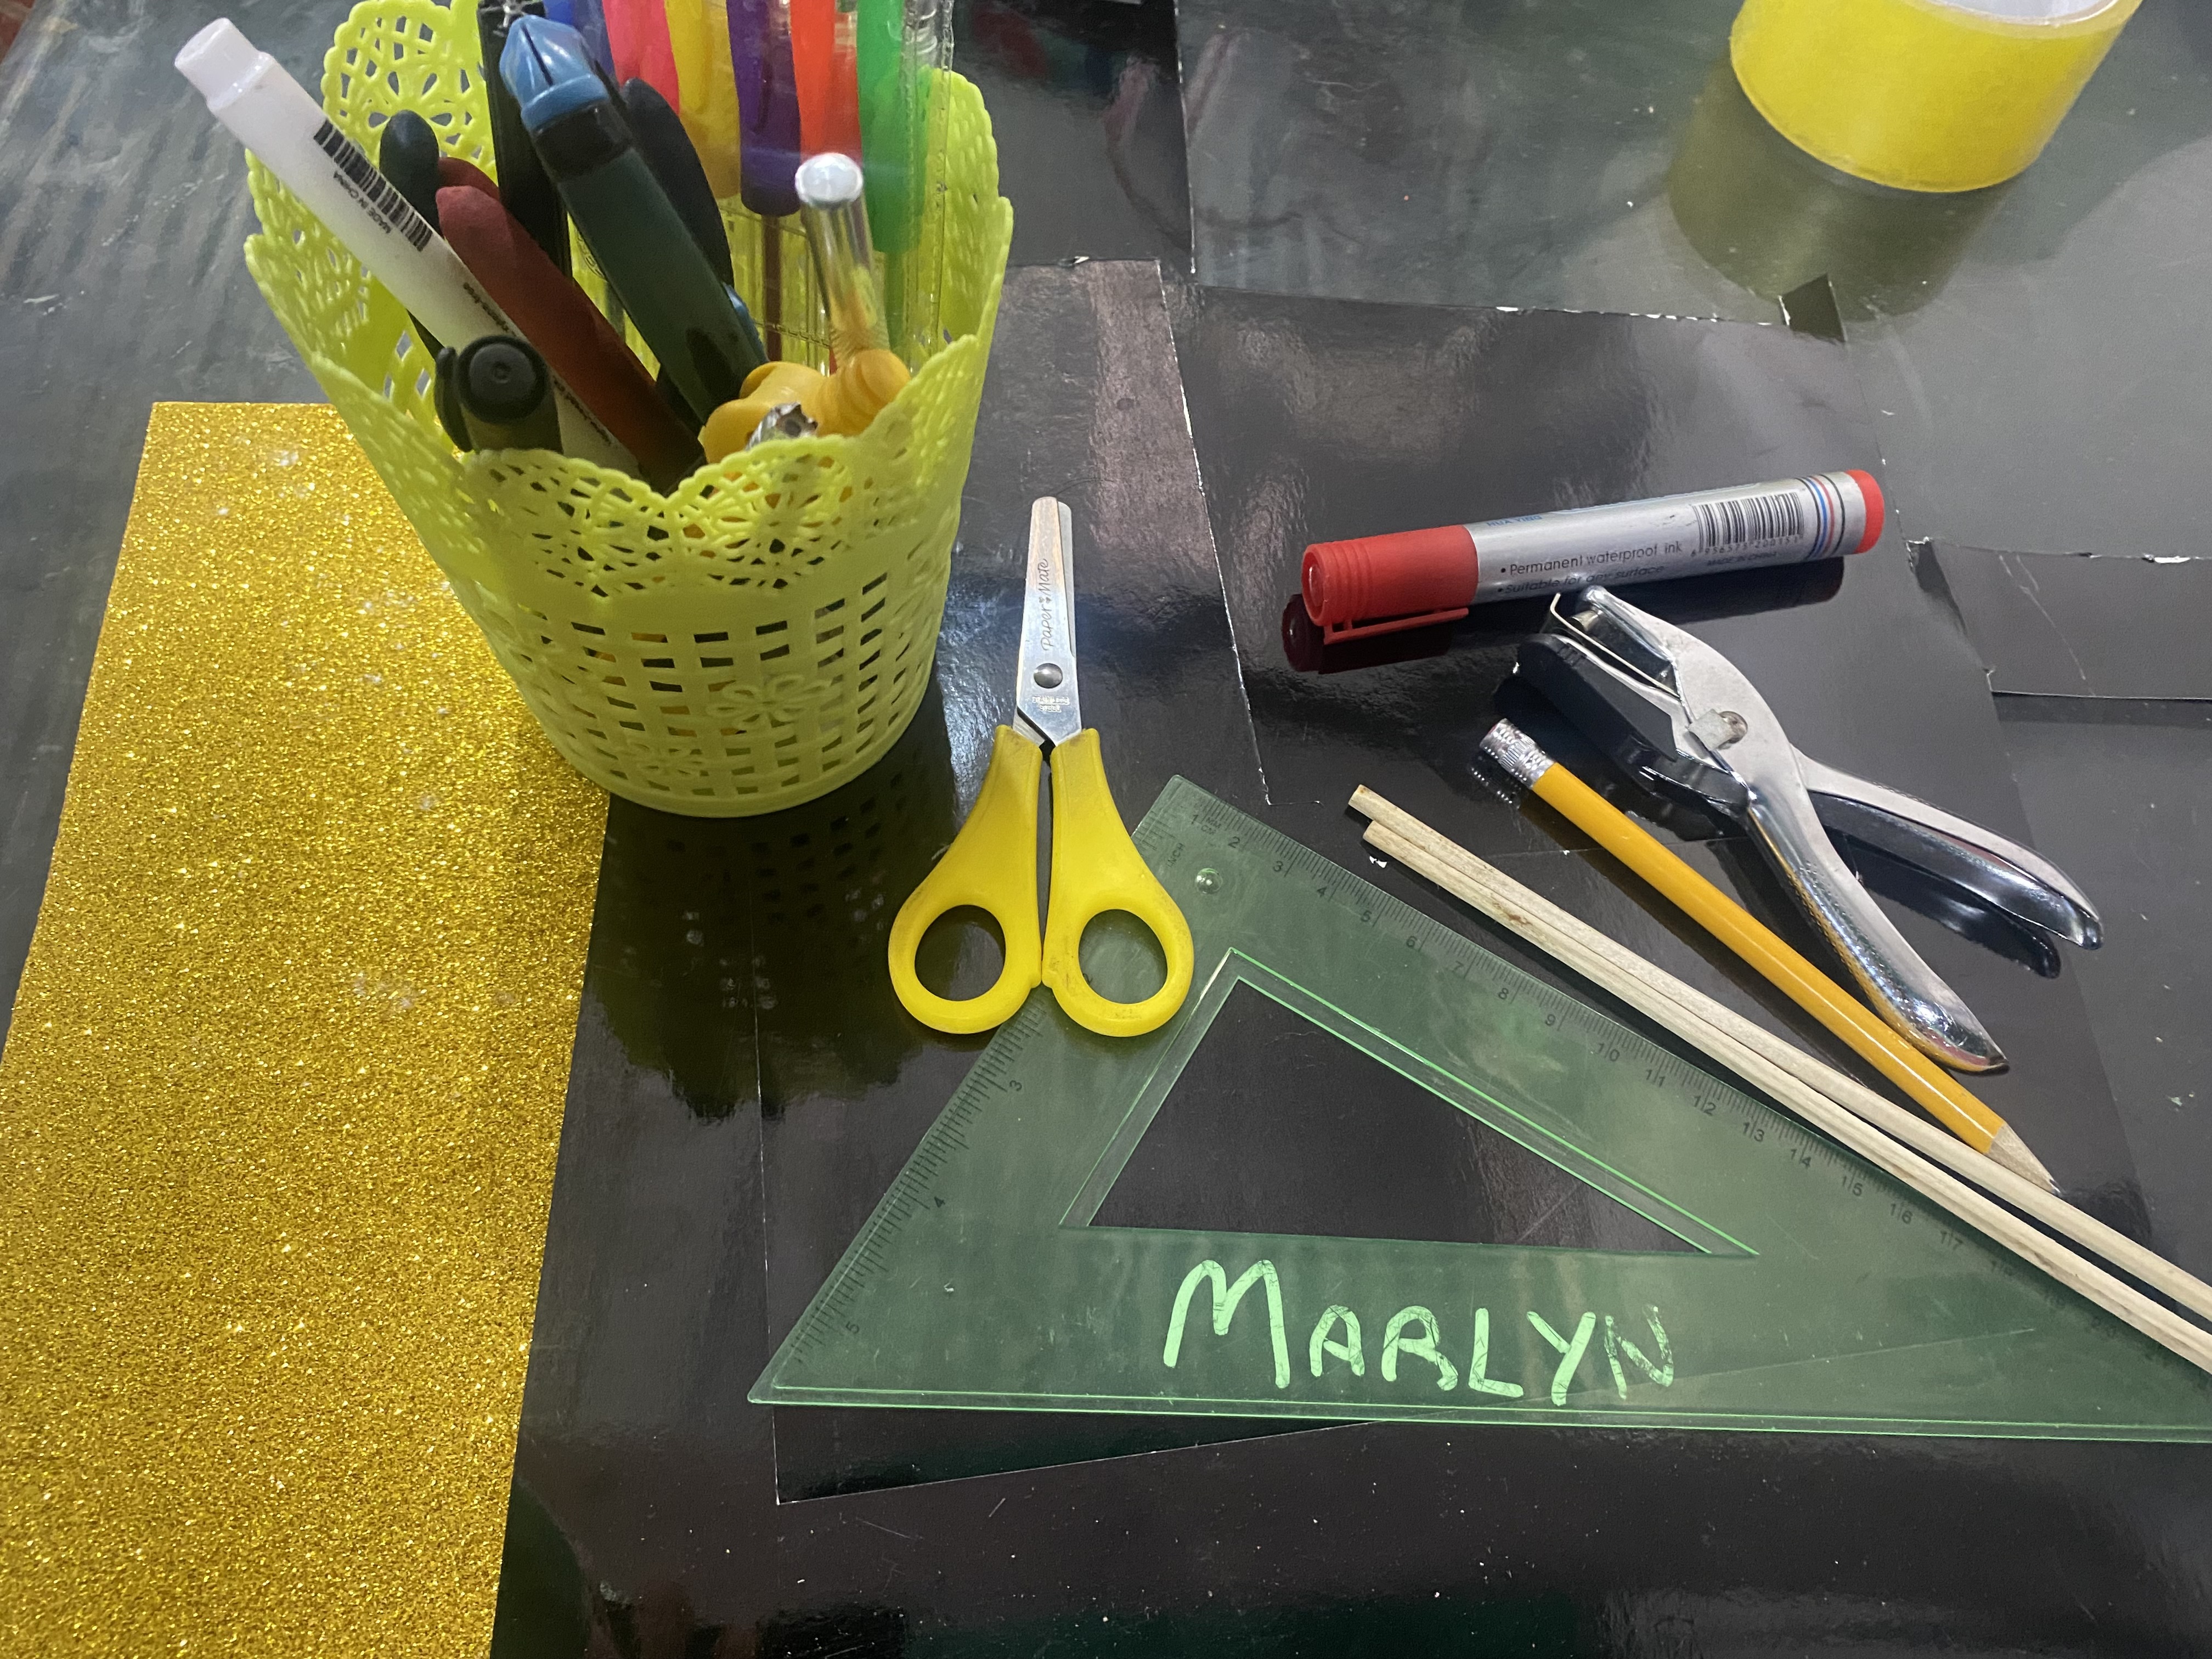
You can make this cute craft with recycled materials, you can also make it in various sizes and with your creativity you can come up with any type of animation, the idea seemed wonderful to me to make a kind of mini television card and the magic will be when you make it work with your hands, here is the list of materials to use:
- black cardboard or you can use any type of cardboard you prefer
- 2 tall sticks or chopsticks
- Foam to make small decorations
- Ruler
- Scissors
- Pencil
- Silicone
- white sheet
Esta linda manualidad la puedes hacer con materiales de reciclaje, también la puedes hacer en variados tamaños y con tu creatividad puedes idearle cualquier tipo de animación, la idea me pareció maravillosa para hacer como especie de una tarjeta mini televisión y la magia estará al hacerla funcionar con tus manos, aquí te dejo la lista de materiales a utilizar:
- cartulina negra o puedes utilizar cualquier tipo de cartón que prefieras
- 2 palitos de altura o palillos chinos
- Foami para hacer pequeñas decoraciones
- Regla
- Tijeras
- Lápiz
- Silicone
- hoja blanca
➖➖➖🪄🔮✨➖➖➖
STEP BY STEP
PASO A PASO
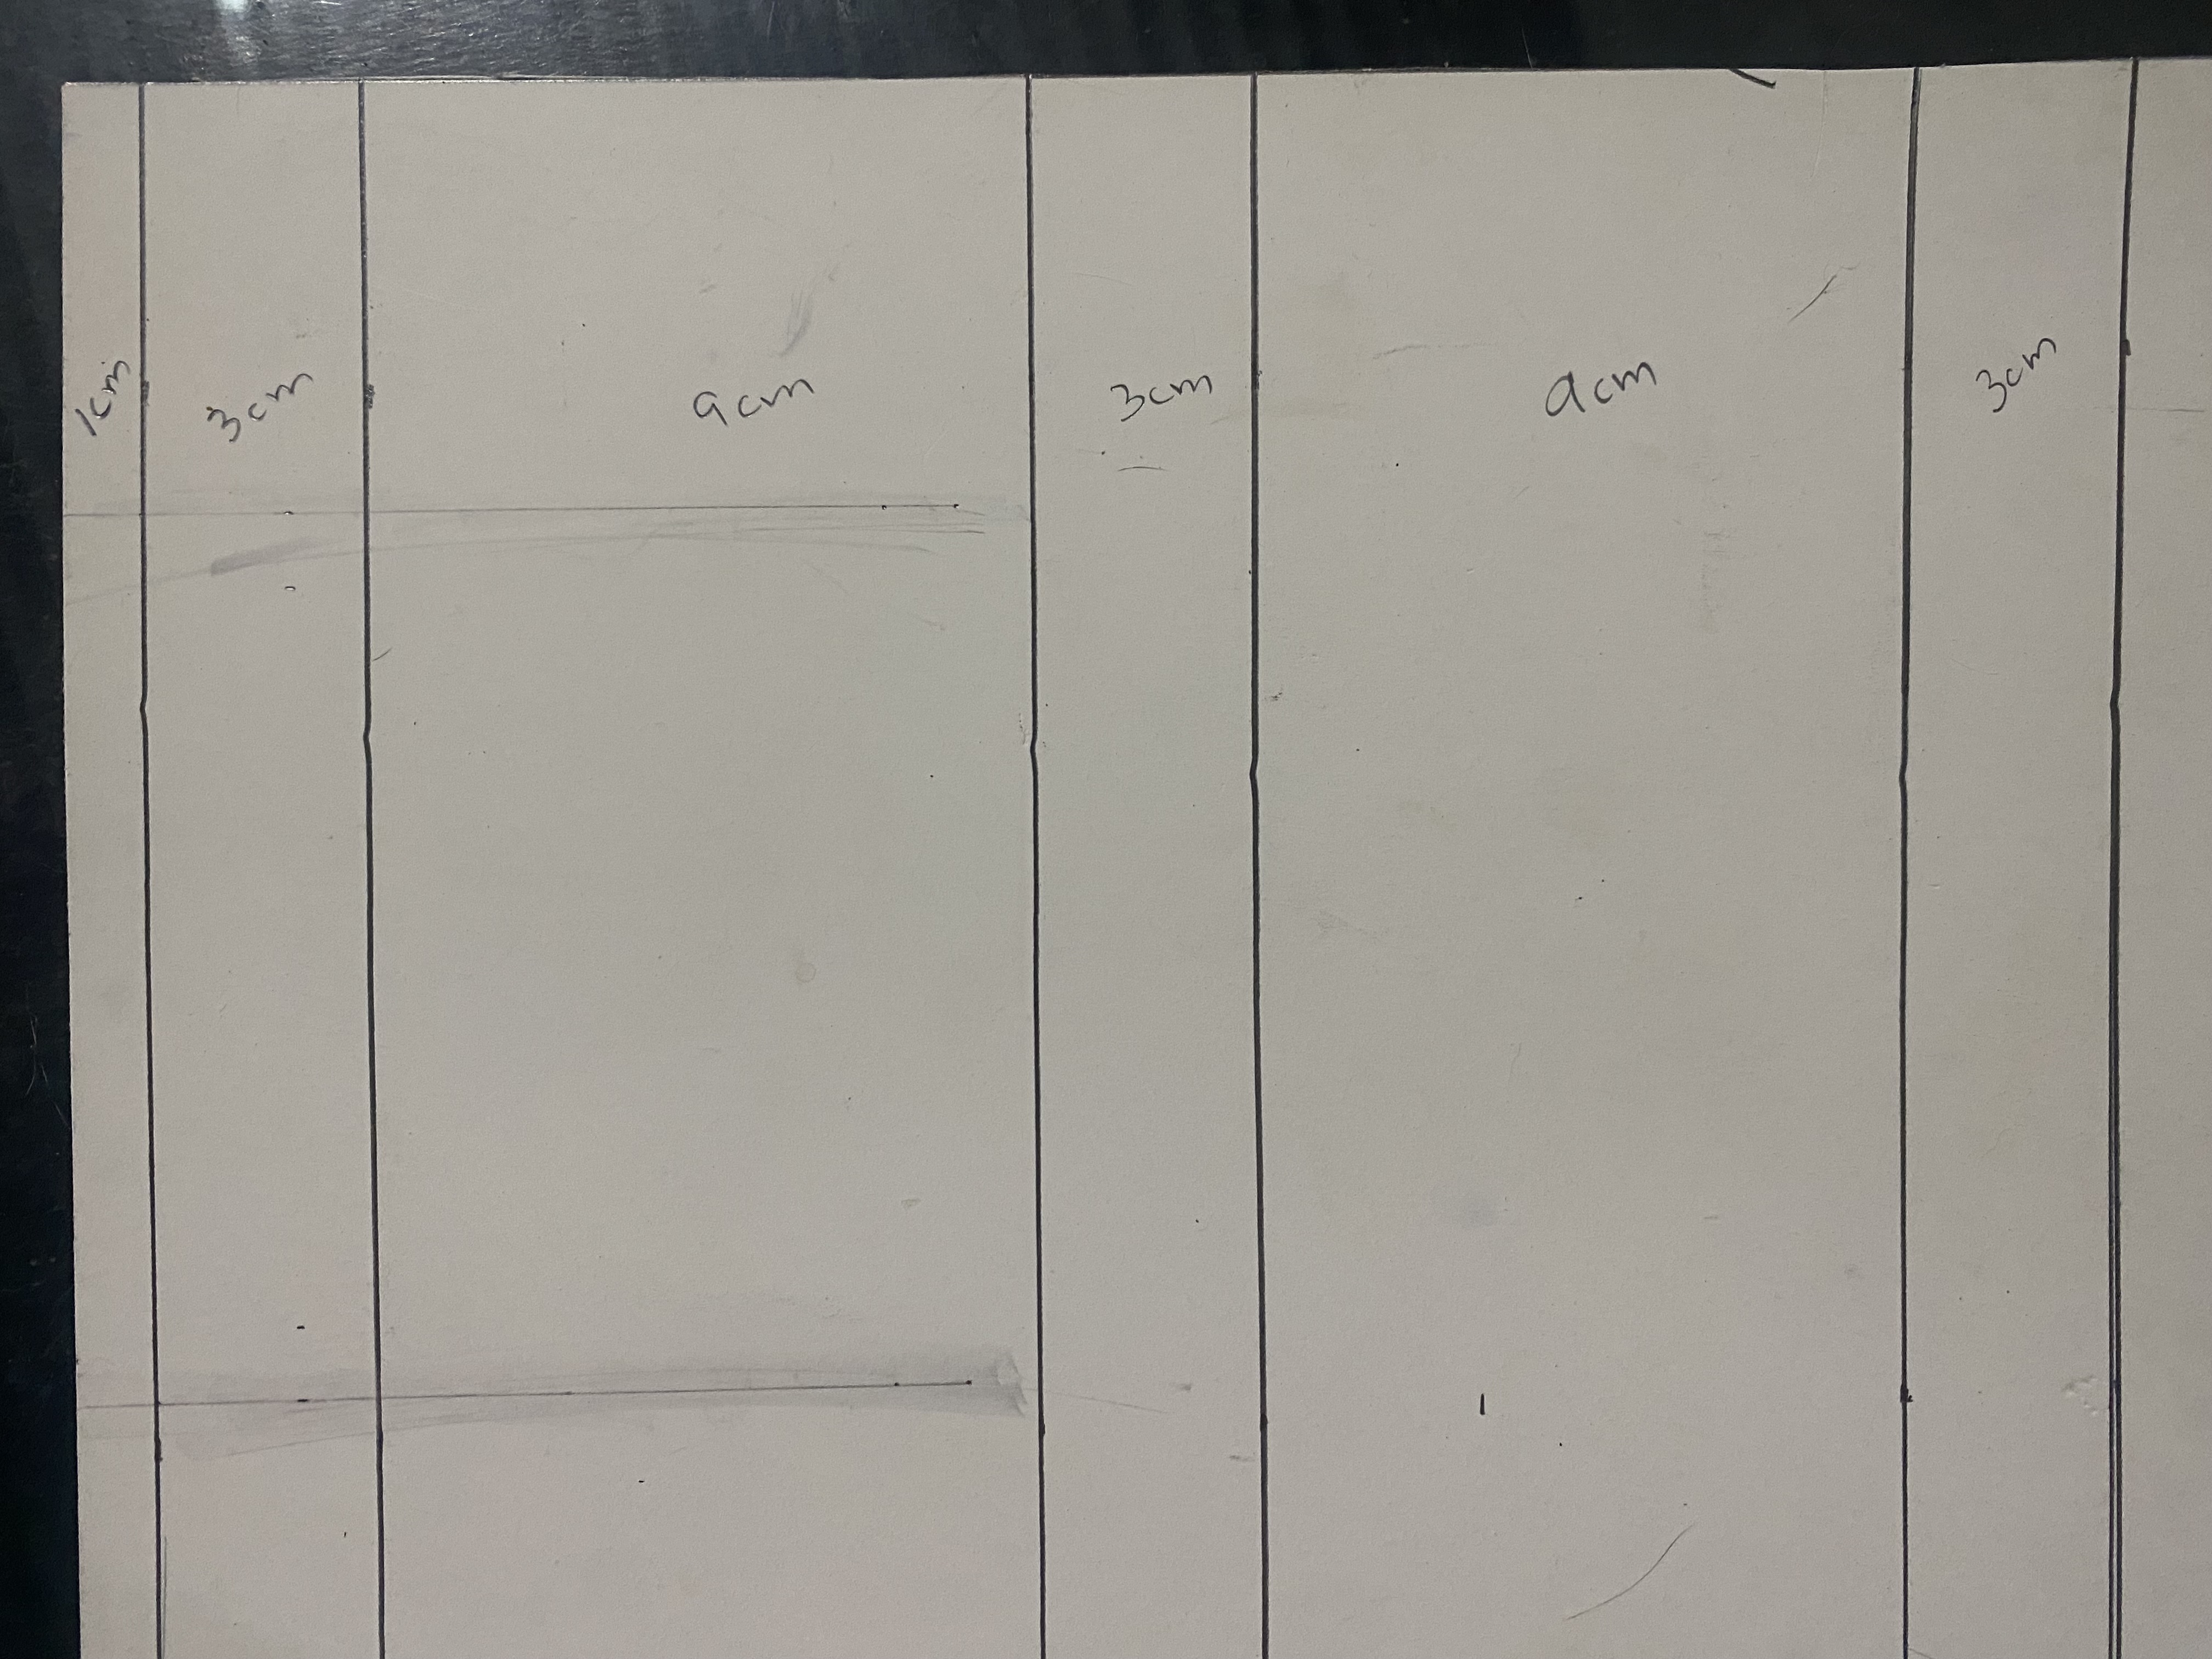
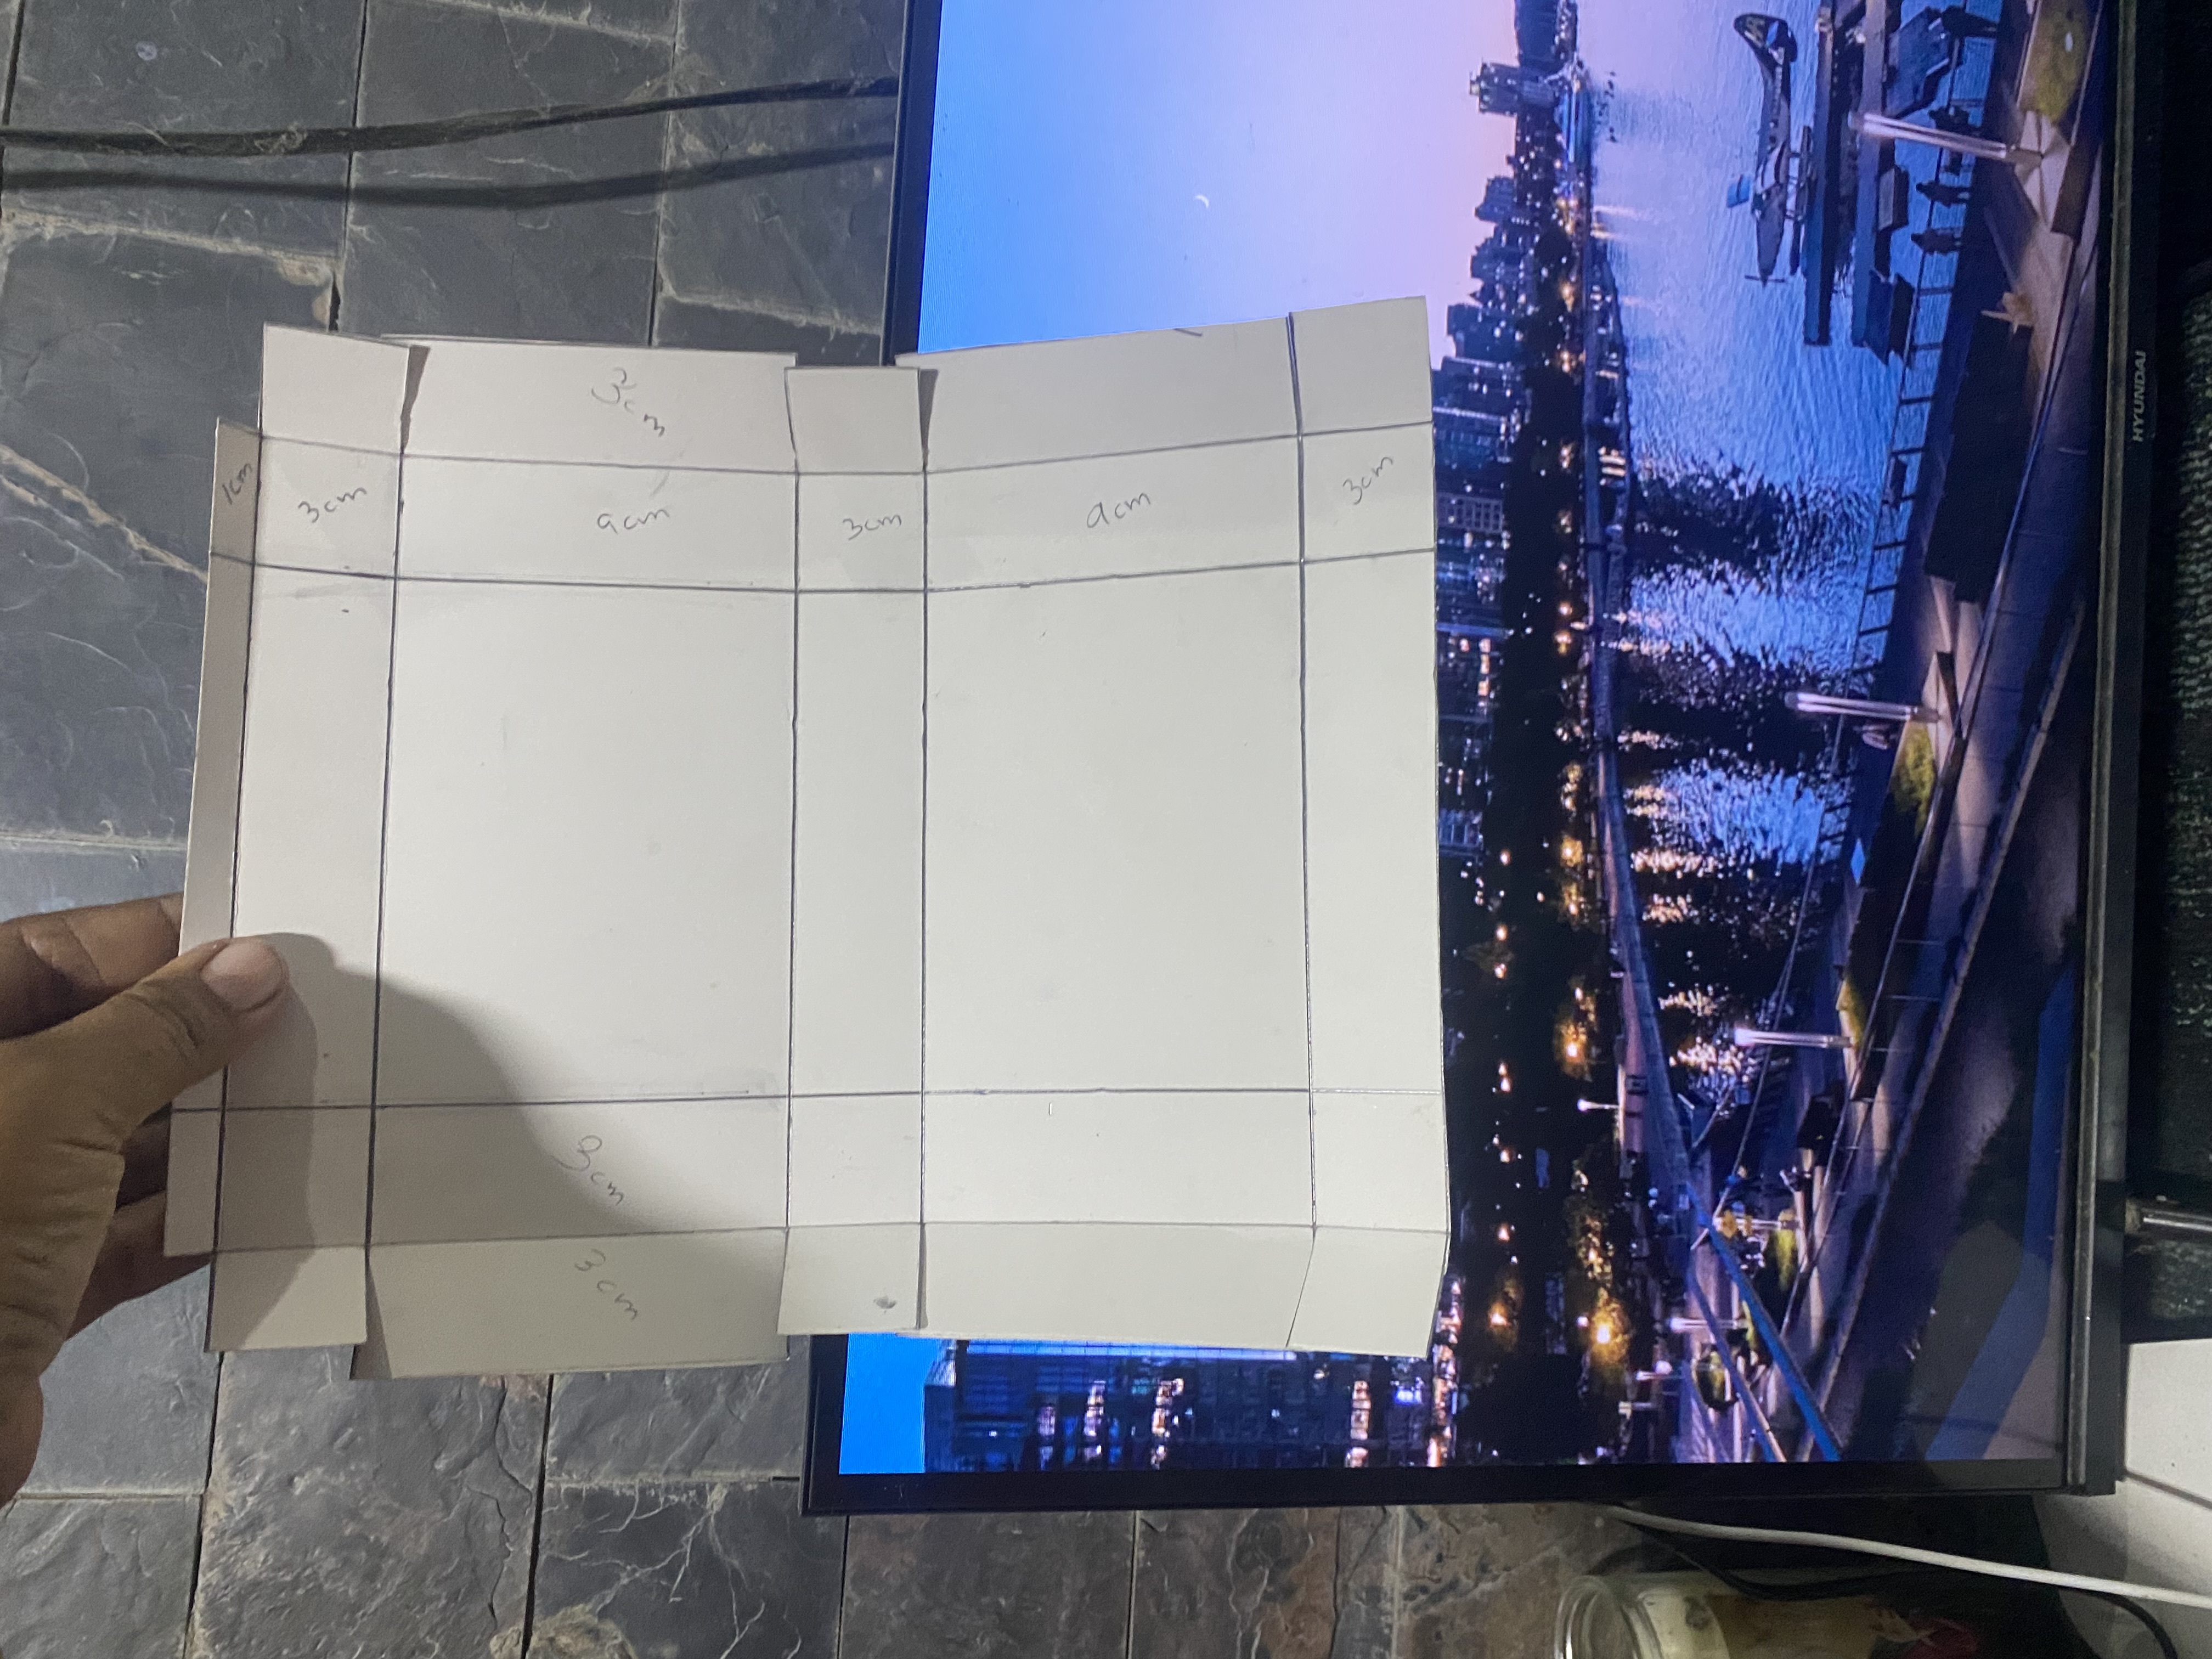
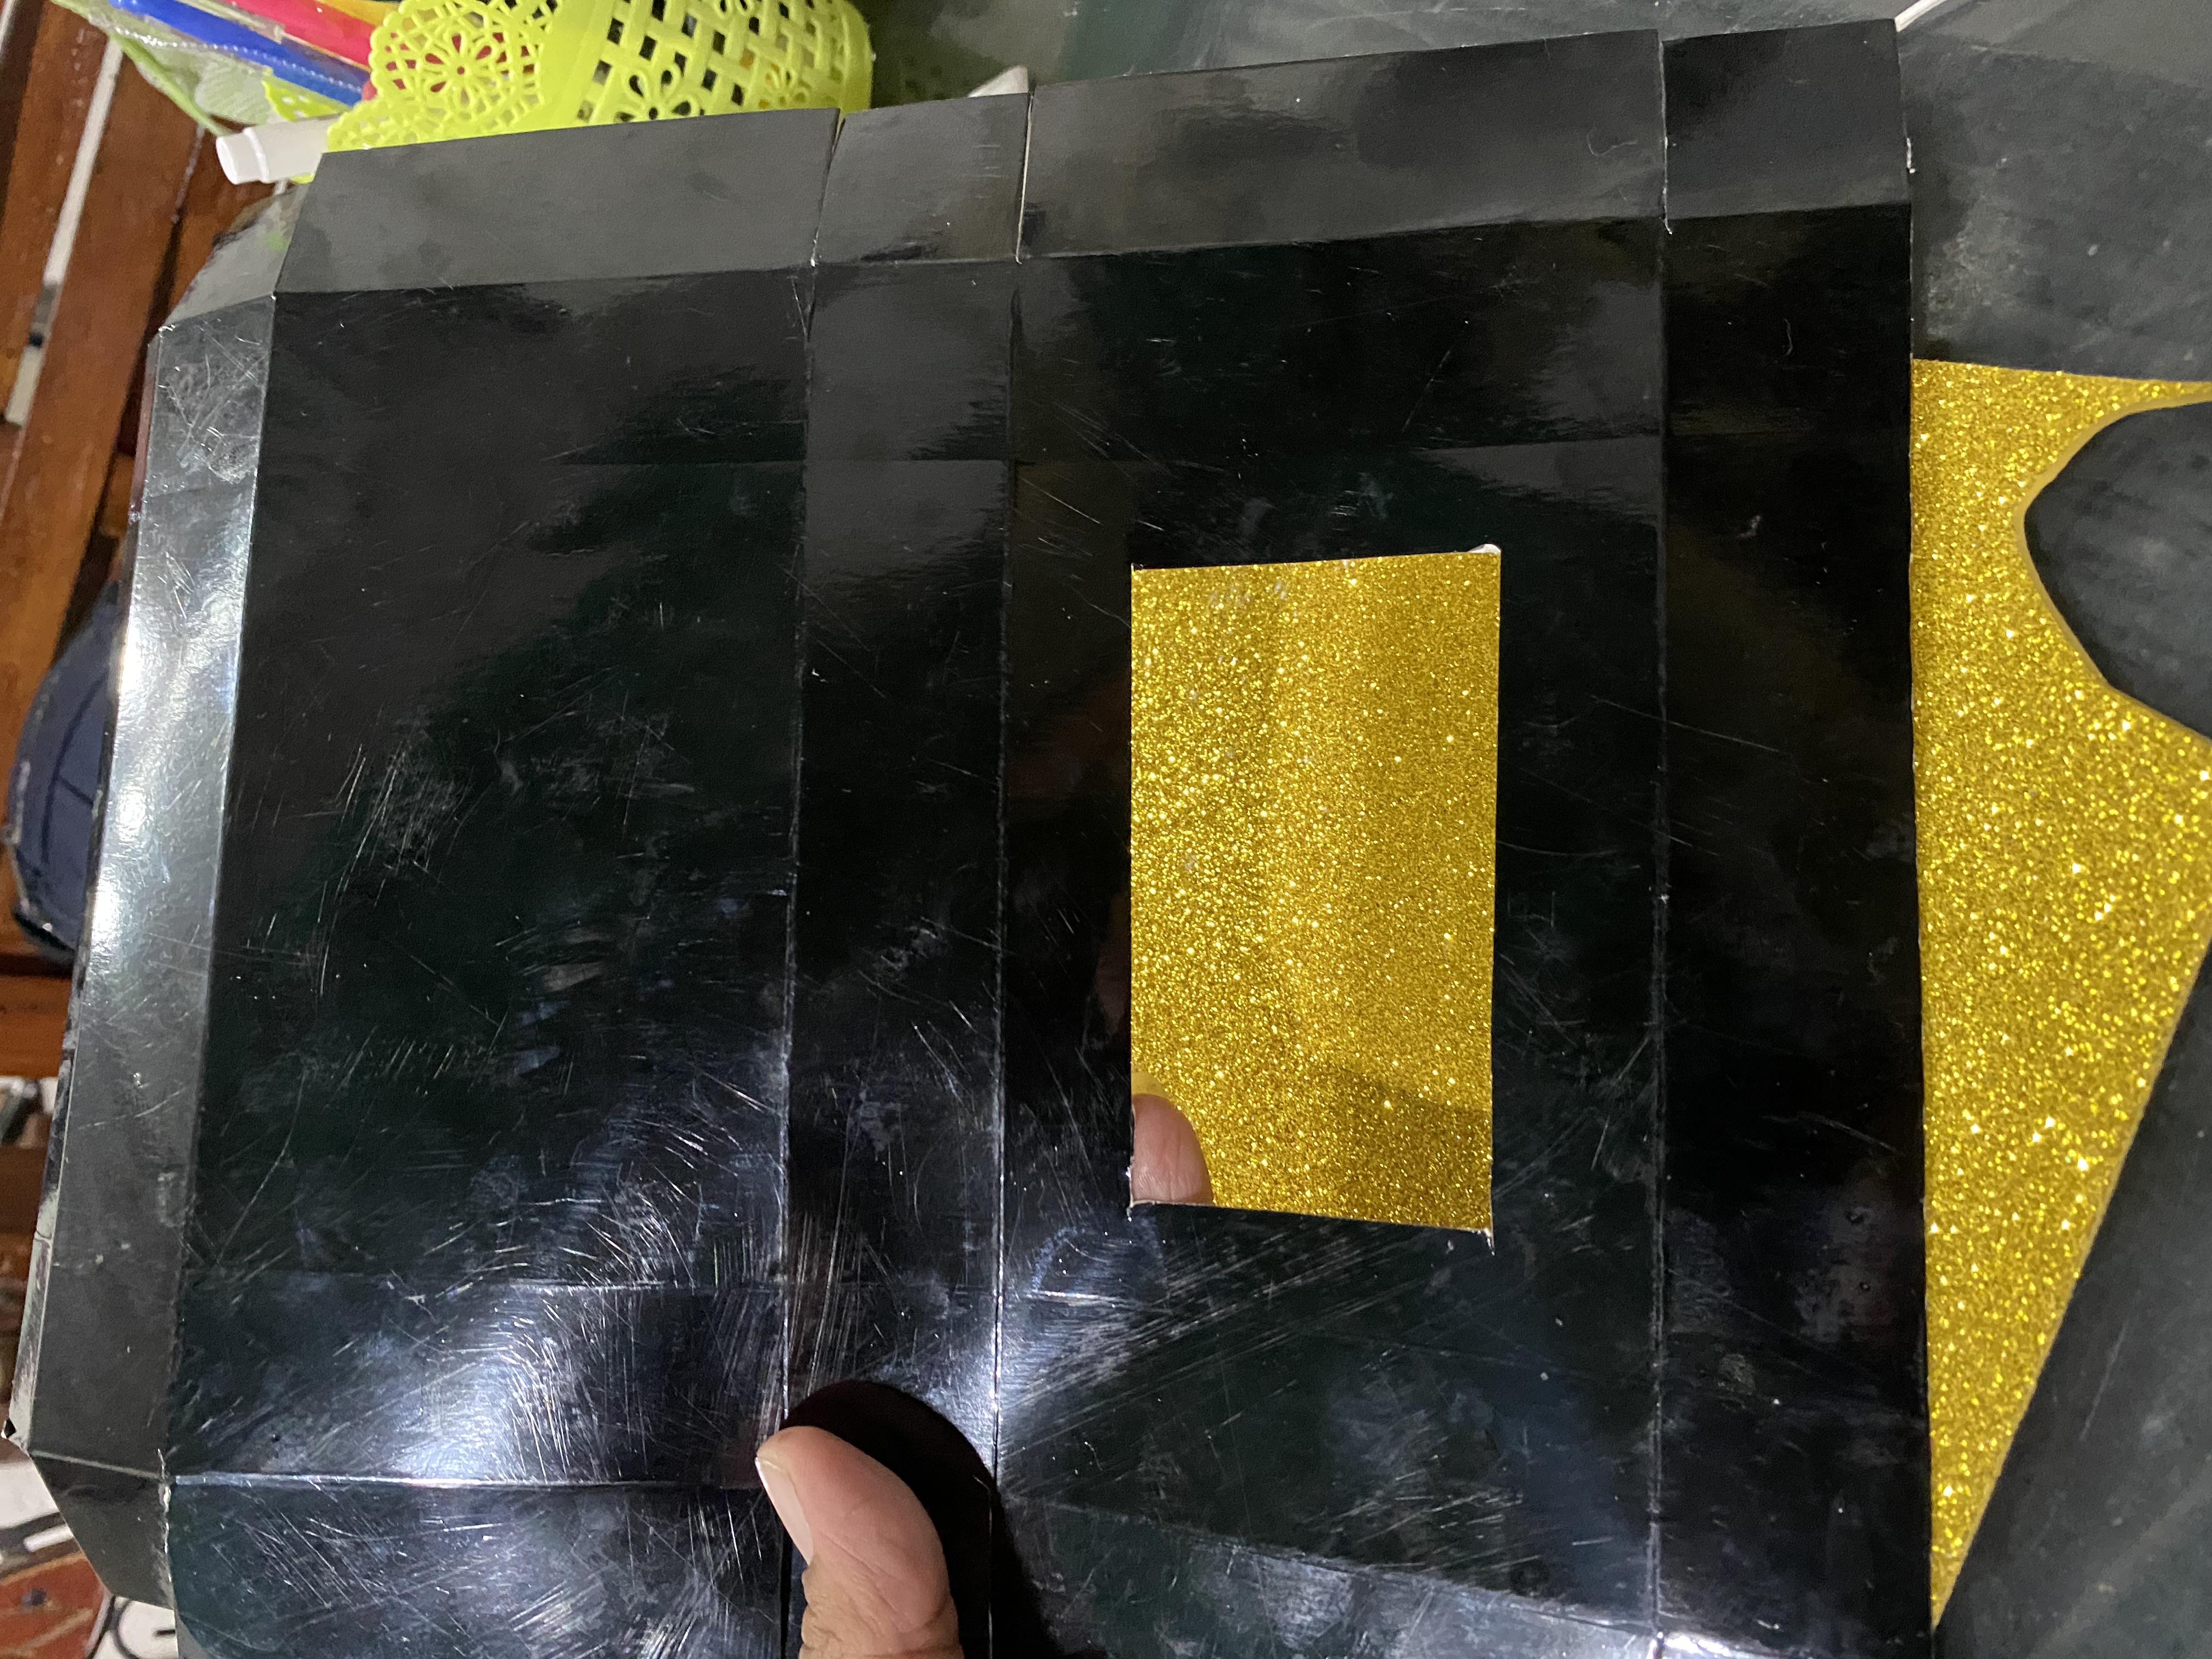
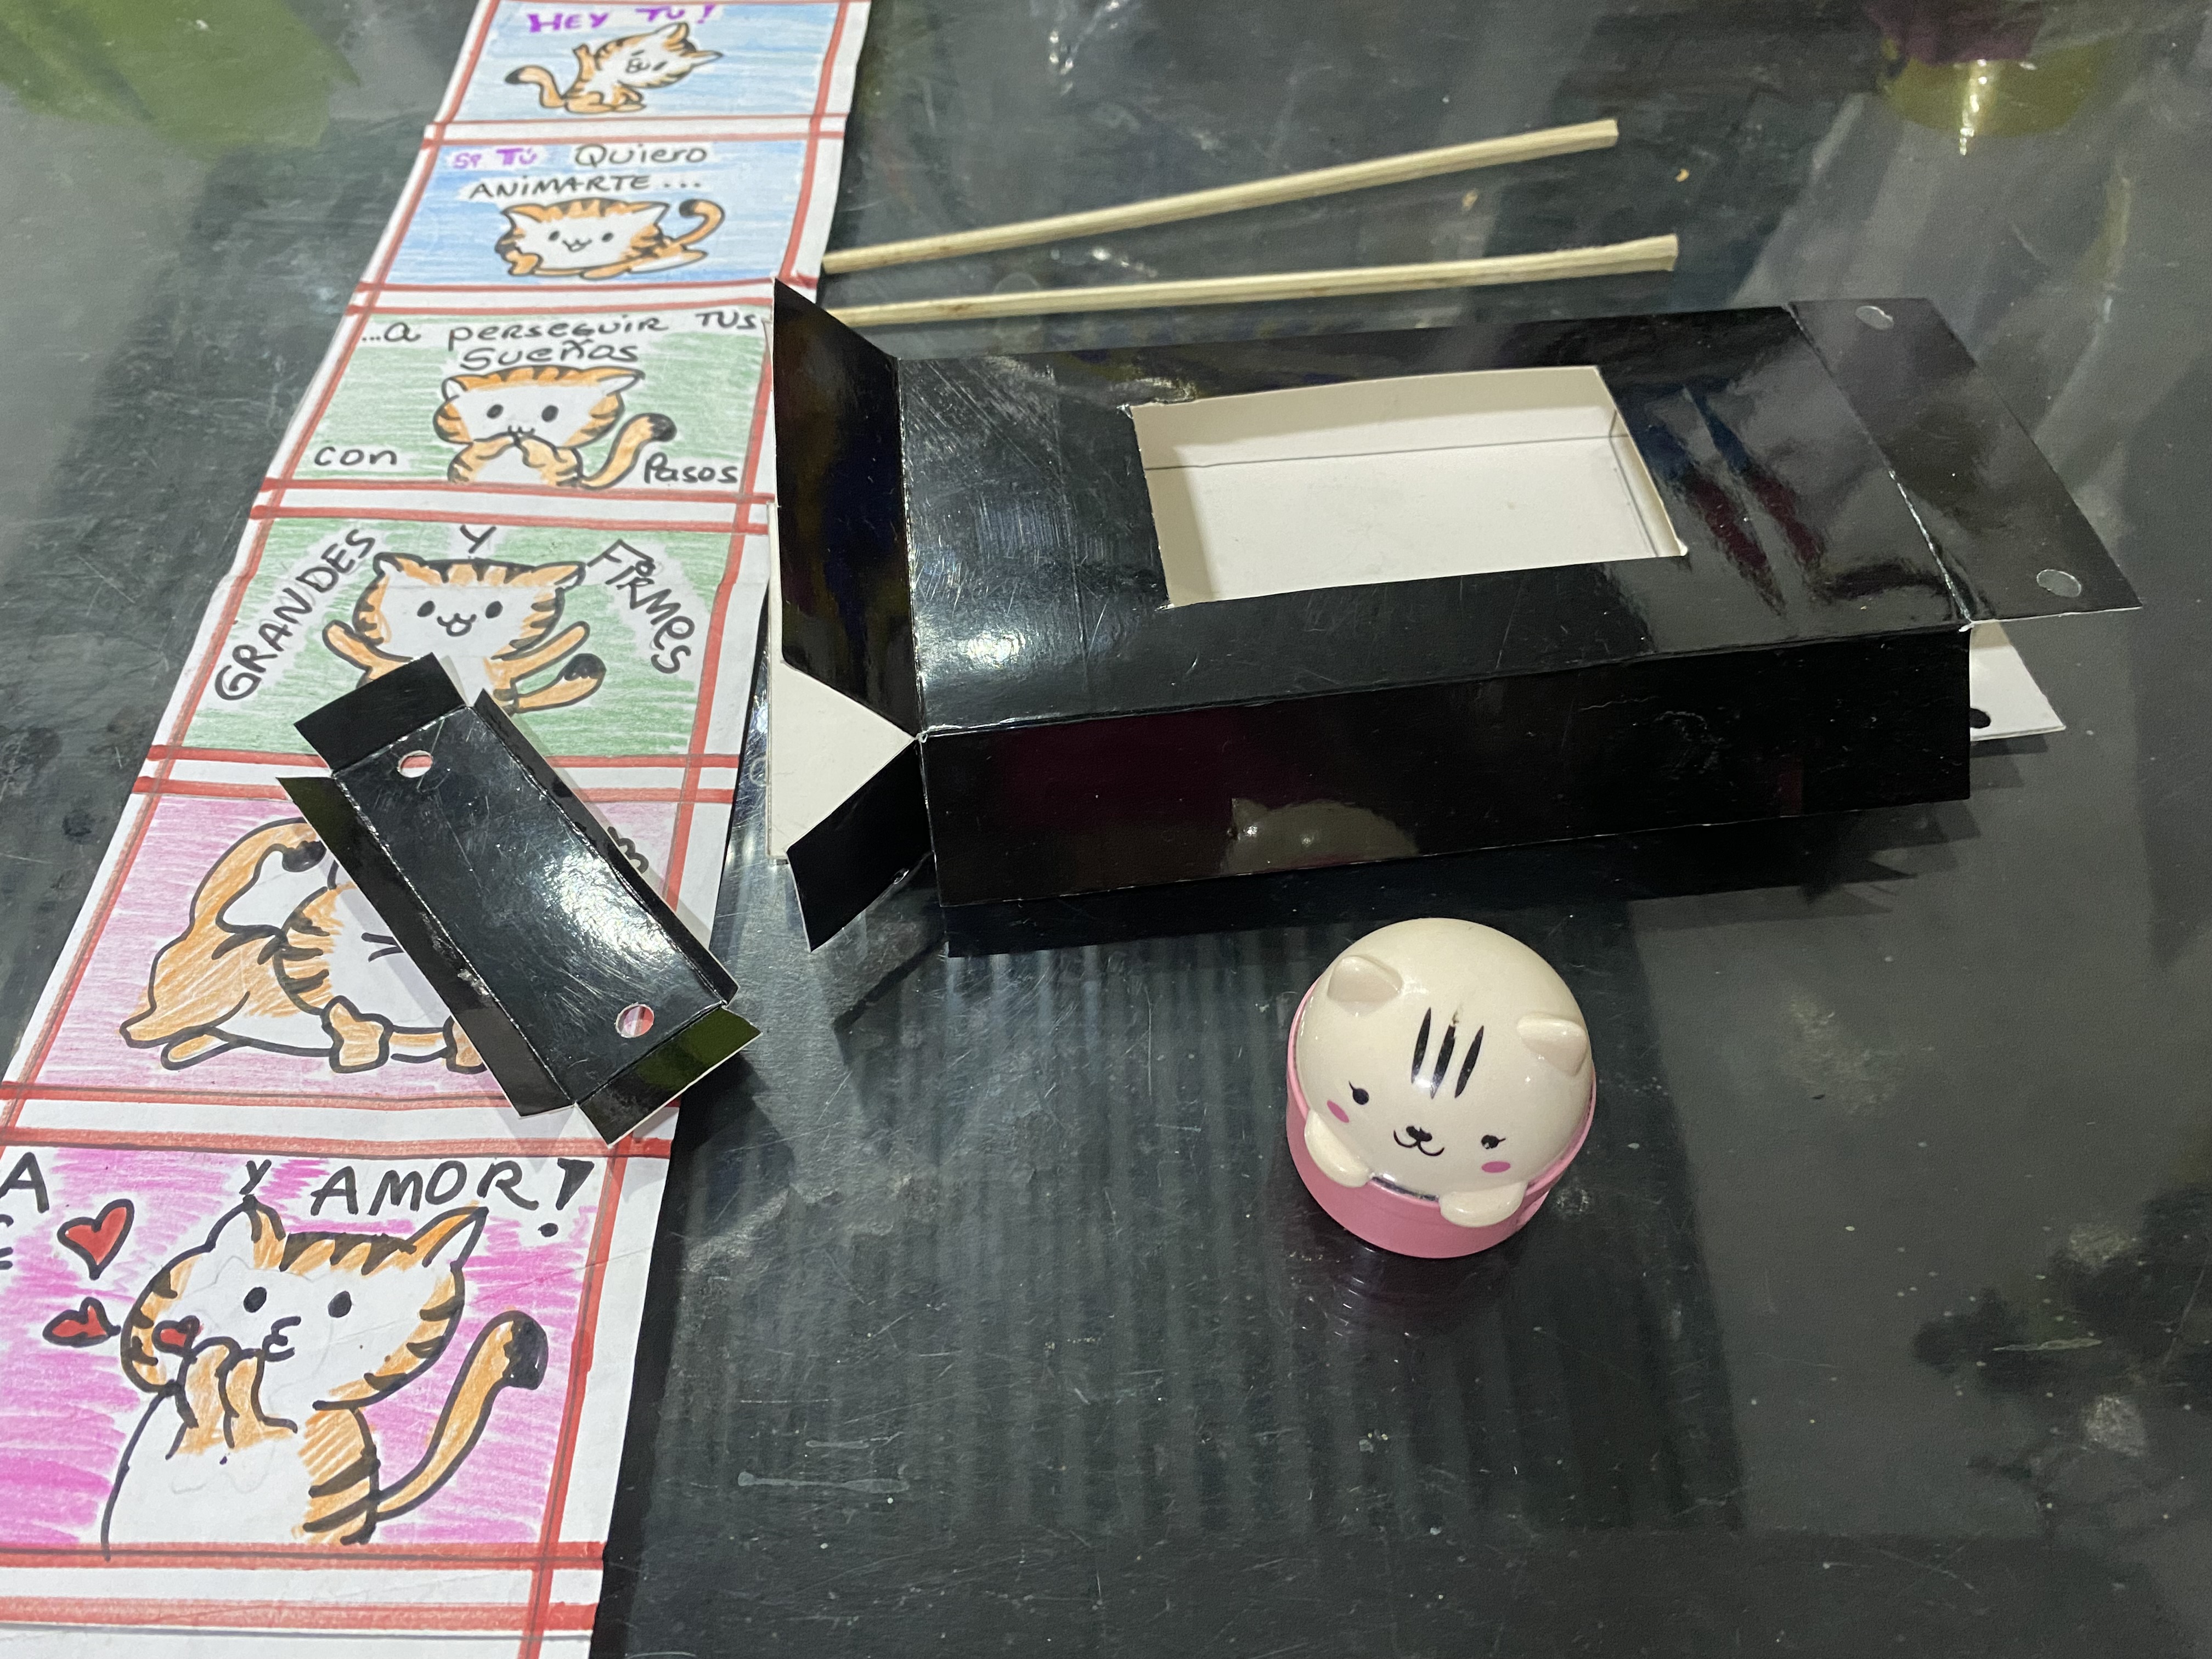
We will start with the measurements of our television, we will make a rectangular box and the measurements will be 24 cm wide by 28 cm long distributed as follows: we will make a horizontal line 1 cm wide, then we will draw another 3 cm line, then at 9 cm, following another 3 cm line and then another 9 cm line, you can leave it there or you can leave another 3 cm tab.
At both ends we are going to make 2 lines, each 3 cm wide. These will be used to close our little box. In my image I show you how it should look. Then we are going to draw a rectangle in one of the 9 cm spaces, leaving 1.5 cm of space on each side and cut it. This will be the space for our television screen.
Comenzaremos con las medidas de nuestro televisor, haremos como una cajita en forma de rectángulo y las medidas serán 24 cm de ancha por 28 cm de larga distribuida de la siguiente manera: haremos una línea horizontal de 1 cm de ancha, luego trazaremos otra línea de 3 cm, luego a 9 cm, siguiendo otro de 3 cm y luego otro de 9 cm, puedes dejarlo hasta allí o puedes dejarle otra pestaña de 3 cm.
En los dos extremos vamos a hacer 2 líneas de 3 cm de ancho cada una, éstas serán para cerrar nuestra cajita, en mi imagen les muestro como debe quedar, luego vamos a dibujar en uno de los espacios de 9 cm un rectángulo dejando espacio de 1, 5 cm por cada lado y cortamos, este será el espacio para la pantalla de nuestro televisor.
 |  |
|---|---|
 |  |
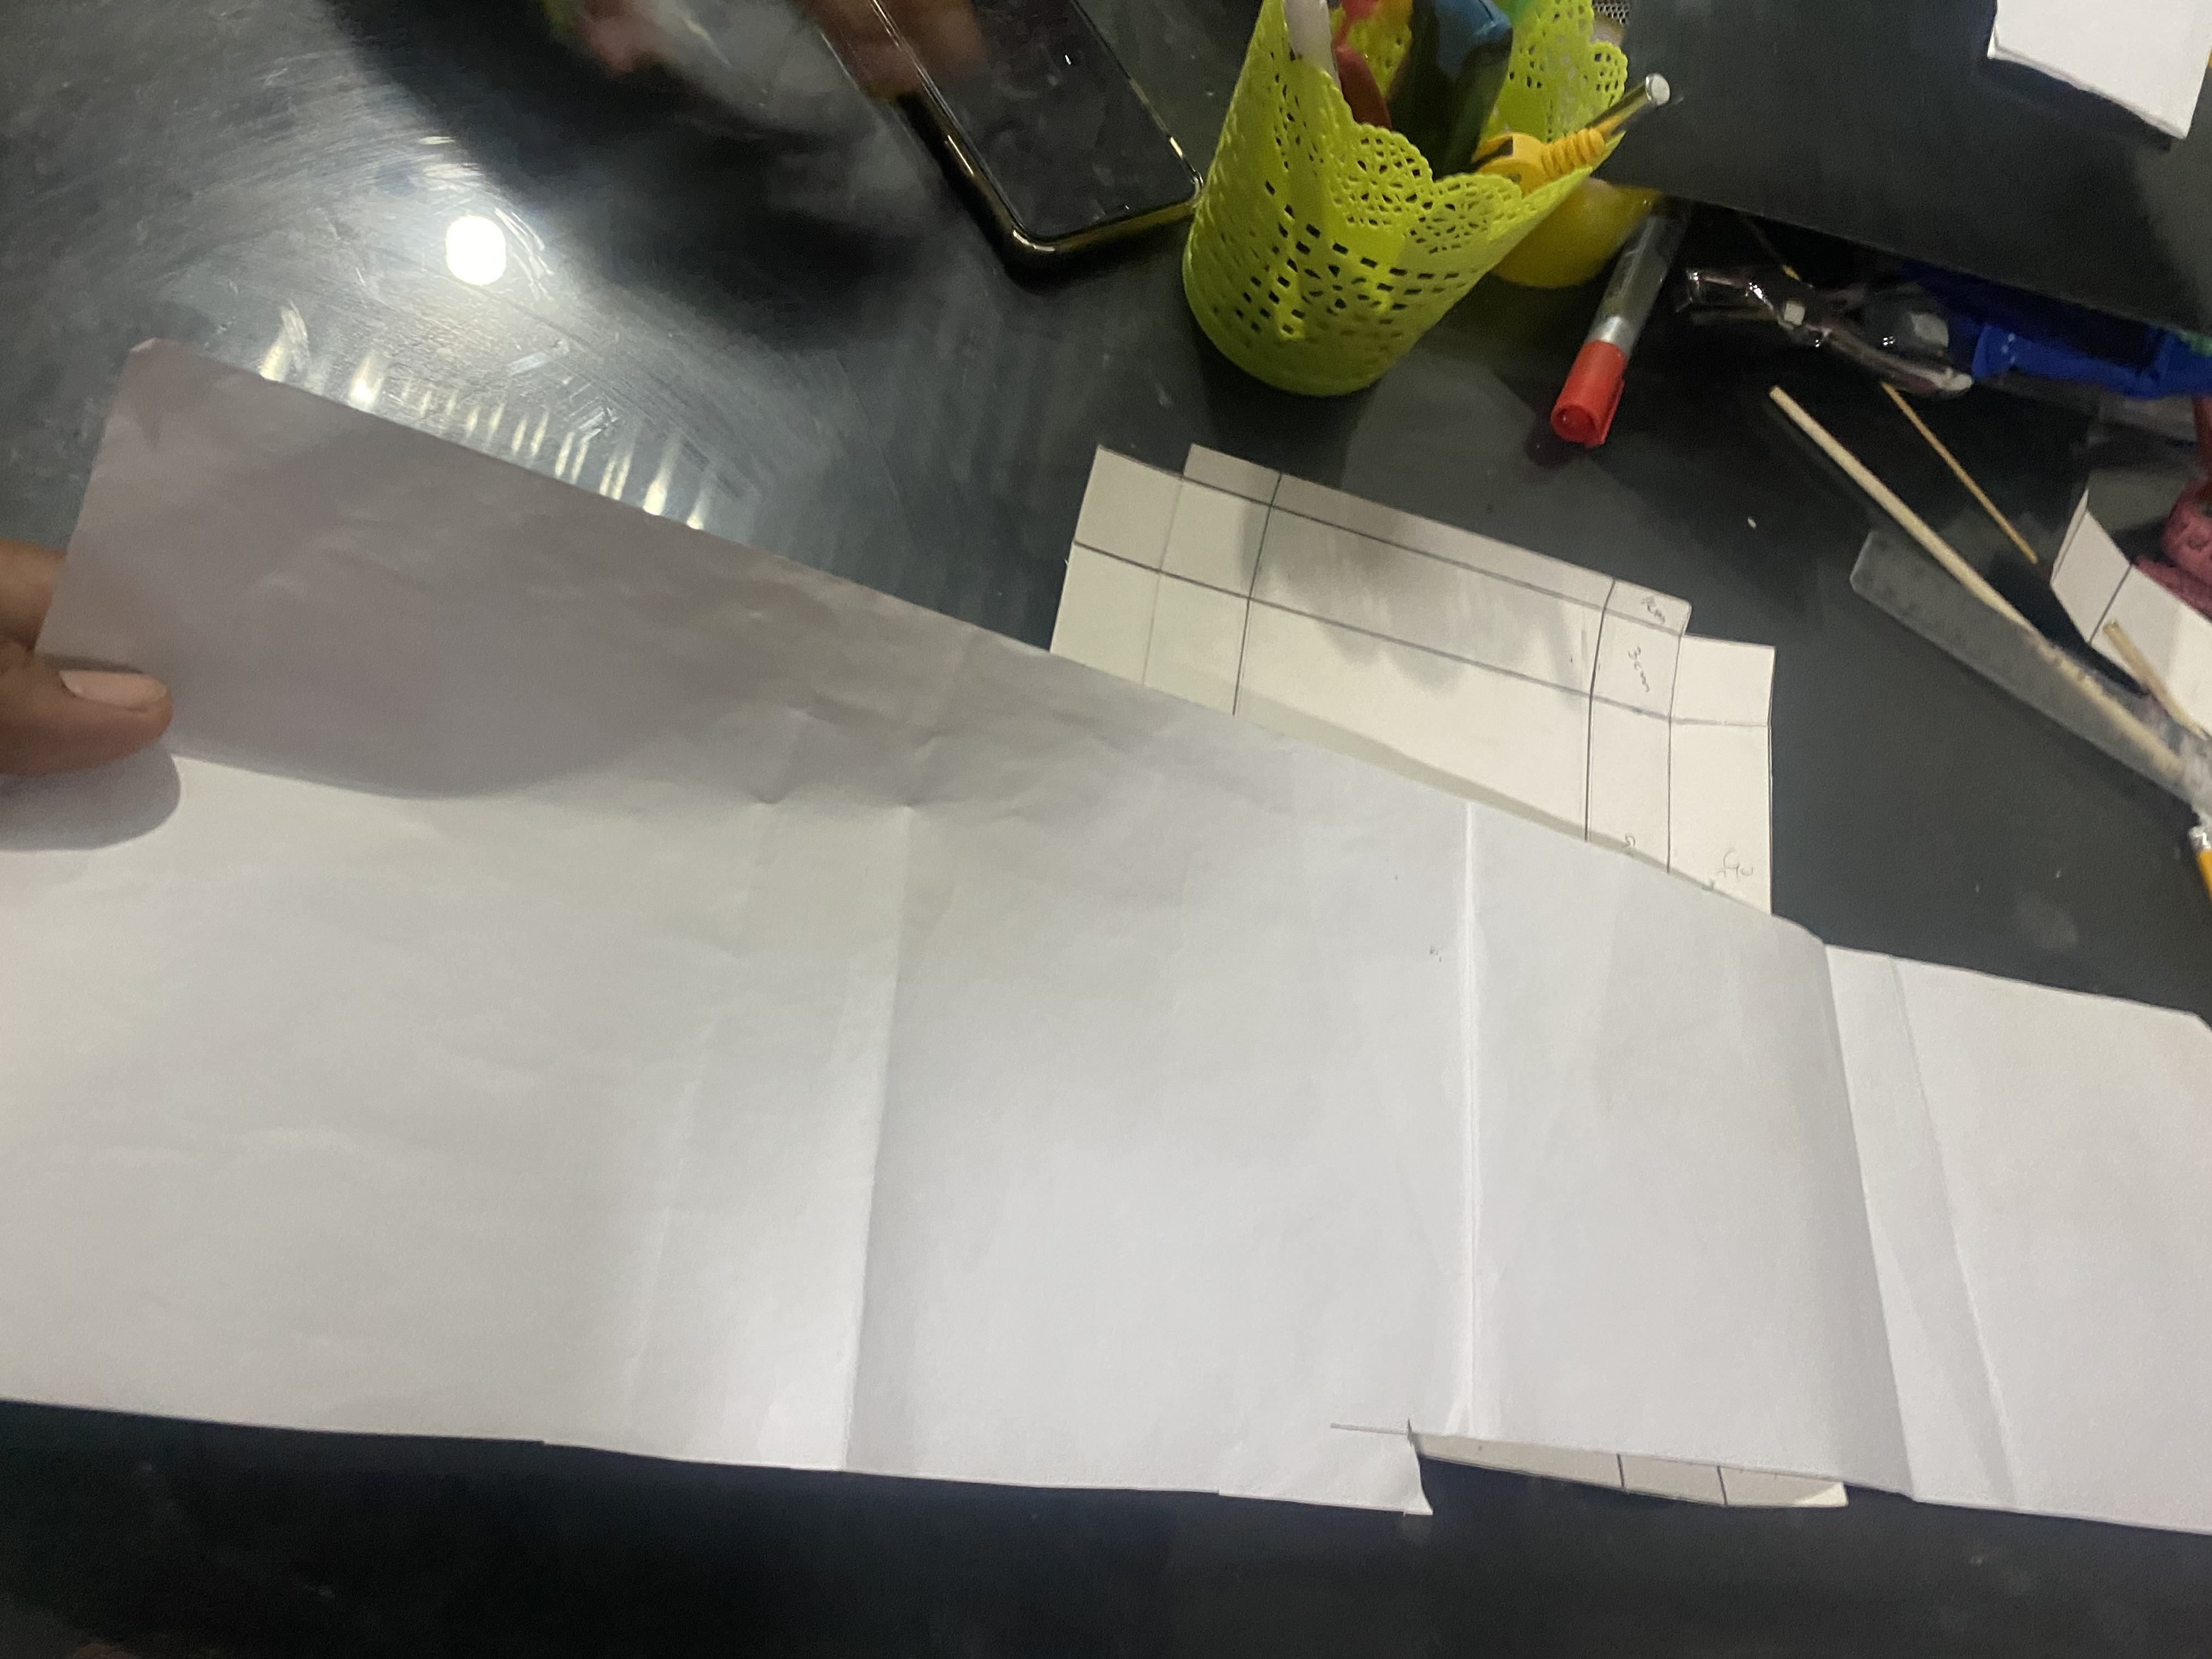
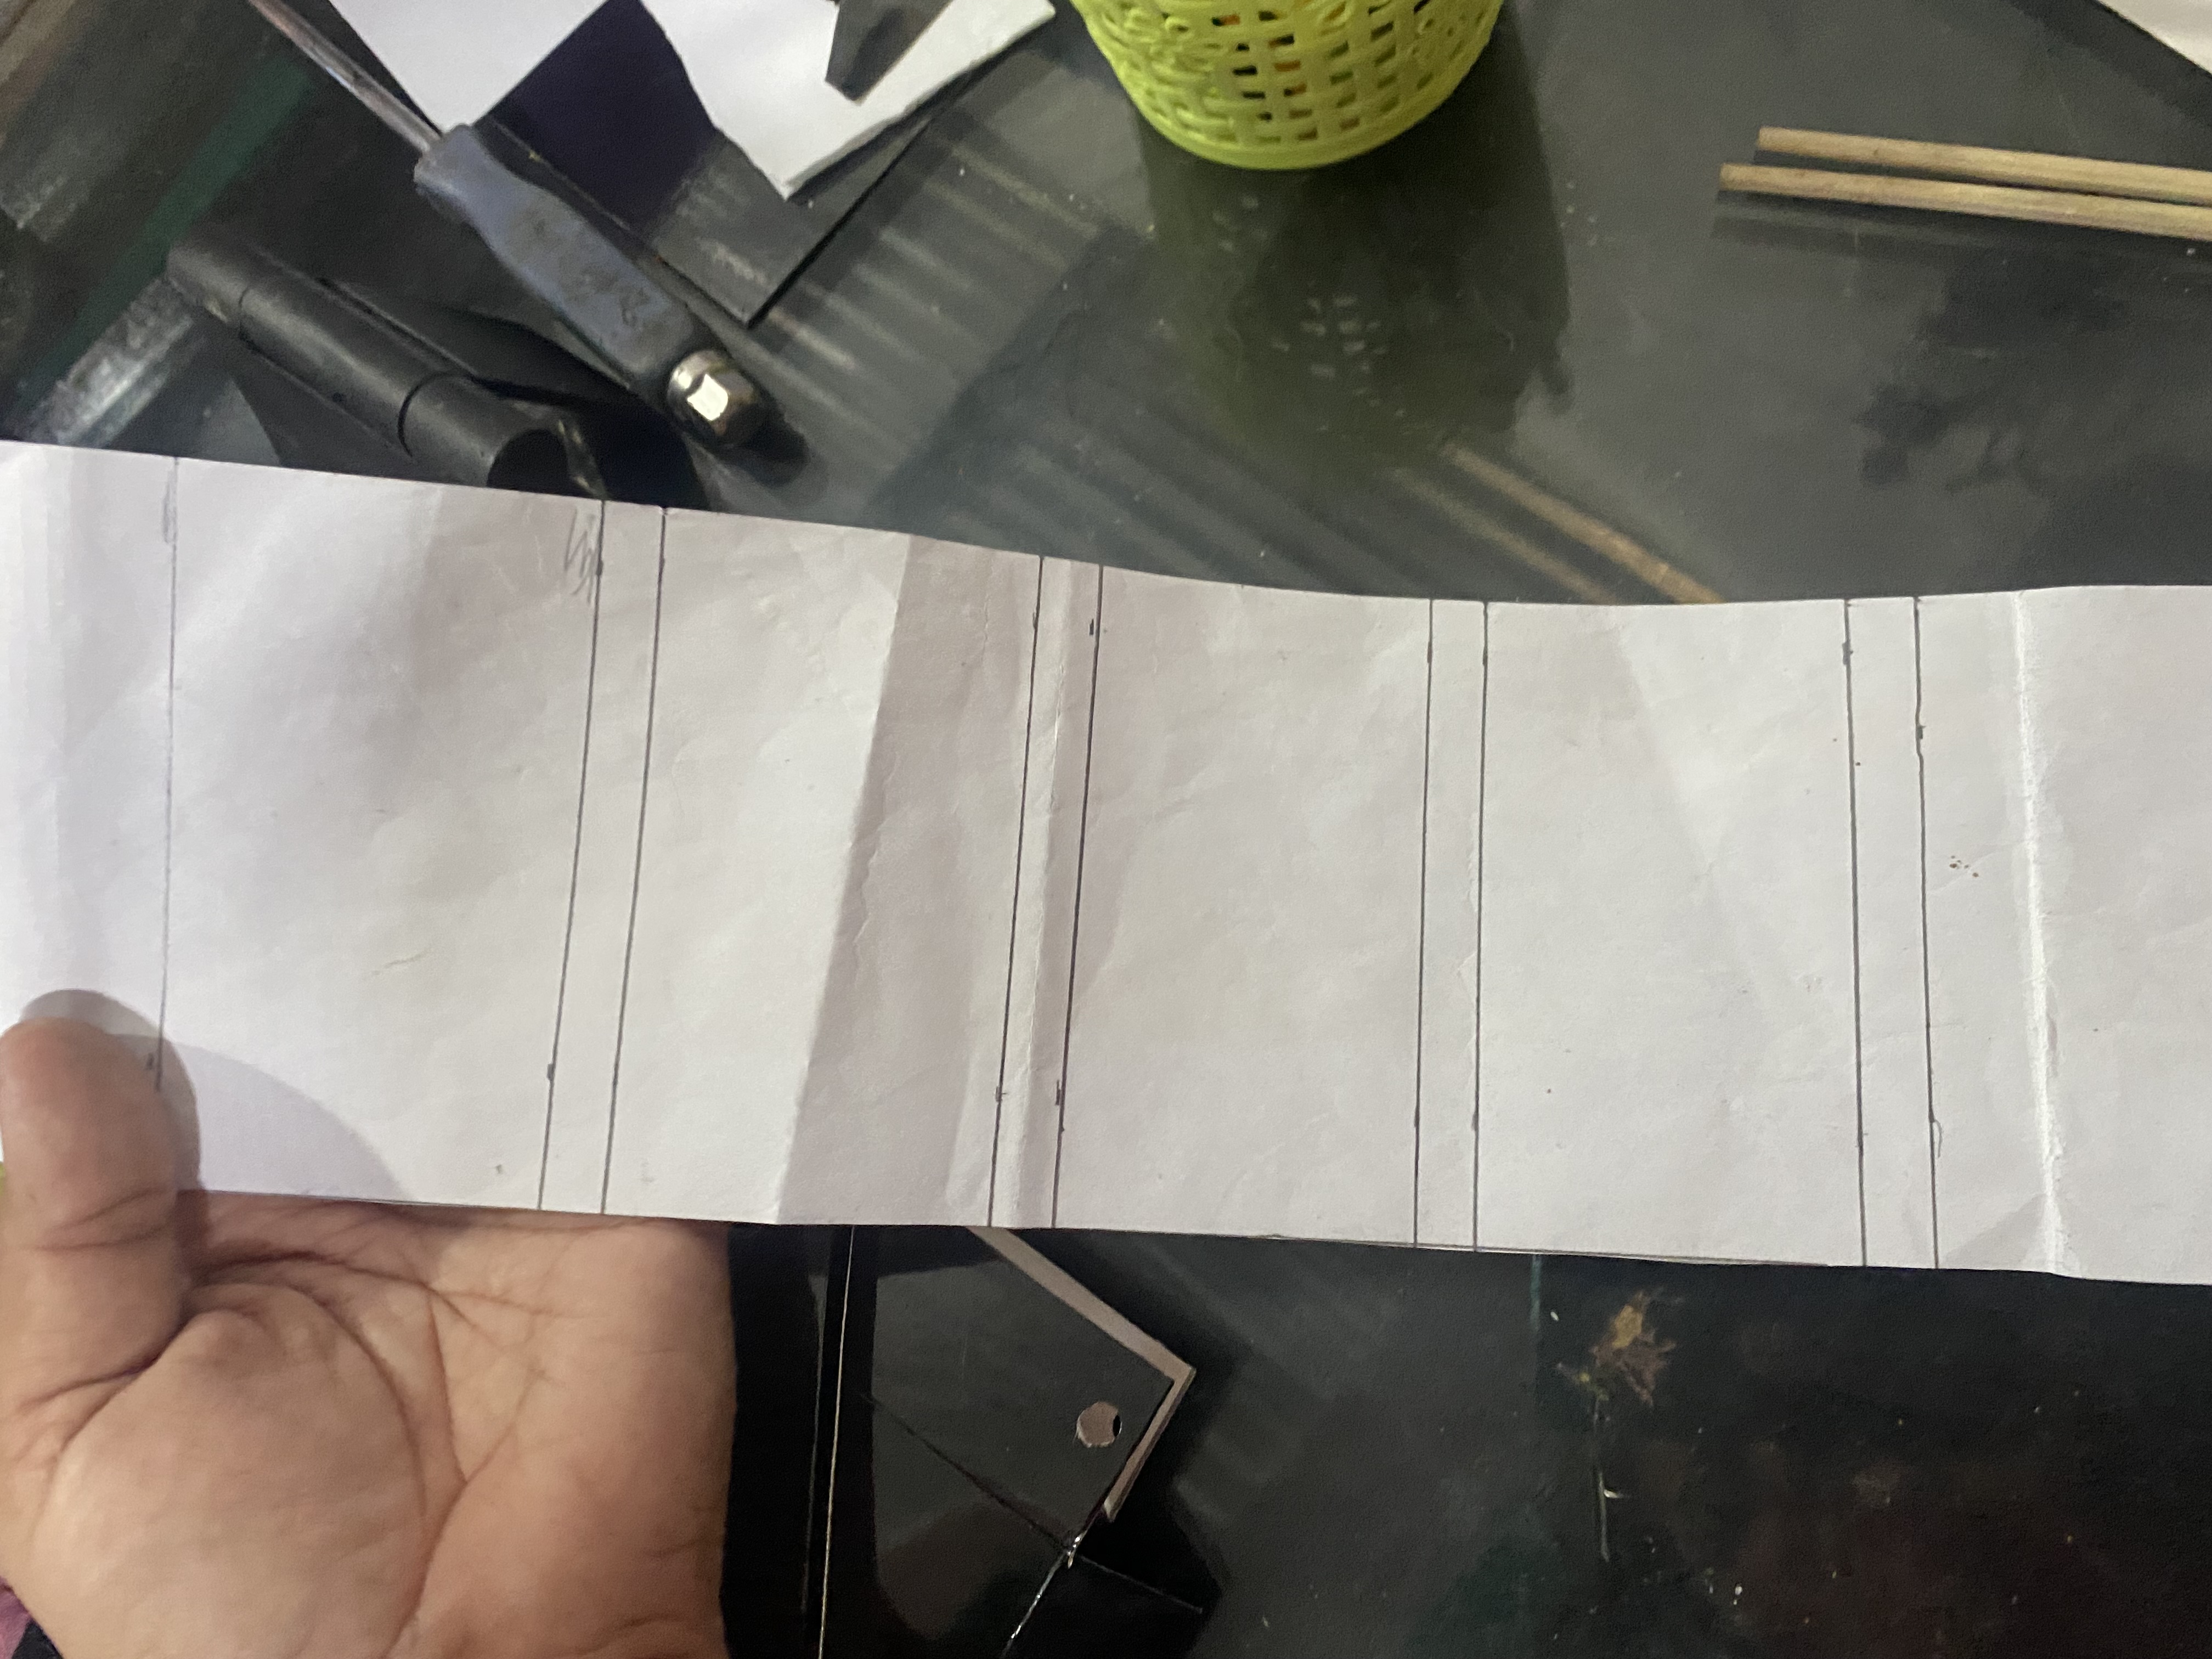
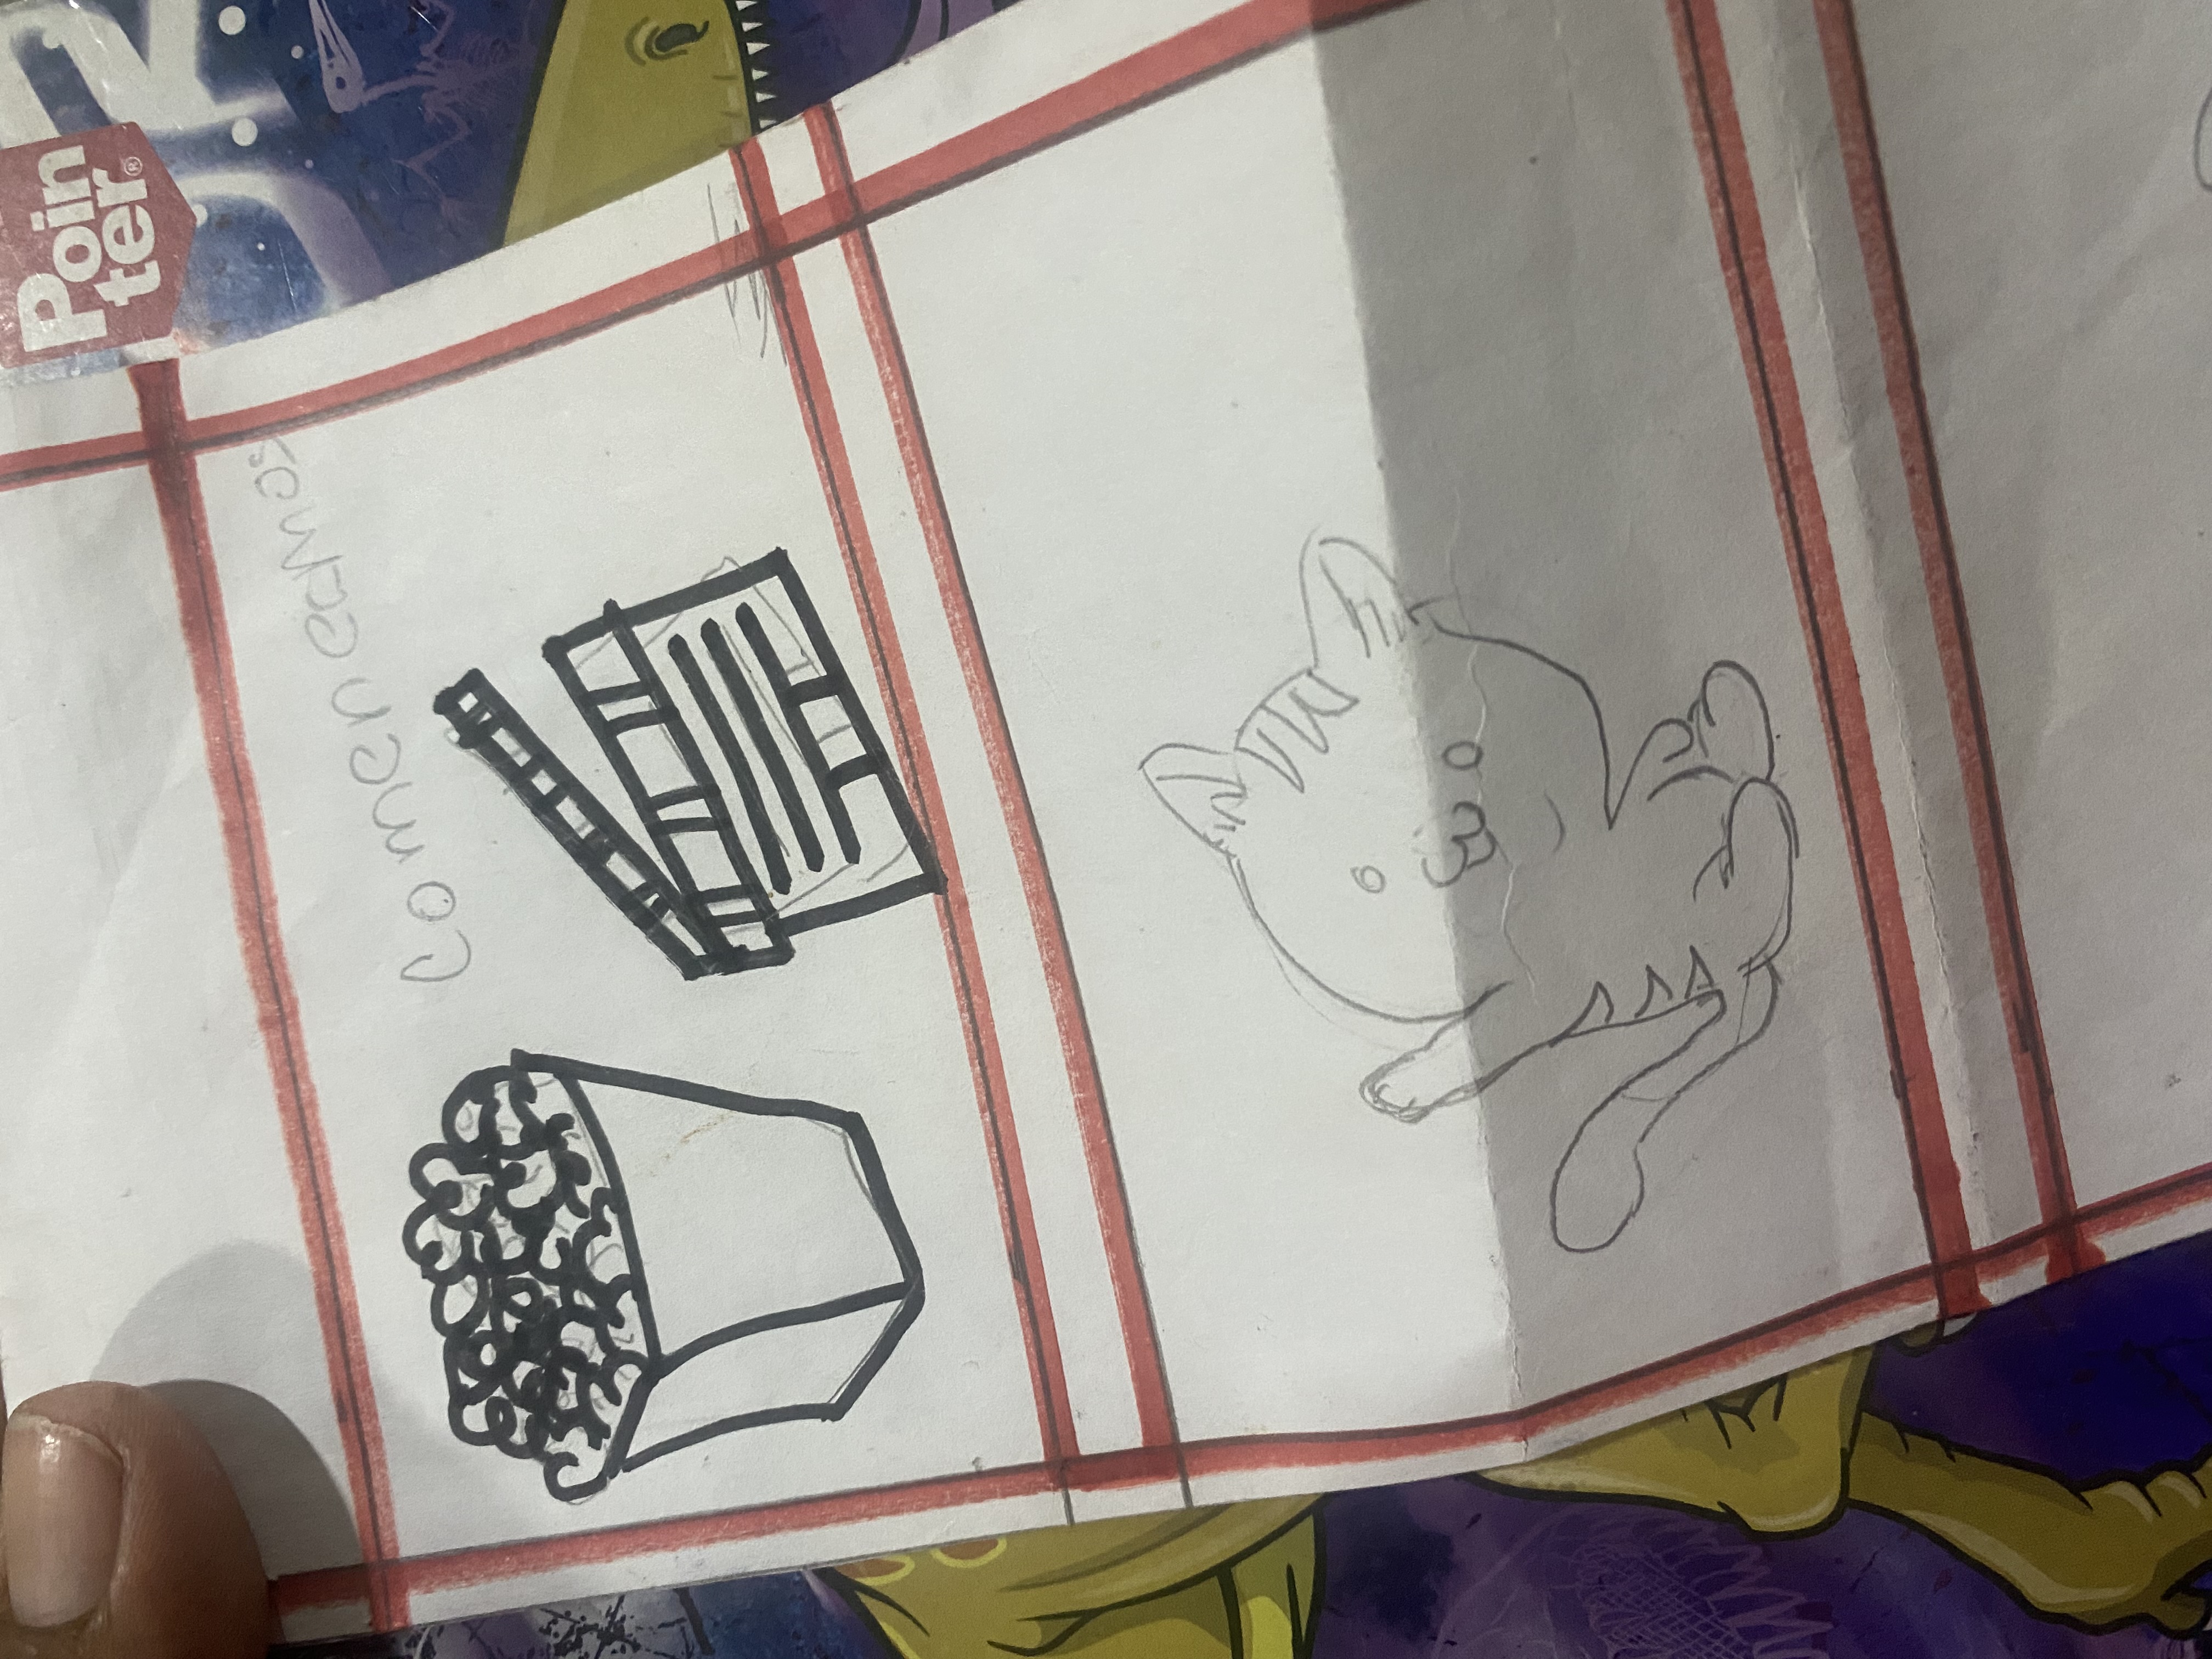
For the next step we are going to cut a long strip of white paper almost the same width as our rectangle. I will use a strip of bond paper that I have left over from my other crafts. The measurements were as follows: the width of the paper will be 11 cm and the length will be determined by the drawings I will make. I will leave a space of 1 cm between each drawing.
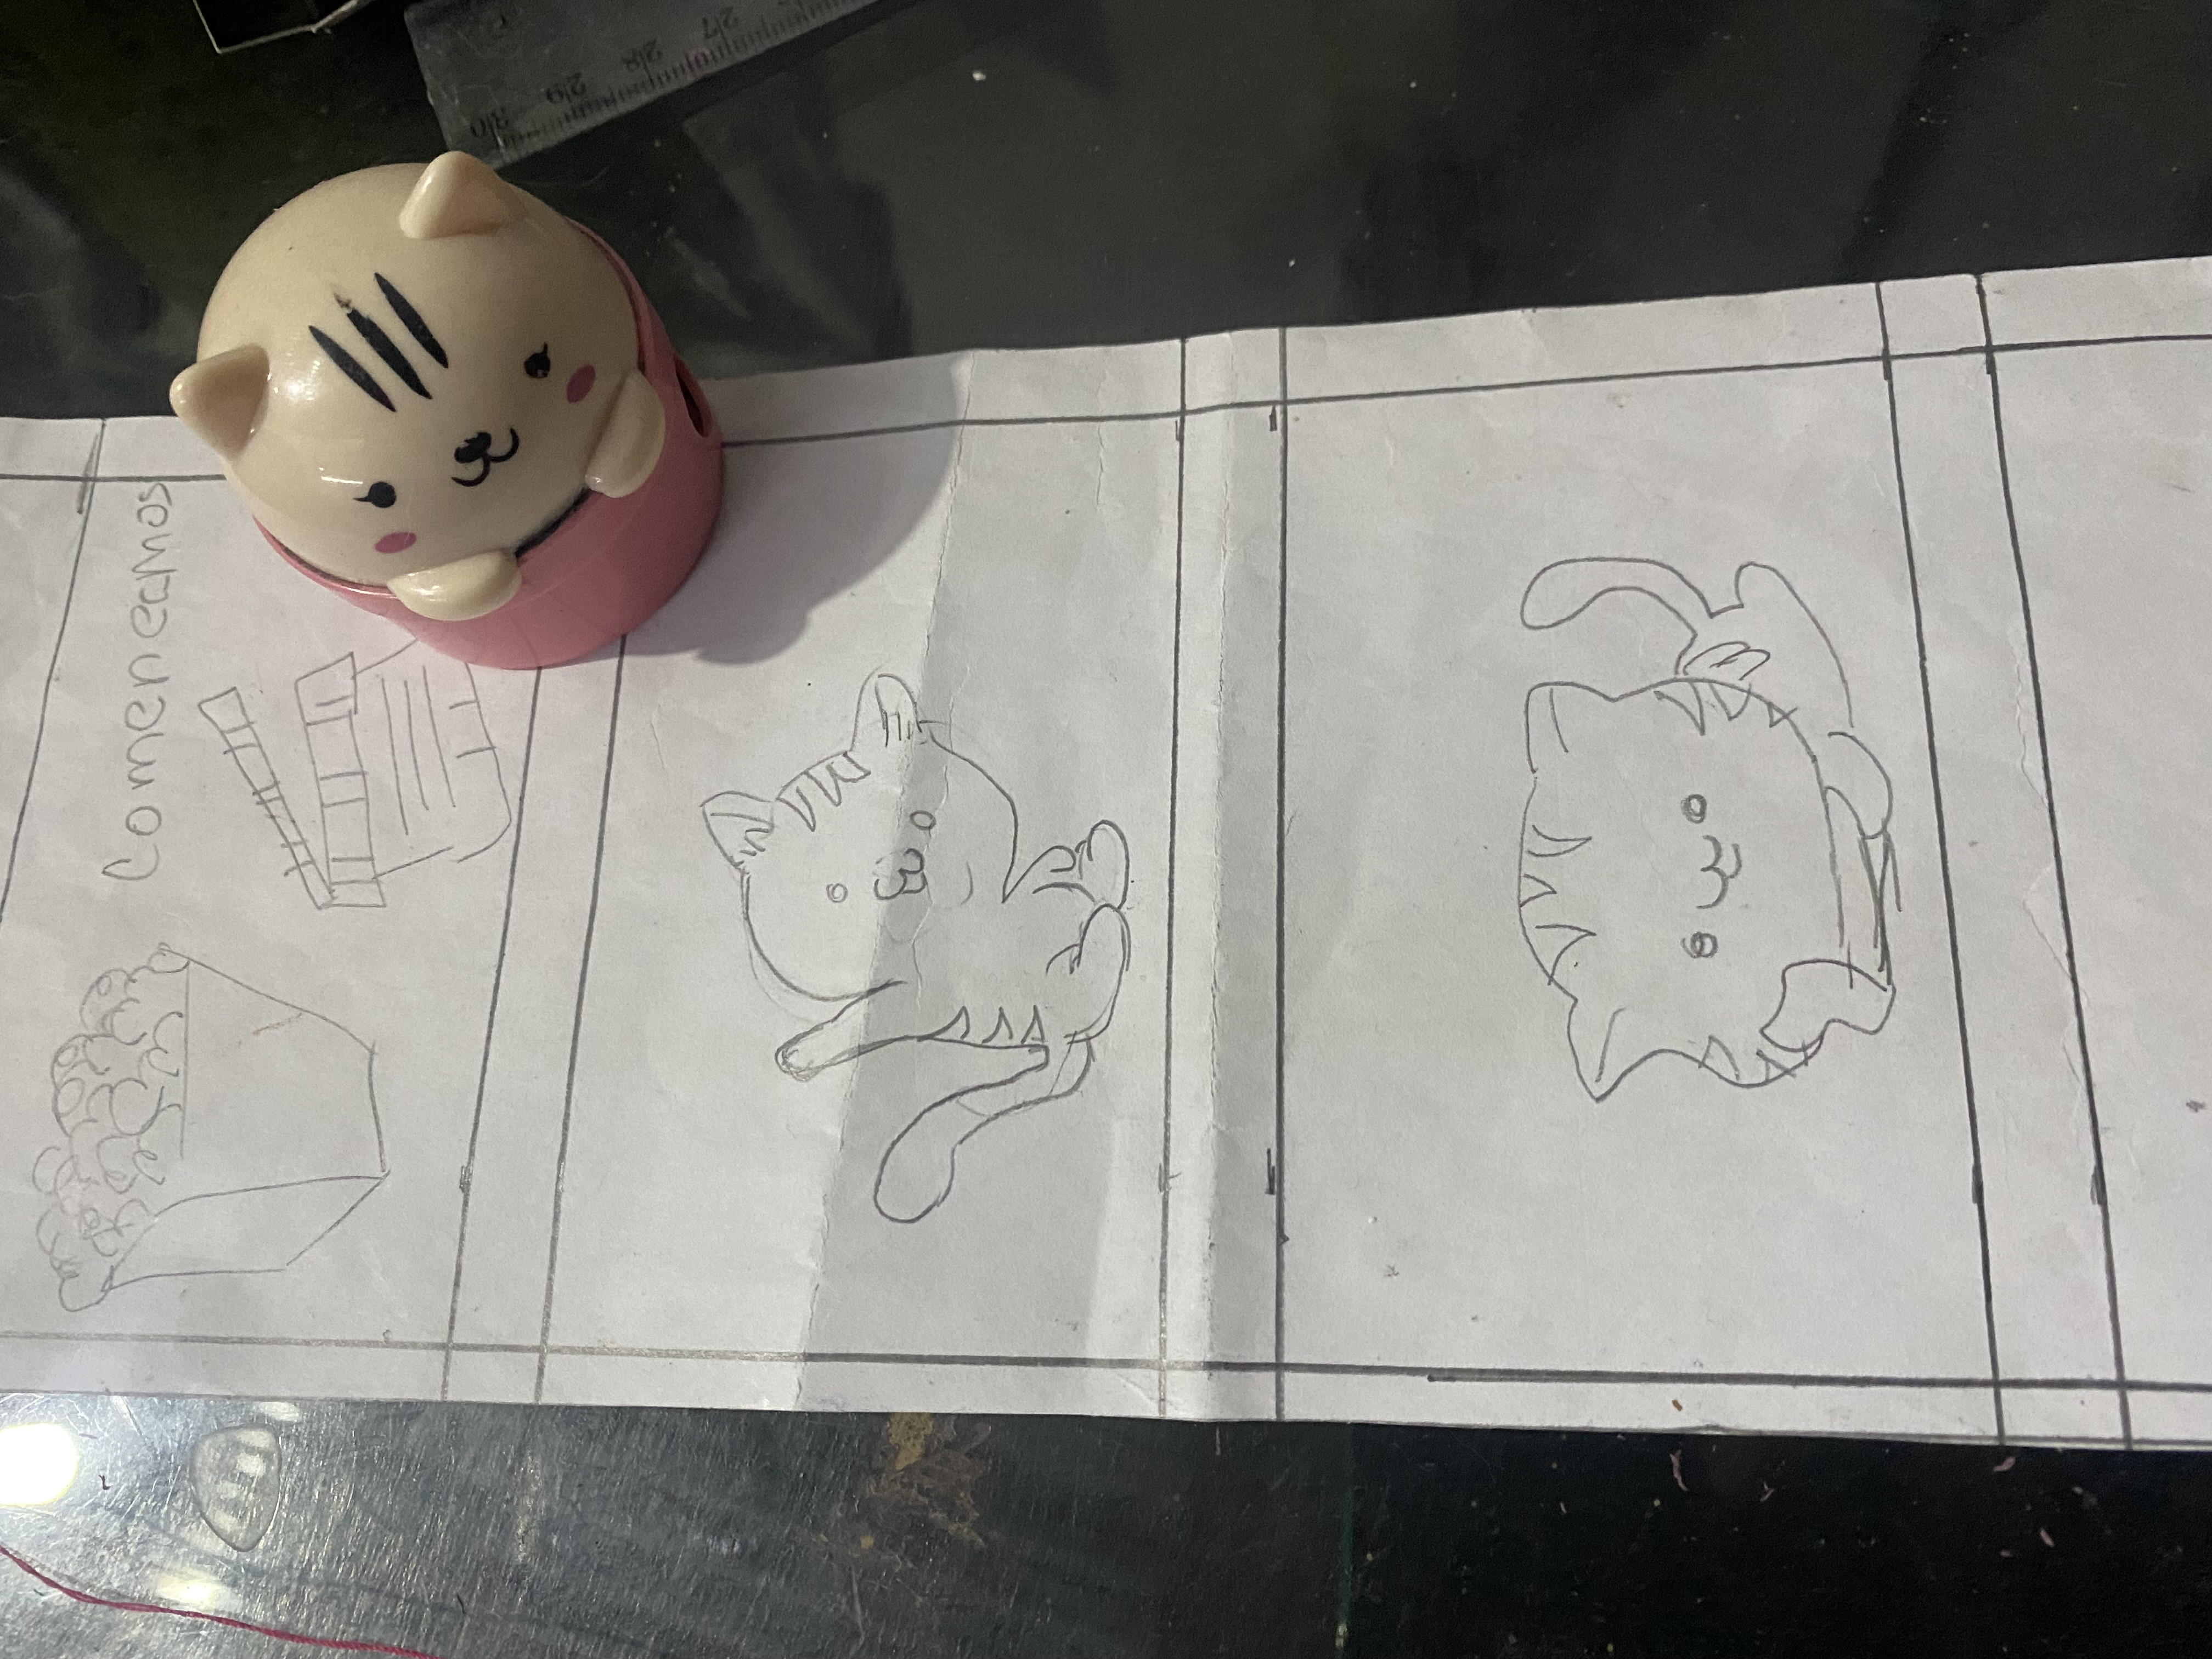
To make the scene on the sheet of our television, we are going to draw on the paper the square that will occupy the space of the screen and there we will let our creativity fly and we will make the message or scene that we want to be reproduced, in my case I will make a nice phrase guided by some cute kittens 😻
Para el siguiente paso vamos a cortar una tira larga de hoja blanca casi del mismo ancho de nuestro rectángulo, yo utilizaré una tira de papel bond que me ha sobrado de mis otras manualidades, las medidas me quedaron de esta forma el ancho de la hoja será de 11 cm y el largo será determinado por los dibujos que le hare, entre cada dibujo dejaré un espacio de 1 cm.
Para hacer la escena en la hoja de nuestra televisión, vamos a dibujar en el papel el cuadrado que ocupará el espacio de la pantalla y allí dejaremos nuestra creatividad a volar y haremos el mensaje o escena que queremos que se reproduzca, en mi caso haré una bonita frase guiada por unos lindos gatitos 😻
 |  |
|---|---|
 |  |
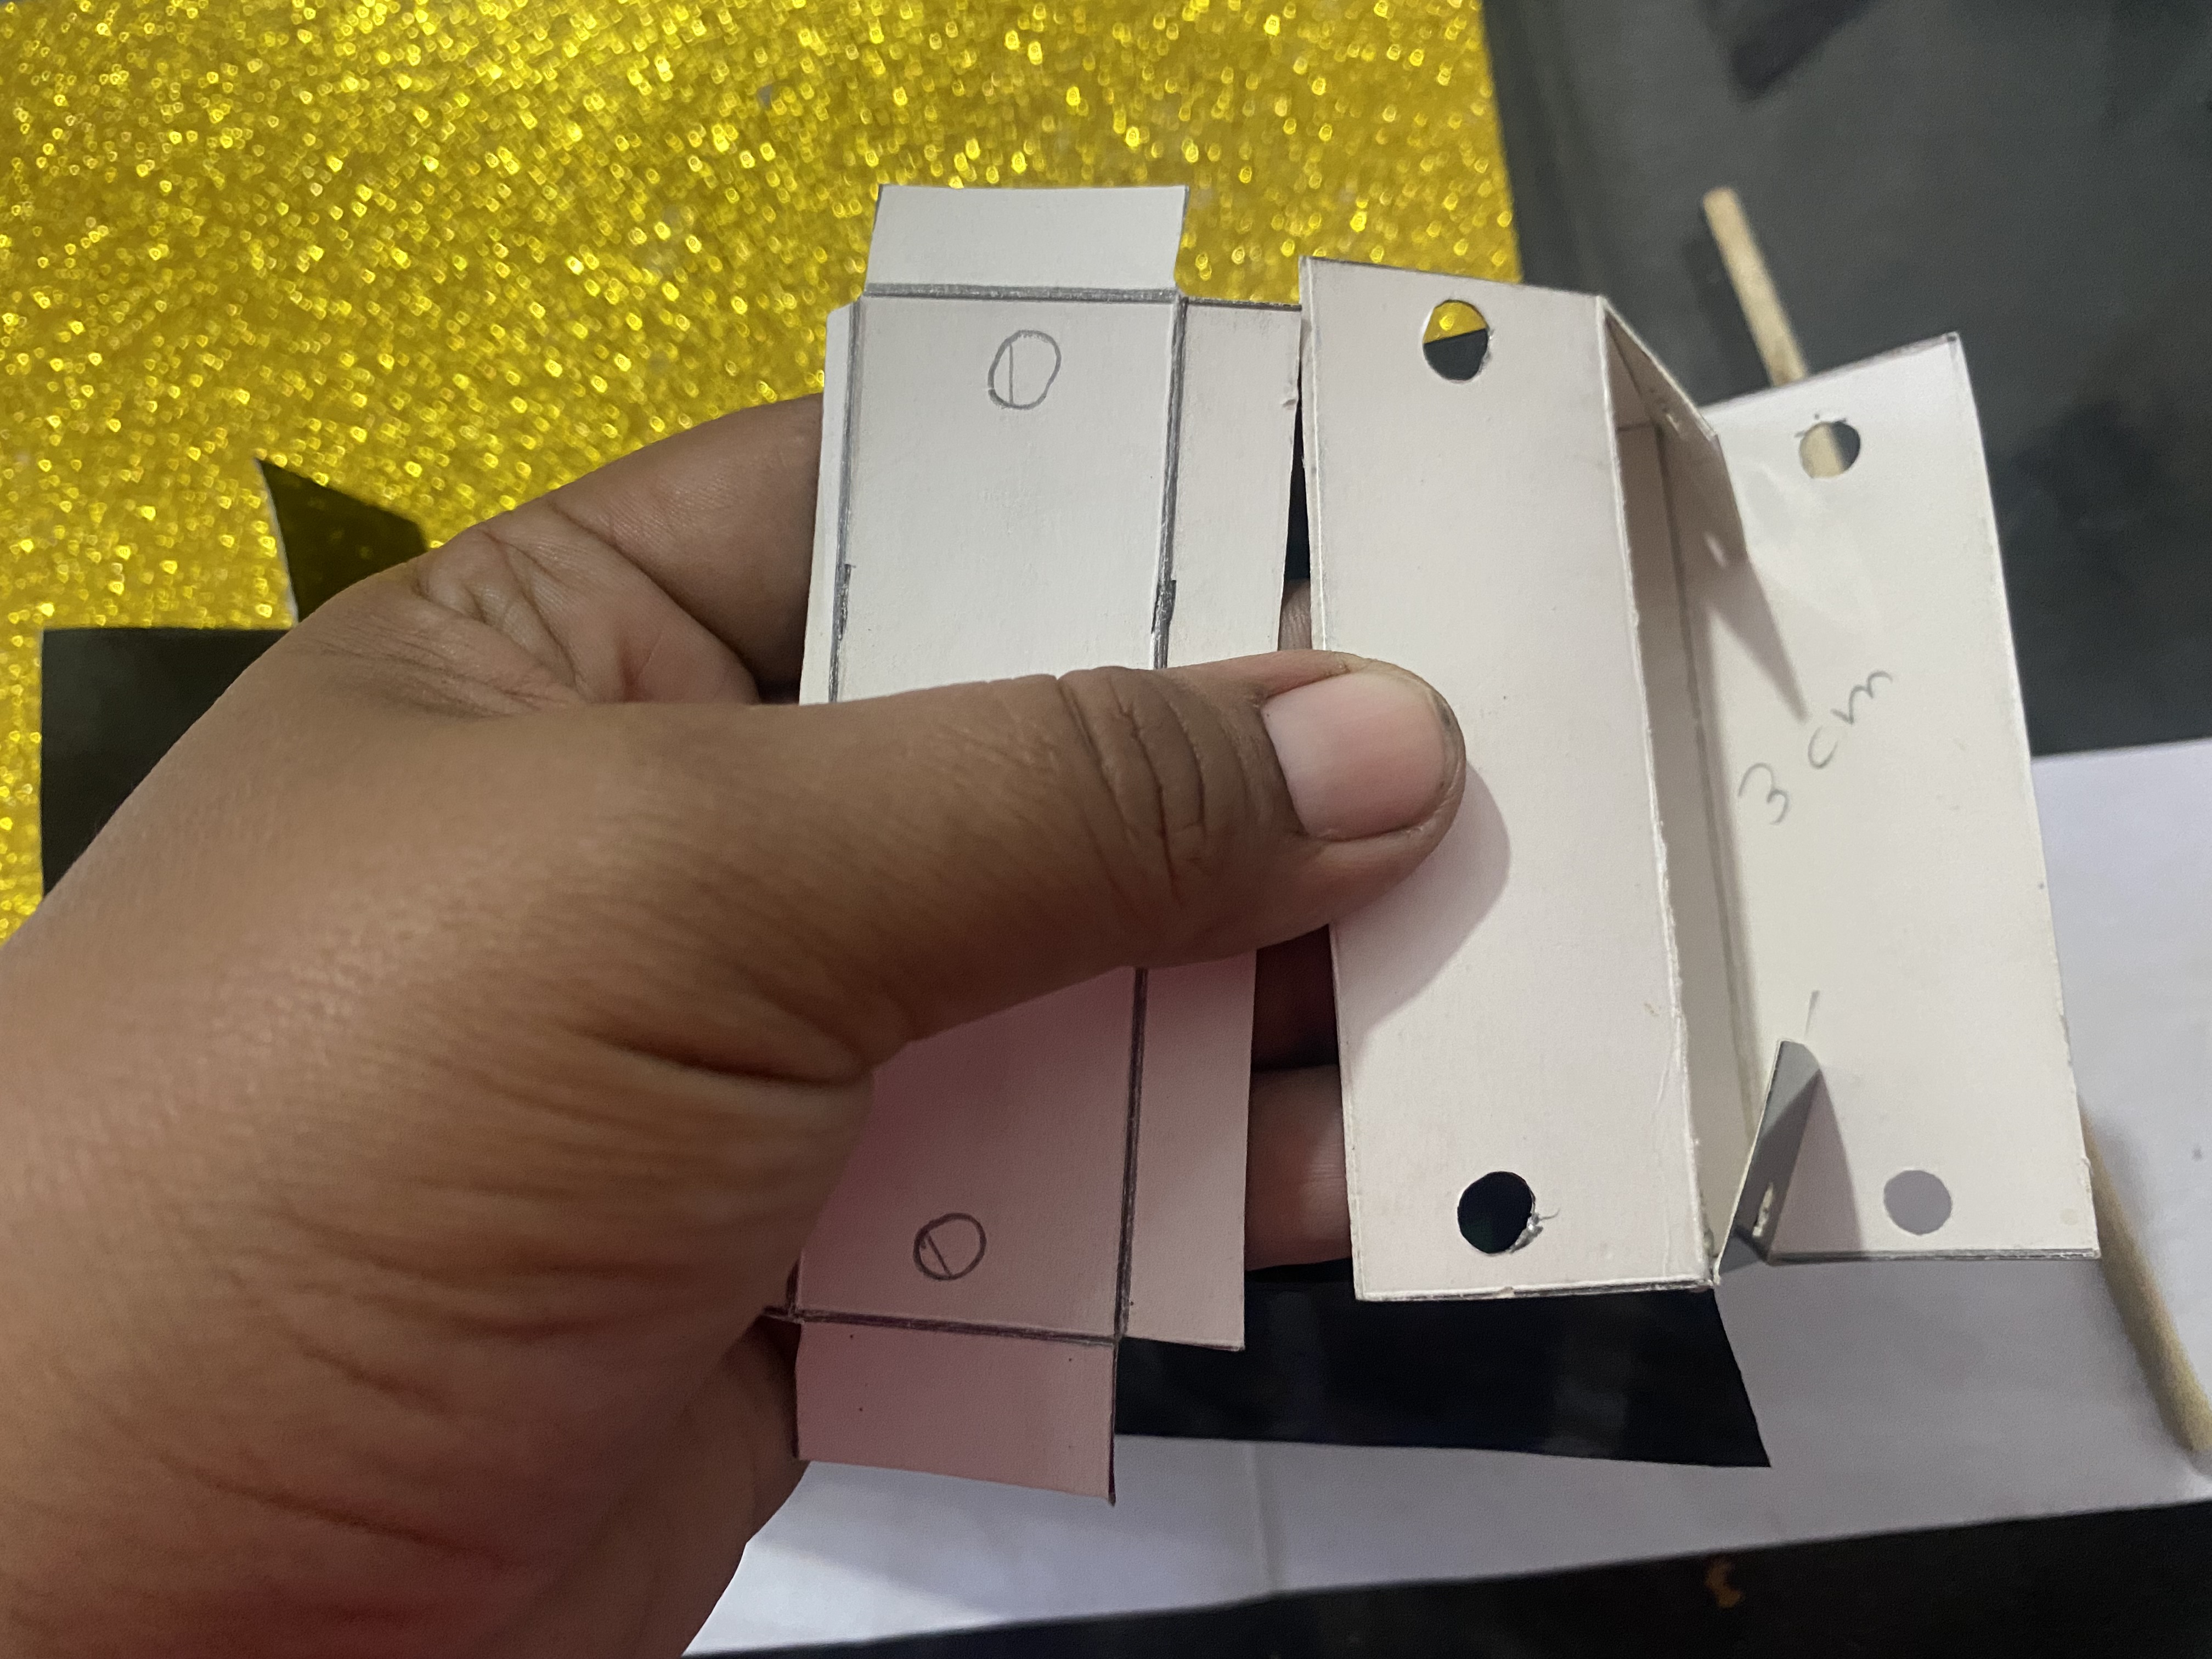
Then we will proceed to glue our television-shaped box, we will glue the edge that will be the bottom of our television, with a hole punch we will open 2 holes above and below one of the sides, through there we will insert the sticks, we will cut a rectangle of the same width as our box and we will open two holes at the same distance from those we opened on the outside, we will leave tabs so we can glue.
Luego procederemos a ir pegando nuestra cajita con forma de televisión, vamos a pegar la orilla que vendrá siendo la parte inferior de nuestro televisor, con un perforador vamos a abrir 2 orificios arriba y abajo en uno de los costados, por allí introduciremos los palitos, vamos a cortar un rectángulo del mismo ancho de nuestra cajita y le vamos a abrir dos orificios a la misma distancia de los que abrimos por fuera, le dejamos pestañas para poder pegar.
 |  |
|---|---|
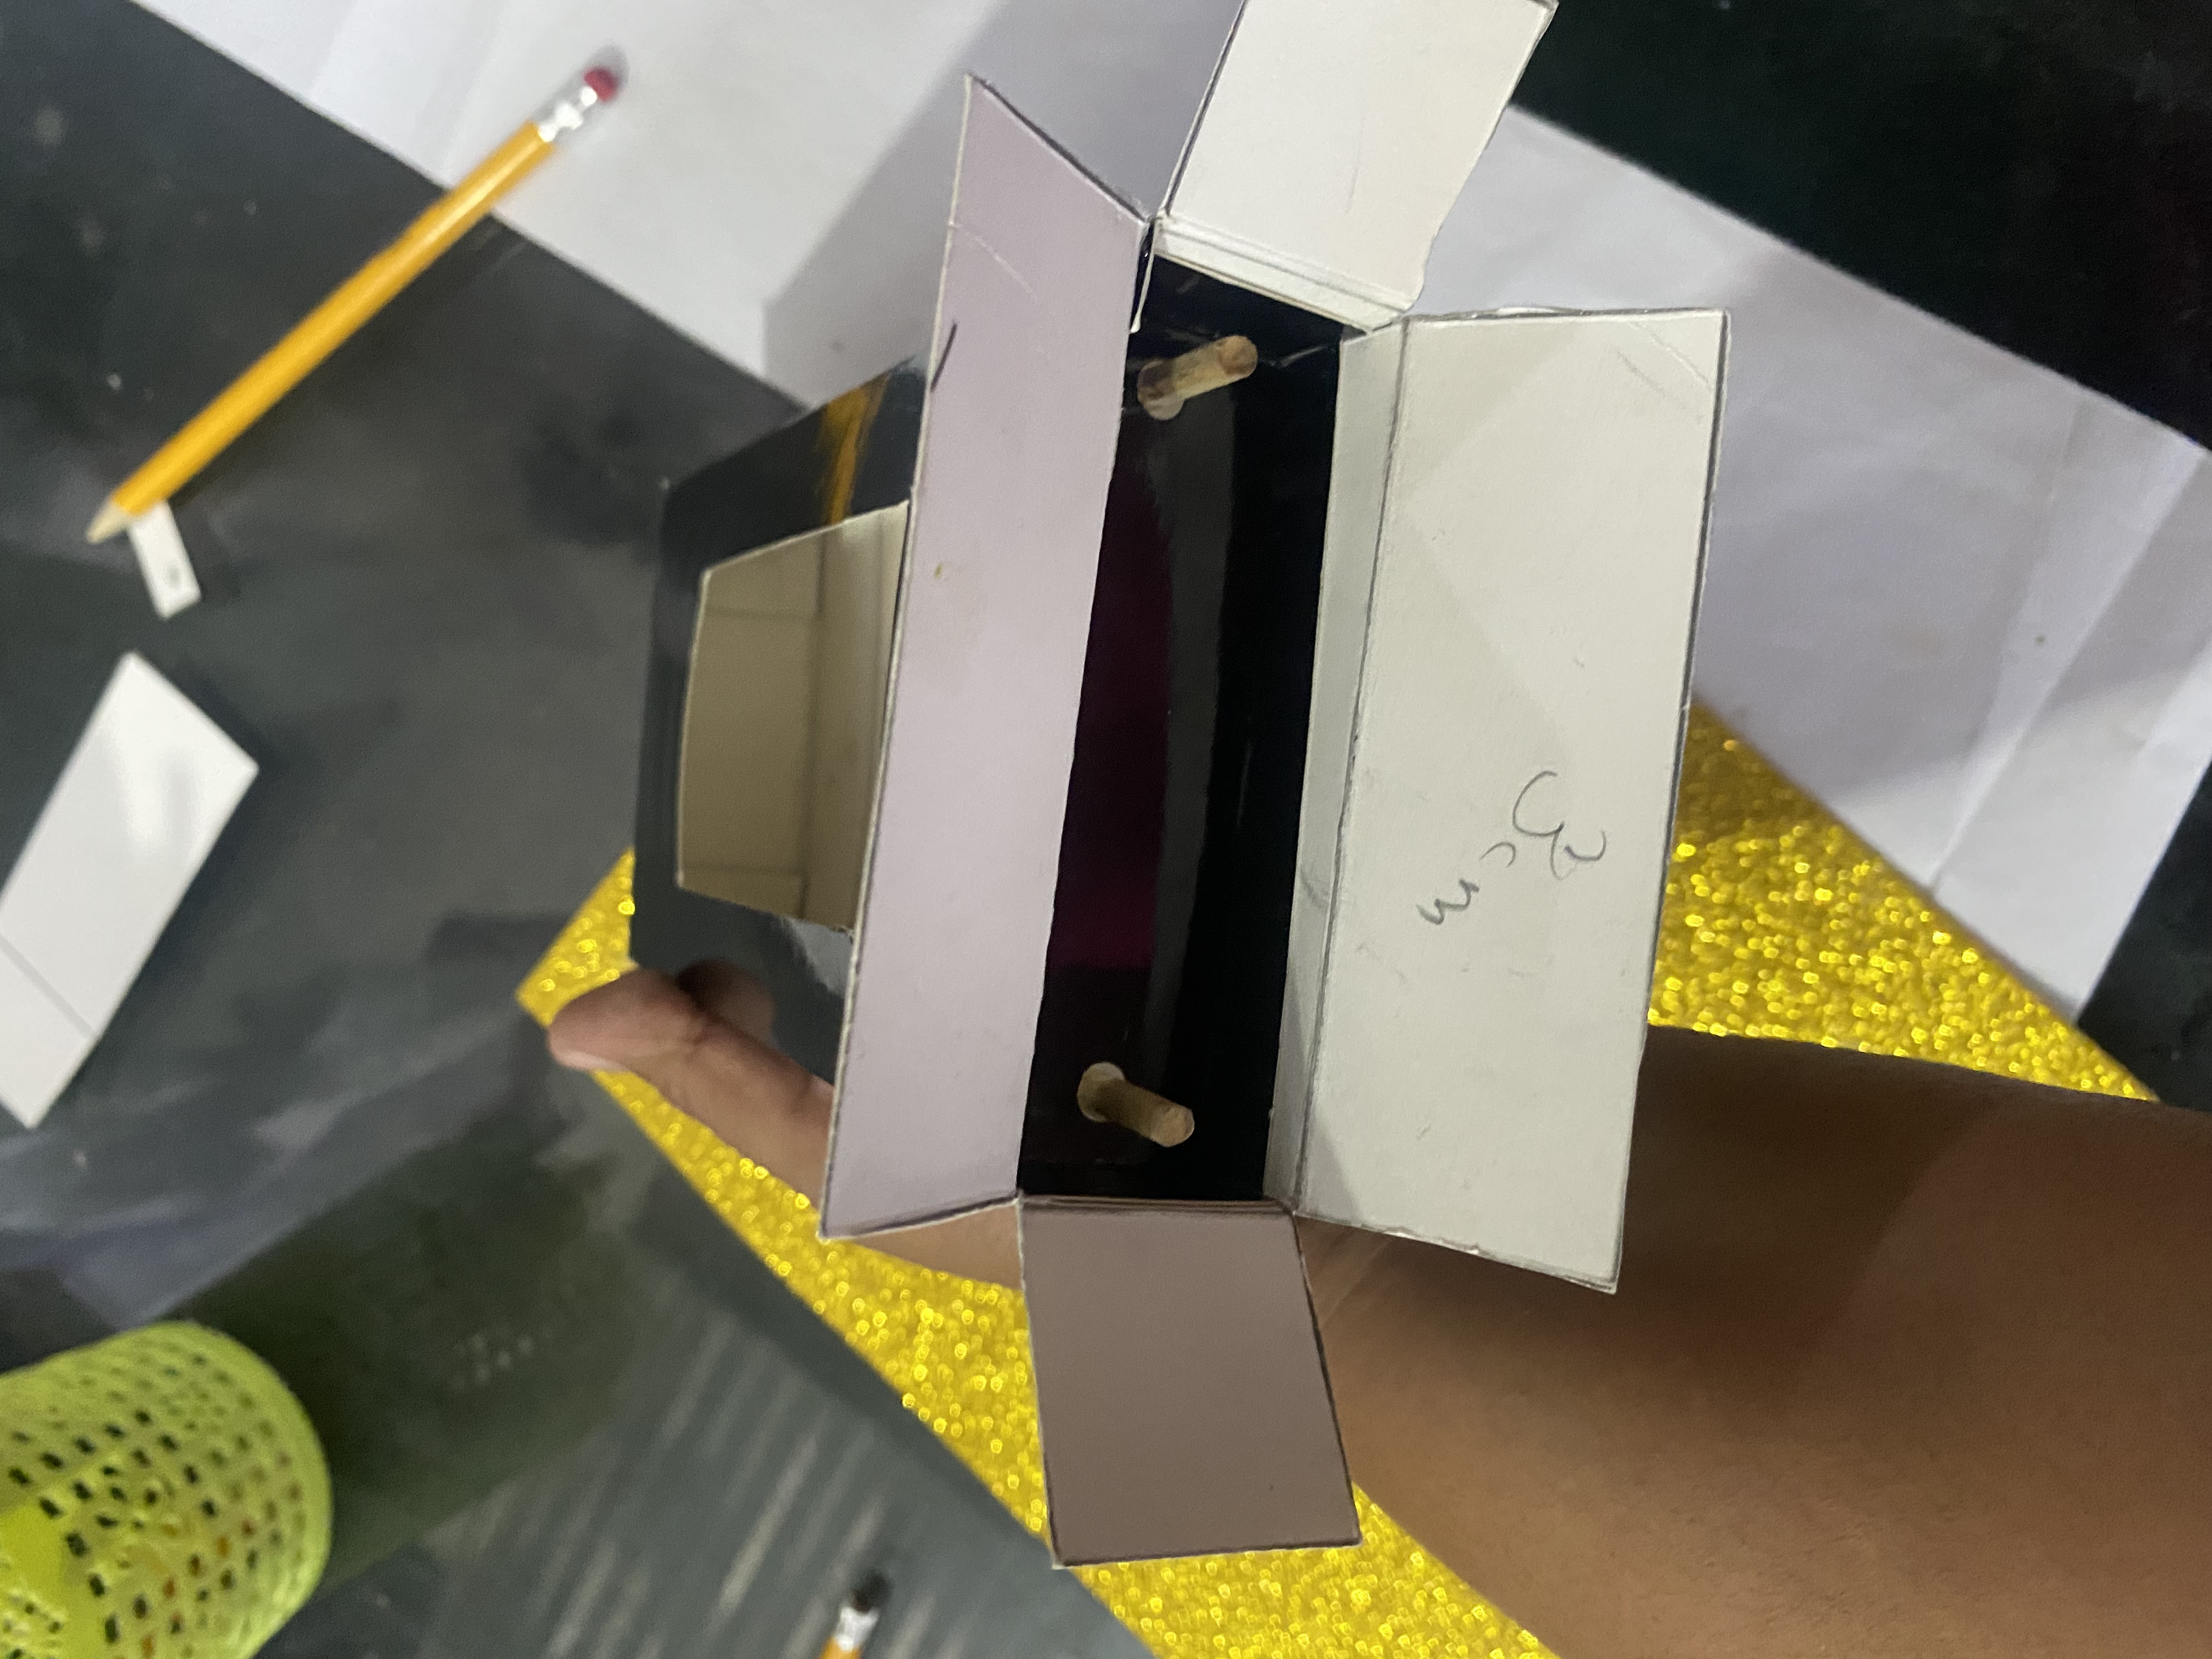 |
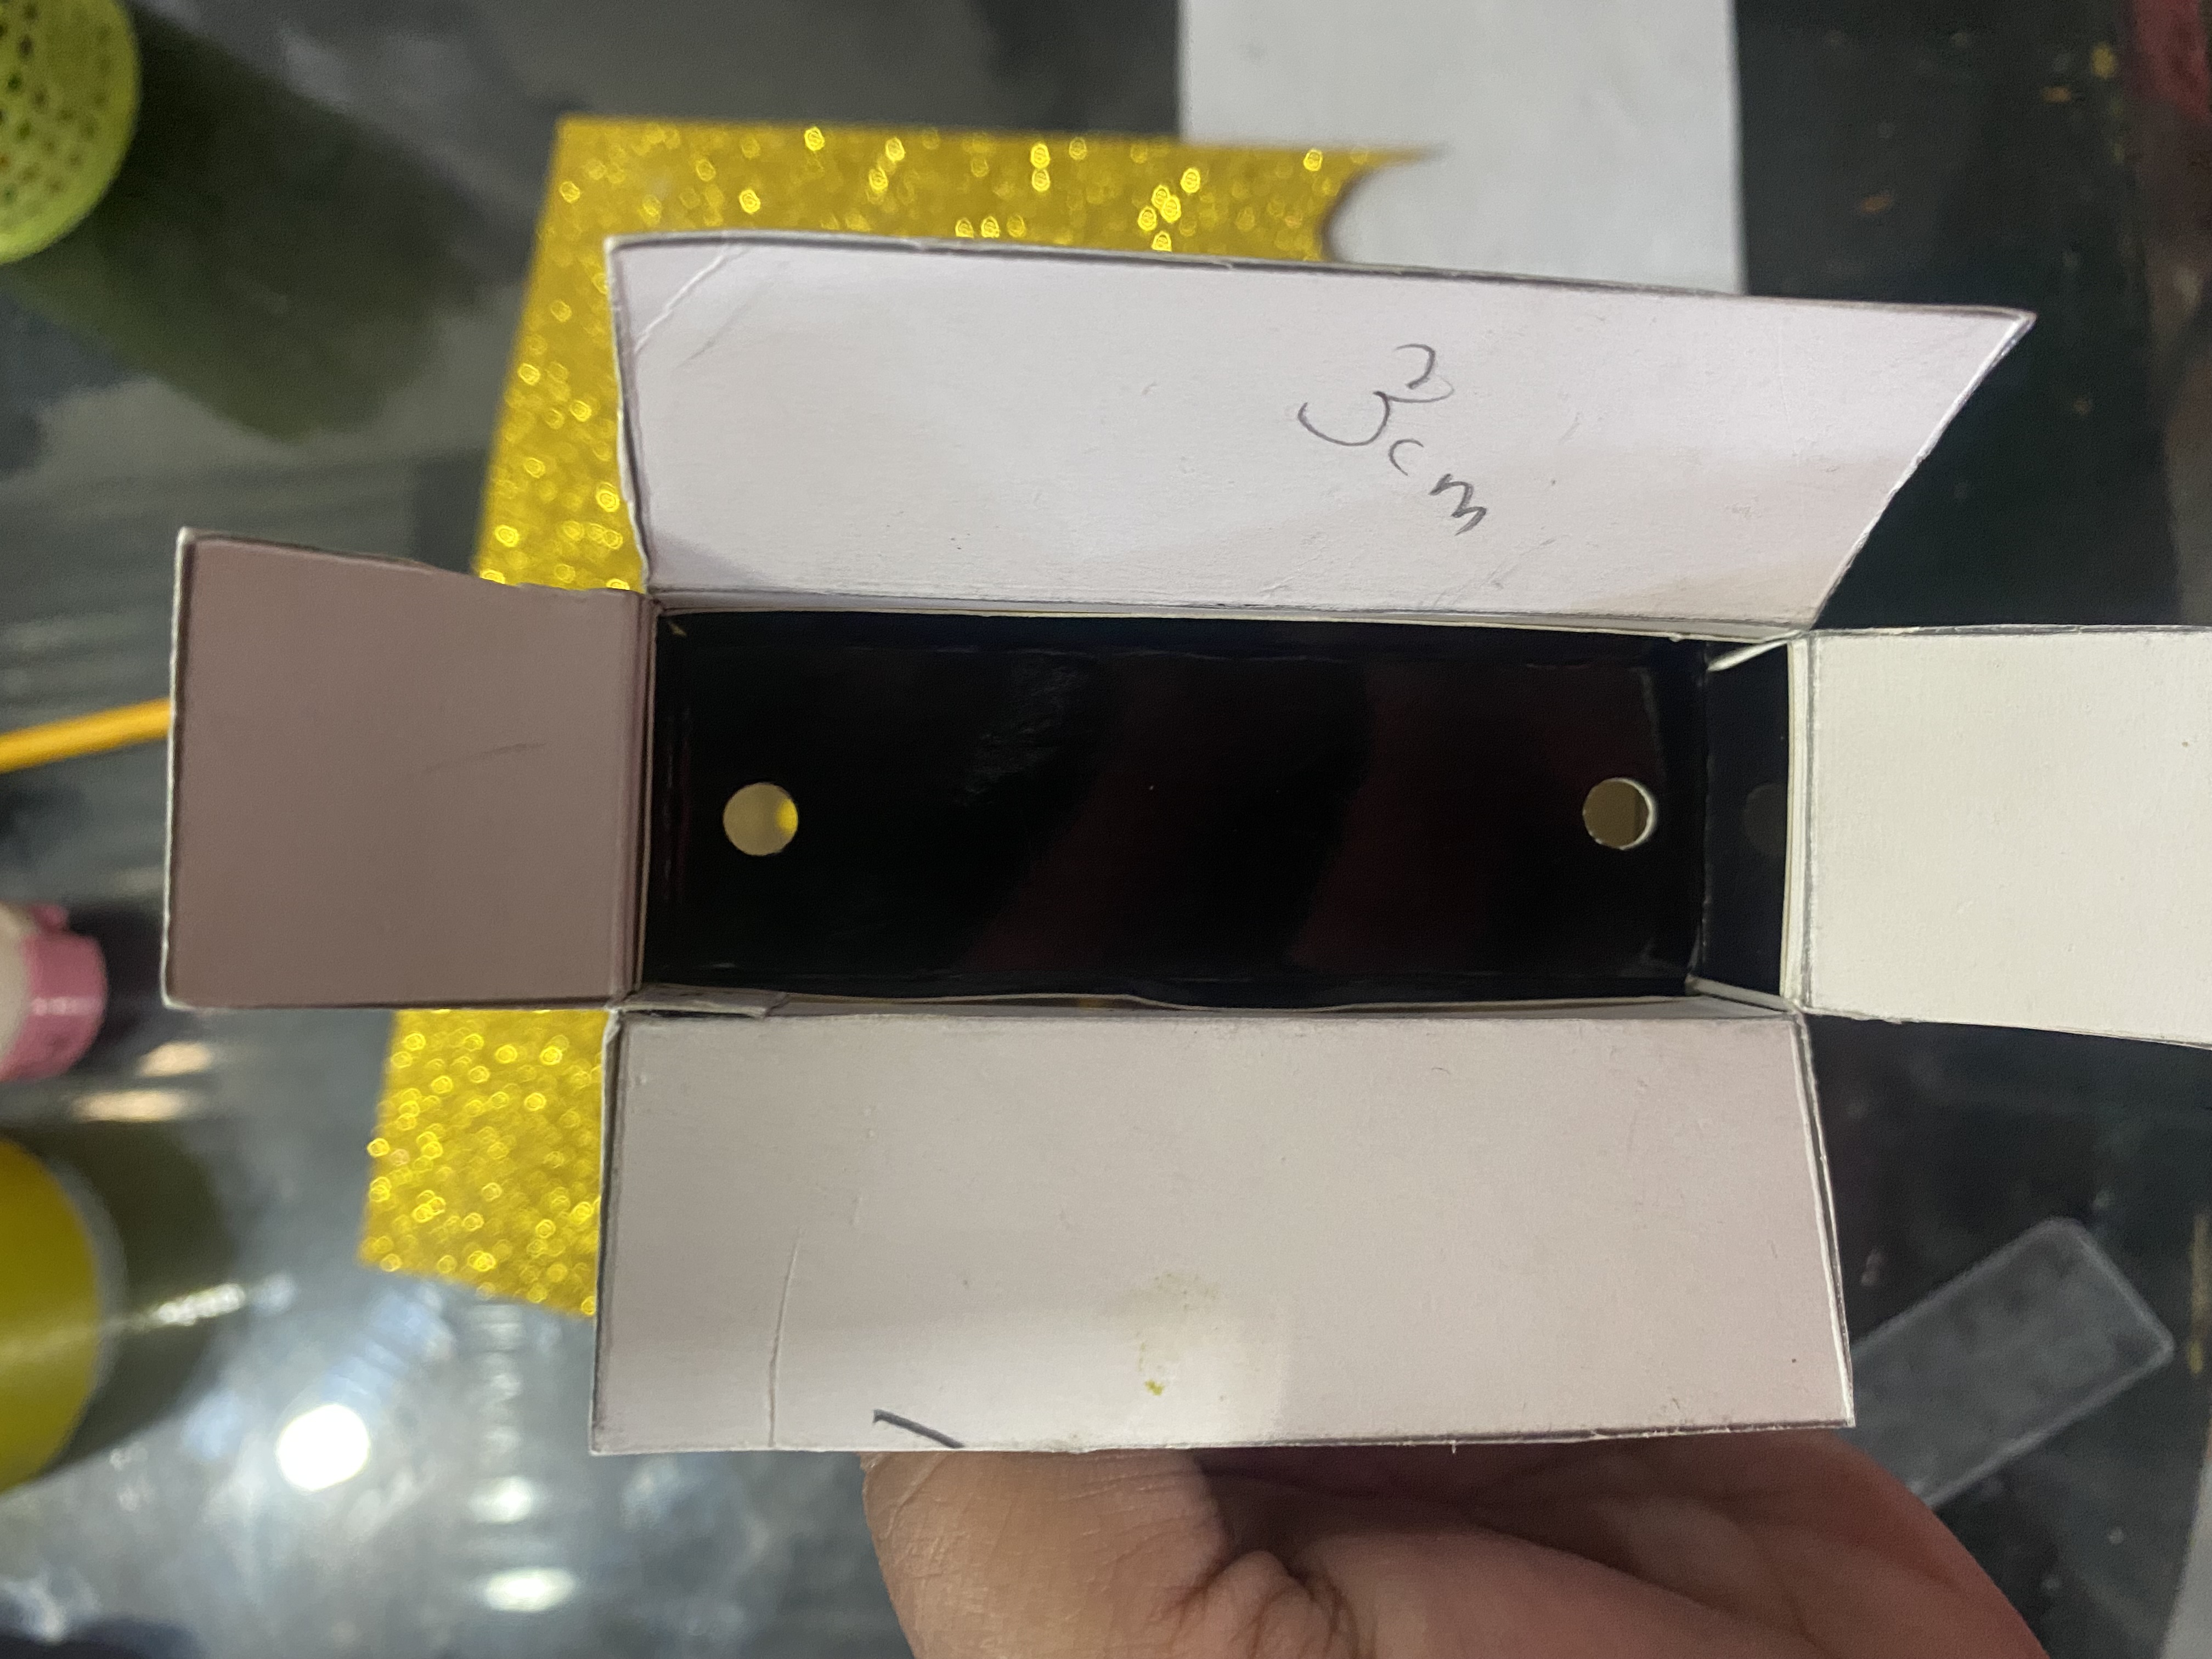
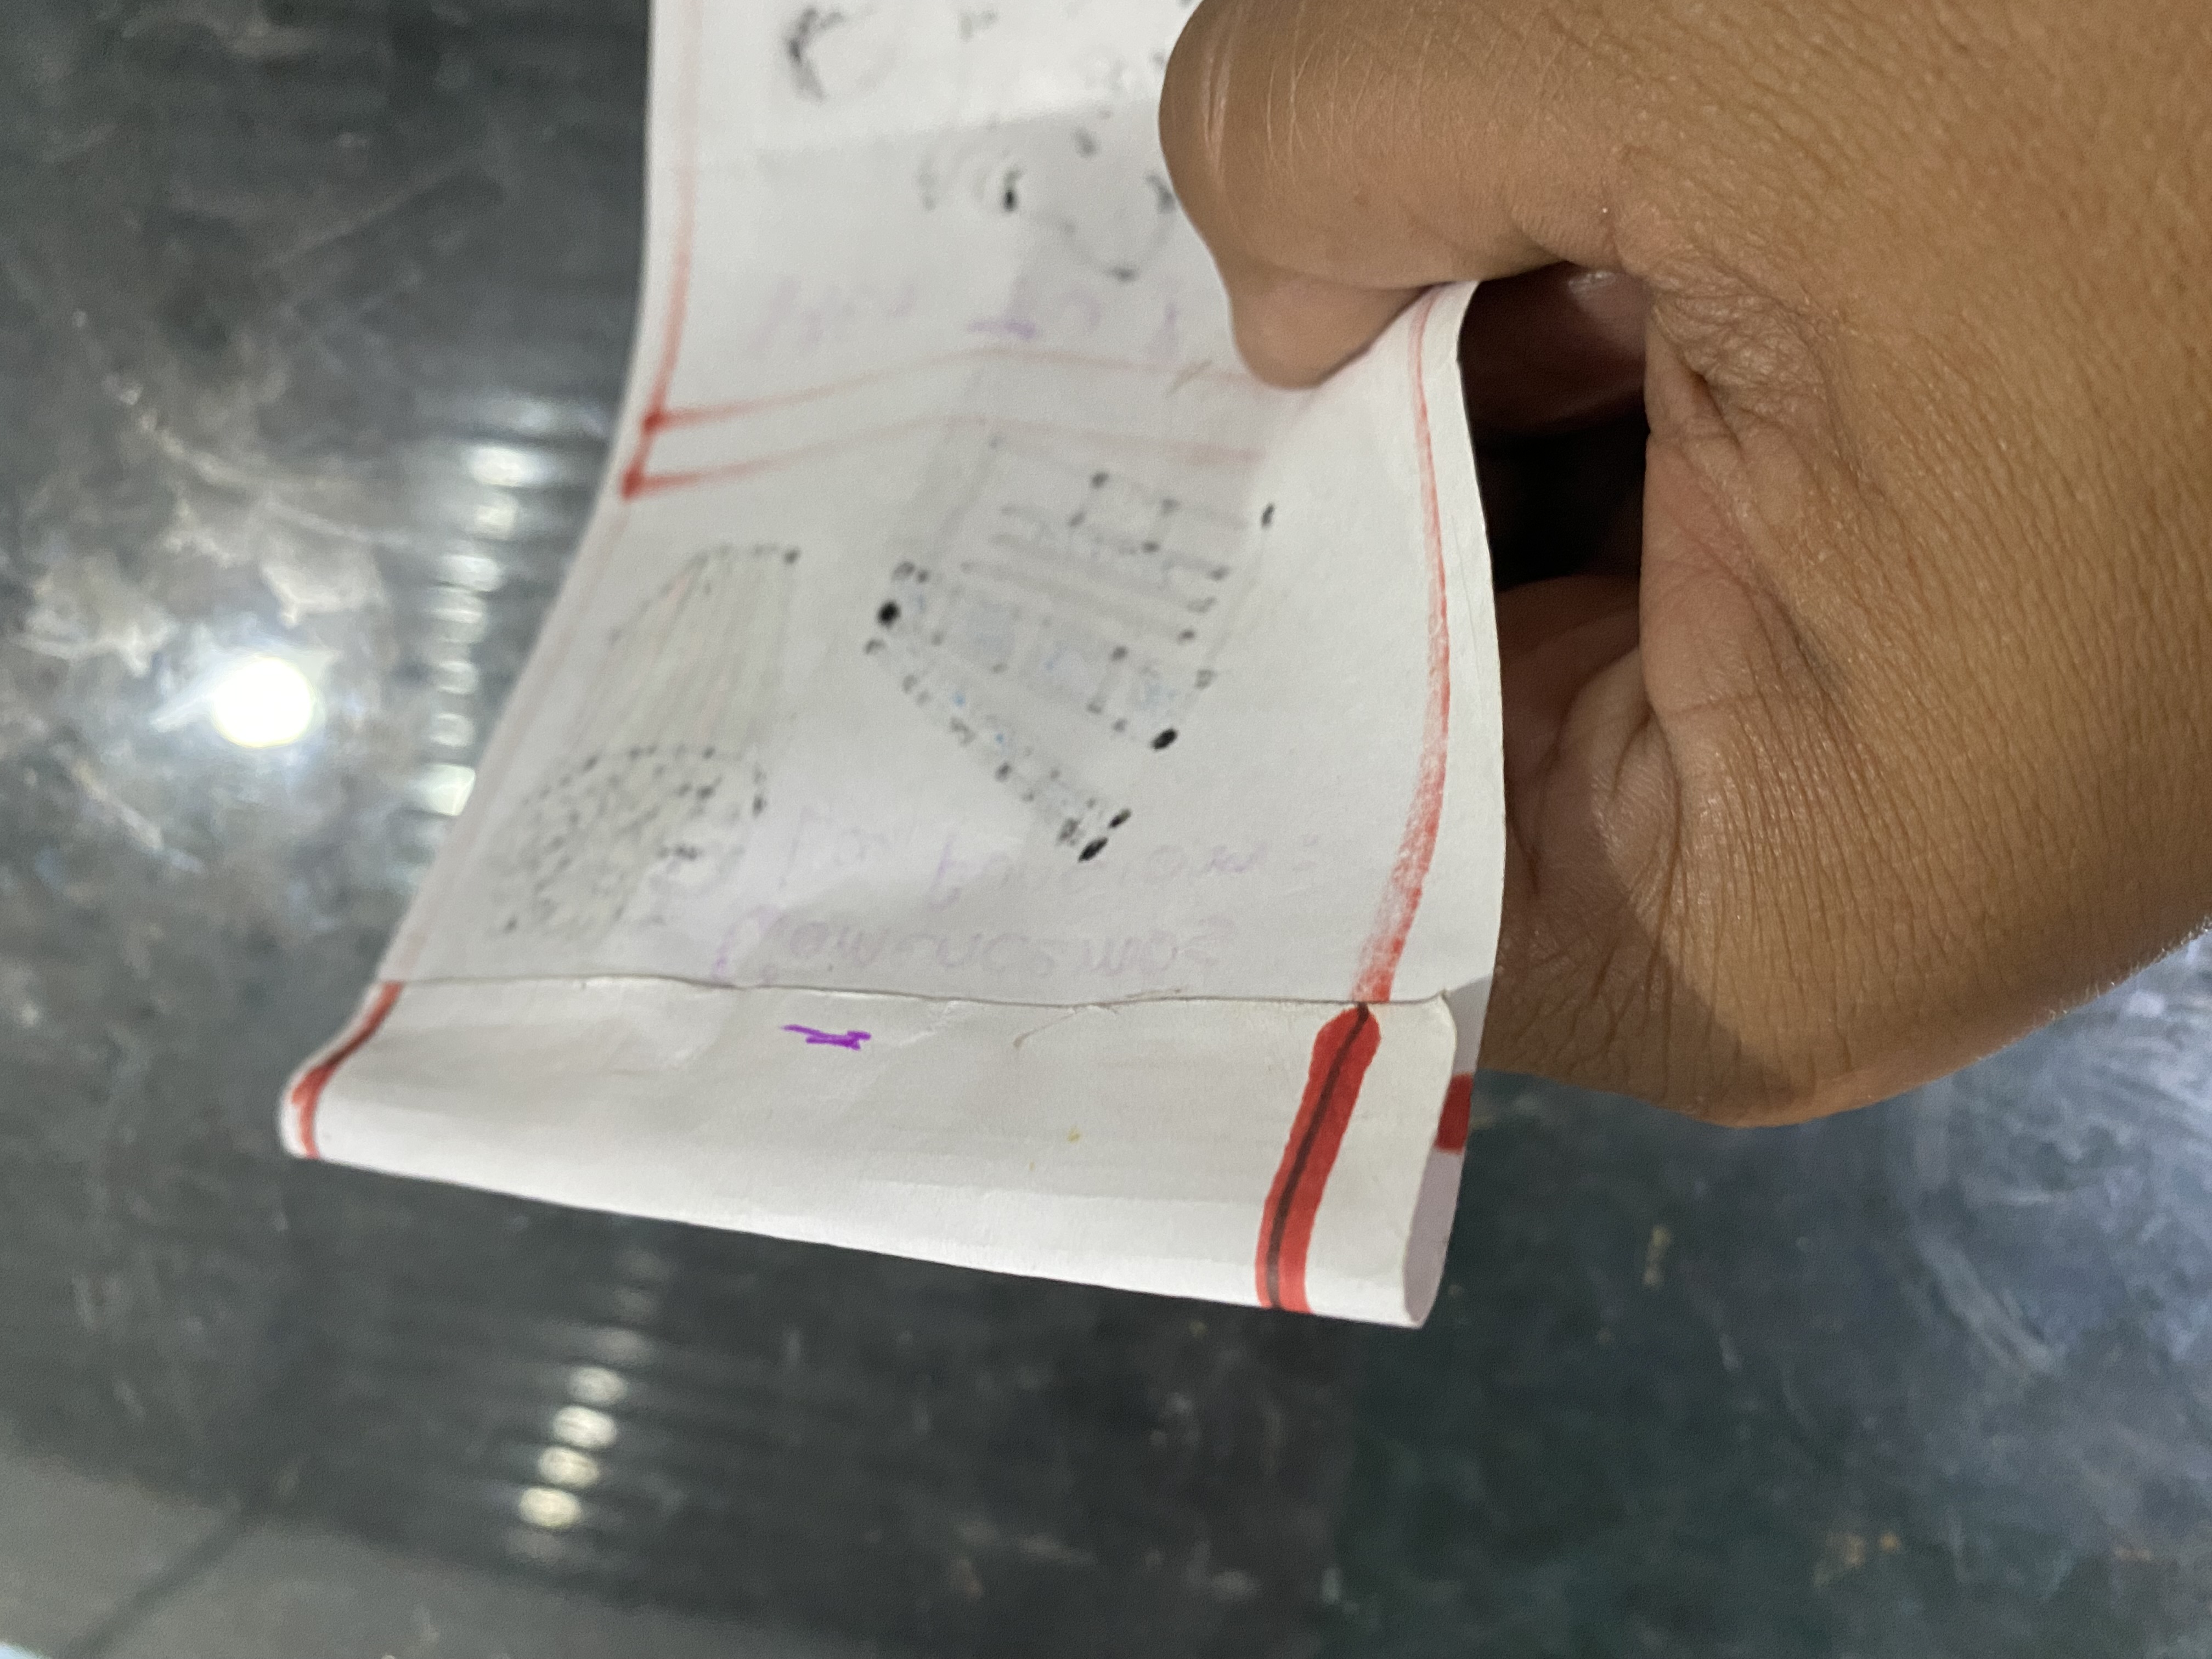
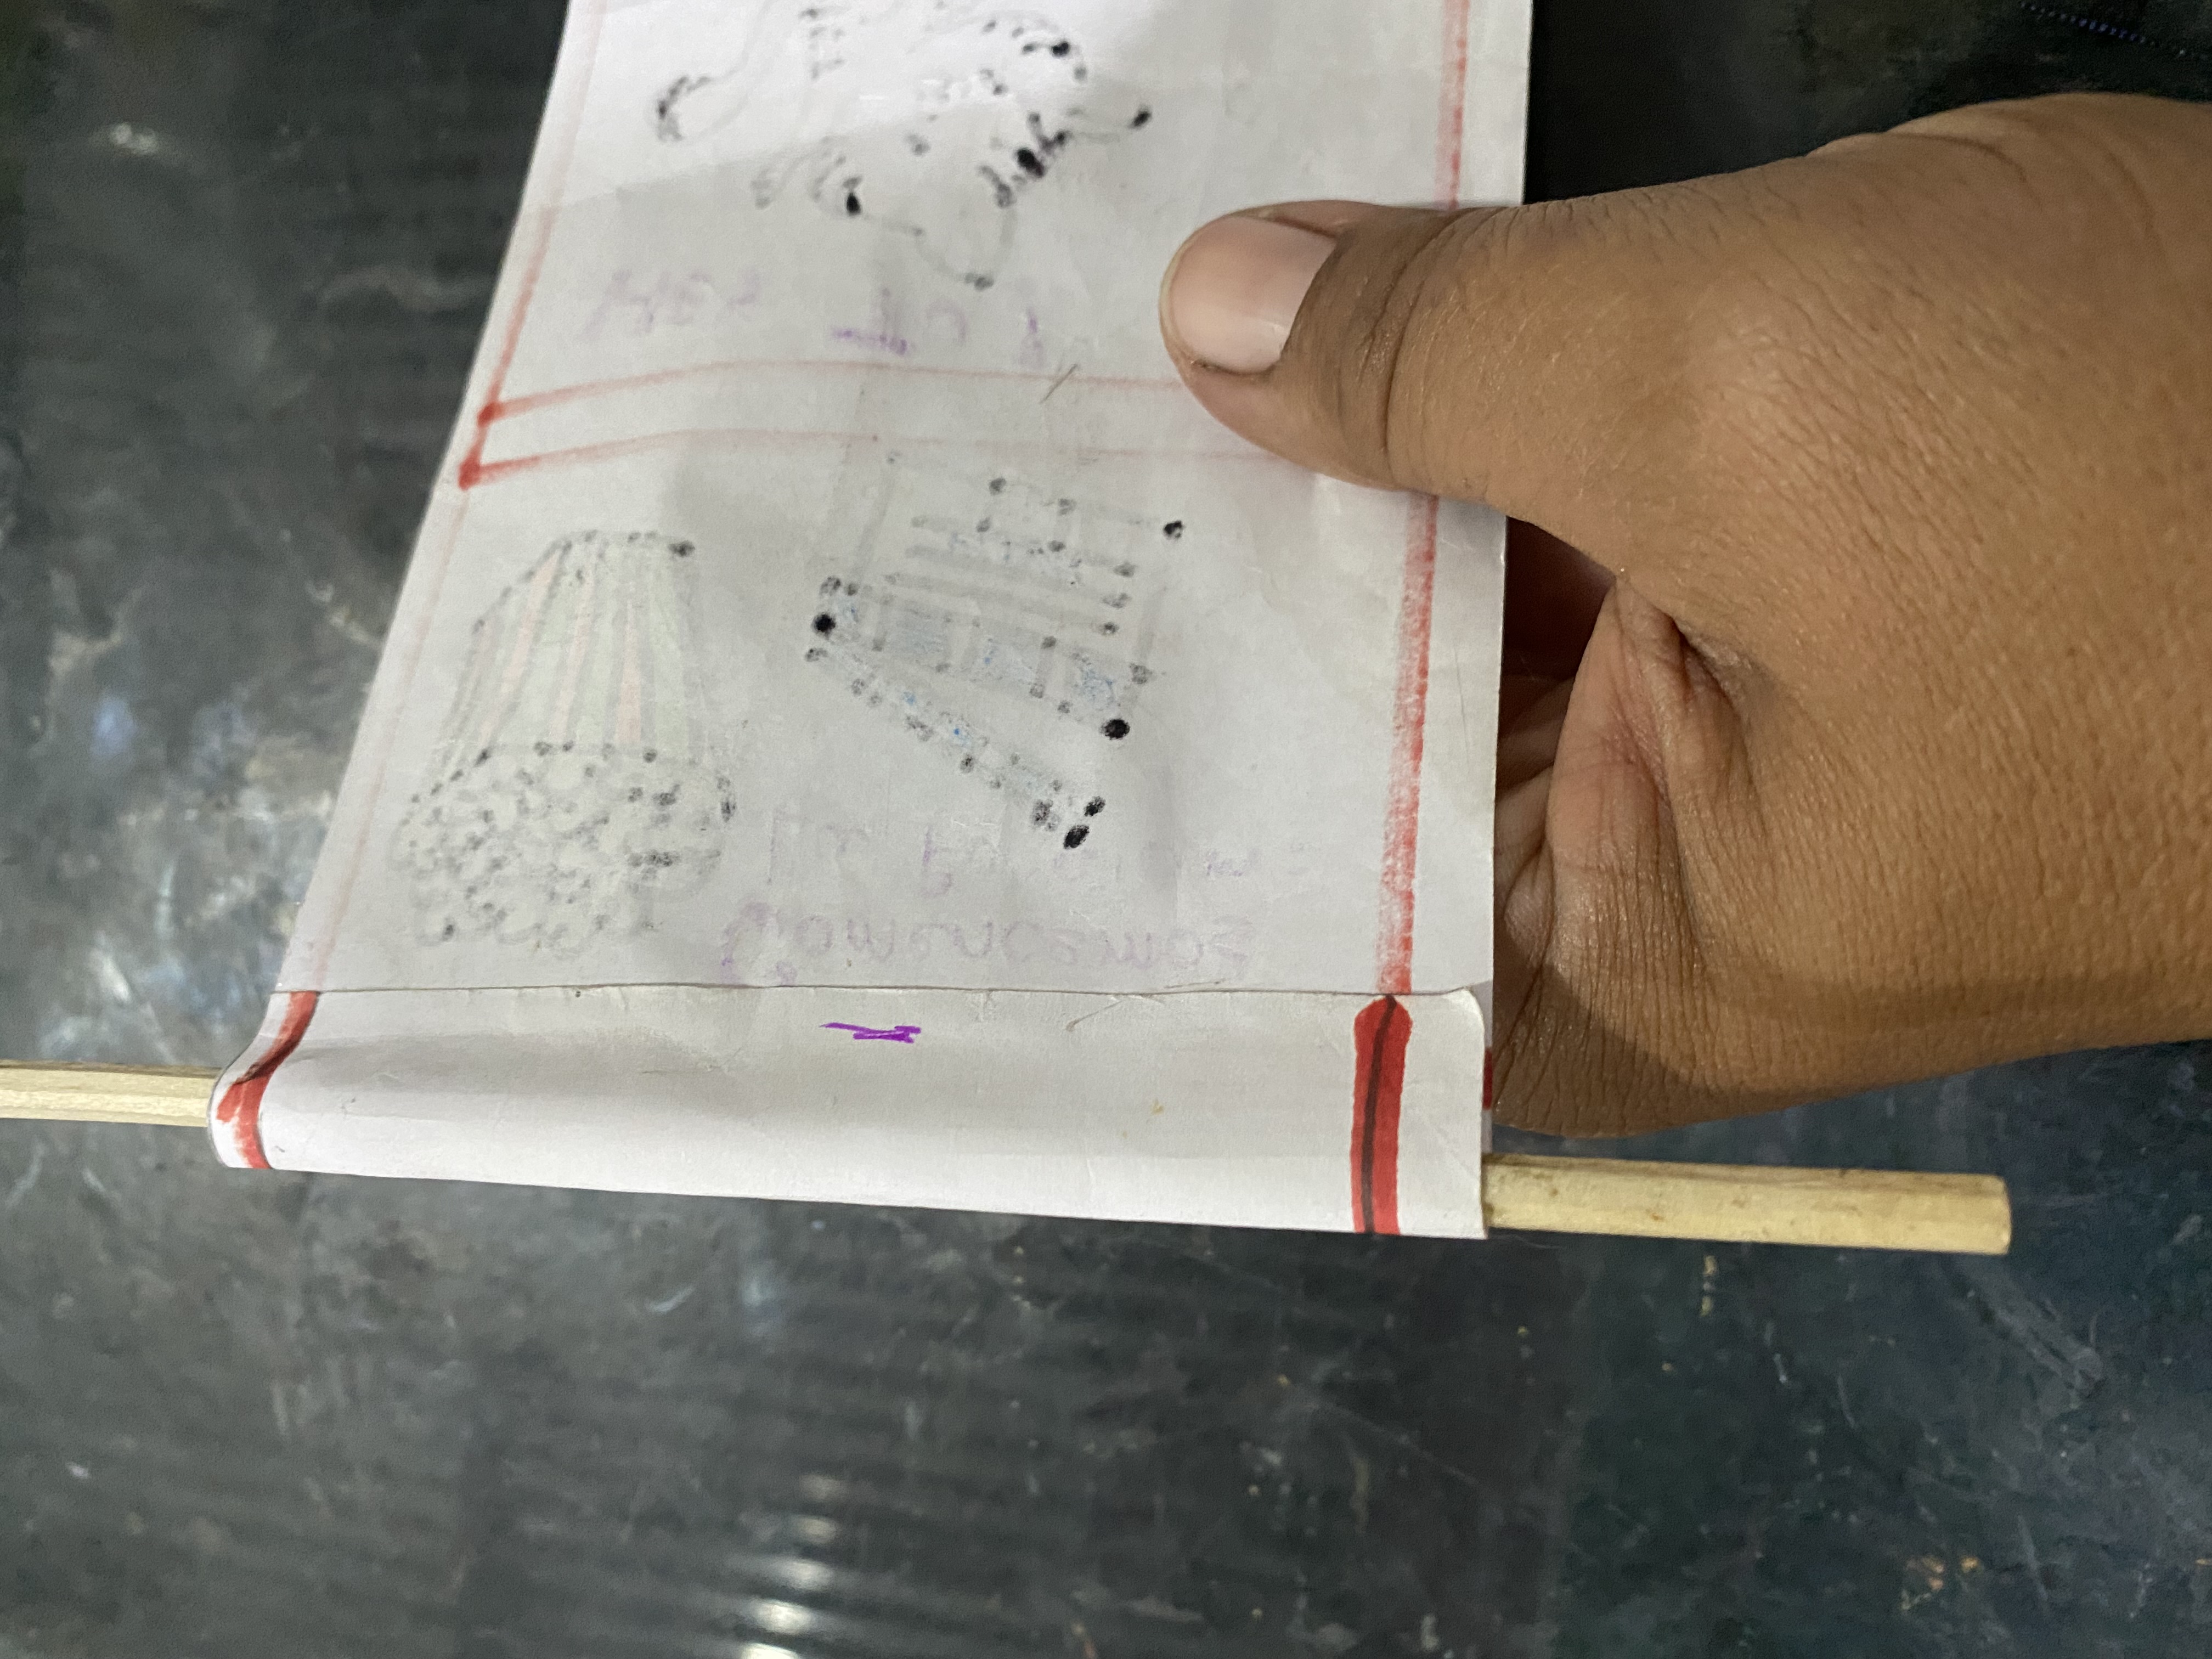
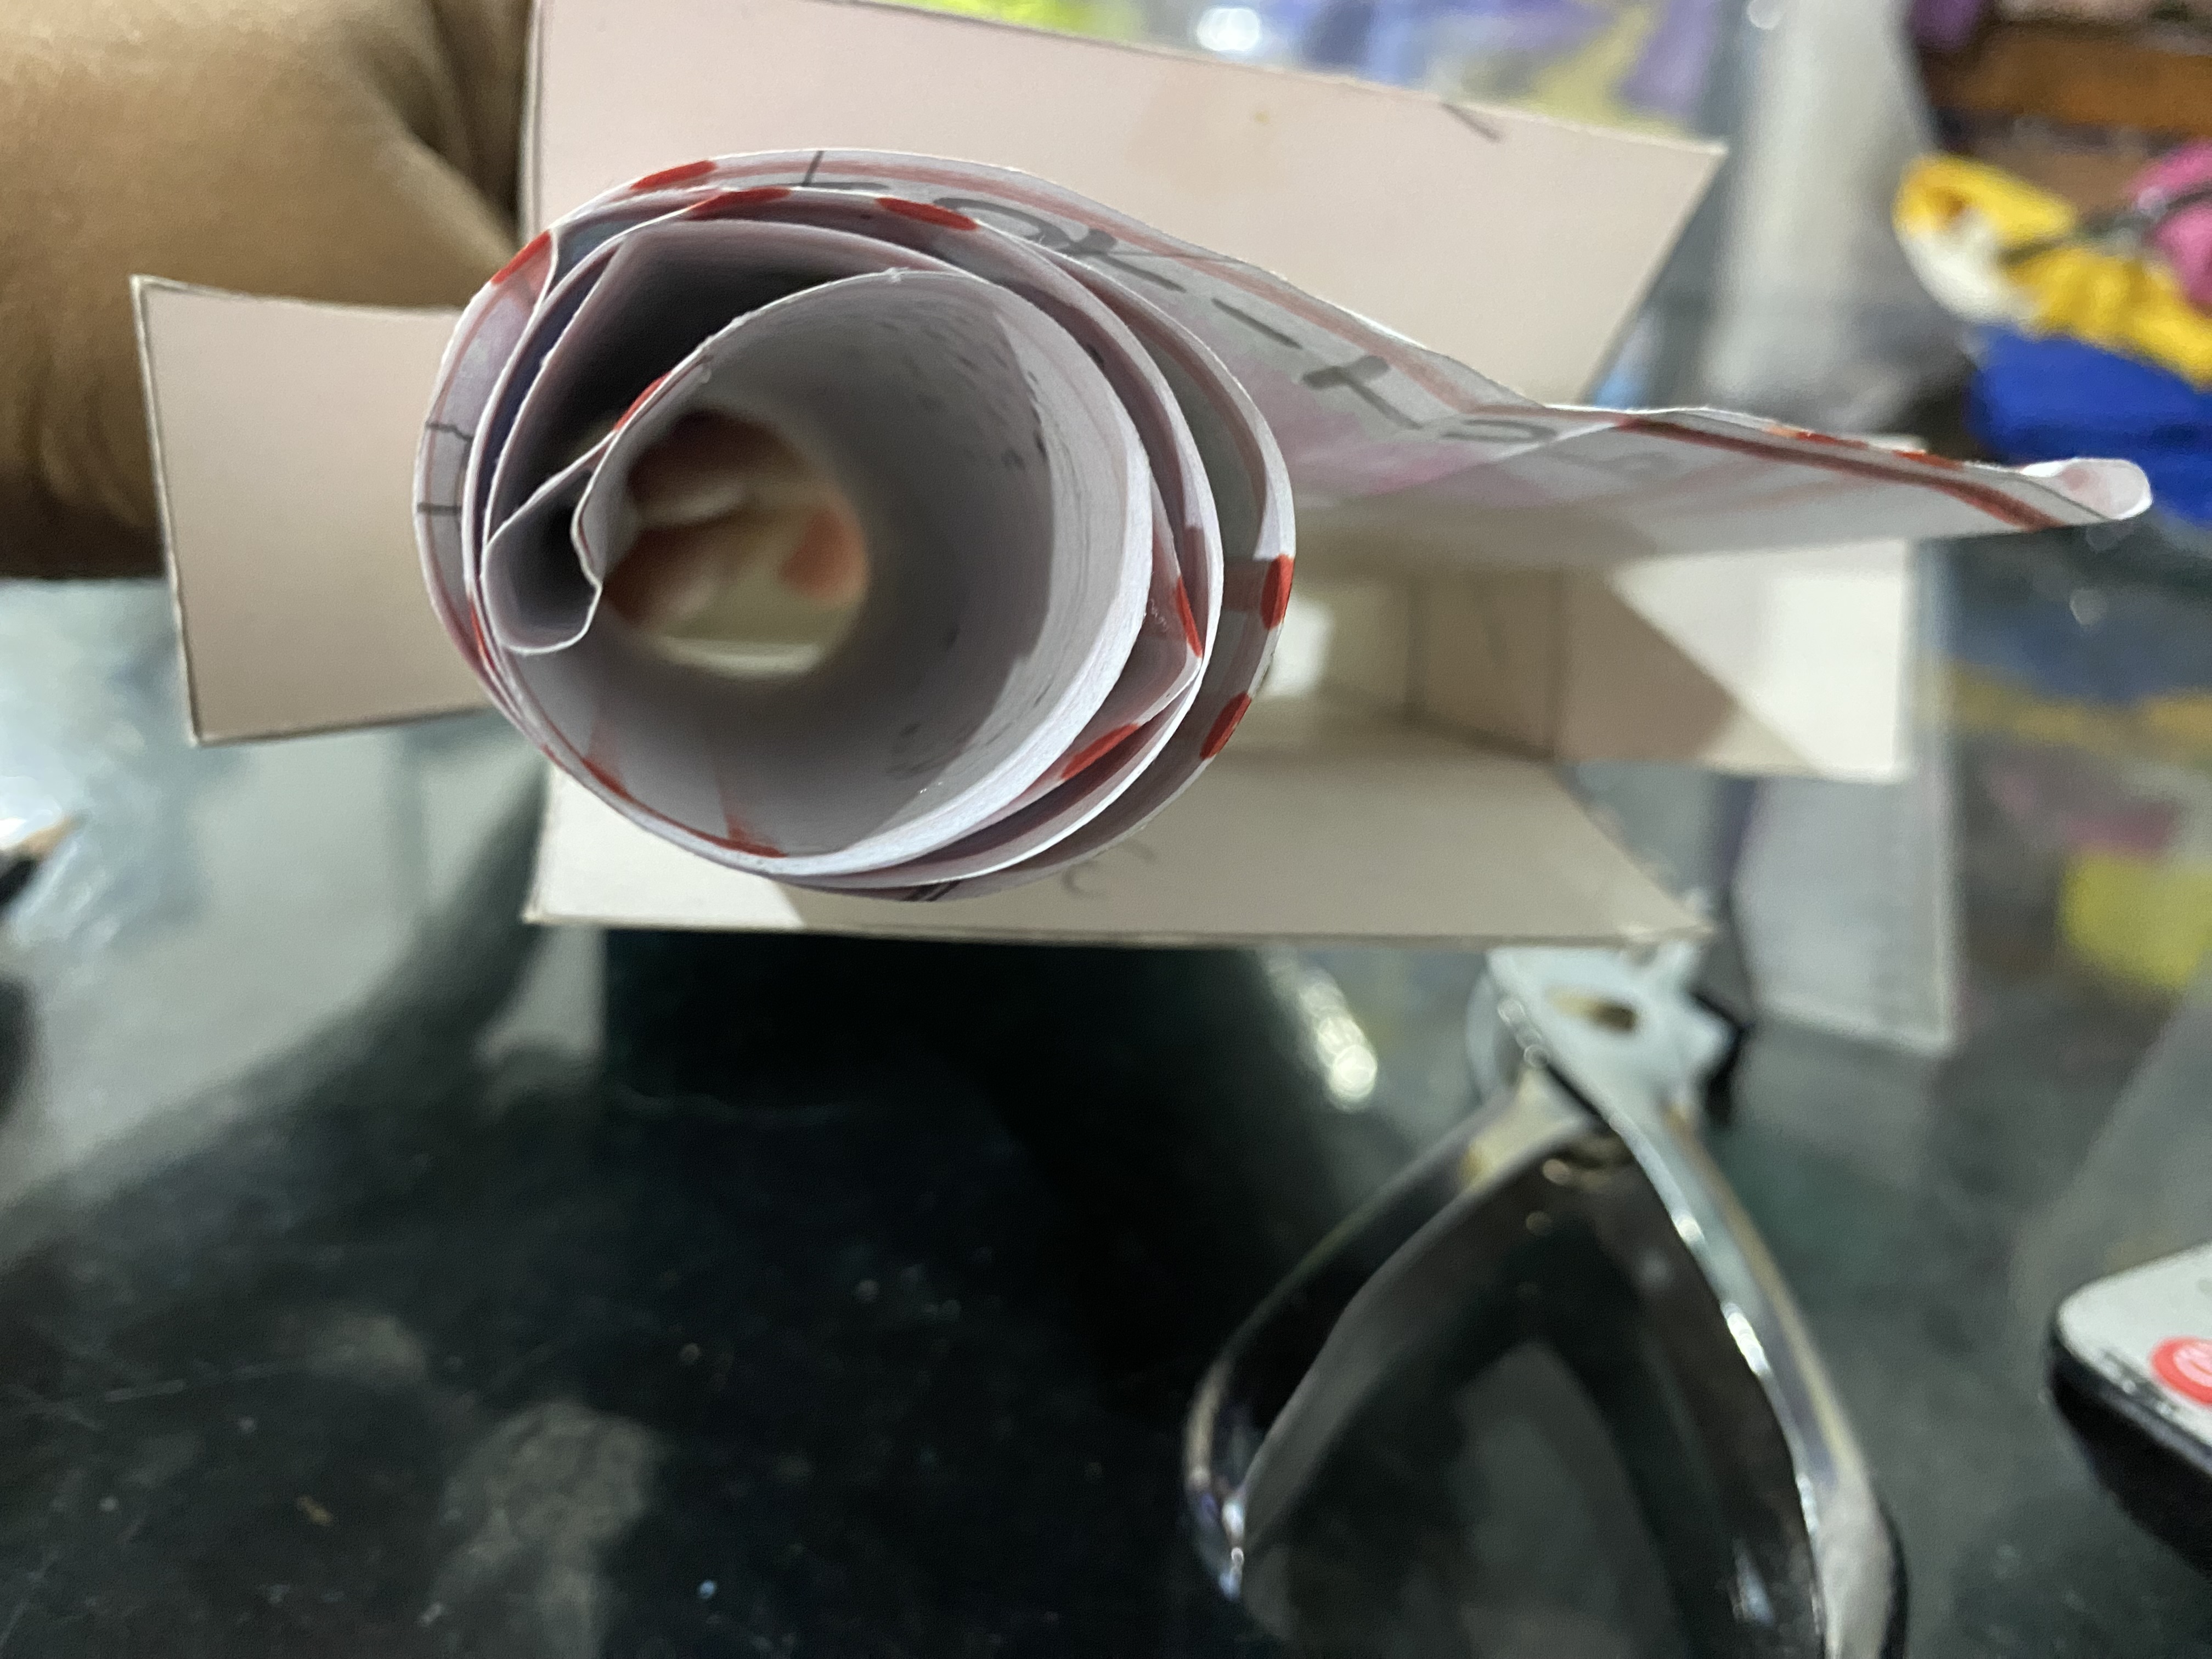
When we have the drawings on our paper ready, we are going to glue the ends of it, leaving space to insert the sticks. We place the sticks inside the box and then we roll the paper so that it is easier to place it. We put a little glue on each stick right where the paper goes to secure it. This will work by rolling the paper on each stick from the inside.
So that the sticks can turn, we insert the rectangle that we had already cut and glue it by the tabs. This will make sure that they do not come out or move and we can turn it easily. Then we finish gluing the ends of our box.
Cuándo ya tengamos listos los dibujos de nuestro papel vamos a pegar los extremos de este dejando el espacio para introducir los palitos, colocamos los palitos dentro de la cajita y luego enrollamos el papel para que sea más fácil colocarlo, le colocamos un poco de pega a cada palito justo donde va el papel para fijarlo, esto funcionará enrollando el papel en cada palito por la parte interna.
Para que los palitos puedan girar le introducimos el rectángulo que ya habíamos cortado y pegamos por las pestañas, esto hará que no se salgan ni se muevan y lo podamos girar con facilidad, luego terminamos de pegar los extremos de nuestra cajita
 |  |
|---|---|
 |  |
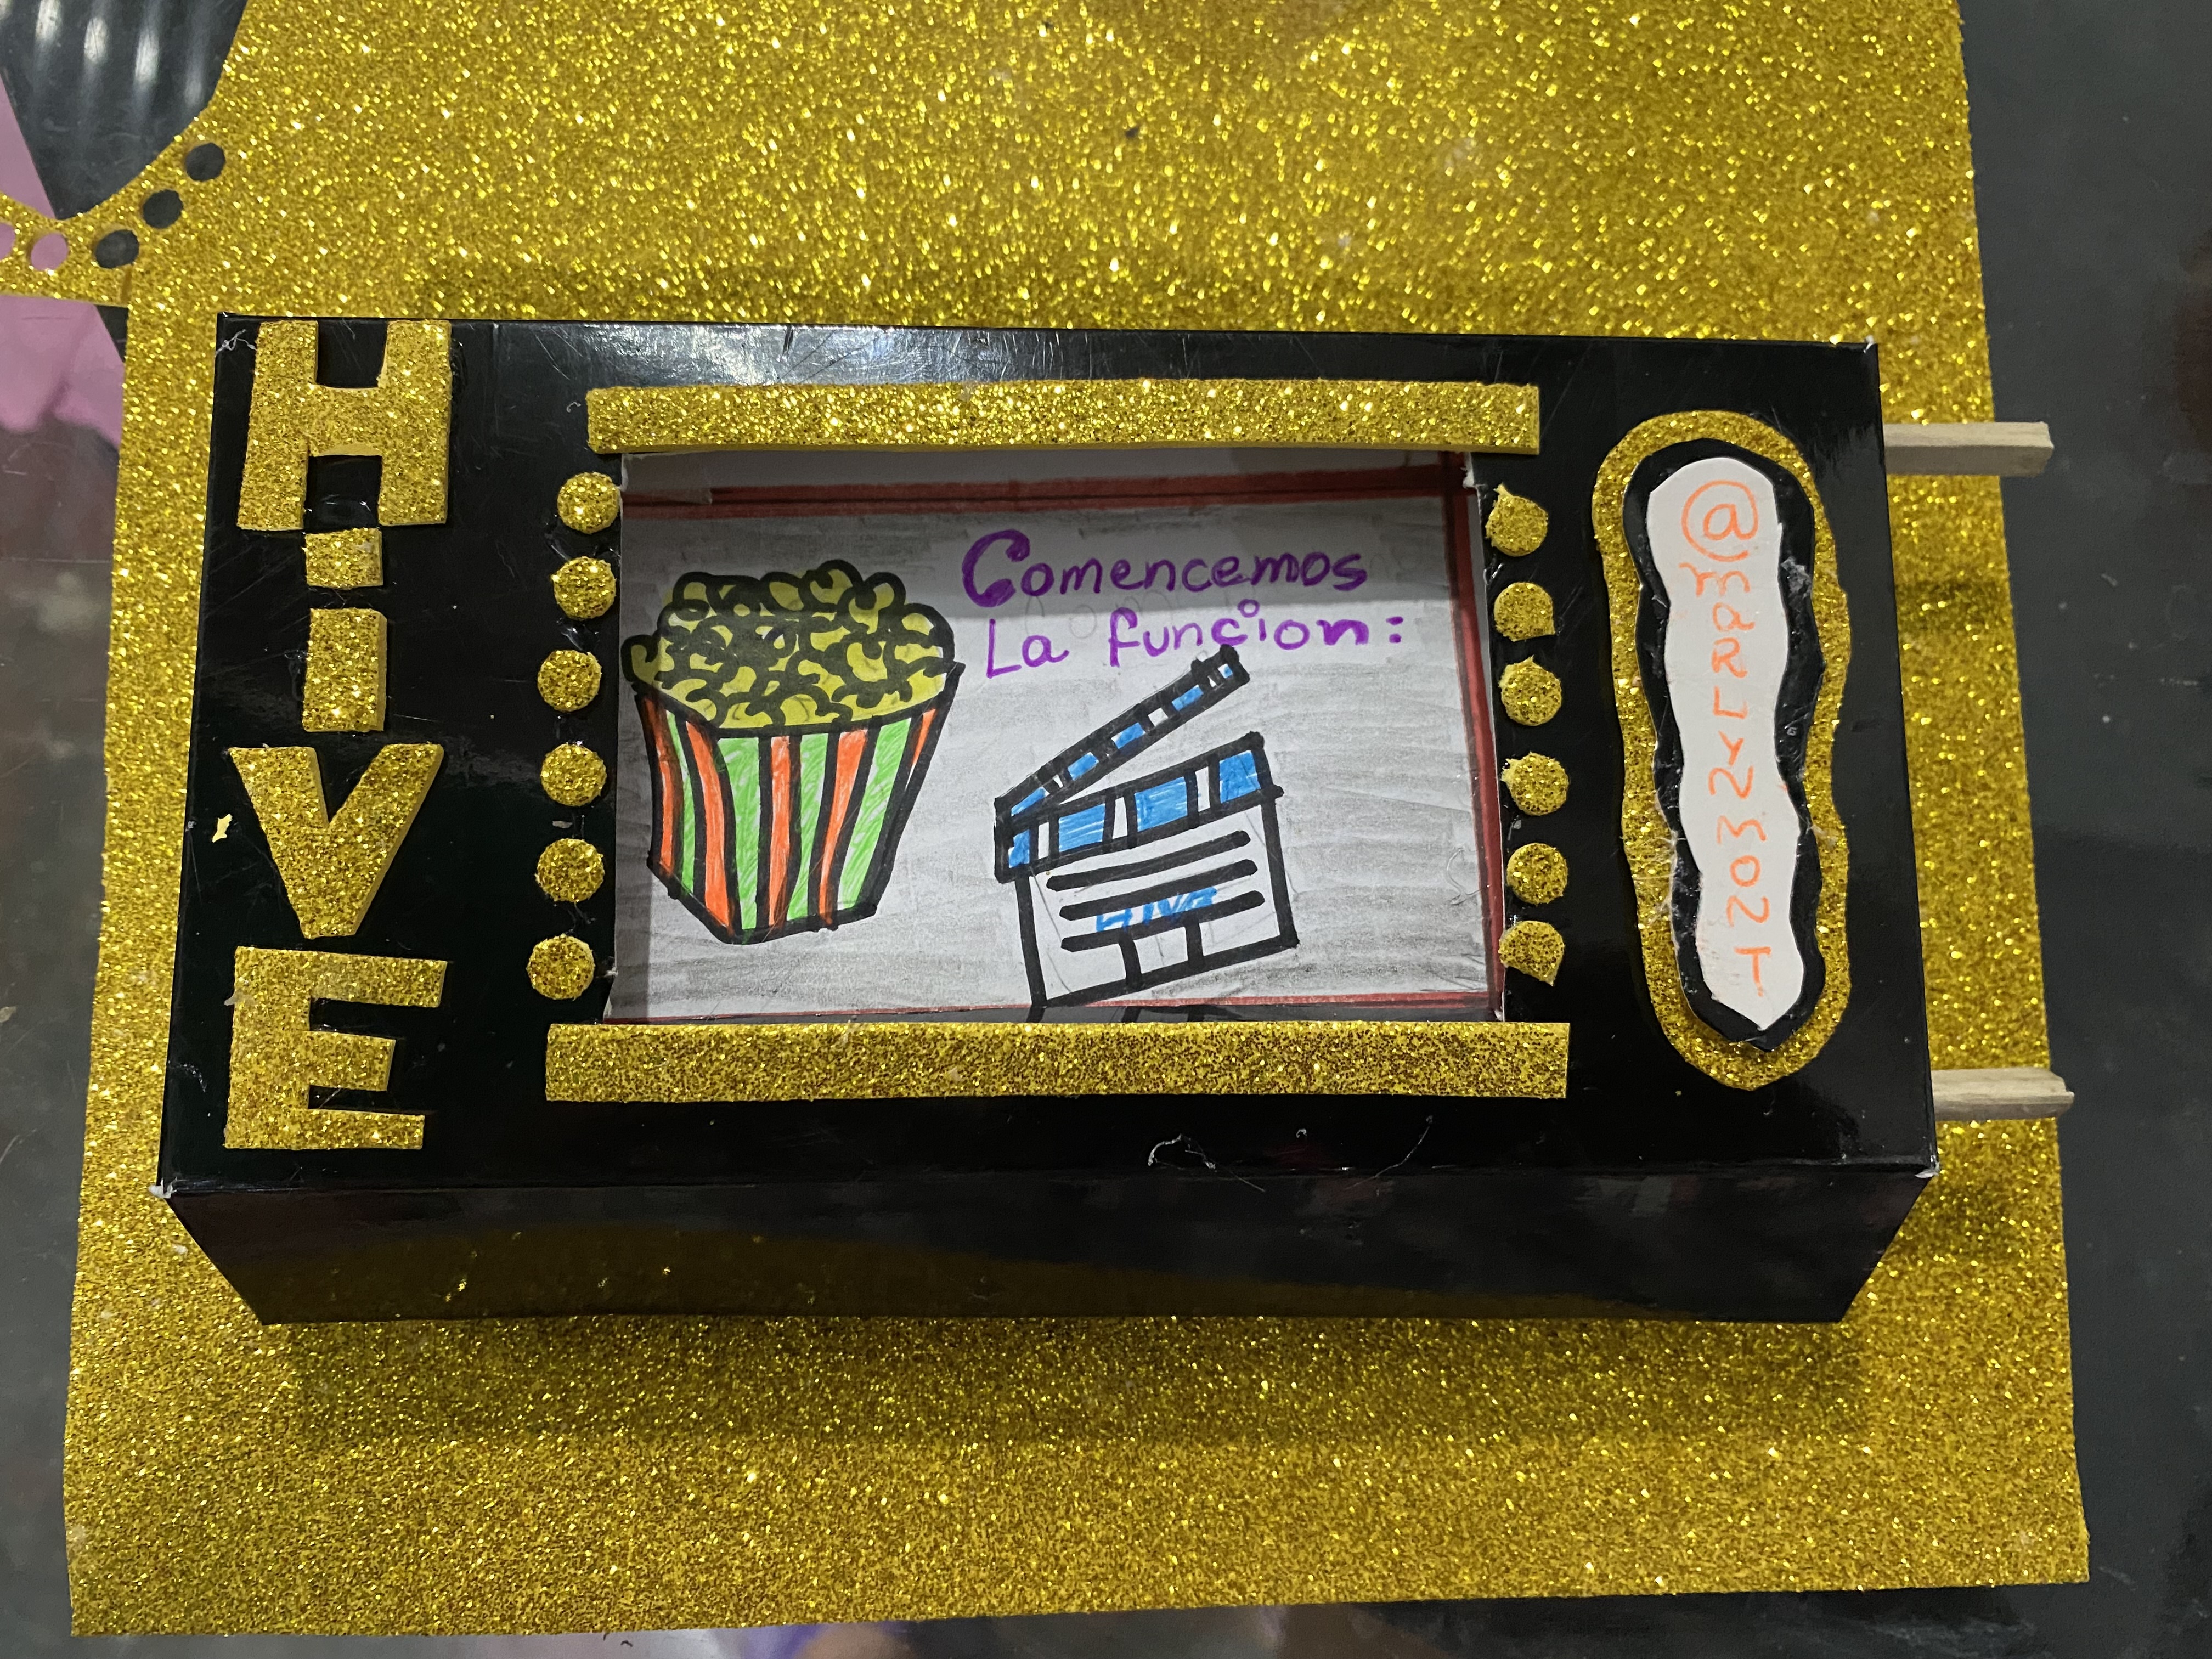
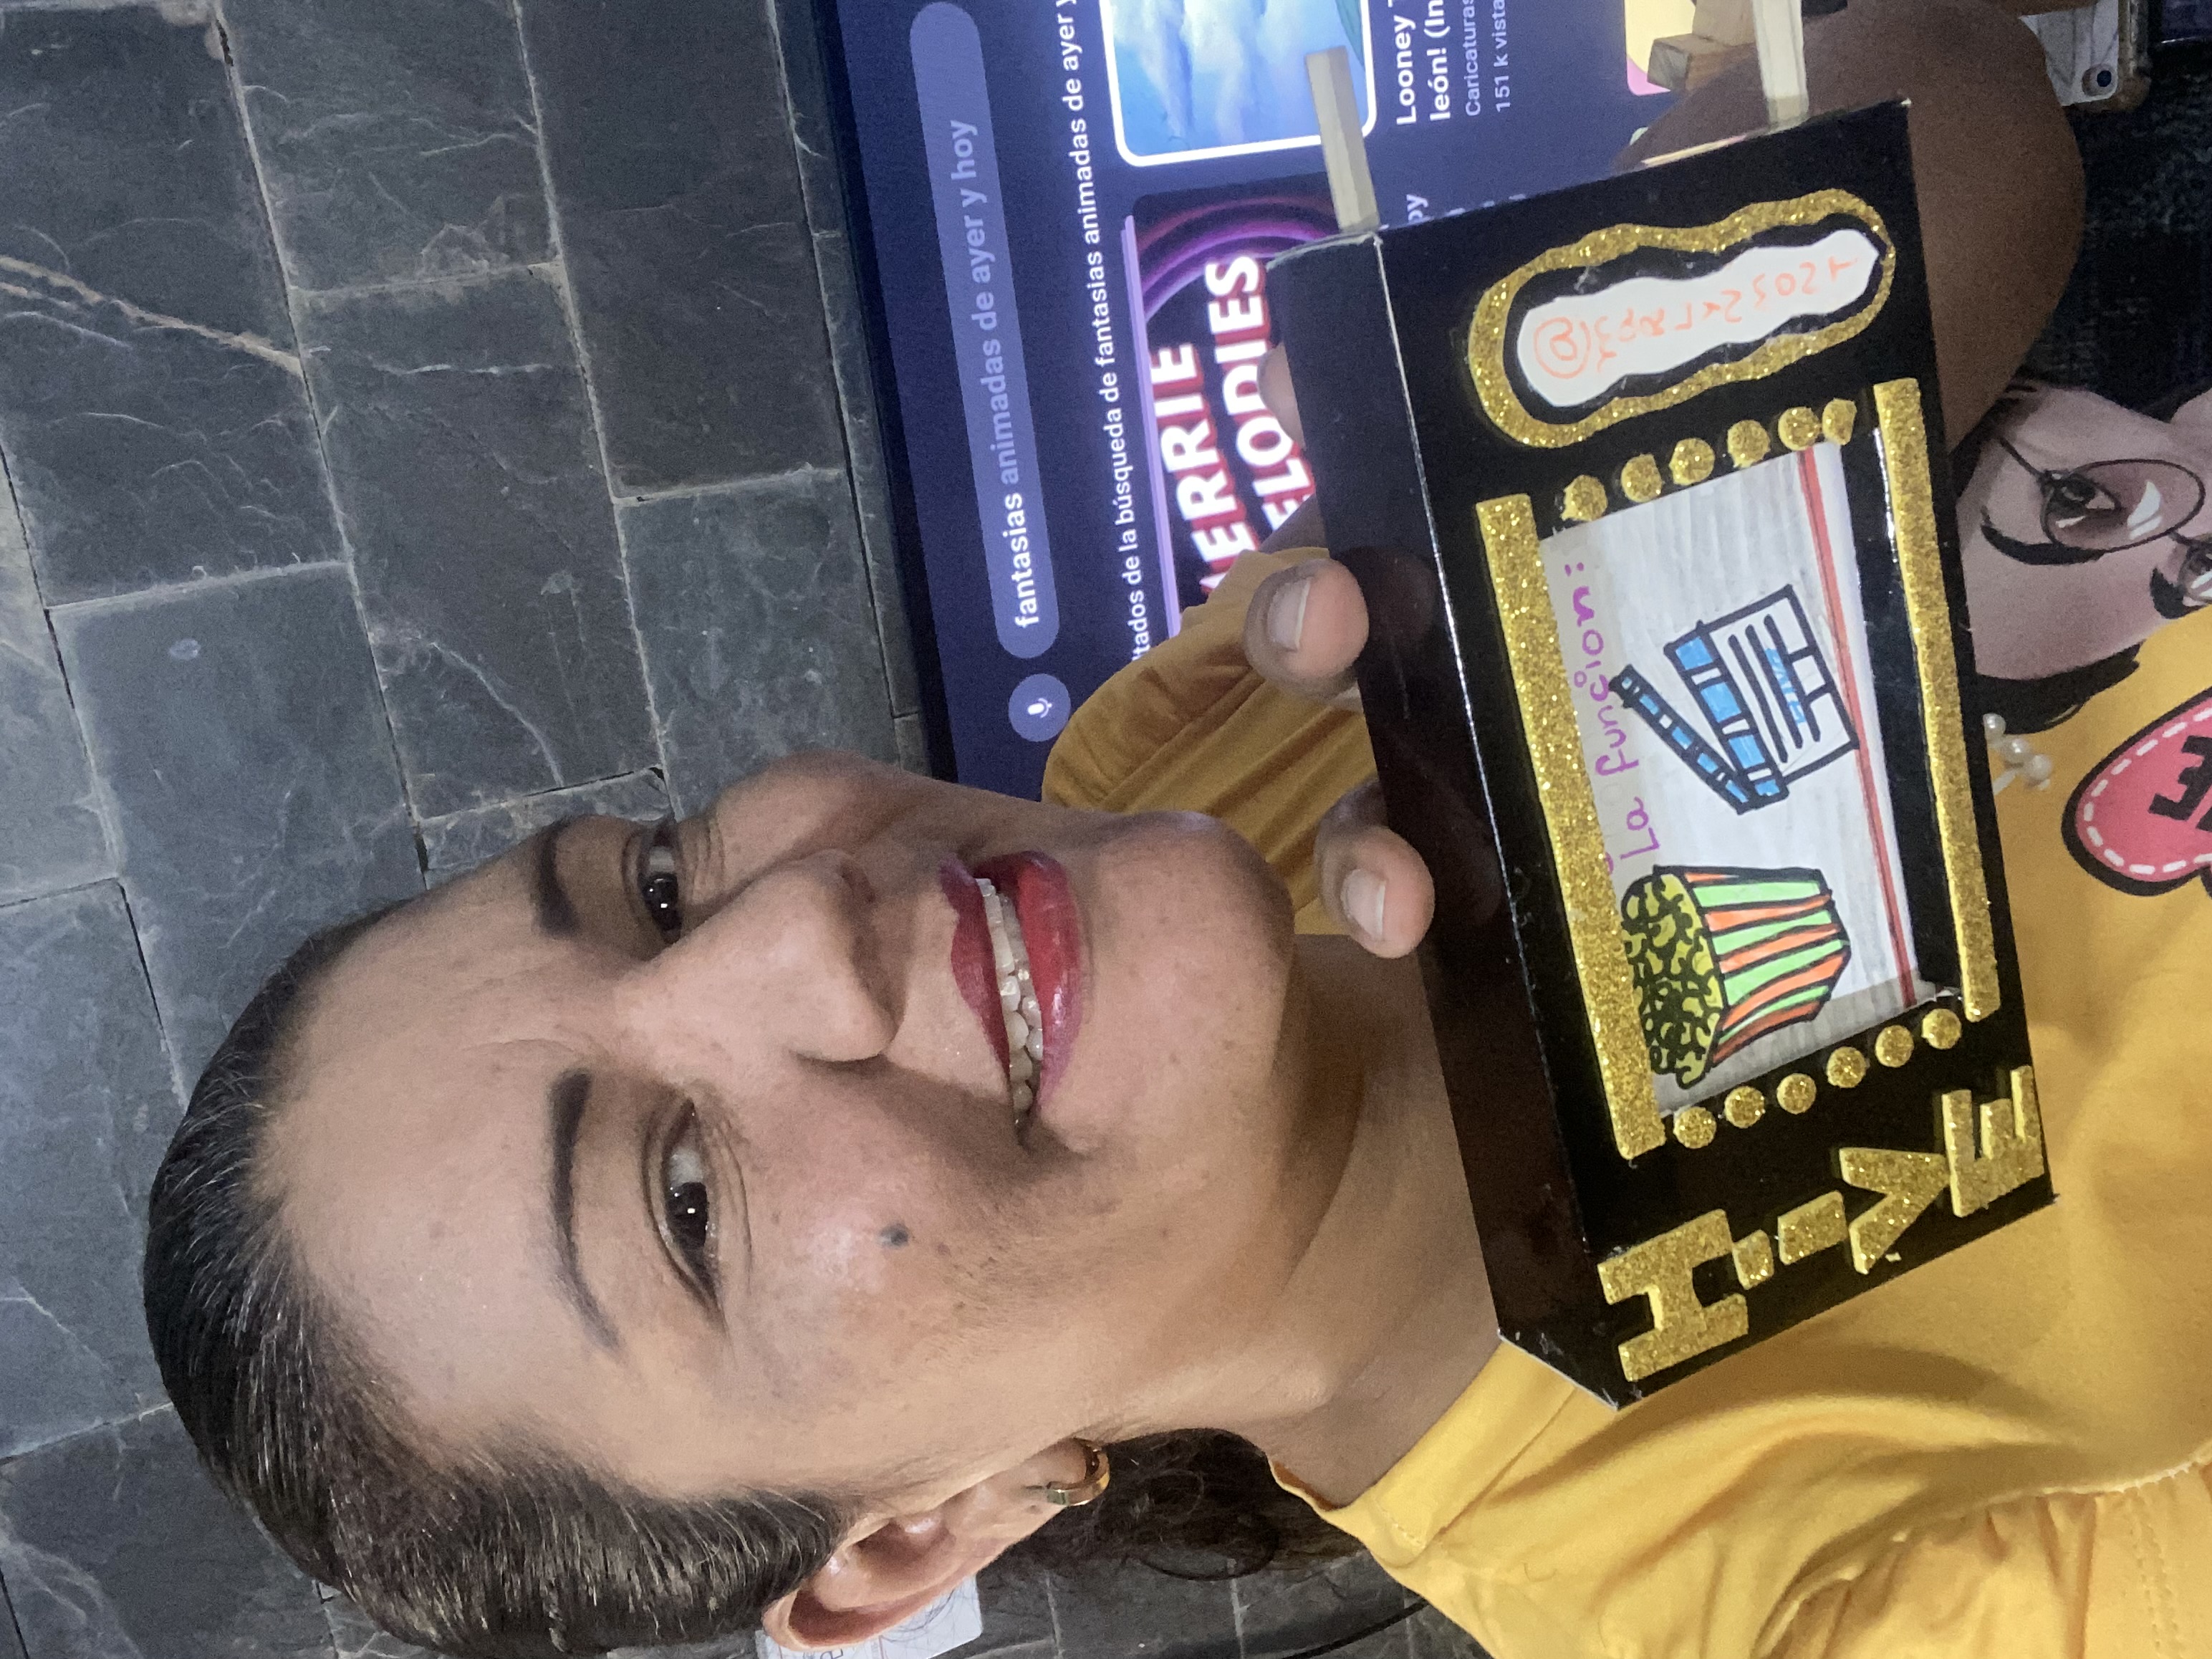
To finish our magical mini television we are going to make the decoration that we want on the outside, I made my decorations in gold so that it would stand out a lot, here I show you the final result:
Para finalizar nuestra mini televisión mágica vamos a hacerle la decoración que deseemos por la parte de afuera, mis Decoraciones las hice en color dorado para que resaltara bastante, aquí les muestro el resultado final:
 |  |
|---|---|
 |
➖➖➖🪄🔮✨➖➖➖
Here is a video so you can see how this magical mini television works and a nice phrase:
“Hey you! Yes you, I WANT TO ENCOURAGE YOU TO CHASE YOUR DREAMS, WITH BIG AND FIRM STEPS AND WITH THE BEST ATTITUDE AND LOVE 🧡”
Aquí les dejo un video para que veas el funcionamiento de esta mágica mini televisión y una linda frase:
“Hey tu!, si tu, QUIERO ANIMARTE A PERSEGUIR TUS SUEÑOS, CON PASOS GRANDES Y FIRMES Y CON LA MEJOR ACTITUD Y AMOR 🧡”
➖➖➖🪄🔮✨➖➖➖
Wow, you have done a great job here and we appreciate the effort to reflect it in an excellent post, well explained and with very detailed photographs. Thanks for your genius
Thank you very much for those words, it's a pleasure, greetings 🥰
Hay que Cuchi, se ve hermoso, que belleza, me gusta como proyectas tu post y lo fácil que lo haces ver, hermoso gracias por tu post
Gracias por visitar mi publicación amiga, saludos 🥰
It is always a pleasure for me to meet such extraordinary people at Hive. How cool is this mini TV idea, and just when I thought it couldn't get any better you share that little video at the end, totally inspired by Hive. This work is wonderful and an example for our community, thank you very much for sharing it on DIYHub...
Thank you very much for your words 🥰❤️, they fill me with encouragement and joy, greetings 😊
Thank you so much for creating this.
It reminds me of my childhoods
I once got this as a gift from a friend.
Your work is beautiful.
It's very nice that someone gave him a similar one 🥰, thanks for visiting my post, greetings 🤗
You are welcome.