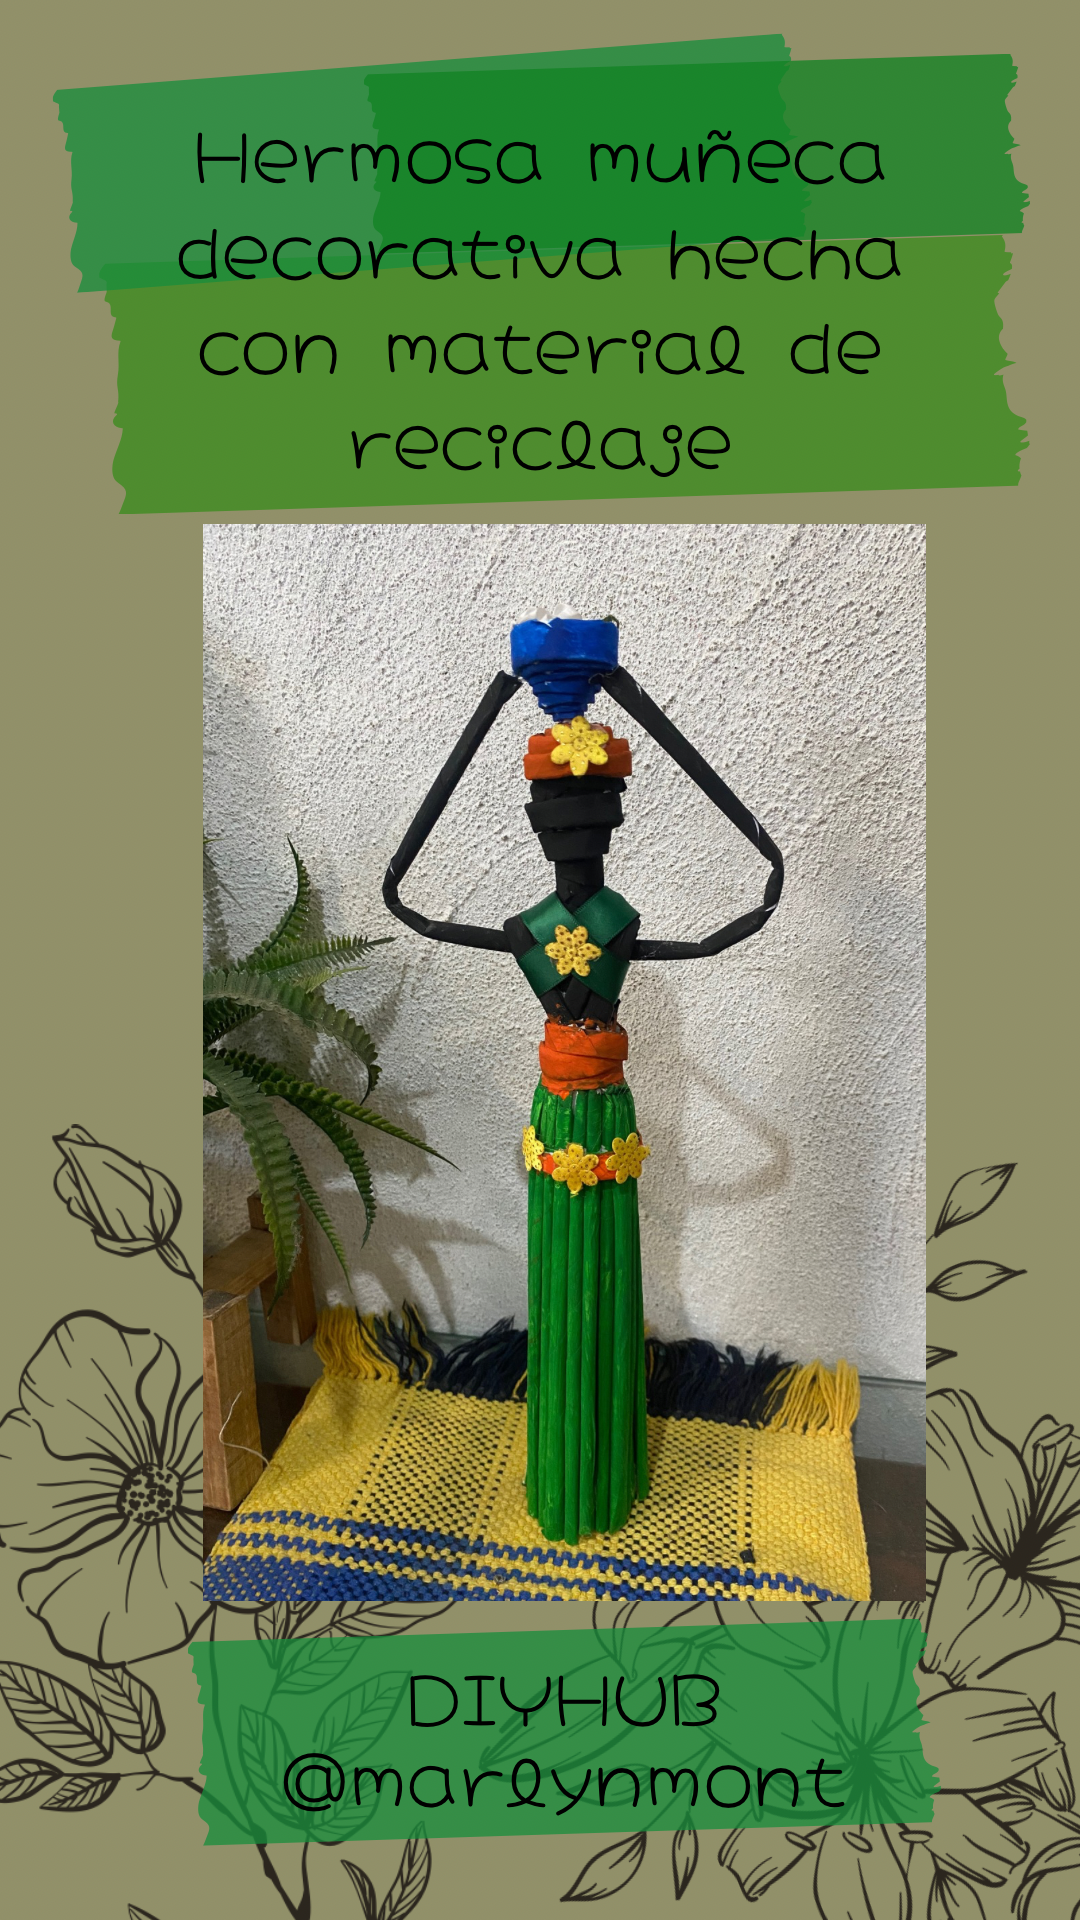
World Environment Day DIY-CONTEST //Beautiful idea to make a decorative doll made with recycling paper 📄♻️❤️ // [eng/spa]
Happy day dear friends of DIYHUB, I hope today you have a day full of energy to achieve all your projects 🥰❤️
Today I come here to participate again in the: DIY CONTEST for World Environment Day, for this opportunity I bring you a beautiful idea to make a decorative doll made with recycling paper and thus contribute our grain of sand and not generate so much garbage To continue protecting our environment and our planet, come and I'll show you how I made it.
Feliz día queridos amigos de DIYHUB, espero hoy tengan un día lleno de energías para que logren todos sus proyectos 🥰❤️
Hoy vengo por acá a participar nuevamente en el: CONCURSO DE BRICOLAJE del Día Mundial del Medio Ambiente, para esta oportunidad les traigo una hermosa idea para hacer una muñeca decorativa hecha con papel de reciclaje y así aportar nuestro granito de arena y no generar tanta basura para seguir protegiendo muchísimo nuestro entorno y nuestro planeta , ven y te muestro como la hice
➿➿➿➿♻️➿➿➿➿
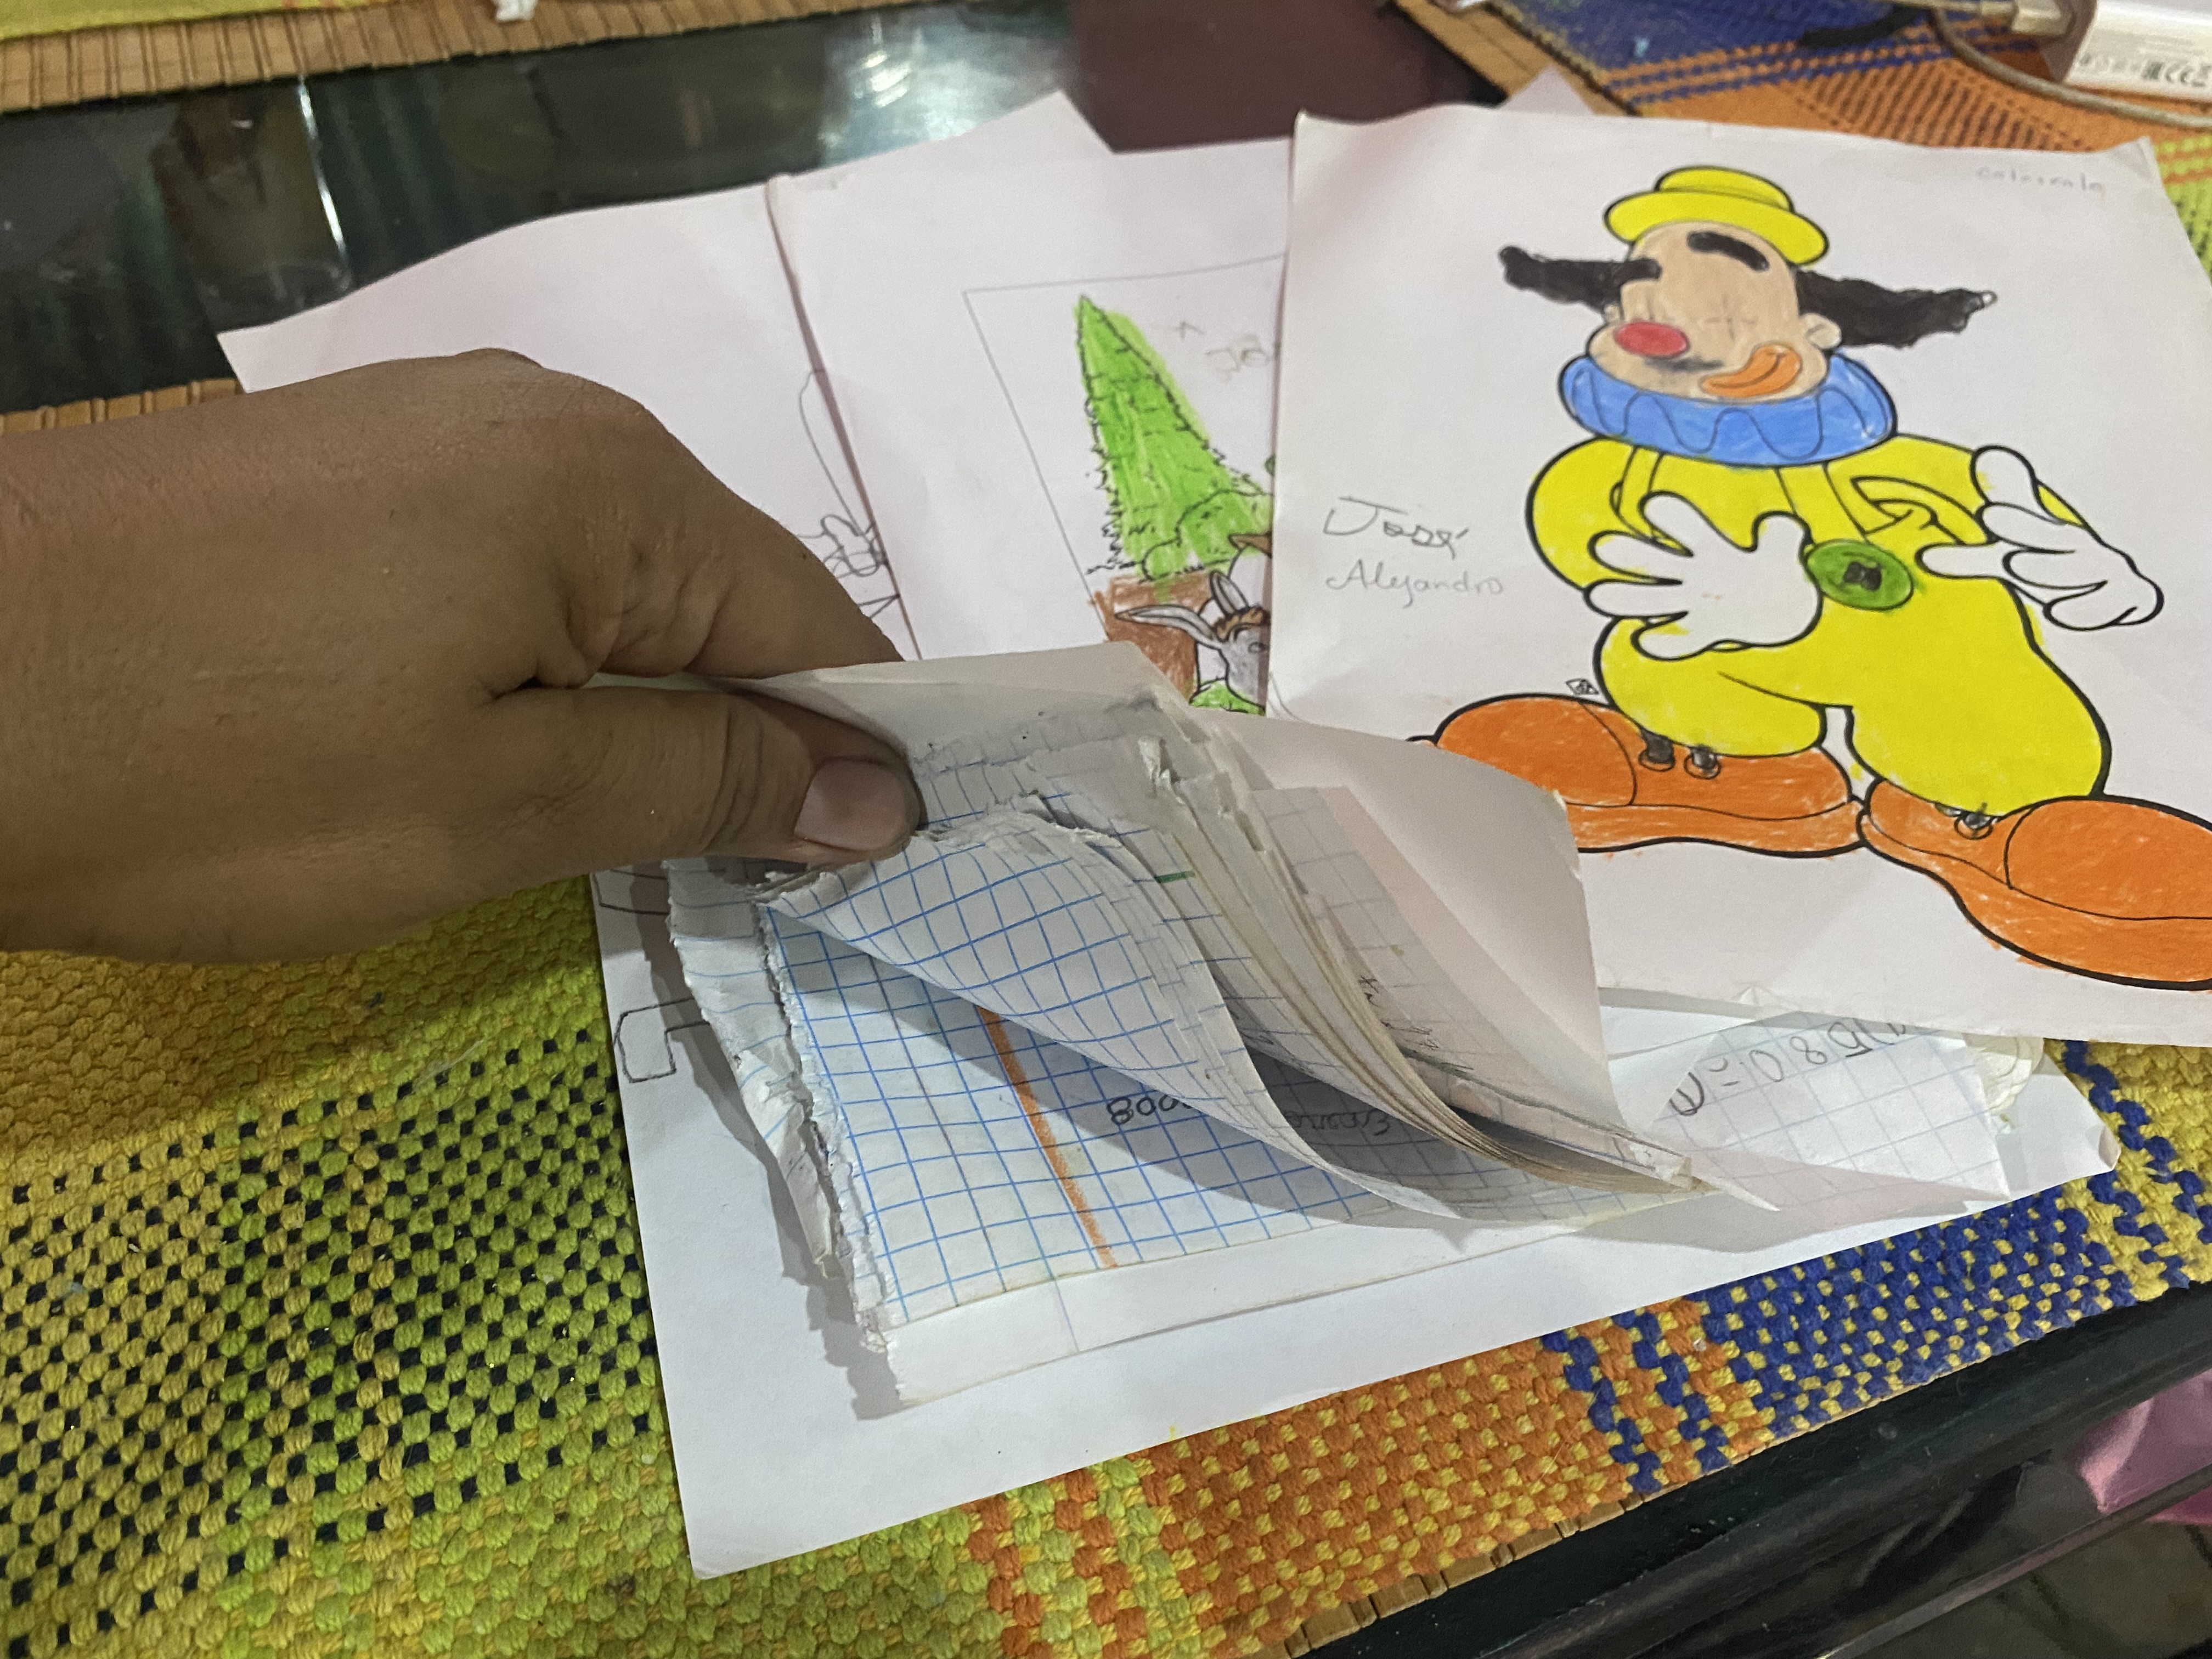
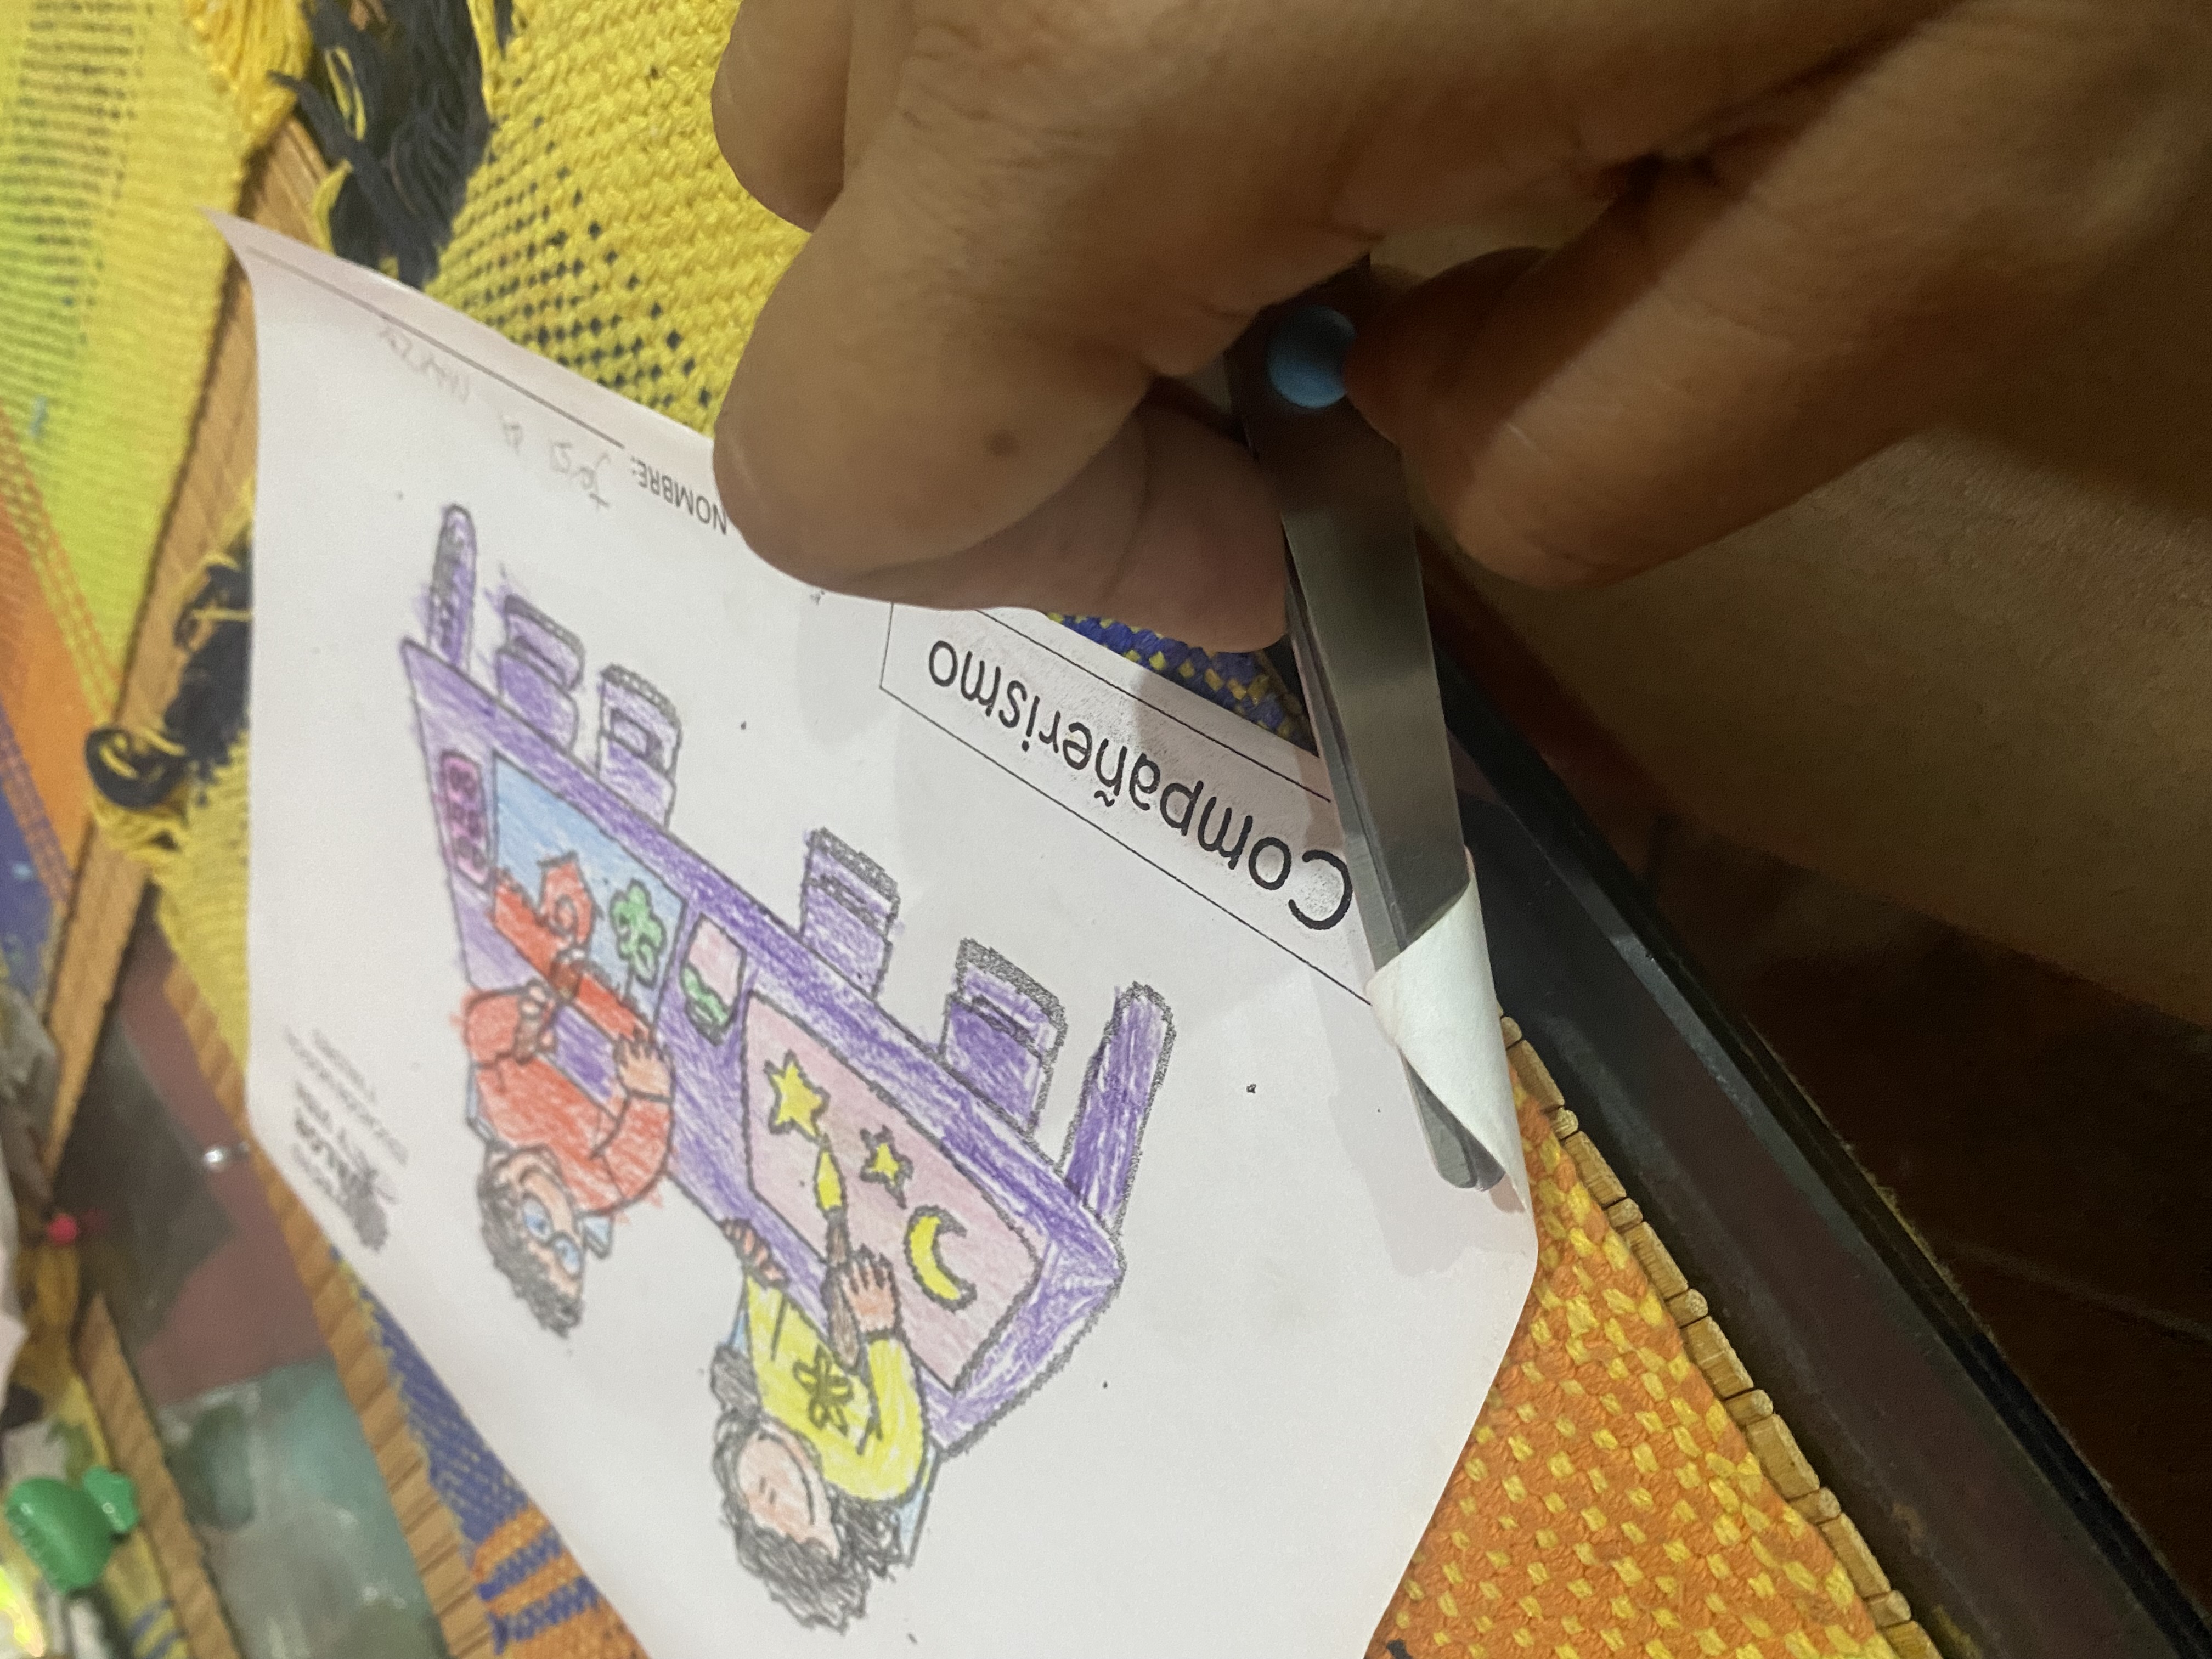
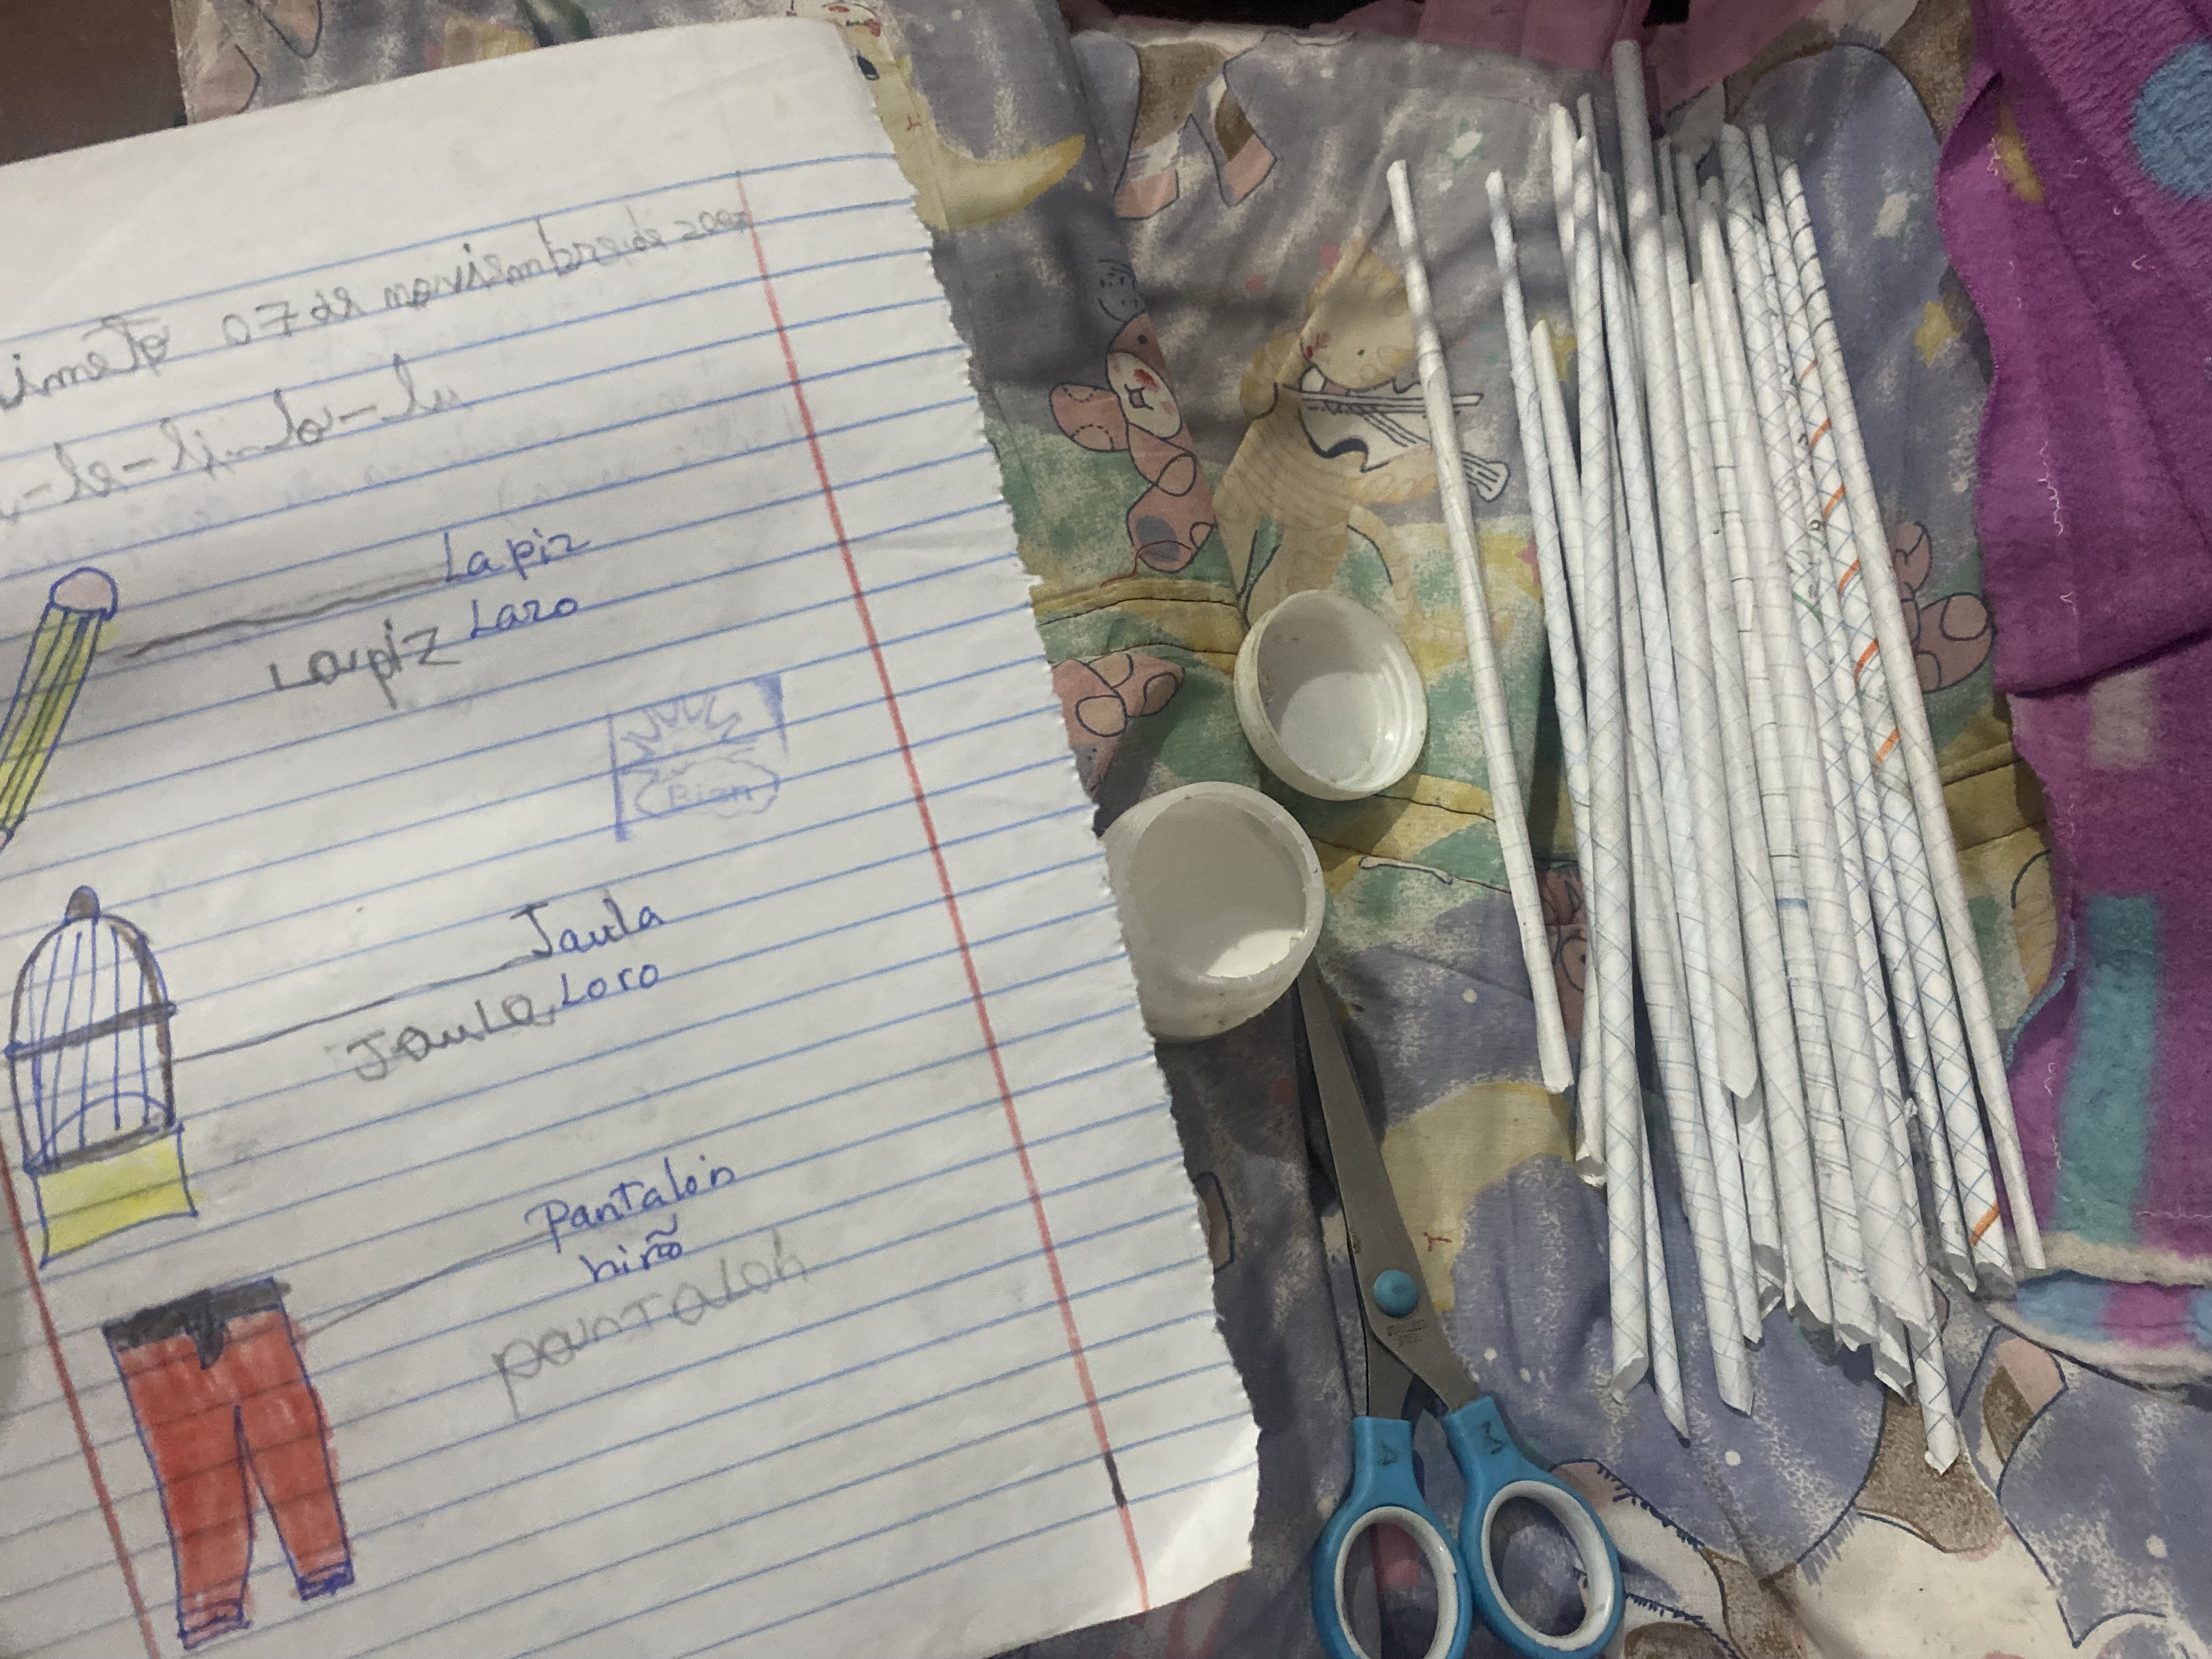
One of the things that generates the most garbage on our planet is paper. In my home I have a shop window full of a lot of recycling paper. Among them, I still have a large part of my children's first school work. I have made many crafts with them. and today I want to share with you a beautiful decorative doll made with this excellent recycling material, for this craft we will need the following materials:
- recycled paper sheets
- a piece of wire
- wick thread
- job
- cold paints
Una de las cosas que mas genera basura en nuestro planeta es el papel, en mi hogar tengo un escaparate lleno de mucho papel de reciclaje, entre ellos aún conservo gran parte de los primeros trabajos de estudios de mis hijos, con ellos he hecho muchas manualidades y hoy quiero compartir con ustedes una hermosa muñeca decorativa hecha con este excelente material de reciclaje, para esta manualidad vamos a necesitar los siguientes materiales:
- hojas de papel recicladas
- un trozo de alambre
- hilo pabilo
- pega
- pinturas al frío
STEP BY STEP
PASO A PASO
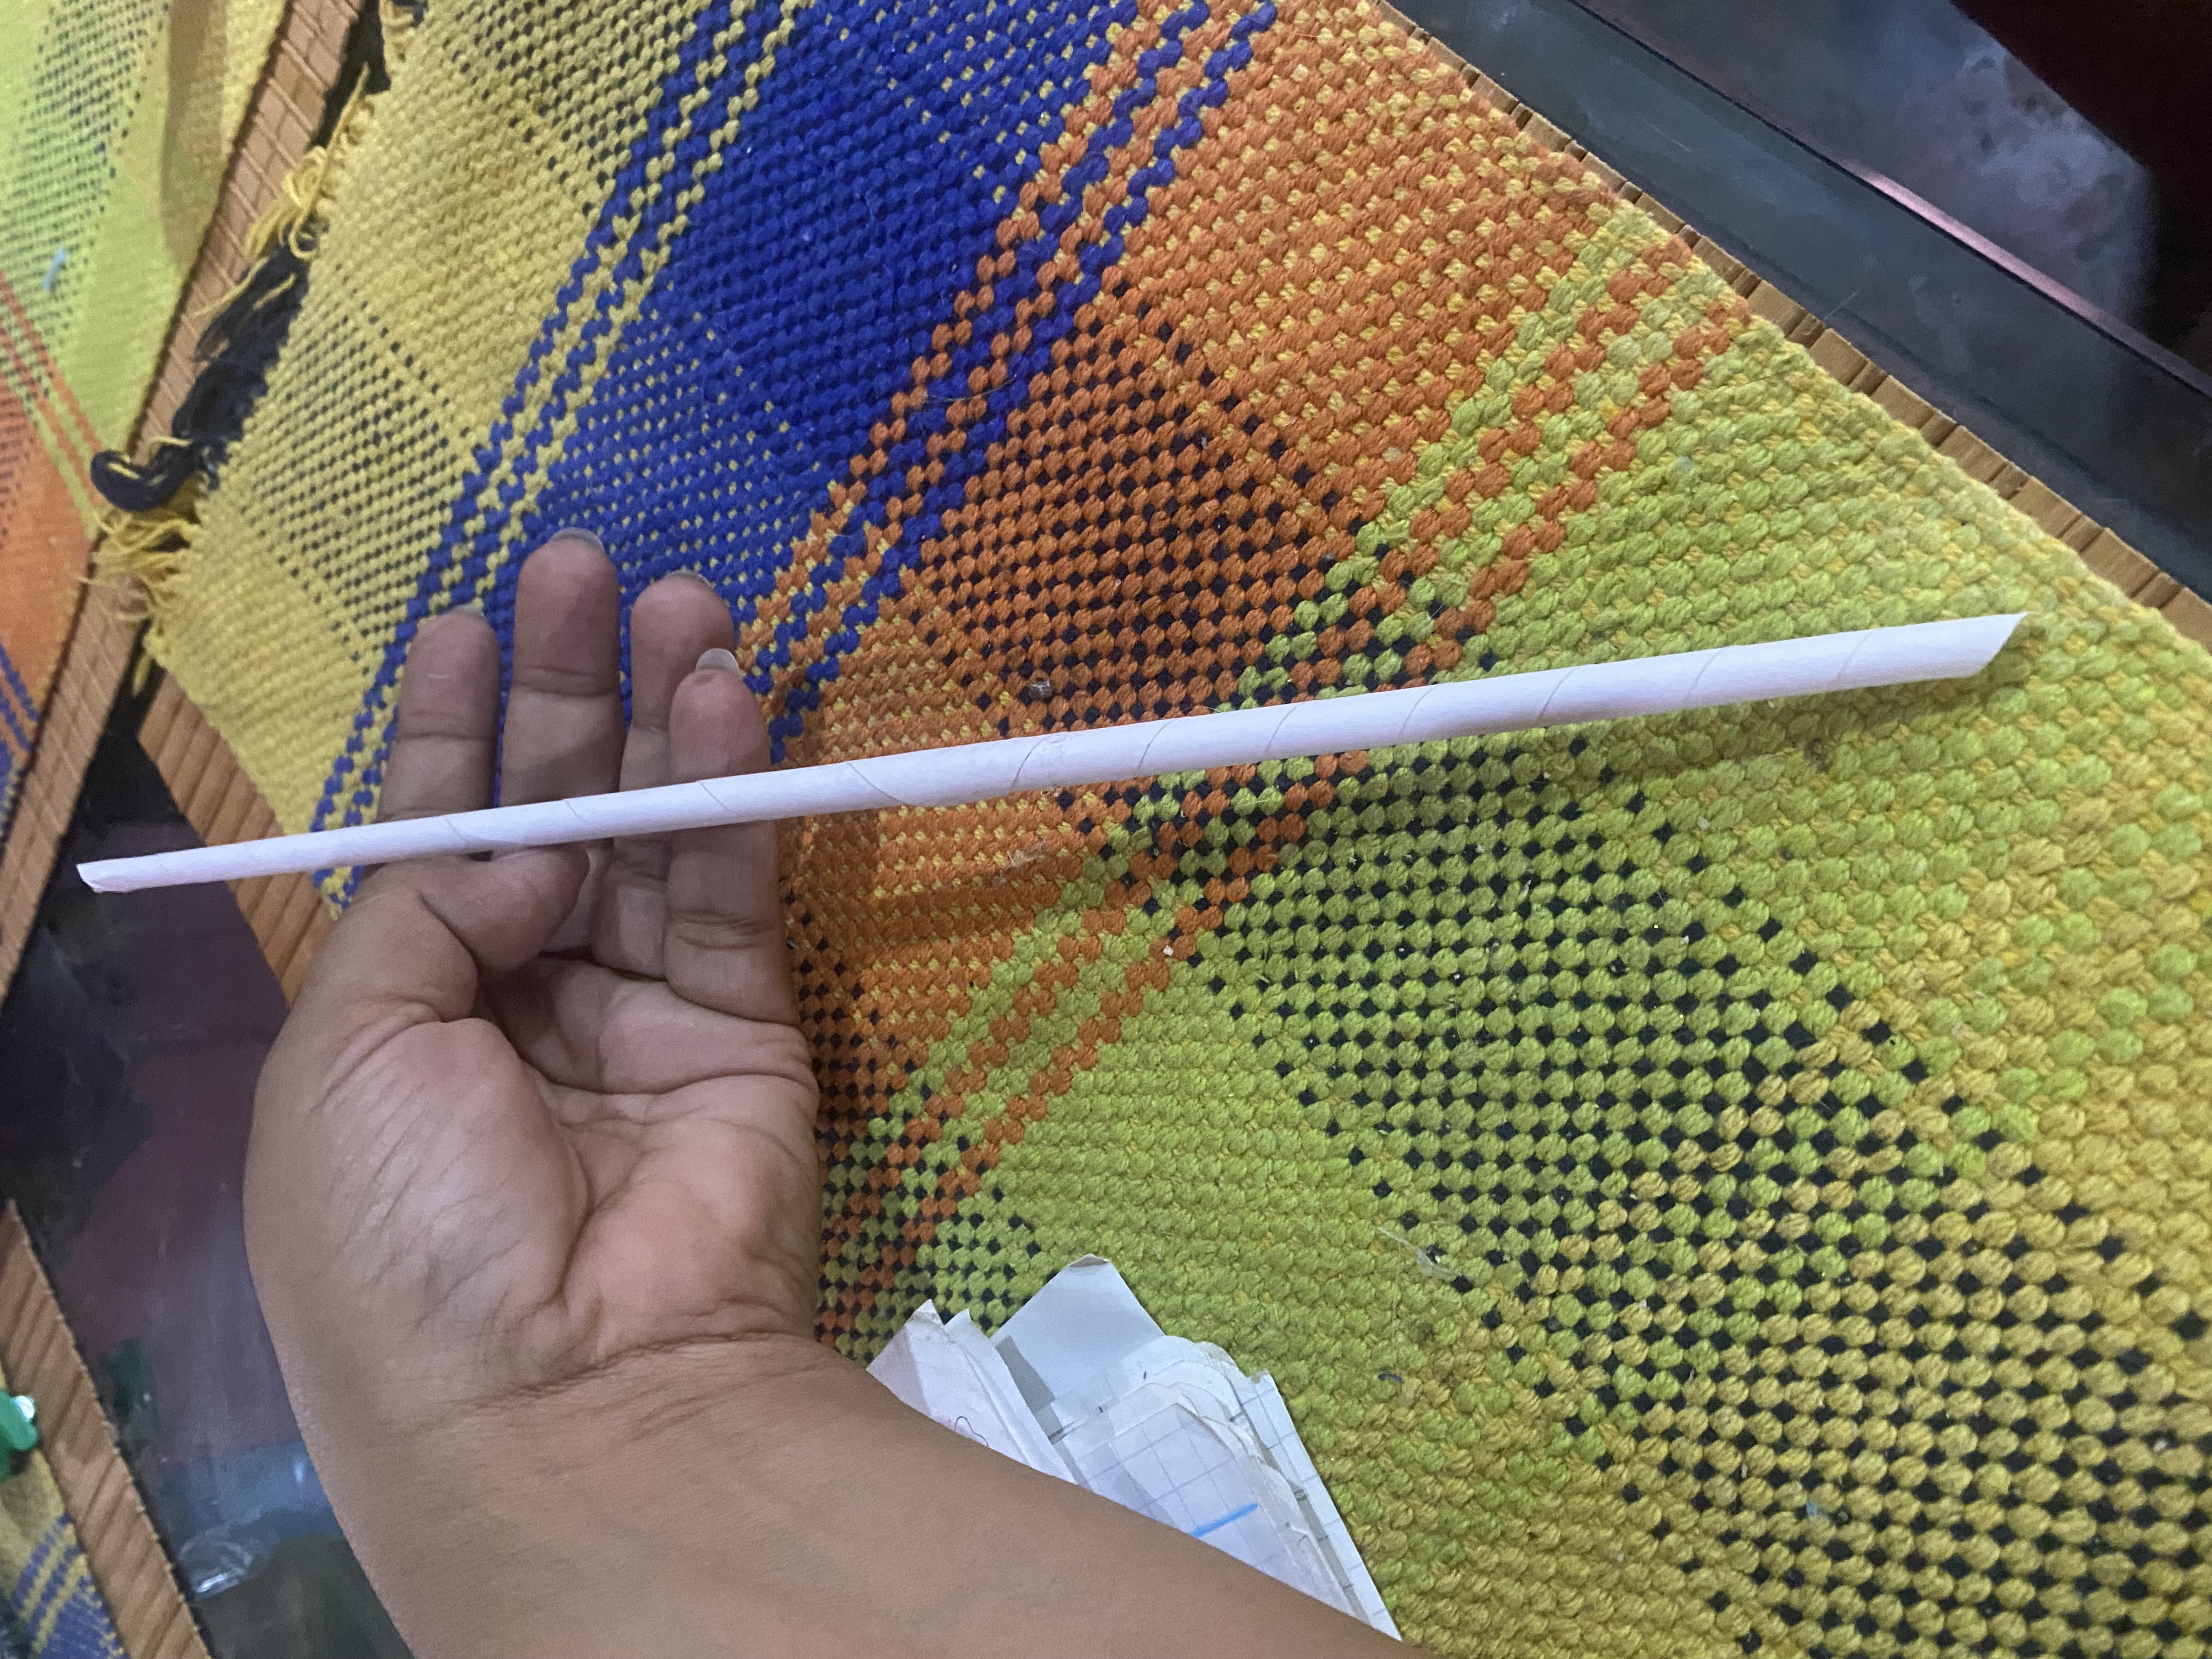
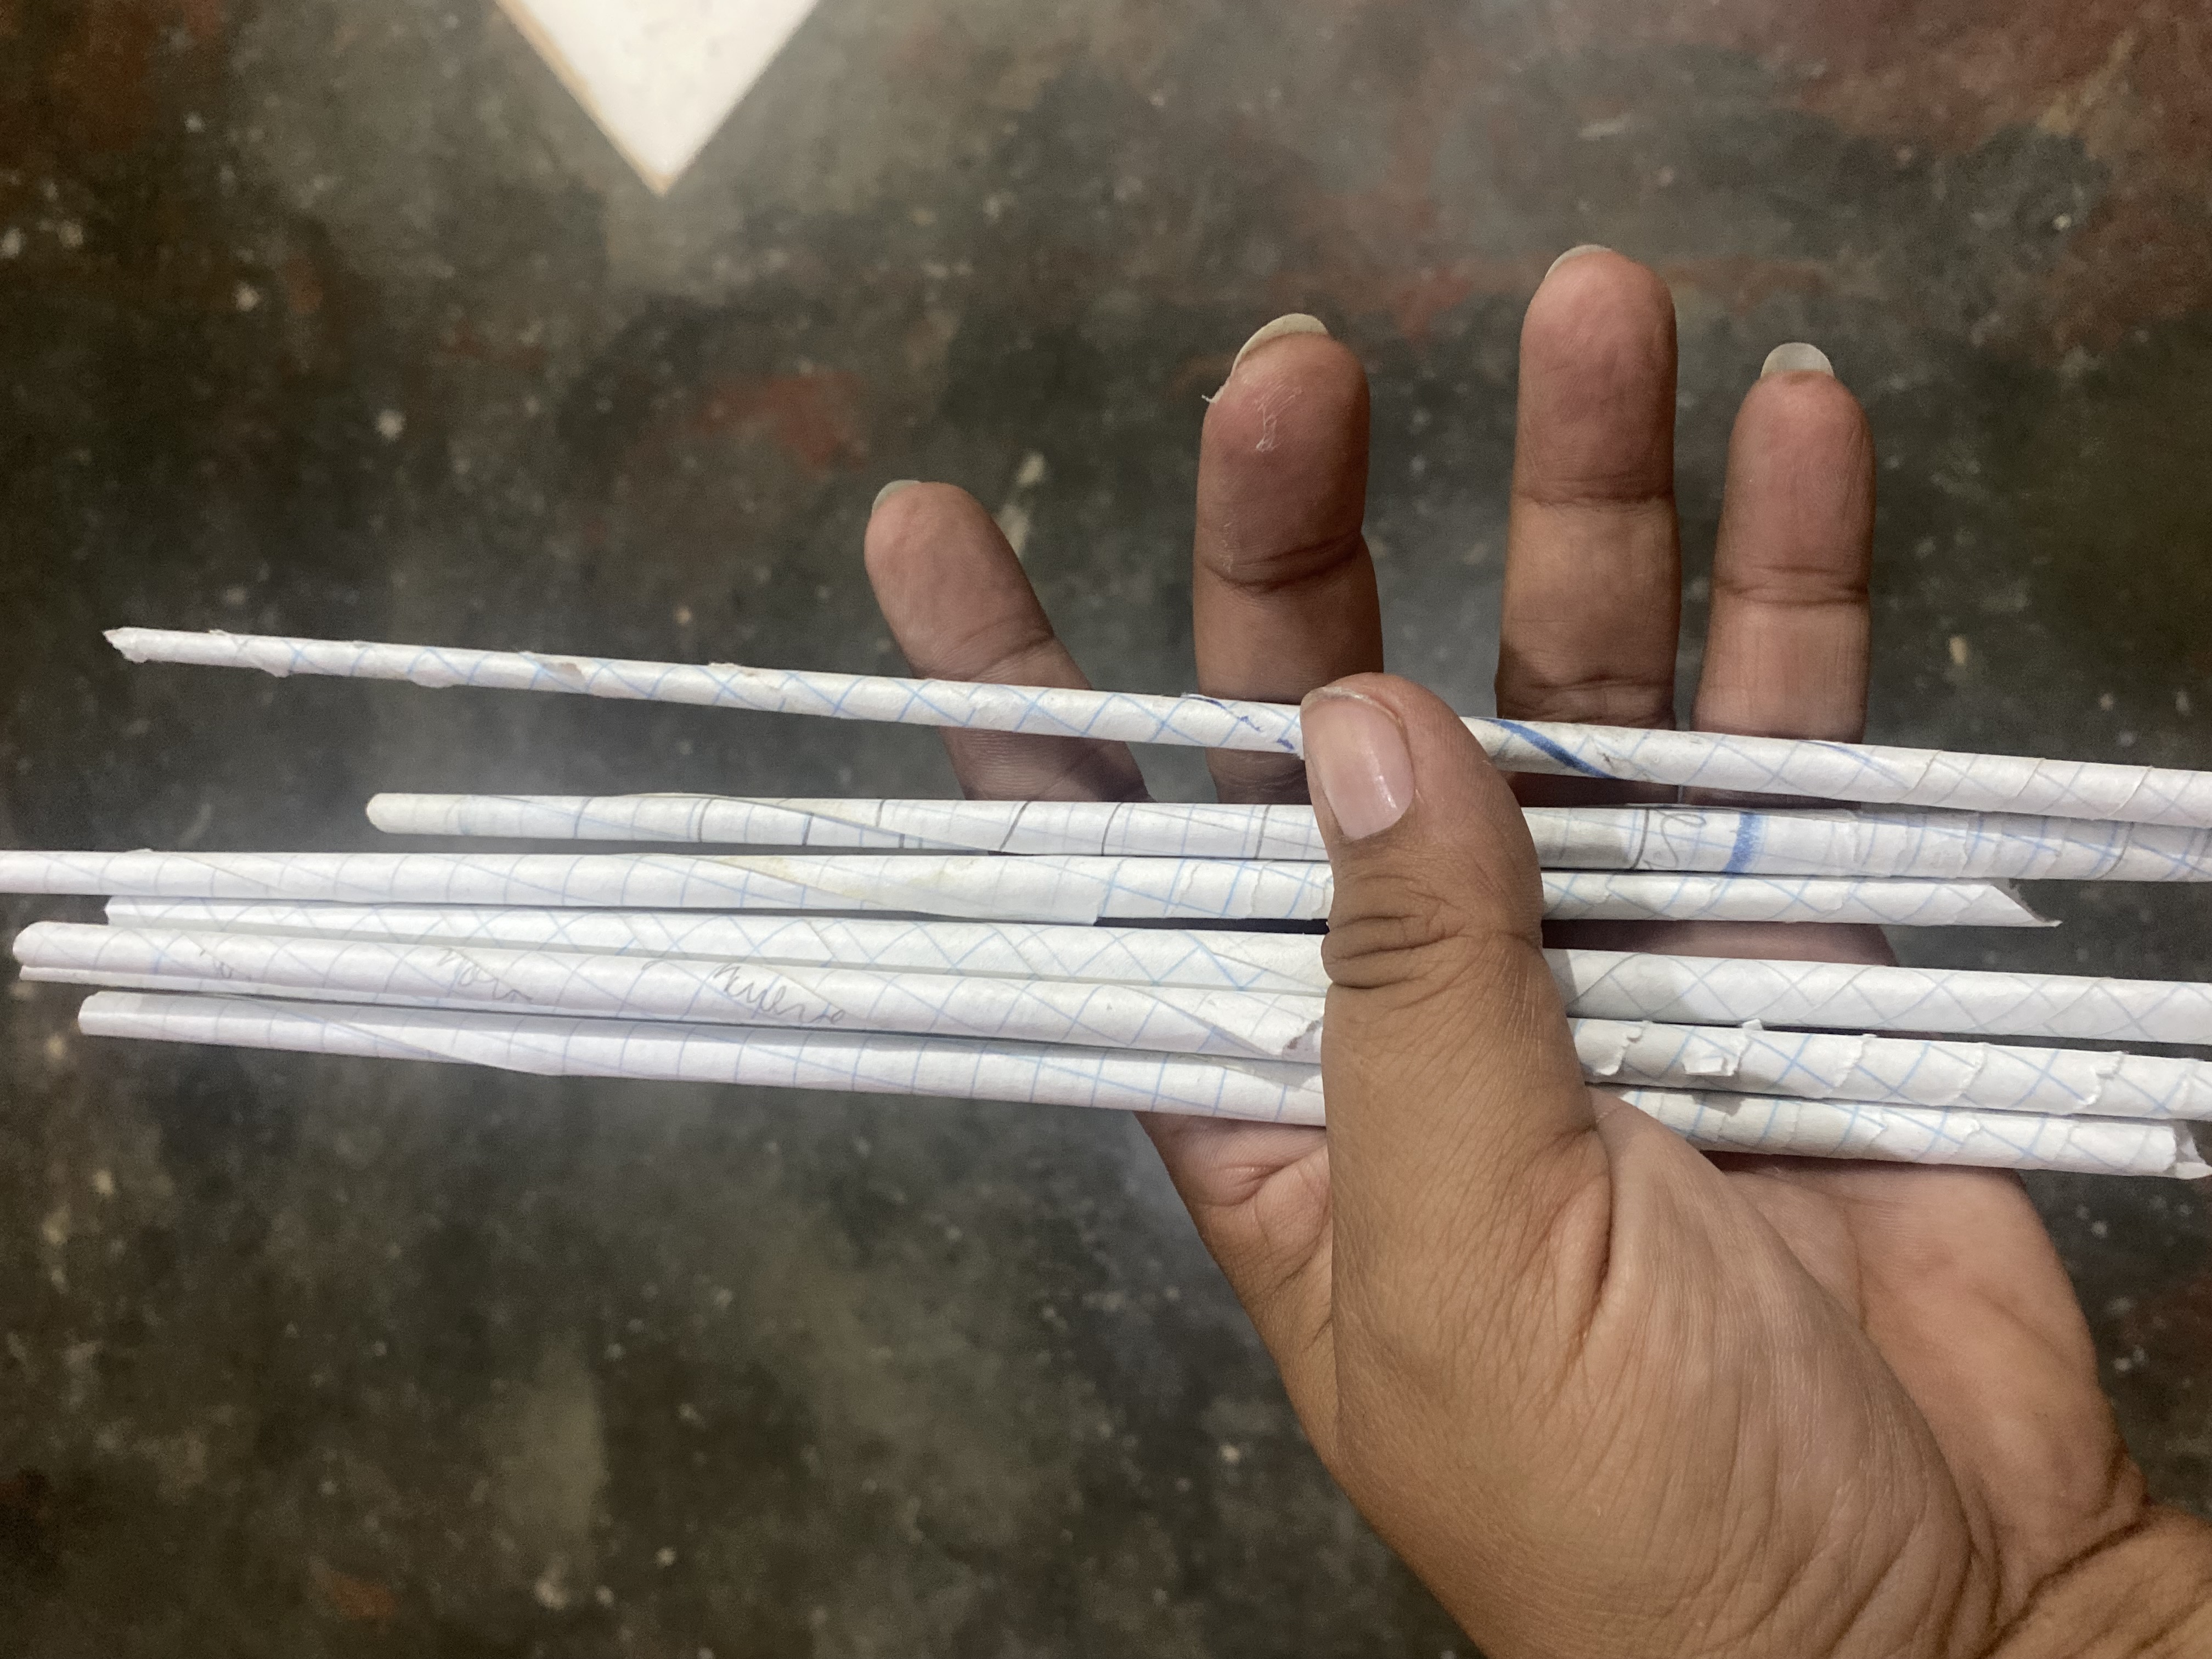
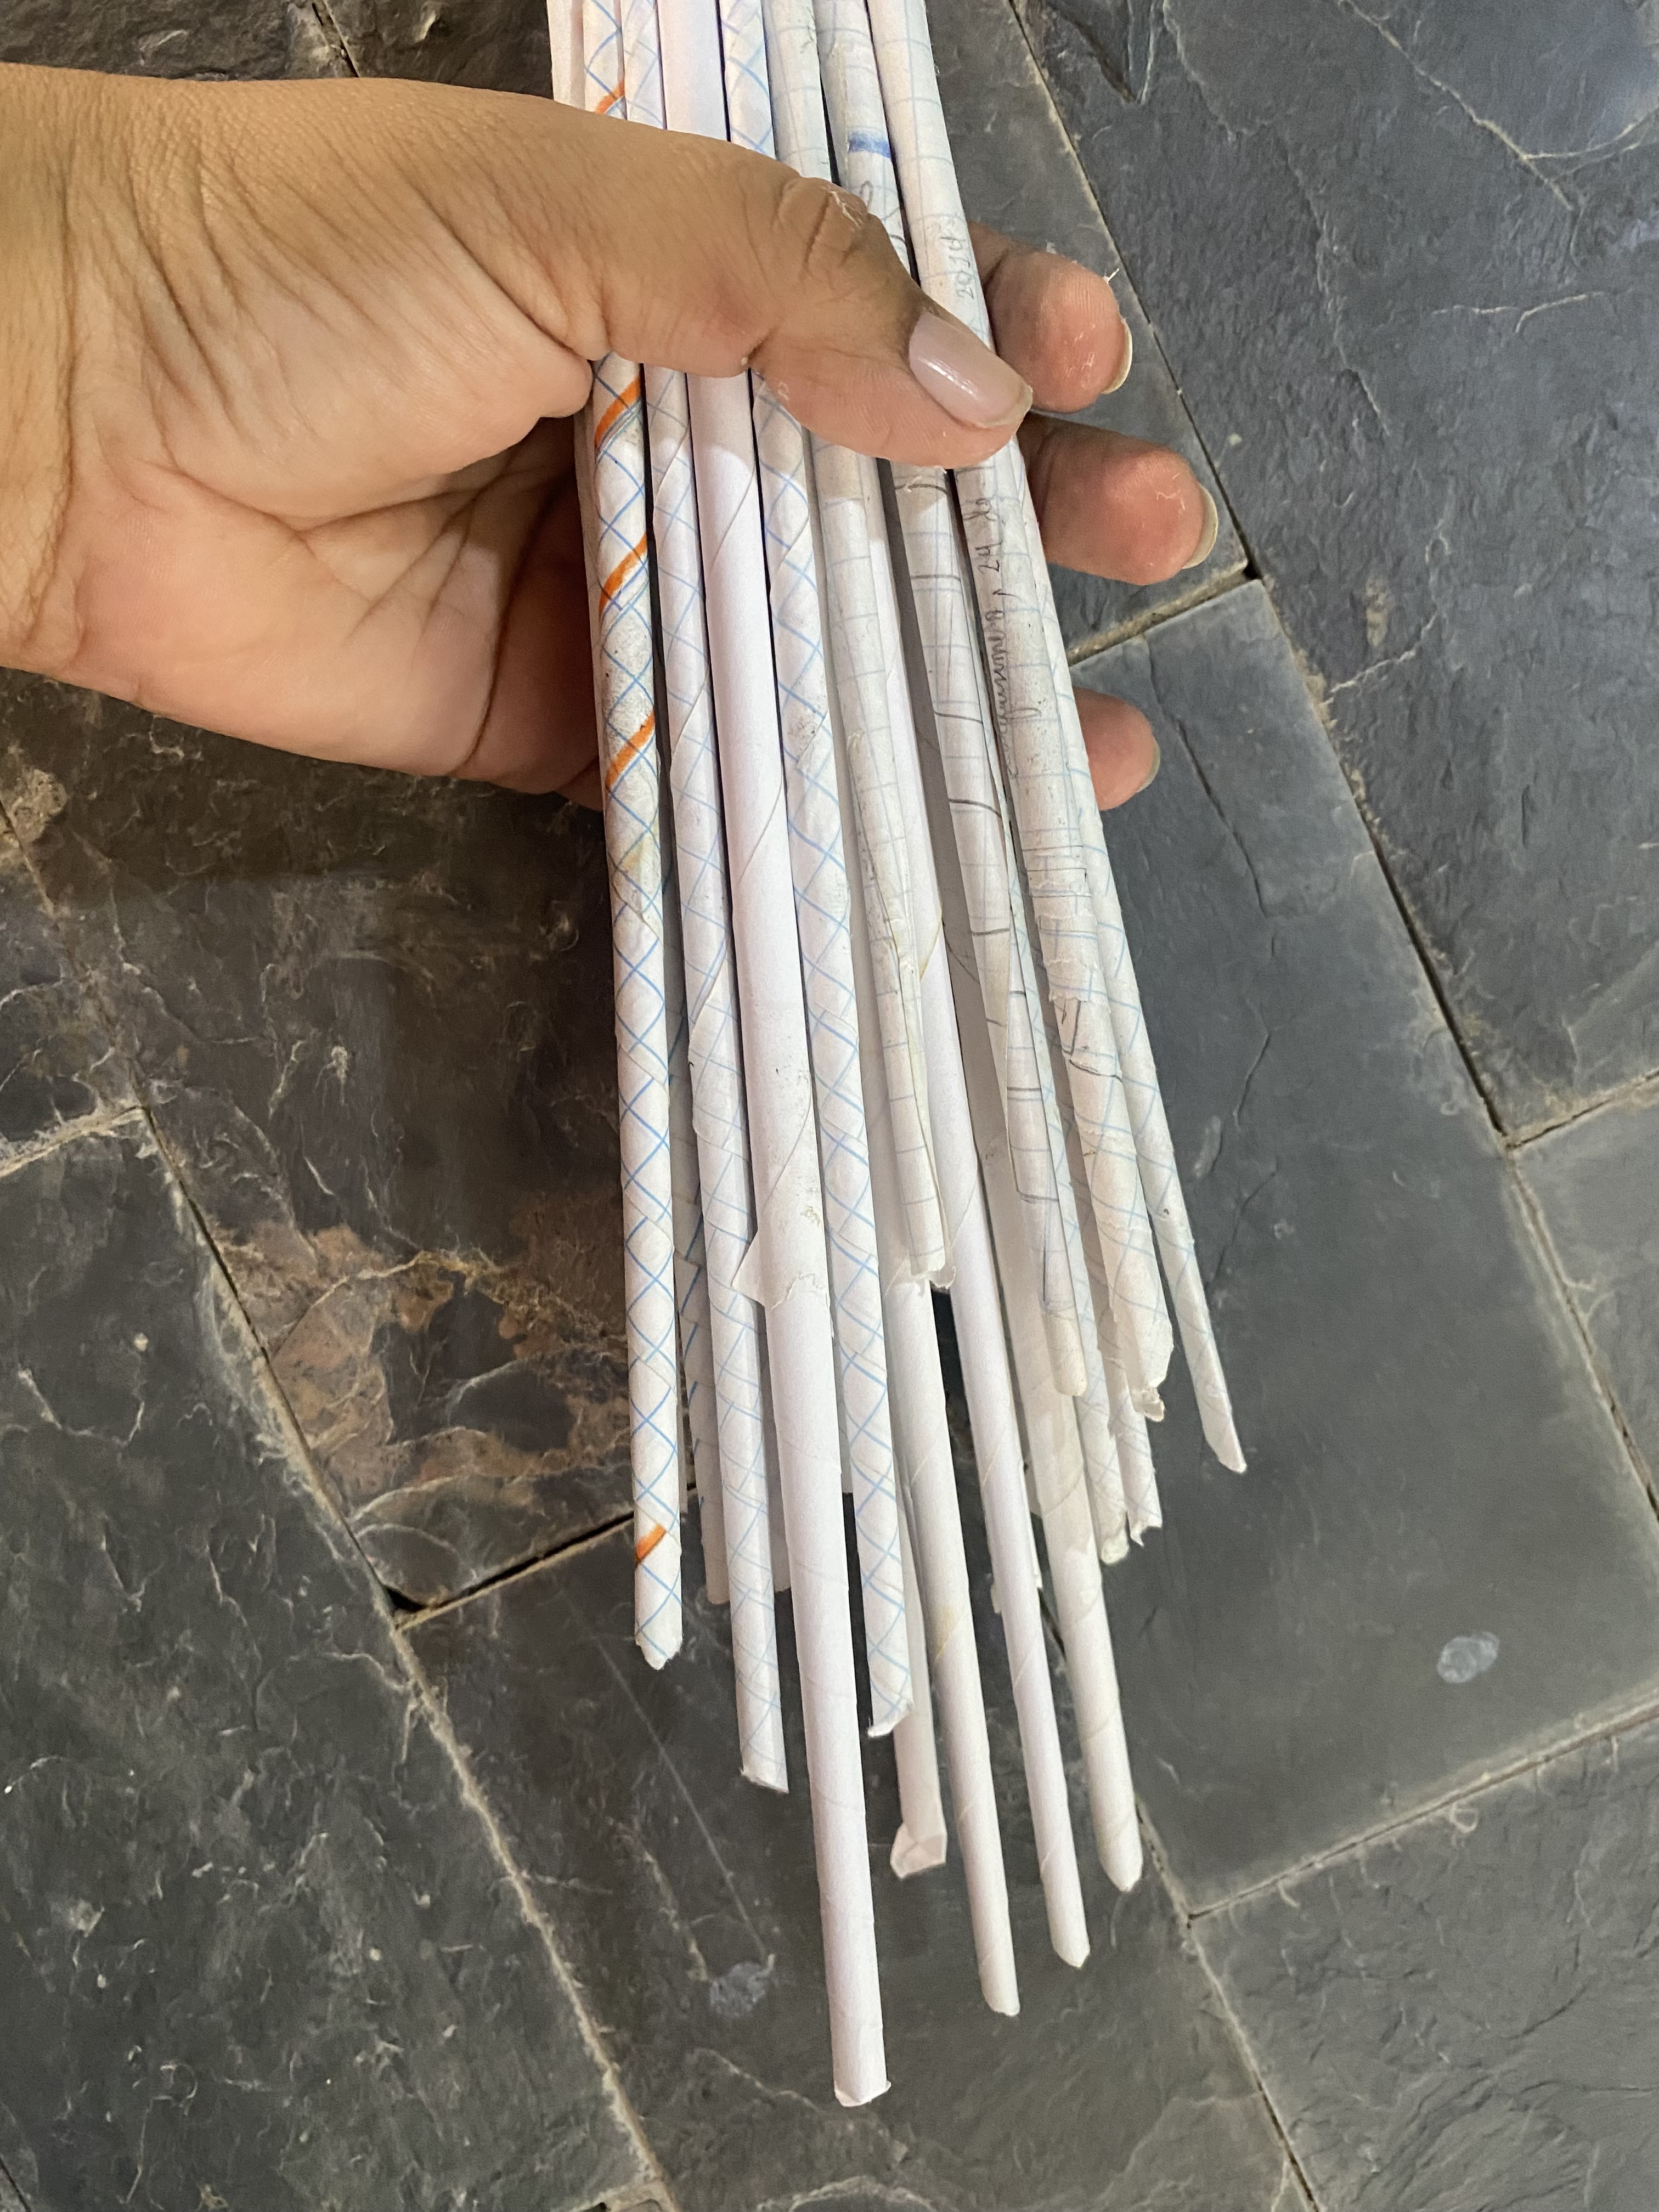
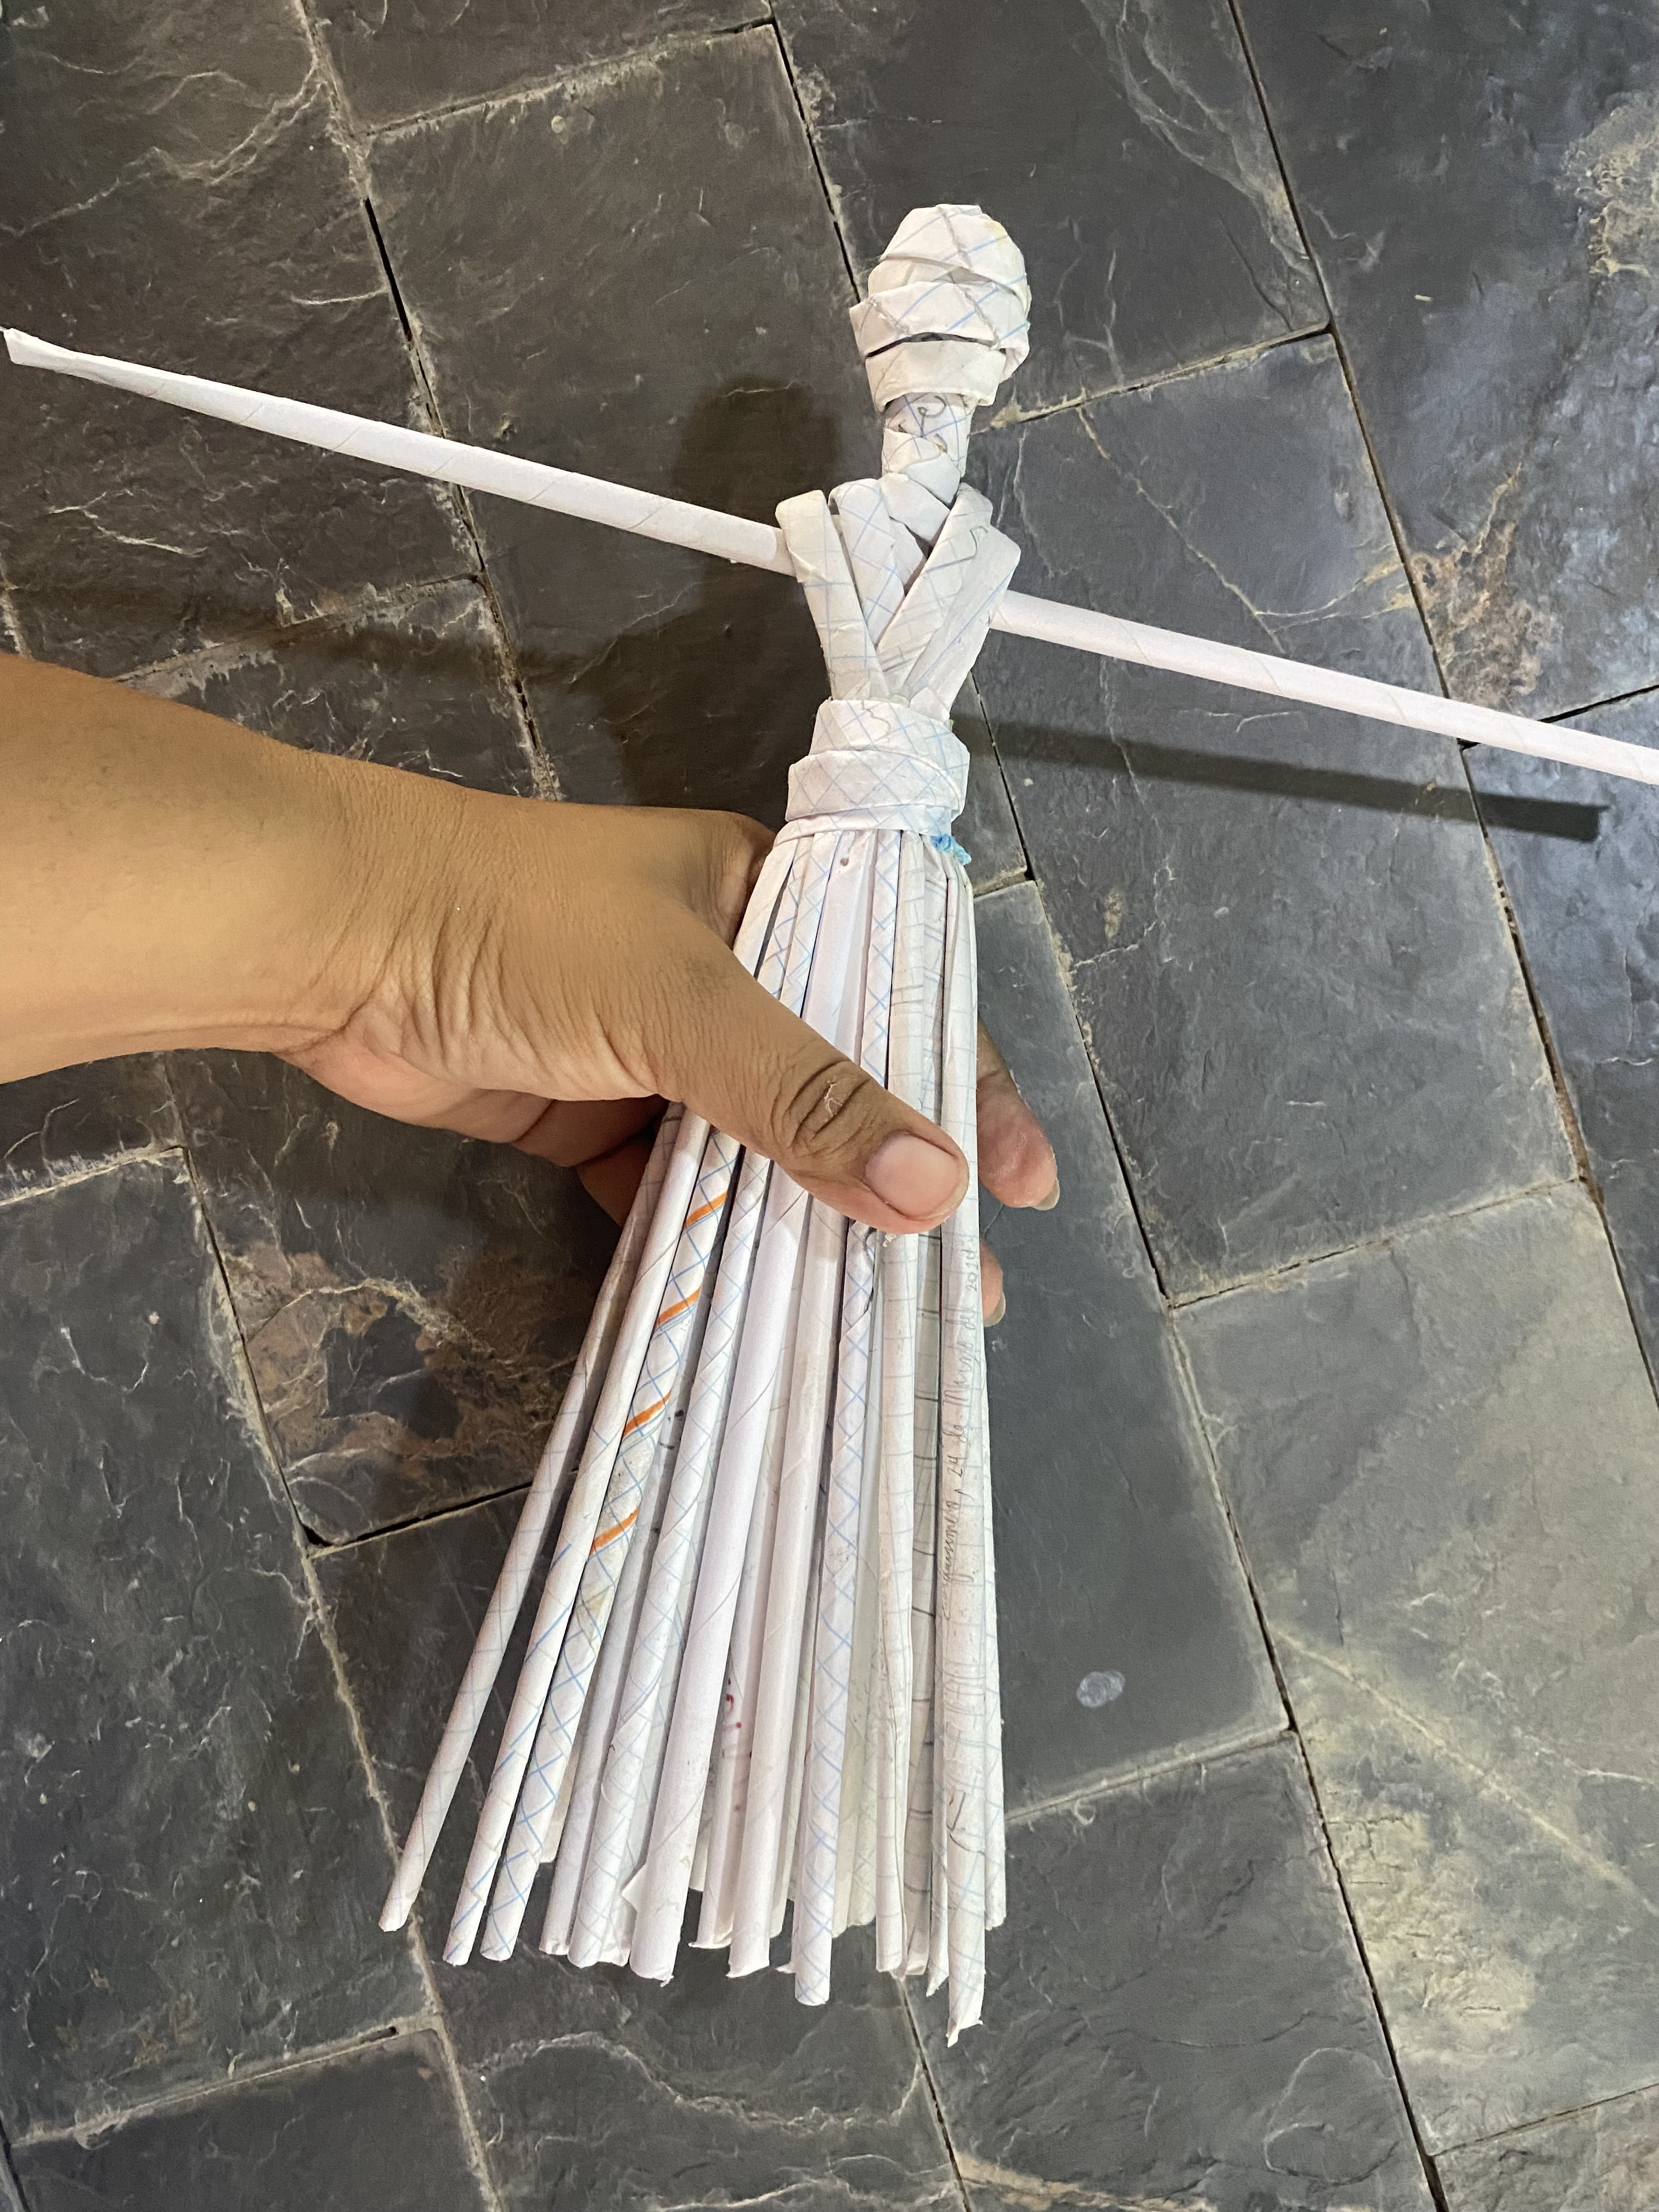
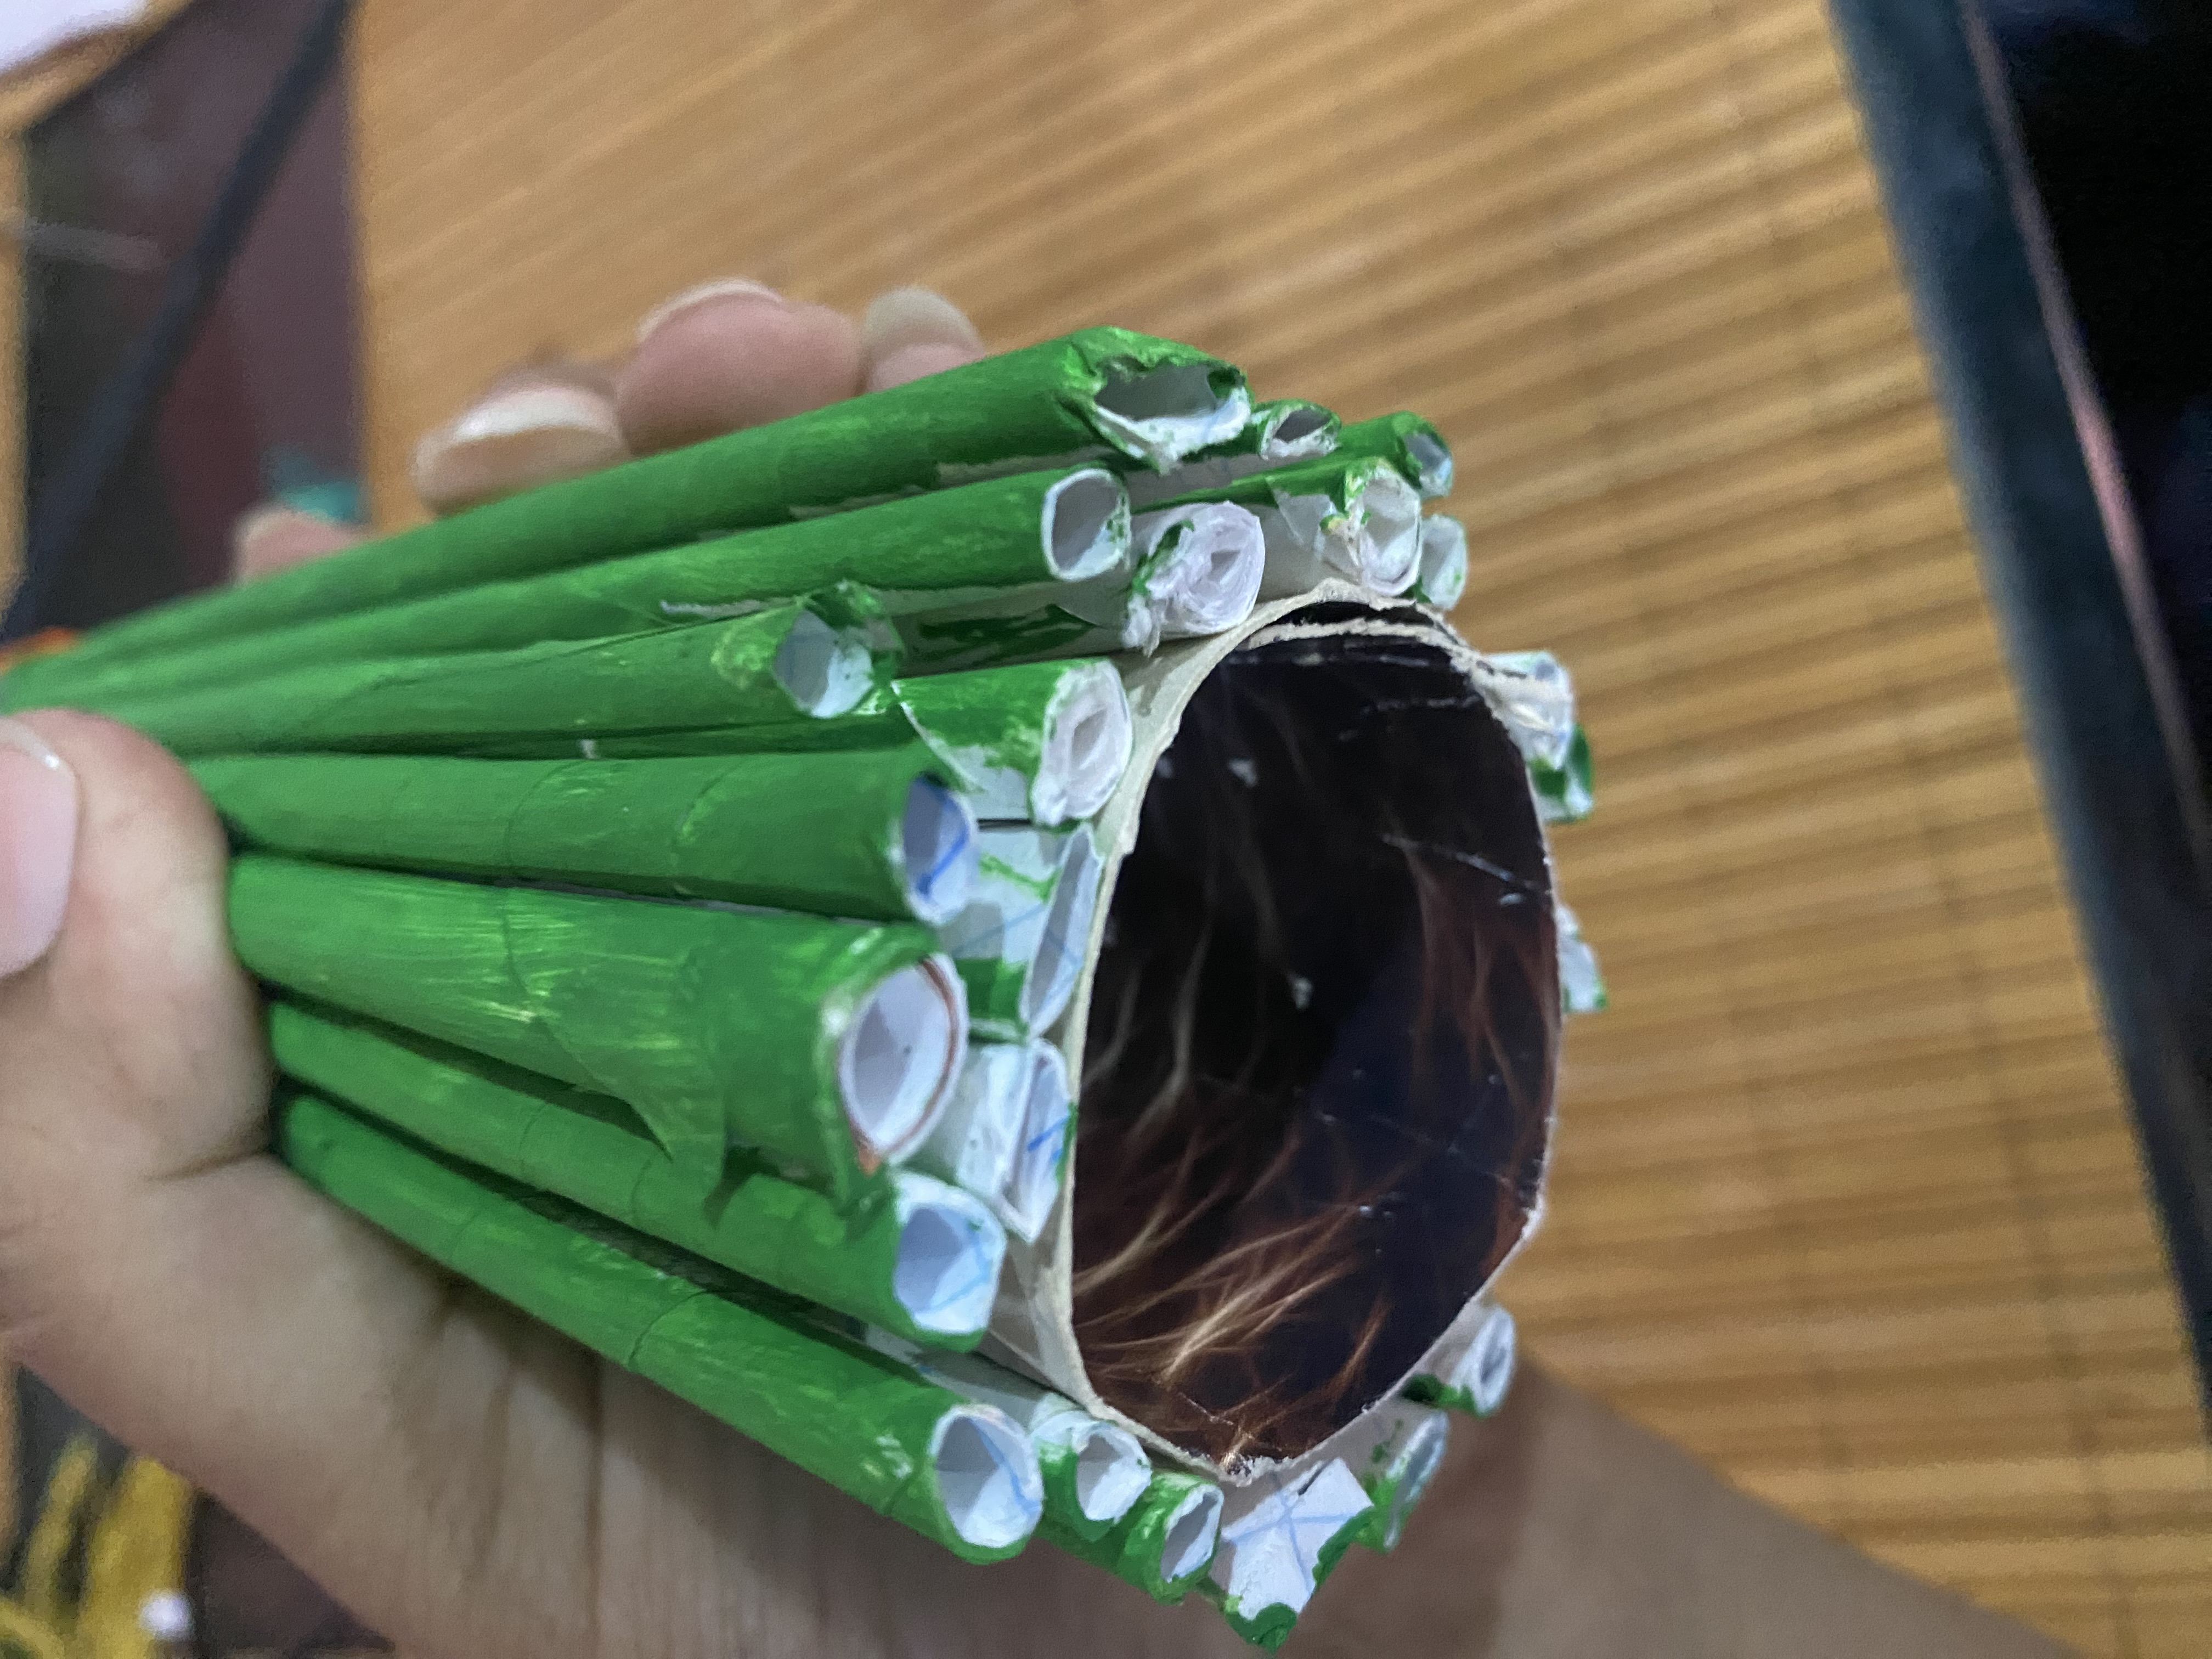
To start, we are going to get a good amount of sheets, approximately 50 recycling sheets for each doll, they can be notebook sheets, work-sized sheets, you can also use magazine sheets or newspapers.
We will start by folding all these leaves in the shape of a stick, we will roll them up using scissors, lifting the edge so that the rolling is easier and at the end we will put some glue on them to fix them.
It is best to roll all the leaves at once, if we are going to make several dolls we can roll many leaves and then give them the shape. This is a little tedious but with patience we will be able to roll all these leaves, helping ourselves a little by wetting our fingers since sometimes The paper is a little complicated to roll.
Para comenzar vamos a conseguir una buena cantidad de hojas, en un aproximado de 50 hojas de reciclaje por cada muñeca, pueden ser hojas de cuaderno, hojas de tamaño trabajos, también puedes utilizar hojas de revista o periódicos.
Comenzaremos doblando todas estas hojas en forma de palito, las vamos a enrollar ayudándonos con una tijera levantándo la orilla para que el enrollado sea más fácil y al final les ponemos algo de pega para que fijen.
Lo mejor es enrollar todas las hojas de una vez, si vamos a hacer varias muñecas podemos enrollar muchísimas hojas para luego darles la forma, Esto es un poco tedioso pero con paciencia lograremos enrollar todas estas hojas ayudándonos un poco humedeciendo nuestros dedos ya que a veces el papel es un poco complicado para enrollarlo.
 |  |
|---|---|
 |  |
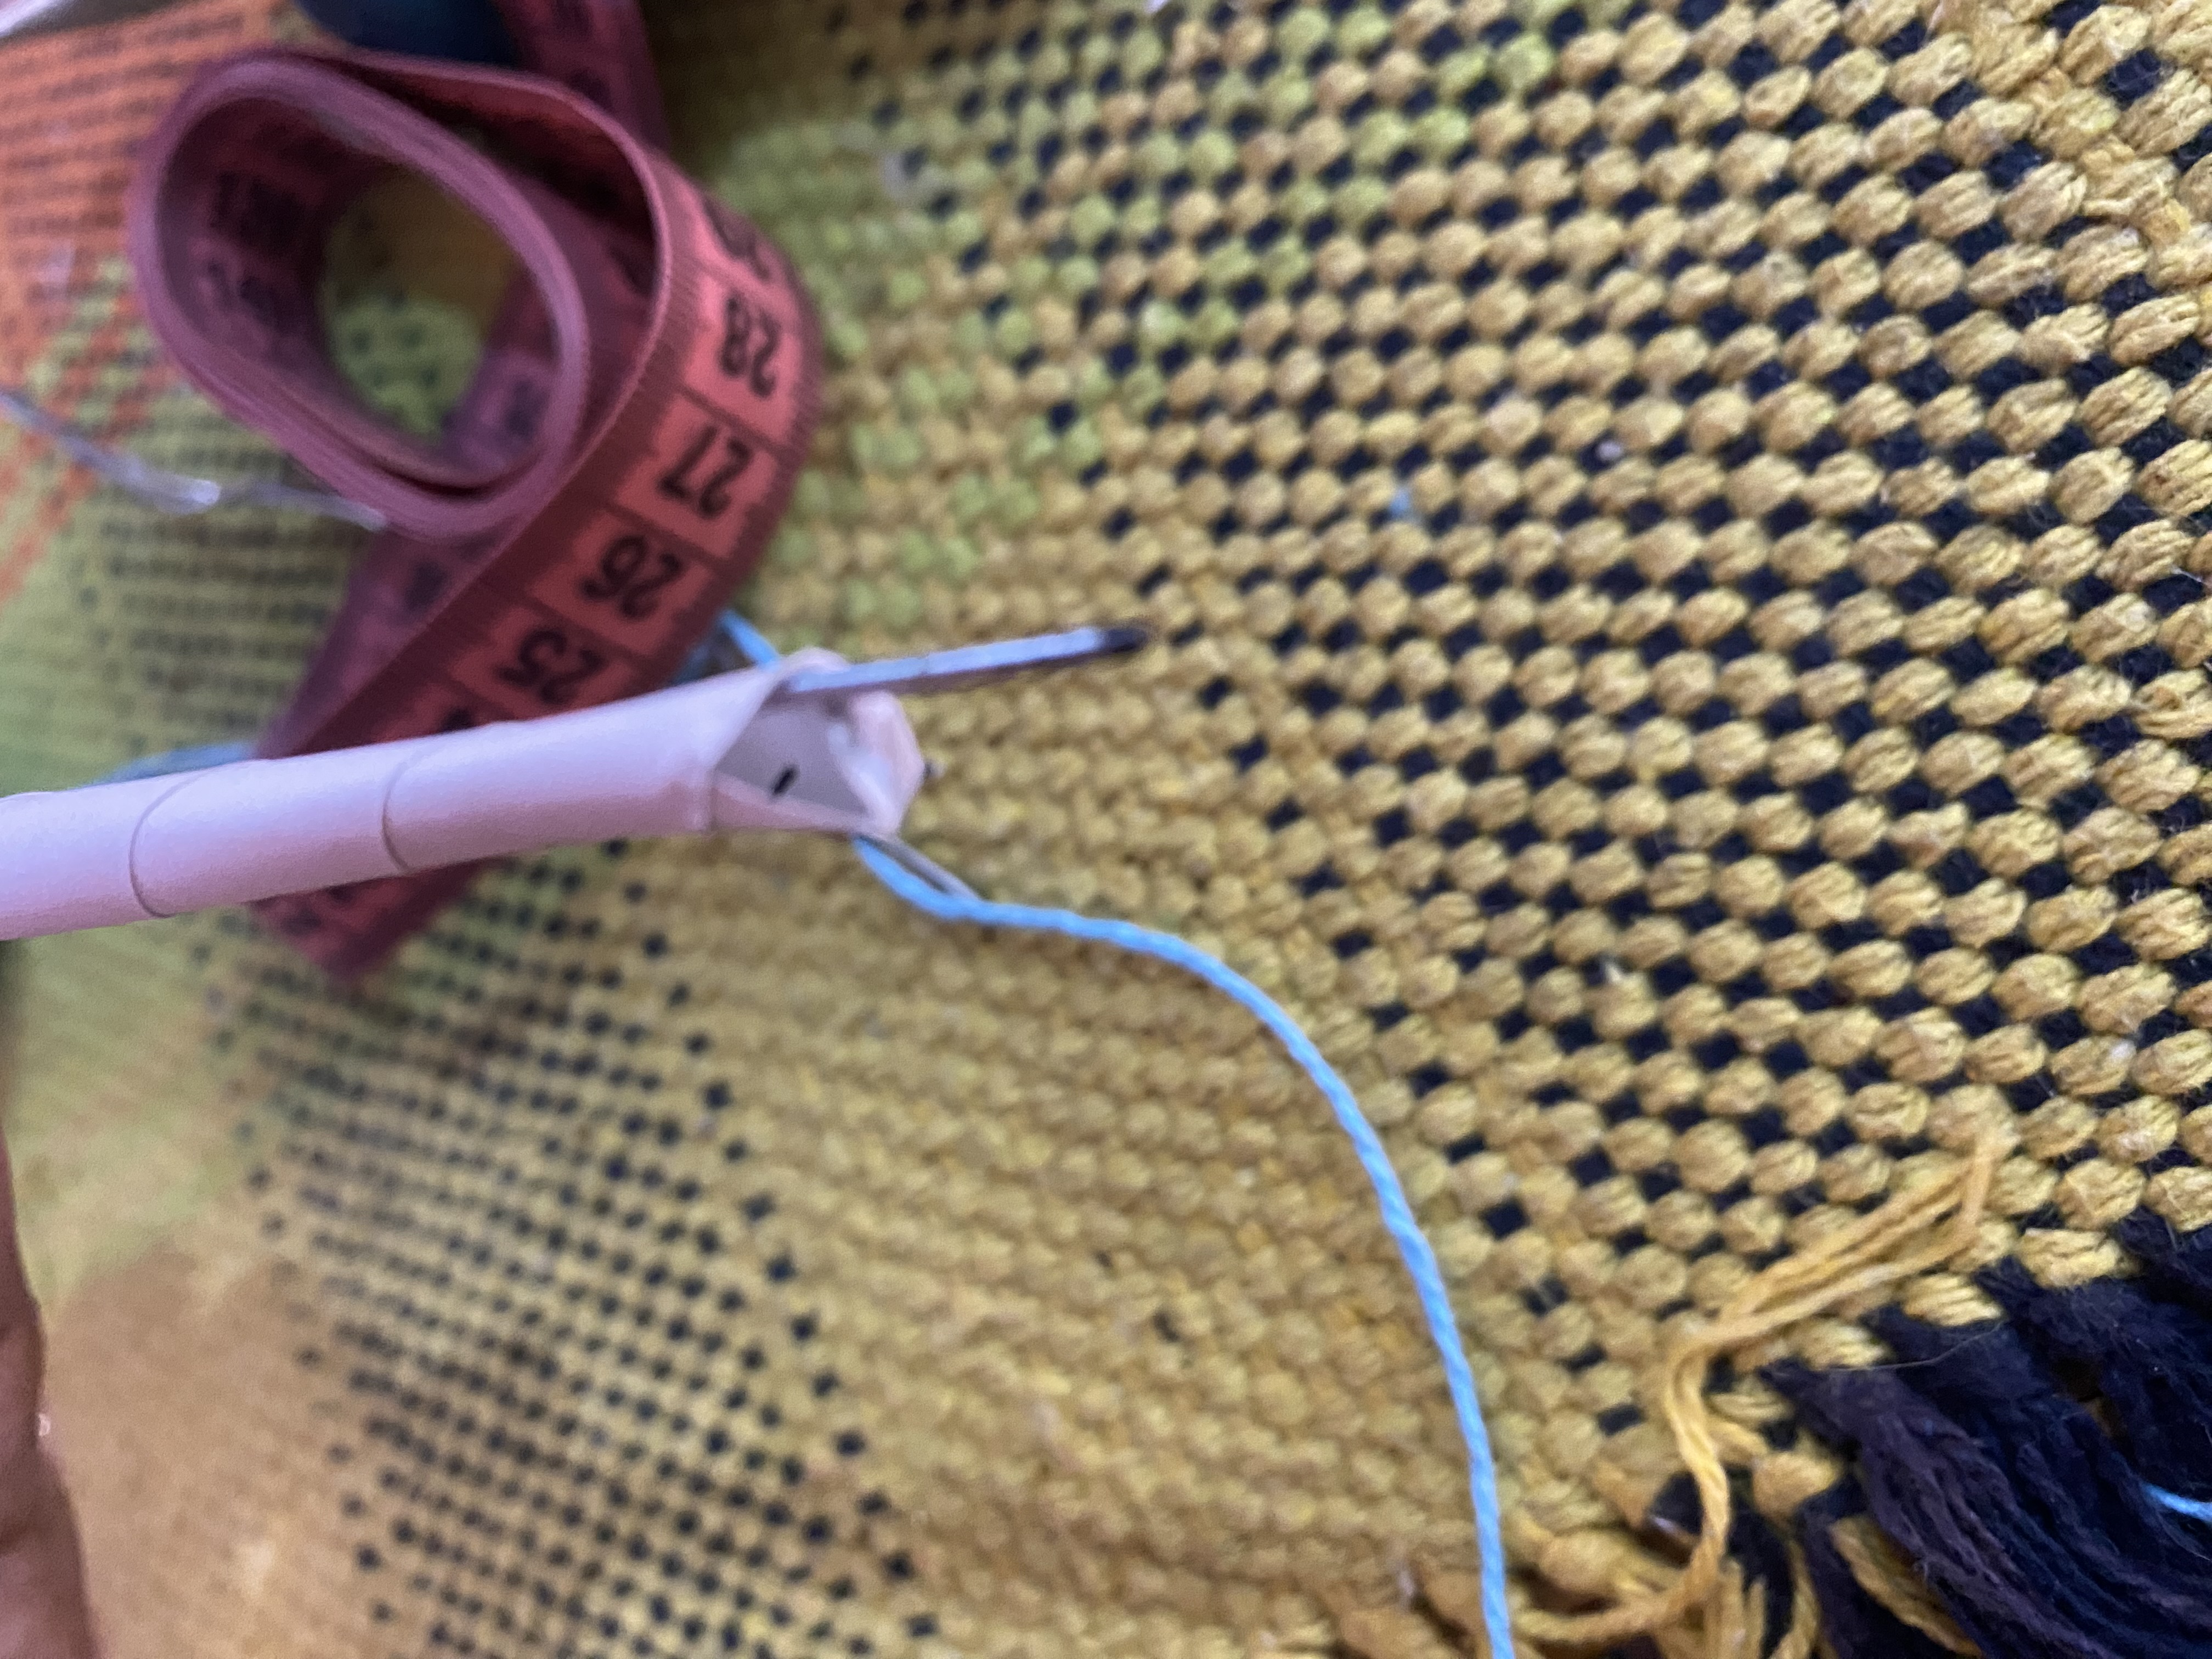
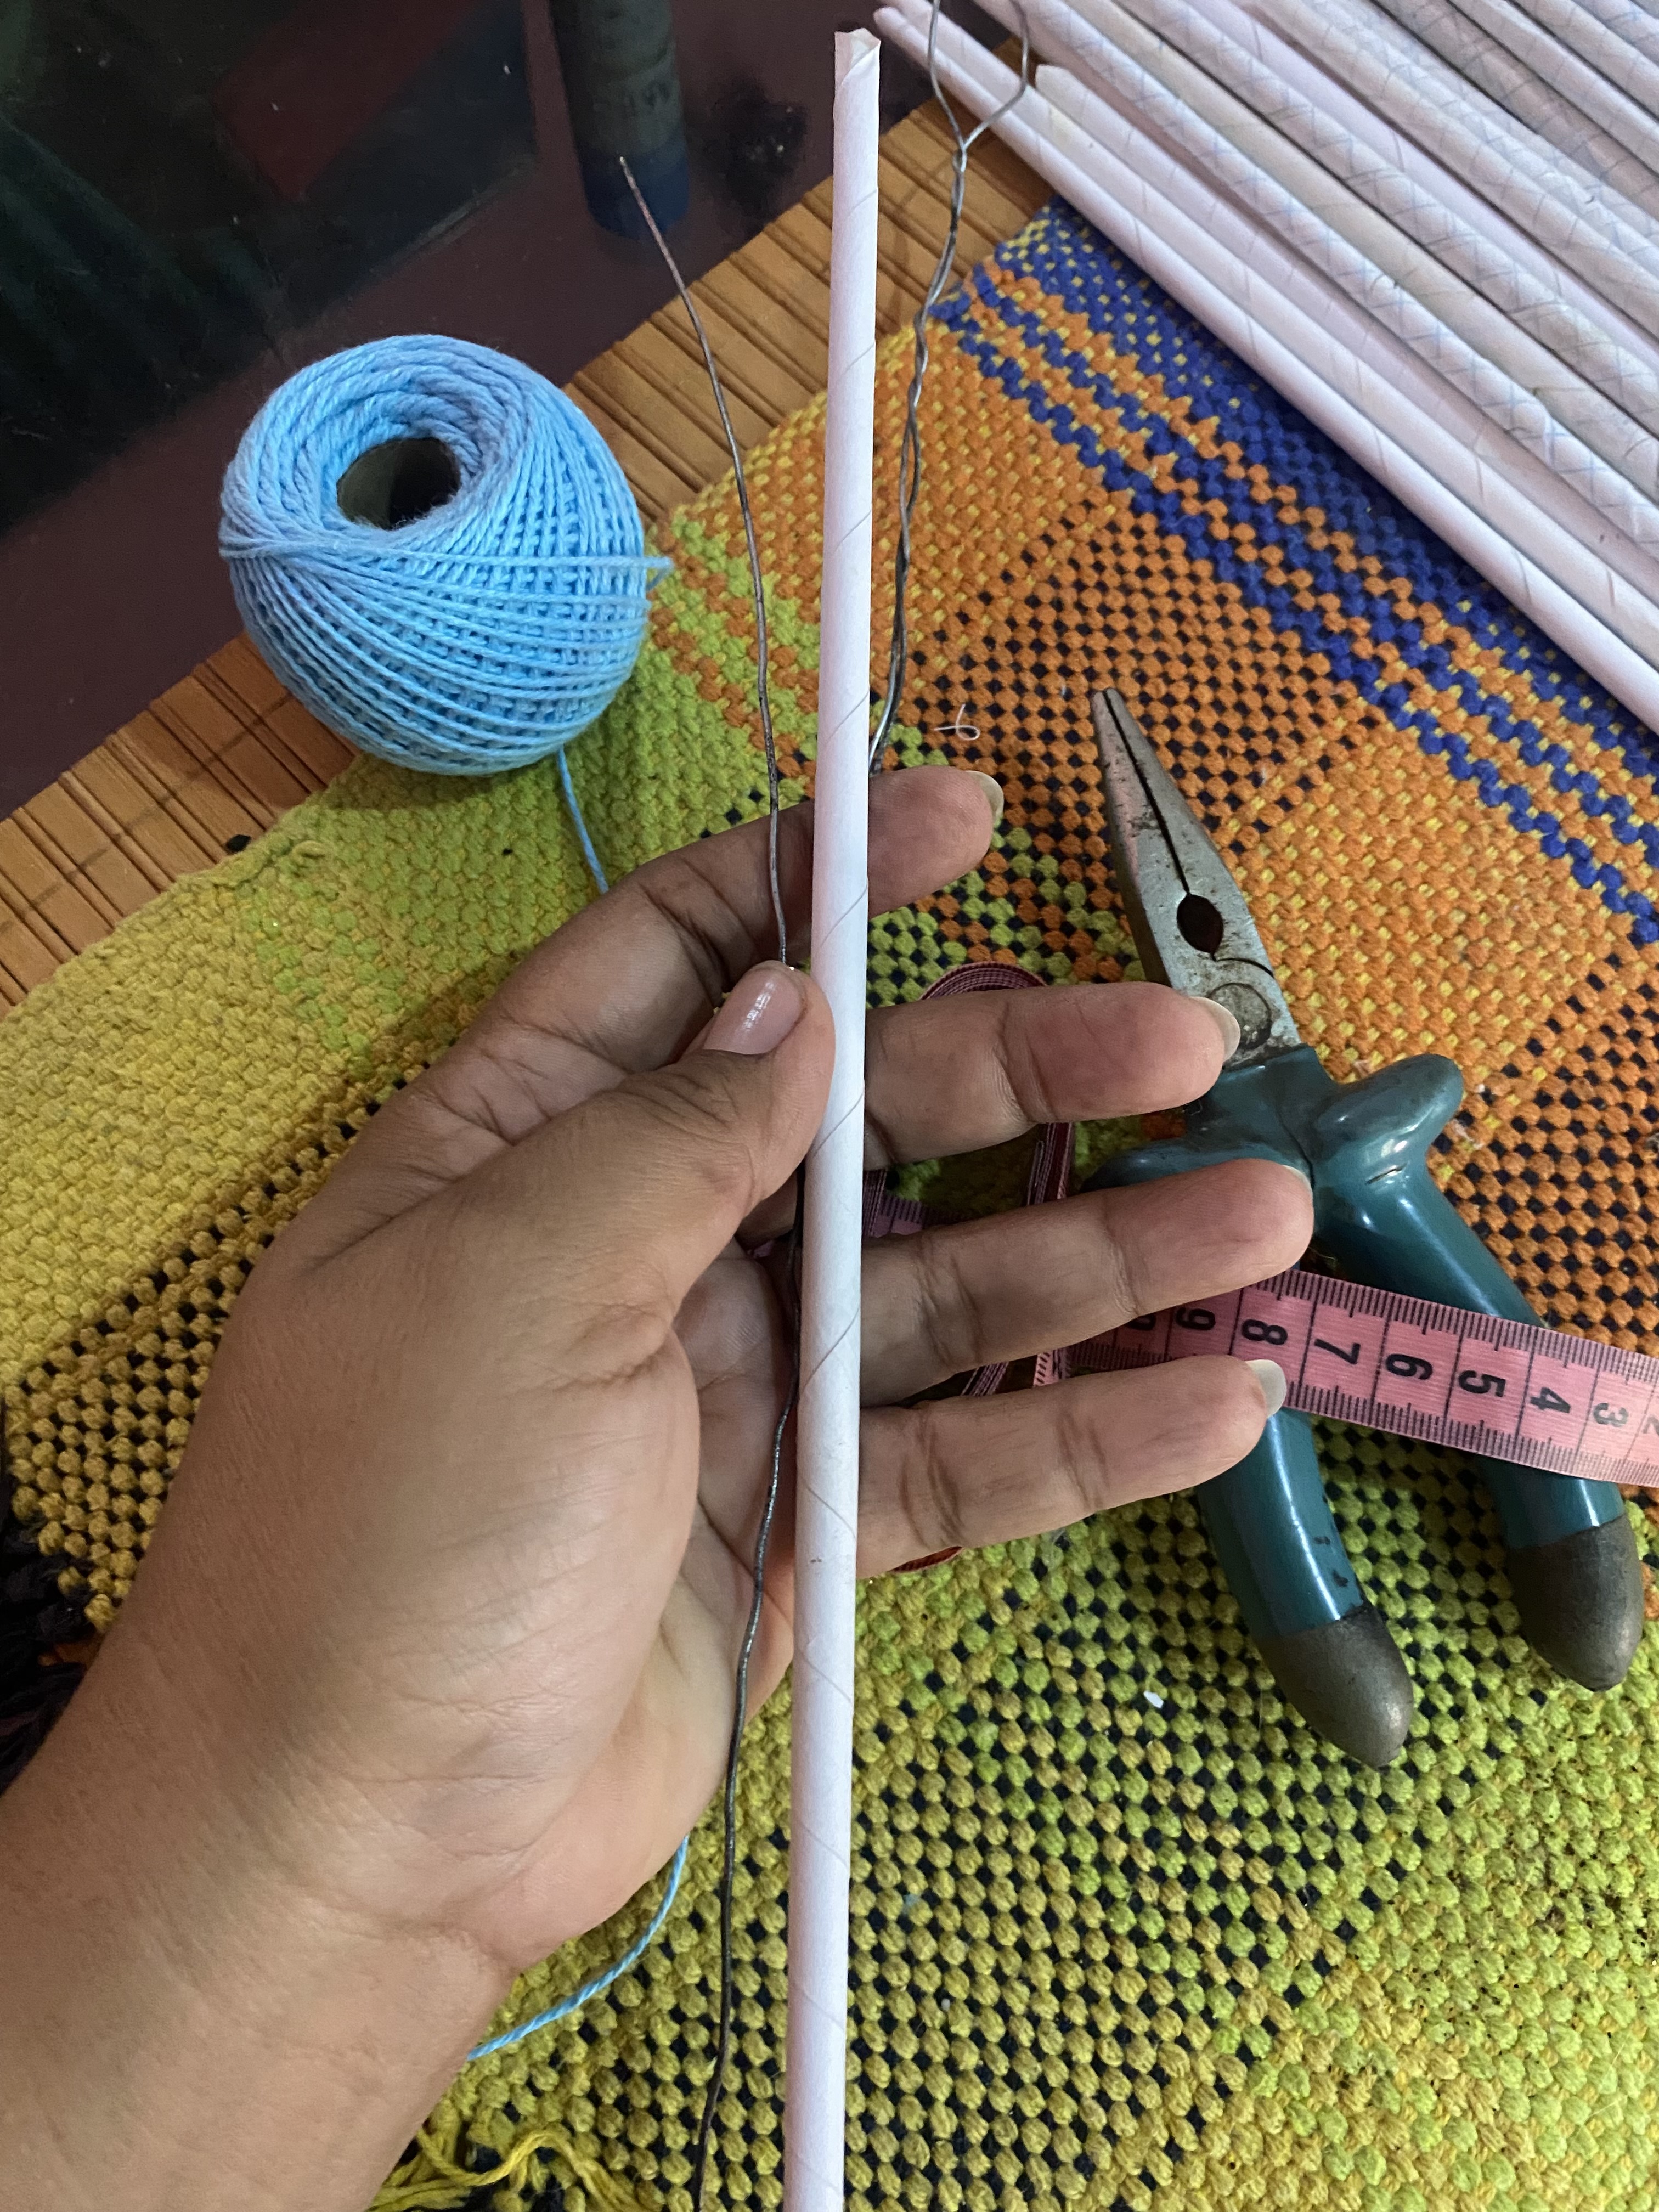
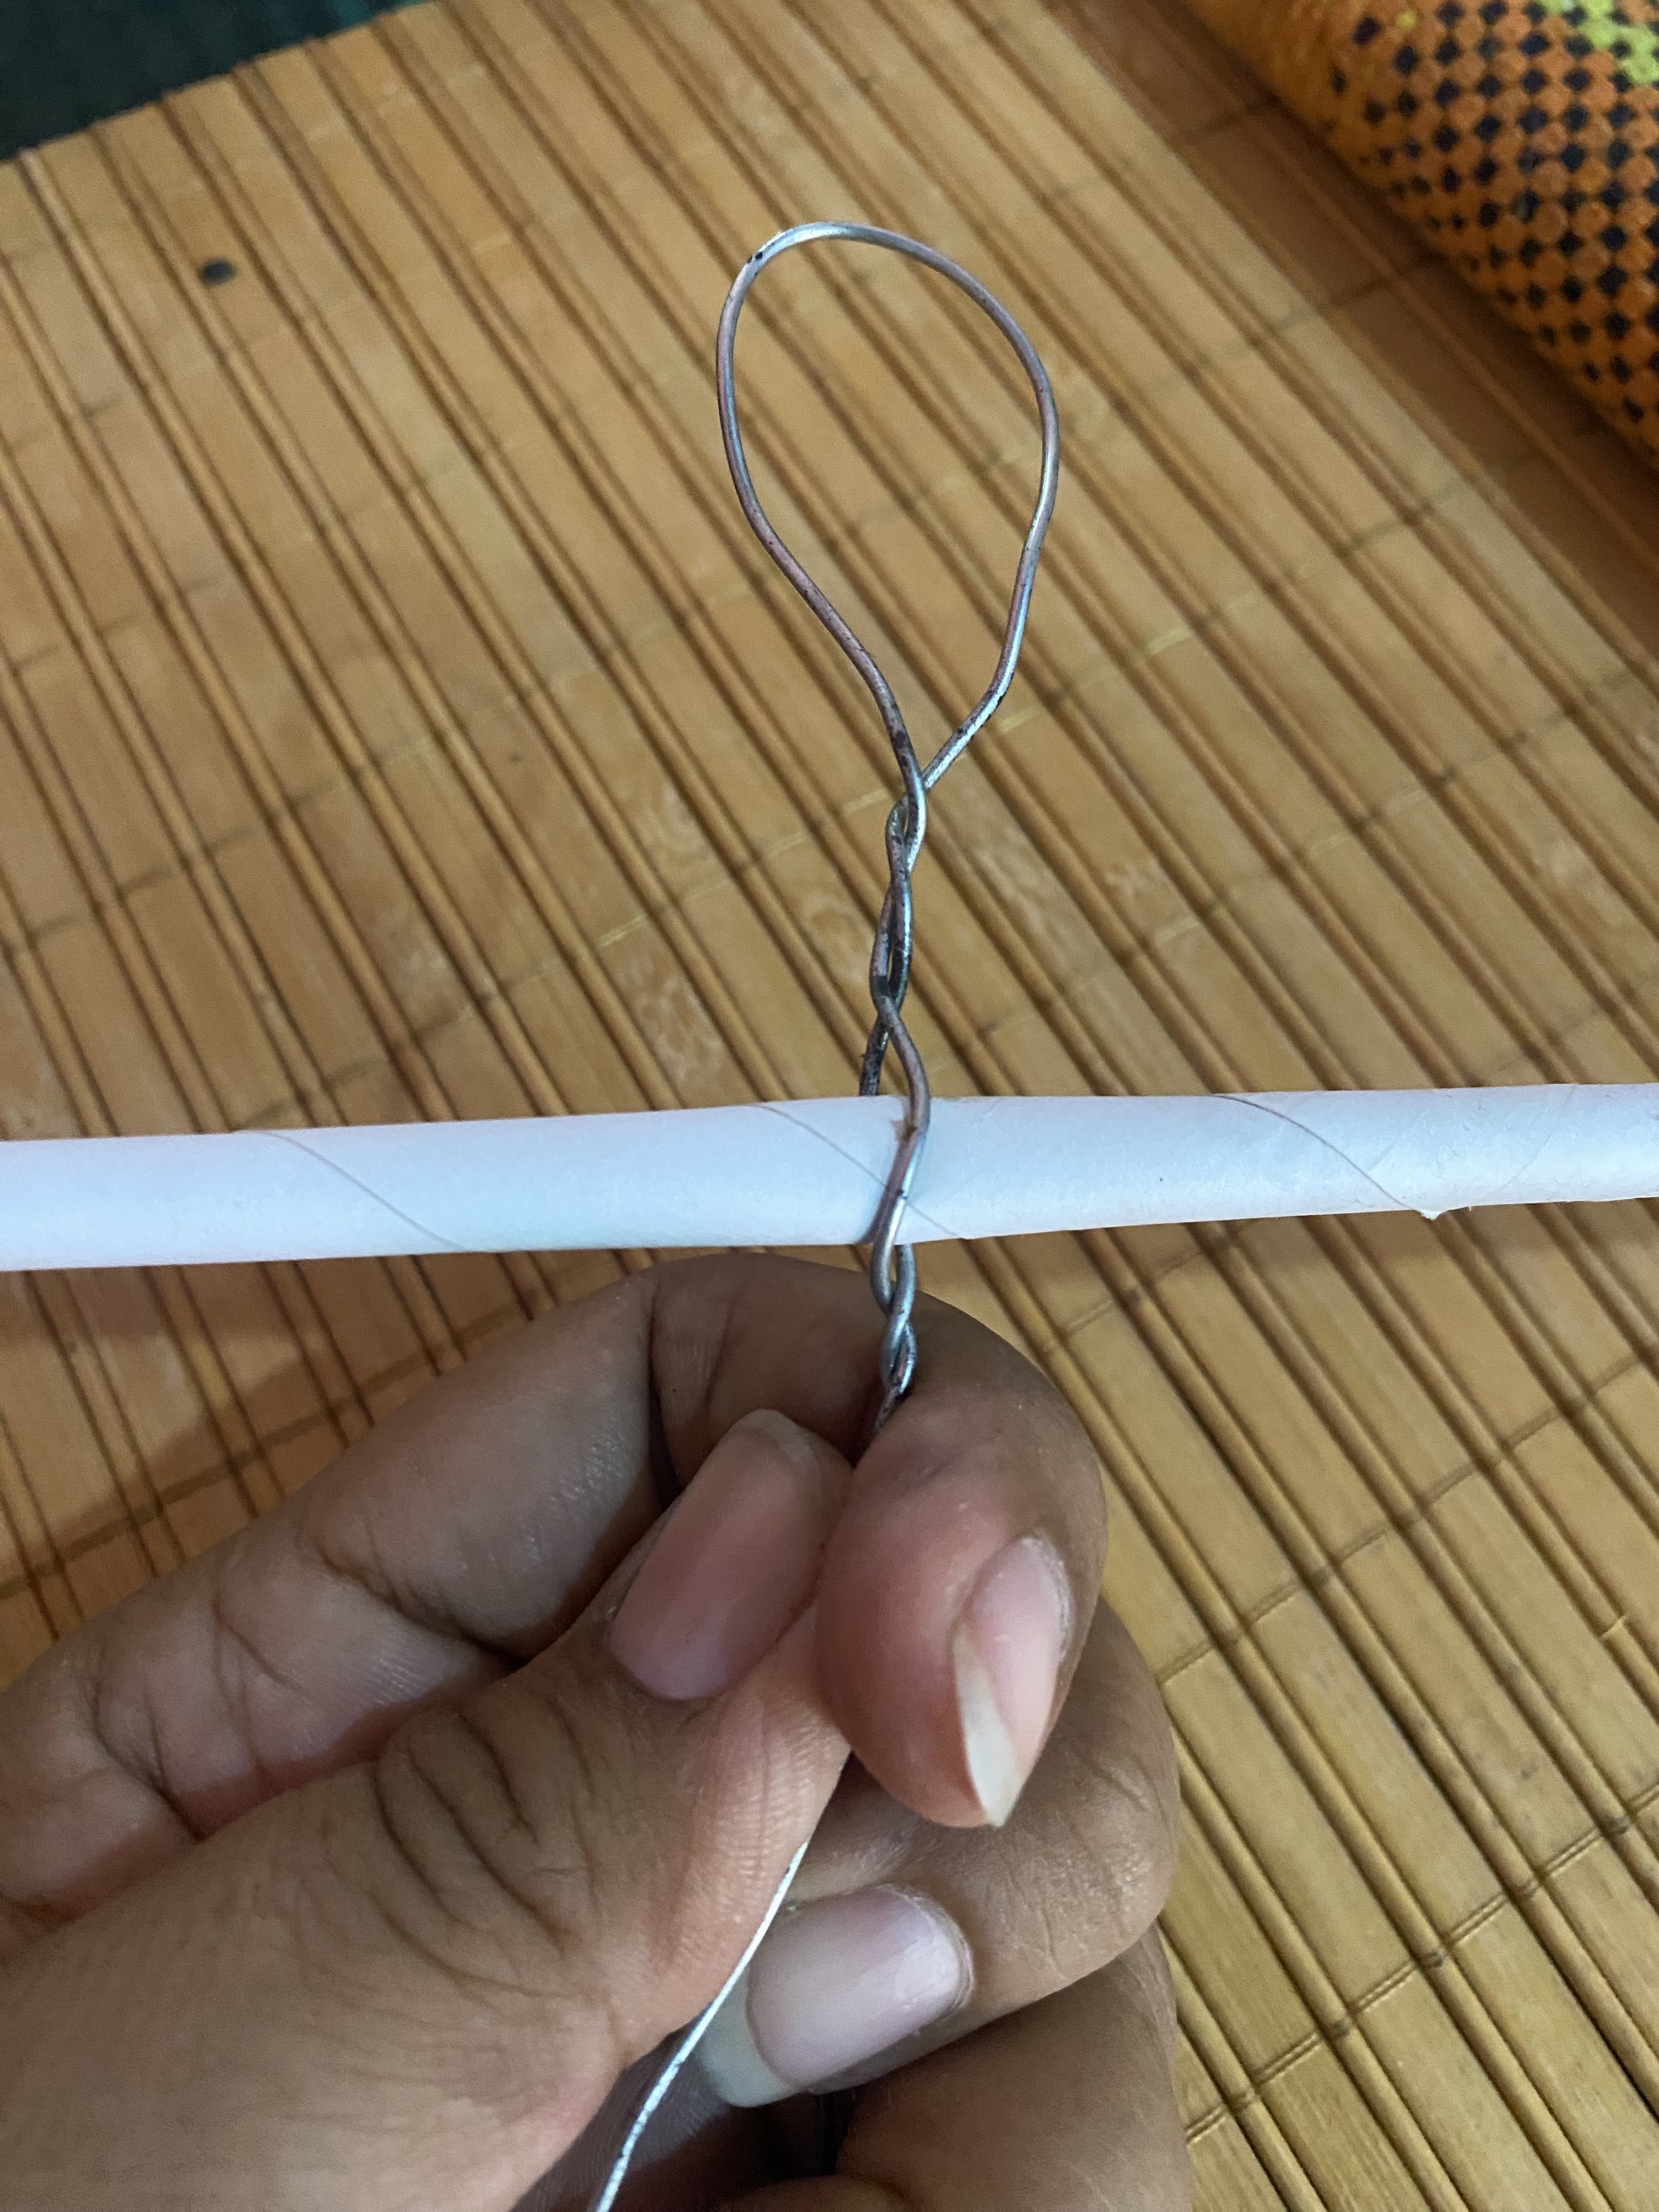
Then we cut a piece of wire of approximately 32 cm and insert it inside one of the paper sticks. This will be the arms of our doll, then in the middle we are going to screw another piece of wire of approximately 60 cm, this one to provide strength in the head and body part
Luego Cortamos un trozo de alambre de aproximadamente 32 cm y lo introducimos adentro de uno de los palitos de papel, Éste serán los brazos de nuestra muñeca , luego a la mitad vamos a enroscarle otro trozo de alambre de aproximadamente 60 cm este para hacer fuerza en la parte de la cabeza y el cuerpo
 |  |
|---|---|
 |
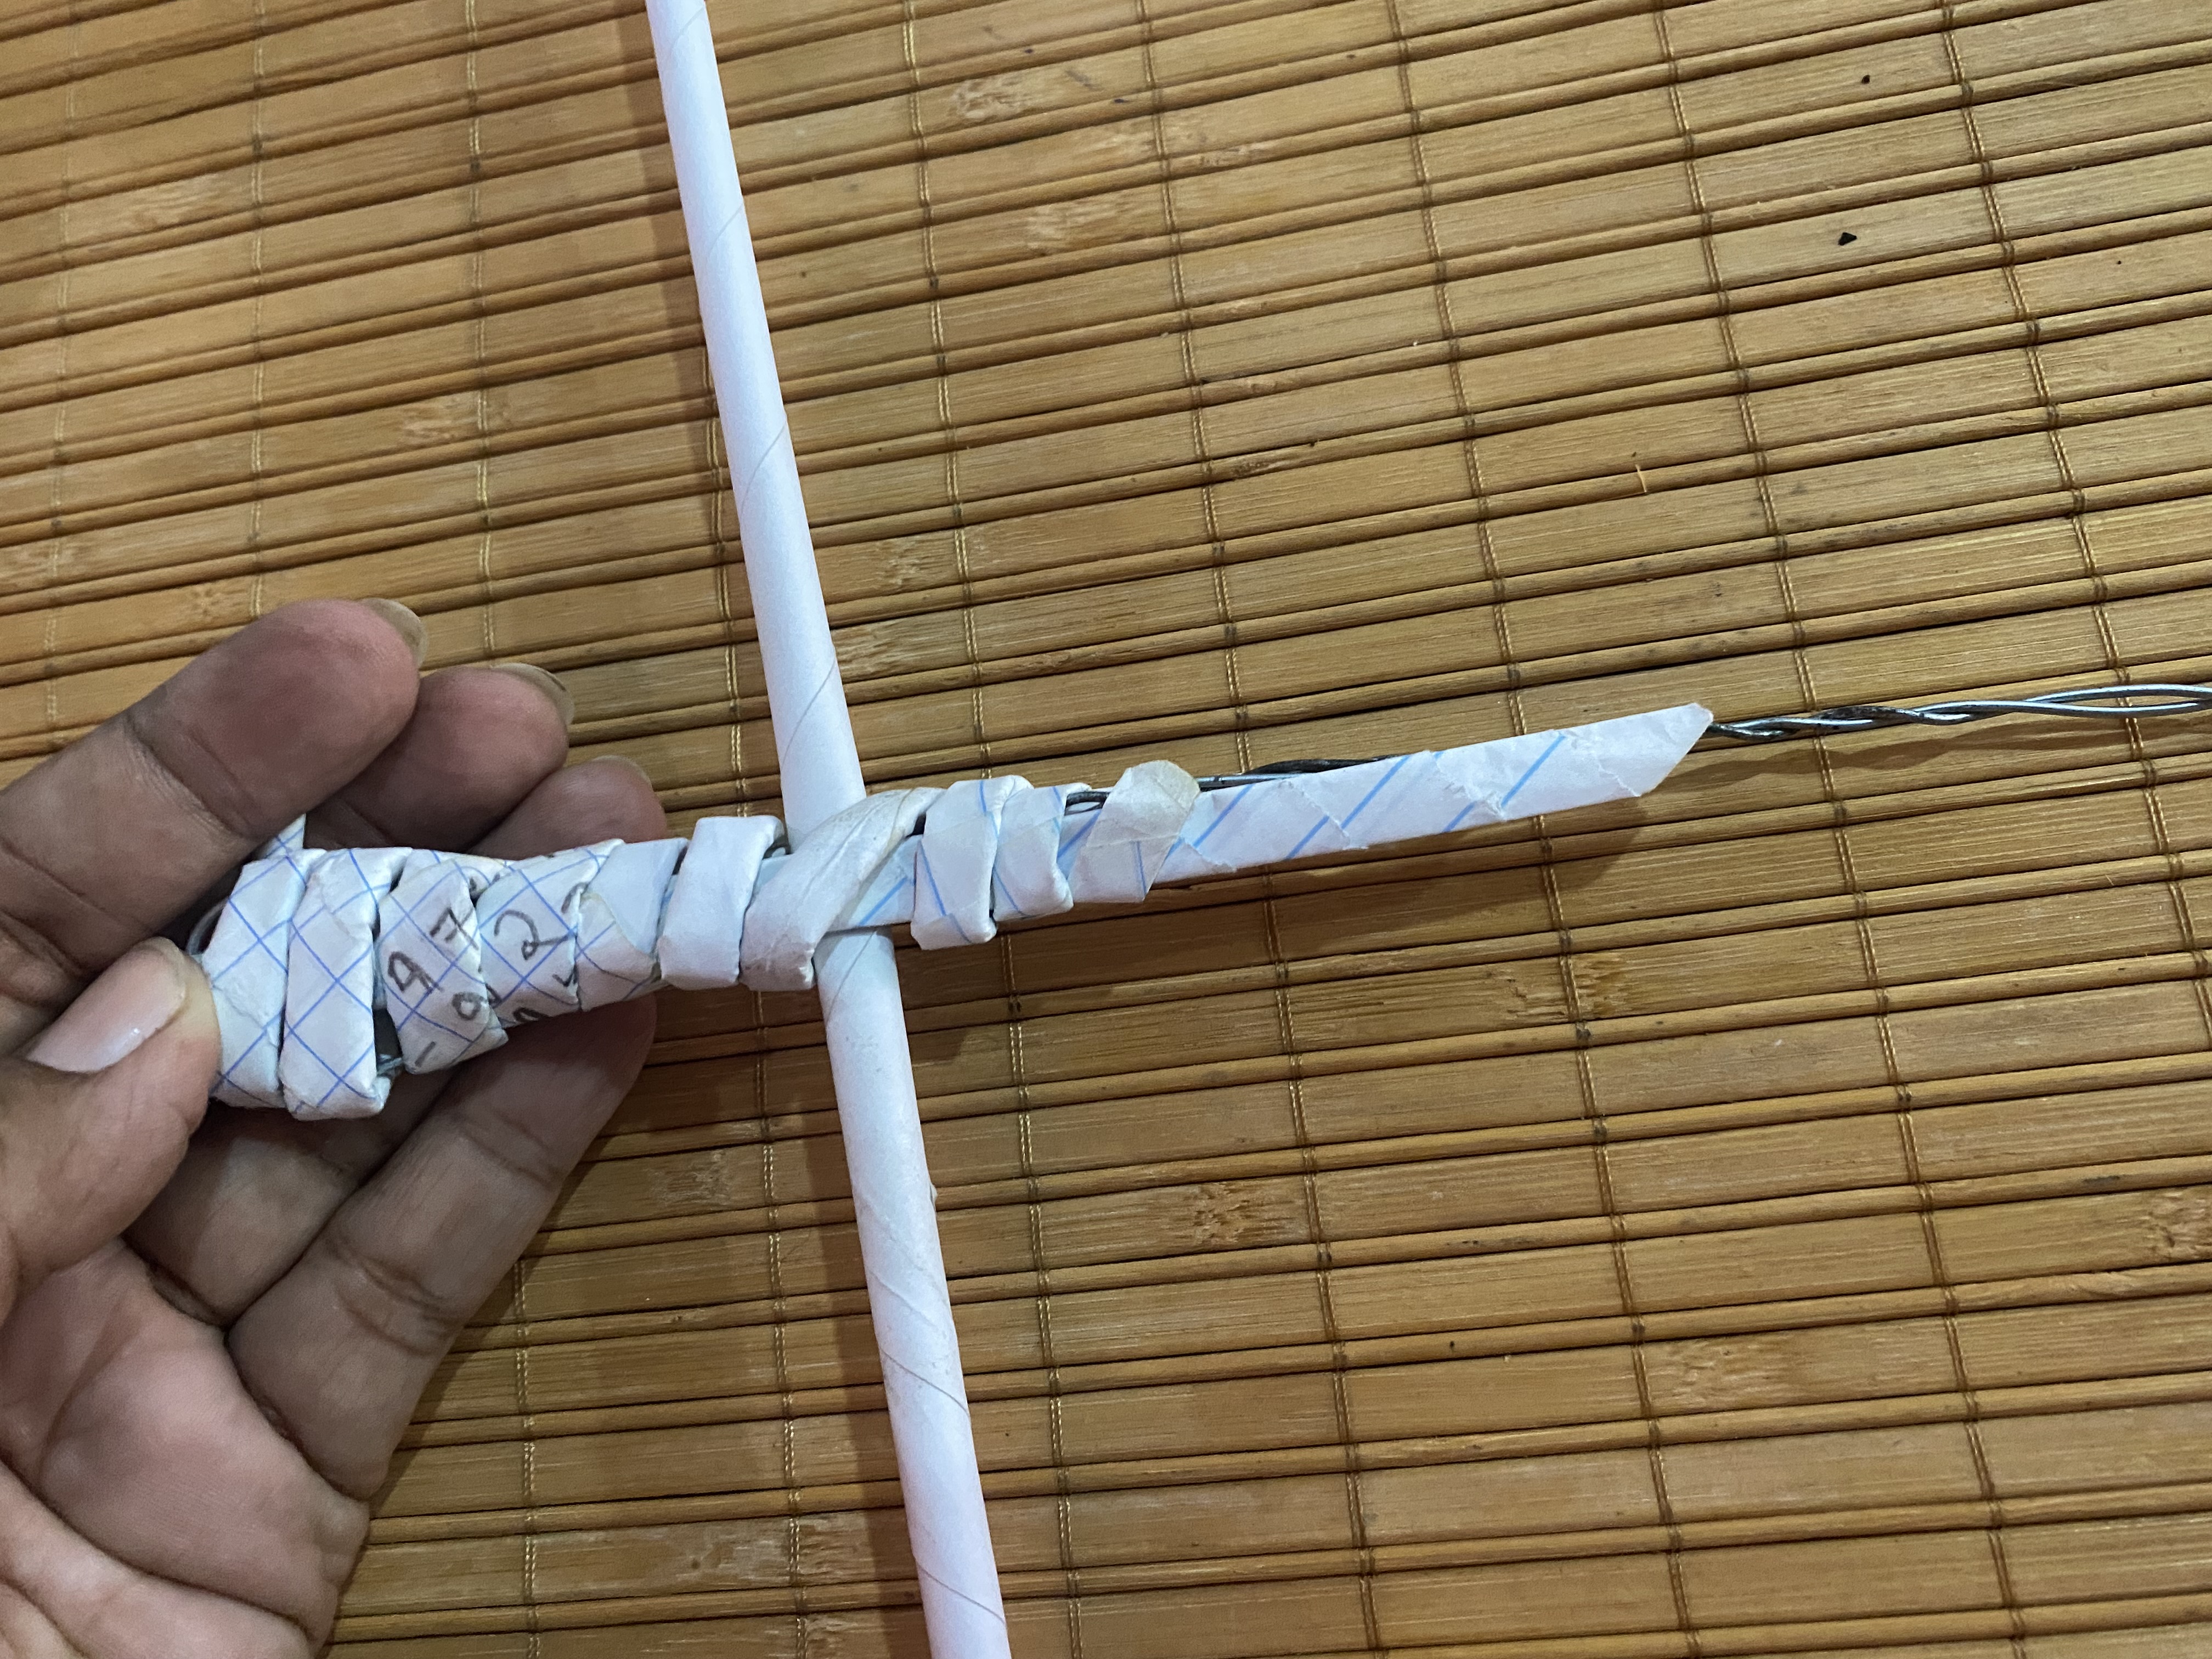
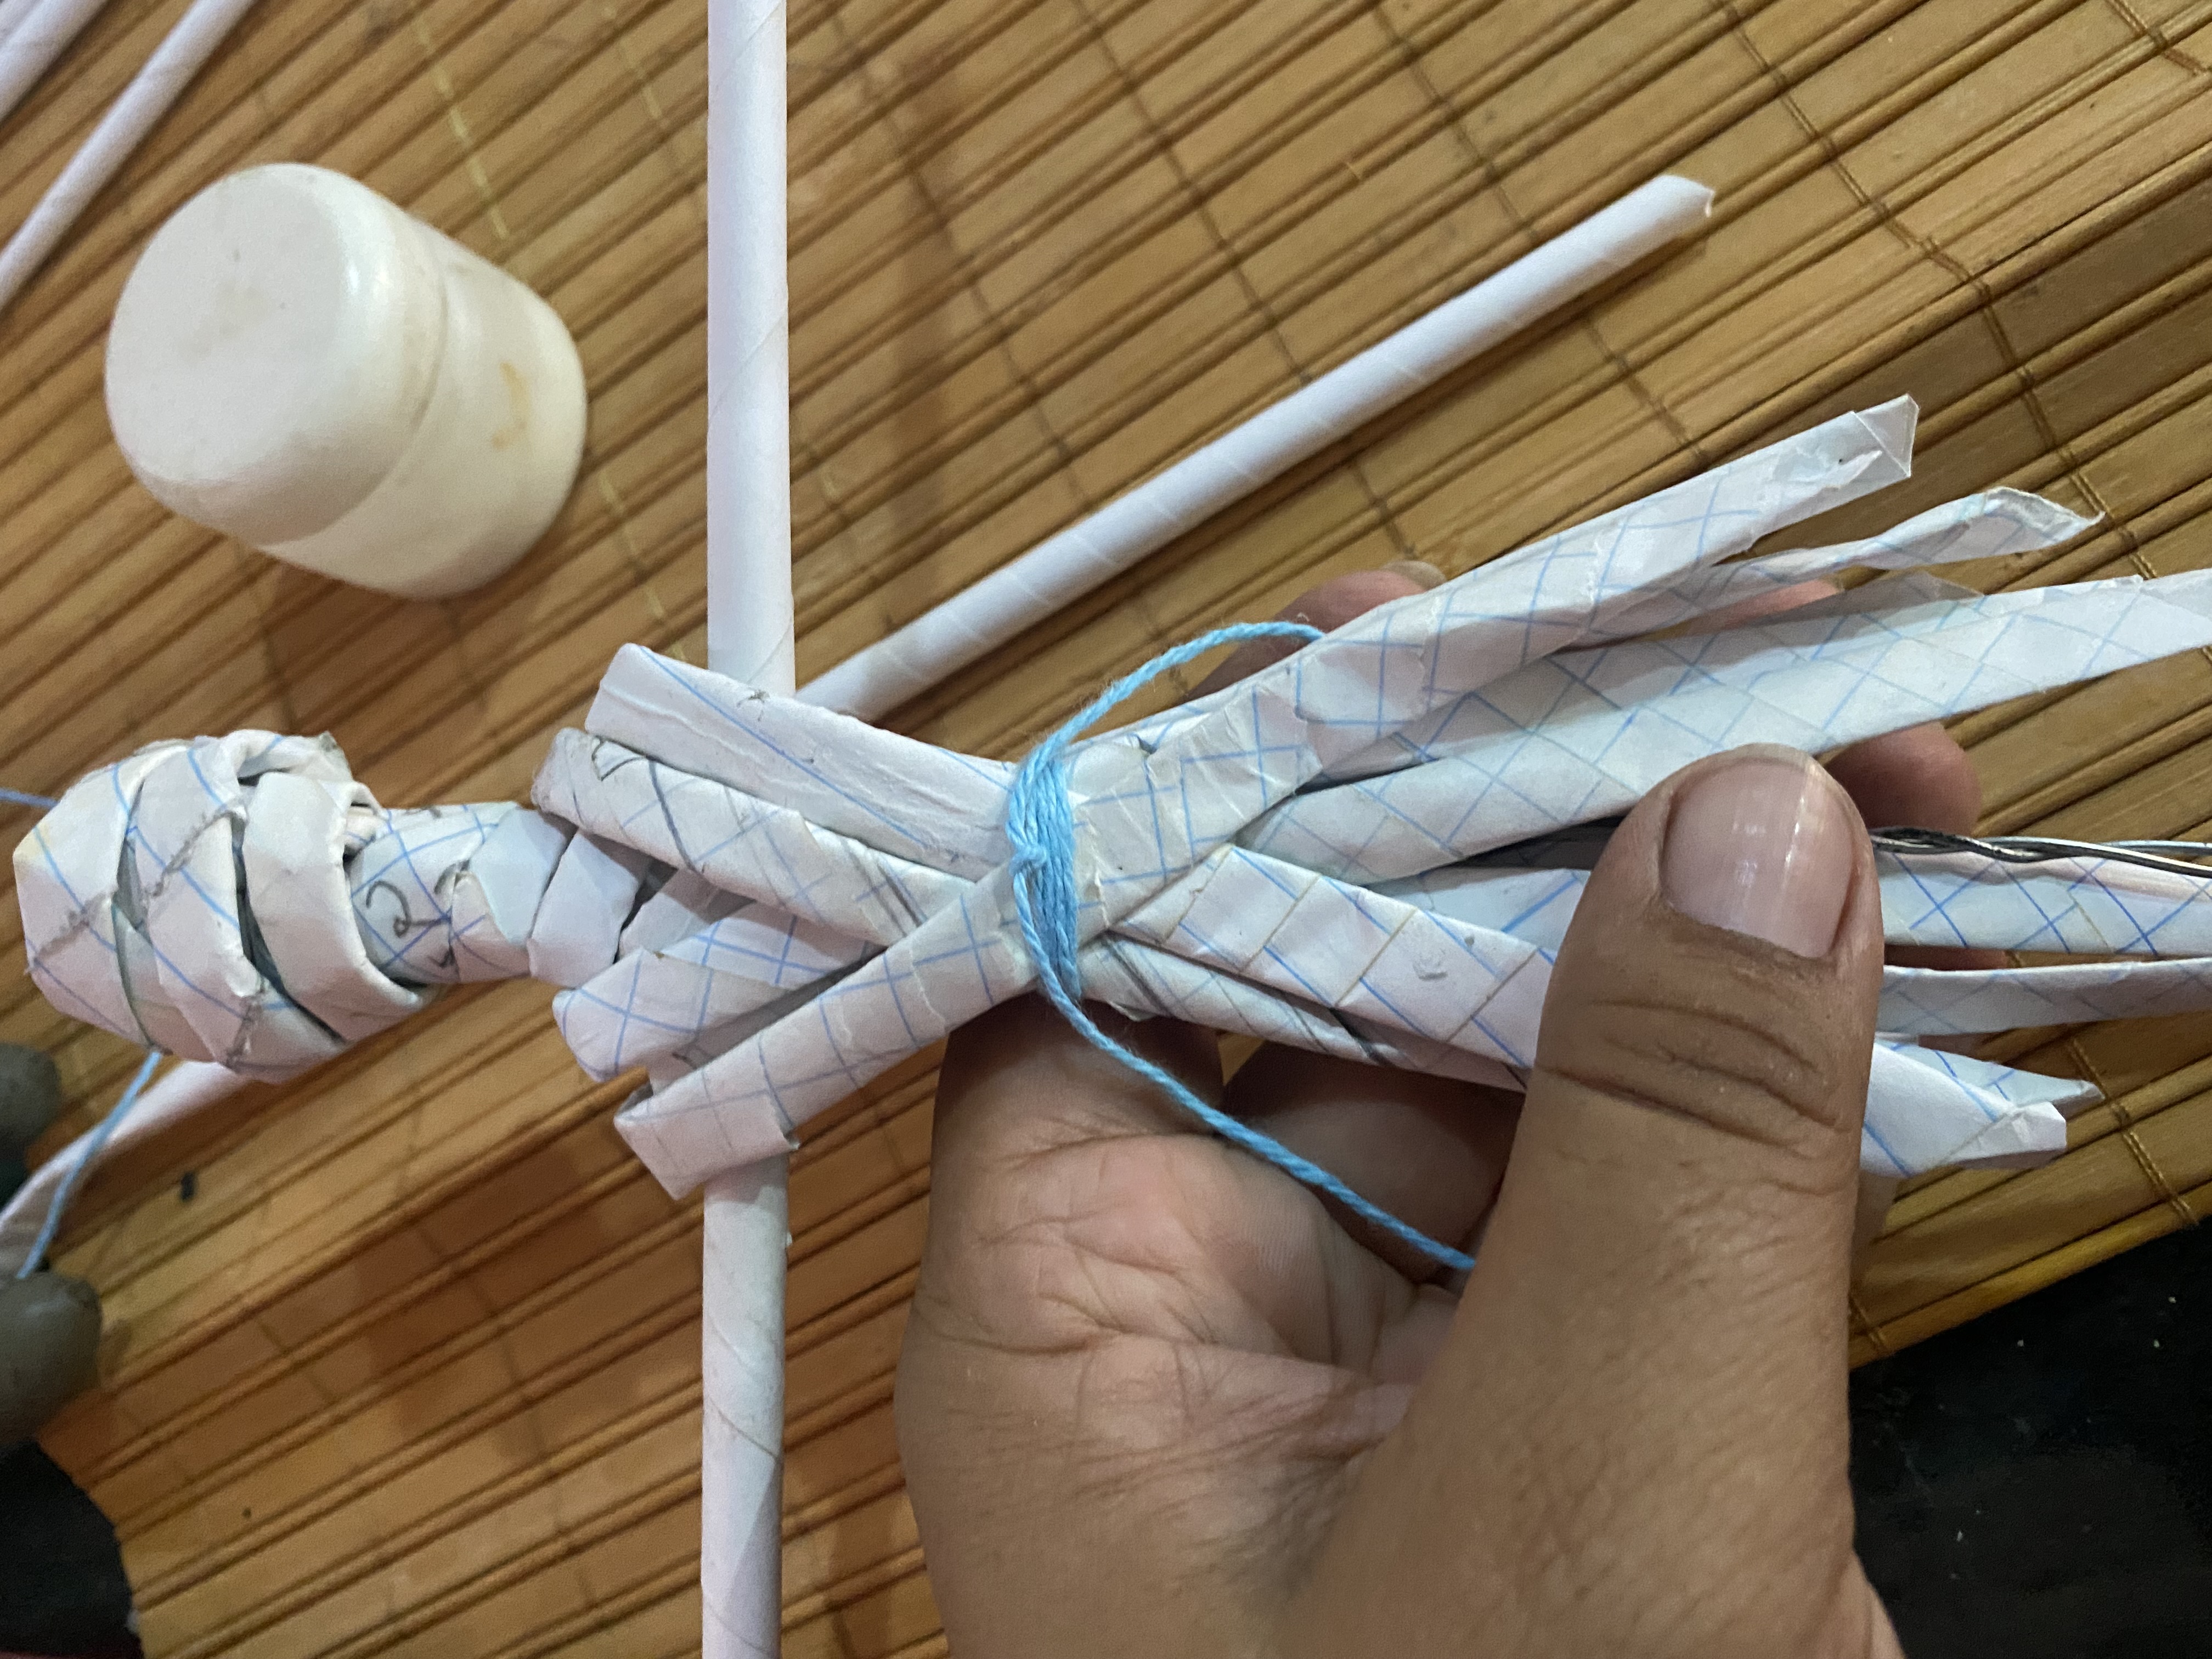
In this step we are going to begin to place the paper, first we are going to roll one of the strips from the chest to the head and we roll several strips on the head until the wire is completely covered.
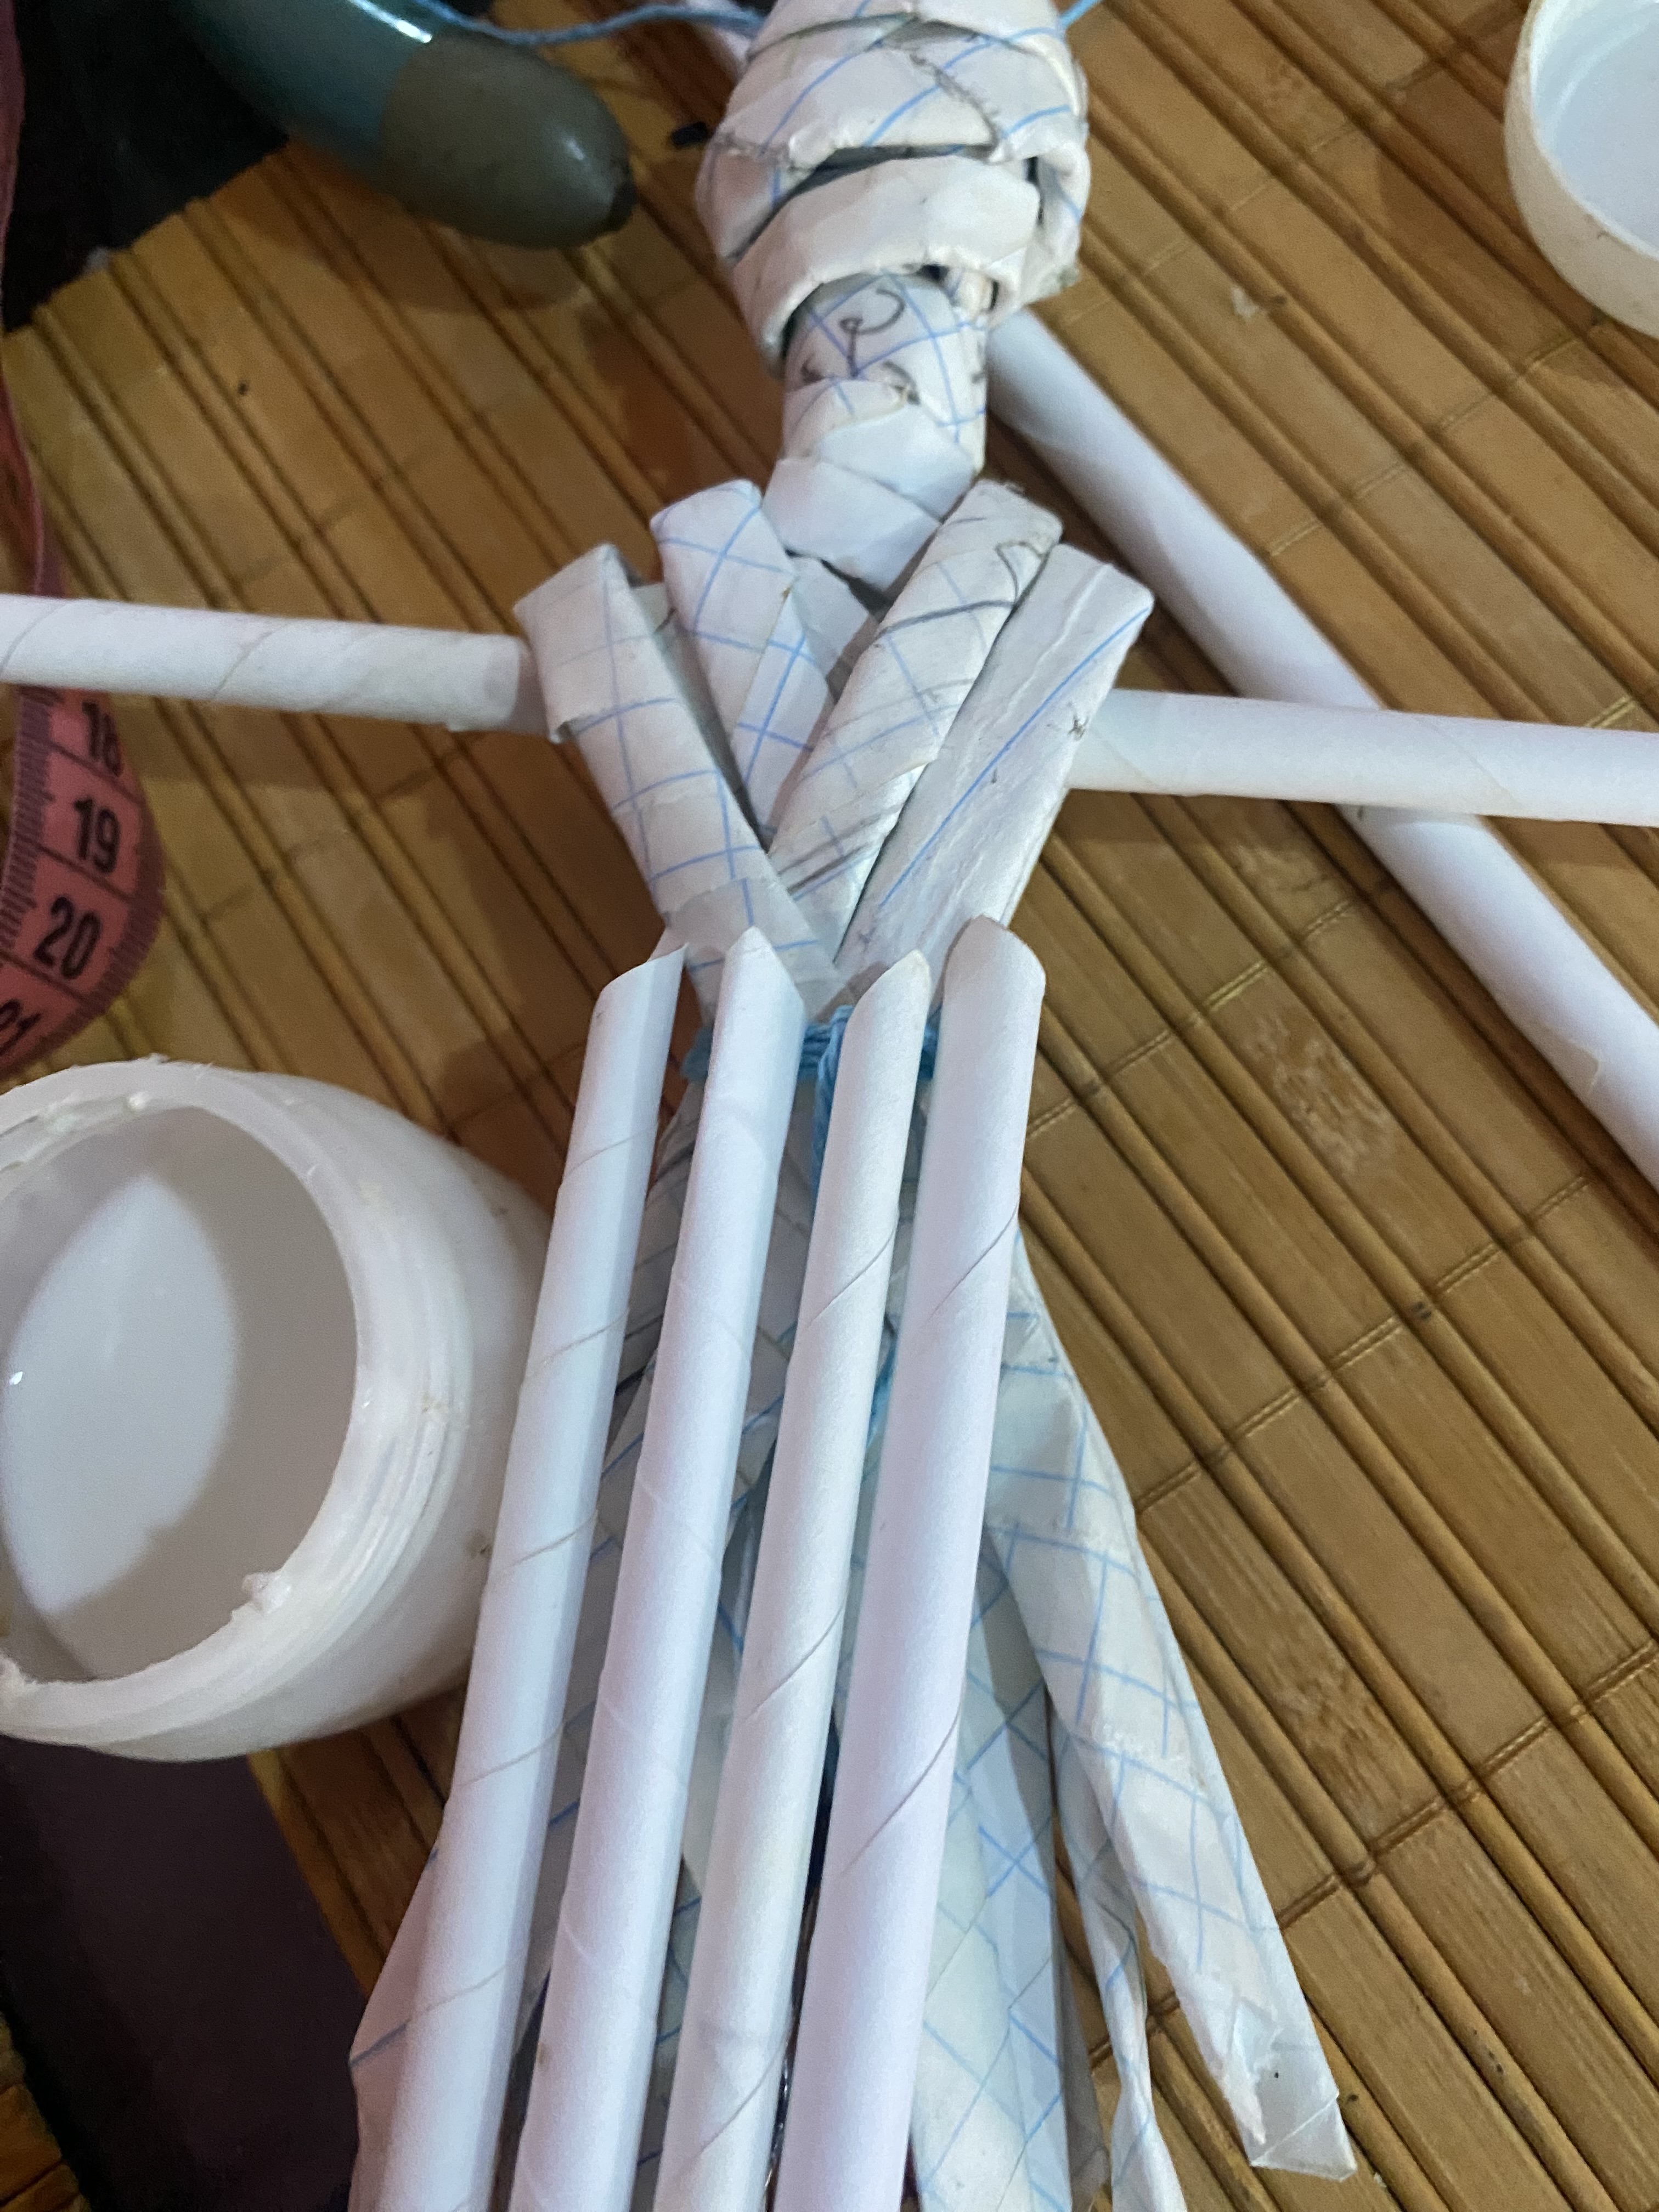
For the chest part we are going to fold several strips of paper in half and we are going to tie these at the waist with wick thread. I placed six strips of paper, but you can place the amount you want.
En este paso vamos a comenzar a colocarle el papel, primero vamos a enrollar una de las tiras desde el pecho hasta la cabeza y enrollamos varias tiras en la cabeza hasta cubrir el alambre completamente
Para la parte del pecho vamos a doblar varias tiras de papel a la mitad y estas las vamos a amarrar en la cintura con hilo pabilo, yo le coloqué seis tiras de papel, pero puedes colocarle la cantidad que Desees.
 |  |
|---|---|
 |  |
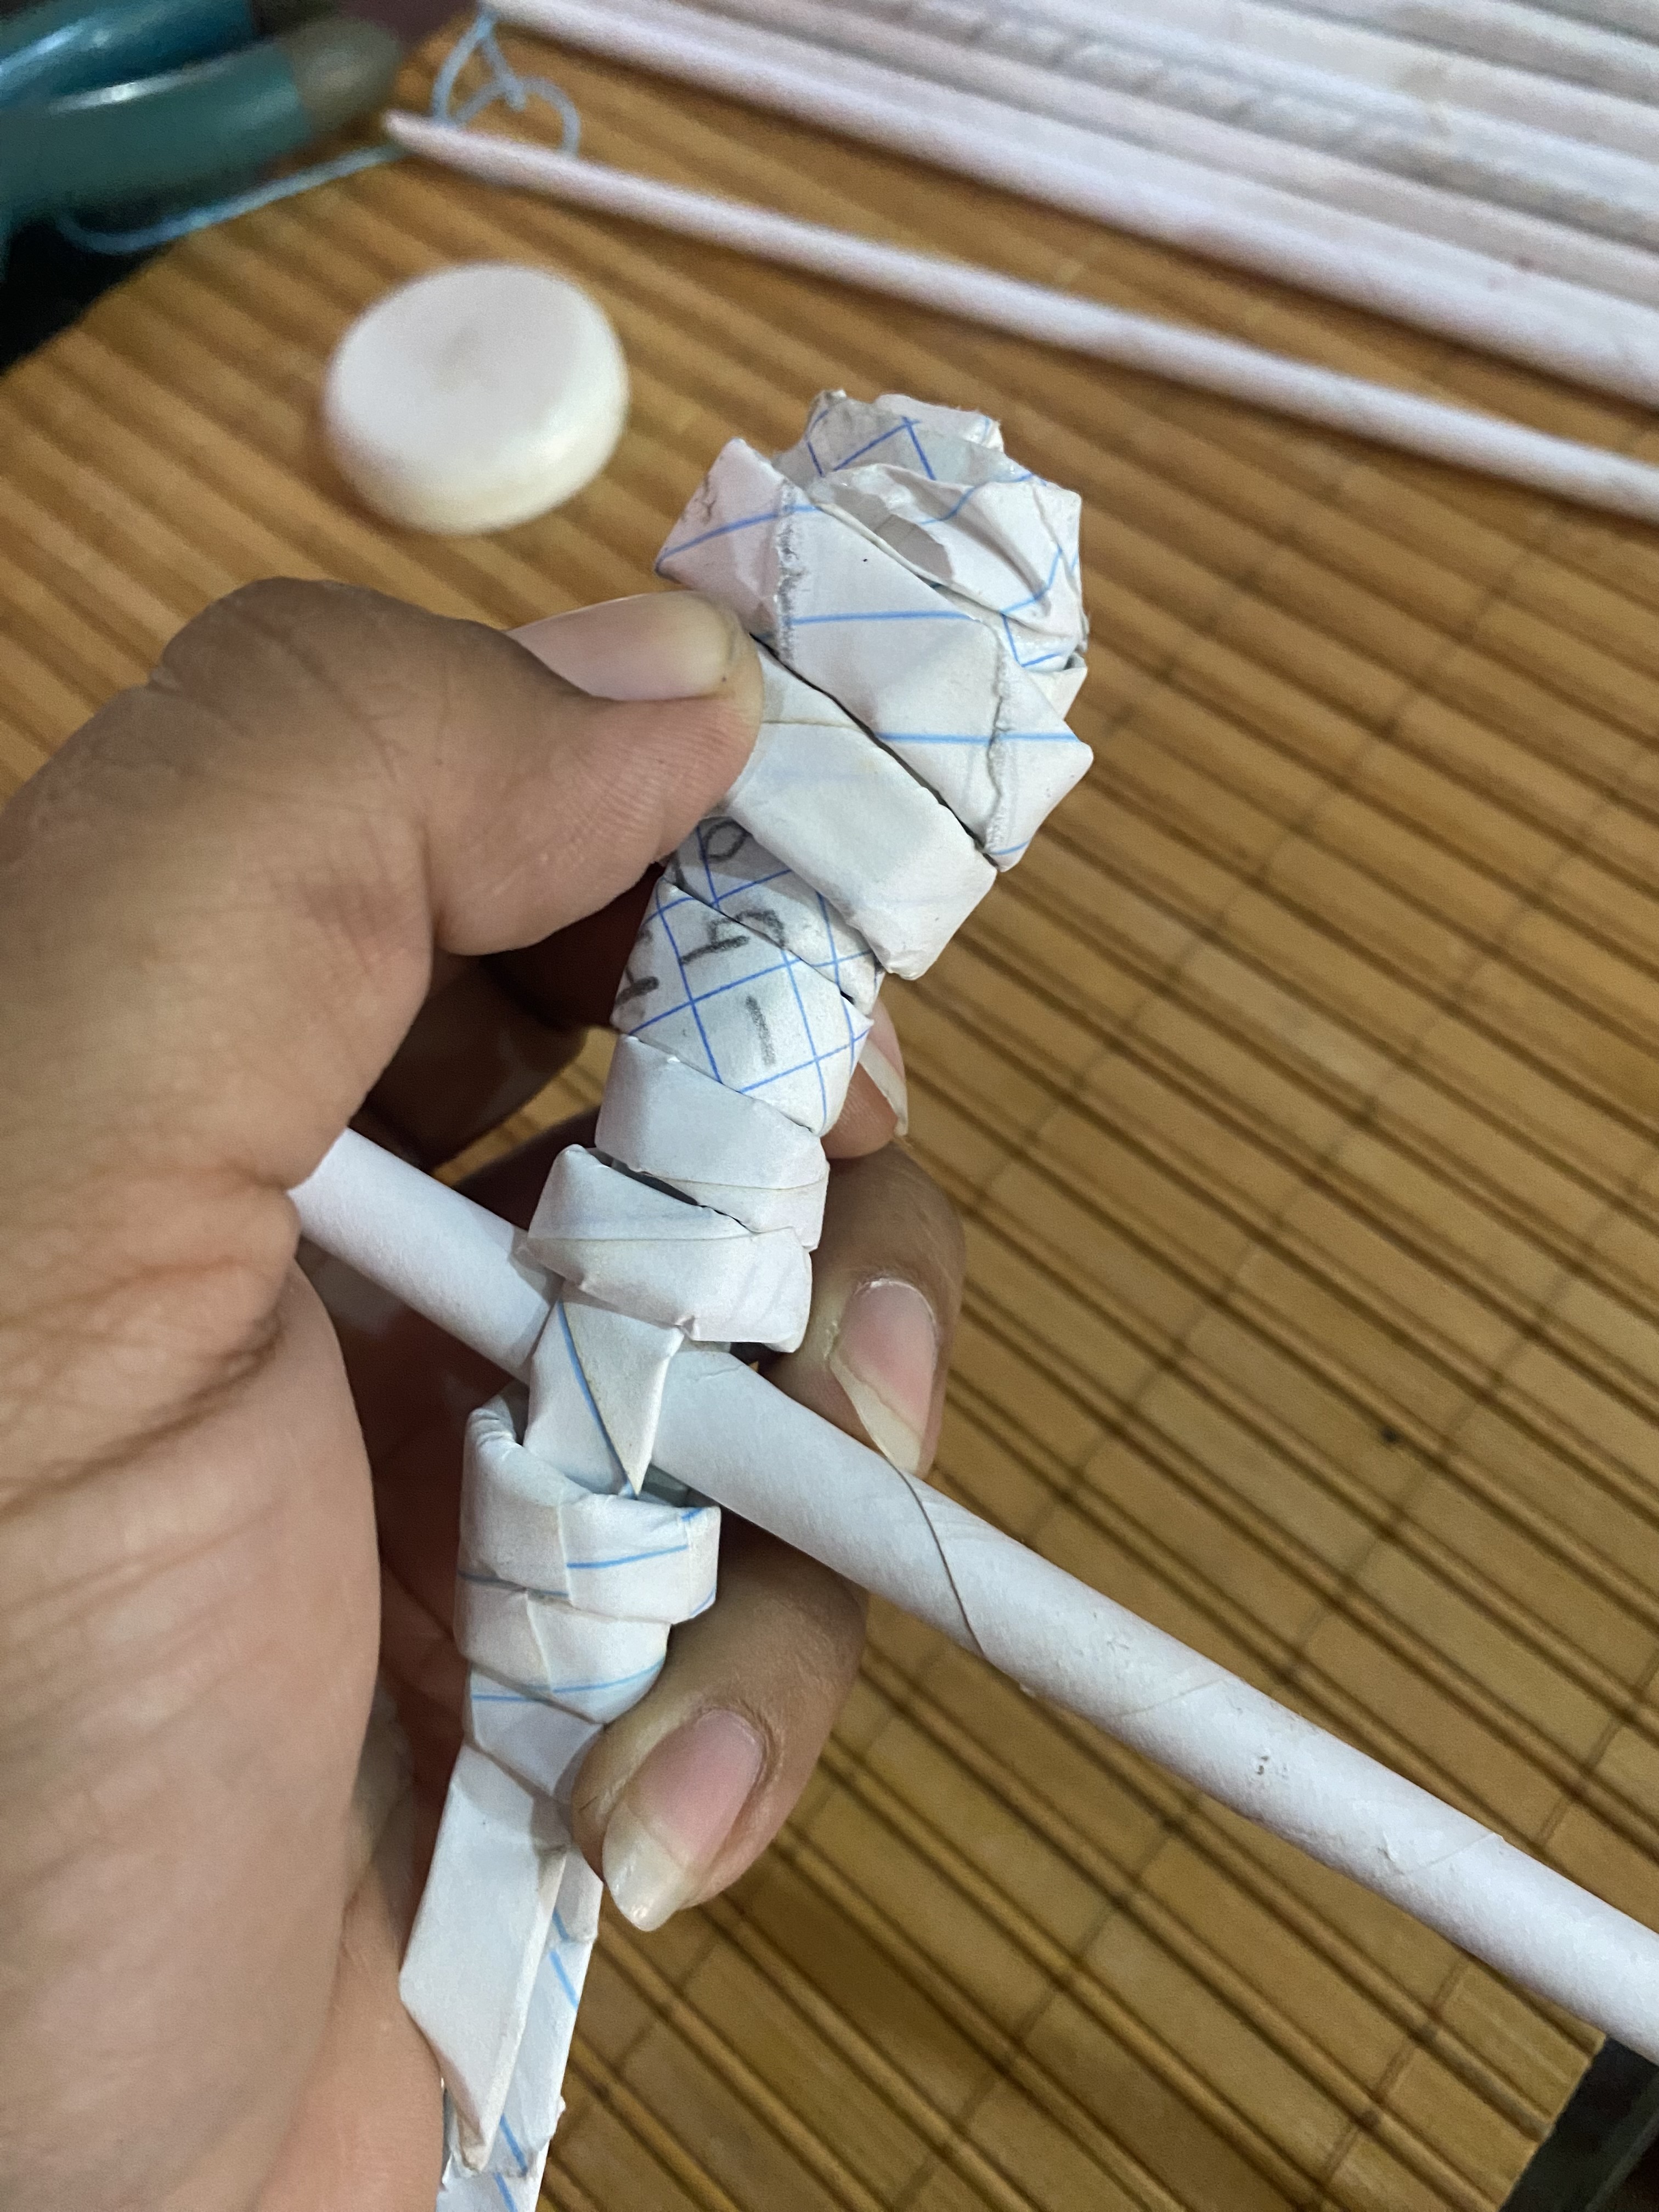
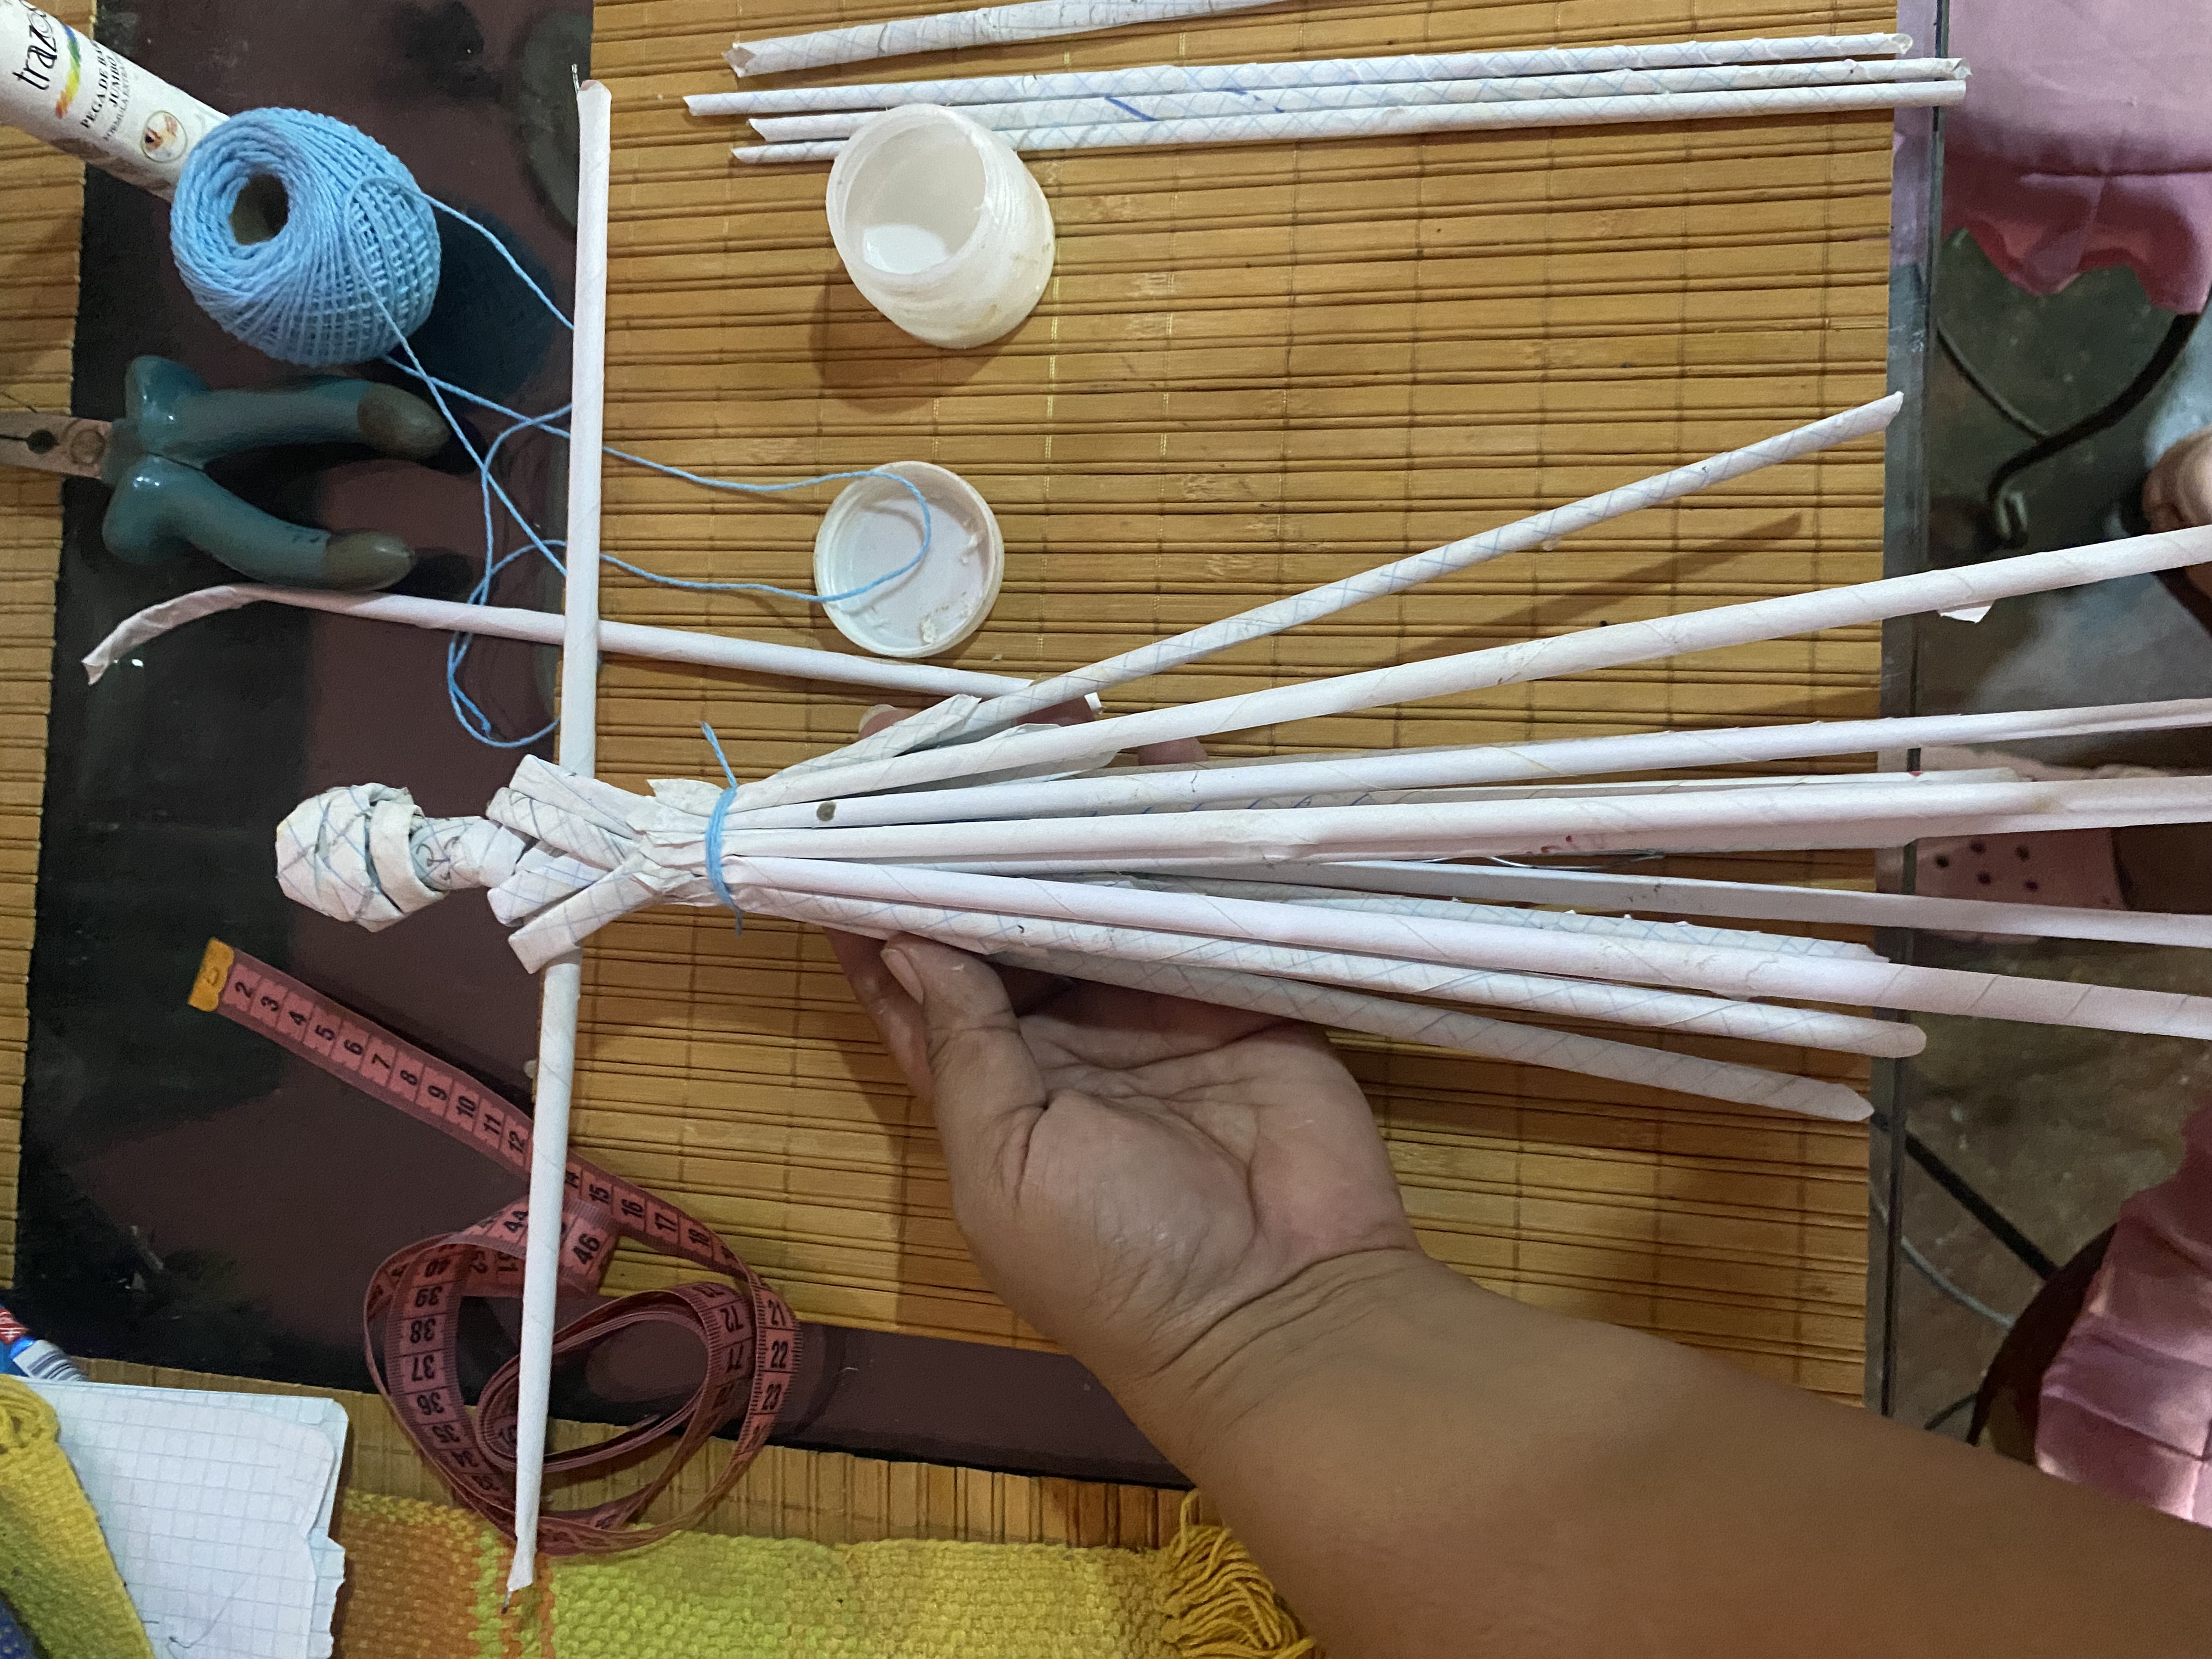
For the skirt we are going to glue strips of paper from the waist of our doll. We will place the amount that we think is necessary for it to look pretty. We are going to fix them with glue and then we will tie them with thread so that the waist is tight. Then we will cover them with on top with another strip of paper, I placed a strip of paper approximately on the hips so that the skirt does not open and looks more elegant
Para la falda vamos a pegarle tiras de papel desde la cintura de nuestra muñeca le colocaremos la cantidad que creamos necesaria para que se vea bonita esta las vamos a fijar con pega y luego las amarramos con hilo para que quede bien apretada la cintura luego cubrimos por encima con otra tira de papel, yo le coloqué una tira de papel aproximadamente como en las caderas para que la falda no se abra y se vea más elegante
 |  |
|---|
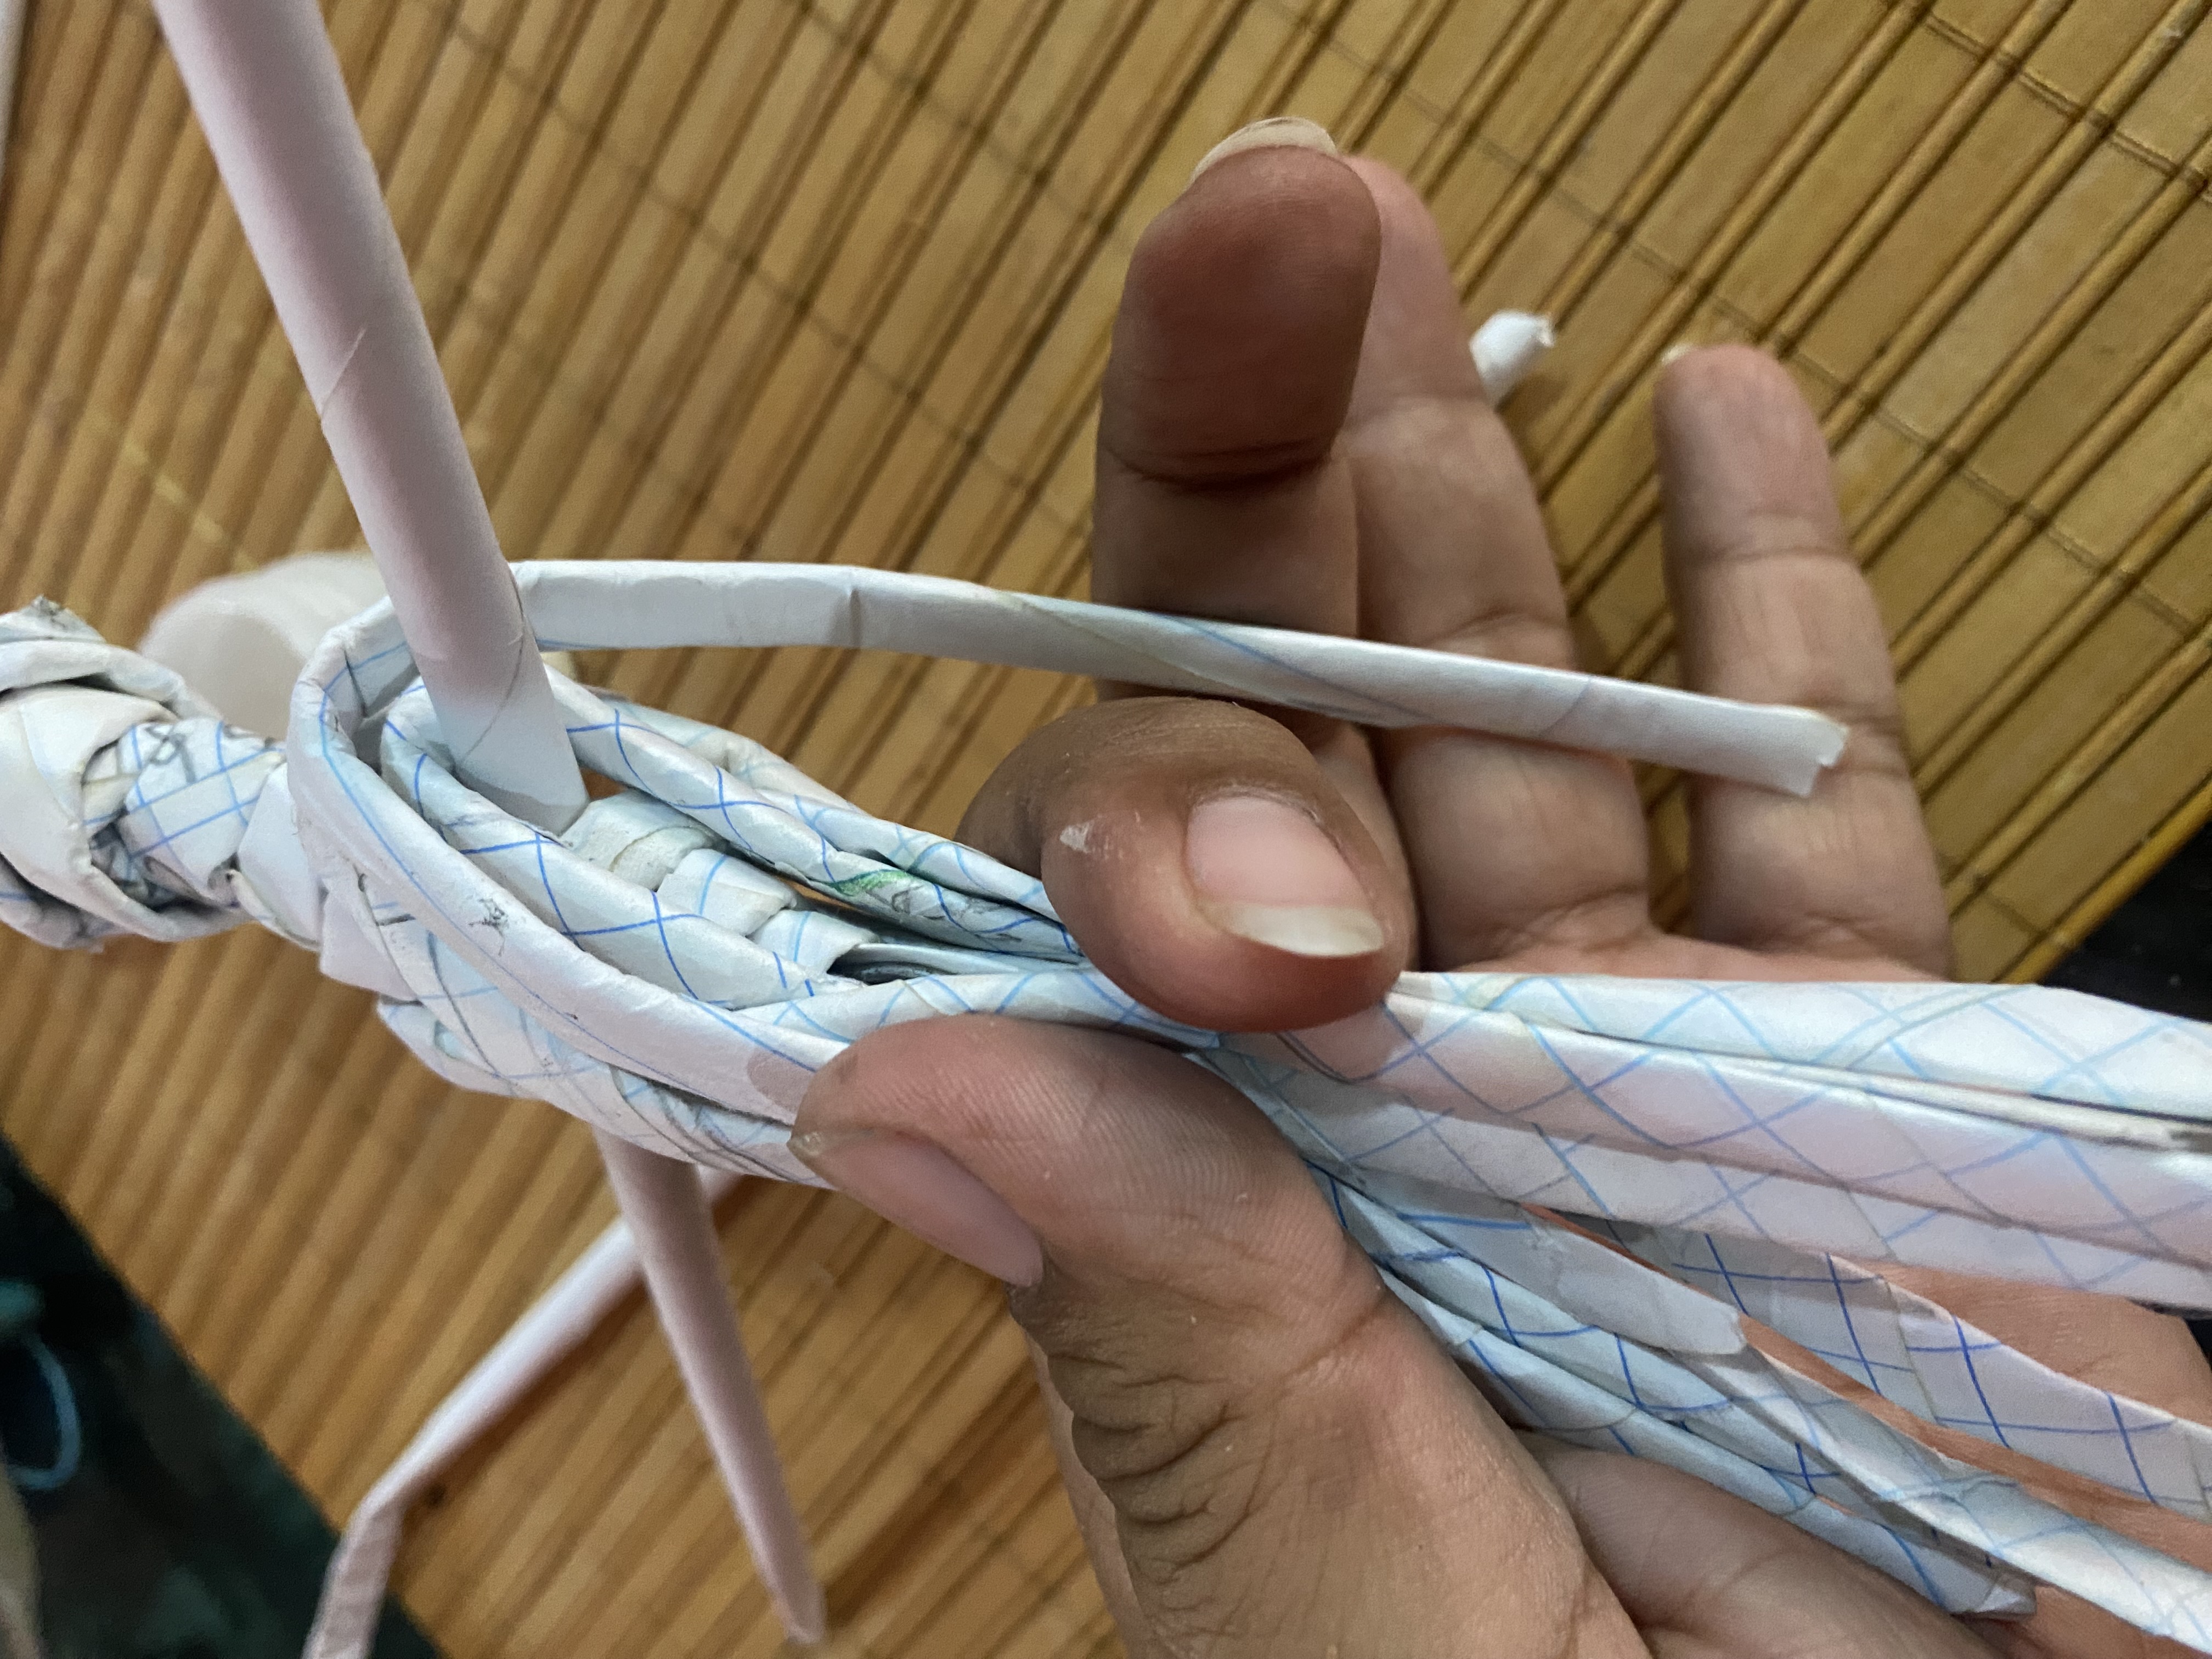
When gluing all the strips of the skirt, we are going to level it by cutting the excess, the length will be at each person's expense, you can leave it quite long or a little shorter and it will look beautiful.
Al pegar todas las tiras de la falda, vamos a nivelar cortando los excedentes, el largo será a costo de cada quien, puedes dejarla bastante larga o un poco más corta y se verá hermosa.
 |  |
|---|
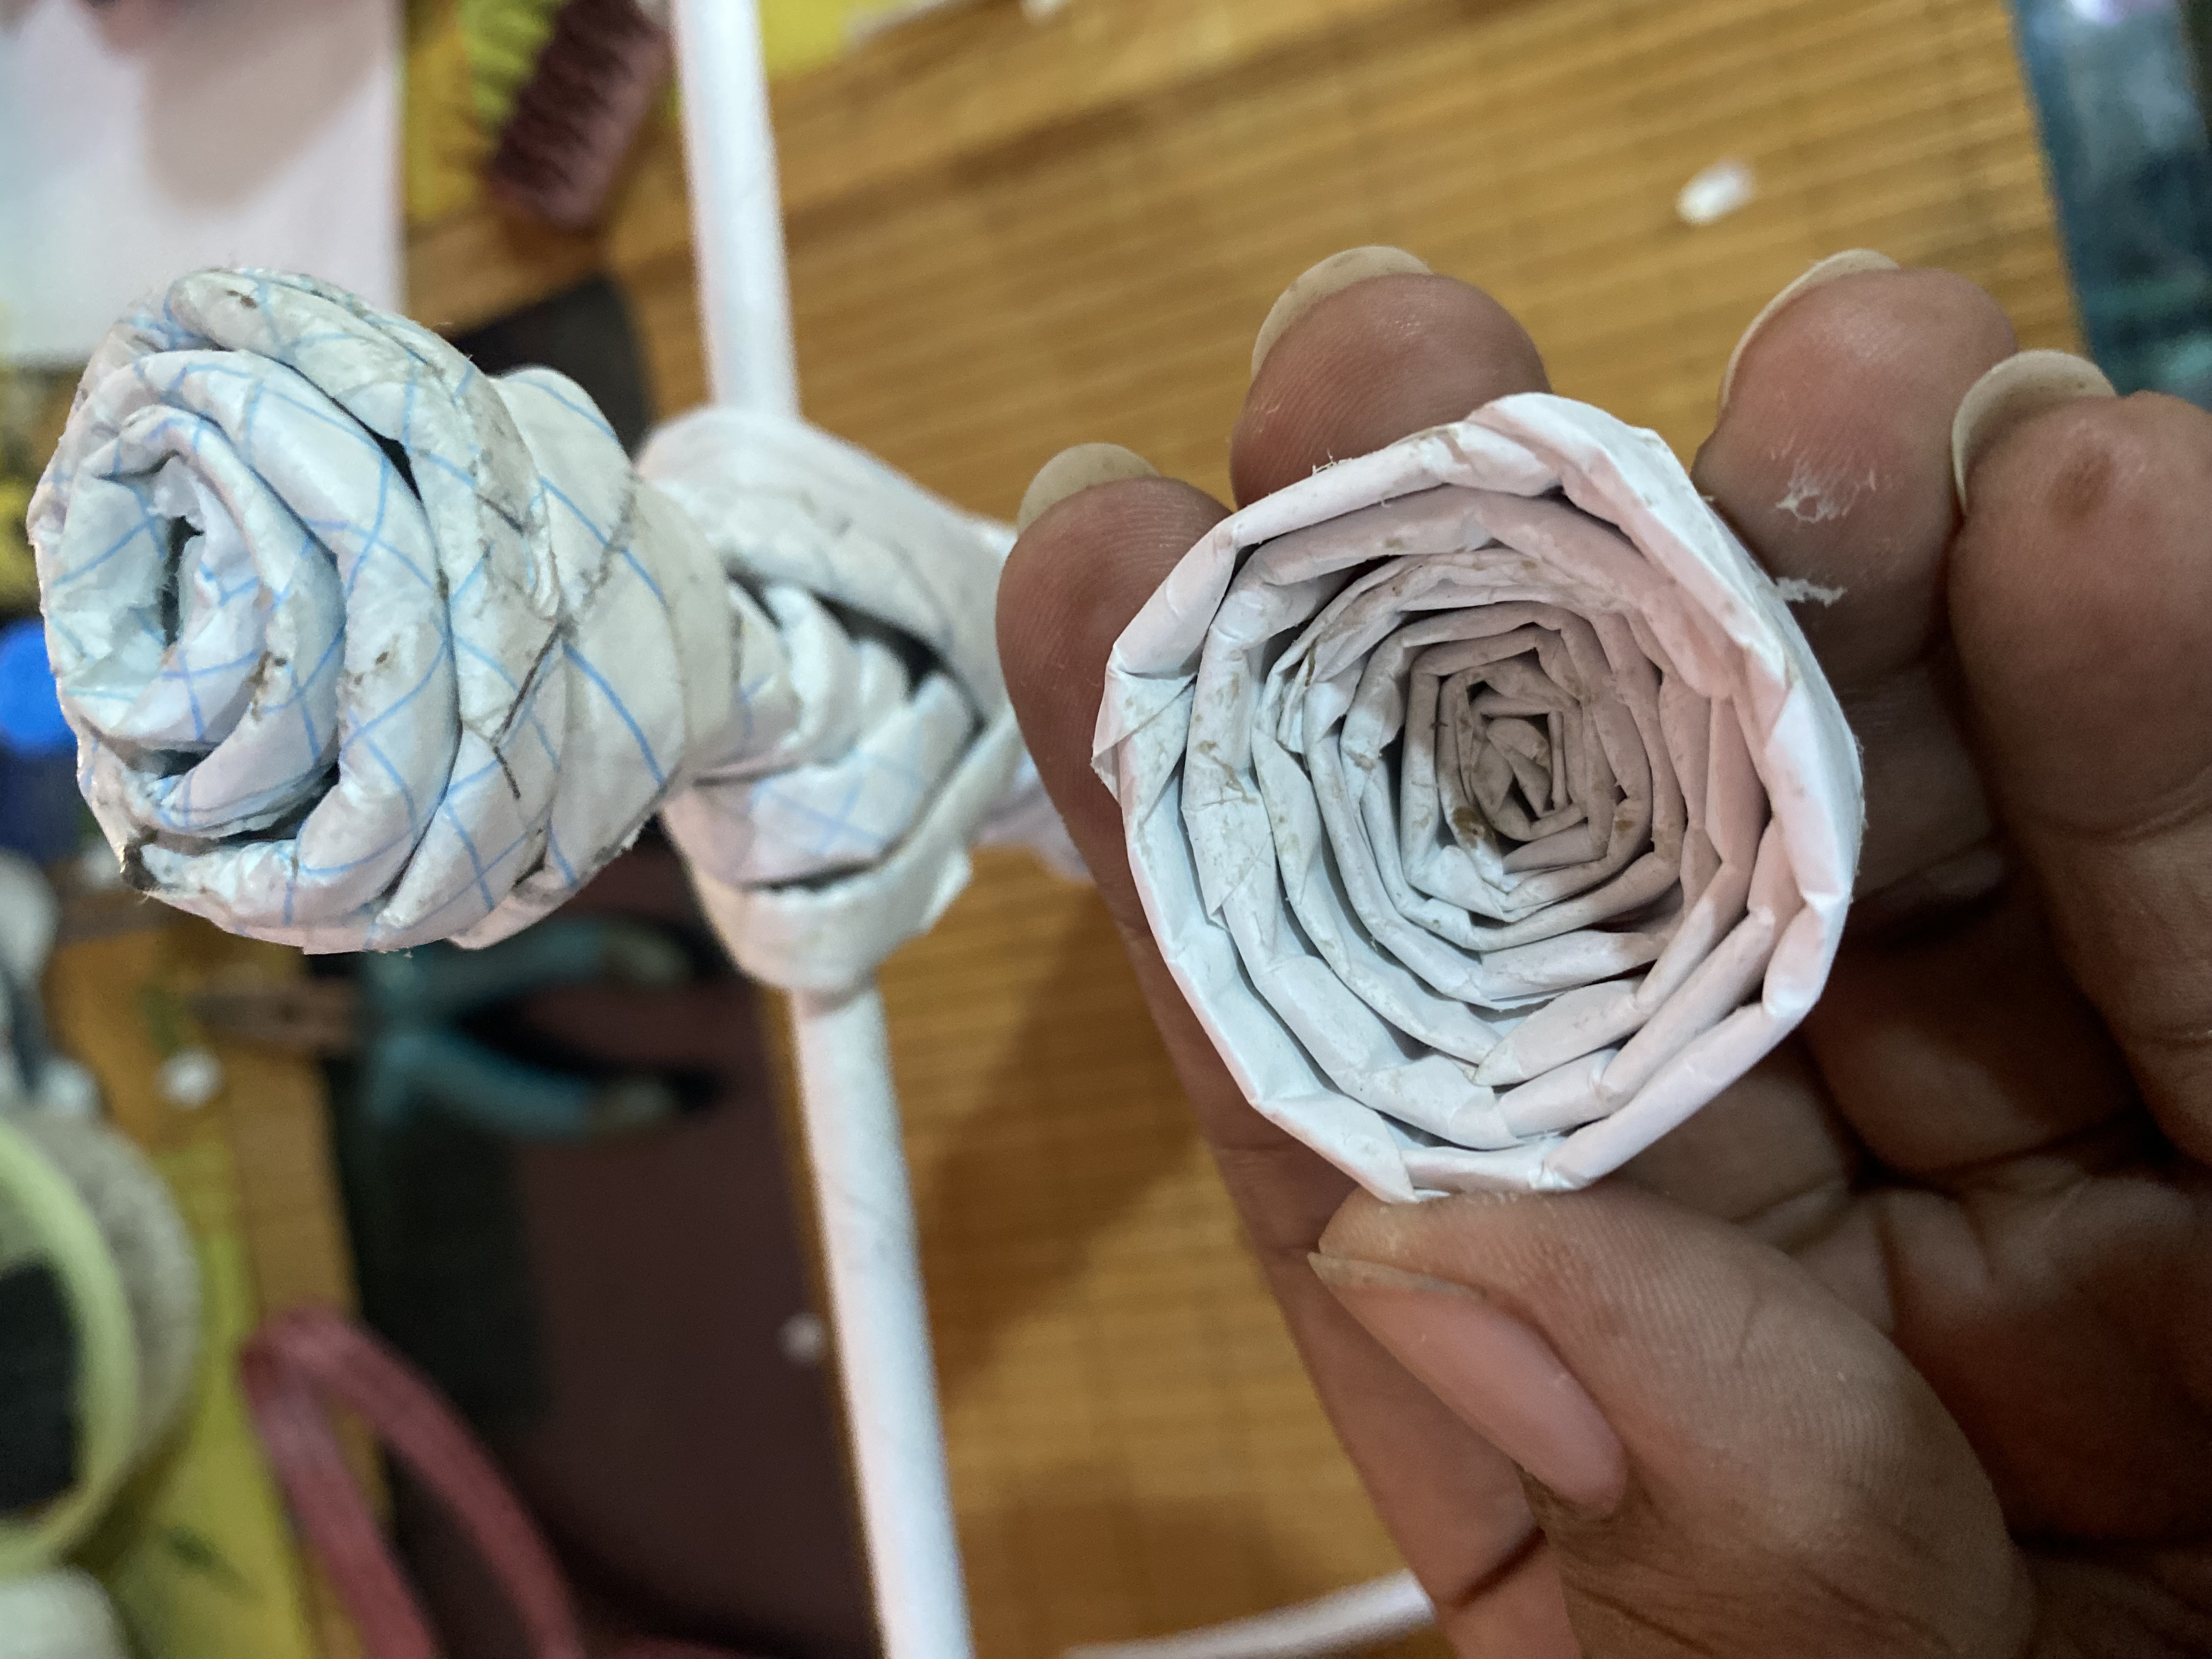
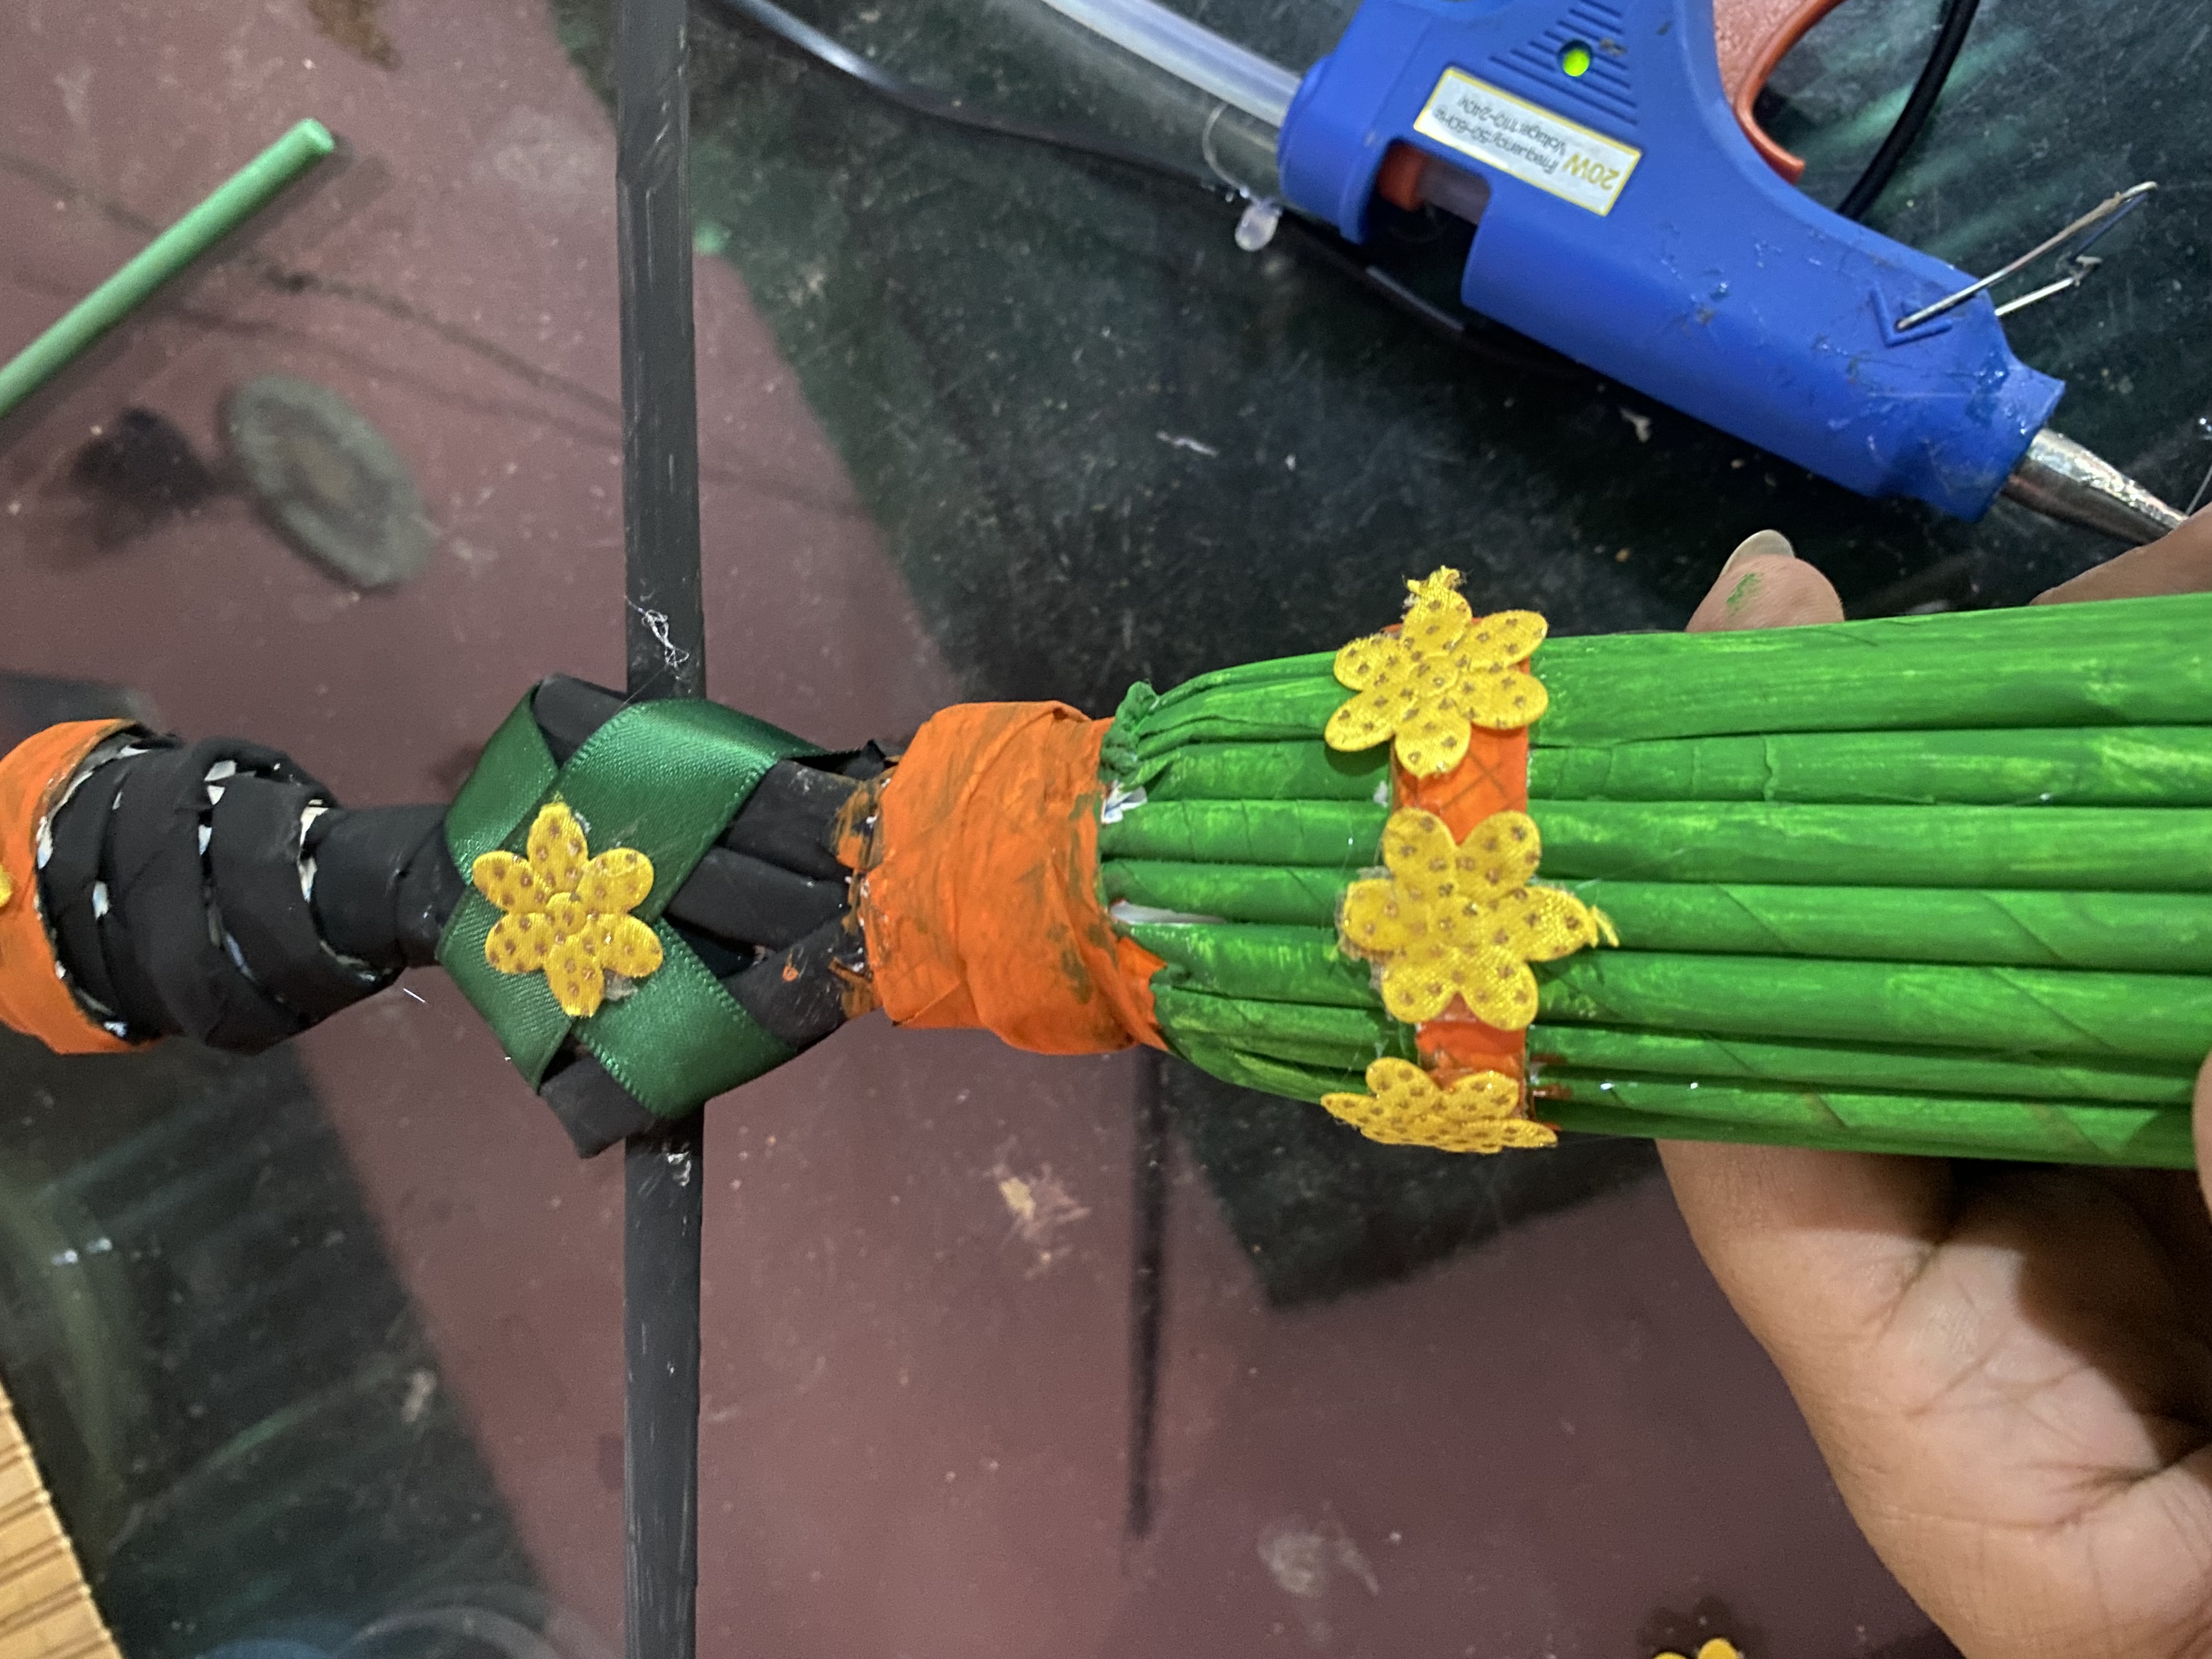
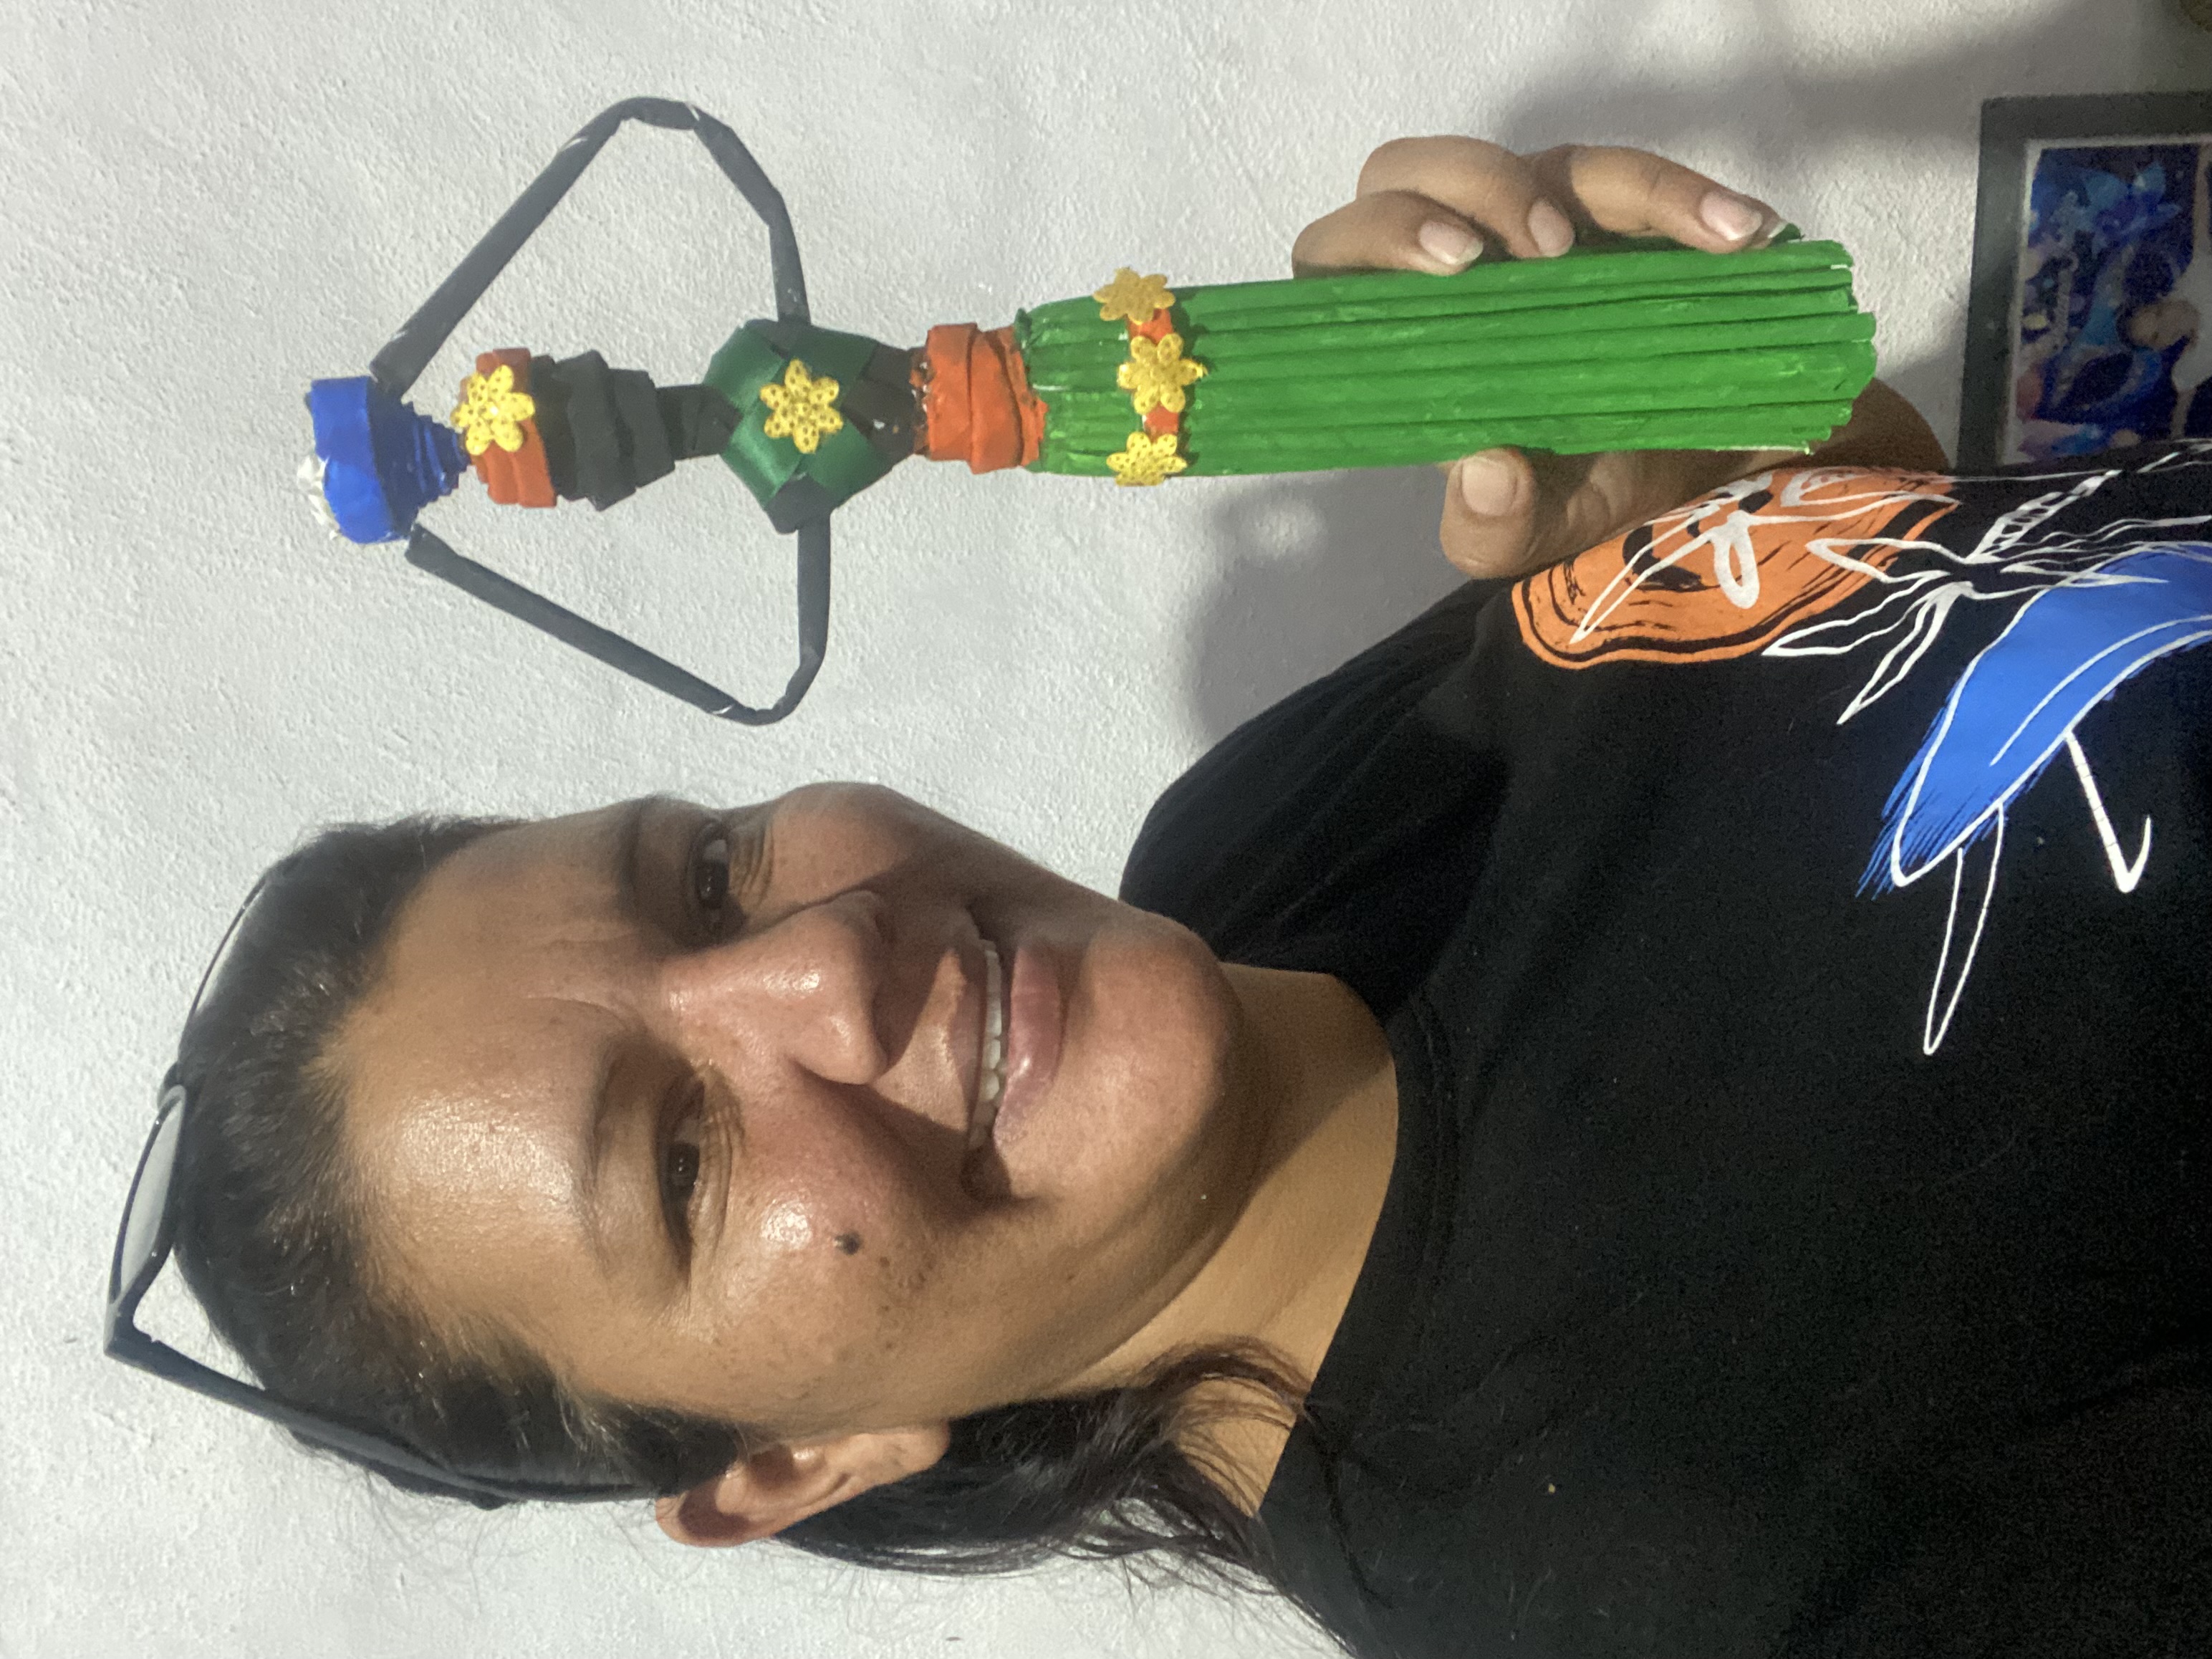
For the decorative part, I am going to roll two pieces of paper to make a kind of vessel, I will place this in his hands, slightly bending his arms upward, I am also going to make a small helmet to place on his head as if was a scarf.
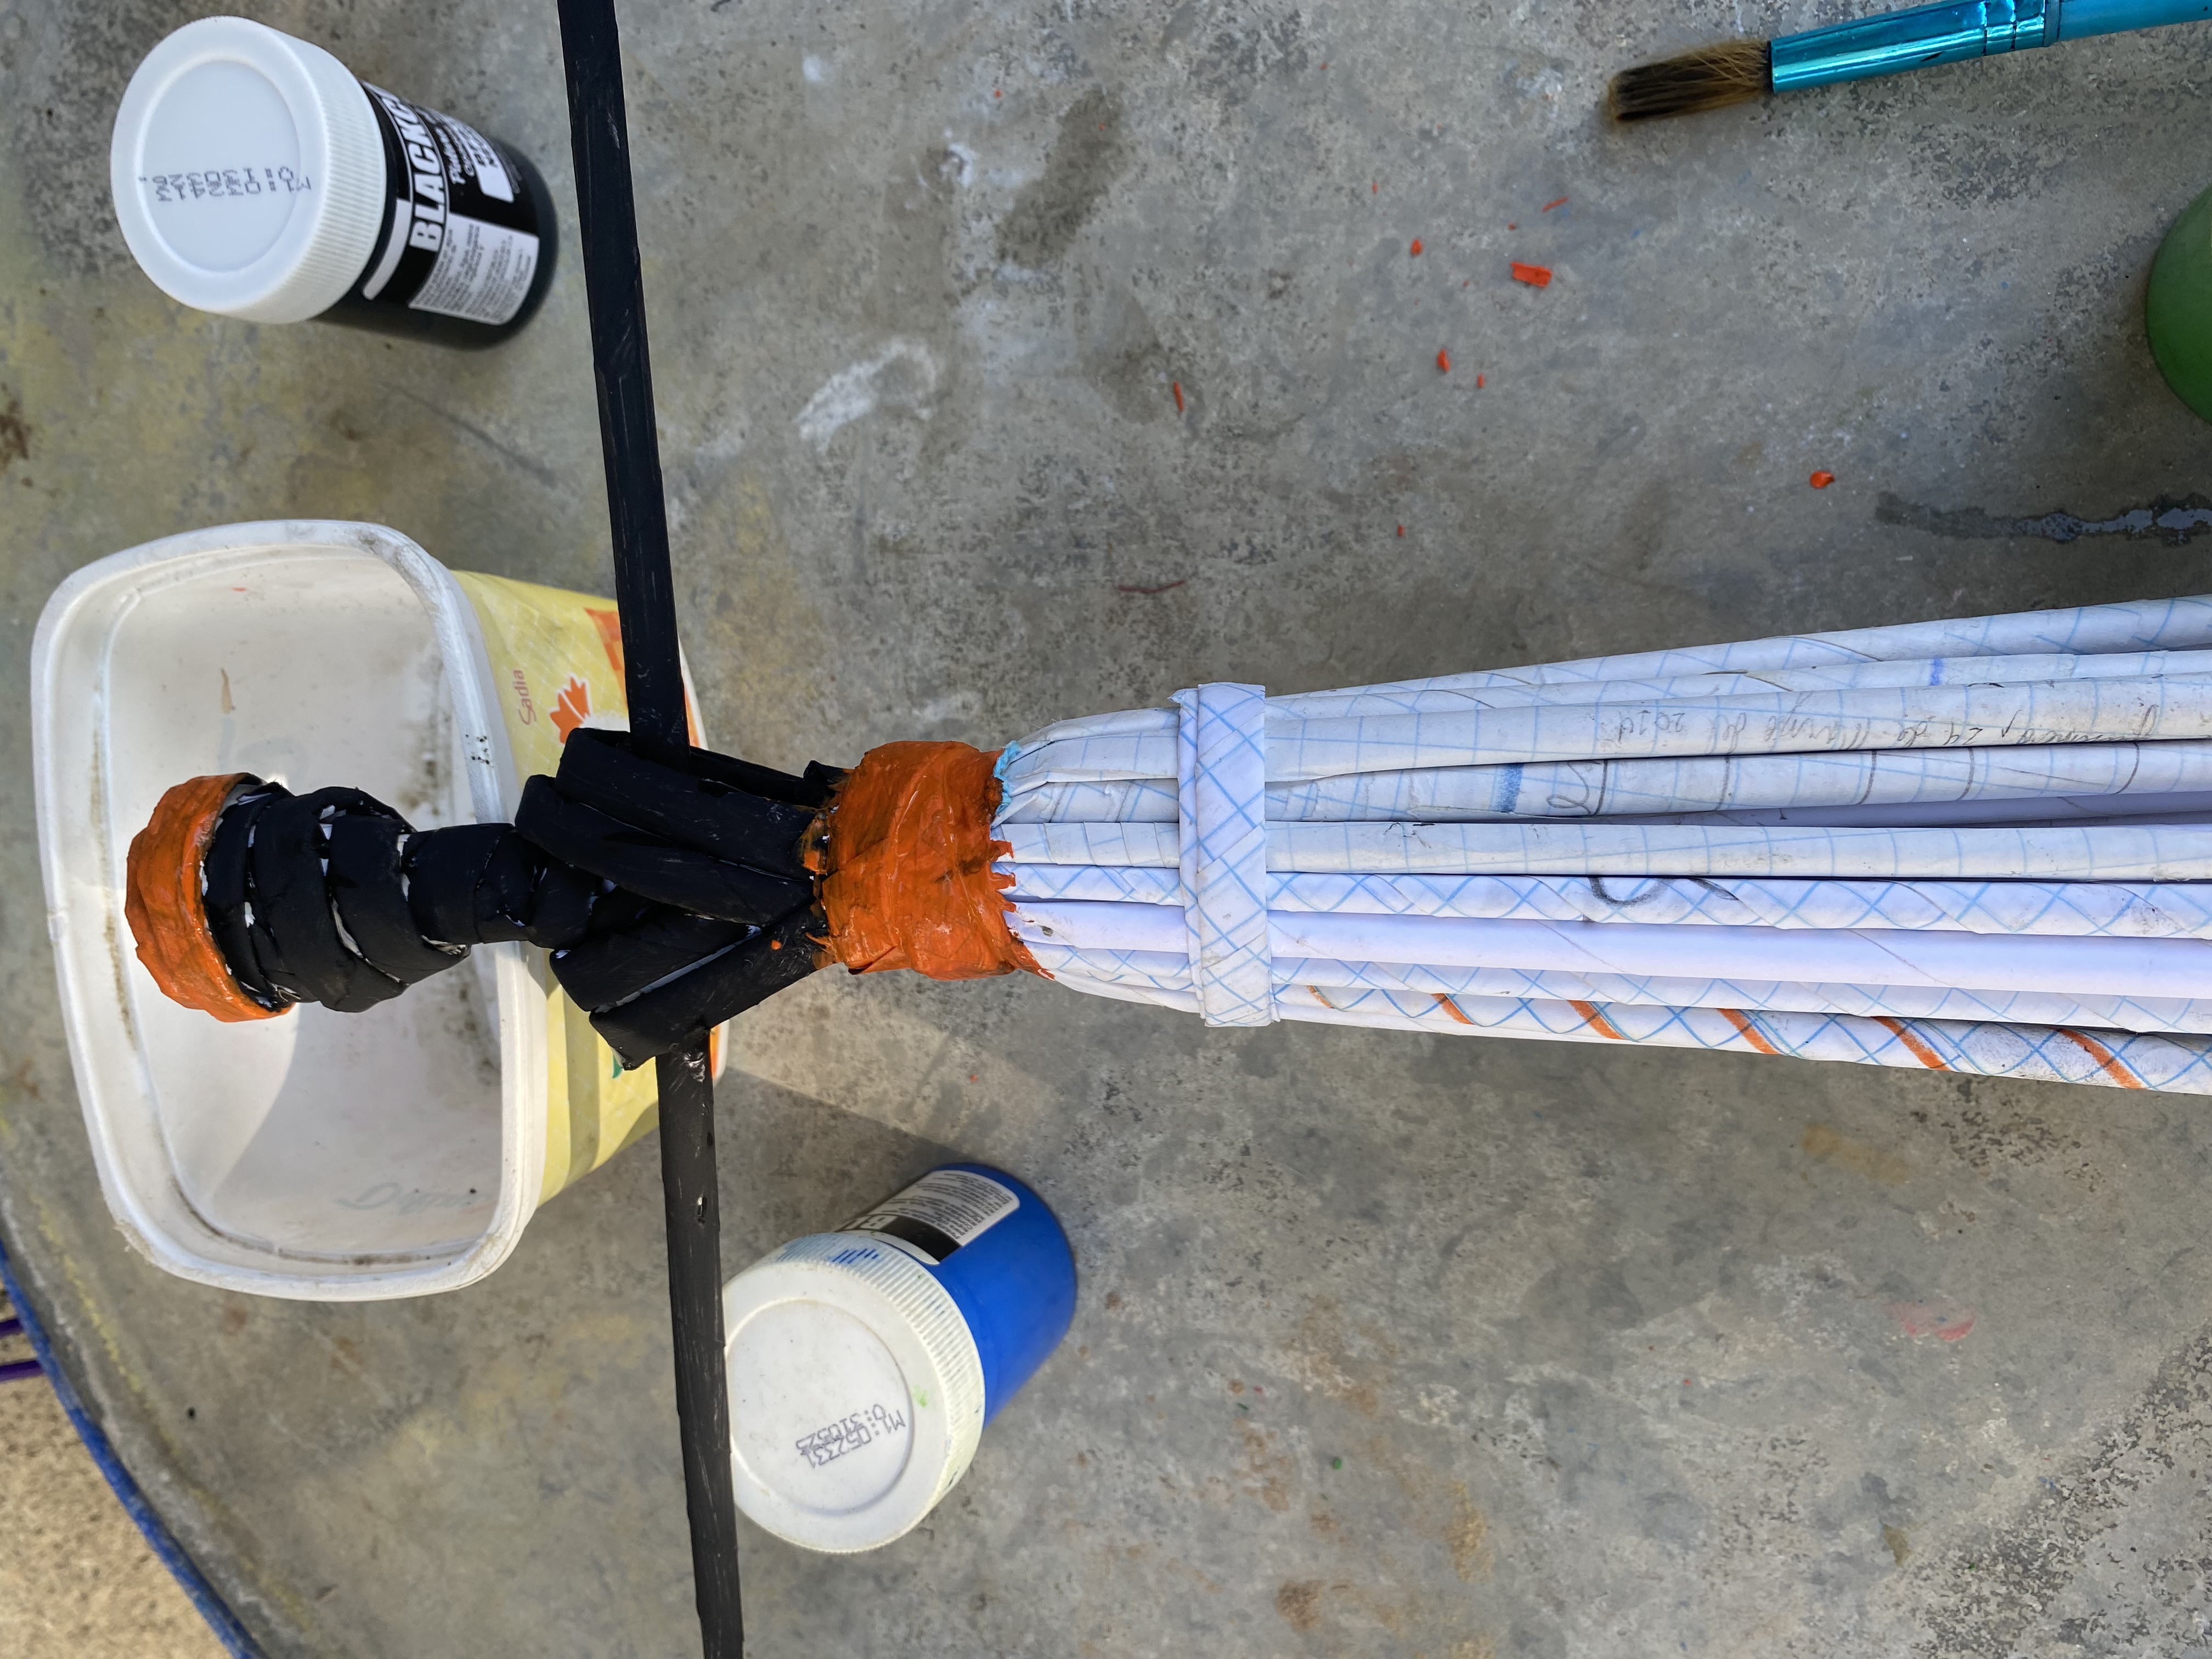
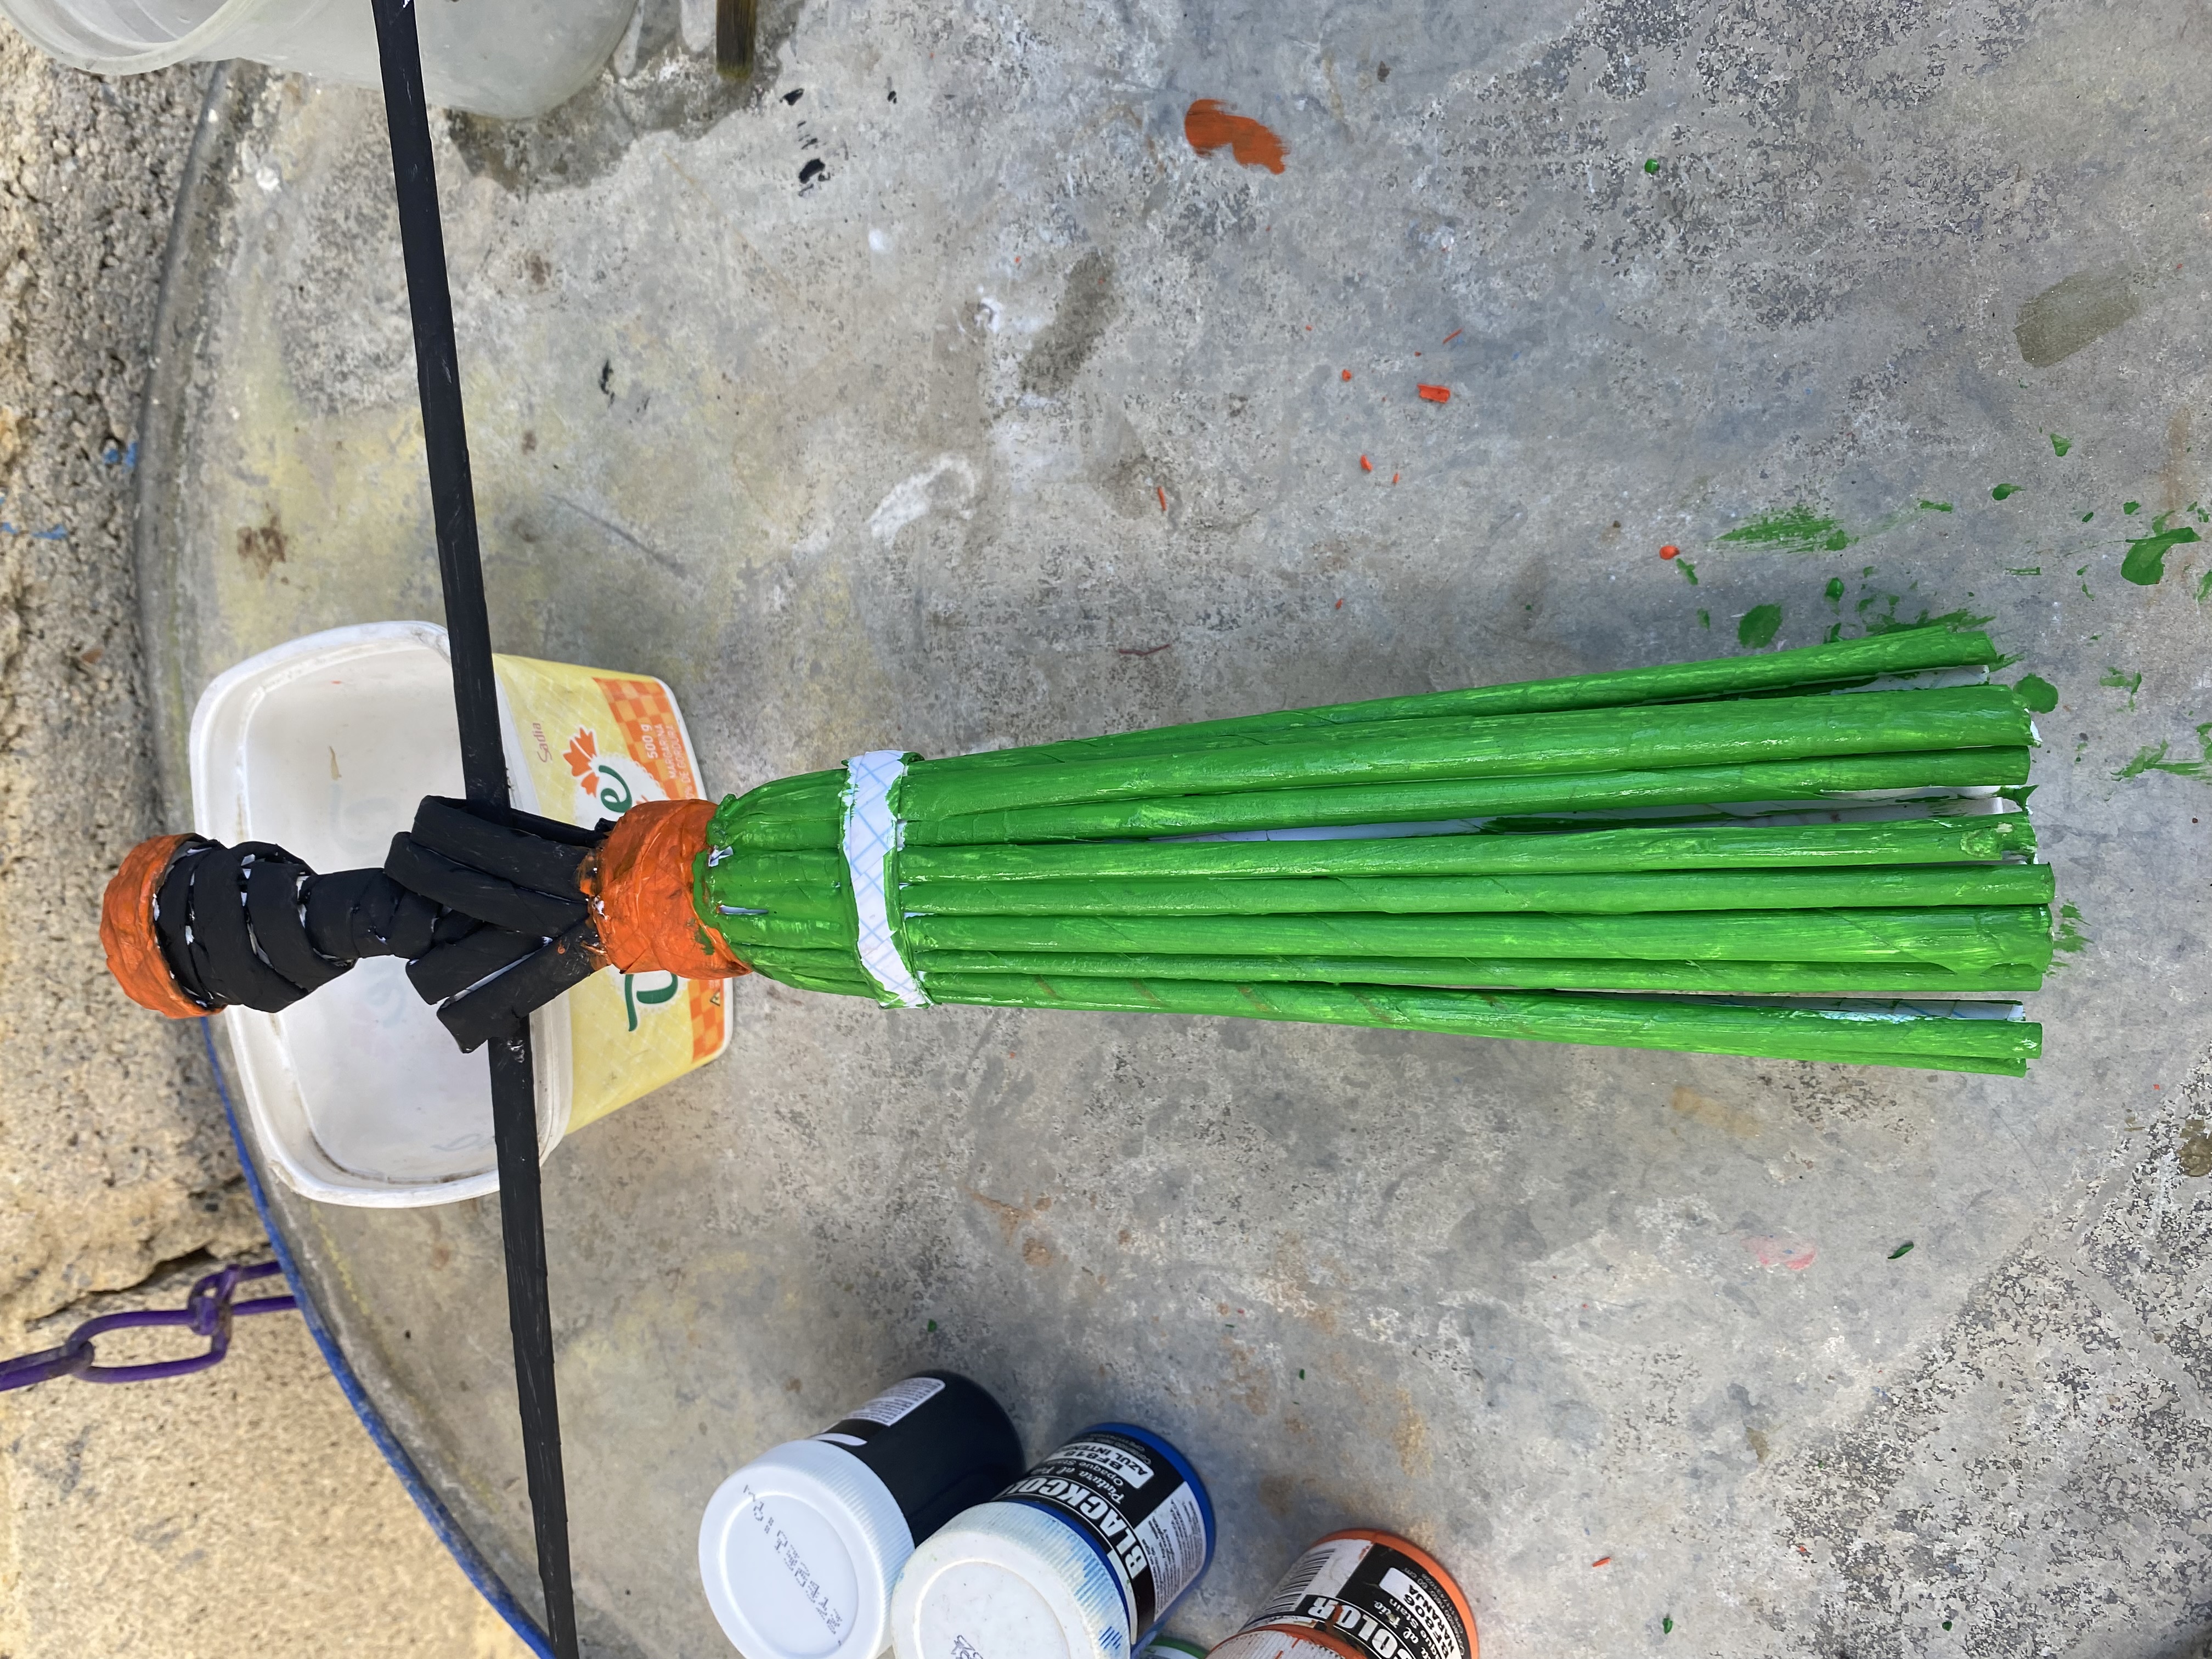
Then I will proceed to paint my doll, I will paint the body black, then I will paint the skirt green with orange details as well as the scarf that her head wears and finally I will place some ribbons to distinguish parts of her body and make it more decorative.
Para la parte decorativa, voy a enrollar dos trozos de papel para hacerle como especie de una vasija, esta se la colocaré en sus manos, doblando ligeramente los brazos hacia arriba , también voy a hacer como un pequeño casco para colocárselo en la cabeza como si fuese una pañoleta.
Luego procederé a pintar mi muñeca, el cuerpo se lo pintaré de color negro, luego le pintaré la falda de color verde con detalles en color naranja al igual que la pañoleta que lleven su cabeza y por último le colocaré algunas cintas para distinguir partes de su cuerpo y hacerla más decorativa.
 |  |
|---|---|
 |  |
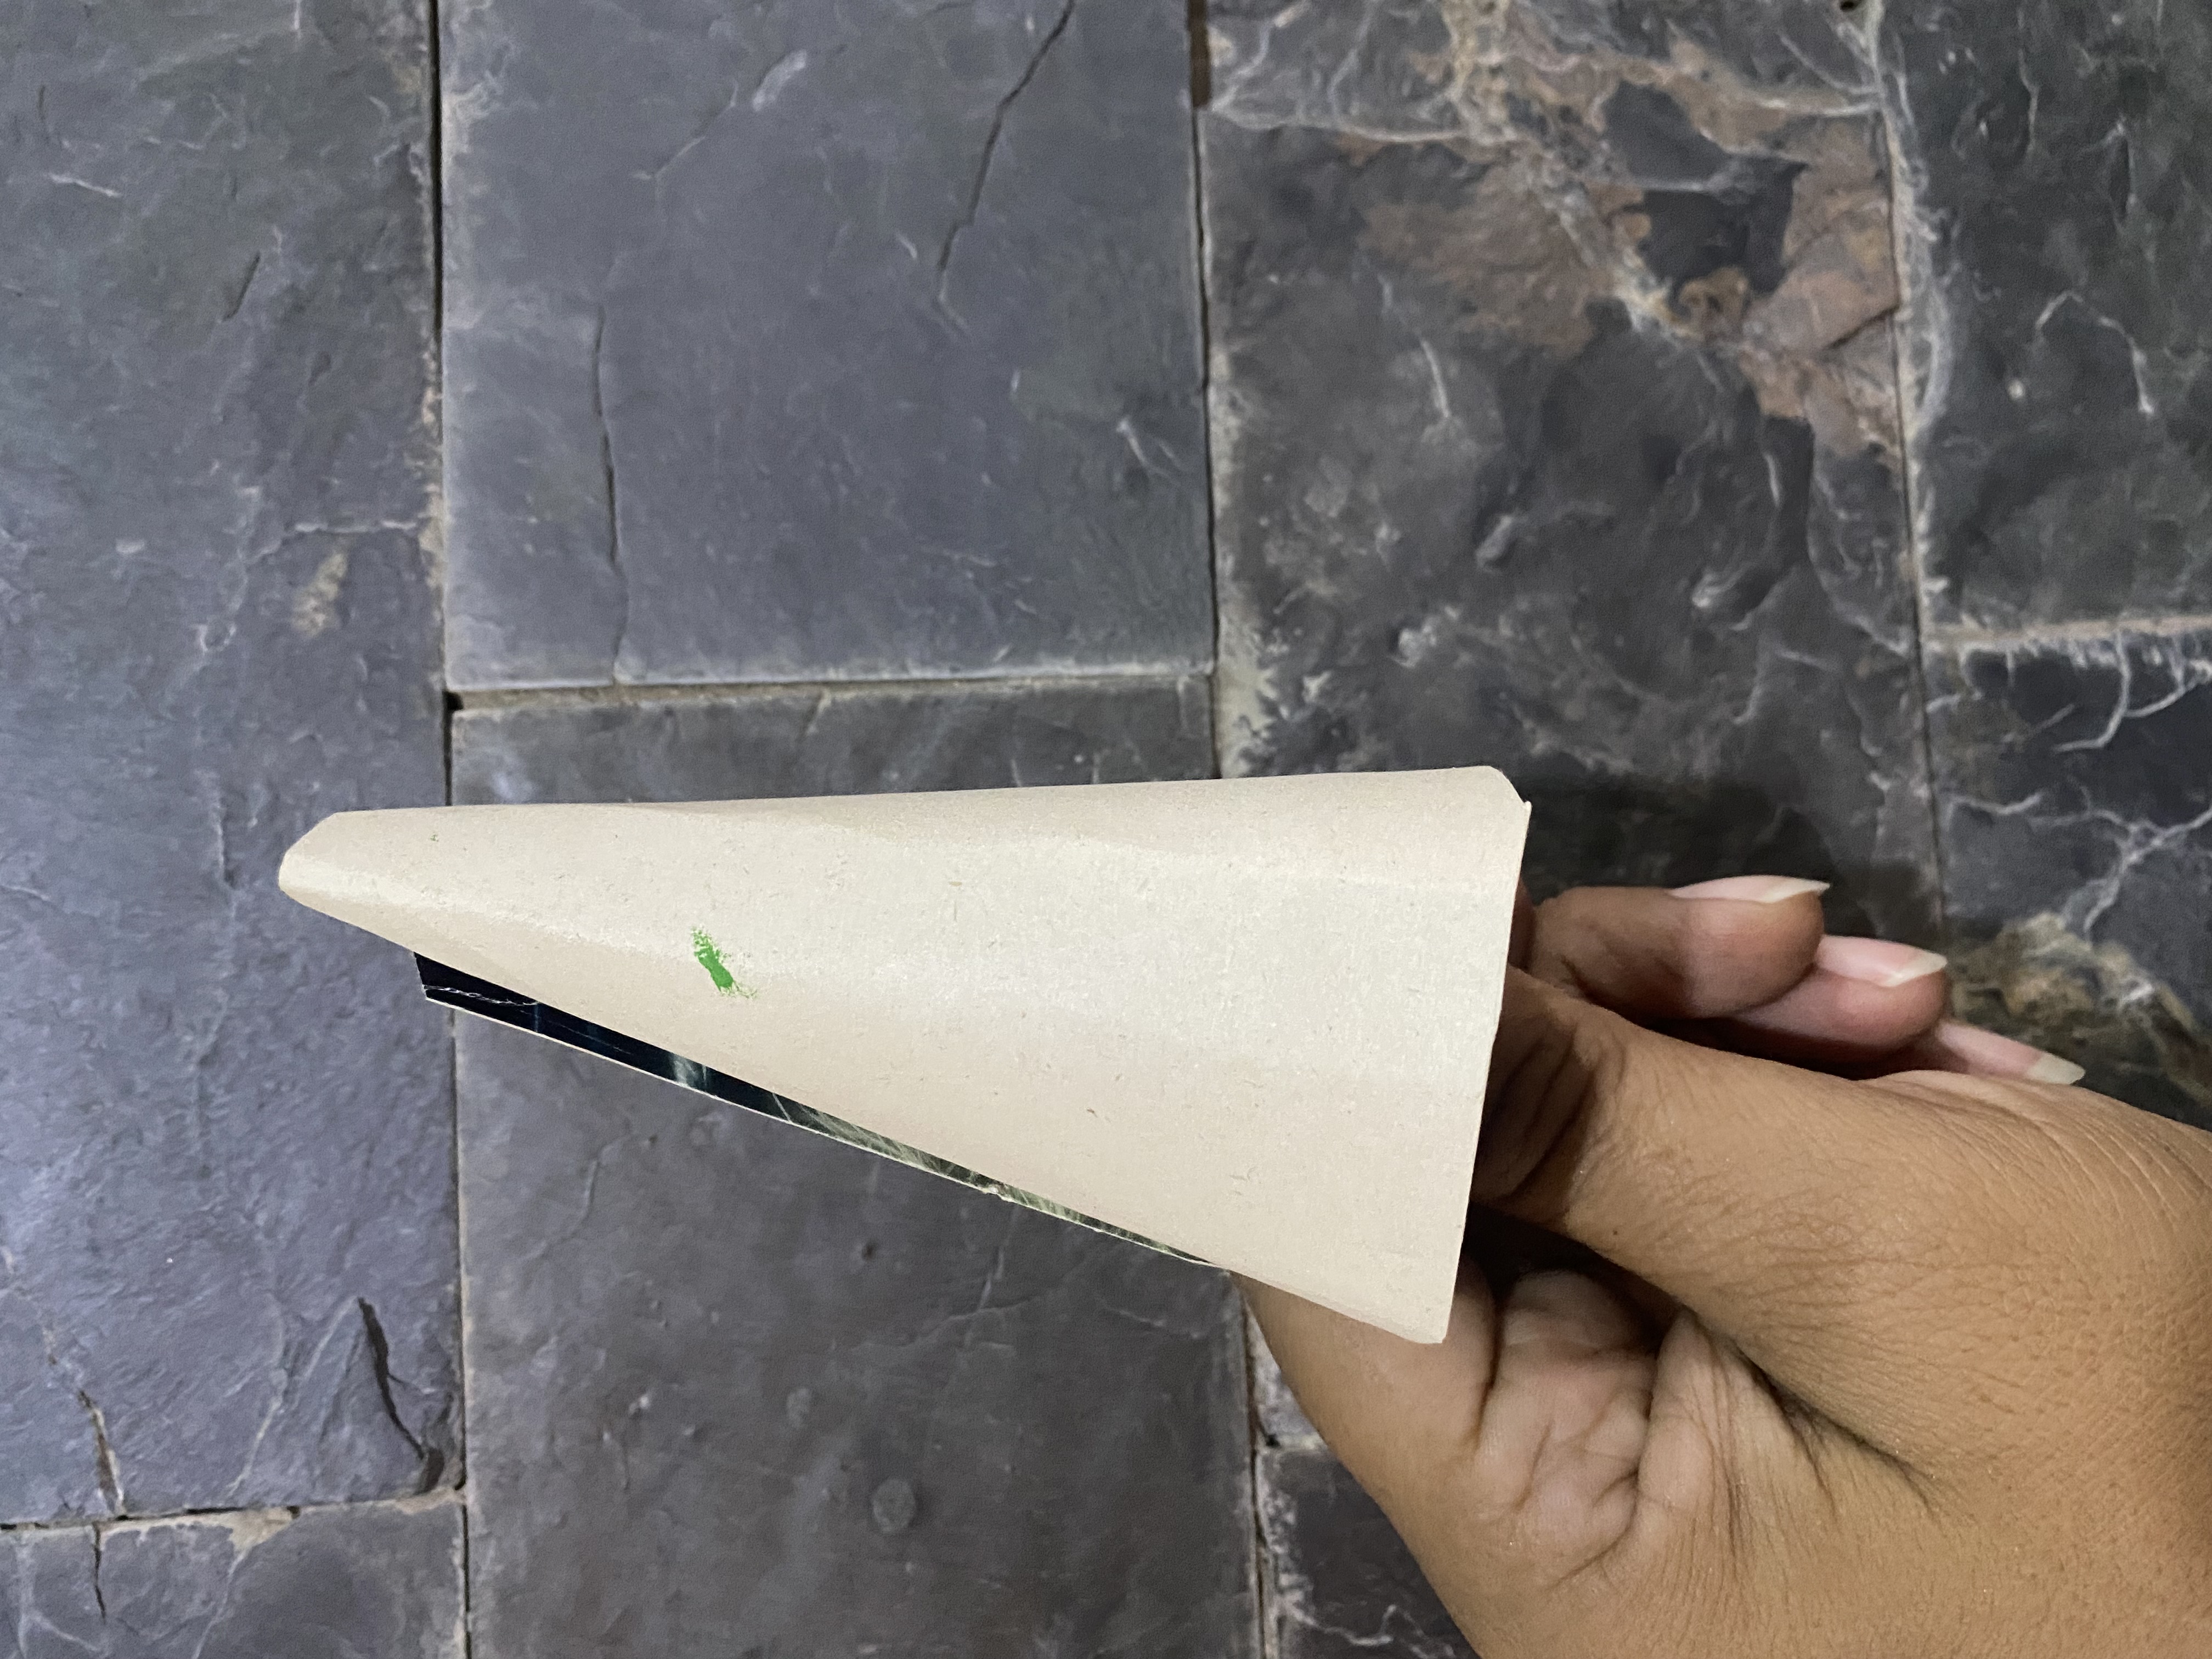
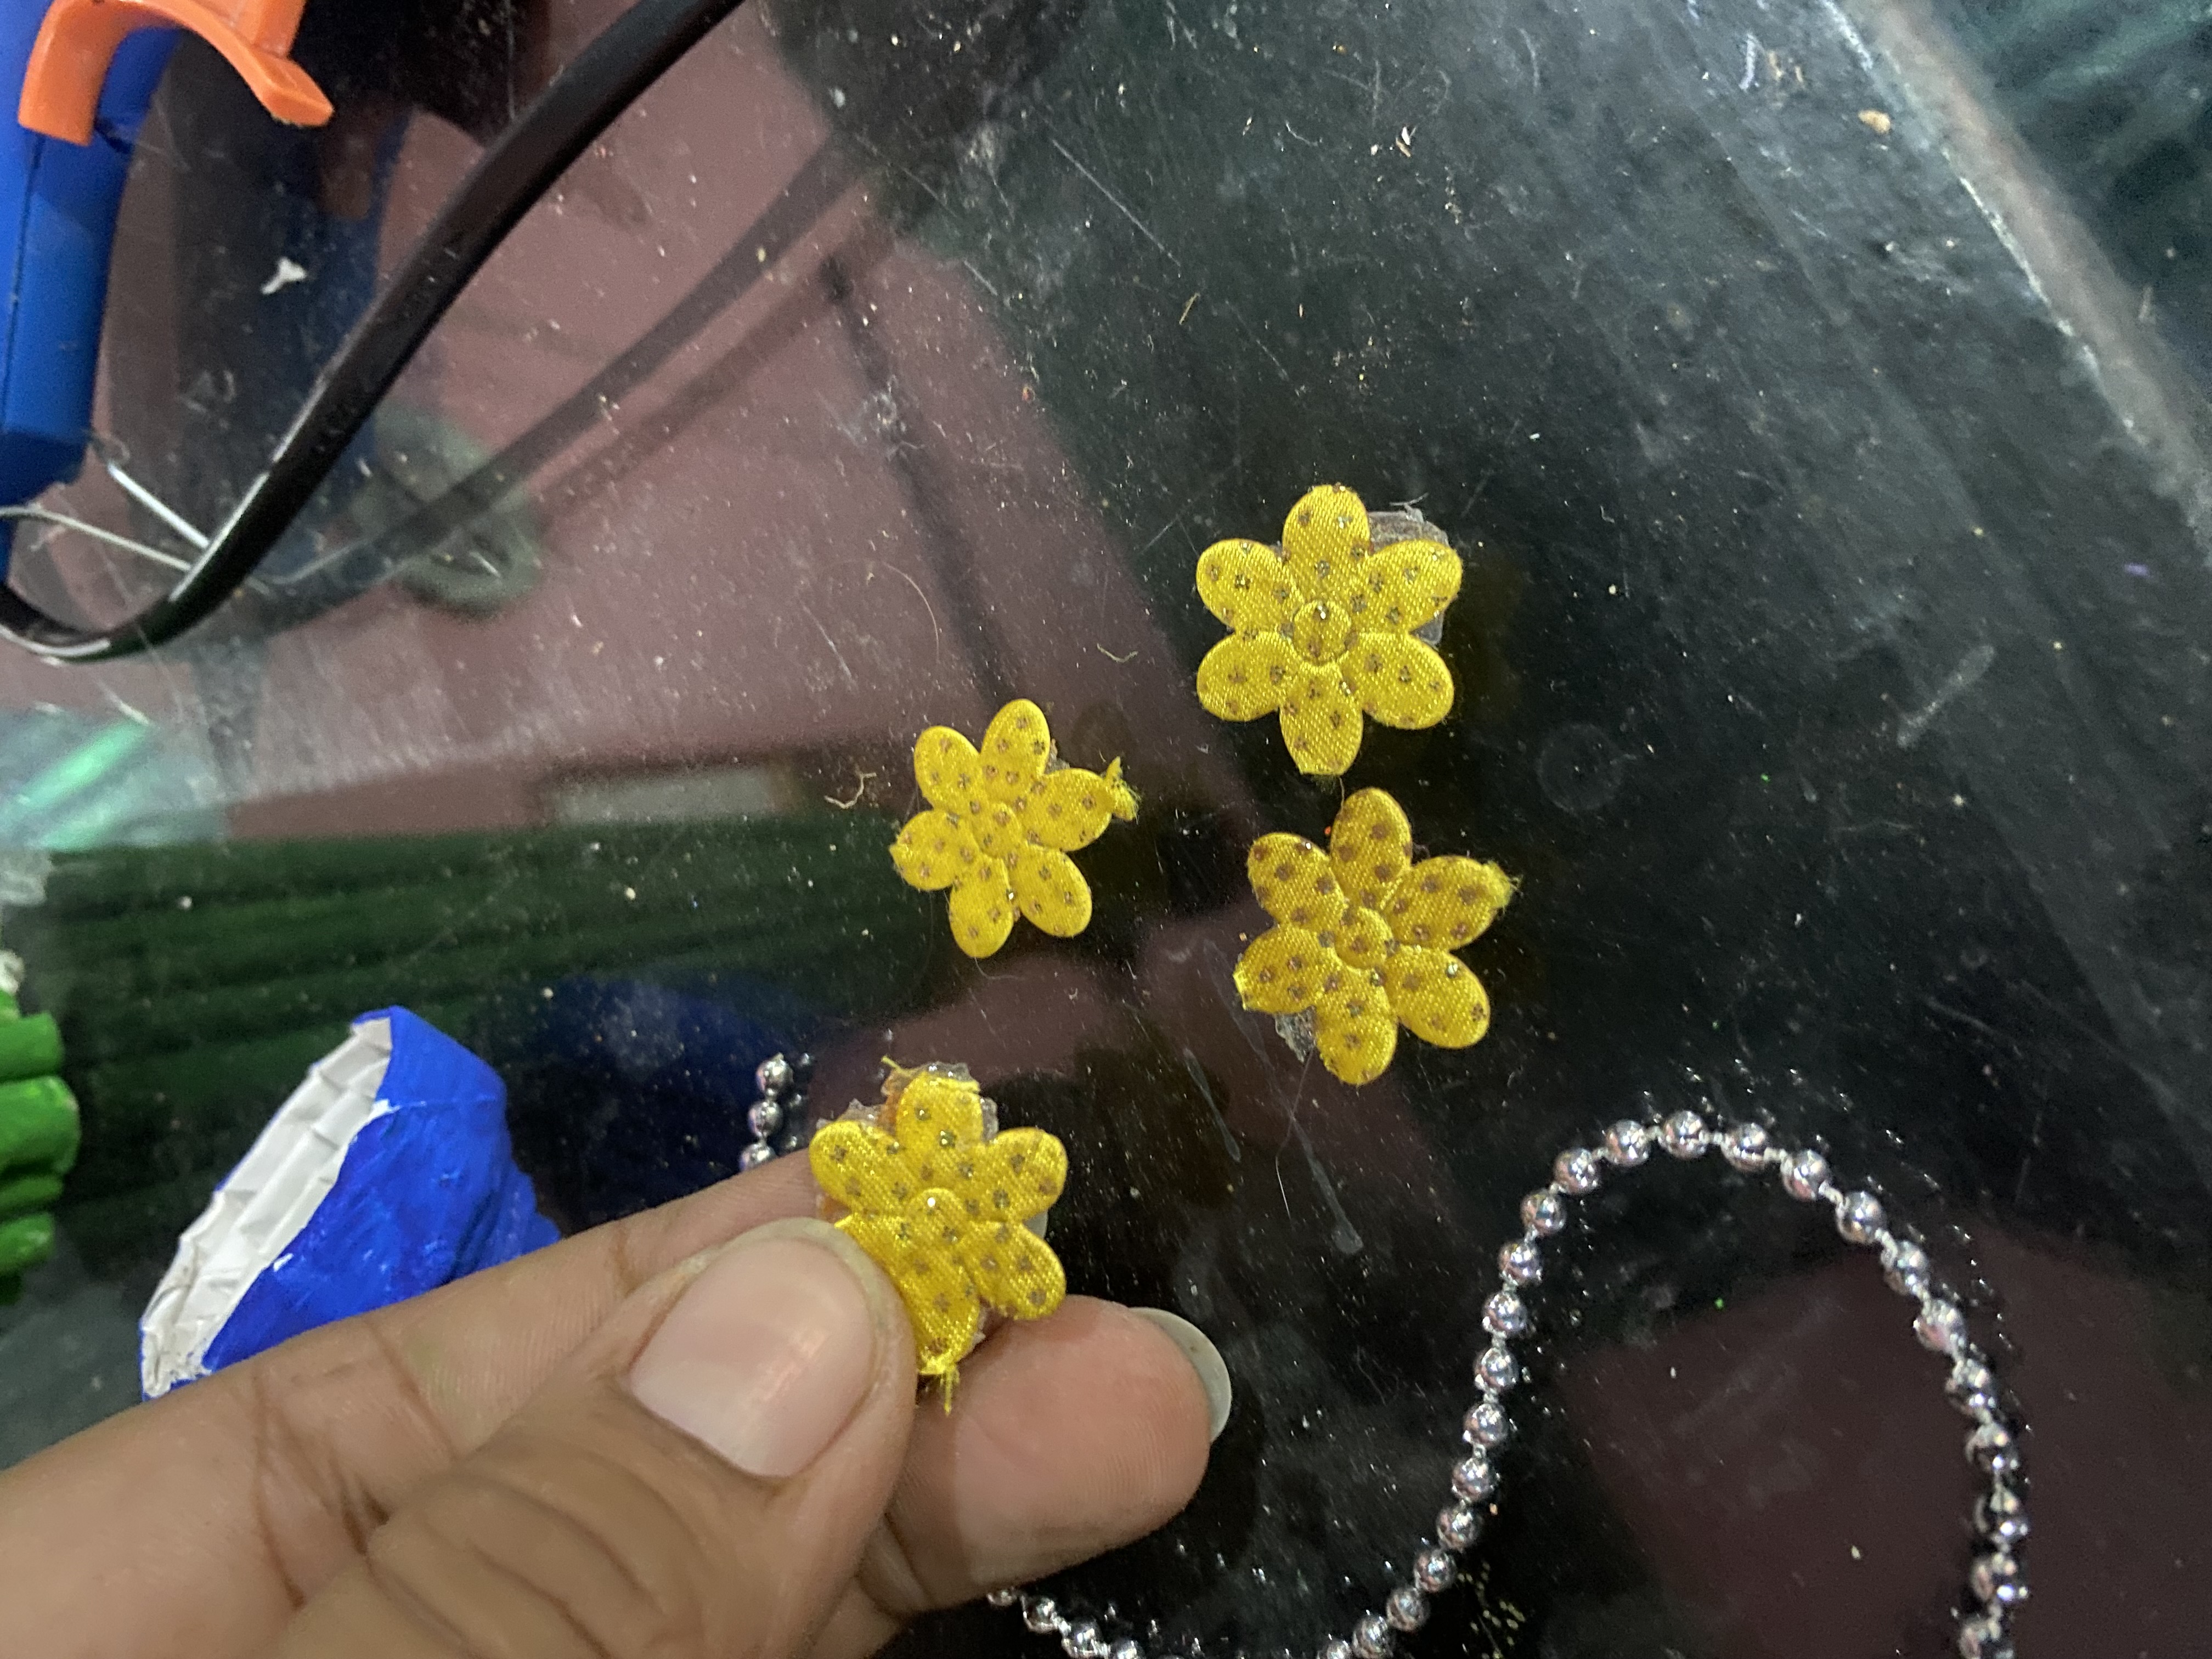
For the base we are going to make a small cone out of cardboard and we glue it on the inside so that it can hold better. To finish with the decoration I added some small yellow flowers, and this is how this beautiful decorative doll is ready, the result I love I loved it I hope you like it too 😊
Para la base vamos a hacer un pequeño cono en cartón y se lo pegamos por la parte interna para que esta pueda sostenerse mejor, Para culminar con la decoración le pequé unas pequeñas flores amarillas, y así está lista esta hermosa muñeca decorativa, el resultado me encantó espero que a ustedes también les guste 😊
 |  |
|---|---|
 |  |
It is wonderful everything we can achieve with things that we thought we were going to vote on, it is a pride to have saved all these sheets of paper for so many years and now put them to such beautiful use, I loved this doll-shaped ornament, now I have one new use for all those papers that I have saved, I say goodbye for today wishing you many successes and blessings in all your projects
Es maravilloso todo lo que podemos lograr con cosas que creíamos que íbamos a votar, es un orgullo haber guardado por tantos años todas estas hojas de papel y ahora darles un uso tan bonito, este adorno en forma de muñeca me encantó, ahora ya tengo una nueva utilidad para todos esos papeles que tengo guardados, me despido por hoy deseándoles muchos éxitos y bendiciones en todos sus proyectos

Sending Love and Ecency Vote!

Esta muñeca étnica te quedó muy bonita, y lo mejor es que usaste materiales reciclados.
This ethnic doll is very pretty, and the best part is that you used recycled materials.
👏👏👏
Gracias amiga 🥰
The doll looks done to perfection.
Great entry for the contest.
!diy
!discovery 50
Thank you 🥰
This post was shared and voted inside the discord by the curators team of discovery-it
Join our Community and follow our Curation Trail
Discovery-it is also a Witness, vote for us here
Delegate to us for passive income. Check our 80% fee-back Program
You can query your personal balance by
!DIYSTATSKeep up the good work. 👏
Recognized by Mystic artist Gudasol
You are loved.
Interested to to help music map cXc.world spread more good vibes on Hive?.