Digital Art / Bila the Radiant / Splinterlands Art Contest - Week 290 / Eng- Esp
Beauty, magic and lethality

English
Greetings dear friends of splinterlands and Alien Art Hive!
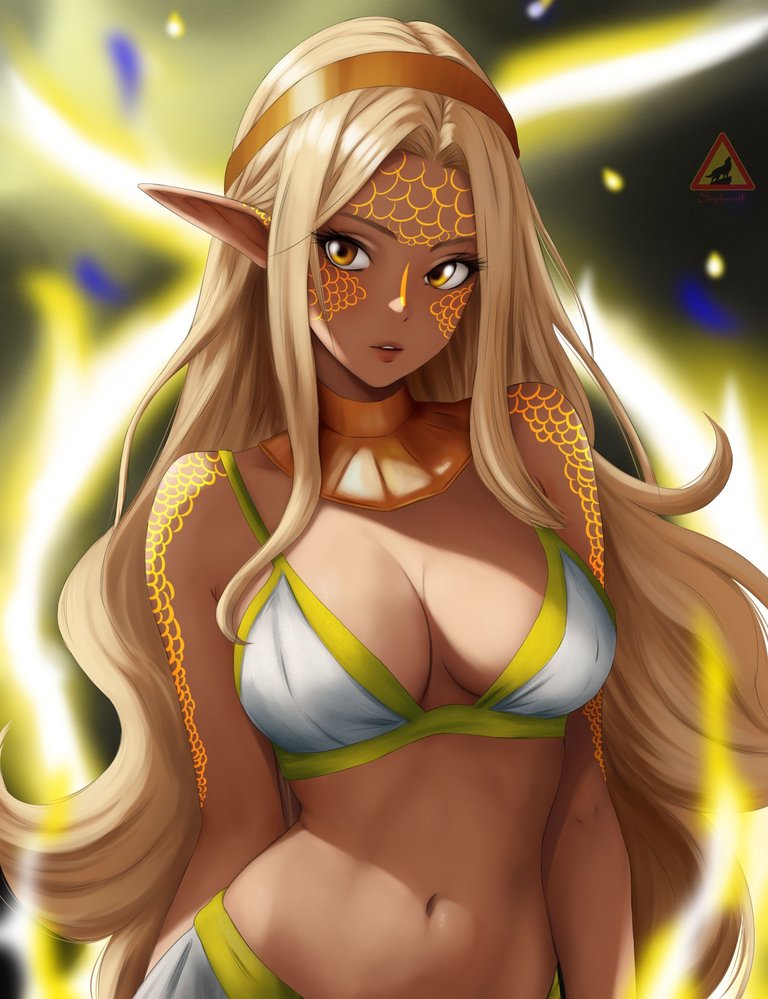
I hope you are very well, this week for the art contest I drew Bila the Radiant, she is a character I wanted to draw for a long time, her color palette mostly golden I really like her.
I have to admit that it took me a lot to finish on time, in my country they cut the electric service a lot, and I was sick for a couple of days.
But I'm fine now, regarding the illustration, I wanted to keep most of the original design and give it my personal touch, the marks on the skin look great, but I decided not to add them on the belly, because I didn't want to take away that sexy touch.
Another thing I tried to do was to give her an innocent expression, lately I've been practicing to make my drawings more expressive, I think the result was good friends.
without more to say let's start.
Español
Saludos apreciados amigos de splinterlands y Alien Art Hive!
Espero estén muy bien, esta semana para el concurso de arte dibuje a Bila the Radiant, es un personaje que quería dibujar desde hace mucho tiempo, su paleta de coles en su mayoría dorados me gusta muchísimo.
tengo que admitir que me costó mucho terminar a tiempo, en mi país quitan muchísimo el servicio eléctrico, y estuve un par de días enfermo.
Pero ya ando bien, con respecto a la ilustración, quise mantener gran parte del diseño original y darle mi toque personal, las marcas en la piel se ven muy bien, pero decidí no agregarlas en el vientre, pues no quería restarle ese toque sexy.
Otra cosa que busque fue darle una expresión un tanto inocente, últimamente he estado practicando hacer mas expresivos mis dibujos, creo que el resultado fue bueno amigos.
sin mas que decir empecemos.
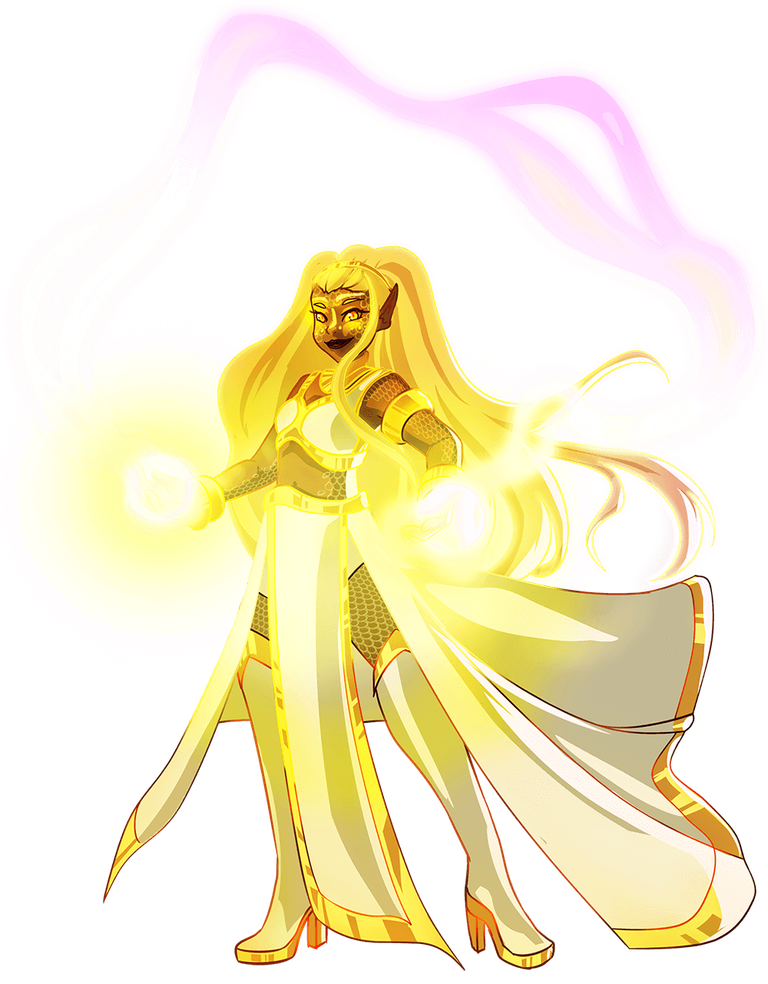
Reference
Process/Proceso
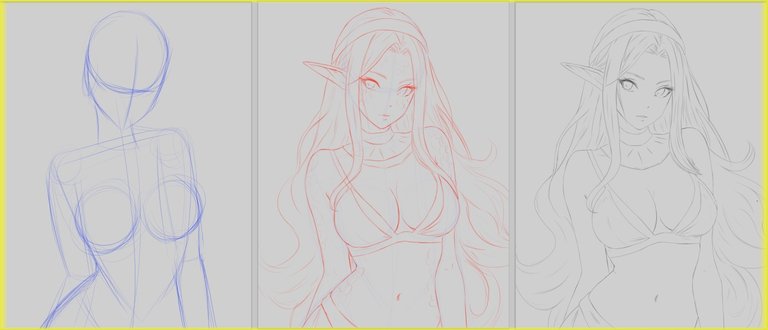
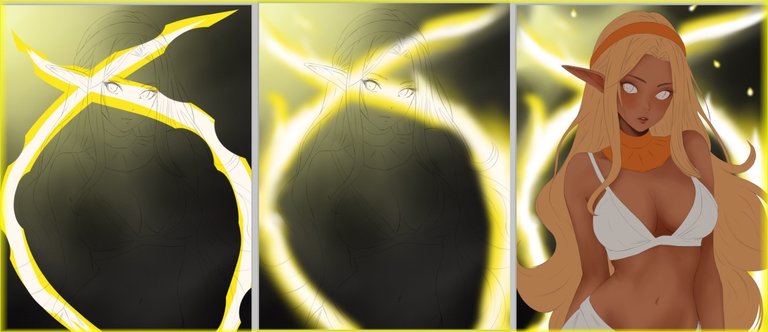
The first step as always is to create the basic shape of the character, for this we use a blue color without giving many details, now that I think about it, it would have been much cooler the full body character, but that will be for another opportunity.
On this layer we draw the sketch using a red color, at this point we give details and correct several things before moving to the next step.
As a final step we do the lineart, this we will do it in black color and a 50% hardness brush, lately I'm thinking about changing my line style and use thicker lines hehe.
El primer paso como siempre es crear la forma básica del personaje, para esto usamos un color azul sin dar muchos detalles, ahora que lo pienso fuera quedado mucho mas genial el personaje de cuerpo entero, pero bueno será para otra oportunidad.
Sobre esta capa dibujamos el boceto usando un color rojo, en este punto damos detalles y corregimos varias cosas antes de pasar al siguiente paso.
Como paso final hacemos el lineart, esto lo haremos en color negro y un pincel de dureza 50%, últimamente estoy pensando en cambiar mi estilo de lineas y usar lineas un tanto mas gruesas jeje.
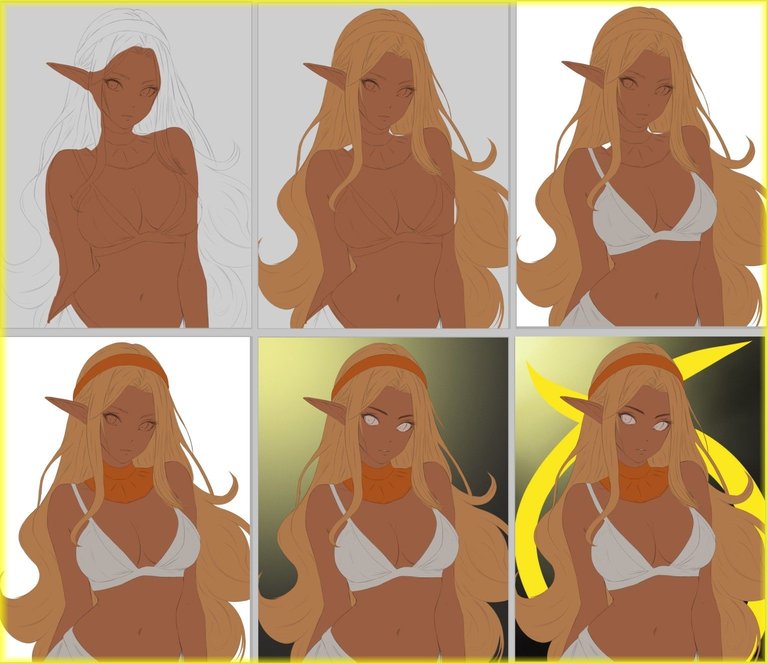
It is time to apply the base color, each color goes in a different layer, this helps us in the application of details, shadows and effects.
This step is simple but time consuming.
I made a simple background to start with and we apply some yellow lines in order to create the magic effect later on.
Es momento de aplicar el color base, cada color va en una capa diferente, esto nos ayuda en la aplicación de detalles sombras y efectos.
Este paso es simple pero requiere tiempo.
hice un fondo simple para empezar y aplicamos unas lineas de color amarillo esto con el fin de crear el efecto mágico mas adelante.
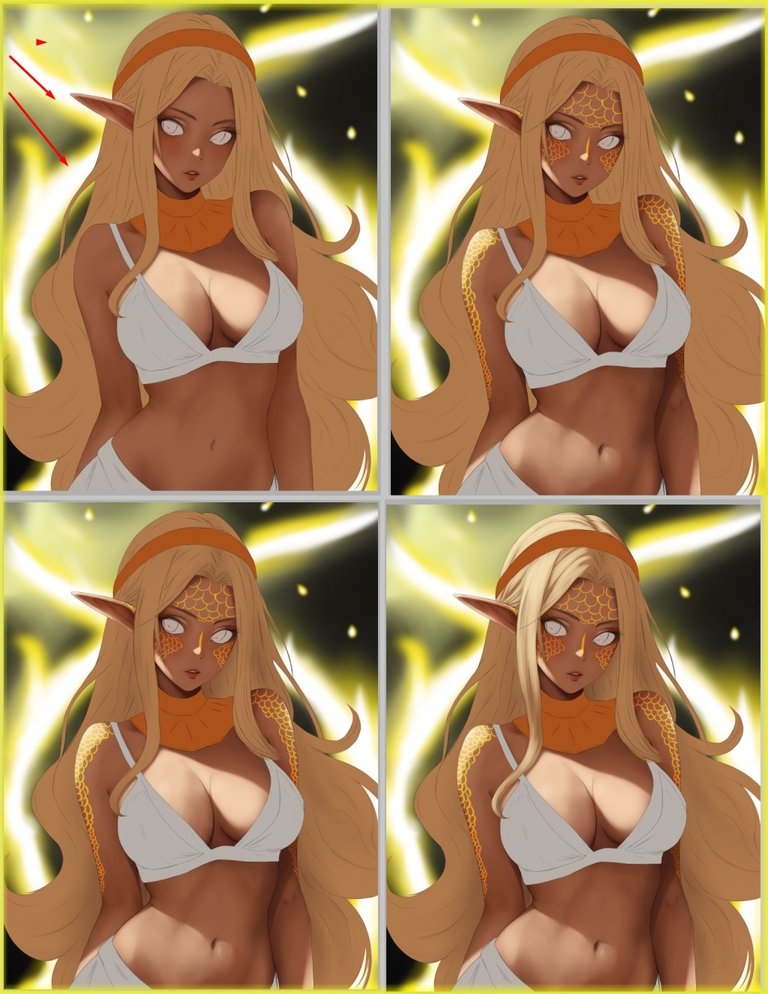
For the magic we will do an effect similar to the one we used in other opportunities for the fire, before blurring we apply a center of white color and we remove with the eraser some zones to give it some asymmetrical form.
After blurring and applying some retouches we get something like this.
When we finish with the background we apply a very soft reddish shade on the skin, the skin is the part that requires more time.
Para la magia haremos un efecto parecido al que usamos en otras oportunidades para el fuego, antes de difuminar aplicamos un centro de color blanco y removemos con el borrador algunas zonas para darle cierta forma asimétrica.
después de difuminar y aplicar ciertos retoques nos queda algo así.
Al terminar con el fondo aplicamos en la piel una sombra muy suave de tono rojizo, la piel es la parte que requiere mas tiempo.
When we finish applying the first shadow we will apply the strong lights and shadows, for this we take into account where we want the strongest source of light.
Once the skin is ready, which took me a long time, on a new layer and the multiply effect we draw the marks of the skin.
As we did in the other layers the hair has its light source in the same direction as the skin.
Al terminar de aplicar la primera sombra aplicaremos las luces y sombras fuertes, para esto tenemos en cuenta de donde quiero la mayor fuente de luz.
Una vez lista la piel la cual me llevo muchísimo tiempo, sobre una capa nueva y el efecto multiplicar dibujamos las marcas de la piel.
De igual forma que hicimos en las otras capas el cabello tiene su fuente de luz en la misma dirección que la de la piel.
When we finish with the hair we continue with the clothes, in the same way we start with subtle shadows and then reinforce them.
On a new layer and the multiply effect we give the missing colors.
Al terminar con el cabello seguimos con la ropa, de igual forma iniciamos con sombras sutiles y reforzamos luego.
sobre una capa nueva y el efecto multiplicar damos los colores que faltan.
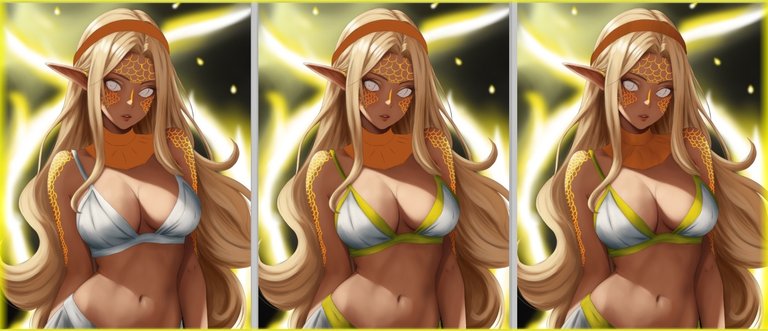
The eyes require special attention, as they give life to our character.
We use a color similar to that of the reference
Los ojos requieren atención especial, pues ellos dan vida a nuestro personaje.
Usamos un color similar al de la referencia

We applied details to finish, including a little more magic effect in front, and some small blue marks “ I chose the blue color because according to the chromatic circle they are complementary colors with yellow”.
Aplicamos detalles para finalizar, entre ellos un poco mas de efecto mágico en frente, y unas pequeñas marcas azules " elegí el color azul porque según el circulo cromático son colores complementarios con el amarillo"
If you don't play splinterlands yet you can join here!
Si aún no juegas splinterlands puedes unirte aquí!
Join here // Unete aqui
Friends we reached the end, I hope you liked it, in spite of the inconveniences we managed to finish it on time hehehe
See you next week, see you cowboys!
Amigos llegamos al final, espero que les haya gustado, a pesar de los inconvenientes logramos terminarla a tiempo jeje.
Hasta la próxima semana, nos vemos vaqueros!
Tools:
- PaintTool SAI 2
- Inspiroy H640 Pen Tablets
- Corel photo paint x3

Better than the original. ;)
!WINE
https://twitter.com/AlienArtHive/status/1785048661707329839