Digital Art/ Famele Forest Healer + Banner / Holozing Fanart Eng-Esp
Dreams

English
Español
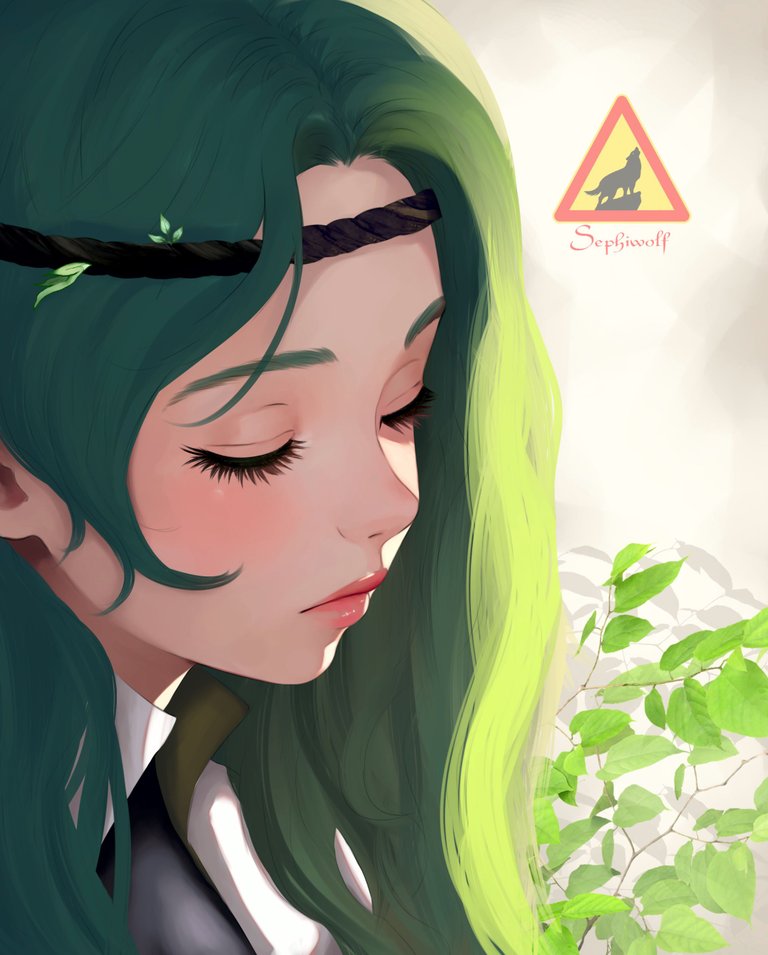
Saludos amigos, espero estén muy bien, hoy quiero compartir con ustedes una ilustración que podría considerarse una especie de rework pues ya hice una idea parecida hace un tiempo atrás, o simplemente una versión parecida.
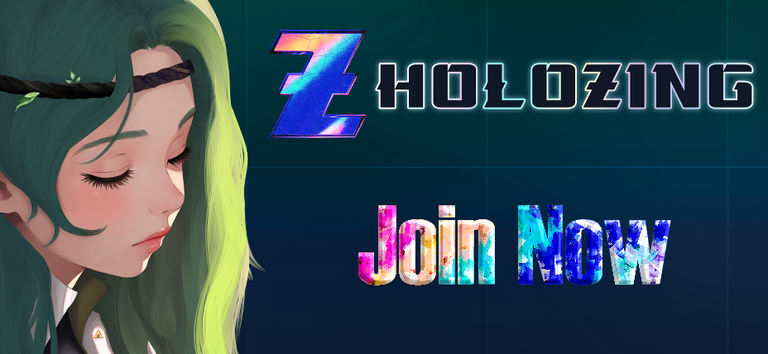
El propósito principal es diseñar un banner de publicidad sobre holozing, y obviamente ganar referidos en mi cuenta :"3 " muahahahaha" ,
lo estaré usando para firmar publicaciones sobre el juego y tambien en mis redes sociales.
En fin sea como sea en esta oportunidad mejore muchas cosas con las que no estaba conforme, en este tipo de dibujos donde el rostro esta muy cerca tienen como ventaja el que puedas darle mucho mas detalle al mismo, centrando tu atención en una pequeña area del personaje.
"el que mucho abarca, poco aprieta" .
Tambien como es costumbre quise integrar un par de pinceles que descargue hace tiempo pero no habia usado, por lo general suelo hacer todo manual aunque tome mucho mas tiempo, aun así estos pinceles como por ejemplo las plantas del fondo te ahorran trabajo.

Reference

Process/Proceso
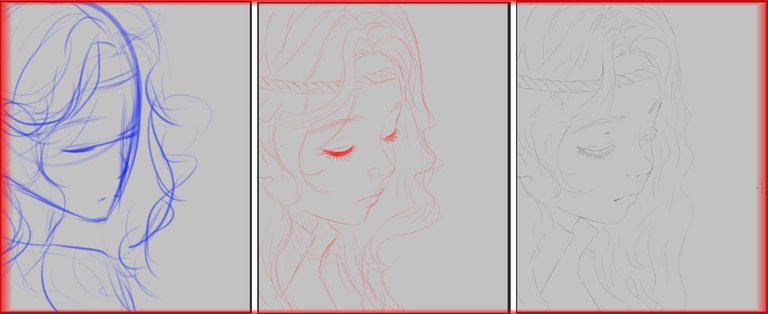
I made a sketch as if I was going to make a graphite portrait, now that I think about it I haven't drawn in pencil for a long time hehe.
Next step I made the sketch, the part that took me the most work was the nose, I think I got used to make those anime type noses and now I wasn't very happy with the result.
In the end I ended up making a kind of fusion between anime noses and realistic portraits, or so I think haha.
As last step we make the lineart, here I must mention that the lineart will not have great protagonism in this work, to such an extent that if we eliminate the layer of the same one the drawing will continue looking equally well.
Hice un boceto como si fuera a hacer un retrato a grafito, ahora que lo pienso tengo muchísimo realmente muchísimo tiempo que no dibujo a lápiz jeje.
paso siguiente hice el boceto, la parte que mas trabajo me tomo fue la nariz, creo que me acostumbre a hacer esas nariz tipo anime y ahora no estaba muy conforme con el resultado.
Al final termine haciendo una especie de fusión entre las narices anime y retratos realistas. o eso creo jaja.
Como ultimo paso hacemos el lineart, aqui debo mencionar que el lineart no tendrá gran protagonismo en esta obra. a tal punto que si eliminamos la capa del mismo el dibujo seguirá viéndose igual de bien.
We apply the base color, at this point I used a somewhat improved version of the previous drawing, I also had in mind that it would be a drawing with a very different lighting.
Aplicamos el color base, en este punto usé una versión un tanto mejorada a la del anterior dibujo, también tenia en mente que seria un dibujo con una iluminación muy diferente.
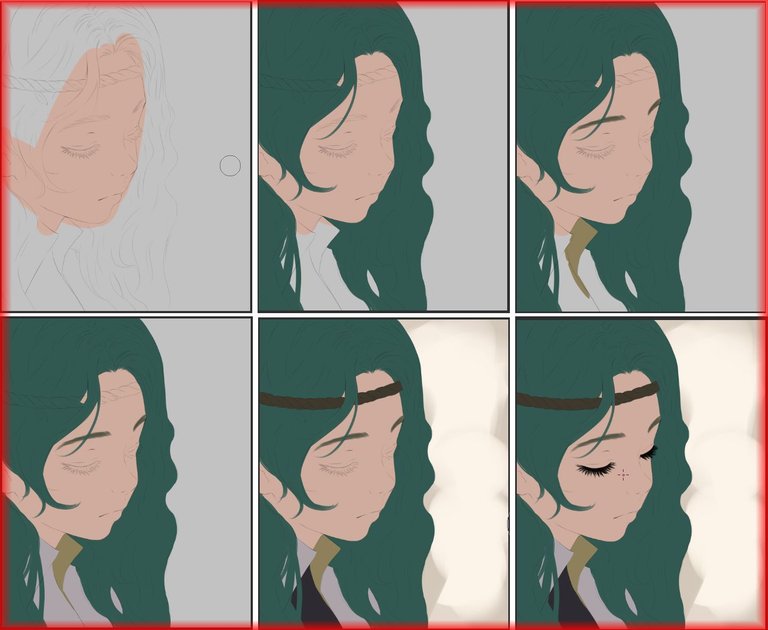
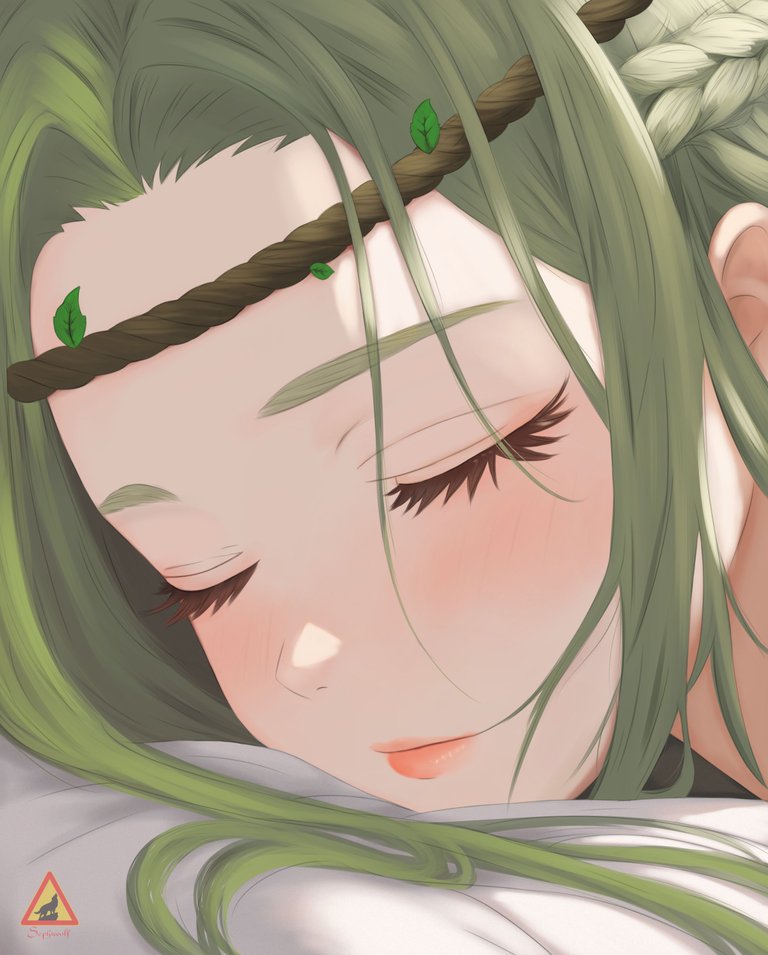
The part that took me the most time was the skin, I really wanted to make nice subtle details but there they are.
Now at this point I had planned to make the face without strong lights, but then I thought that this area “see the red arrow” would look good with a light because this would highlight more the face, that is the first version is dark face and dark hair “background”.
With this I wanted to give it more contrast and focus the attention on the face.
Another thing I had to keep in mind is that it should not only look good with this background but also with the background for which it was originally intended, i.e. advertising.
La parte que mas tiempo me llevo fue la piel, realmente quería hacer buenos detalles sutiles pero ahí estan.
ahora en este punto tenia pensado hacer el rostro sin luces fuertes. pero luego pensé que esta zona " vea la flecha roja" quedaría bien una luz pues esto resaltaría mas el rostro, es decir la primera versión es rostro oscuro y cabello " fondo" oscuro.
con esto quise darle mas contraste y centrar la atención en el rostro.
Otra cosa que debía tener presente es que, no solo debía verse bien con este fondo si no que tambien con el fondo para el cual esta pensada originalmente o sea la publicidad.
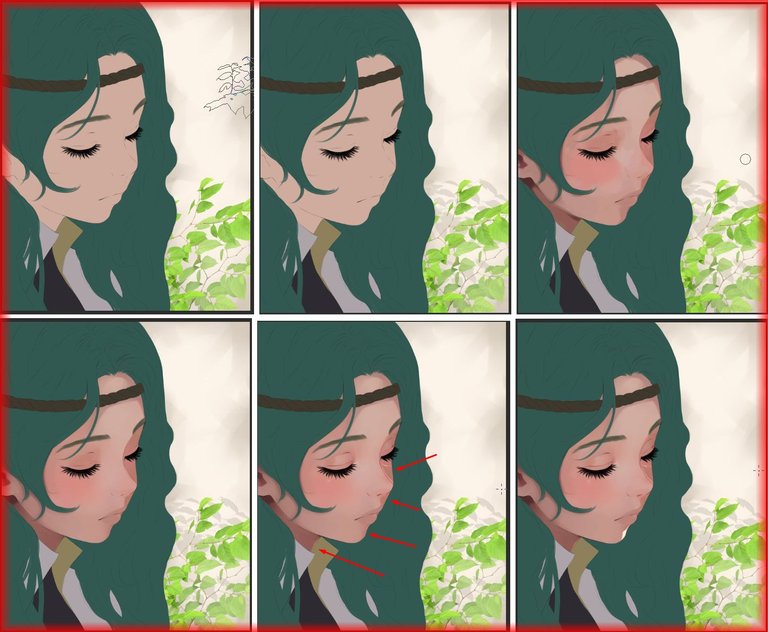
I didn't want to summarize this step because it is a very big one, I really had a hard time achieving this effect, first I added a tone relatively close to orange, and then I kept getting lighter avoiding to get to pure white.
“I remember the words of an art teacher who said that pure white is poison in paintings” hehe.
With the skin ready we can give the rest of the lights and shadows, as I mentioned the greatest detail has the face, with this ready we give the rest of the lights keeping the logic of the first ones I gave in the skin.
I used leaf brushes in the detail of the headband, and a couple of layers to get that wood effect. I'm not sure if it looks good but that's it.
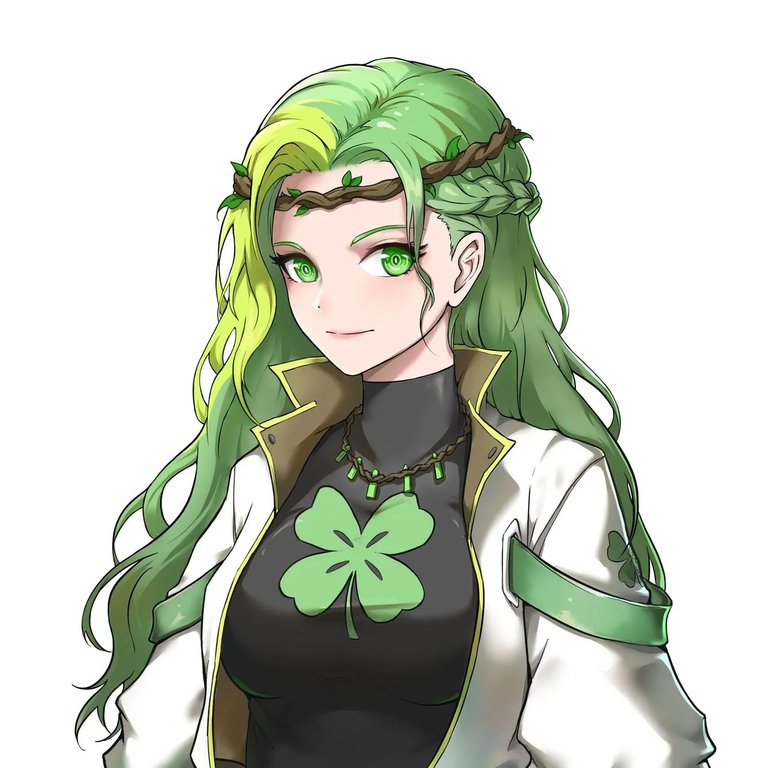
OH, I forgot to mention originally she wouldn't have lipstick but checking the reference I remembered that she does so that's why she had the lips well defined before and then the same thing but with paint.
No quise resumir este paso pues, es uno muy grande en serio me costó mucho lograr ese efecto, primero agregue un tono relativamente cercano al naranja, y luego fui aclarando evitando llegar al blanco puro.
"Recuerdo las palabras de un profe de arte que decía el blanco puro es veneno en las pinturas" jeje.
con la piel lista podemos dar el resto de luces y sombras, como mencione el mayor detalle lo tiene el rostro, con esto listo damos el resto de las luces manteniendo la lógica de las primeras que di en la piel.
use pinceles de hojas en el detalle del cintillo, y un par de capas para lograr ese efecto de madera. no estoy del todo seguro si se ve bien pero ahi quedo.
OH, olvide mencionar originalmente ella no tendría labial pero revisando la referencia recordé que si tiene asi que por eso tenia los labios bien definidos antes y luego lo mismo pero con pintura.
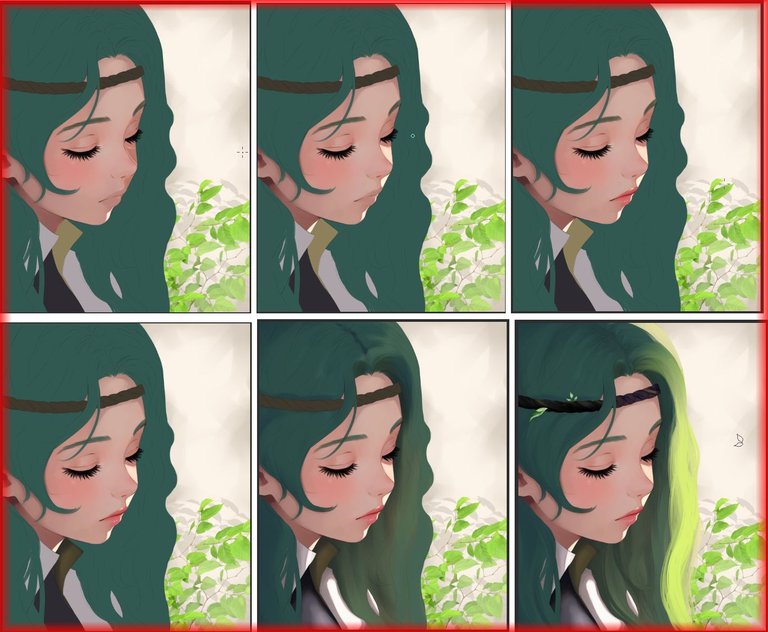
Finally we corrected the colors, manually layer by layer, exported in PNG “because then I lose quality” and proceed to sleep haha I finished it last night at dawn : “3.
Finalmente corregimos los colores, de forma manual capa por capa, exportamos en PNG " porque luego pierdo calidad" y procedo a dormir jaja lo termine anoche en la madrugada :"3.


I hope you liked it, I would love to read your opinions in the comments box.
I will be modifying several things of my publications so that they are not so monothematic or repetitive, I feel that it is necessary to improve a little in that aspect.
Until a new opportunity, and as they say in my country “take care of your sweets”.
See you cowboys.
Amigos llegamos al final, espero les allá gustado, me encantaría leer sus opiniones en la caja de comentarios.
Estaré modificando varias cositas de mis publicaciones para que no sean tan monotemáticas o repetitivas , siento que hace falta mejorar un poco en ese aspecto.
hasta una nueva oportunidad, y como dicen en mi país " cuídense el dulce"
Nos vemos vaqueros! .
Tools:
- CLIP STUDIO
- Inspiroy H640 Pen Tablets
- Corel PHOTO-PAINT 2019
- www.deepl.com/translator
Wow So soft, warm and lovely. Thanks for sharing this
Always wondered how you managed to do the face anatomy so well all the time. It gets tricky to draw in different angles.
You did a nice job here and It's absolutely beautiful 😍.
Quedó bien bonito este fanart.
So beautiful~~ 😍😍😍
Congratulations @sephiwolf!
You raised your level and are now a Minnow!