Digital Art / Healer of light / Holozing Fanart (Eng -Esp)
Healer of light

English
Español

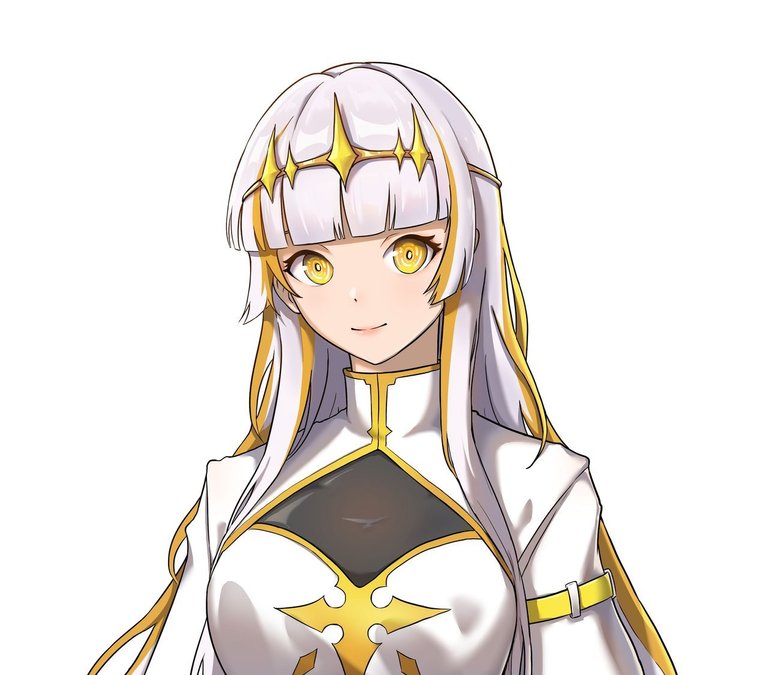
Reference

Process/Proceso
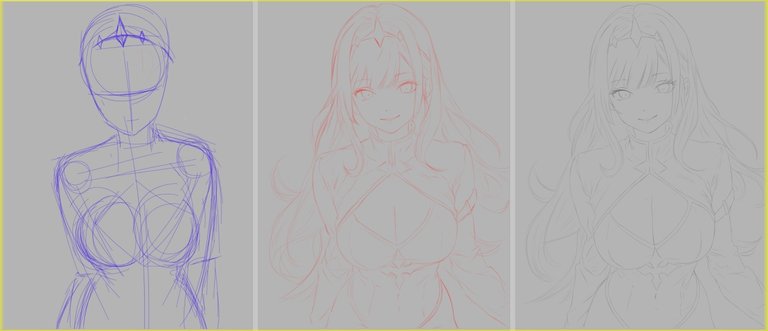
We started making the sketch with the basic shape, for this I used a blue color and a brush with 60% hardness.
I looked very well in all the details that the reference offers me.
In a second layer and this time with a red color we create the sketch.
To finish on a third layer we create the lineart, for this we will use a black color and a 50% hardness brush.
Sometimes I feel that this stage lasts much longer than the color phases.
Iniciamos haciendo el boceto con la forma basica, para esto usé un color azul y un pincel con dureza 60%.
Me fijé muy bien en todos los detalles que me ofrece la referencia.
En una segunda capa y esta vez con un color rojo creamos el boceto.
Para finalizar sobre una tercera capa creamos el lineart, para esto usaremos un color negro y un pincel de dureza 50%.
a veces siento que esta etapa dura mucho más que las fases de color.
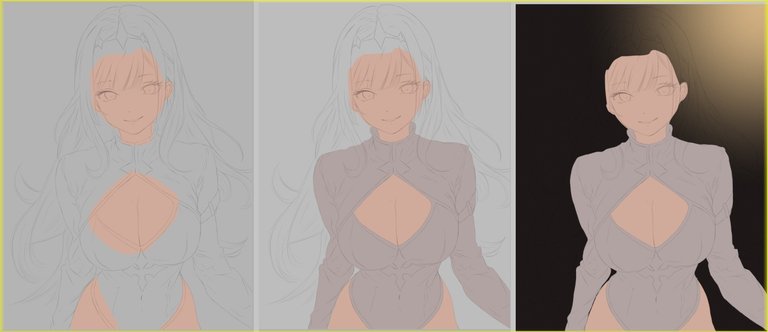
We apply the base color, the palette I will use has a small detail, it is very similar to the background I use to draw, so I had to add the final background at this stage to make a good contrast when applying the base color.
Aplicamos el color base, la paleta que usare tiene un pequeño detalle, es muy parecida al fondo que uso para dibujar, por lo que debí agregar el fondo final en esta etapa para hacer un buen contraste al momento de aplicar el color base.
After finishing with the base color we can apply the highlights and shadows.
This was my favorite part of the drawing, we do the skin as usual, if in these parts where she was wearing clothes I did the skin in a normal way.
Then in a layer above this one I applied a black color and the Multiply effect, another thing I did to achieve this effect was to lower the opacity.
As an additional detail, I applied a little more brightness in some areas. oh forget to mention that this layer has a Cloth texture like the background of the drawing.
Al finalizar con el color base podemos aplicar las luces y sombras.
Esta fue mi parte favorita del dibujo, hacemos la piel como es de costumbre, si en estas partes donde llevara ropa hice la piel de forma normal.
Luego en una capa arriba de esta aplique un color negro y el efecto Multiplicar, otra cosa que hice para lograr este efecto fue bajar la opacidad.
Como detalle adicional, aplique un poco más de brillo en algunas zonas. oh olvide mencionar que esta capa tiene una textura de Tela al igual que el fondo del dibujo.
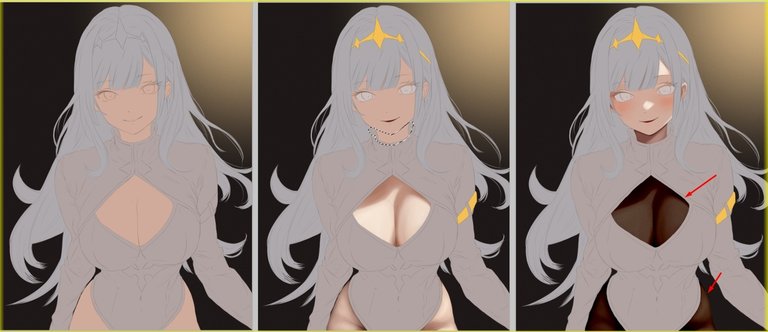
The skin stage was the one that took me the longest.
When finished we can continue with the clothes for this we follow the logic of light, that is to say we take into account where the greatest source of light comes from.
La etapa de la piel fue la que me llevo más tiempo.
Al terminar podemos seguir con la ropa para esto seguimos la lógica de la luz, es decir tenemos en cuenta de donde viene la mayor fuente de luz.
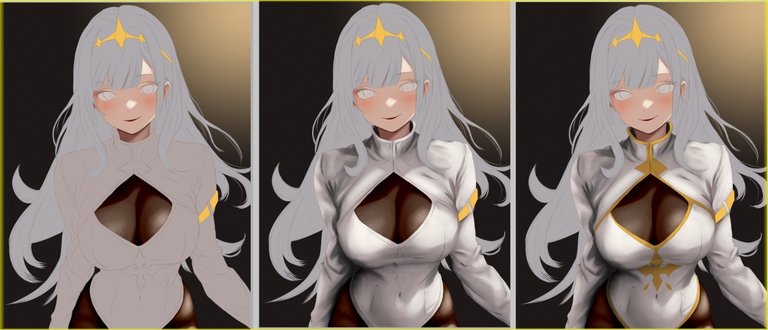
After all this work, only the final details remain.
I think the small details take a lot of time but they are really worth it when you appreciate the whole work as a whole.
Después de todo este trabajo solo quedan los detalles finales.
Creo que los pequeños detalles llevan muchísimo tiempo pero realmente valen la pena cuando aprecias toda la obra en conjunto.
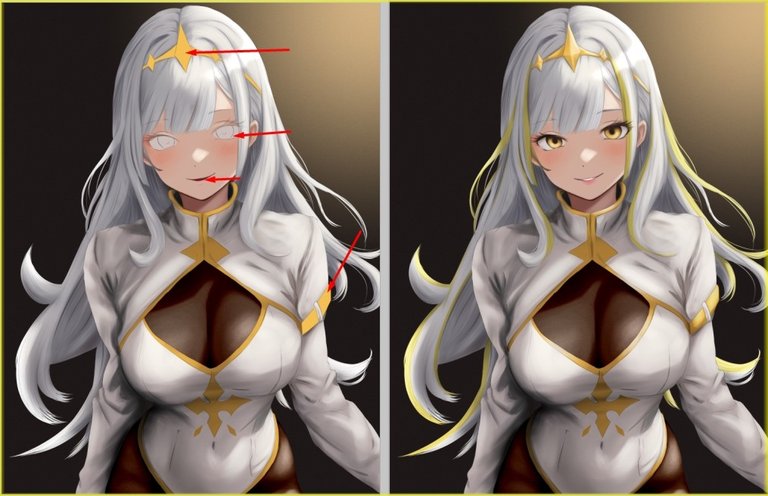
Finally we create a simple but nice looking background. Imagine floating lights on a dark background with the character's name in mind.
As a detail the lights have a small blur and the effect to illuminate.
Para finalizar creamos fondo simple pero que se vea bonito. Imagine en unas luces flotando sobre un fondo oscuro al tener en cuenta el nombre del personaje.
Como detalle las luces tienen una pequeña difuminación y el efecto iluminar.
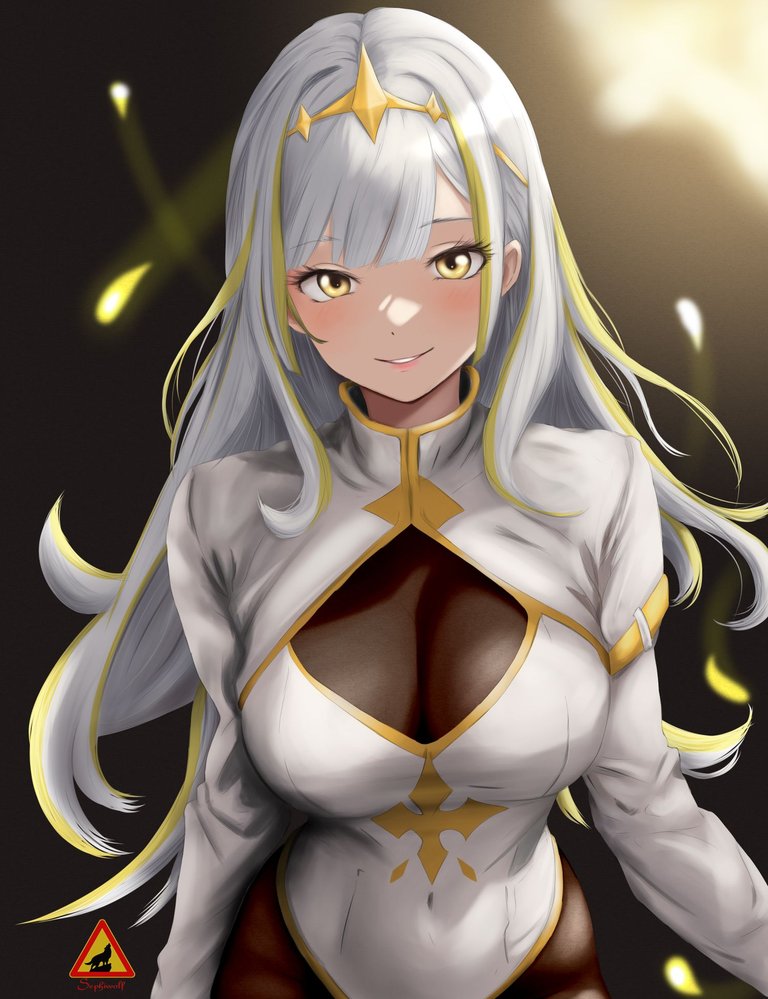
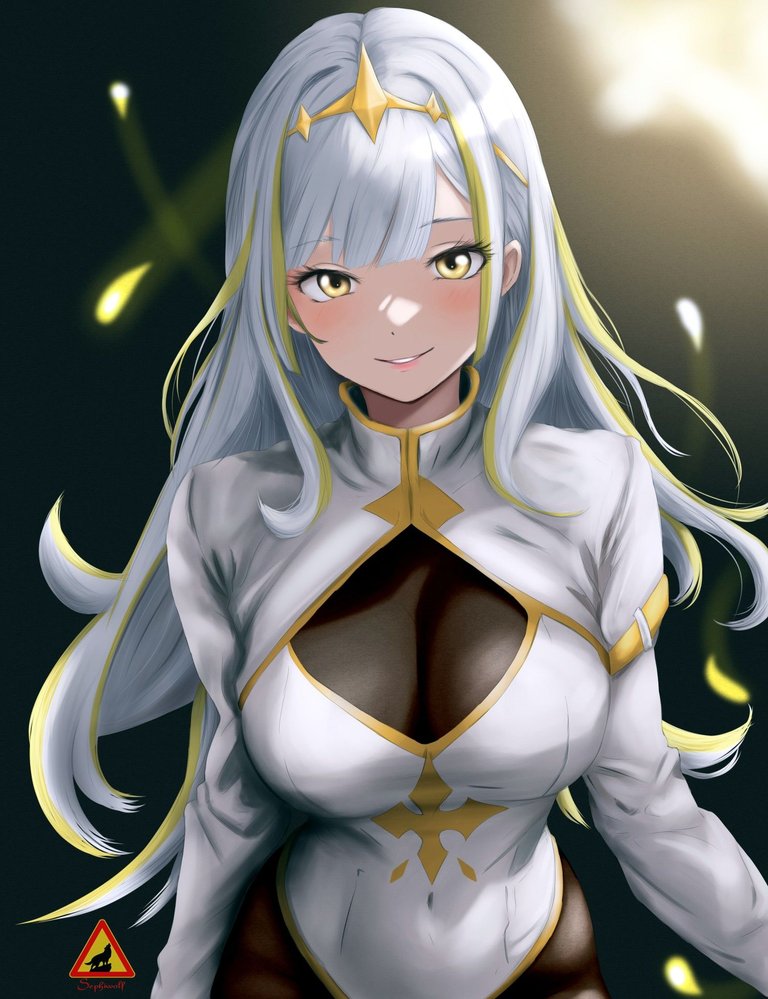
Finally, here is our finished illustration, I took the time to correct the colors, I really had a hard time deciding whether to leave the original or the corrected version, which one do you prefer?
Finalmente, aquí esta nuestra ilustración terminada, me tome el tiempo para corregir los colores, realmente me costó decidir si dejar el original o la versión corregida ustedes ¿cual prefieren?


If you don't play splinterlands yet you can join here!
Si aún no juegas splinterlands puedes unirte aquí!

Join here // Unete aqui

Friends, this illustration took me some time and work to finish it, I hope you liked the final result.
And well that's all for now... See you cowboys!
Amigos llegamos el final, esta ilustración me llevo tiempo y trabajo terminarla, espero les haya gustado el resultado final.
Y bueno es todo por ahora... Nos vemos vaqueros!
Tools:
- PaintTool SAI 2
- Inspiroy H640 Pen Tablets
- Corel photo paint x3
She has a beautiful smile. Welldone
Beautiful one
❤️
!LUV
This is a beautiful digital work, I was fascinated with this cute healer and every detail you added. Congratulations...
!DIY
good job bro she is beautiful nice
It is a very nice way to make this gealer. I did it Chibi style and the truth is that it was not easy. I can imagine all the work it took you to make this cool drawing.
The beauty withing her eyes. I see through✨✨✨
Holo! We've chosen your wonderful artwork to be viewed on holozing.com/fanart, please let us know if you'd like it removed from there for any reason. Thank you!
Wow, I'm very happy about that, for me it's an honor that my drawing is part of the holozing web!
!PIZZA
$PIZZA slices delivered:
@sephiwolf(1/5) tipped @zing.fanart
Wow, te quedo hermoso.
Ufff quedó potentosaaaa esa ilustración, puro arte bro 😎