Holozing Fanart / Healer of Light Eng -Esp
Enter the light

English
Español
Saludos amigos! Espero estén muy bien,
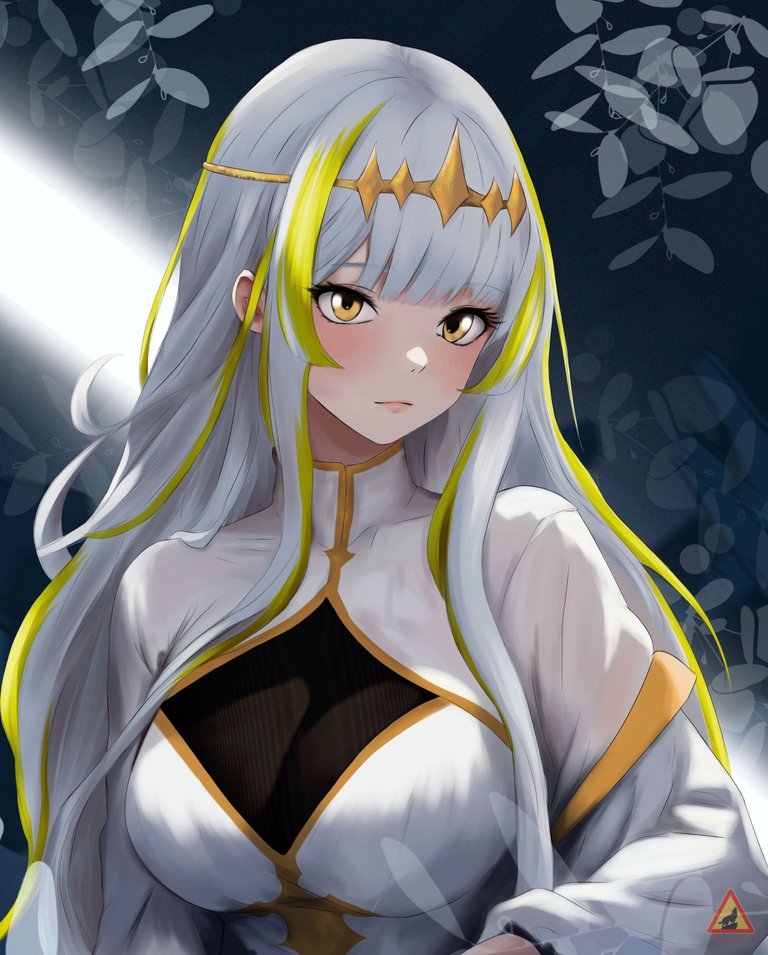
estaba adelantando los stickers que les prometí, y recordé este personaje, seria genial tener un sticker de ella, pero antes quise hacer una ilustración ya que tenía mucho tiempo sin dibujarla.
Estuve mirando pinturas antiguas y quise recrear esas poses de los cuadros antiguos como si fuera una pintura, creo que logre cierta similitud.
de todos los personajes creo que este es el que tiene el todo de piel mas pálido por eso no quise usar tantas sombras al menos en su rostro.
Mi parte favorita de este personaje son sus mechones de cabello dorados, me parece muy hermosa.
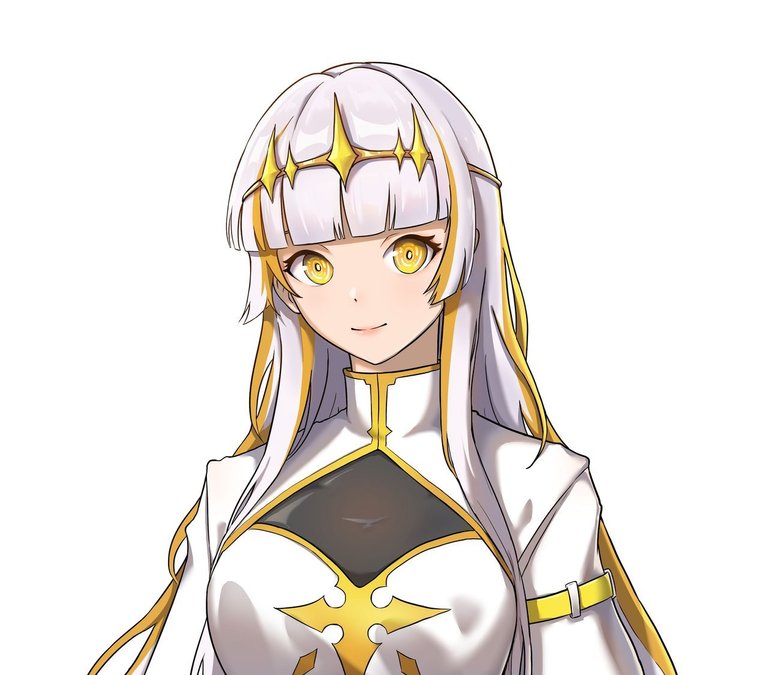
Reference
Process/Proceso
We started the design in three parts.
Basic shape in blue color.
On the basic form we make the sketch in red color, we modify it until we are satisfied with the result.
We finish with the lineart for that we use the Froggy brush and black color.
Iniciamos el diseño en tres partes.
Forma básica en color azul.
Sobre la forma básica hacemos el boceto en color rojo, modificamos lo hasta estar conforme con el resultado.
Finalizamos con el lineart para eso usamos el pincel Froggy y color negro.

We applied the base color, I had planned to use low saturated colors throughout the illustration and the same background, but in the end I decided to use a dark background and a strong light.
Aplicamos el color base, tenia pensado usar colores poco saturados en toda la ilustración y un fondo igual, pero al final me decidí por un fondo oscuro y una luz fuerte.
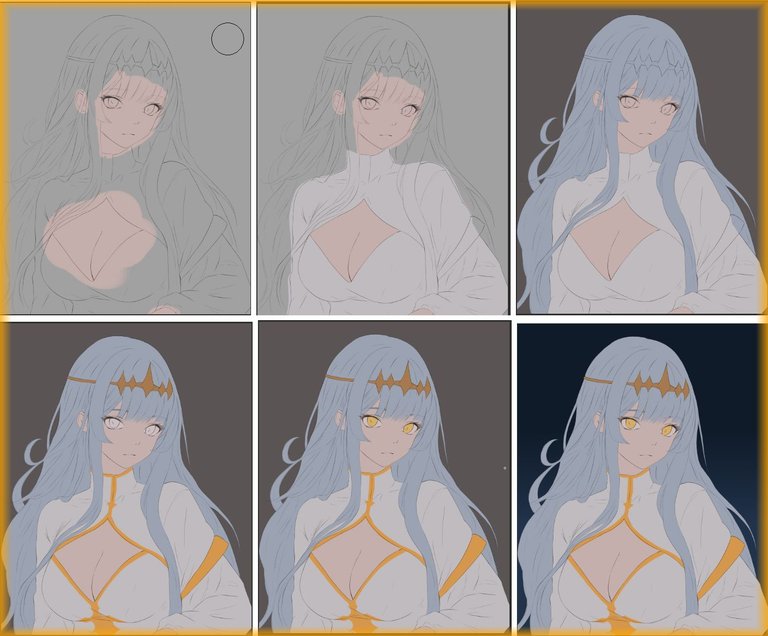
We apply the details starting with the background of the illustration.
On the skin I want to emphasize that I made the neckline as if it were exposed in order to add the part of the clothes in the future.
In my other illustration I did the mesh effect with multiply in this opportunity I will do it in two parts a layer of normal color and another with the pantyhose brush.
To make the clothes I wanted to experiment with various shades of color and then blur.
Aplicamos los detalles empezando por el fondo de la ilustración.
Sobre la piel quiero resaltar que hice el escote como si este estuviera expuesto con el fin de agregar a futuro la parte de la ropa.
En mi otra ilustración hice el efecto de malla con multiplicar en esta oportunidad lo haré en dos partes una capa de color normal y otra con el pincel de medias panti.
Para hacer la ropa quise experimentar con varios tonos de color y luego difuminar.
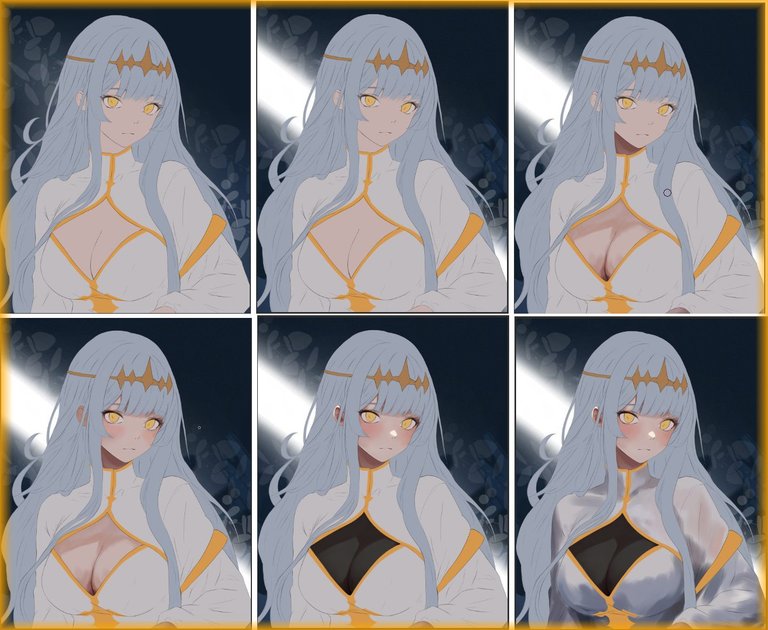
For the hair we apply shadows without much detail and then define it.
Before finishing with the hair we apply the golden locks in a top layer and we apply the multiply effect with this we take advantage of the shadows that we already had in that layer.
Para el cabello aplicamos sombras sin mucho detalle y luego lo definimos.
Antes de terminar con el cabello aplicamos los mechones dorados en una capa superior y le aplicamos el efecto de multiplicar con esto aprovechamos las sombras que ya teníamos en esa capa.
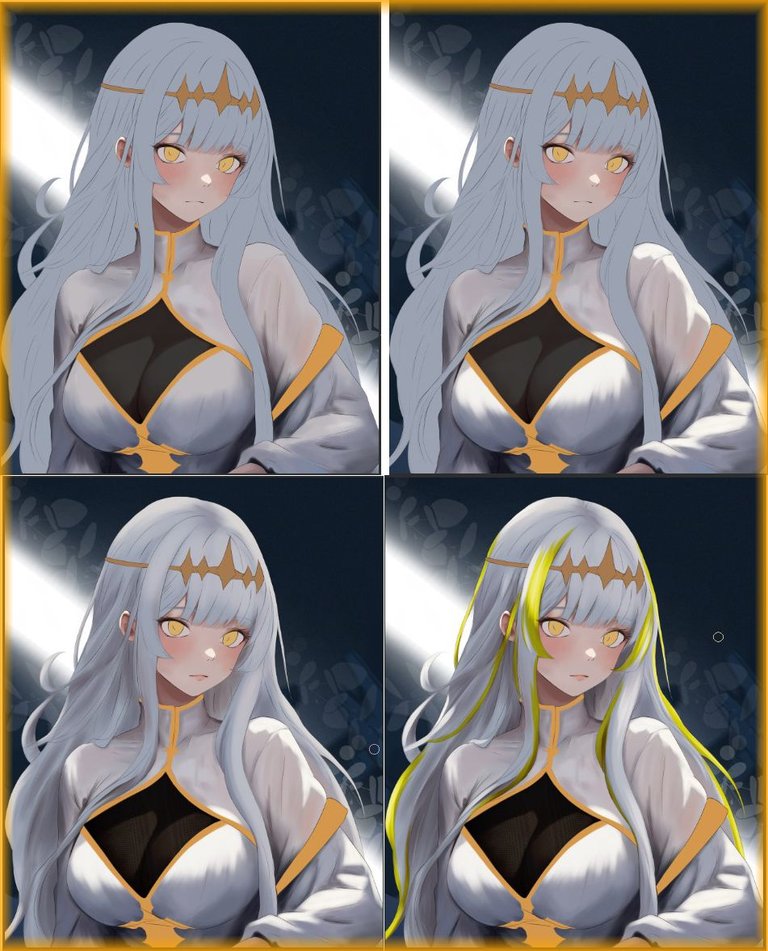
Finally, we corrected certain details in the colors, applied details to the eyes and enhanced the eyelashes.
We also applied a layer on all those transparent plants that look nice, but without covering too much of the character.
Another detail that I did at the end is to correct the colors again but this time from the Corel photopaint program and having all the layers already done.
Para finalizar corregimos ciertos detalles en los colores, aplicamos detalles en los ojos y mejoramos las pestañas.
También aplicamos en una capa sobre todas esas plantas transparentes que se ven bonitas, pero sin que estas tapen mucho del personaje.
Otro detalle que hice al final es corregir los colores nuevamente pero esta vez desde el programa Corel photopaint y teniendo todas las capas ya fusionadas.
Friends we have reached the end, I hope you enjoyed it!
I'm very happy with the result and I want to see how the chibi version of this one looks like for the stickers.
I hope to upload them very soon, without more to say friends, I'll say goodbye for now.
See you cowboys!
Amigos llegamos al final espero lo hayan disfrutado!
estoy muy conforme con el resultado y ya quiero ver como me queda la versión chibi de este para los stickers.
Espero subirlos muy pronto, sin más que decir amigos, me despido por ahora.
¡Nos vemos vaqueros!
Tools:
- CLIP STUDIO
- Inspiroy H640 Pen Tablets
- Corel PHOTO-PAINT 2019
- www.deepl.com/translator

!PIZZA
$PIZZA slices delivered:
danzocal tipped sephiwolf
@eustace-kidd(1/5) tipped @sephiwolf
she's very cute...
!PIZZA
Congratulations @sephiwolf! You have completed the following achievement on the Hive blockchain And have been rewarded with New badge(s)
Your next target is to reach 74000 upvotes.
You can view your badges on your board and compare yourself to others in the Ranking
If you no longer want to receive notifications, reply to this comment with the word
STOP