Holozing Fanart /Winter and Energy Vial / Healer of Light Eng -Esp
It feels very cold

English
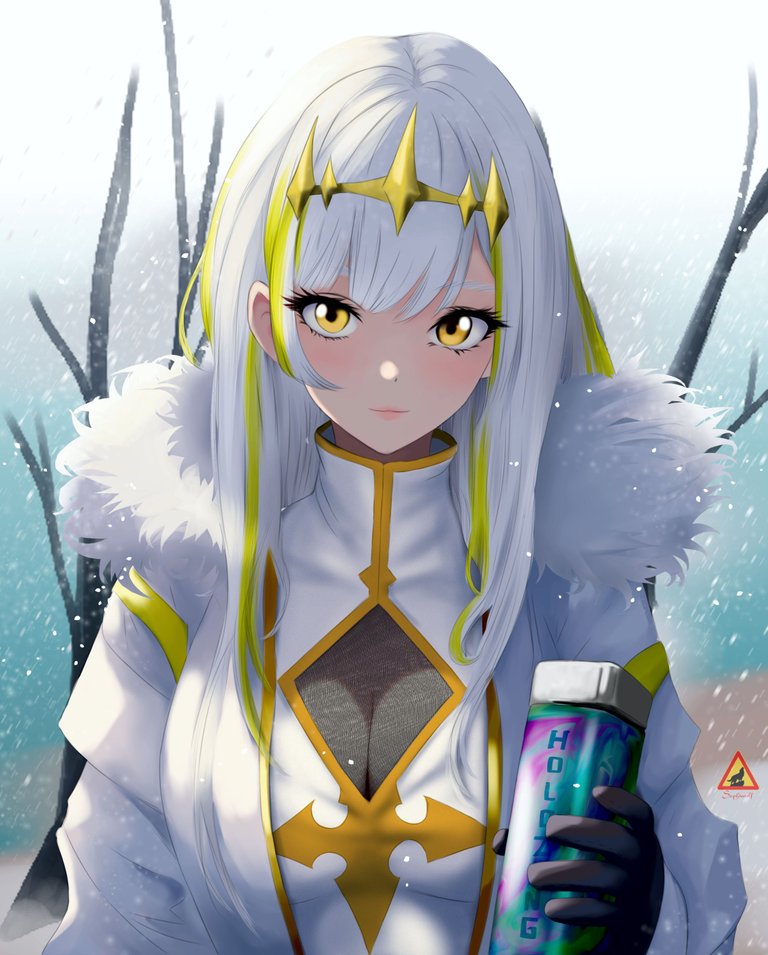
Greetings Friends I hope you are very well! halloween is over and November is here. In many parts of the world you can feel the arrival of winter, with this present theme I want to present a fanart of Healer of Light, I added a good brigade jacket to match his normal clothes, I also added a Vial of energy "are already on sale".
I was thinking about what would be the size of the vial compared to the size of the characters, in the end I decided to give him the size of a bottle of some beverage.
I really liked the result and I feel that it was worth all the time invested.
Español
Saludos Amigos espero estén muy bien! ya finalizo halloween y llego el mes de noviembre. En muchas partes del mundo se siente la llegada del invierno, con este tema presente Les quiero presentar un fanart de Healer of Light, Le agregue una chaqueta bien brigada que hiciera juego con su ropa normal, tambien agregue un Vial de energía "ya estan a la venta".
Estuve pensando cual sería el tamaño del vial en comparación al de los personajes al final opte por darle el tamaño que tendría una botella de alguna bebida.
Realmente me gusto mucho el resultado y siento que valió la pena todo el tiempo invertido.

Reference
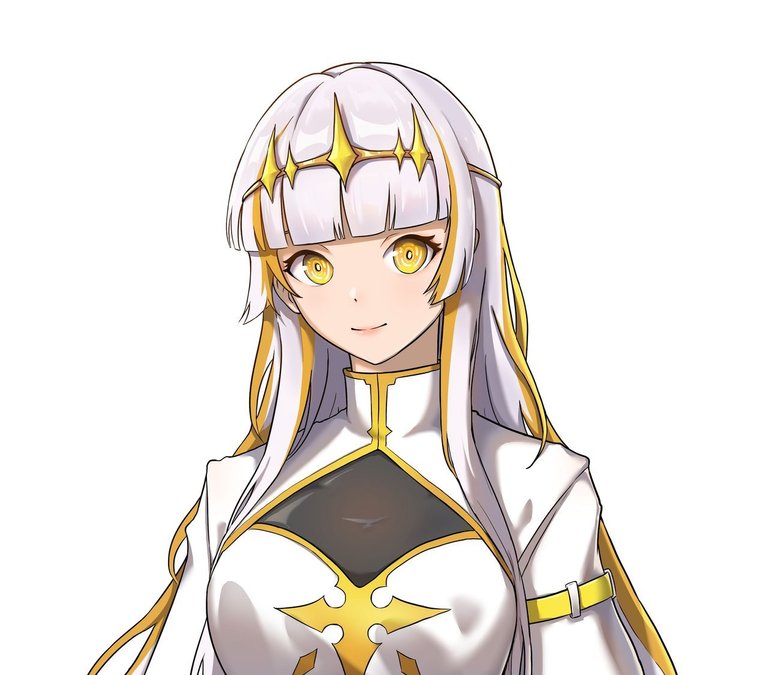
We will use as a reference the character Healer of Light and also The Energy Vial. “You can buy it from the official website Here”
Usaremos como referencia el personaje Healer of Light y tambien El vial de energia. "puedes comprarlo desde la pagina oficial Aqui"

Process/Proceso
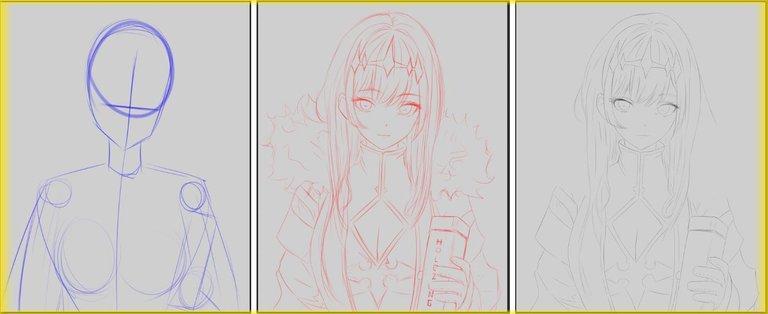
I made several versions, which I showed to a friend until I came up with the idea of the character's portrait.
With this basic form we created the sketch in red color, here I show you the finished version but I changed several things until I got this result.
To finish this step we create the lines or Lineart. We will leave in white the fluffy area of the coat, I plan to add it with a special brush for hair.
Hice varias versiones, las cuales le mostré a una amiga hasta dar con la idea del retrato del personaje.
Con esta forma básica creamos el boceto en color rojo, aqui te muestro la versión terminada pero cambie varias cosas hasta dar con este resultado.
Para finalizar este paso creamos las lineas o Lineart. dejaremos en blanco la zona esponjosa del abrigo, tengo pensado agregarlo con un pincel especial para pelo.
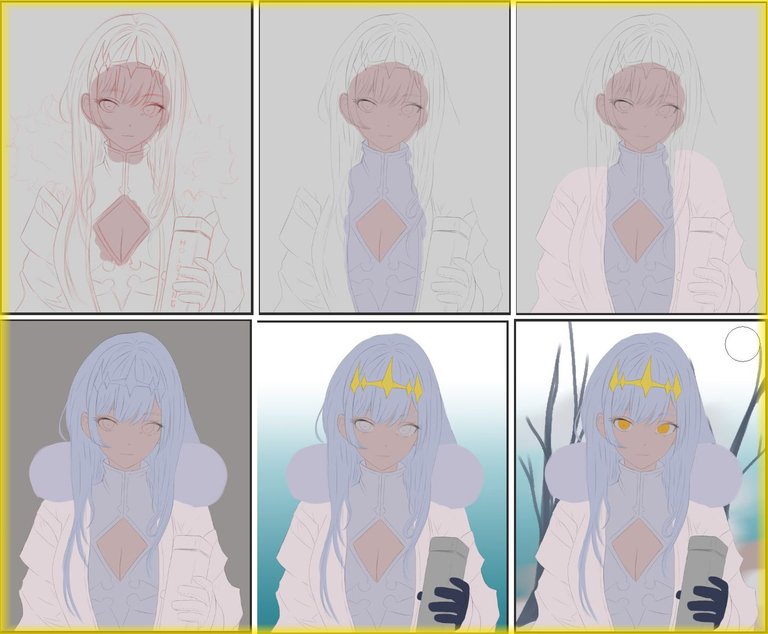
We add the base color, in the case of clothing we have similar colors so use a slightly different tone to differentiate the uniform from the coat.
For the bottle I used a gray base because I want to apply the color using the multiply effect.
Finally, we added a simple snowy and cold background, with a couple of trees not very detailed.
Agregamos el color base, en el caso de la ropa tenemos colores similares por lo que use un tono ligeramente diferente para poder diferenciar el uniforme del abrigo.
Para la botella use una base gris pues quiero aplicarle el color usando el efecto multiplicar.
Finalmente, agregamos un fondo simple nevado y frio, con un par de árboles no muy detallados.
We apply a little snow in the background with the detail that we will give the blur effect with movement.
For the skin we add shadow, then we blur and to finish we apply the areas with light, we also blur it a little, in the neckline area it is not very important, because it has a mesh which we will add with a special brush.
With respect to the clothes we will add shadows followed by lights and at the end we apply the yellow colors with the multiply effect in a layer superior to this one.
Aplicamos un poco de nieve en el fondo con el detalle que le daremos el efecto desenfocar con movimiento.
para la piel agregamos sombra, luego difuminamos y para terminar aplicamos las zonas con luz, también la difuminamos un poco, en la zona del escote no es muy importante, pues lleva una maya la cual agregaremos con un pincel especial.
con respecto a la ropa agregaremos sombras seguido de luces y al finalizar aplicamos los colores amarillo con el efecto multiplicar en una capa superior a esta
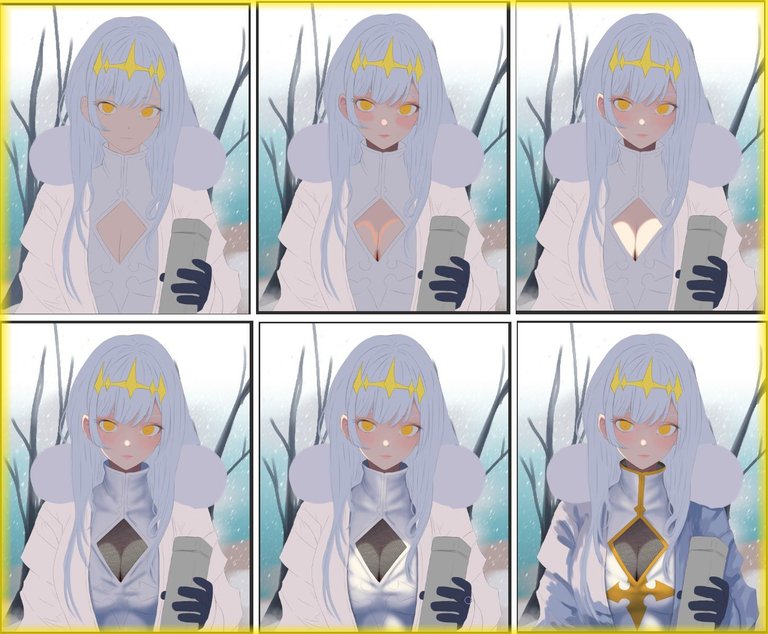
We follow a similar step on the coat for the fluffy part of the coat we use a brush that allows us to deform the applied color, also to mix the 3 colors that I applied on it.
In the area of the hair we only had to lighten where it gives light and darken very little in certain areas. We will add the yellow strands at the end.
We arrived to the vial... my favorite part seriously I really liked how it was, first we give the relief in gray colors, followed by this we apply the colors and distorted use various effects to get that appearance of glass could say that 90% of this step was experimental, failure and error.
Seguimos un paso similar en el abrigo para la parte esponjosa del abrigo usamos un pincel que nos permite deformar el color aplicado, tambien mezclar los 3 colores que aplique en el.
En la zona del cabello solo quedaba aclarar donde da la luz y oscurecer muy poco en ciertas zonas. los mechones amarillos los agregaremos al final.
Llegamos al vial... mi parte favorita en serio me gusto muchísimo como quedo, primero damos el relieve en colores grises, seguido de esto aplicamos los colores y distorsionamos use varios efectos para conseguir esa apariencia de cristal podría decir que 90% de este paso fue experimental, fallo y error.
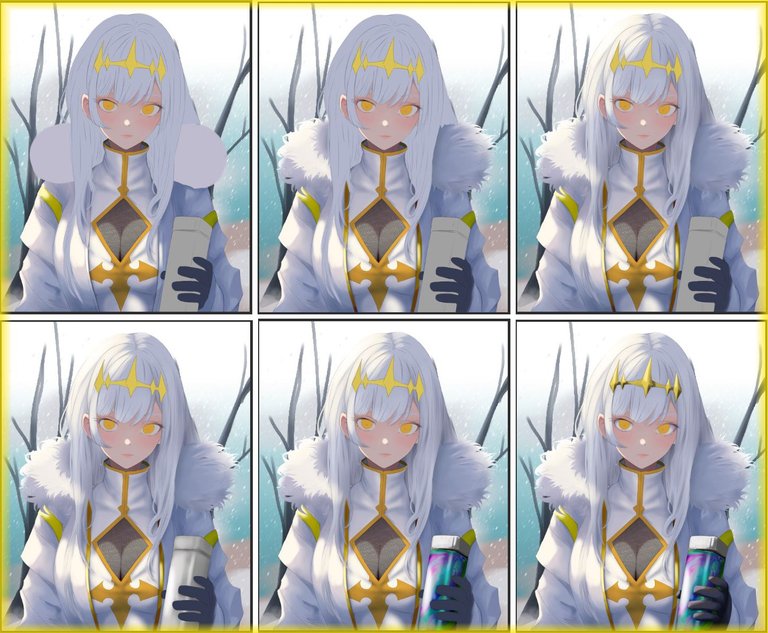
Finally, we detail the eyes, as well as the eyelashes to highlight the eyes even more.
The golden colored hair strands were applied using a hair brush and the multiply effect.
Para finalizar damos detalles en los ojos, al igual que las pestañas para resaltar aun mas los ojos.
Los mechones de cabello de color dorado lo apliqué usando un pincel para cabello y el efecto multiplicar.


Friends, we have reached the end! I hope you liked it there, I would like to read your opinions in the comments box.
If you liked the drawing I encourage you to subscribe, soon I will be uploading more winter themed content for these dates.
See you cowboys!
Amigos llegamos al final! Espero les allá gustado, me gustaría leer sus opiniones en la caja de comentarios.
Si te gusto el dibujo te animo a que te subscribas, pronto estaré subiendo mas contenido con la temática invernal por estas fechas.
Nos vemos vaqueros!
Tools:
- CLIP STUDIO
- Inspiroy H640 Pen Tablets
- Corel PHOTO-PAINT 2019
- www.deepl.com/translator
Congratulations @sephiwolf! You have completed the following achievement on the Hive blockchain And have been rewarded with New badge(s)
Your next target is to reach 93000 upvotes.
You can view your badges on your board and compare yourself to others in the Ranking
If you no longer want to receive notifications, reply to this comment with the word
STOPCheck out our last posts:
Me encanta el resultado.
La chaqueta y el vial de energía son excelentes adiciones.
Seguro que valió la pena el tiempo invertido.
!HOPE
(3/5)
@sephiwolf! @edgerik Wants to spread Hope! so I just sent 1 HOP to your account on behalf of @edgerik.
Since we think the world can use more Hope, you can now already start spreading Hope yourself!