Creating my Christmas tree 🎄🎁🎊 DIYHub Christmas contest with Ecency
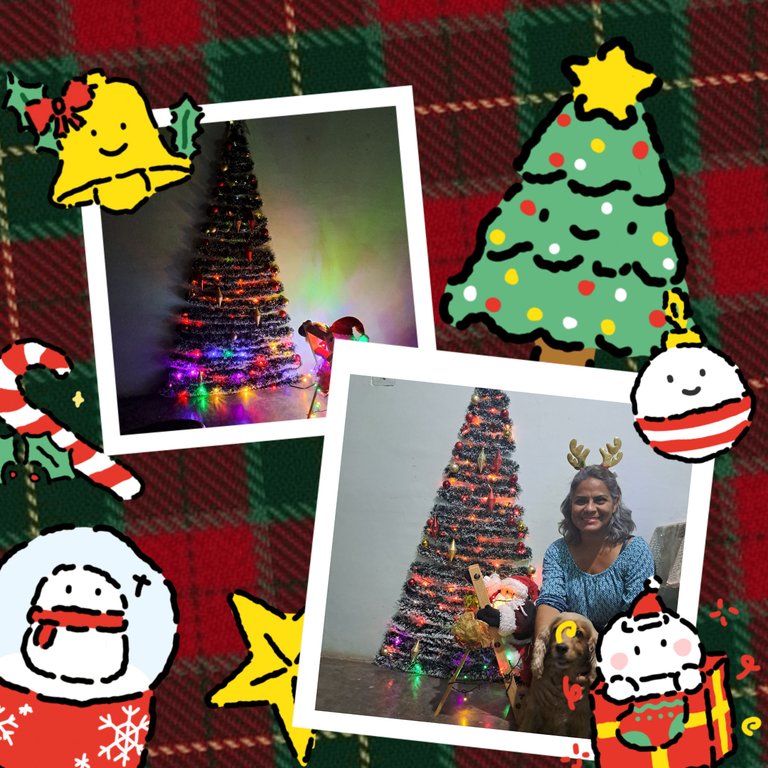
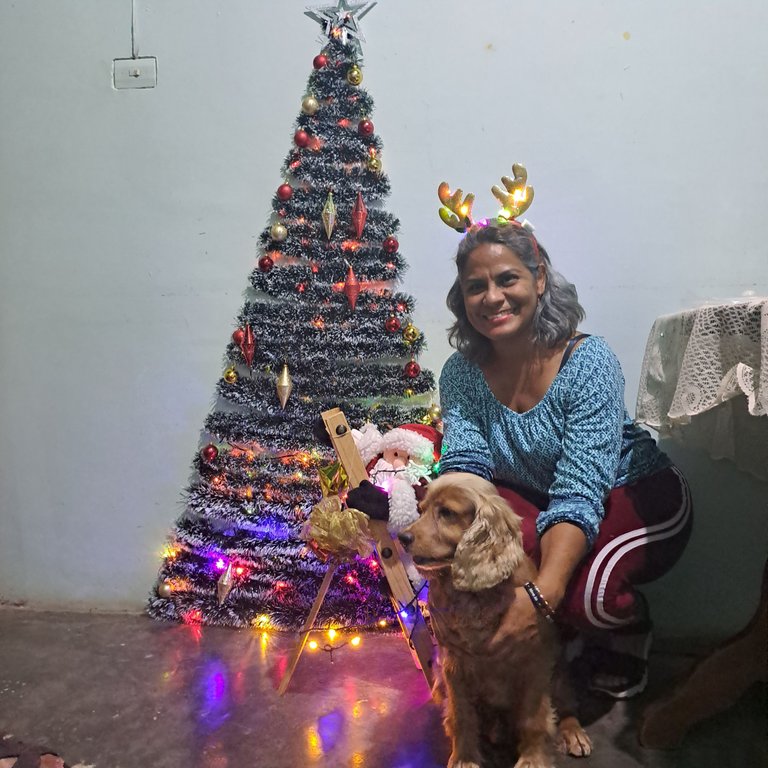
Hello friends of hive and this creative community, there are only a few days left to finish this year 2024 and I hope you have been able to successfully complete your goals related to DIY and manual projects, for my part I come to share with you my humble Christmas tree, to tell you why it came up, how was my creative process and how it all ended and so I take the opportunity to participate in the Christmas contest that is active in @DIYHub until the 29th of this month, and to thank @tibfox and @melinda010100 for the prize pool 🎁😘. Cheer up you still have time to participate.
❄️ Main motivation ❄️
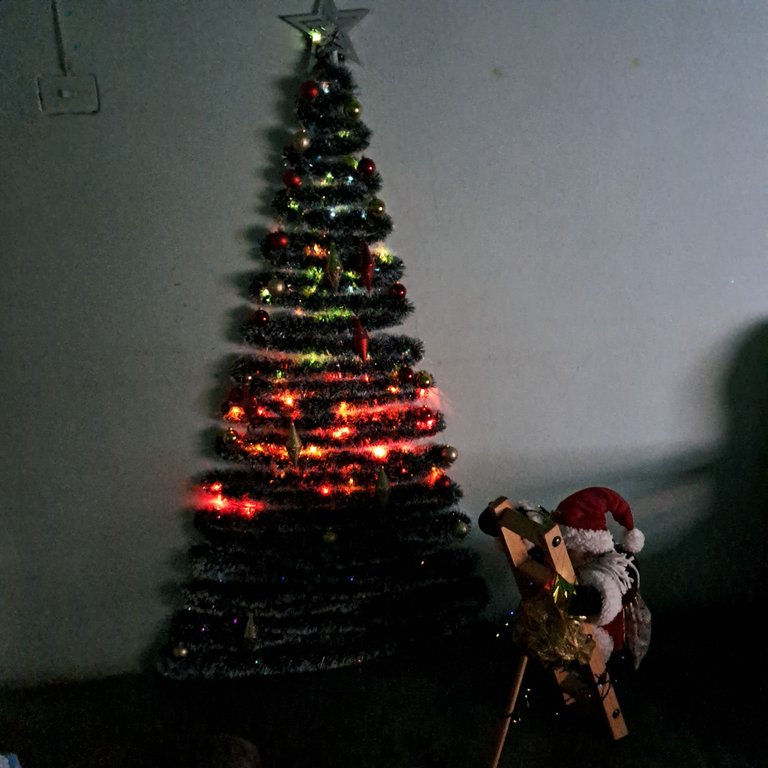
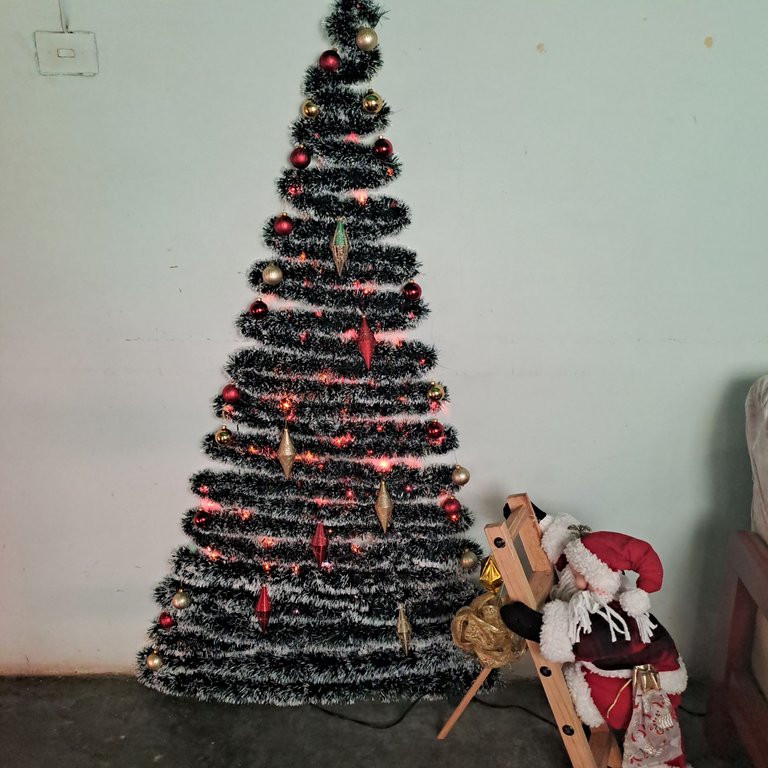
My last Christmas tree lasted about 10 years, it was very old and the branches were not strong enough to hold the branches, that's why I decided to throw it away two years ago, because putting it together was a headache. In my family they love to see the Christmas decorations, but no one helps in assembling the ornaments or buying what is needed, it was always my turn to assume everything and that is why I graciously proclaimed myself a Grinch, as there are no small children I do not need to have this decoration, however, I do not want you to confuse my Grinch soul and my personal desires with the love I feel for my family and that is the reason to have created a Christmas tree on the wall.
Certainly, there are no small children at home, but there are two people who are biologically of age, but not of mind. They are my aunt and my special brother, for them I took on the task of recreating a wall tree.
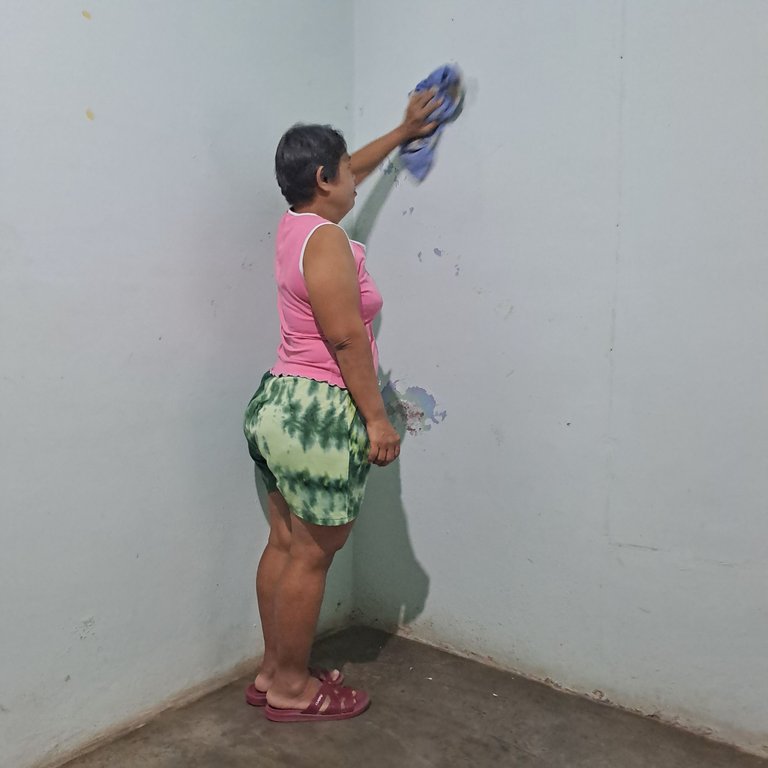
My initial idea was to put some pacifier hooks that stick on the wall so as not to damage it and do it in the whole corner. I bought several sets of those suckers, I spent 6$ on all of them, but I glued them wrong and when I peeled them off they brought the paint and got damaged 😪😭.
❄️ Materials: ❄️
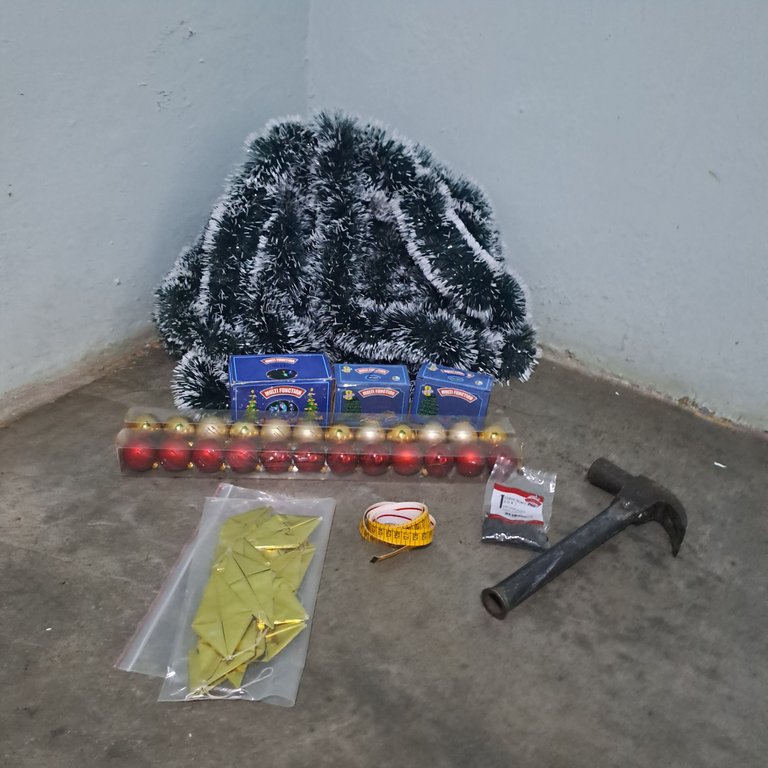
- 4 boxes of lights
- 3 garlands
- Extension
- Star
- Steel nail bag
- Hammer
- Tape measure
- Pencil
❄️ Process ❄️
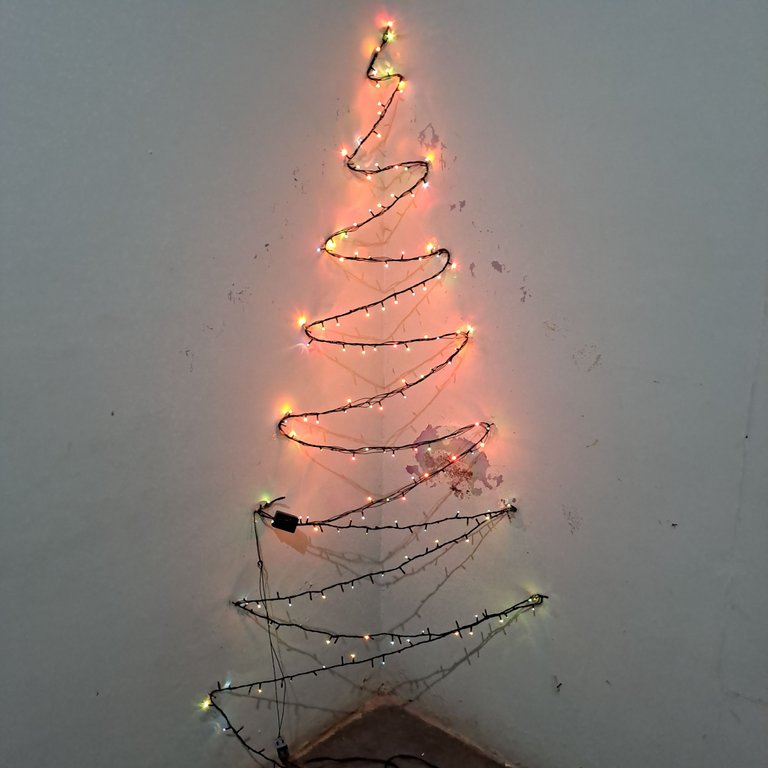
My second plan was to buy some steel nails, and measure the distance as it should be. In every 20 cm I put a nail all the way down, but when I started the assembly with the lights and when I put them I knew that this idea was not good, because of the inclination of the nails and the angle of the wall the extension came out and then I had to tape the lights in each clearance with tape, and the tree did not look good the perspective changes, the work was tripled and it did not look nice, so I aborted this mission and replaced the plan.
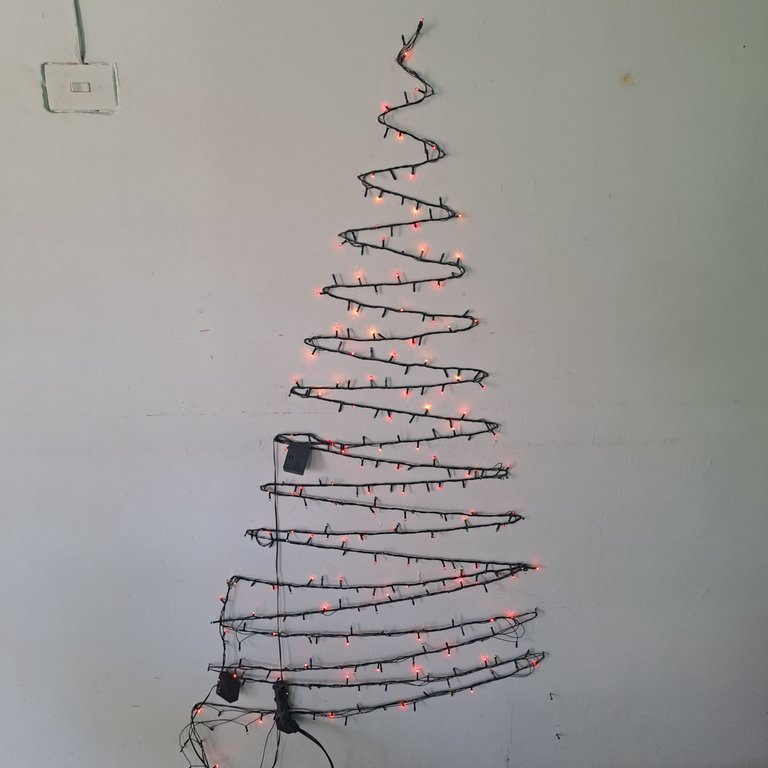
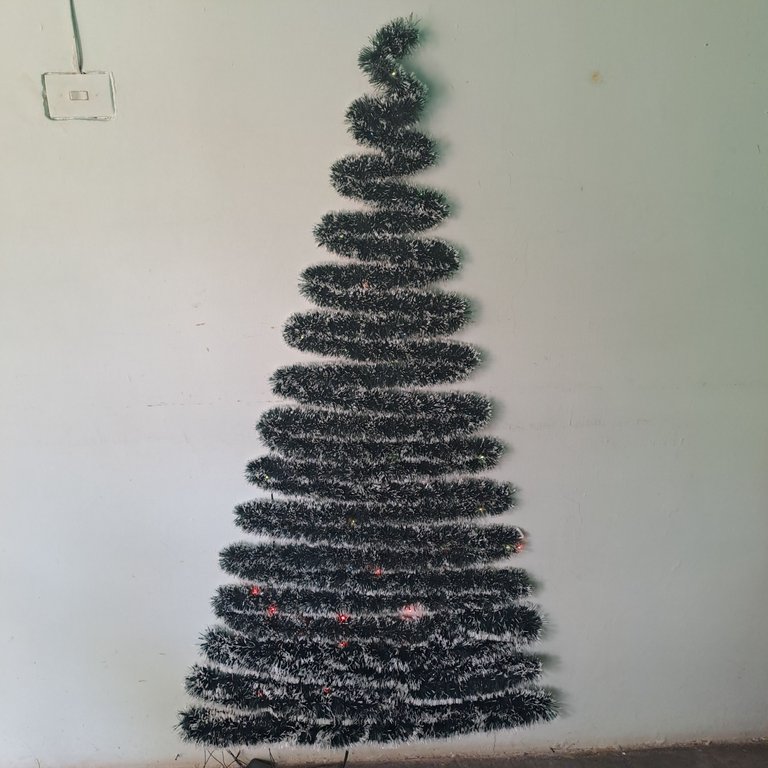
I decided to put it on a single wall, not in a corner, and it was the best, I also used the tape measure and calculated 10 centimeters between one nail and another on the same line and 5 on the parallel lines, that is, the right line the nails were placed like this: 10, 20, 30, 40 until reaching the number 60 and those on the left line I marked them with the numbers 5, 15, 25, 35, 45 until reaching 65. So the garlands would look bushier and the tree was full of green leaves 😅. I hope you understood my explanation 🤭.
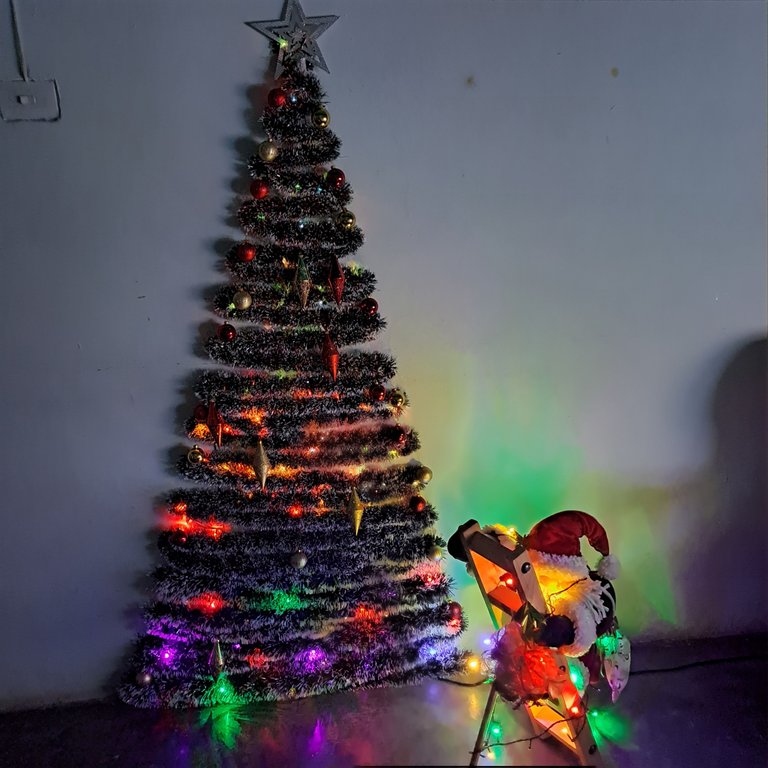
Once the nails were in position, I started with the lights, and lastly attached the garlands and some scrims. 🥳 Best of all, it was with the same pressure of crossing in the opposite direction, right, left and right, that the lights and garlands were held in place without the need for plastic tape.
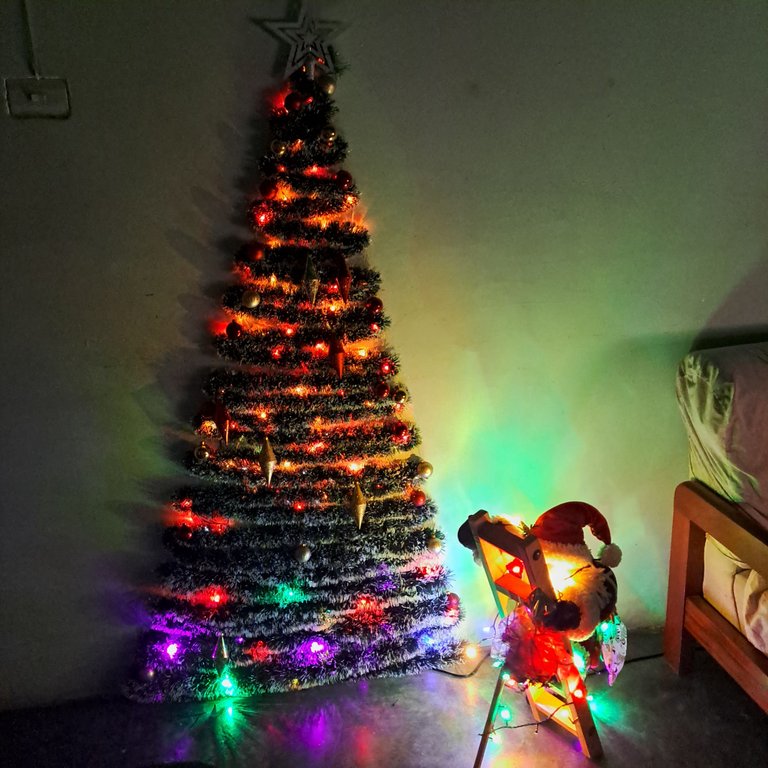
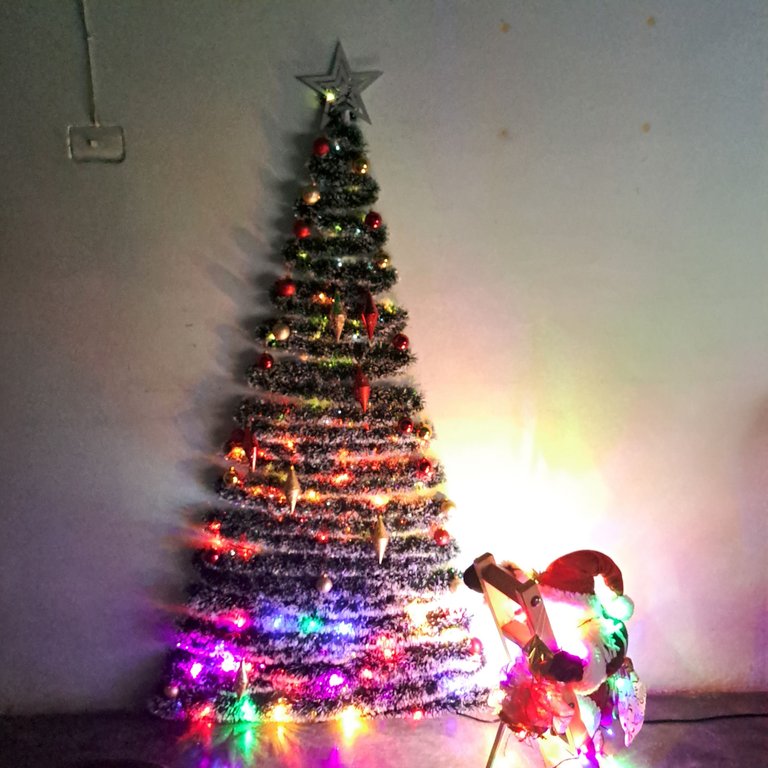
It seems unbelievable but in this humble Tree was invested: three boxes of lights 2.5$ C/U, because I had only one, an extension in 4$ the one I had was damaged, and the garlands 3$, a star 2$, plus the adhesives that did not work in 6$, the scenery I had at home, for a total of 22. 5$, A small decorative detail is expensive for people who live in Venezuela, I did not have in my budget to spend that money on decorations, but it was well worth all the effort because my biggest prize and gift, was to see the face of my aunt when she turned on the lights, her eyes shone with happiness 🥹.
❄️ Conclusion ❄️
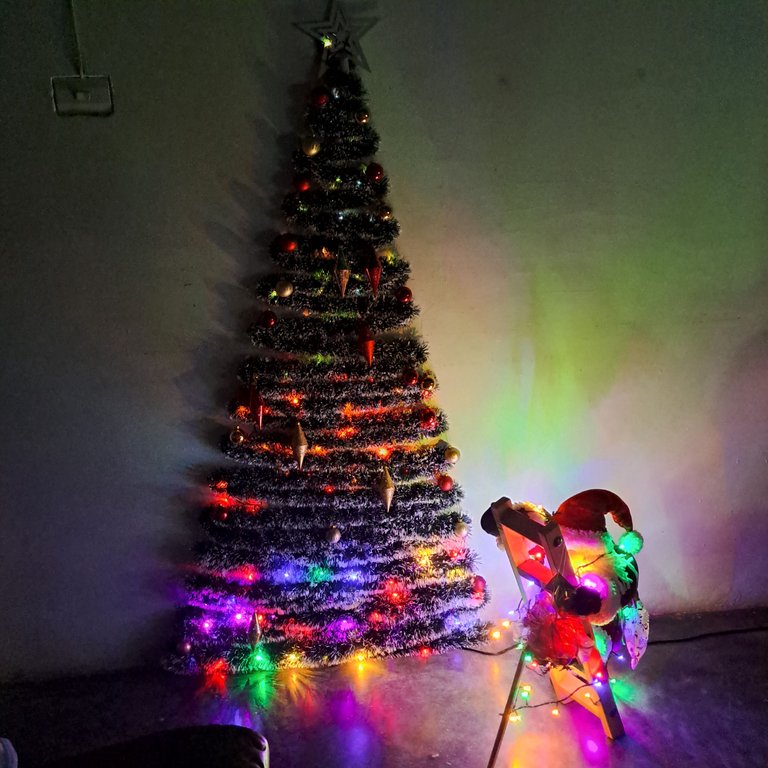
It's the first time I do something like this, I've never been good with crafts, but I feel it looked nice and I did a photo shoot 🤣 trying to capture the moment where all the lights light up well, but it was mission impossible, I hope my experience will be of some use to you, remember don't do it in the corners. 😁😝.
Thank you very much for reaching the end of my post, I wish you a Merry Christmas! May this time be one of spiritual transformation and strengthen you in spirit, have a nice dinner with your loved ones. I send you a hug 🤗 and a kiss 😘.

Que lindo!! Me encanta!!
🥰🎁😘 Gracias!!
Epa quedó súper lindo, me gustó mucho y lo mejor de todo con poco presupuesto!!
Si!, gracias 😊😉 el resultado me sorprendió, de noche con las luces de la sala apagadas se ve lindo.
El arbolito quedó muy bien, gracias por compartir.
Saludos!
!DIY
You can query your personal balance by
!DIYSTATS🥰🫠🥳
Feliz Navidad amiga, te quedó bien lindo. Bendiciones para tu familia.
Amén 🙏, me alegro que te gustara, gracias amiga ¡Feliz Navidad! Pará ti también, pásala bonito.
Pretty DIY ☺️
Bravo friend! This is breathtaking, a simple and pocket friendly Christmas tree? We love it and well done.
Thank you very much! I'm glad you liked it. 😊😉
Quedó muy lindo y me parece una alternativa genial al árbol tradicional.
Total, es una buena forma de tener un poco de Navidad en el hogar, yo estoy feliz con el resultado. Muchas gracias 😉
Muy lindo proyecto, el resultado se ve espectacular. Suerte en el concurso. Saludos navideños.
🥰☺️🫠 Gracias!! Igualmente 🎉❄️
Quedó genial, siempre me ha gustado este diseño de árbol, da mucho interés decorar con otro concepto diferente al tradicional.
Aunque te confieso que más me gusta tu perrito... Lo amé
Merry Christmas dear @soyunasantacruz, your tree was beautiful, I love how practical it is to do it, and that with few accessories you got a great tree.
Hola linda, muchas gracias !! 😘
¡Feliz Navidad!🎆🎊🎁
Hola amiga, feliz Navidad.💞
This is a fantastic and mind blowing craft my dear friend, this is so beautiful and creative of you to make and the end result is so astonishing. Bravo and keep it up
Congratulations, your post has been curated by @dsc-r2cornell. You can use the tag #R2cornell. Also, find us on Discord
Felicitaciones, su publicación ha sido votada por @ dsc-r2cornell. Puedes usar el tag #R2cornell. También, nos puedes encontrar en Discord
que bonito, quedaron genial!
how nice, they looked great!
Gracias!! ☺️😉