Night Reaper ✨ Keychain • Splinterlands Art Contest - week 320 (Eng/Esp)
Greetings, beautiful people! Happy Friday to everyone, I hope you are super well and with a thousand ideas to work and create something authentic to use every day. ✨
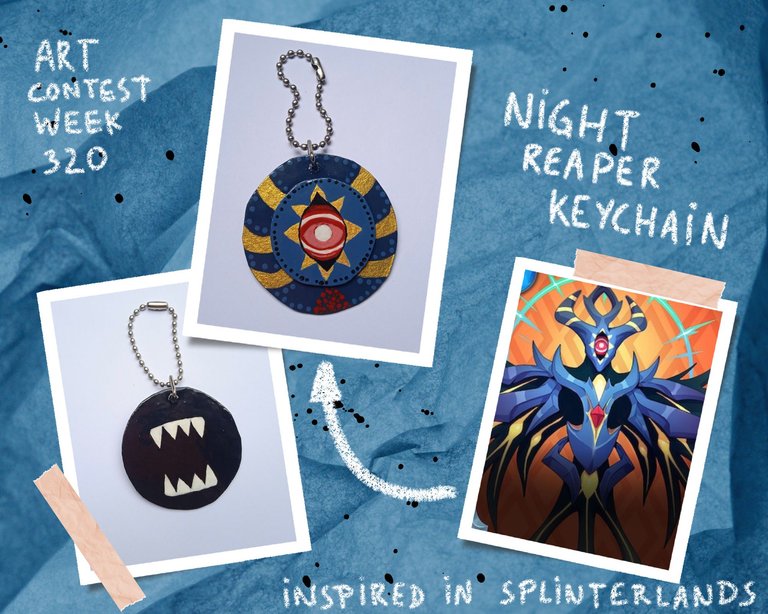
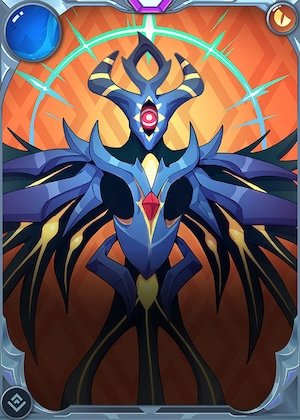
Today I will join the weekly Splinterlands contest with a keychain inspired by the Night Reaper card, made from cardboard and paints, a mixed technique to represent this powerful monster that has its origin in the realm of demons and dragons, with a terrifying power and a growing anger due to the loss of his world. Very interesting and dark right? 🤯 Here I leave you the link to continue discovering about Night Reaper.
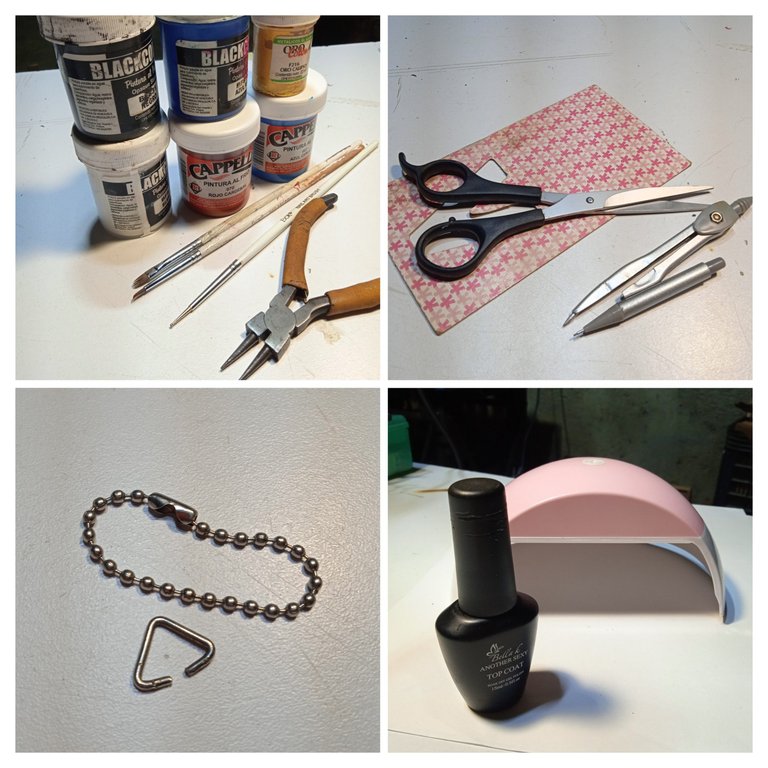
To start with the keychain, these were the materials I used:
- Colored paints: white, blue, black, red and gold.
- Liner brush and number 2 brush.
- Jewelry clip.
- Thin cardboard.
- Scissors.
- Compass.
- Chain for key ring and costume jewelry ring.
- Glue.
- Sewing needle.
- Manicure lamp and top coat.

Step 1
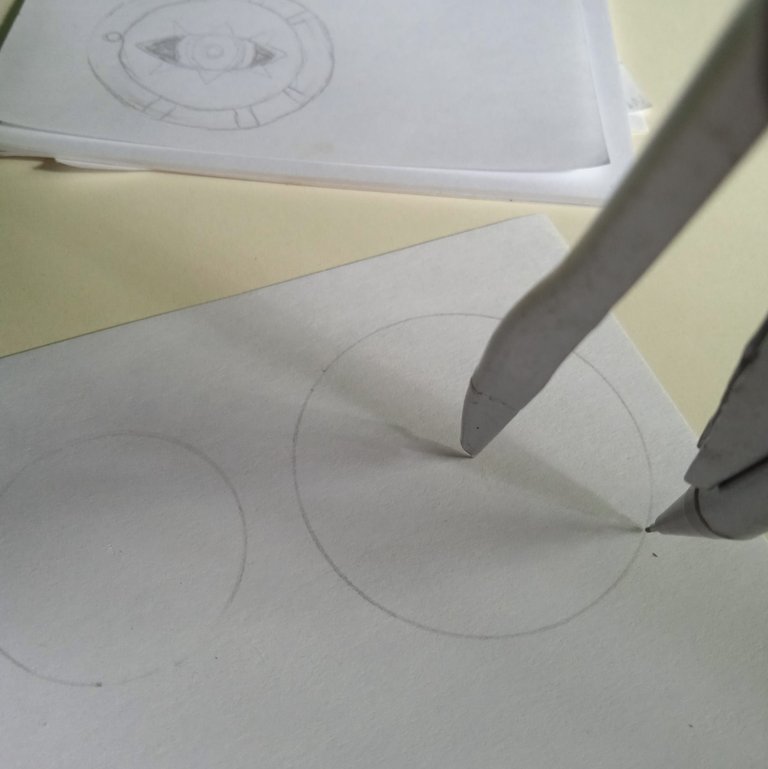
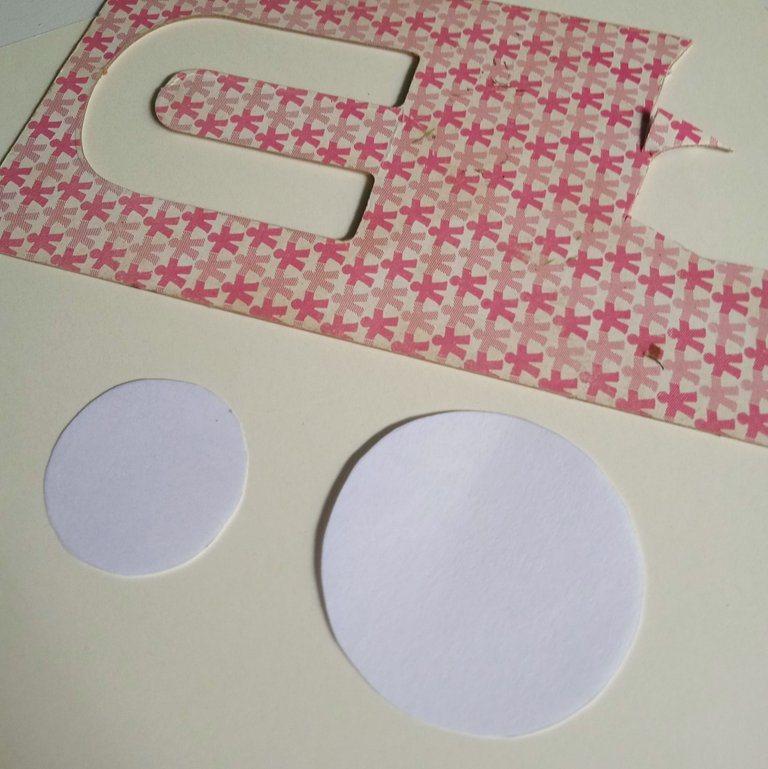
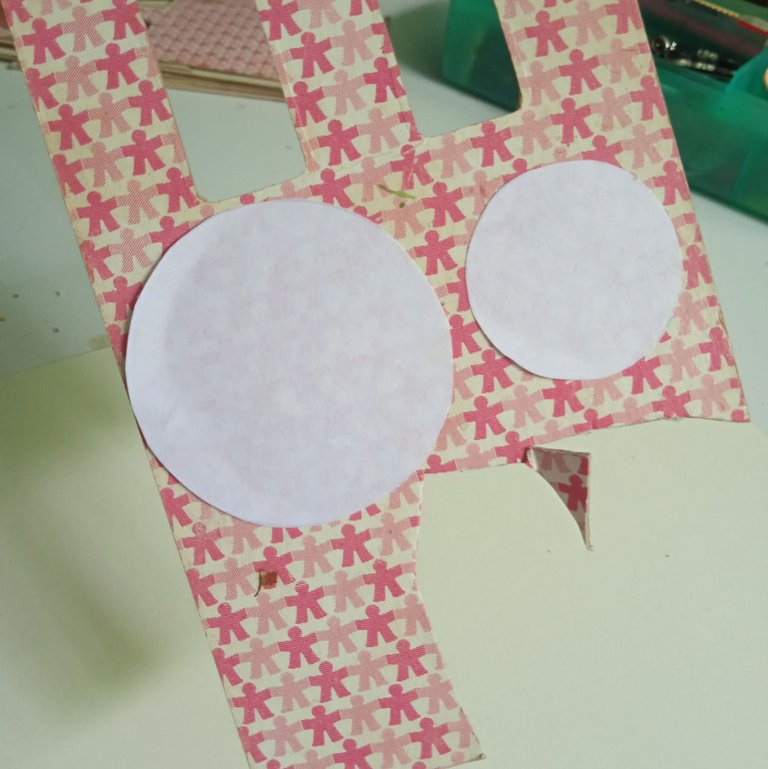
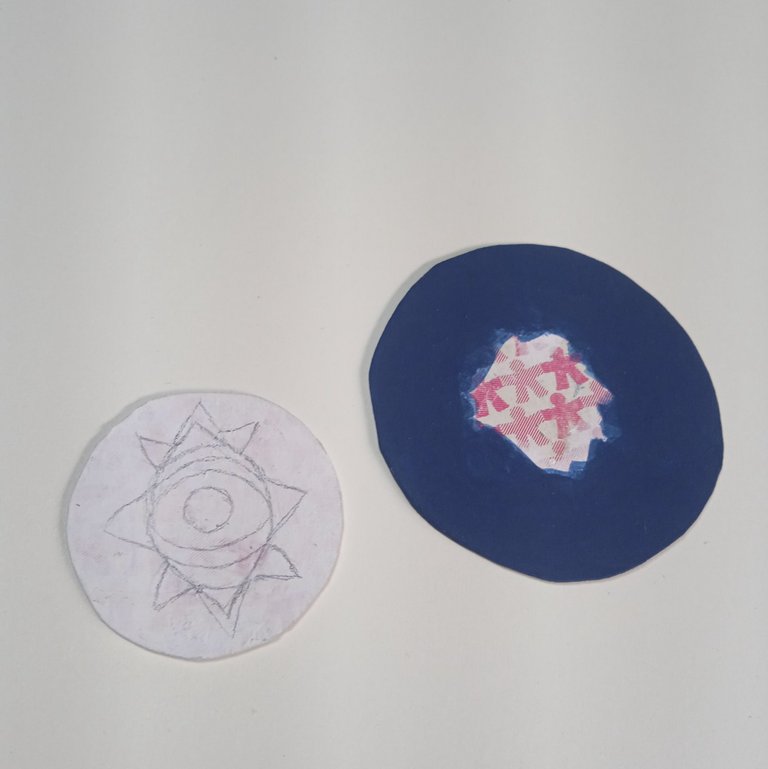
I start by using the compass to draw two circles; one will be smaller so it can fit inside the other, staying at least 1 cm away from the edge.
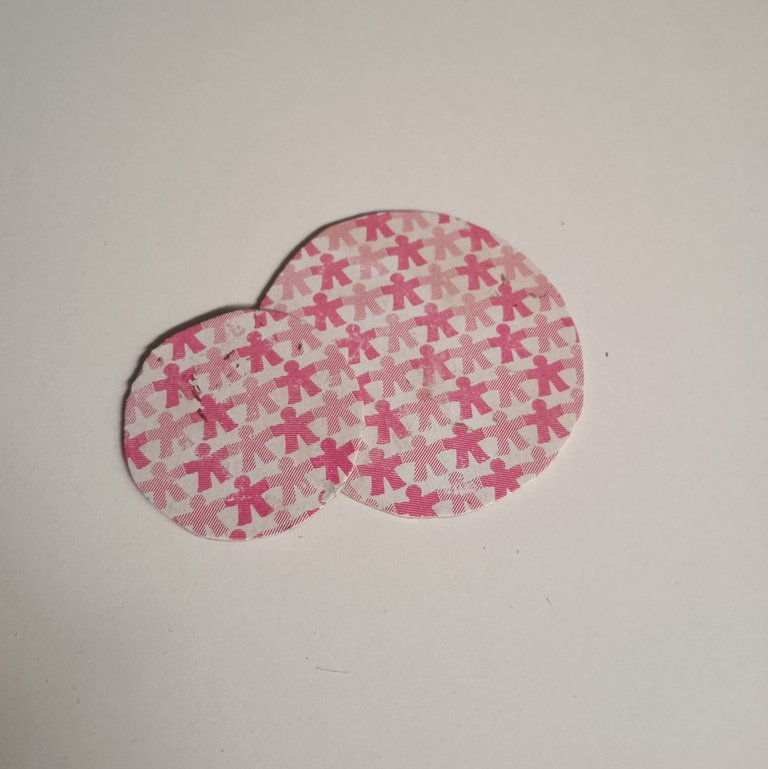
I cut them out and glue them on the cardboard to be able to cut out the pieces of the key ring more accurately.
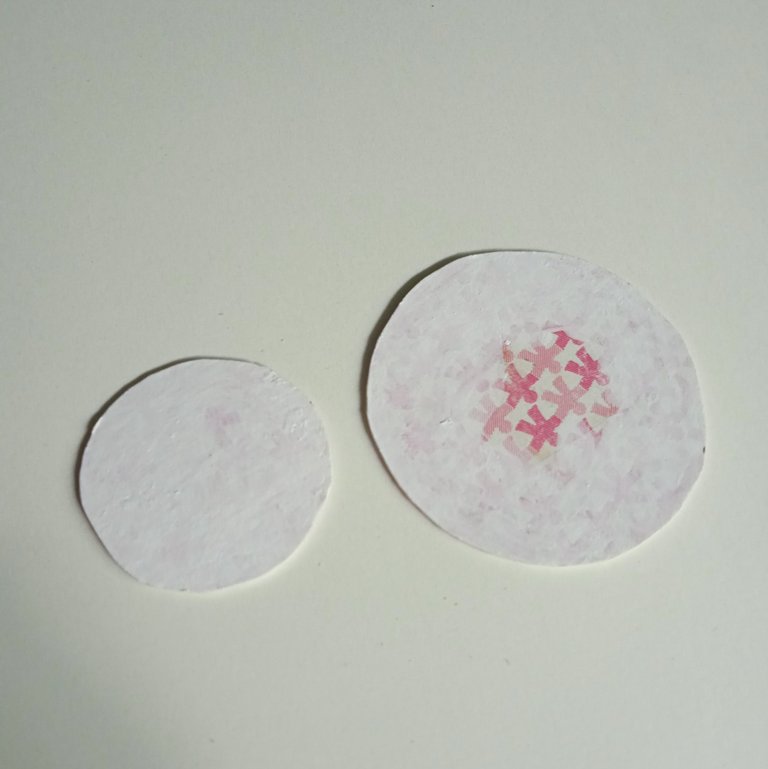
A white base is applied so that the colors used look better. The small circle is only painted on one side.
The large circle on both sides or you can also leave the center of one of the sides unpainted, because this is where the small circle will be glued.

Step 2
Now I mix blue and a touch of black to create a blue color similar to that of the card and paint the side where the other piece will be glued.
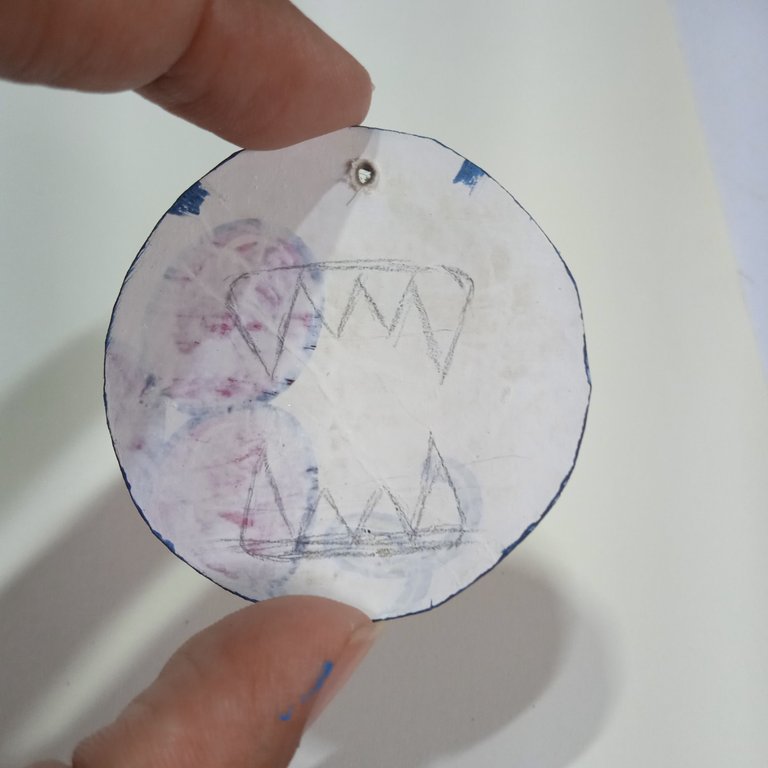
With the help of the sewing needle I make the hole where the ring will be placed.
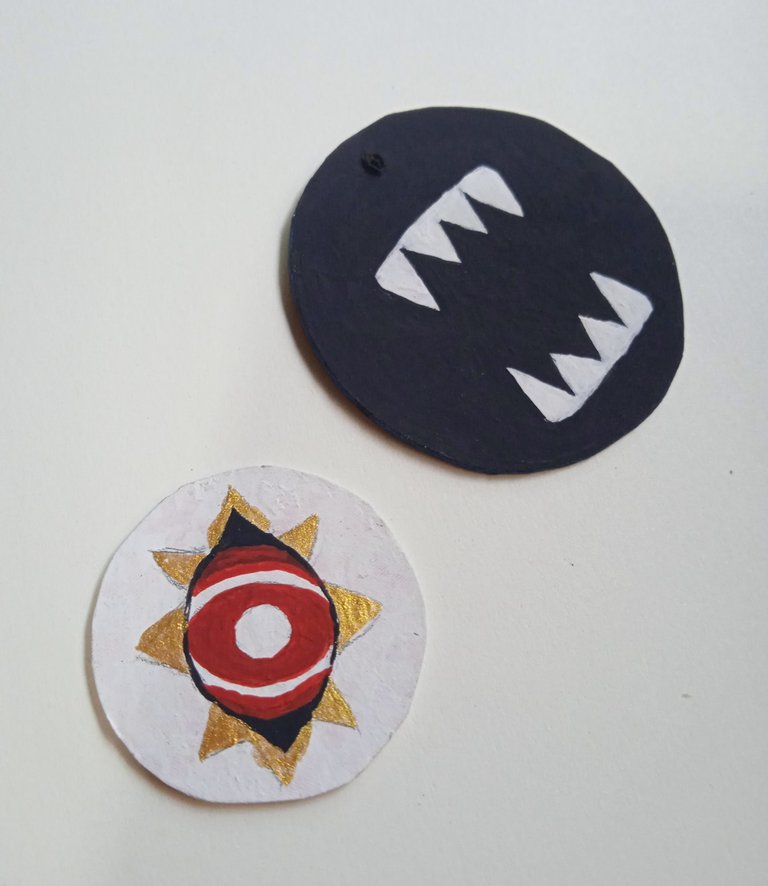
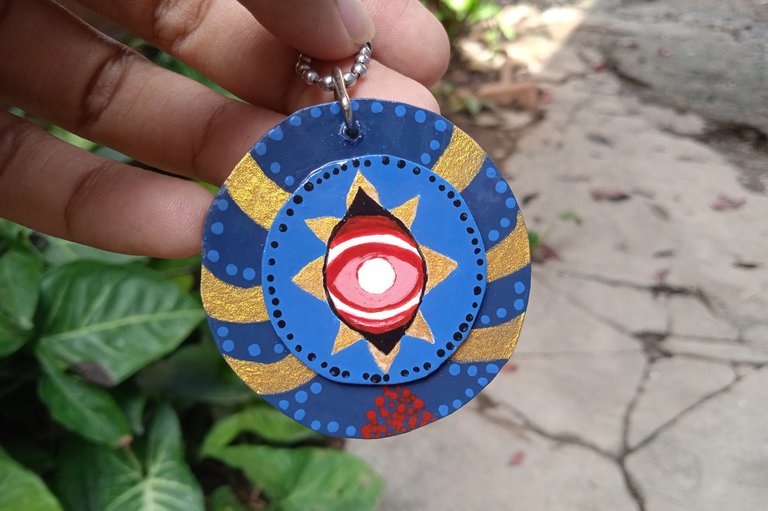
I also draw the Night Reaper's eye on the small piece.
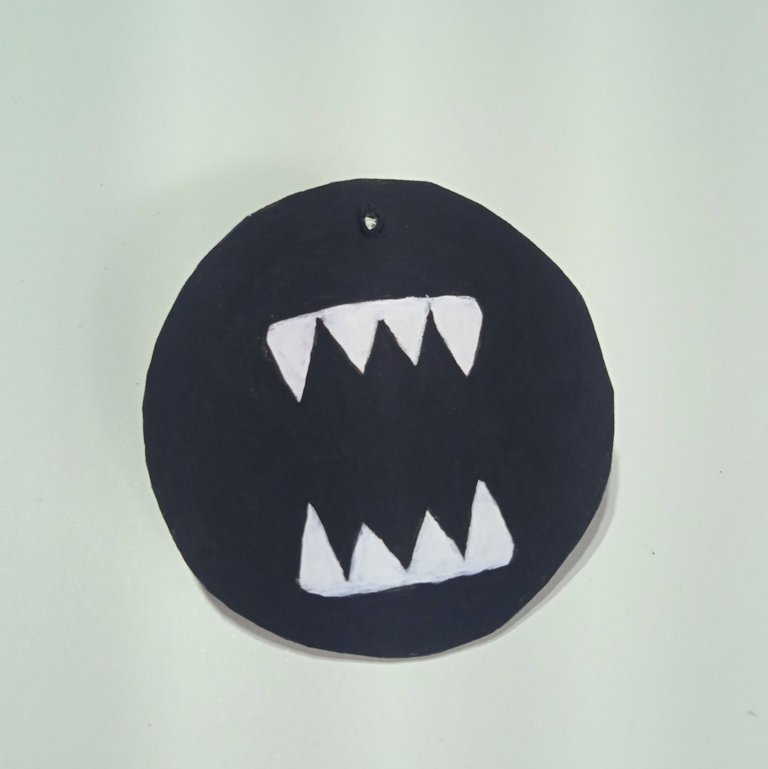
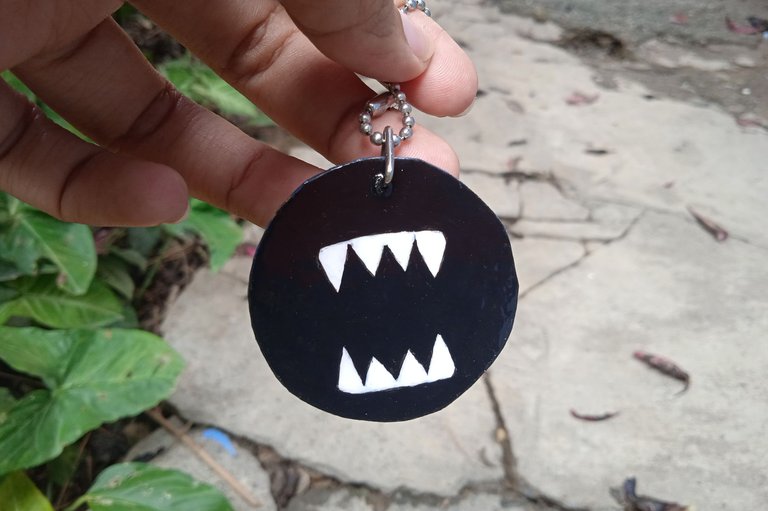
On the back I draw the distinctive Splinterlands logo and paint it black, being careful not to paint the white part of the teeth.😅

Step 3
I will paint the eye keeping the original colors of the design, or failing that I will try to keep the colors similar. 😬
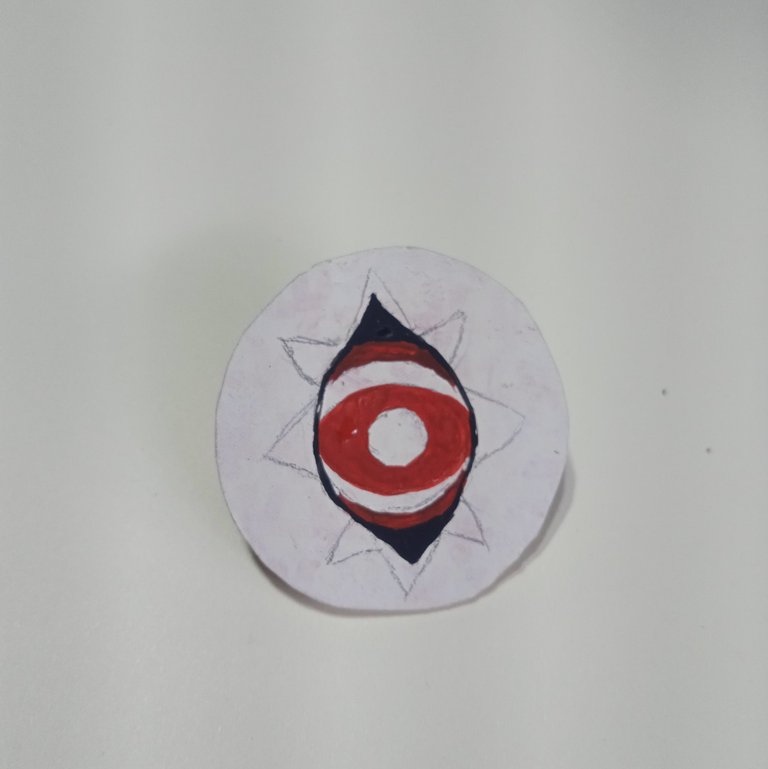
On the outer details of the eye I use the gold color. All this with the liner brush, this helps us to paint those small spaces without making such a mess.
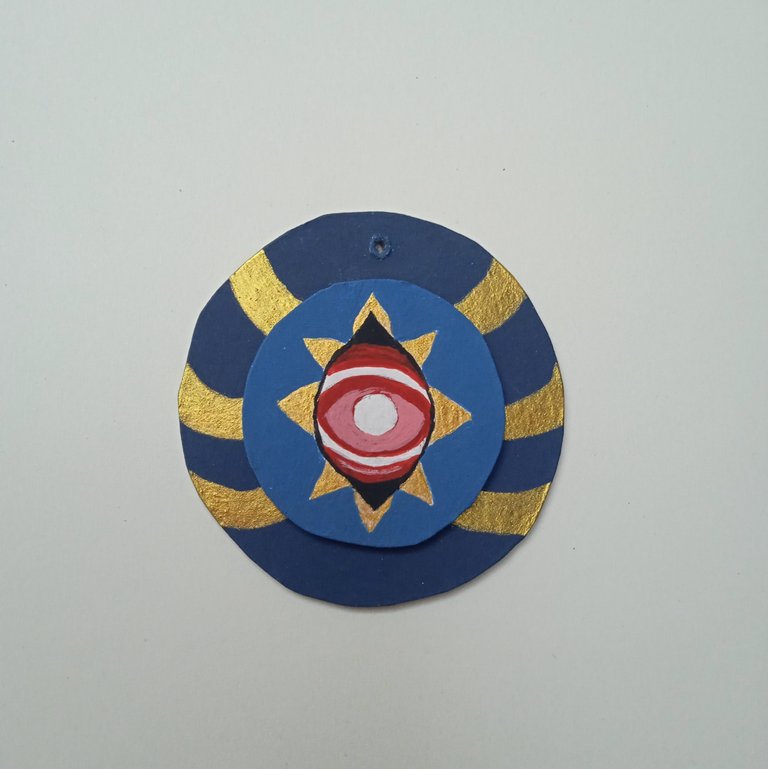
We go back to the larger piece to paint three lines on each side with the gold color. Before proceeding with the last step, we glue it, making sure it is as straight as possible.

Step 4
With a pointer or height stick I make dots with the colors I had previously used, I also added some red dots, referring to the crystal that Night Reaper has.
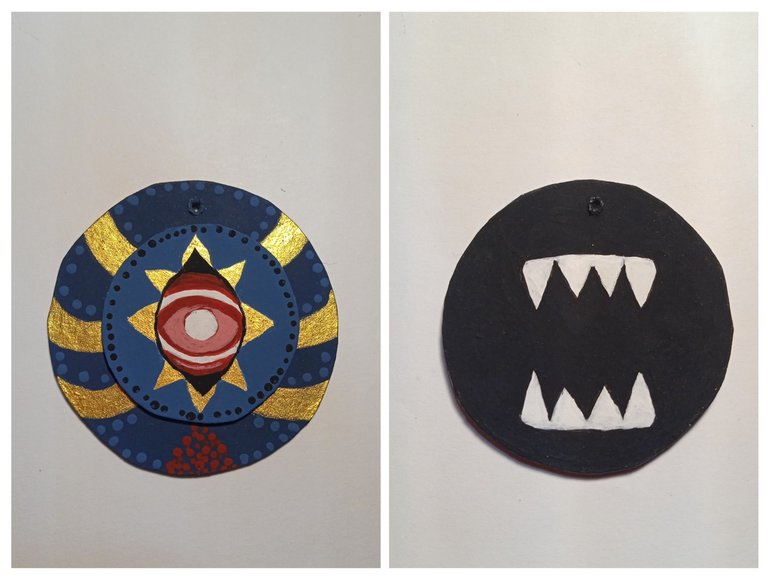
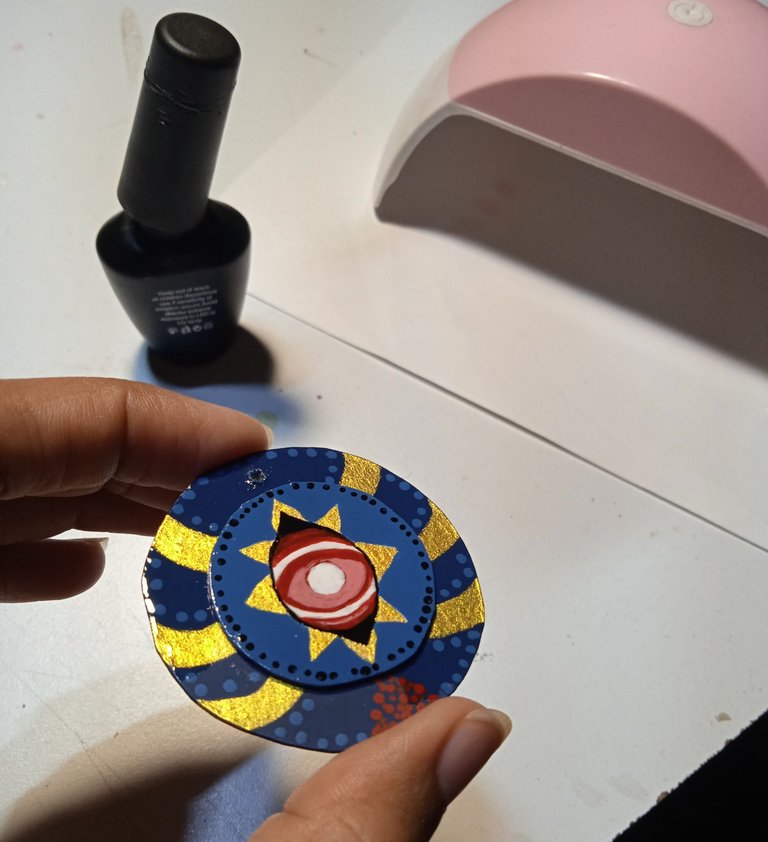
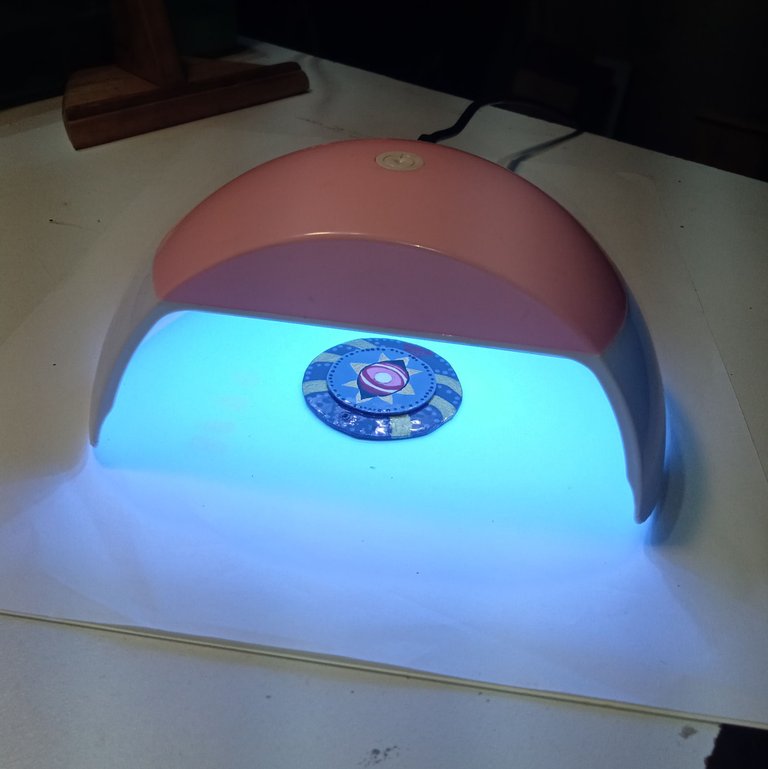
Finally, I give a coat of top coat and straight to the lamp a few minutes, then I put the ring and the chain that by the way is recycled from a shoe label 😁 and ready! To put it on my bag to give it more style ✌🏼un unconventional, unique and mysterious keychain. ✨
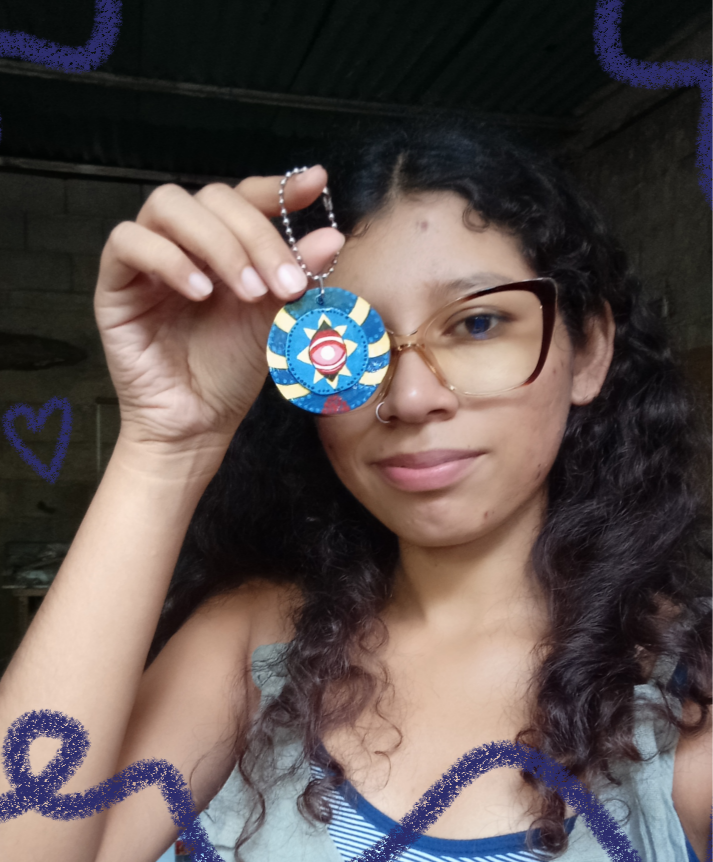
How will other characters look transformed into this style of keychain? 🤔 I really like how Night Reaper looks in this format, very artistic according to me hehe!😅
See you in other posts with more alternative creations! ✌🏼🐝
Credits
- Translated at DeepL.
- Cover made in Canva.


¡Saludos, gente bonita! Feliz viernes a todos, espero que estén superbién y con mil ideas para trabajar y crear algo auténtico para usar cada día. ✨
Hoy me uniré al concurso semanal de Splinterlands con un llavero inspirado en la carta de Night Reaper, hecho a partir de cartón y pinturas, una técnica mixta para representar a este poderoso monstruo que tiene su origen en el reino de los demonios y dragones, con un poder terrorífico y una creciente ira debido a la pérdida de su mundo. Muy interesante y oscuro ¿verdad? 🤯 Acá te dejo el enlace para que sigas descubriendo sobre Night Reaper.

Para comenzar con el llavero, estos fueron los materiales que usé:
- Pinturas de color: Blanco, azul, negro, rojo y dorado.
- Pincel liner y pincel número 2.
- Pinza para bisutería.
- Cartón delgado.
- Tijera.
- Compás.
- Cadena para llavero y argolla de bisutería.
- Pega.
- Aguja de coser.
- Lámpara de manicura y top coat.


Paso 1
Comienzo usando el compás para dibujar dos círculos; uno será más pequeño para que pueda quedar dentro del otro, quedando al menos 1 cm separado del borde.
Los recorto y pego sobre el cartón para poder recortar con mayor precisión las piezas del llavero.


Se aplica una base de color blanco para que los colores que se usen se vean mejor. El círculo pequeño solo se pinta por una de las caras.
El círculo grande por ambos lados o también se puede dejar el centro de una de las caras sin pintar, pues en este lado es donde pegaremos el círculo pequeño.


Paso 2
Ahora mezclo color azul y un toque de negro para generar un azul parecido al de la carta y pinto el lado donde irá pegada la otra pieza.
Con ayuda de la aguja de coser hago el orificio en donde se pondrá la argolla.
También dibujo en la pieza pequeña el ojo de Night Reaper.

Por la parte de atrás dibujo el logotipo distintivo de Splinterlands y procedo a pintarlo en color negro, muy atenta de no pintar la parte blanca de los dientes.😅


Paso 3
Pintaré el ojo manteniendo los colores originales del diseño, o en su defecto voy a tratar de mantener los colores parecidos.😬

En los detalles exteriores del ojo utilizo el color dorado. Todo esto con el pincel liner, este nos ayuda a pintar esos espacios tan pequeños sin hacer tanto desastre.

Volvemos a la pieza más grande para pintar tres líneas a cada lado con el color dorado. Antes de seguir con el último paso, pegamos procurando que quede lo más derecho posible.


Paso 4
Con un puntero o palillo de altura hago puntos con los colores que anteriormente había usado, también agregué unos puntos en color rojo, haciendo referencia al cristal que Night Reaper posee.


Por último, le doy una capa de top coat y directo a la lámpara unos minutos, después pongo la argolla y la cadena que por cierto es reciclada de una etiqueta de zapatos 😁 y ¡listo! A ponerlo en mi bolso para darle más estilo ✌🏼un llavero no convencional, único y misterioso. ✨


¿Cómo quedarán otros personajes transformados en este estilo de llavero? 🤔 Me gusta mucho como luce Night Reaper en este formato, muy artístico según yo ¡jeje!😅
¡Nos vemos en otros post con más creaciones alternativas! ✌🏼🐝
Créditos:
- Portada hecha en Canva.
Nice work, Greetings
Thank you ✨✌🏼
Ohhhhhh me alegra mucho que te hayas entusiasmado en participar en los concursos de splinterlands,me encanta este dije que elaboraste, donde alternaste pintura y la técnica de puntillismo, te quedo mega genial. te felicito mi bella y te deseo la mejor de las suertes en el concurso...
!LADY
!DIY
!HUG
!MEME
Your LOH token balance is not sufficient to send tips. Please hold a minimum of 25 LOH tokens to send tips.
Credit: orionvk
Earn Crypto for your Memes @ HiveMe.me!
Saluditos, muchas muchas gracias ✨👏🏼 sii! Me gustó mucho la estética misteriosa que tiene el trabajo final, muchas gracias, un trabajo totalmente hecho en puntillismo quedaría hermoso 🤩 y pues veo que se puede ser muy creativo en estos concursos así que trataré de participar más en ellos 😁
You can query your personal balance by
!DIYSTATSque bueno quedó, me está provocando hacer manualidades, saludos
¡Gracias! ☺️ pues anímate que de seguro algo muy bonito y único saldrá 👍🏼✌🏼
Wow me gustó mucho la variedad de colores que usaste en tu creación.
Muchas gracias ☺️
Una maravilla, los tonos que usaste emiten misterio, excelente tu pequeña creación artística!
Gracias querido 😚 tengo que hacer otro para ti 😁