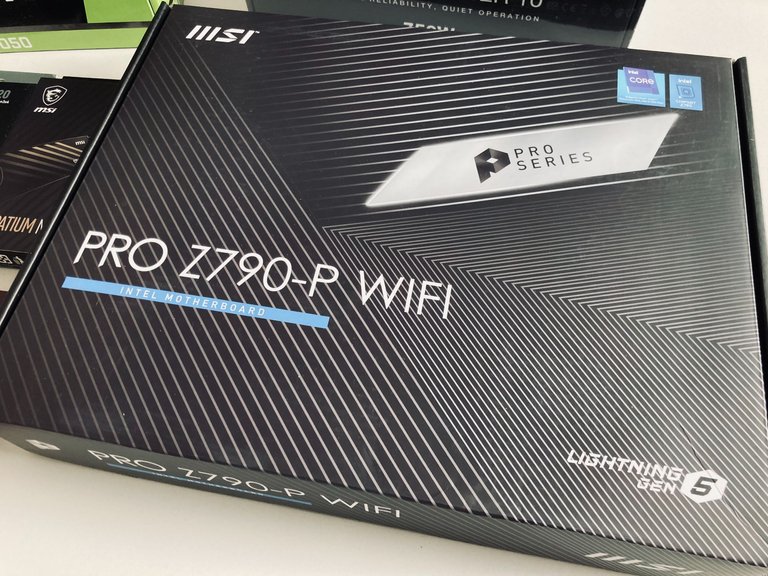
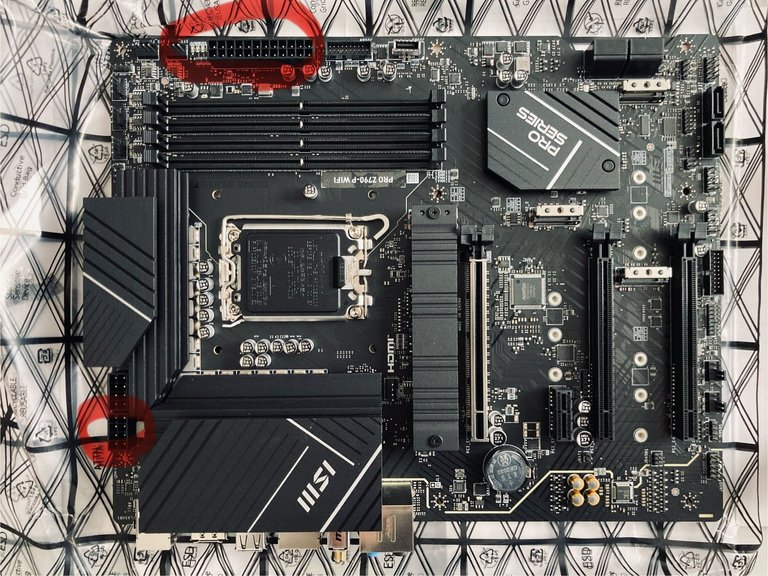
Update BIOS of MSI PRO Z790-P WiFi - motherboard without a (compatible) processor | Aktualizacja BIOSU Hot USB
A quick way to update the BIOS of MSI PRO Z790-P WiFi motherboards via the USB port. This can be easily done before assembling the computer. All you need is a power supply, a motherboard and a pendrive with the latest BIOS.
This may be necessary if you have an older motherboard, released before the release of Intel 14th gen, which has a default BIOS that is not yet compatible with the latest architecture. If you do not update, a black screen will appear on your monitor and you will not be able to do anything.
Szybki sposób aktualizacji biosu płyty główne MSI PRO Z790-P WiFi poprzez port USB. Można tego dokonać w łatwy sposób przed montażem komputera. Potrzebny jest tylko zasilacz i płyta główna oraz pendrive z najnowszym biosem.
Taka potrzeba może zajść jeżeli masz starszą płytę główną, wydaną przed premierą Intel 14th gen, która ma domyślnie bios jeszcze niekompatybilny z najnowszą architekturą. Jeżeli nie zaktualizujesz to wyświetli Ci się na monitorze czarny ekran, nic nie będziesz mógł zrobić.
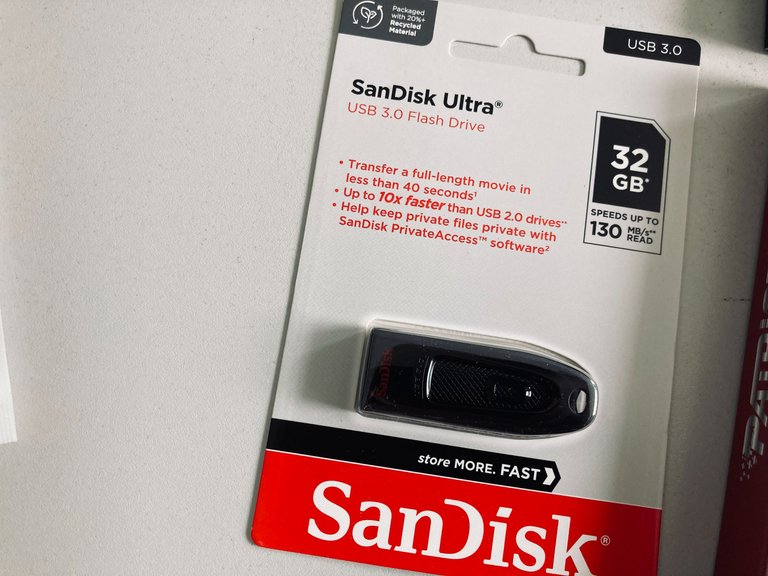
We need a pendrive with a maximum capacity of 32GB, formatted in FAT32. It's best if it's a fairly well-known brand, strange, unknown brands may not be compatible with the motherboard.
Potrzebujemy pendrive o maksymalnej pojemności 32GB, sformatowany na FAT32. Najlepiej żeby była to jakaś dość znana marka, dziwne, nieznane marki mogą nie być kompatybilne z płytą główną.
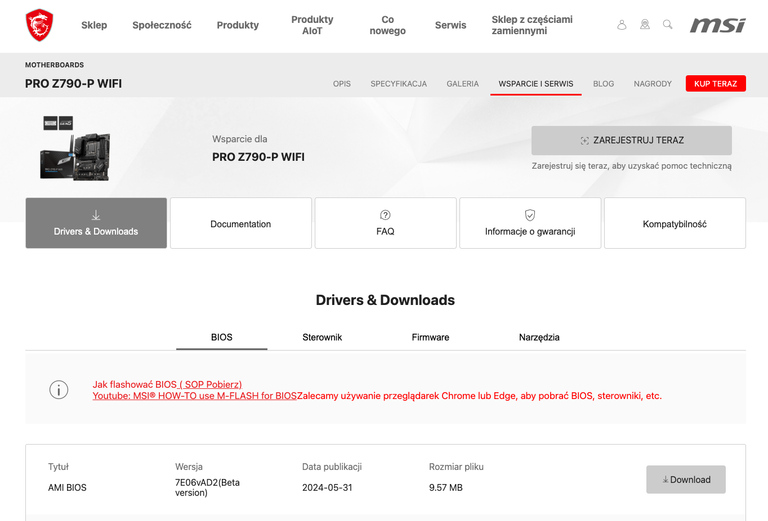
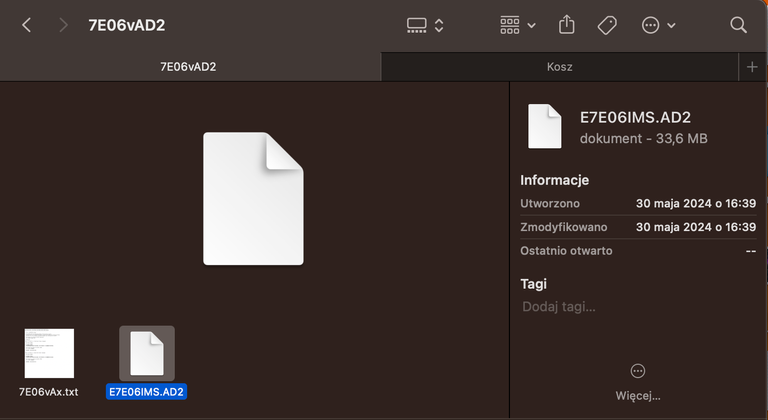
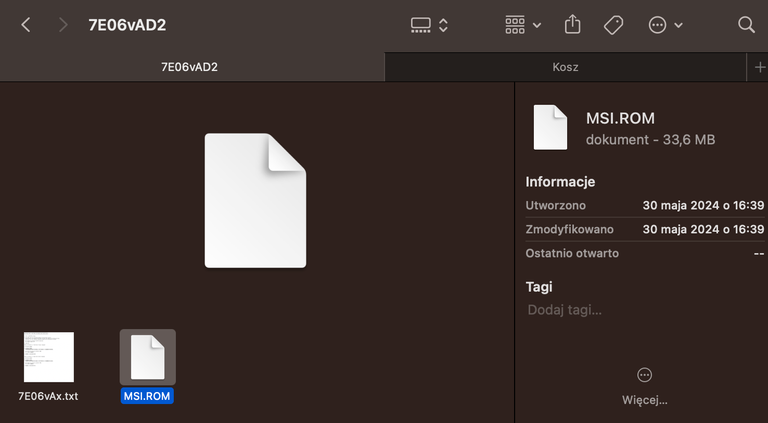
We download the package we are interested in with a specific version of Bios from the manufacturer's website and after unpacking, we change the file name to MSI.ROM - it is important that it is written in capital letters.
Pobieramy interesującą nas paczkę z konkretną wersją Biosa z strony producenta i po wypakowaniu zmieniamy nazwę pliku na MSI.ROM - ważne żeby było to napisane z dużych liter.
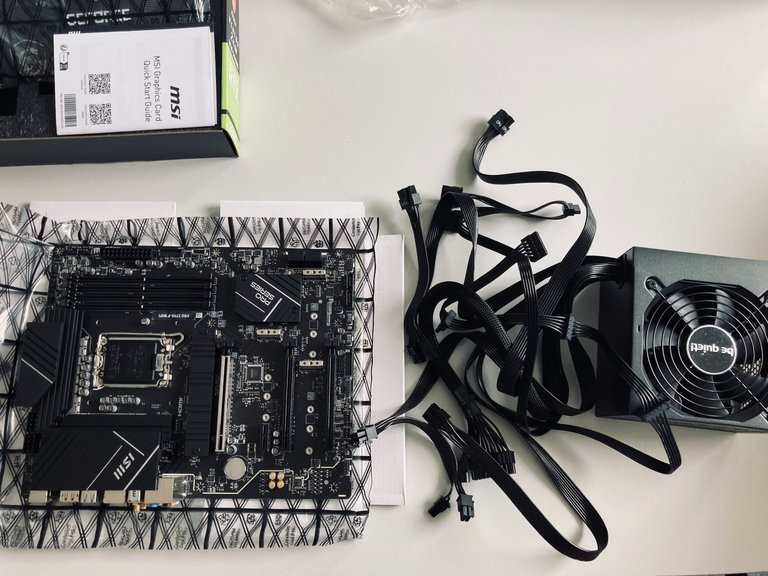
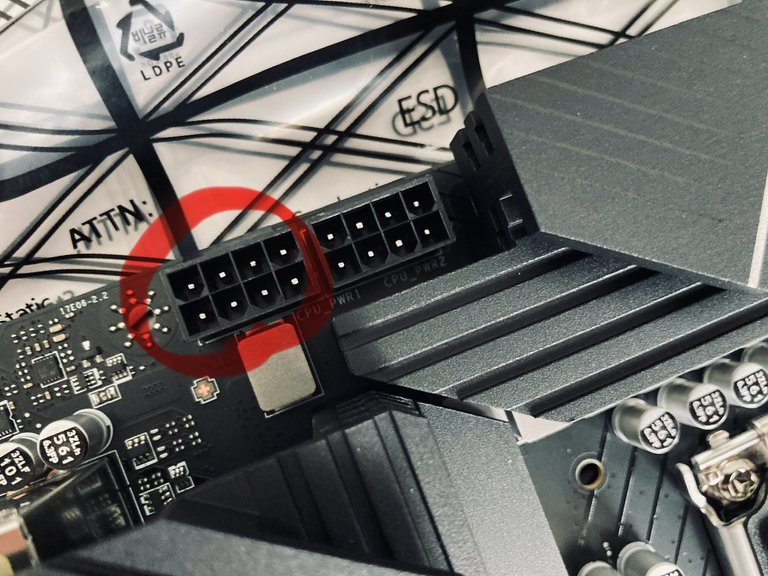
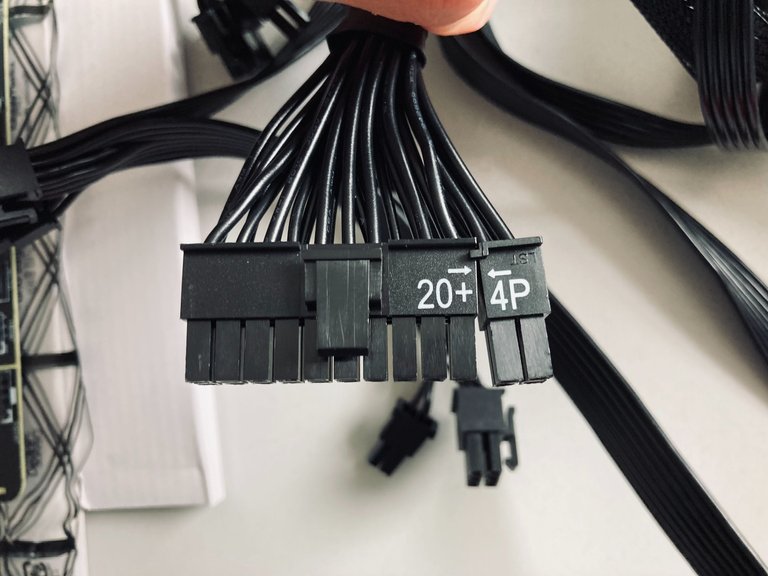
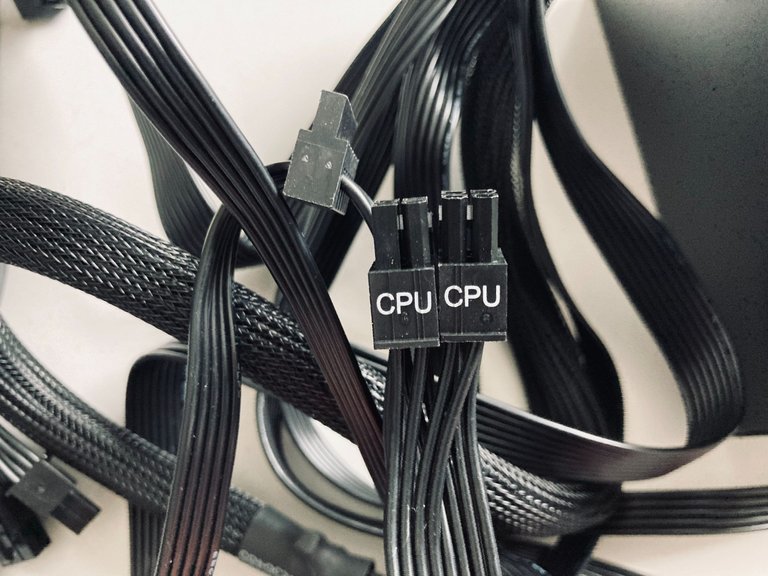
Then we connect the power supply section of the motherboard ATX_PWR1 and the processor power supply (only one section) CPU_PWR1
Następnie podłączamy sekcję zasilającą płyty głownej ATX_PWR1 oraz zasilanie procesora (tylko jedna sekcja) CPU_PWR1

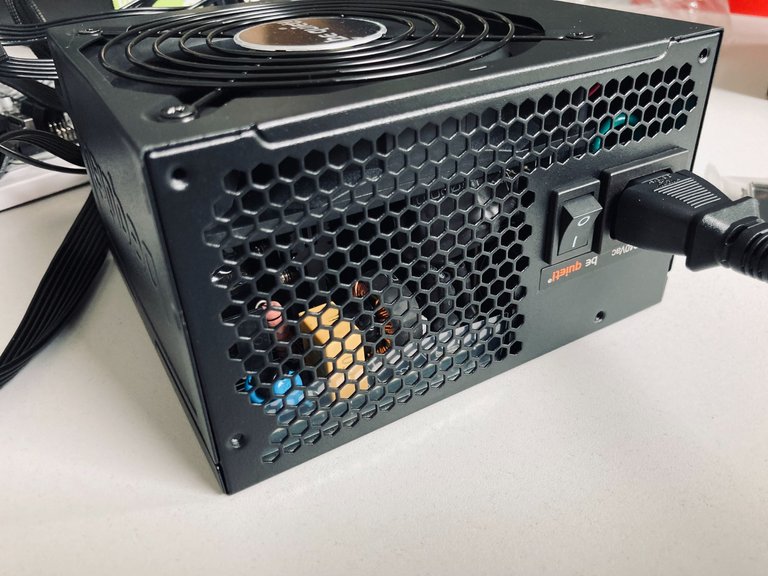
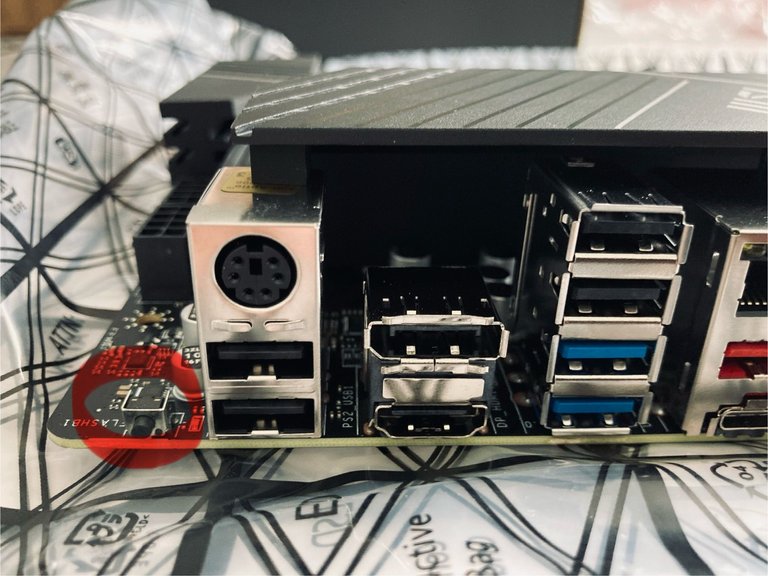
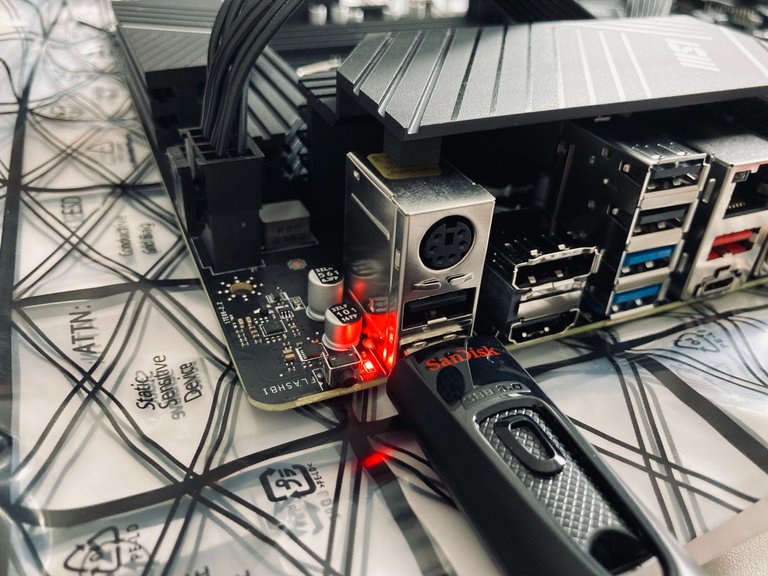
Turn on the power, place the pendrive in the lower USB port next to the FLASHB1 button and press this button. The red LED should be blinking - this means the motherboard is updated. When the process is finished, it will stop blinking. You can then turn off the power. The bios update process is ready. Now the motherboard will be compatible with the latest Intel 14th processor architecture.
Włączamy zasilanie, pendrive umieszczamy w dolnym porcie USB obok przycisku FLASHB1 oraz przyciskamy ten przycisk. Czerwona dioda powinna mrugać - oznacza to aktualizację płyty główne. Gdy proces się zakończy to przestanie mrugać. Można wtedy wyłączyć zasilanie. Proces aktualizacji biosu gotowy. Teraz płyta główna będzie kompatybilna z najnowszą architekturą procesora Intel 14th.

Congratulations @szejq! You have completed the following achievement on the Hive blockchain And have been rewarded with New badge(s)
Your next target is to reach 7000 upvotes.
You can view your badges on your board and compare yourself to others in the Ranking
If you no longer want to receive notifications, reply to this comment with the word
STOP