Tutorial: Crochet chocolate cookies, amigurumi technique - Galletas de chocolate en crochet, técnica de amigurumi. 🍪🧶
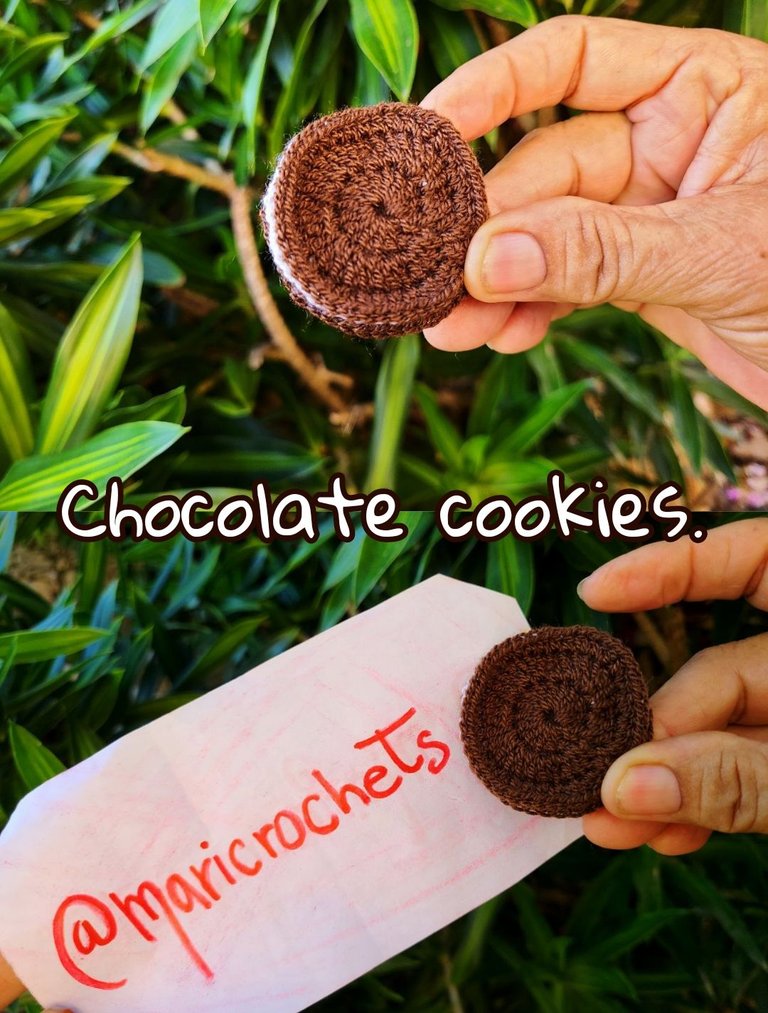
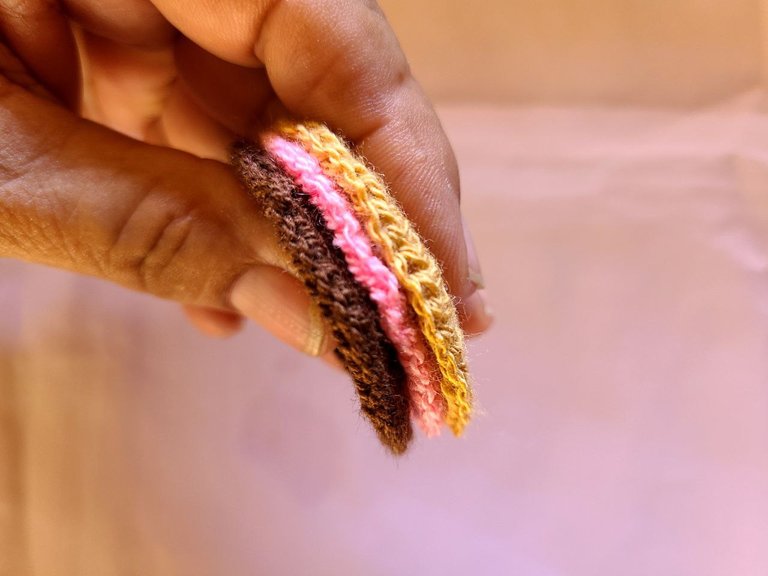
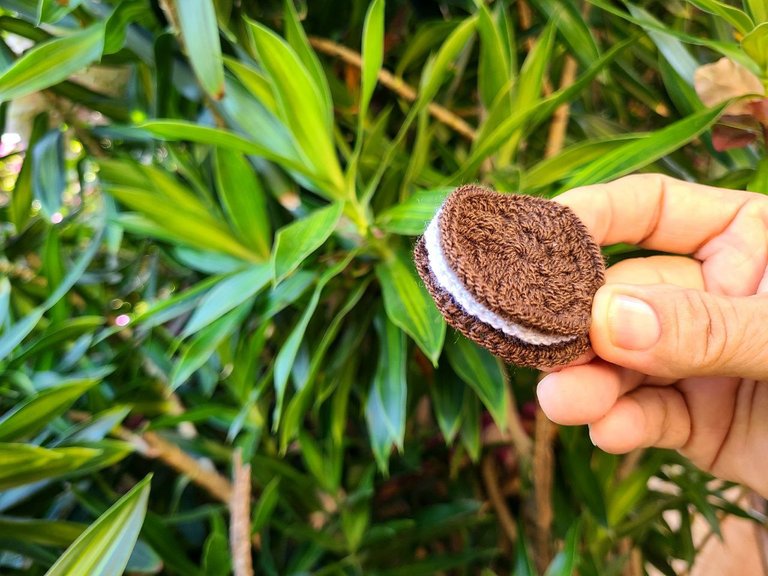
Hello hello, dear friends of Hive, this time I bring you some amigurumis in the form of cookies filled with cream, here in Venezuela we know them by (Oreo cookies) they come in chocolate filled with vanilla flavored cream, strawberry flavor or they can be vanilla filled with the same creams.
These amigurumis can be used as keychains by attaching a hook for this purpose, they can also be used as a complement to children's toys such as cookies for dolls so that girls can enjoy their games. Without further ado, let's take it step by step.
Hola hola, apreciados amigos de Hive, en esta oportunidad les traigo unos amigurumis en forma de galleta rellenas con crema, acá en Venezuela las conocemos por (galletas Oreo) vienen de chocolate rellenas con crema sabor a vainilla, sabor a fresa o pueden de vainilla rellenes con las mismas cremas.
Estos amigurumis se pueden usar como llaveros colocándoles un ganchito para tal fin, también se pueden usar como complemento de juguetes infantiles como galletitas para muñecas y así las niñas poder disfrutar de sus juegos. Sin más que decir vamos al paso a paso.
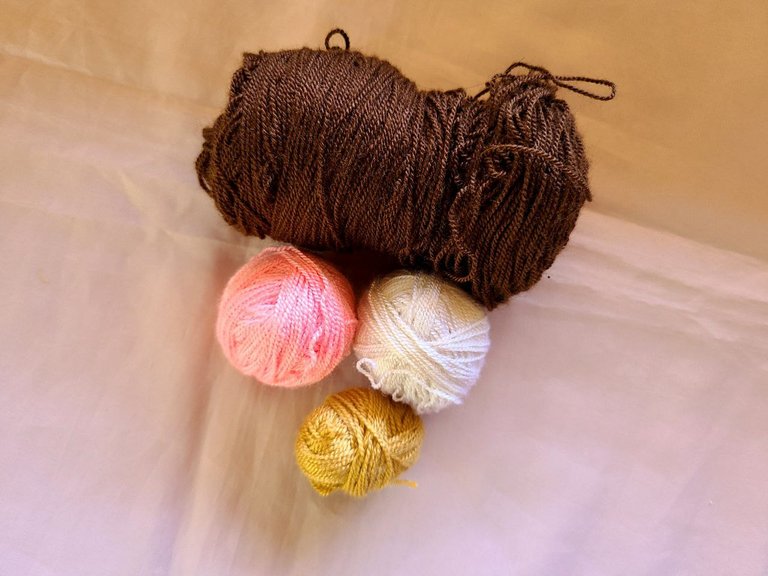
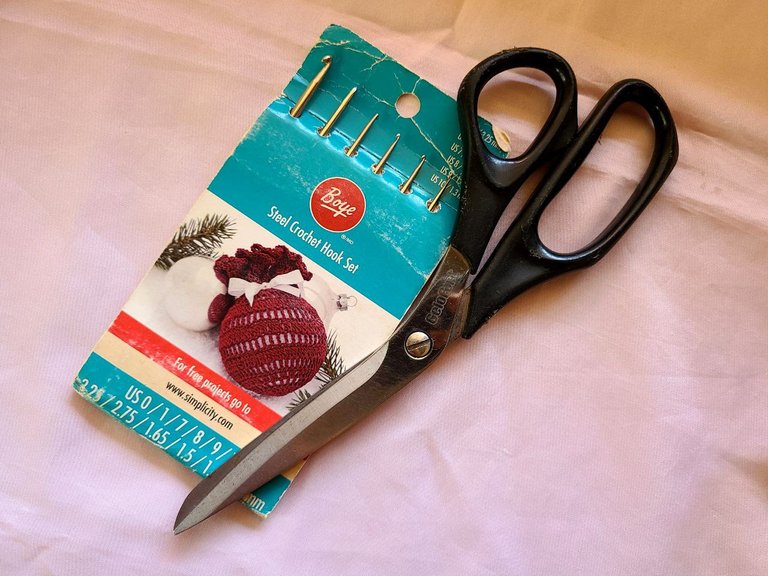
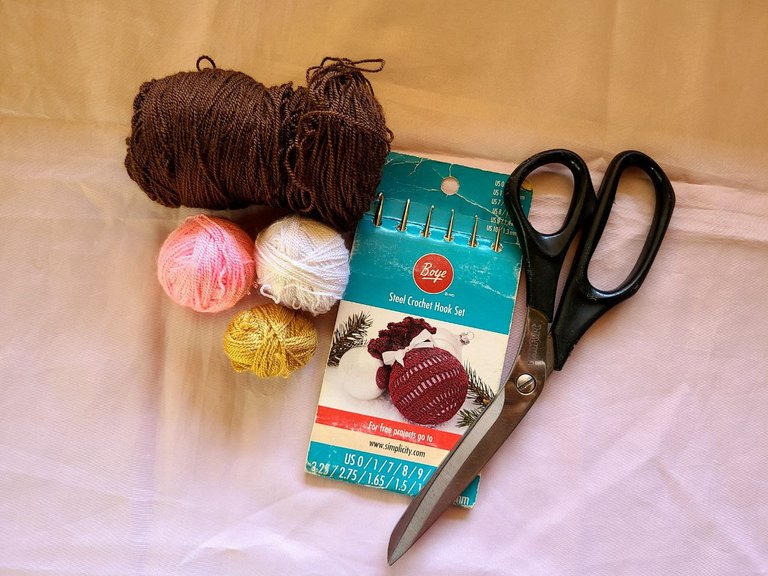
🧶 Materials that we are going to use:
✓Crochet threads: Dark brown, white, deep pink and sand beige.
✓Crochet needle number 2.
✓Scissors.
🧶 Points we will use:
✓Normal high point
✓Medium high point
✓Slided point vanilla flavored chocolate cookie.
🧶 Materiales que vamos a utilizar:
✓Hilos crochet: Color marrón oscuro, blanco, rosa intenso y beige arena.
✓Aguja crochet número 2.
✓Tijeras.
🧶 Puntos que utilizaremos:
✓Punto alto normal
✓Punto medio alto de
✓Punto deslizado galleta de chocolate con sabor a vainilla.
🧶 Step 1:
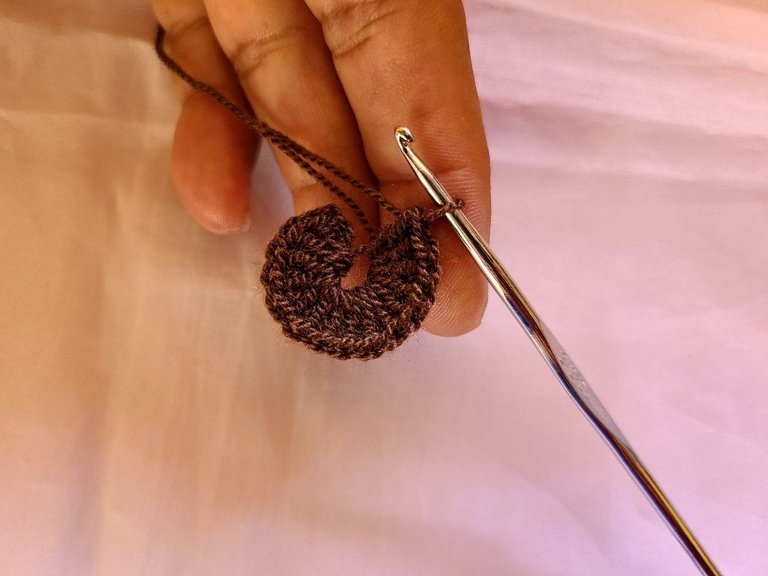
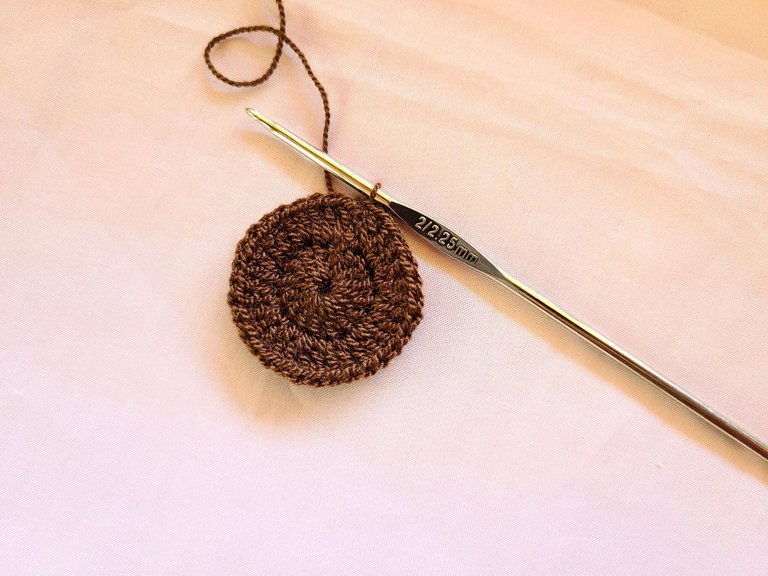
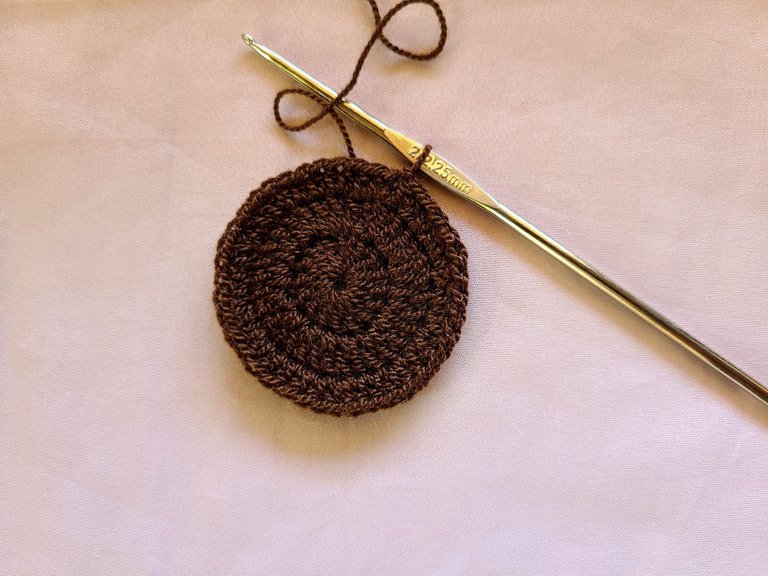
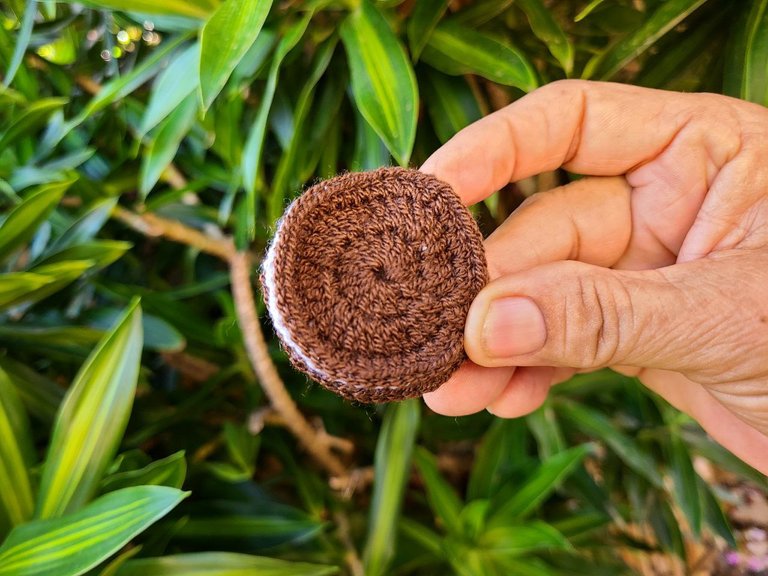
Row 1: We start with the brown thread, making a magic ring and inside it we make 16 normal double crochets, closing with a slipped stitch.
Row 2: On each point of the previous round make an increase of 2 normal double crochets, we close with a slipped stitch.
Row 3: We work this row with a half double crochet, 2 stitches in a row and an increase of 2 stitches in the same hole, and we finish with a slip stitch.
With this color we need two chocolate cookie covers, to be able to place the filling. For the filling we will use the white color.
🧶 Step 2:
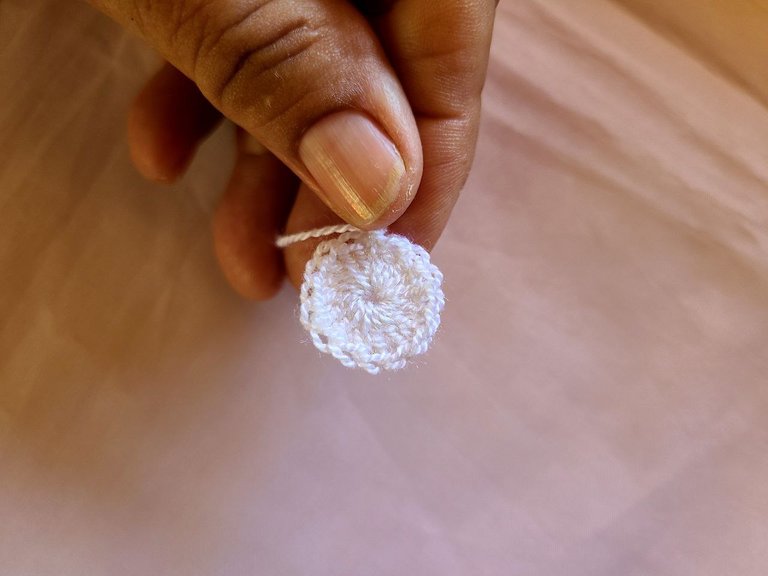
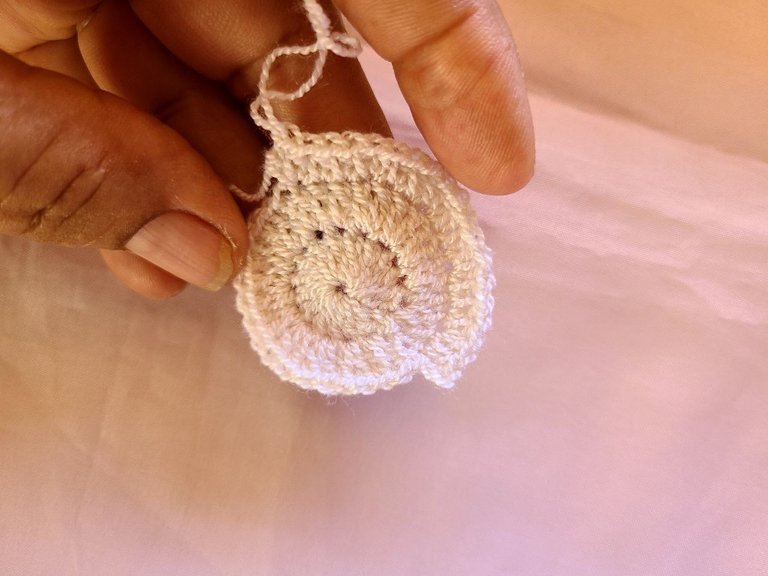
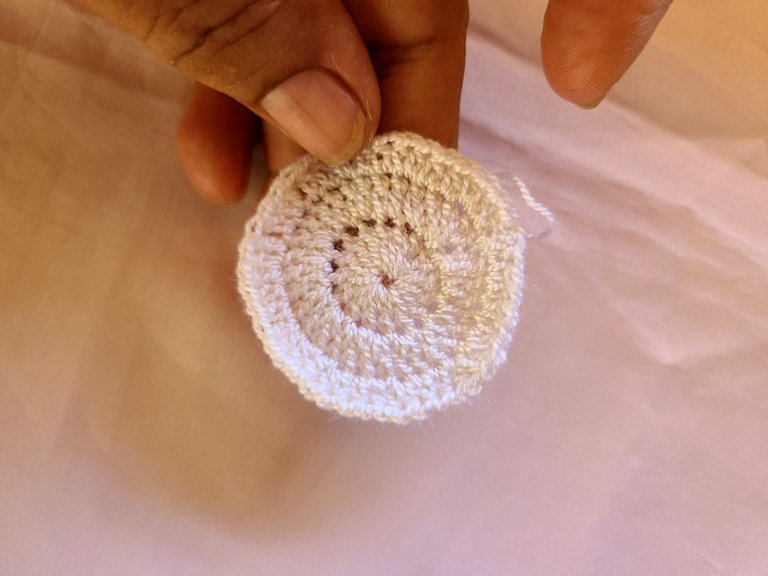
Row 1: We start with the white thread, making a magic ring and inside it we make 16 normal double crochets, closing with a slipped stitch.
Row 2: On each point of the previous round make an increase of 2 normal double crochets, we close with a slipped stitch.
Row 3: We work this row with a half double crochet, 2 stitches in a row and an increase of 2 hours stitches in the same hole, and we finish with a slip stitch.
🧶 Paso 1:
Fila 1: Empezamos con el hilo marrón, haciendo un anillo mágico y dentro del mismo hacemos 16 puntos altos normales,cerrando con un punto deslizado.
Fila 2: Sobre cada punto de la vuelta anterior hacer un aumento de 2 puntos altos normales, cerramos con punto deslizado.
Fila 3: Está fila la trabajamos con punto medio alto, 2 puntos seguidos y un aumento de 2 puntos en el mismo orificio, y terminamos con punto deslizado.
Con este color necesitamos dos tapas de galleta de chocolate, para poder colocar el relleno.Para el relleno utilizaremos el color blanco.
🧶 Paso 2:
Fila 1: Empezamos con el hilo blanco, haciendo un anillo mágico y dentro del mismo hacemos 16 puntos altos normales, cerrando con un punto deslizado.
Fila 2: Sobre cada punto de la vuelta anterior hacer un aumento de 2 puntos altos normales, cerramos con punto deslizado.
Fila 3: Está fila la trabajamos con punto medio alto, 2 puntos seguidos y un aumento de 2 horas puntos en el mismo orificio, y terminamos con punto deslizado.
🧶 Step 3: Strawberry flavored chocolate cookie.
Row 1: We start with the brown thread, making a magic ring and inside it we make 16 normal double crochets, closing with a slipped stitch.
Row 2: On each point of the previous round make an increase of 2 normal double crochets, we close with a slipped stitch.
Row 3: We work this row with a half double crochet, 2 stitches in a row and an increase of 2 stitches in the same hole, and we finish with a slip stitch.
With this color we need two chocolate cookie covers, to be able to place the filling.
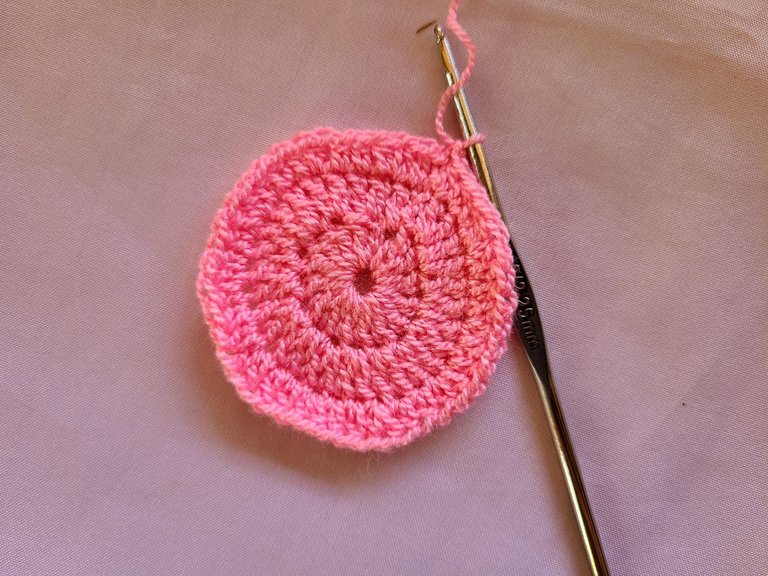
🧶 Step 4:For the filling we will use the color, intense pink.
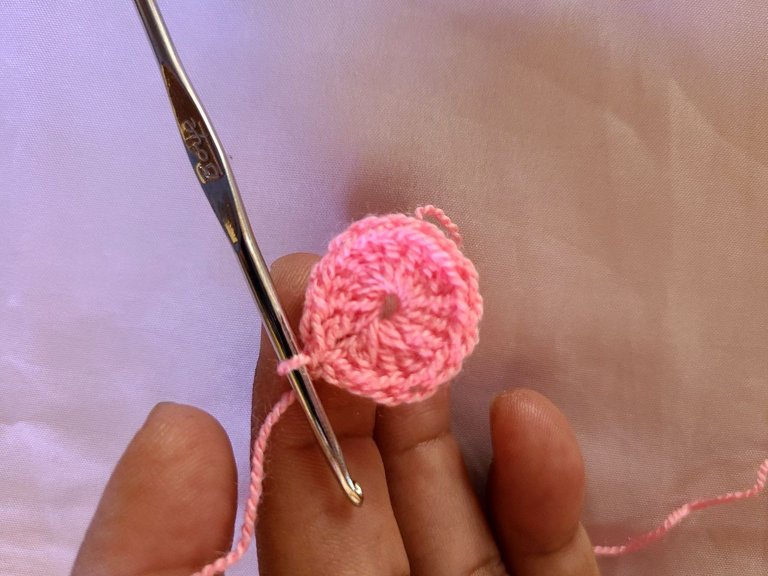
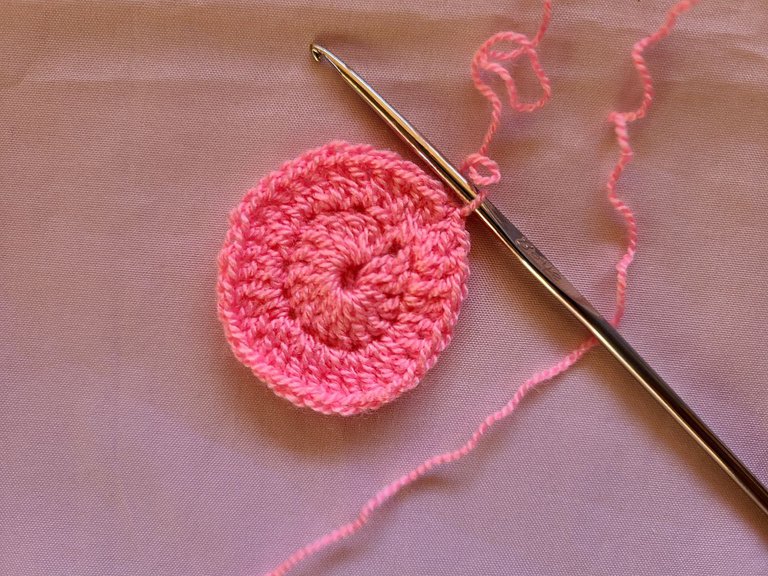
Row 1: We start with the deep pink thread, making a magic ring and inside it we make 16 normal double crochets, closing with a slipped stitch.
Row 2: On each point of the previous round make an increase of 2 normal double crochets, we close with a slipped stitch.
Row 3: We work this row with a half double crochet, 2 stitches in a row and an increase of 2 stitches in the same hole, and we finish with a slip stitch.
🧶 Paso 3: Galleta de chocolate con sabor a fresa.
Fila 1: Empezamos con el hilo marrón, haciendo un anillo mágico y dentro del mismo hacemos 16 puntos altos normales, cerrando con un punto deslizado.
Fila 2: Sobre cada punto de la vuelta anterior hacer un aumento de 2 puntos altos normales, cerramos con punto deslizado.
Fila 3: Está fila la trabajamos con punto medio alto, 2 puntos seguidos y un aumento de 2 puntos en el mismo orificio, y terminamos con punto deslizado.
Con este color necesitamos dos tapas de galleta de chocolate, para poder colocar el relleno.
🧶 Paso 4:Para el relleno utilizaremos el color , rosa intenso.
Fila 1: Empezamos con el hilo rosa intenso, haciendo un anillo mágico y dentro del mismo hacemos 16 puntos altos normales, cerrando con un punto deslizado.
Fila 2: Sobre cada punto de la vuelta anterior hacer un aumento de 2 puntos altos normales, cerramos con punto deslizado.
Fila 3: Está fila la trabajamos con punto medio alto, 2 puntos seguidos y un aumento de 2 puntos en el mismo orificio, y terminamos con punto deslizado.
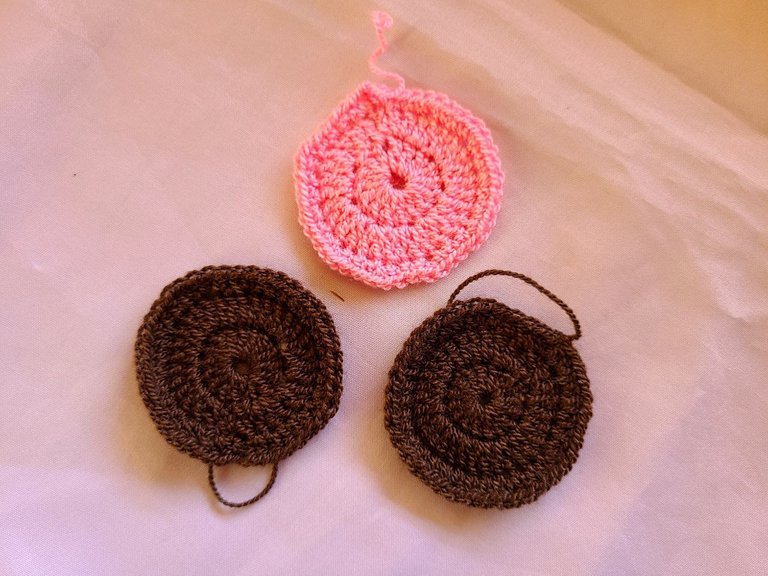
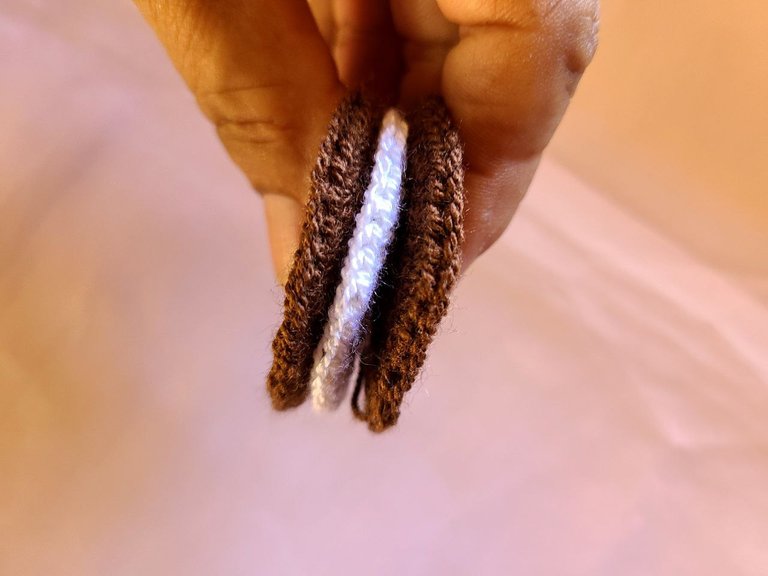
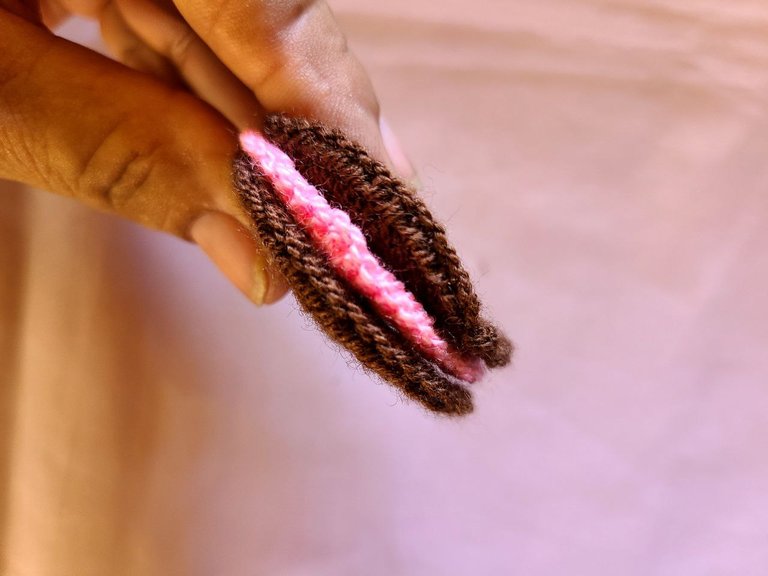
To assemble the cookie, we use 2 chocolate caps, and in the middle you place the vanilla-flavored cream cap, or failing that, strawberry flavor. With a needle we put stitches joining the 3 caps. We can also use silicone glue and glue them.
As you can see, the project is very simple, and has several functions, as I tell you on some occasions, creativity is within us and its usefulness is left to our imagination. I hope it is to your complete liking. Enjoy it.
Para el armado de la galleta, utilizamos 2 tapitas de chocolate, y en el medio colocas la tapita de crema sabor a vainilla, o en su defecto sabor a fresa. Con una aguja le damos puntadas uniendo las ,3 tapitas. También podemos usar pega de silicona y pegarlas.
Cómo pueden ver el proyecto es muy sencillo, y tiene varías funciones, como les digo en algunas oportunidades la creatividad, está en nosotros y la utilidad del mismo queda a nuestra imaginacion. Espero que sea de su completo agrado. Disfrútenlo.
This is so beautiful, the cookies look very real, I love the colors, well done dear
thank you very much friend
They look very real, I had to look twice to be able to see that it was crochet. Well done with this beautiful results. I’ll use these to pranks my friends, hehe
Thank you very much friend, I'm glad you liked them, enjoy them. greetings.
Yo quiero 3 pero de mantecado 😋
Si así será, gracias mami
Ok. Cierto que a ti no te gusta ni la fresa, ni el chocolate.
Oh my world, see just how you made me wish for a bite. I love chocolate so much and this caught my eyes instantly.
Well done dearie 🎉💕
Thank you very much friend 😊