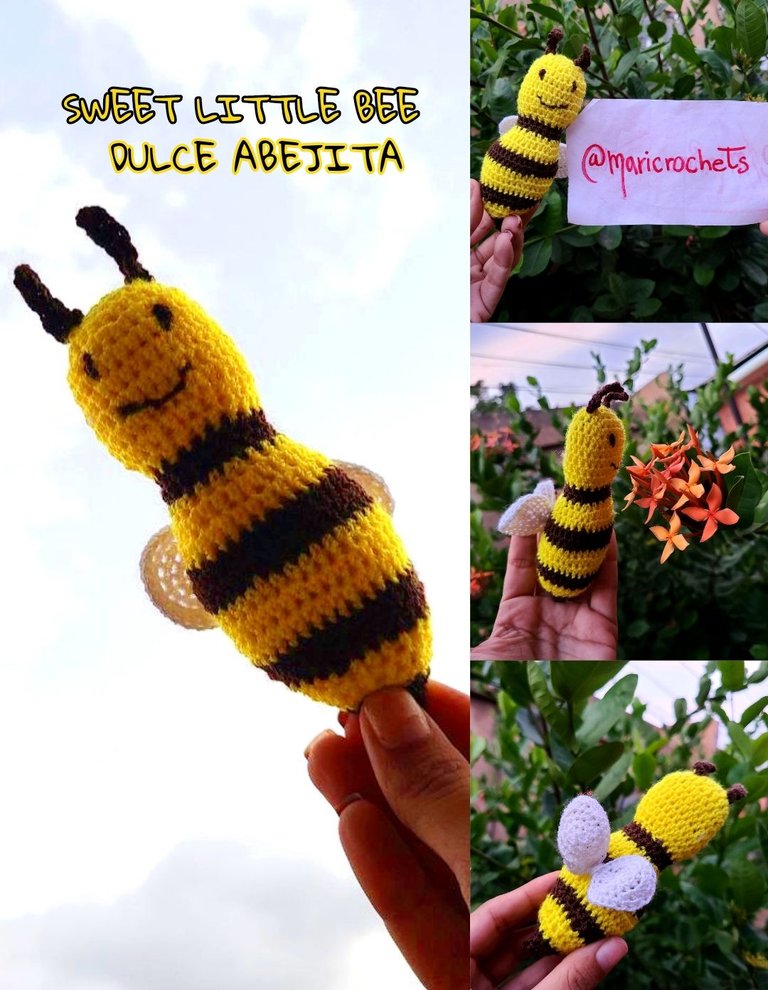
Tutorial: Design of a sweet little bee in amigurumi (step by step) - Diseño de una dulce abejita en amigurumi (paso a paso). 🐝🍯🧶
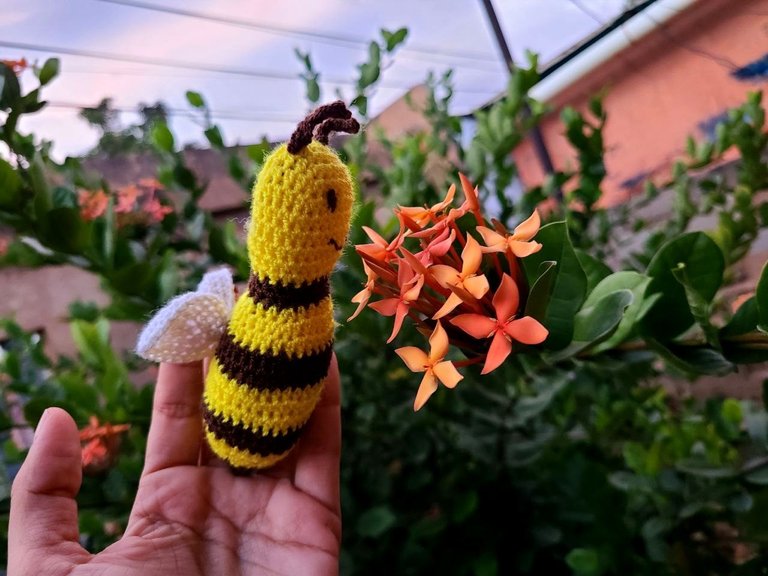
Hello, happy start to the week 🐝🍯 again like every day I bring you a crochet tutorial on this occasion of a cute little bee in the form of amigurumi, I continue in my trend of making amigurumis despite not being so expert in it but I do it with the greatest respect for you and what I want to do to share.
Hola, feliz comienzo de semana 🐝🍯 de nuevo como todos los días les traigo un tutorial en crochet en esta ocasión el de una linda abejita en forma de amigurumi, sigo en mi tendencia de hacer amigurumis a pesar de no ser tan experta en ello pero lo hago con el mayor respeto a ustedes y a lo que deseo hacer para compartir.
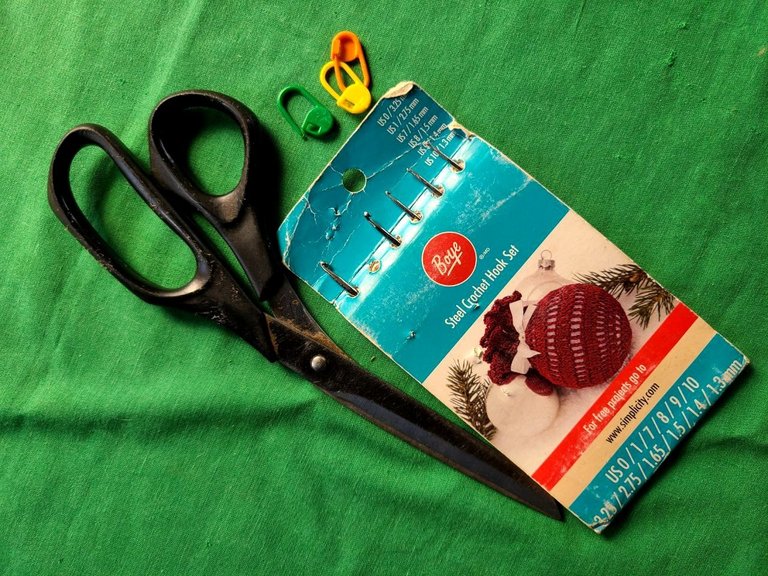
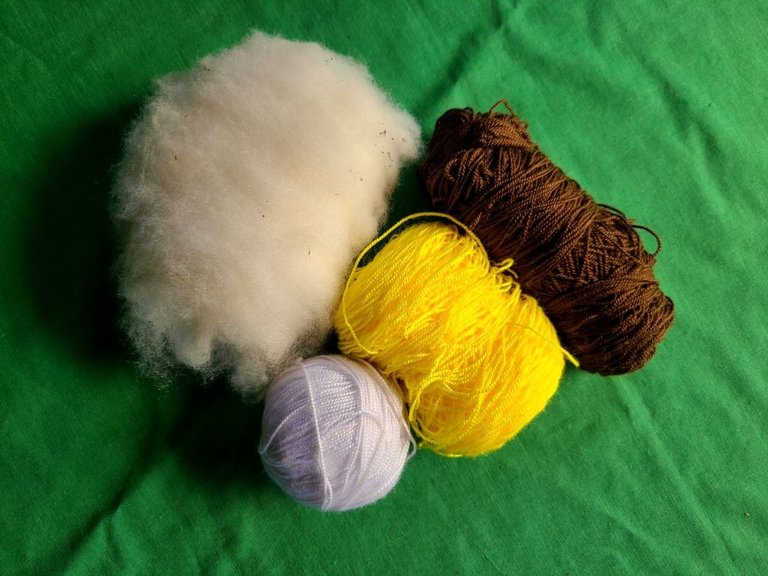
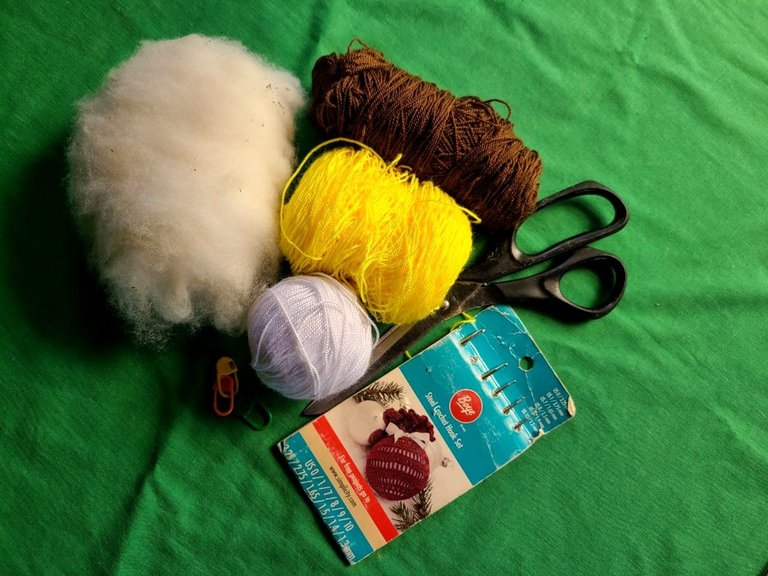
🧶 Materials to use:
✓Crochet threads: yellow, dark brown, white and some black strands.
✓Synthetic filling.
✓Crochet needle number 7.
✓Sewing needle.
✓Scissors.
🧶 Points to use:
✓High middle points.
✓Chain points.
🧶 Materiales a utilizar:
✓Hilos crochet: amarillo, marrón oscuro, blanco y unas hebras de color negro.
✓Relleno sintético.
✓Aguja crochet número 7.
✓Aguja de coser.
✓Tijeras.
🧶 Puntos a utilizar:
✓Puntos medios alto.
✓Puntos cadenas.
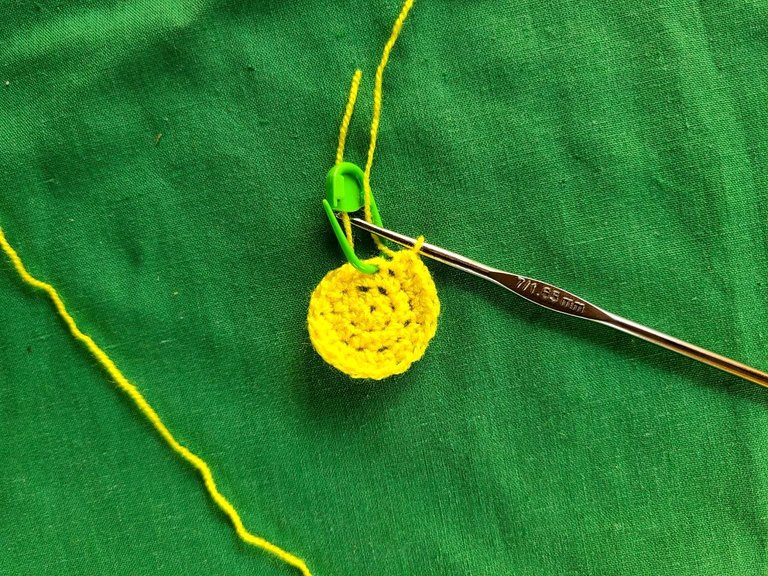
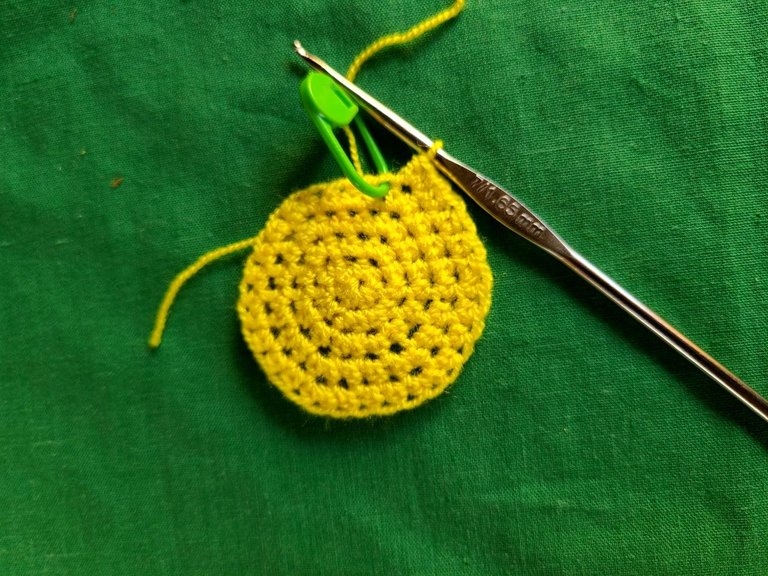
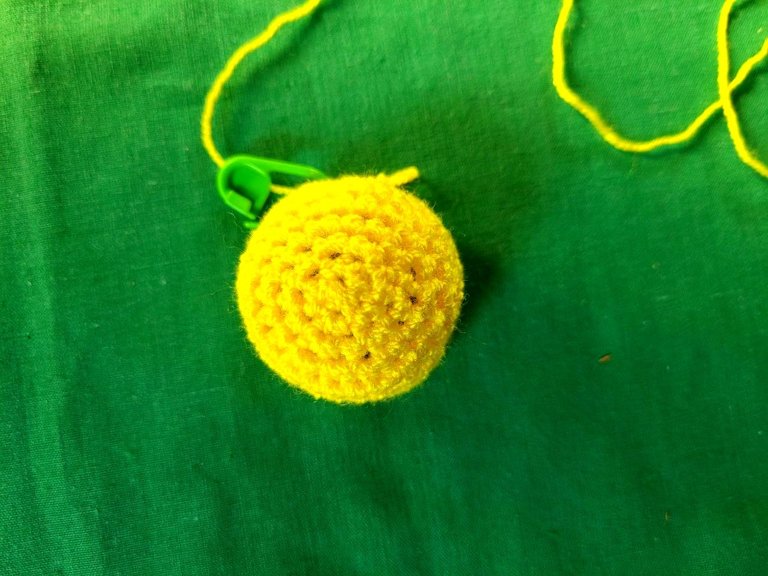
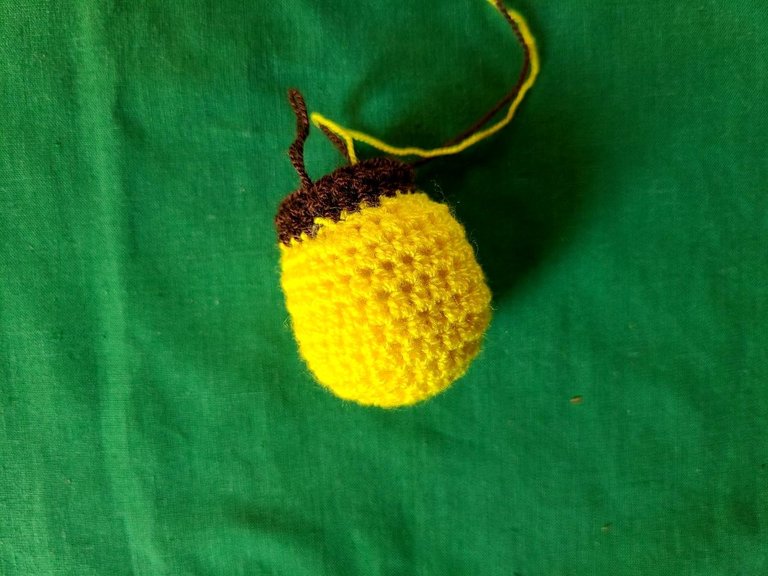
🧶 Step 1: In this step we will use the yellow thread.
Row 1: We make a magic ring, and inside we place 6 half double crochet.
Row 2: Without closing we make 1 increase in each stitch of the previous row (12).
Row 3: We make 1 half double crochet, and continue with 1 increase, like this for the entire row (18).
Row 4: We make 2 half double stitches, and continue with 1 increase like this for the entire row (24).
Row 5: We make 3 half double stitches and continue with 1 increase like this for the entire row (30).
Rows 6, 7 and 8: All rows stitch over stitch (30).
Row 9: In this row we decrease 3 half double stitches and 1 decrease (24).
Row 10: Also in this row we make 2 half double stitches and a decrease (18).
🧶 Paso 1: En este paso usaremos el hilo amarillo.
Fila 1: Hacemos un anillo mágico, y dentro colocamos, 6 punto medio alto.
Fila 2: Sin cerrar hacemos 1 aumento en cada punto de la fila anterior (12).
Fila 3: Hacemos 1 punto medio alto, y seguimos con 1 aumento, así toda la fila (18).
Fila 4: Hacemos 2 puntos medio alto, y seguimos con 1 aumento así toda la fila (24).
Fila 5: Hacemos 3 puntos medio alto y seguimos con 1 aumento así toda la fila (30).
Filas 6, 7 y 8: Todas las filas punto sobre punto (30).
Fila 9: En esta fila hacemos disminuciones 3 puntos medio alto y 1 disminucion (24).
Fila 10: También en esta fila hacemos 2 puntos medio alto y una disminución (18).
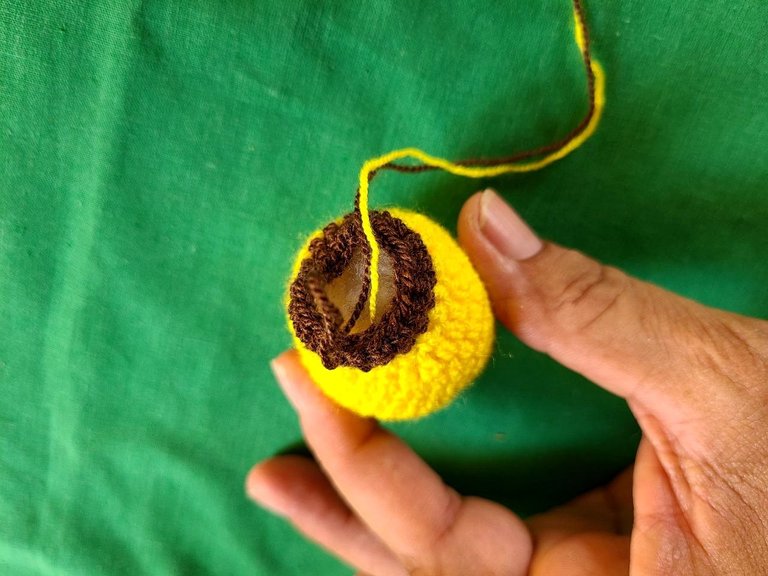
🧶 Step 2: We will use the dark brown thread.
Row 11 and 12: Here again we make the stitches as they appear (18).
Row 13: Here we work again with yellow thread, and make 3 half double stitches, and continue with an increase (24).
Row 14: In this row we work 2 stitches and an increase (30).
Row 15: The stitches are worked as they appear without increases, and without decreases.
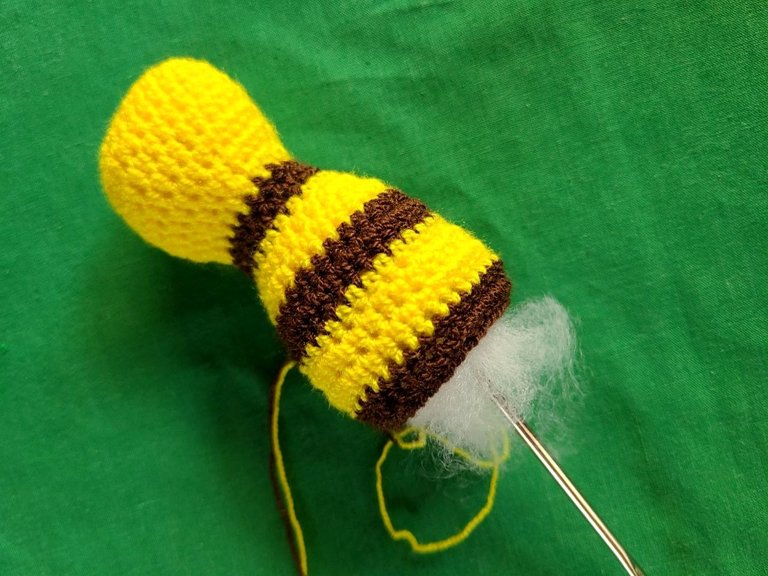
Rows 16 and 17: Again in brown thread and worked without increases and without decreases (30).
Rows 18, 19 and 20: Again we use the yellow thread, all the stitches as they appear, the same without increases or decreases (30).
Row 21: Again the dark brown thread, here we work 3 half double stitches, followed by a decrease (24).
Row 22: All stitches as they appear, without increases or decreases (24).
Row 23: Again we place the yellow thread and work all the stitches as they appear, without increases or decreases (24).
Row 24: We work 2 half double stitches, and a decrease (18).
Row 25: This row is worked the same as row 22.
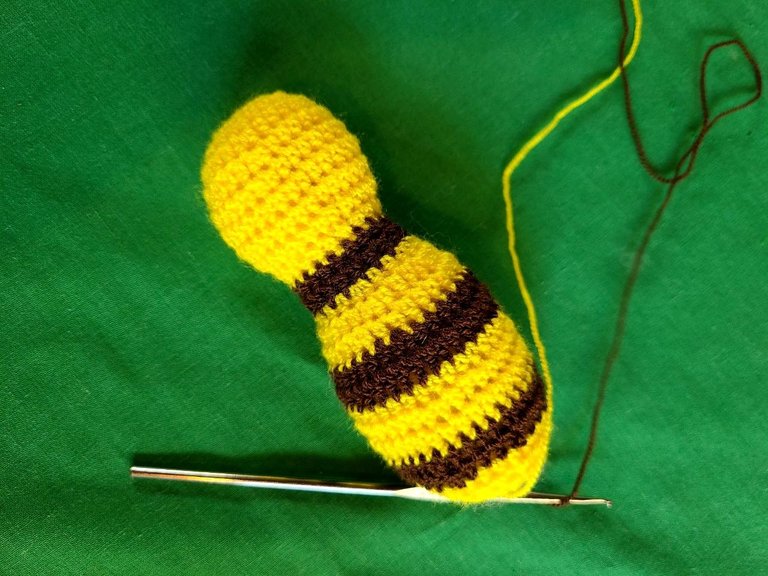
Row 26: In this row we place the brown color and make 1 half double crochet, followed by a decrease (12).
Row 27: Here we repeat the previous row (8).
**Row 28: Here we make 4 decreases, we close and with the remaining thread we finish.
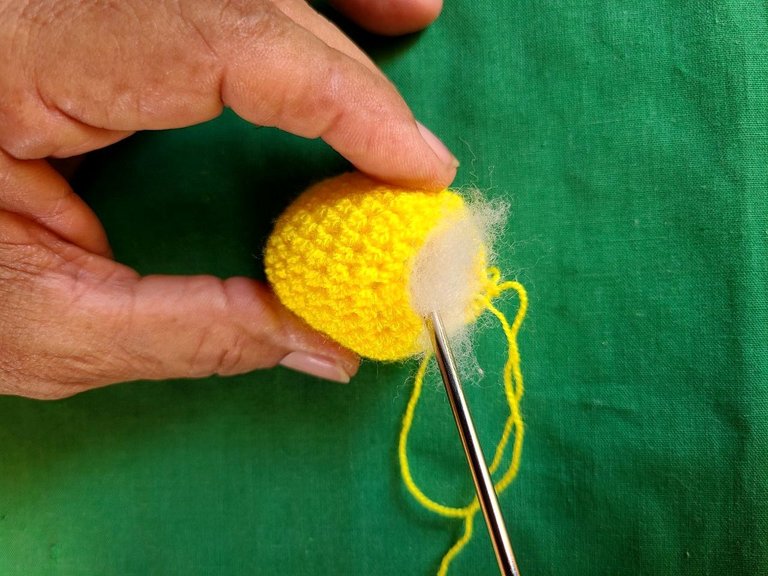
Friends, as you make the bee, you progressively fill both the head and the body so that the total filling is easier.
🧶 Paso 2: Usaremos el hilo marrón oscuro.
Fila 11 y 12: Aquí nuevamente hacemos los puntos como aparecen (18).
Fila 13: Aquí trabajamos de nuevo con hilo amarillo, y hacemos 3 puntos medio alto, y seguimos con un aumento (24).
Fila 14: En esta fila trabajamos 2 puntos y un aumento ( 30).
Fila 15: Se trabajan los puntos como aparecen sin aumentos, y sin disminuciones.
Filas 16 y 17: Nuevamente en hilo marrón y se trabaja sin aumentos y sin disminuciones (30).
Filas 18, 19 y 20: De nuevo usamos el hilo amarillo, todos los puntos como aparecen, igual sin aumentos ni disminuciones (30).
Fila 21: De nuevo el hilo marrón oscuro, aquí trabajamos 3 puntos medio alto, seguido de una disminución (24).
Fila 22: Todos los puntos como aparecen, sin aumentos ni disminuciones (24).
Fila 23: Nuevamente colocamos el hilo amarillo y trabajamos todos los puntos como aparecen, sin aumentos ni disminuciones (24).
Fila 24: Trabajamos 2 puntos medio alto, y una disminución (18).
Fila 25: Está fila se trabaja igual a la fila 22.
Fila 26: En esta fila colocamos el color marrón y hacemos 1 punto medio alto,seguido de una disminución (12).
Fila 27: Acá repetimos la fila anterior (8).
**Fila 28: Acá hacemos 4 disminuciones, cerramos y con el hilo restante rematamos.
Amigos a medida que vas haciendo la abejita vas rellenando progresivamente tanto la cabeza como el cuerpo para que sea más fácil el relleno total.
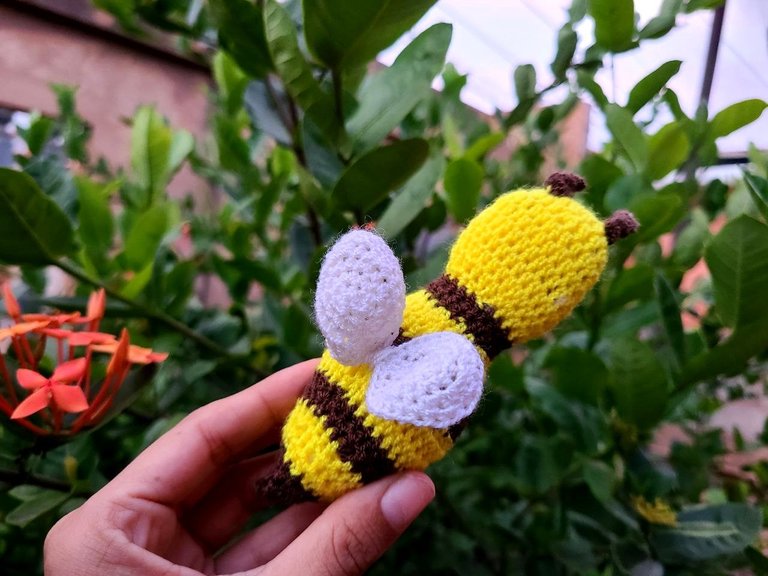
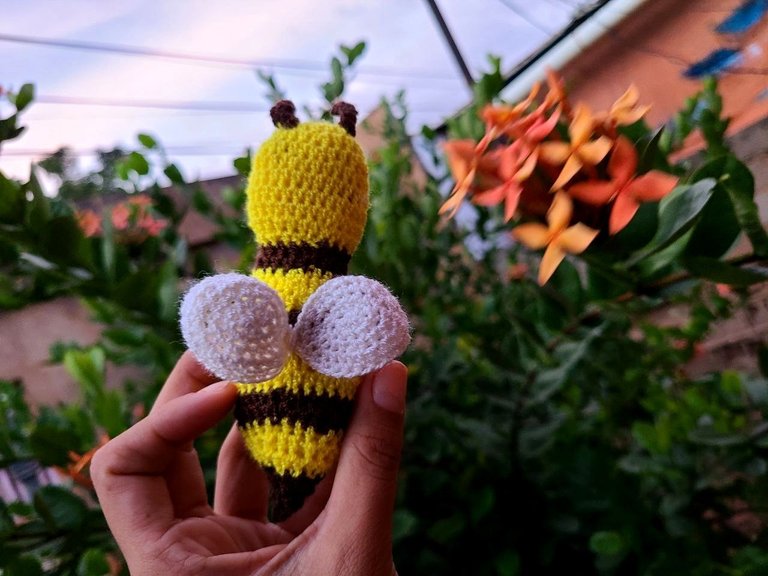
🧶 Step 3: We will work with the white thread, in this case the wings.
Row 1: We make a magic ring and inside we make 6 half double crochets.
Row 2: This entire row is increases.
Row 3: In this row we make 1 half double crochet, followed by an increase.
Row 4: 2 double crochets, 1 increase, 2 half double crochets, followed by an increase, 2 half double crochets, 2 increases, 2 more increases and we continue in reverse until finishing the row.
Rows 5 and 6: Both stitches are made as they appear.
Mounting the wings and antennas: A long thread is left to join them together, and later sew them to the body of the bee.
The antennas, we made 8 chains and 8 mid-high points in them and we proceeded to place them in the appropriate place. >Both the wings and the antennas must be worked in two pieces.
🧶 Paso 3: Trabajaremos con el hilo blanco, en este caso las alas.
Fila 1: Hacemos un anillo mágico y dentro hacemos 6 puntos medios altos.
Fila 2: Toda esta fila es de aumentos.
Fila 3: En esta fila hacemos 1 punto medio alto, seguido de un aumento.
Fila 4: 2 puntos altos , 1 aumento, 2 puntos medio alto, seguido de un aumento, 2 puntos medio alto,2 aumentos, 2 aumentos más y seguimos en reversa hasta terminar la fila.
Filas 5 y 6: Ambas se hacen los puntos como aparecen.
Montaje de las alas y las antenas :
Se les deja un hilo largo para unir las entre si, y posteriormente coserlas al cuerpo de la abeja.
Las antenas, hicimos 8 cadenas y en ella 8 puntos medios altos y procedemos a ubicarlas en el sitio adecuado.
Tanto las alas como las antenas hay que trabajarlas en dos piezas.
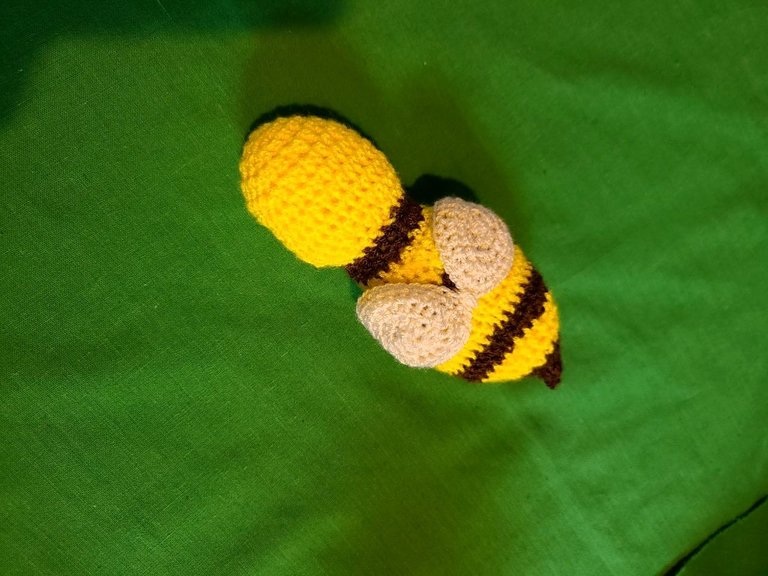
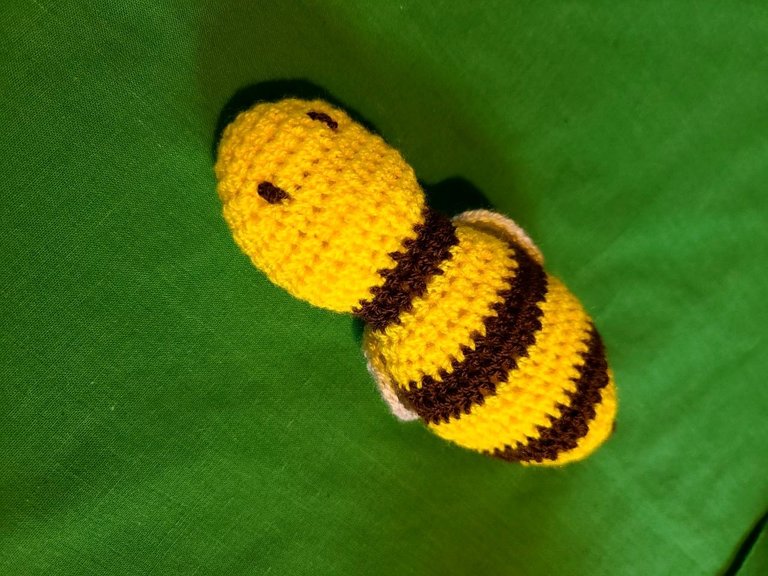
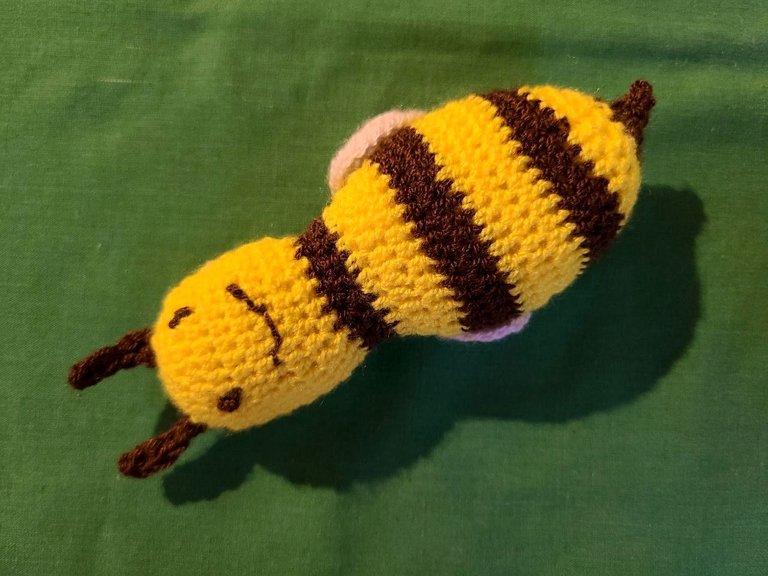
Dear friends, I confess that some amigurimi are a challenge for me, because despite my knowledge of crochet, I do not know some techniques in this regard, but as I go I will correct any errors that may arise. Thank you once again for the attention you pay to my publications, grateful with all my heart.
Estimados amigos les confieso que algunos amigurimi son un reto para mí, porque a pesar mis conocimientos del crochet, desconozco algunas técnicas al respecto, pero sobre la marcha iré corrigiendo las fallas que pueda presentar. Gracias una vez más por la atención que prestan a mis publicaciones, agradecida de todo corazón.
Muy tierna esta abejita!! 😍😍 Te felicito por la dedicación le estás poniendo a este proyecto de aprendizaje para hacer amigurumis!! Espero algún día yo también comenzar a aprender 🥰
Muchas gracias, inténtalo nunca es tarde para aprender
Aunque dices que no eres experta te quiero felicitar pues tejes muy lindo @maricrochets, yo también tengo un nuevo proyecto en crochet que antes no había hecho y el ver como personas como tú se animan a crear cosas nuevas me hace querer intentar, FELICITACIONES muy linda tu abejita 🥰
Muchas gracias amiga, si la verdad en tantos años tejiendo nunca hice amigurimi, hasta ahora, la parte que no dominio muy bien es el relleno, no tengo la técnica perfecta, pero en algún momento se me va a dar saludos.
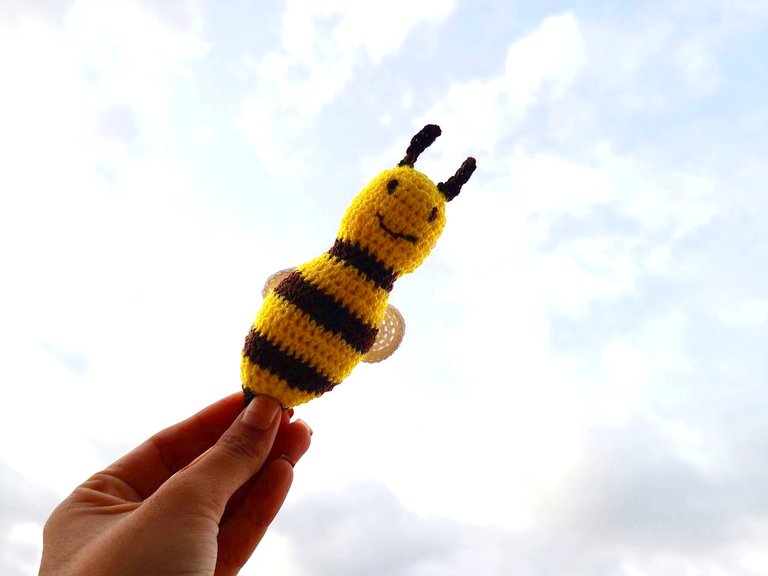
Qué bella y tierna abeja 🐝🐝 me gustó todo tu proceso y el cuidado incluso en las fotos finales, donde los colores son increíbles...
Gracias, bueno con las fotos tengo la ayuda de mi hija @dojeda, tiene mucha creatividad.
Amiga te felicito, te quedo tan linda esa abejita, sus alas se ven muy coquetas.
Gracias amiga, si me hubiesen gustado más grandes.
Así empezamos amiga, luego vamos viendo los detalles y vamos creciendo.😘
Así es, gracias
🙂👍
This bee looks ao tiny and cute.
thank you so much
Keep up the good work. 👏🎵
Dear beloved Hive creator,
Coding poet Gudasol here to support you sharing your art + life on Hive.
As a fellow creator, I know how hard it is to get the word out there.
I built cXc.world to help creators like us get more support from the blockchain community + beyond.
Share your music on cXc.world, and copy the Markdown for a easy post includes embedded players for Spotify, Youtube, Soundcloud.
That way, you can earn HIVE + stack streams on centralized platforms, as they do still matter.
Not a music creator? No problem. You can still use cXc.world to find + share music you love.
What's next?
Preview the next evolution of cXc, Tetra.earth.
Expose local music from your area!
We're helping grassroots musicians, and you can too by adding their music (no sign up or WAX account required).
Join our community 🐬
Find fellow music lovers in cXc's Discord
Bad news: Saying see you later to Hive! 👋
We didn't get the needed support to continue cXc.world on Hive, as our DHF proposal lacked votes, but [Good News Everyone] cXc.world will add a Markdown copy button, allowing you to easily share your music + music you find on Hive.
For now, we're on WAX, with tools you can use to mint your own Music/Media NFT collection.
Curious about the future of Earth + ET relations? New economic systems?
Find more apps + art from Gudasol
Want to build tools like I used to share this?
I'd love to show you some tips on AI Code generation