Bless your Christmas with Angel. Macrame art
Hello, artisan community! I would like to share something special with you during this Christmas season. maybe my entry for the monthly contest.
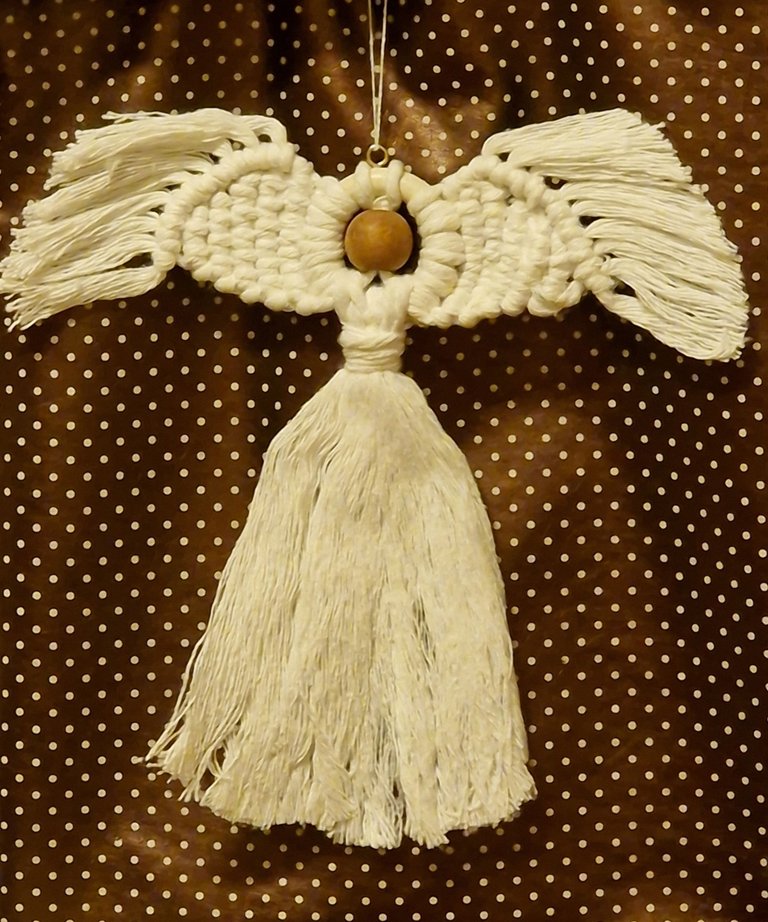
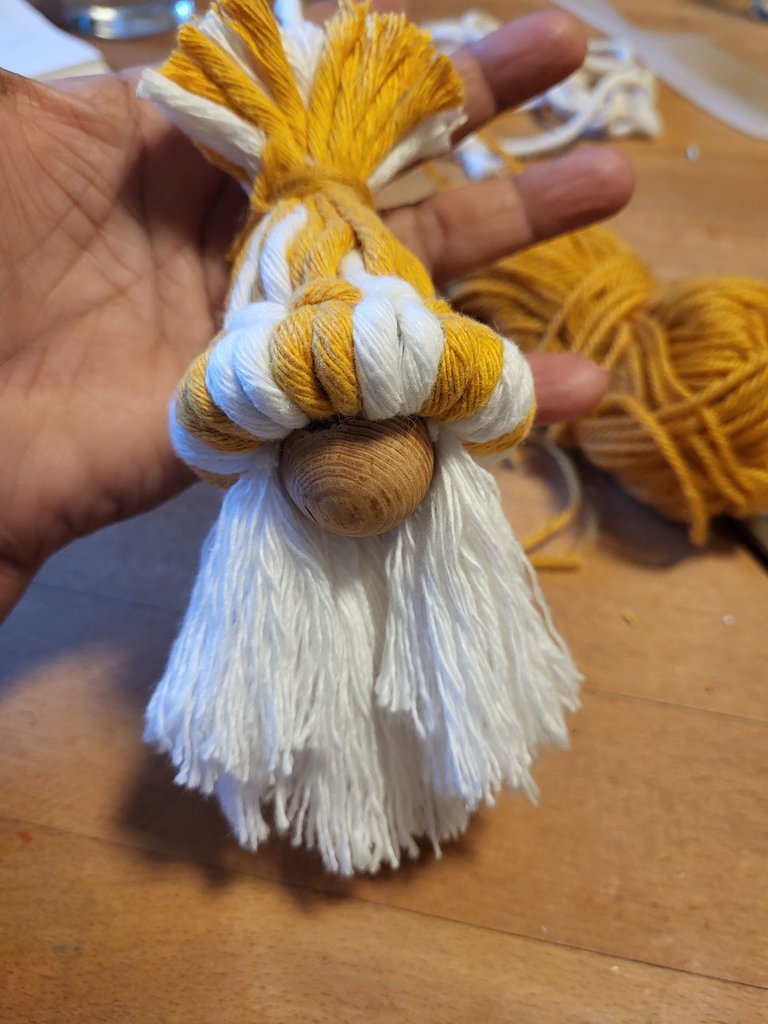
Everyone loves angels, and I am particularly fond of them. Today, I will present my macramé craft: making an angel. the leftover scraps I utilized to make gnomes, easy and simple. This project is easy to create but can be a bit challenging to explain. I will do my best to guide you through a step-by-step tutorial.
the material I used is:
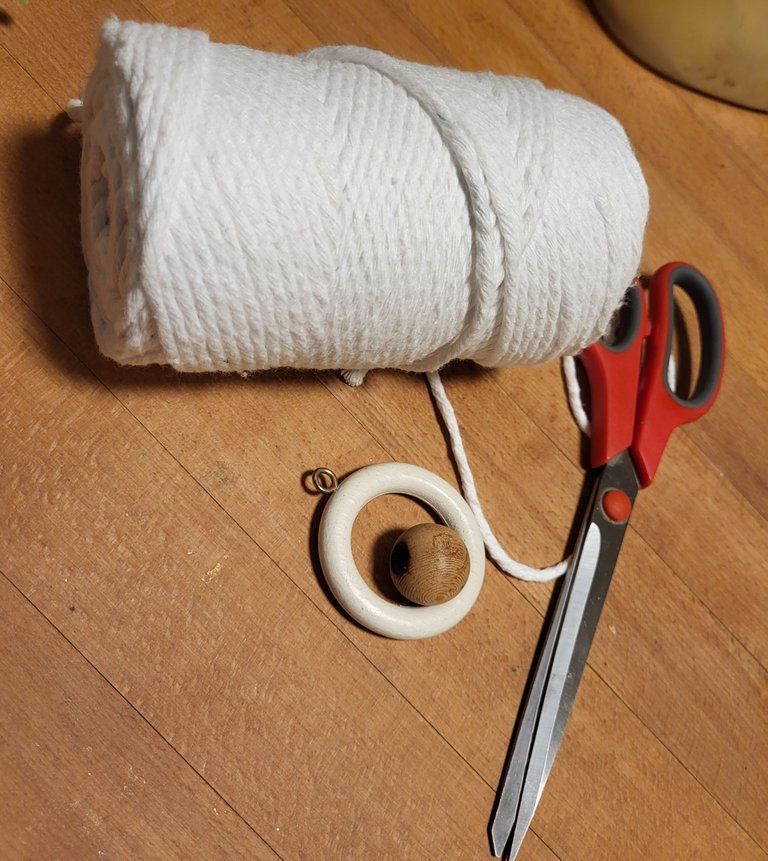
Macrame
1 piece 90 cm
8 pieces 66 cm
10 pieces 66 cm.
1 wooden ring reused from our old curtain
1 wooden bead
scissors
glue diluted with water.
comb
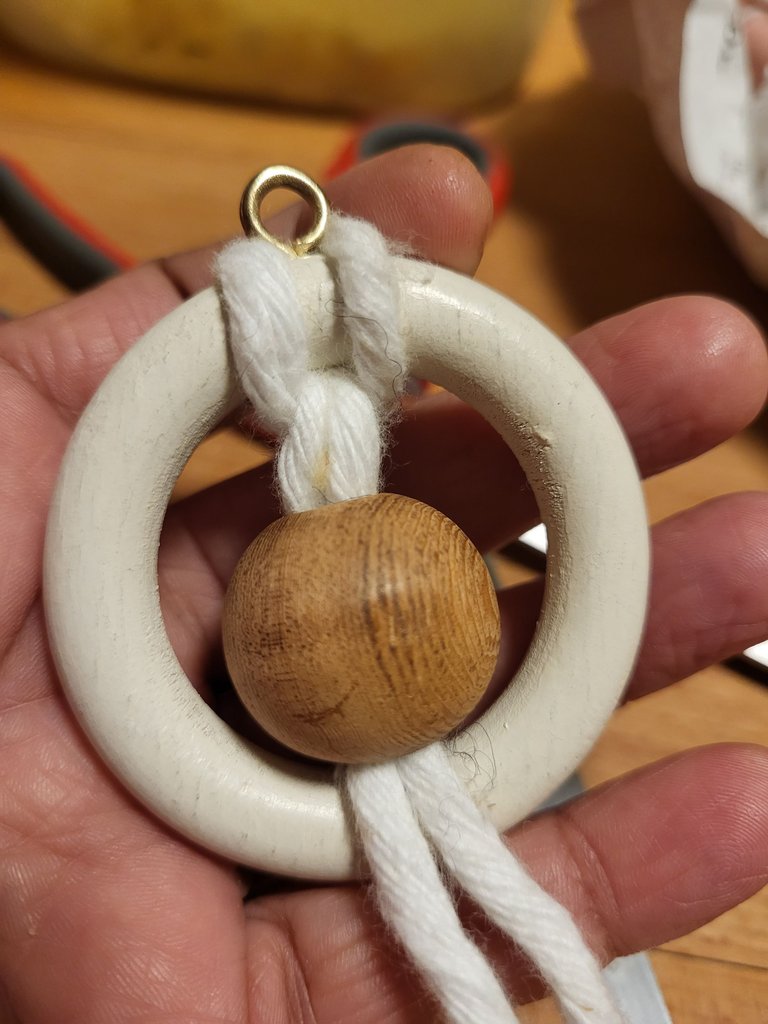
first making a lark head knot and tying the 90 cm macrame piece on the ring.
and insert a wooden bead into the cord. This is the center point and the bead is the head of the angel.
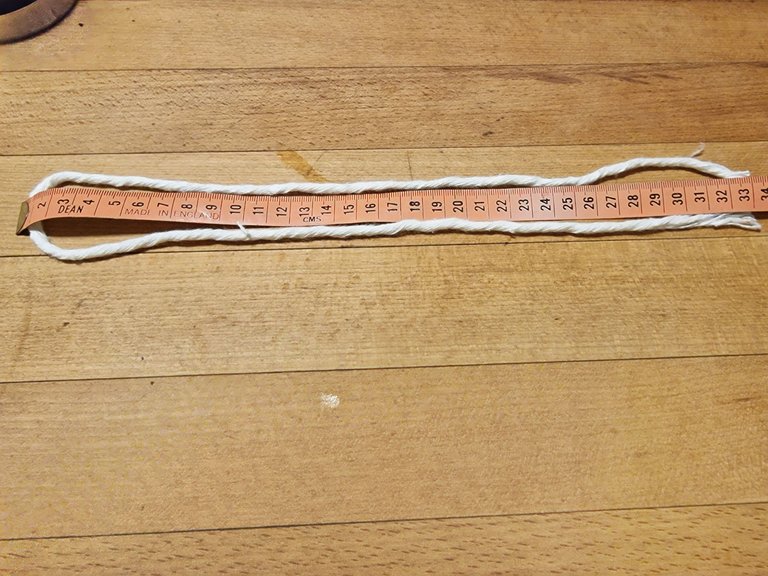
Then I cut 8 pieces of macrame cords in 66 cm lengths.
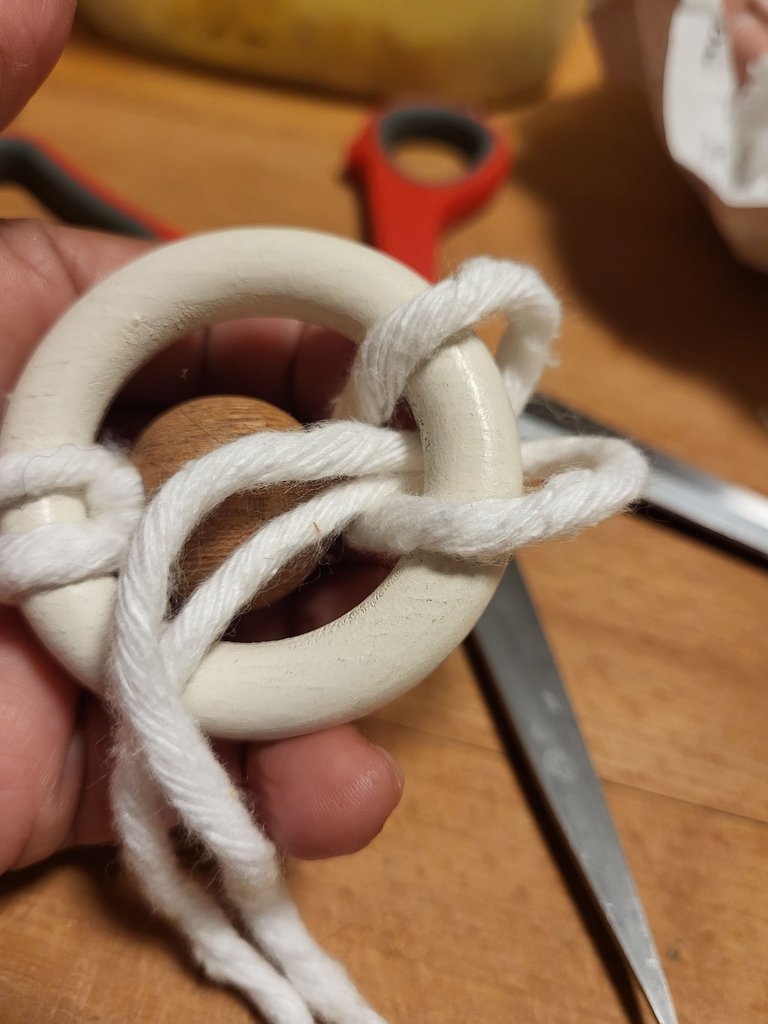
Beside the center point, I tied 4 pieces of cord on one side. Using a lark head knot.
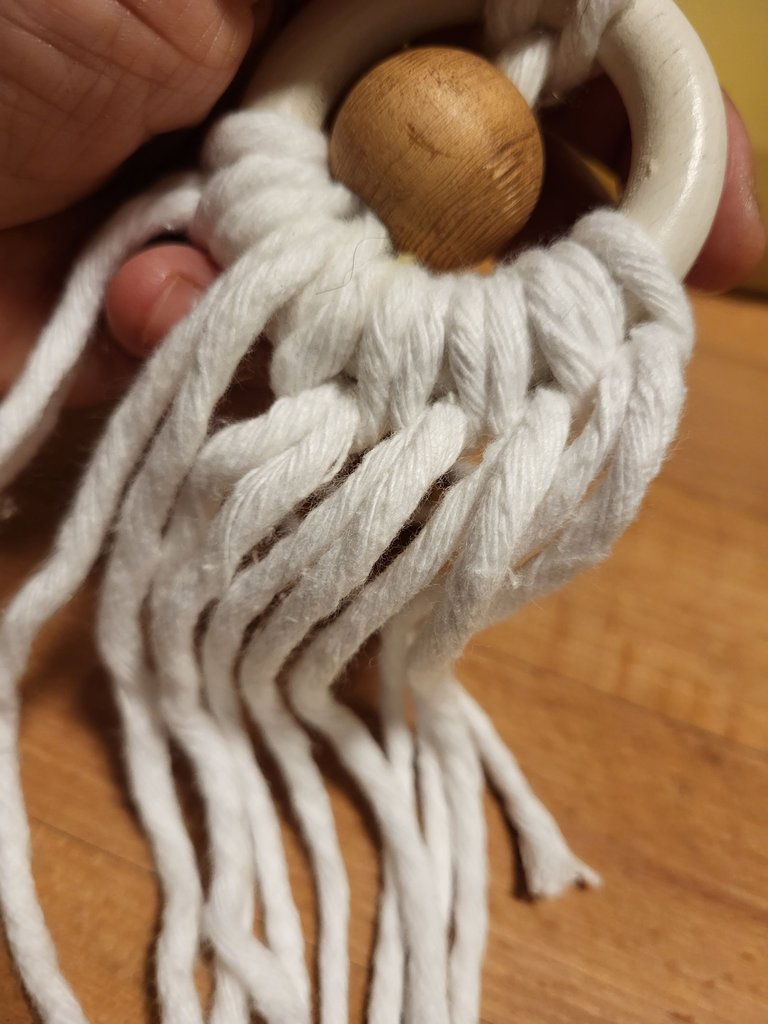
It looks like this.
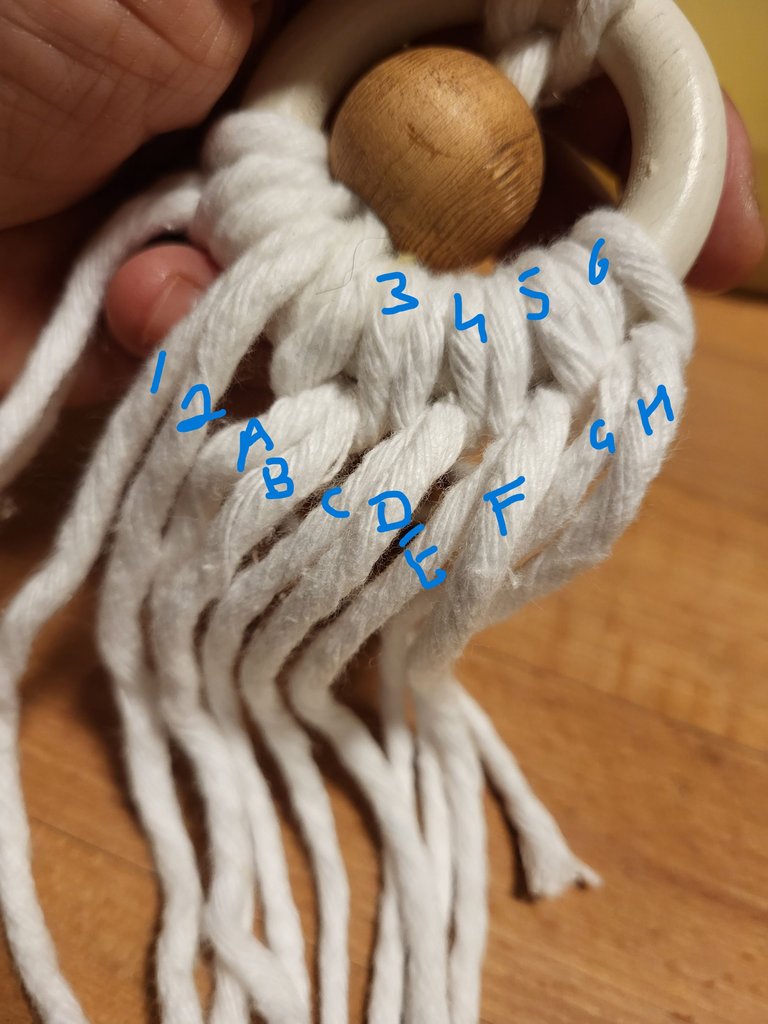
To understand I put names on that piece. First 1 and 2 id the centerpieces.
after each lark head knot, 1 macrame piece/cord is divided into ends
eg: no.3 has A and B ends.4 has C and D, 5 has E and F, and has G and H.
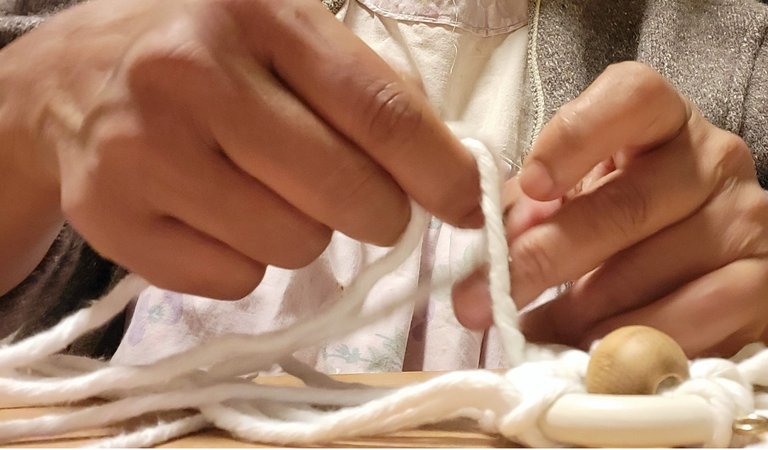
Started making a double half-hitch knot.
the no. 1 cord I use to bring the left side tying all cords on the no. 1.
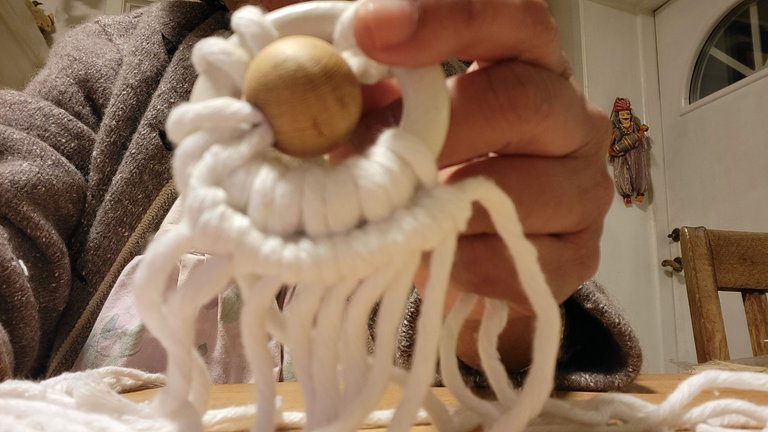
It looks like this.
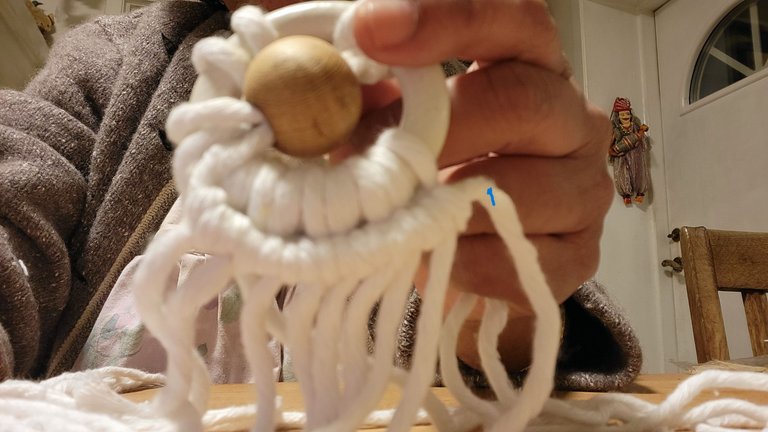
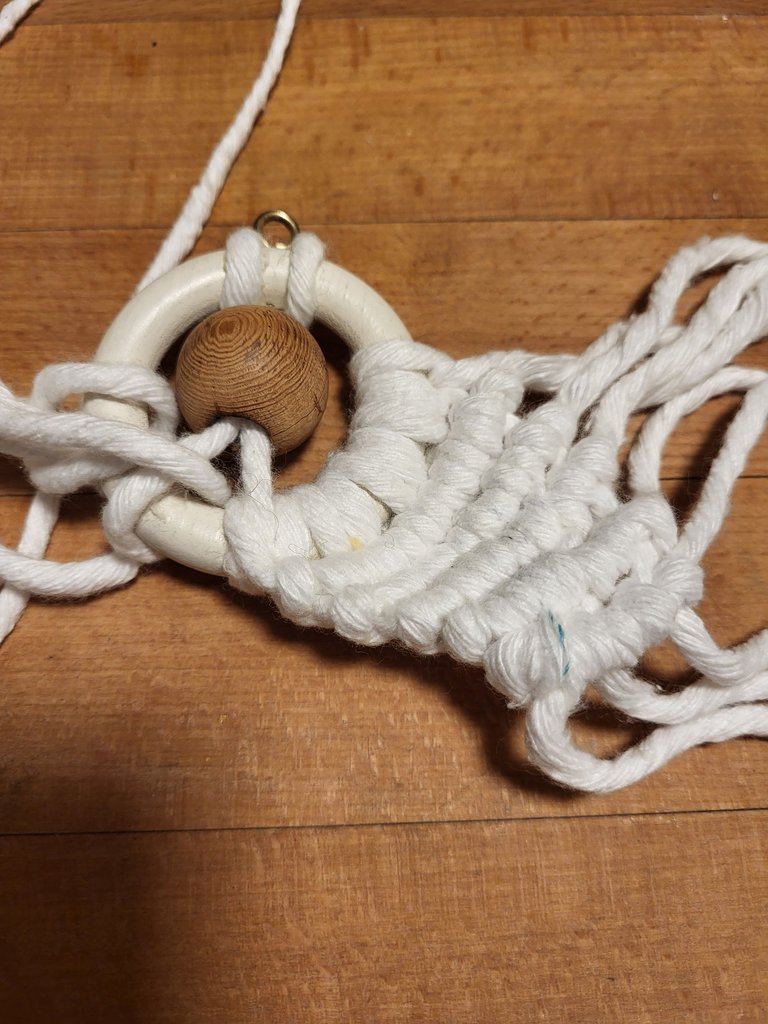
Repeating the above step made five lines using the double half-hitch knot with A, B, C, D, and E cords and leaving F, G, and H at the bottom.

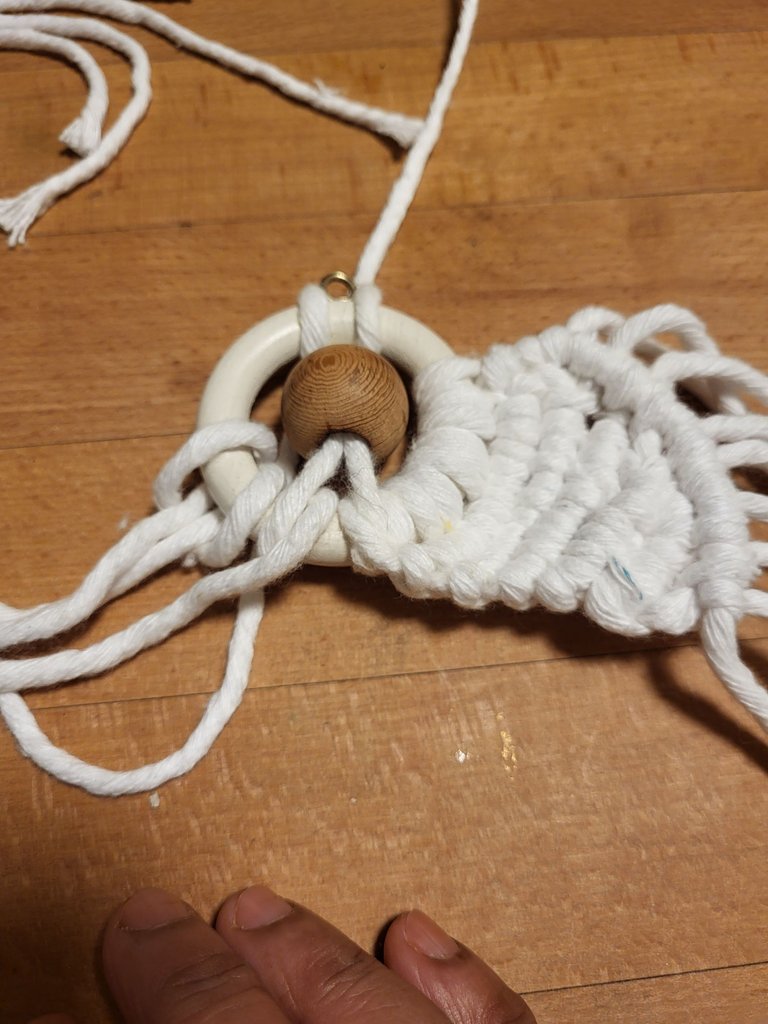
bringing cord no. 2 downward making the same double half-hitch knot making the curve shape to form an angel's wing.
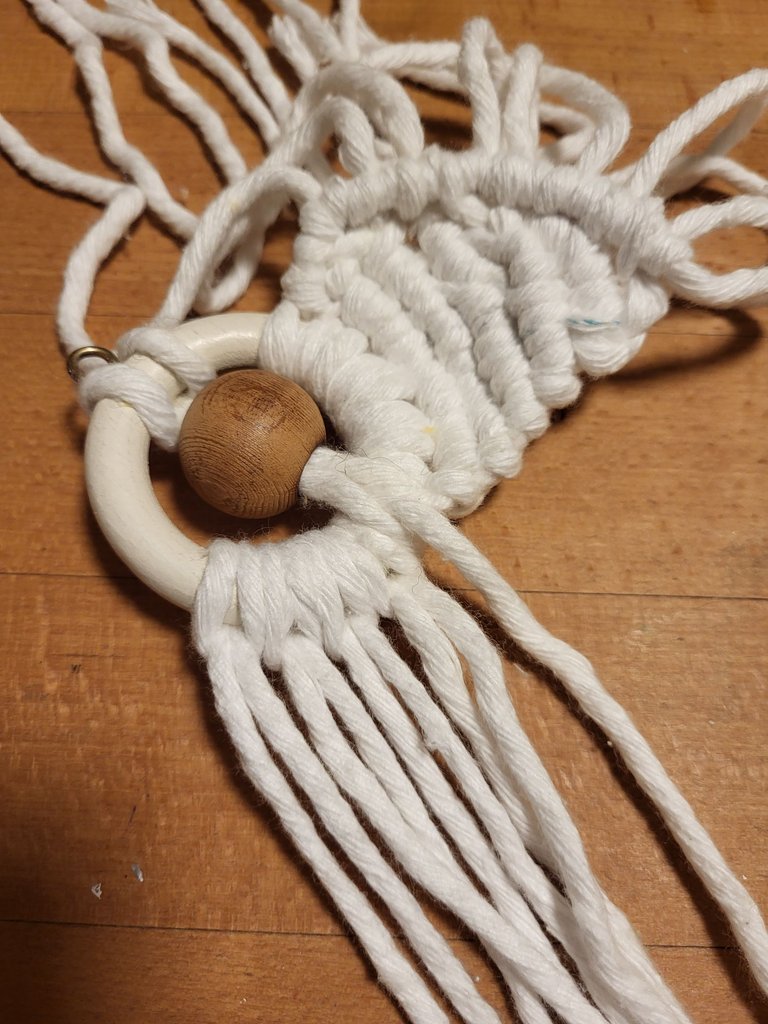
Repeating the same on the right side.
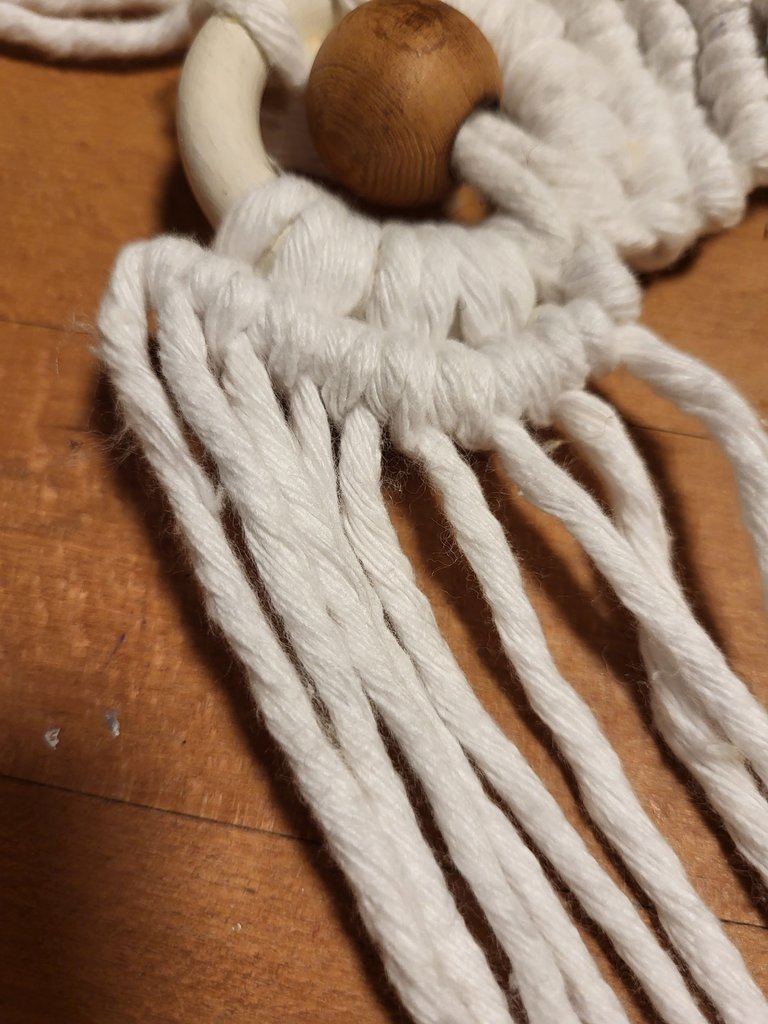
cord no 2 bringing the right side end.
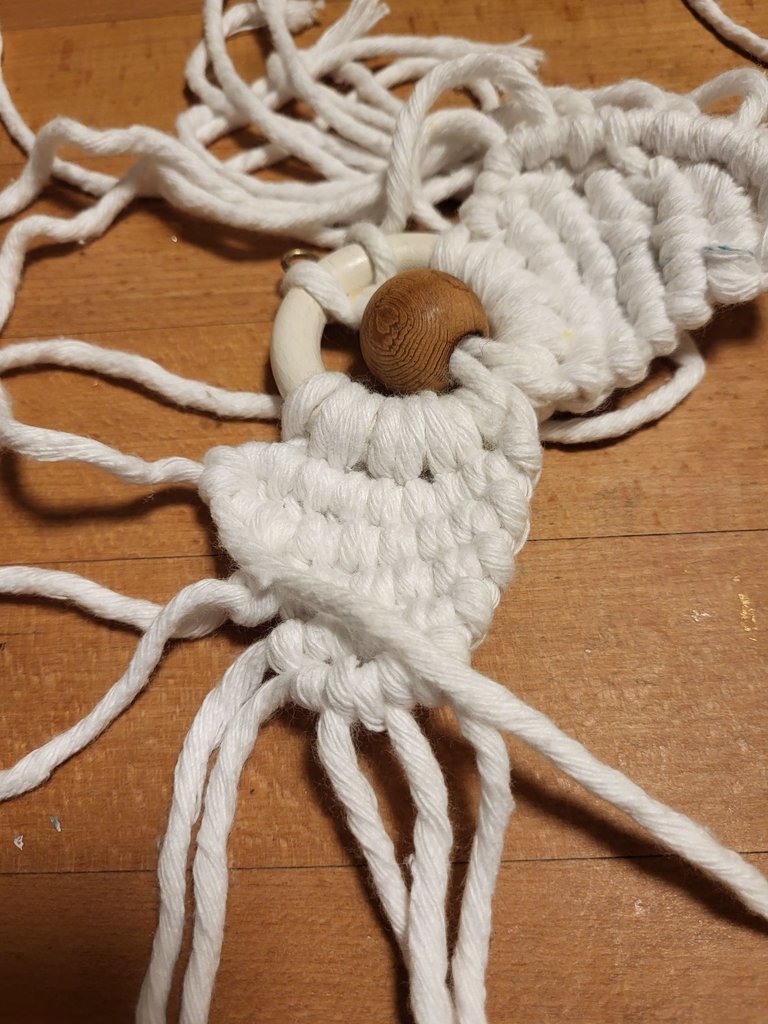
Making five lines with double half hitch knot.
Bringing the no.2 cord downward to make the shape of a wing.
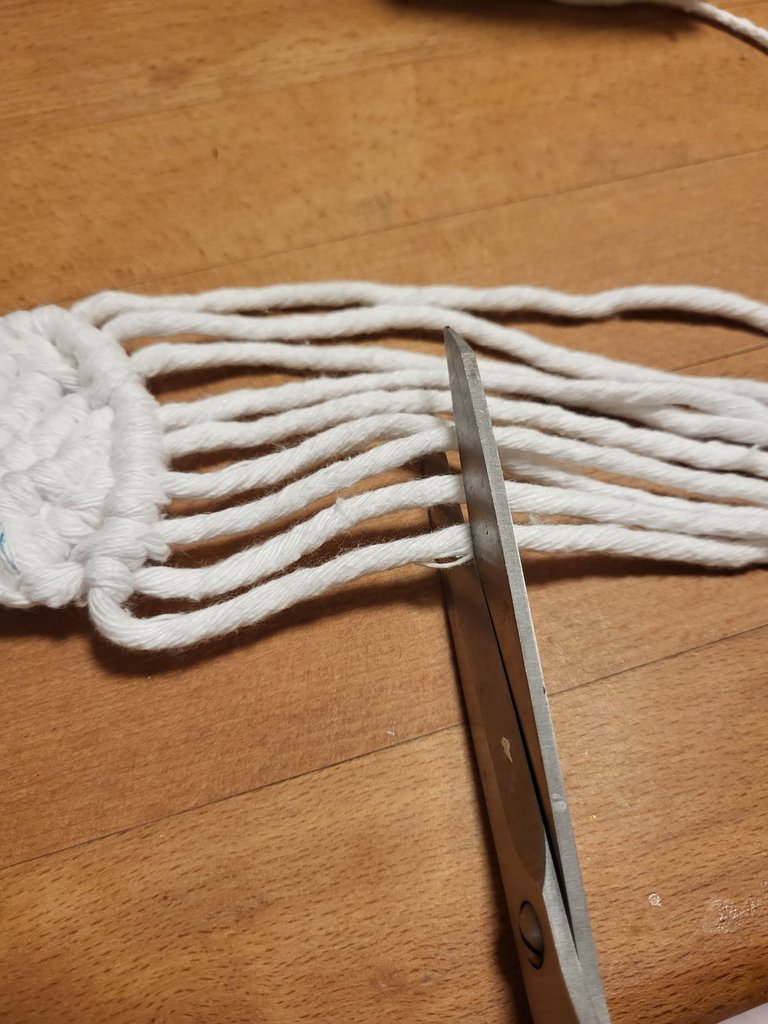
Keeping the appropriate length of cords I cut extra cords and kept them aside.
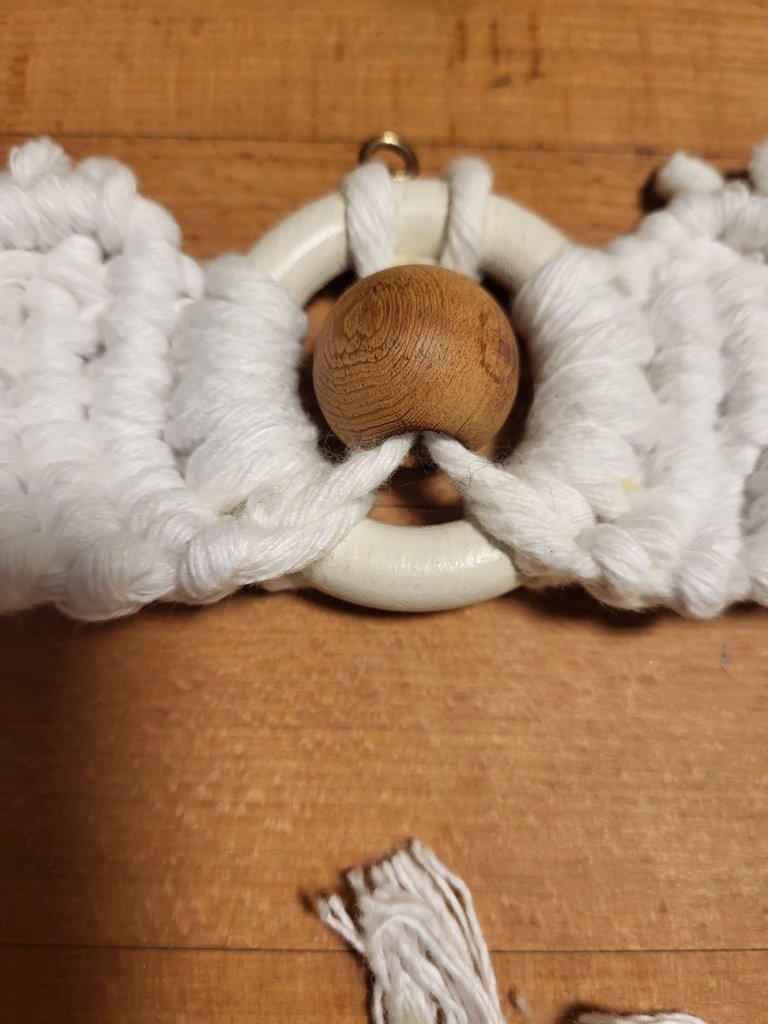
Sliding both sides cords made some place in the center to add some more cords to make Angel's body.
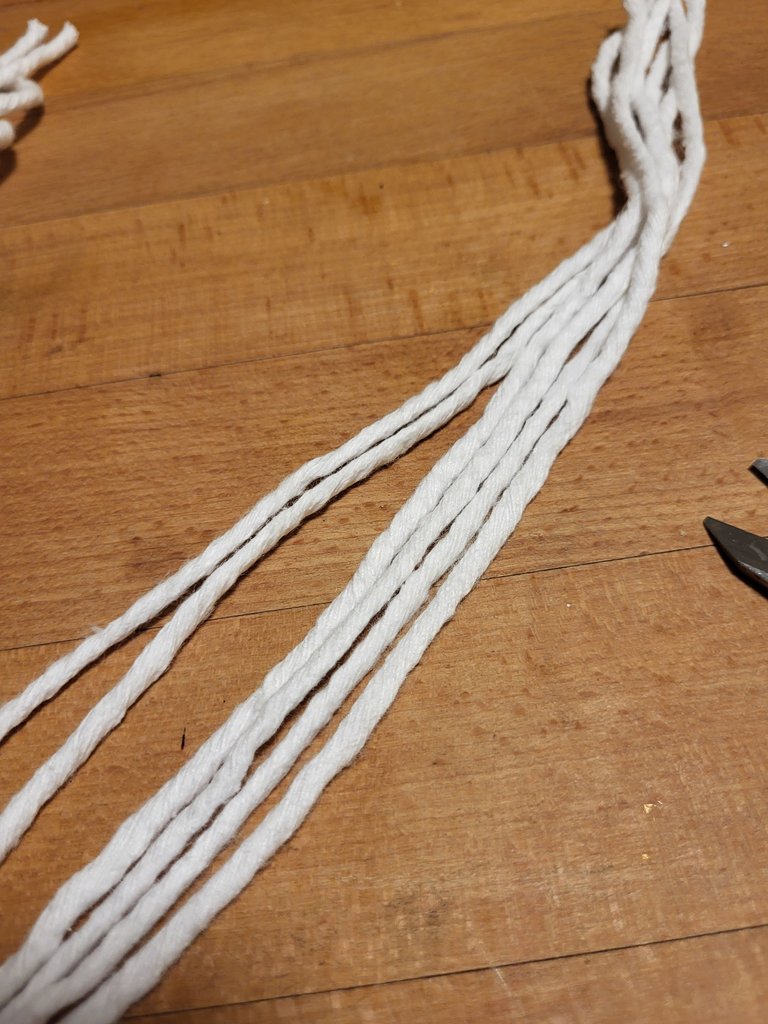
First tried with 6 cords length 66 cm.
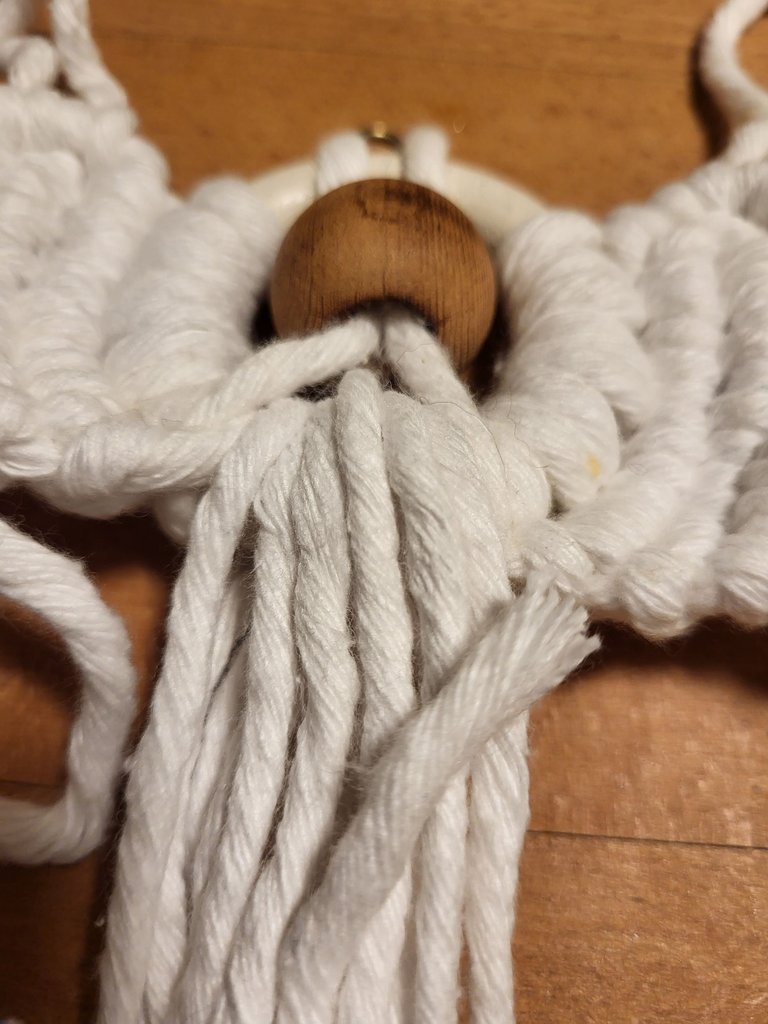
I brought them around the ring and made space, but six cords weren't enough, so I added four more, bringing the total to ten cords inserted between the bead and the ring. They counted as double because they are divided in the center where the bead and ring meet.
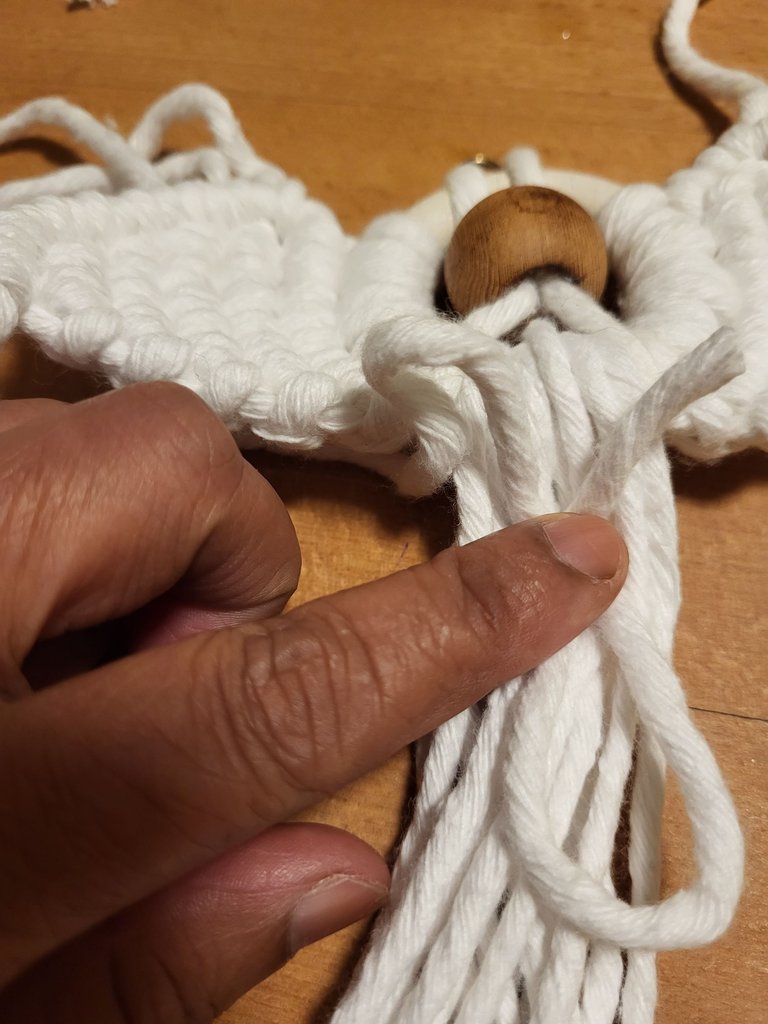
Tied them with a gathering knot using a small piece of macrame.
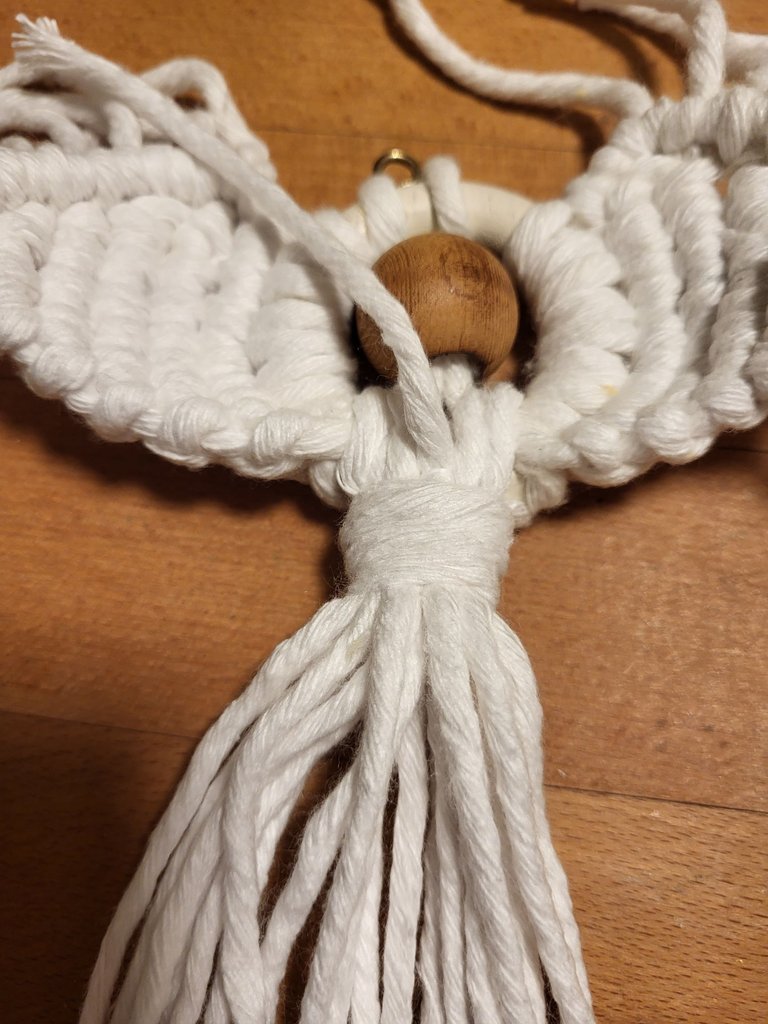
cut an extra piece of cord that is used for gathering knot.
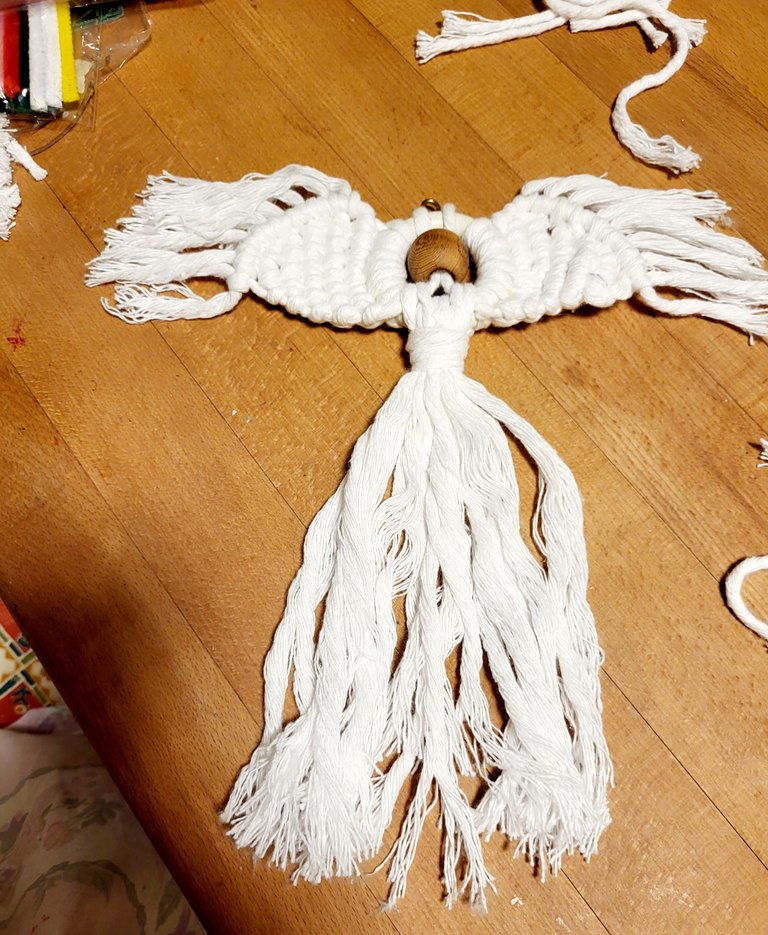
The angel body shape takes form by combing comb all the cords to loosen them up.
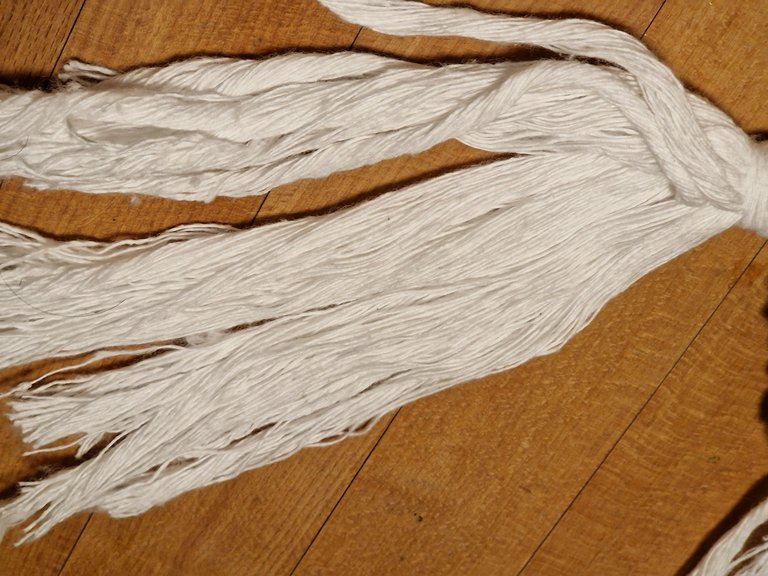
Opening the twist of cords forms them into a unit.
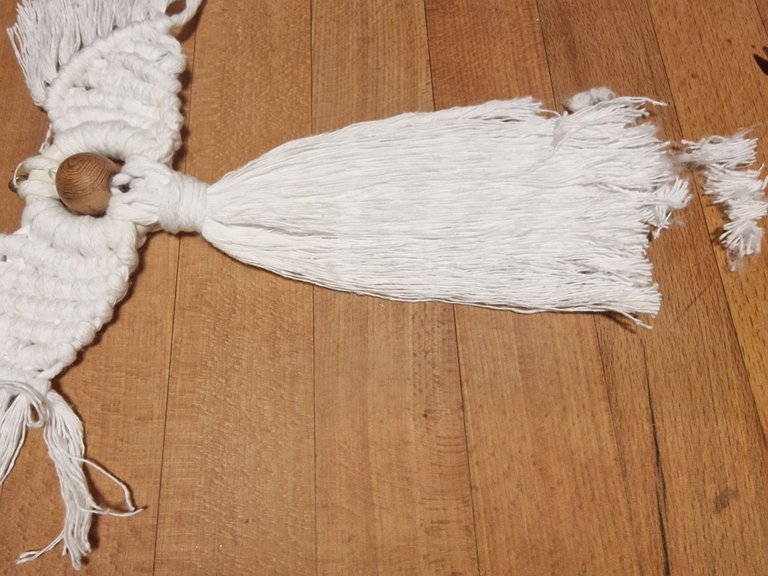
trim all the uneven ends of the threads with scissors.
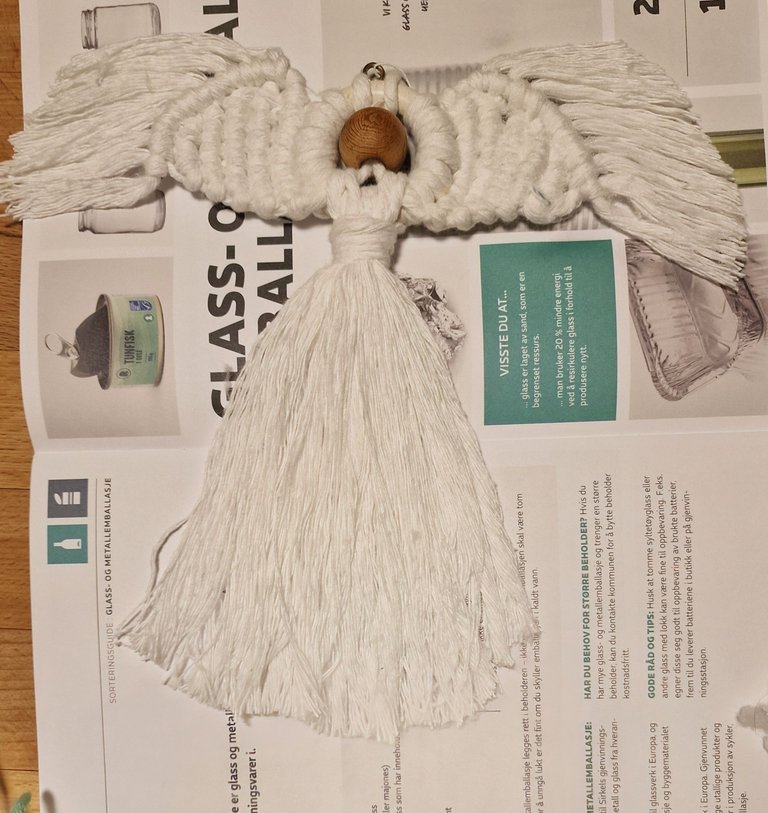
sprayed some glue diluted with water to hold the wings and body stiff.
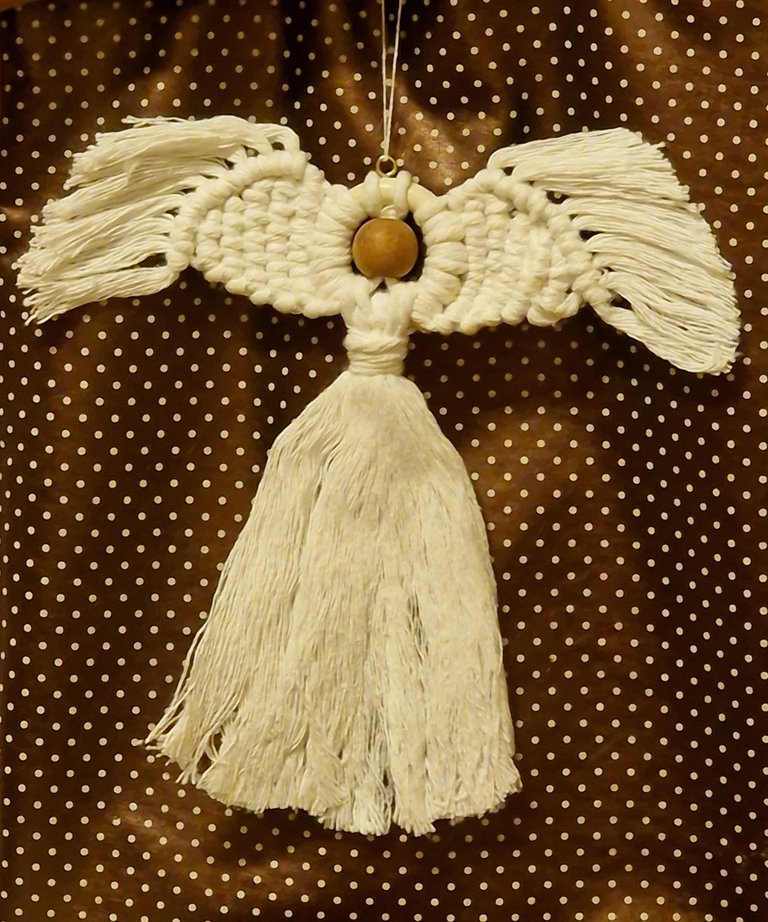
When dry I hung it on the wall it looks very beautiful.
with the leftover scraps, I made a nice gnome.
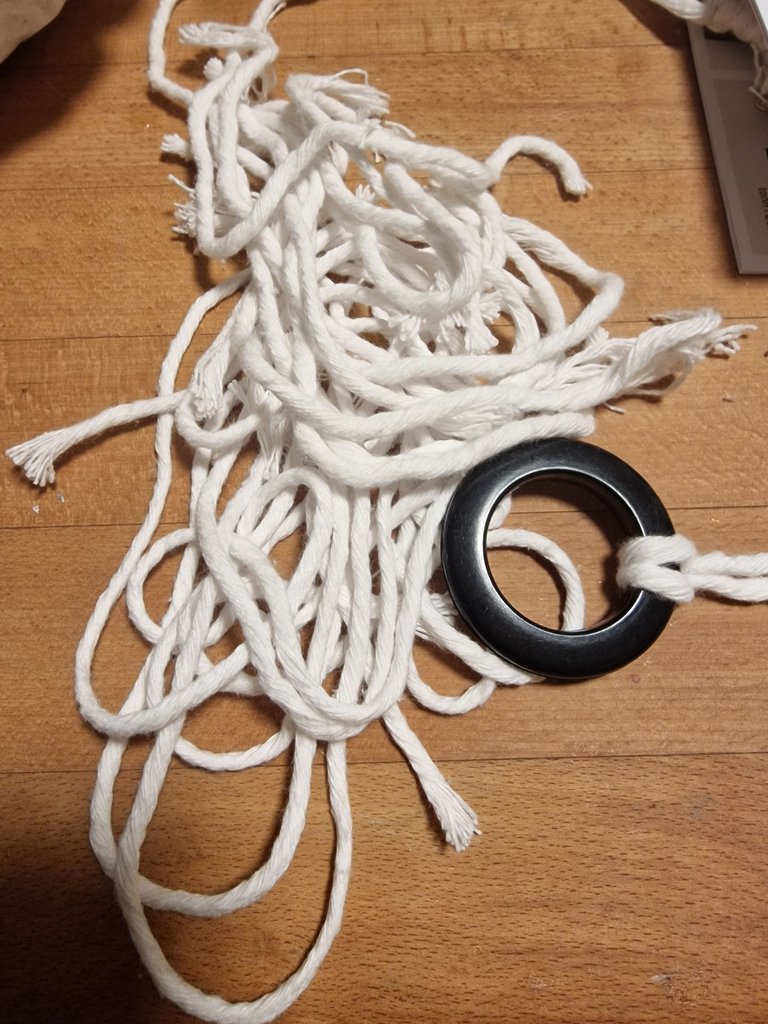
material
leftover scraps of cord
curtain ring
wooden bead.
comb
scissors
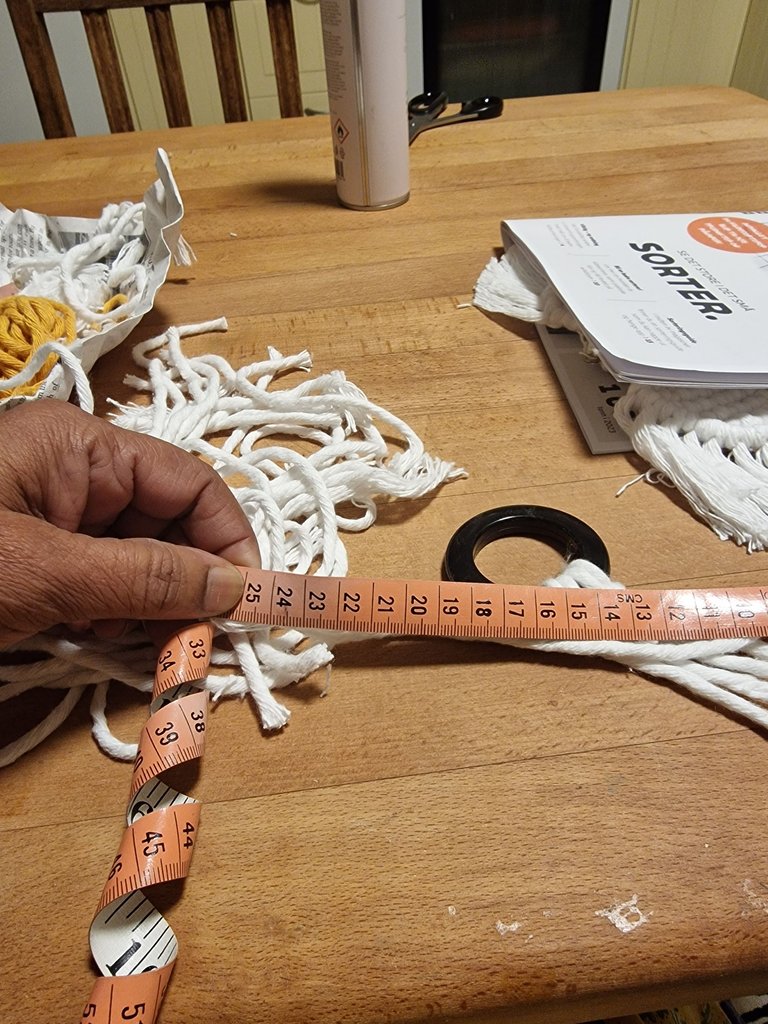
those cords leftover from Angel were 25 cm in lenght. I had some golden color scraps that I also used.
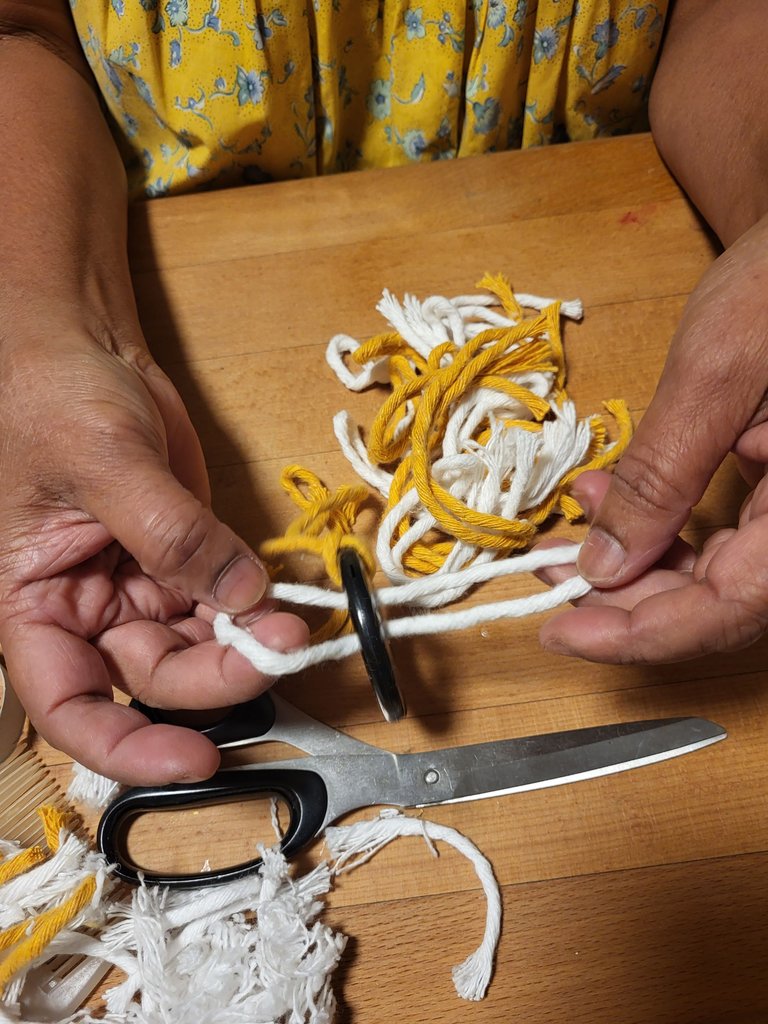
I started tying them onto the ring using the lark head knot, alternating one white and one yellow,
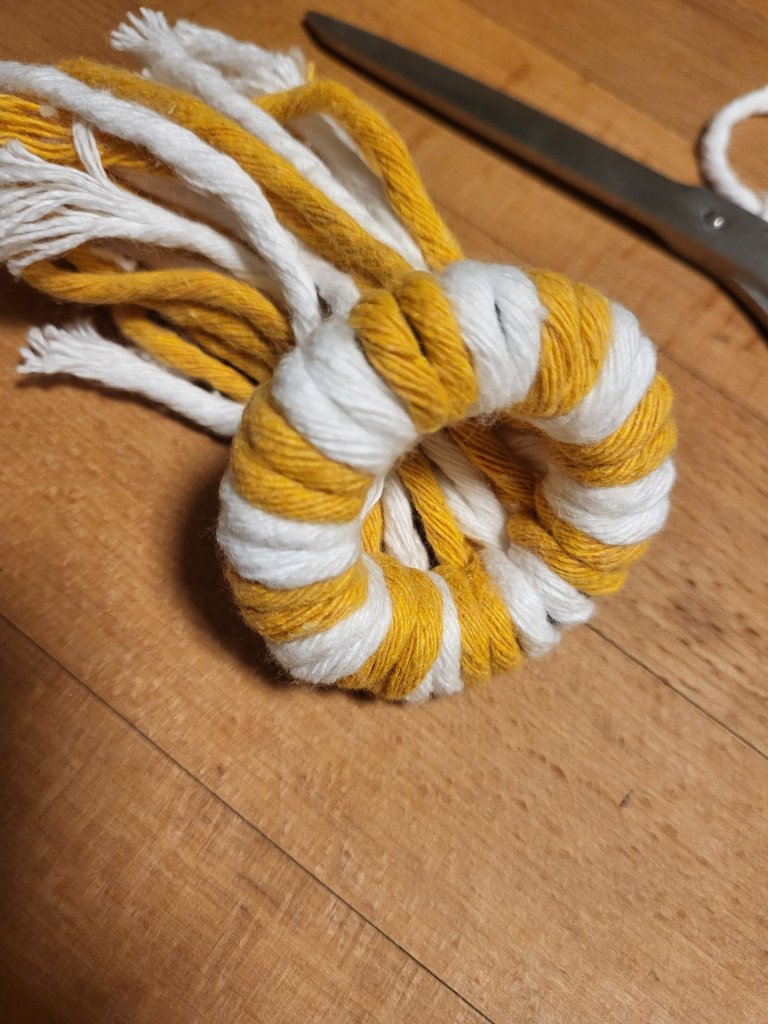
For that ring, 16 pieces of cords fit, and the cap is perfectly done.
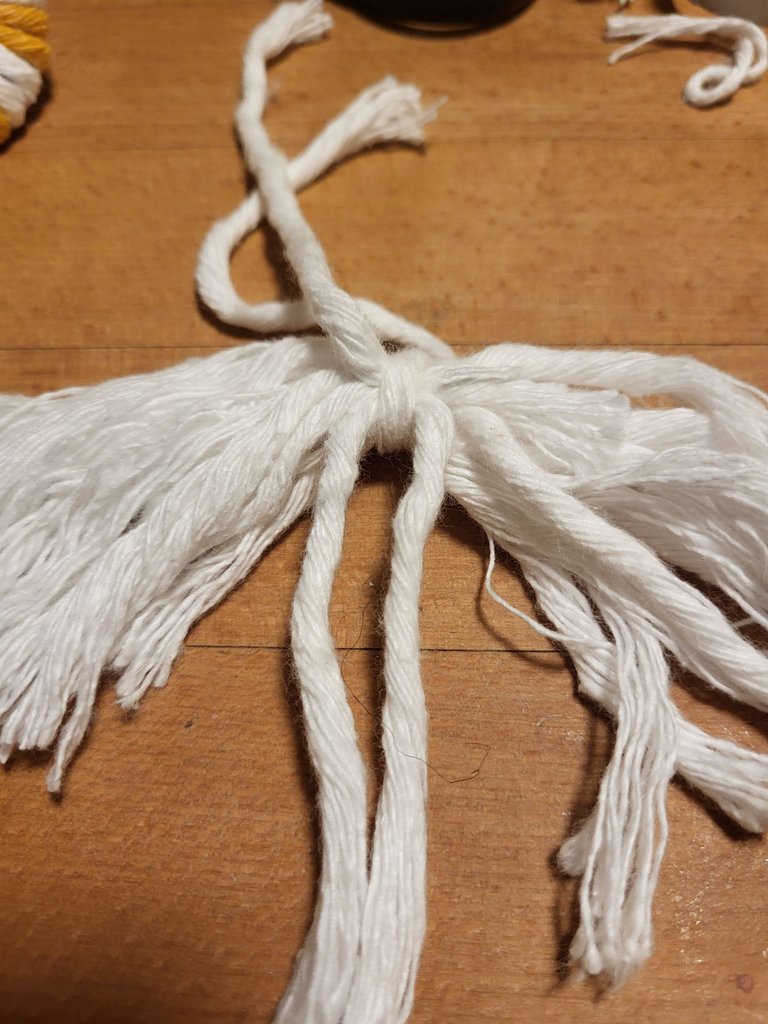
I tied some short white cords tightly together to make the gnome's beard with one longer cord extending up into the cap
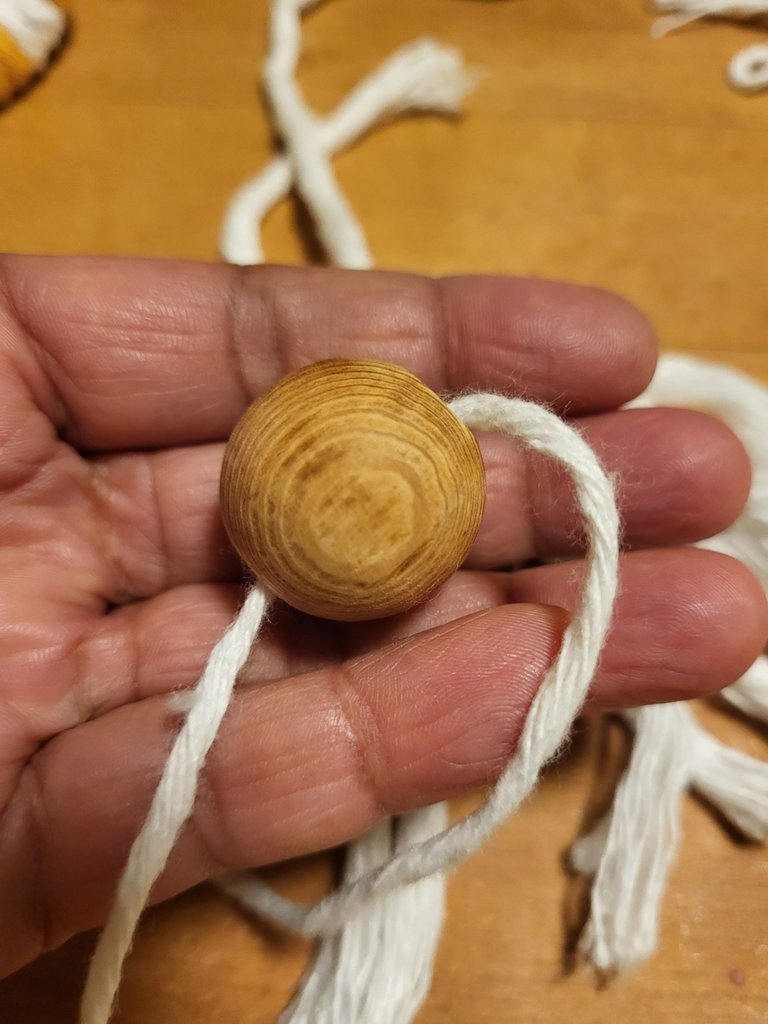
Inserting one little longer cord in the bead, it is the gnome's face. The same cord I brought inside the cap/hat which is made of white and golden yellow cords, that used as a hanging cord also.
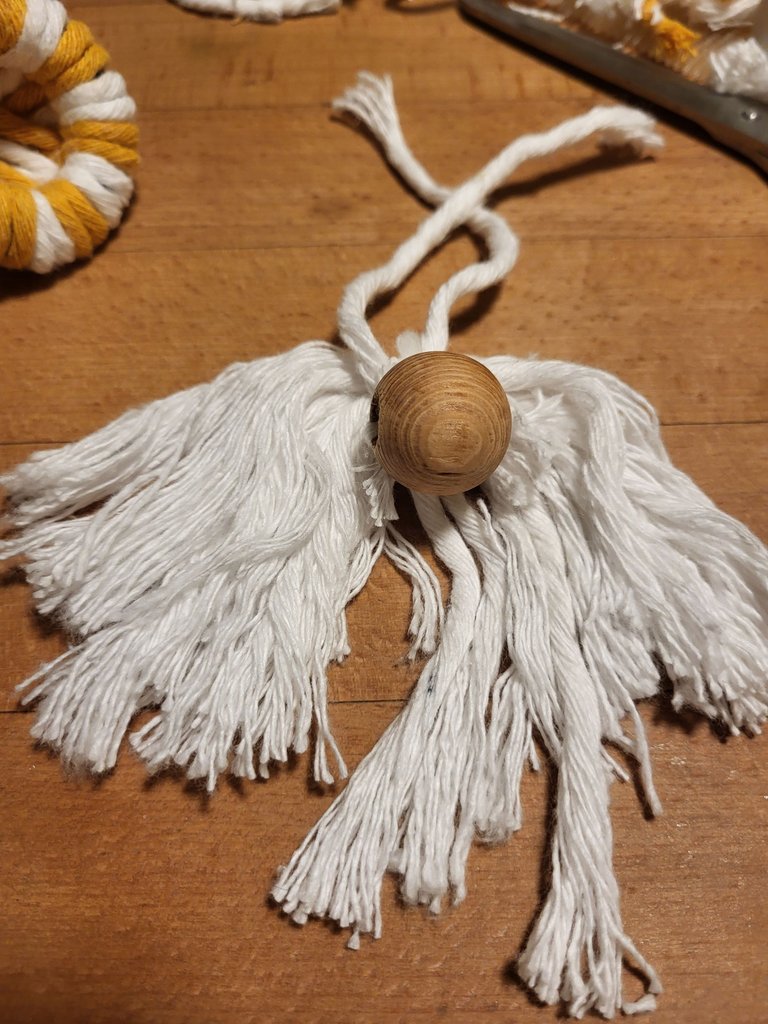
The bead tied properly in the middle of the white cords.
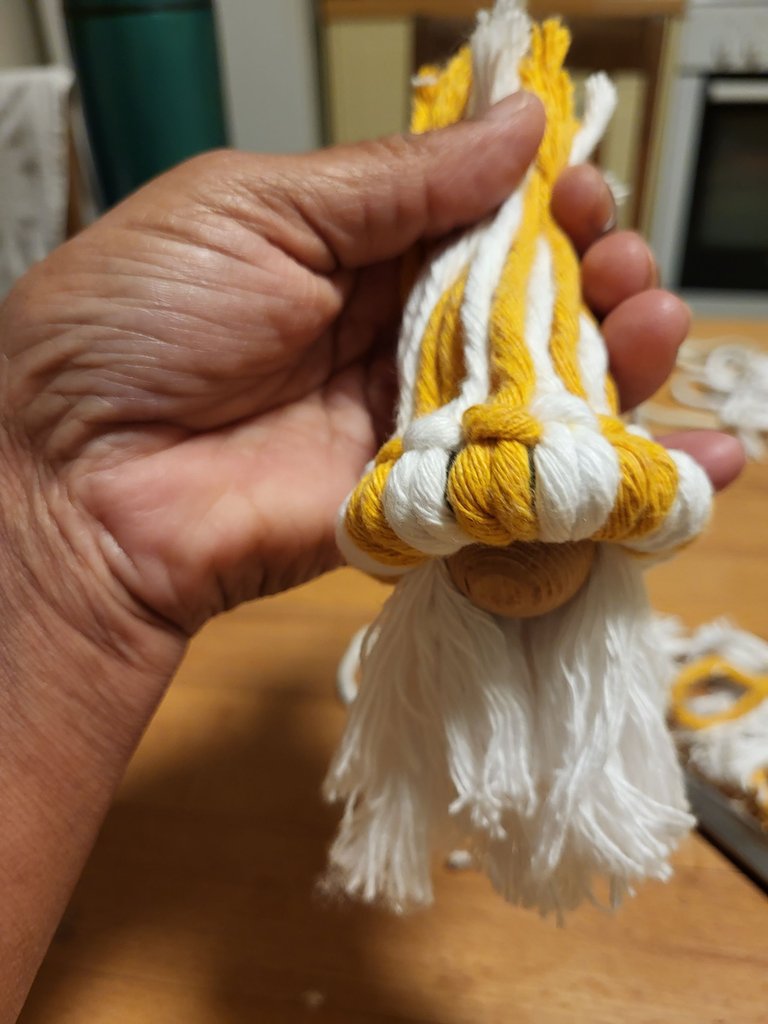
I brought the long string from the beard inside the hat together with the bead.
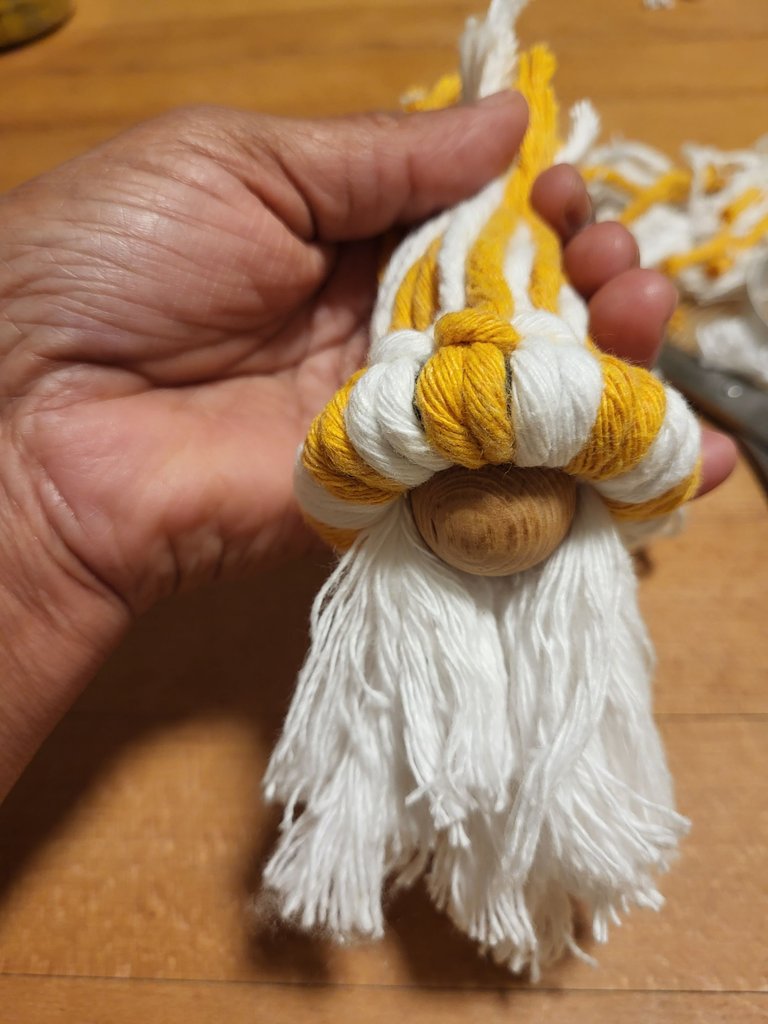
found the appropriate point to tie around the top of the cap.
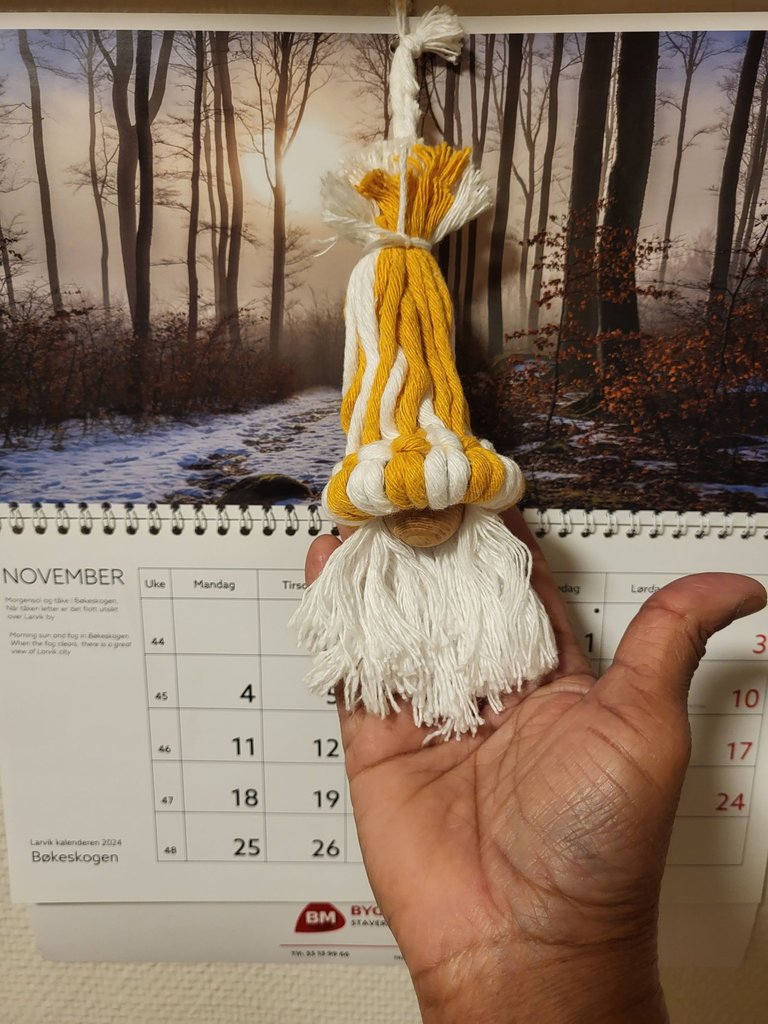
After that, it looked like this but I wasn't satisfied.
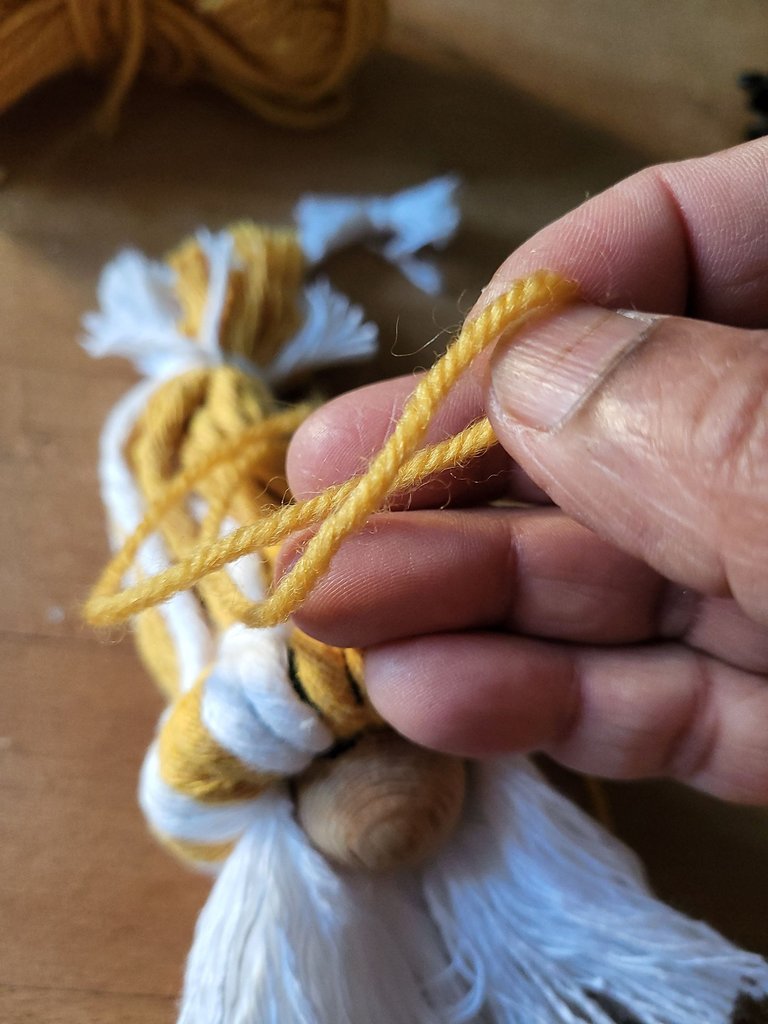
I used some woolen string and mad the cap shorter with a lower knot.
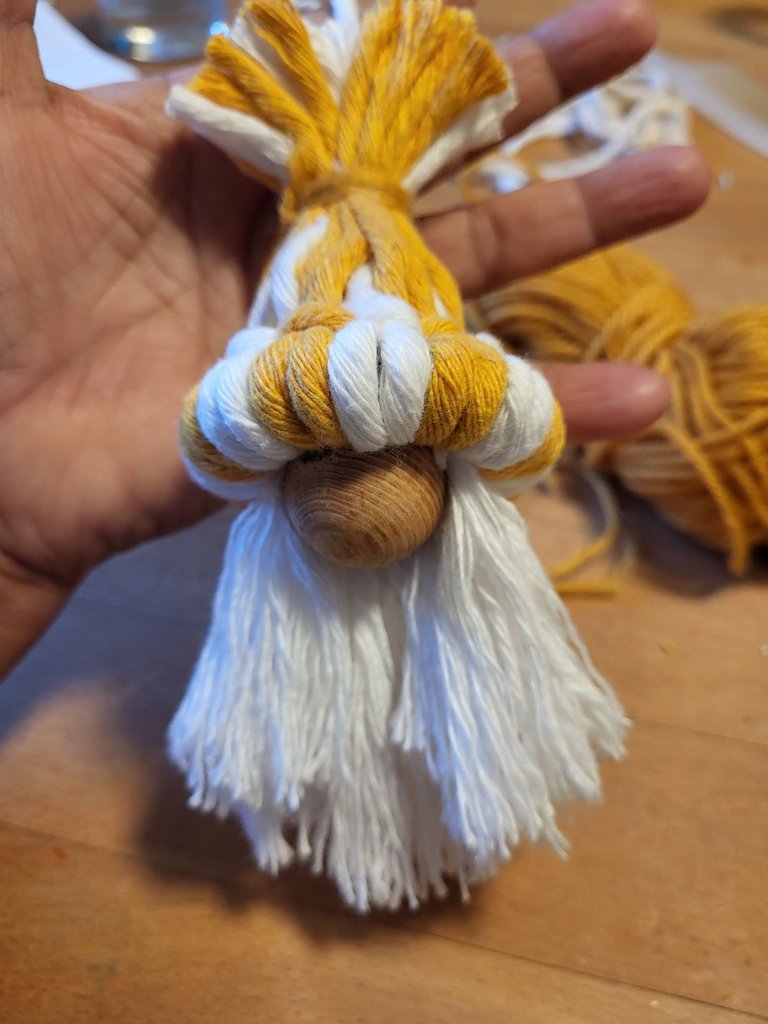
and trimmed the top it looked nicer. and the gnome is done.

Thank you for stopping by.
Great👍
thank you :)
The macramé angel and gnome are stunning. The intricate knotting techniques for the angel’s wings and body show true craftsmanship, and using leftover cord for the gnome is a clever touch. These creations add a warm, handmade charm to Christmas decor. Amazing work.
Thank you very much @diyhub for the nice sweet words I am much appreciating for respecting my work. Thanks a lot. have a nice week ahead. :)
What an astonishing artwork.