Wall hanging | DIYHUB
Hello! I hope you all are well.
Yesterday, college started again after winter vacations, and I was feeling a mix of emotions. I was excited to see my friends and get back into the routine, but I was also sad that the break was over.
As I walked to college, I noticed the campus was buzzing with activity. Students were chatting and laughing, and the sound of lecturers' voices carried through the corridors.
My first lecture was a bit of a struggle, as I was still trying to shake off the holiday mode. But as the day went on, I started to feel more focused and engaged.
During lunch, I met up with my friends at the cafeteria. We swapped stories about our vacations and shared photos. It was great to catch up and hear about everyone's adventures.
The rest of the day flew by quickly. I attended classes, worked on some assignments, and even managed to squeeze in a quick nap in the library.
As I walked home, I felt refreshed and ready to dive back into the college routine. I was eager to learn new things, share laughter with friends, and create memories that would last a lifetime. The winter break was over, but I knew that this new new chapter of life would unfold its own unique adventures and opportunities. And I was determined to make the most of it. Back from college, I created a new time table for myself.
Today, I was thinking about posting about DIYHub, so after thinking a lot, I decided to make a wall hanger. I started making it.
PROCEDURE
"First, I took a white paper and drew a small circle on it. Then, I drew another circle on top of it, slightly larger than the first one. I did the same on a black paper, drawing two circles, one on top of the other, with the second one being slightly larger."
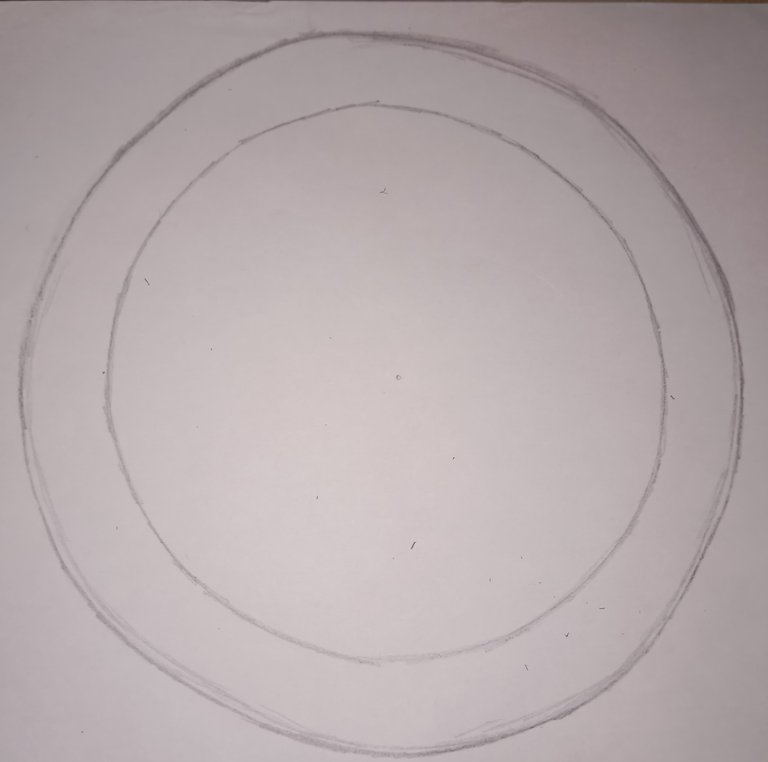
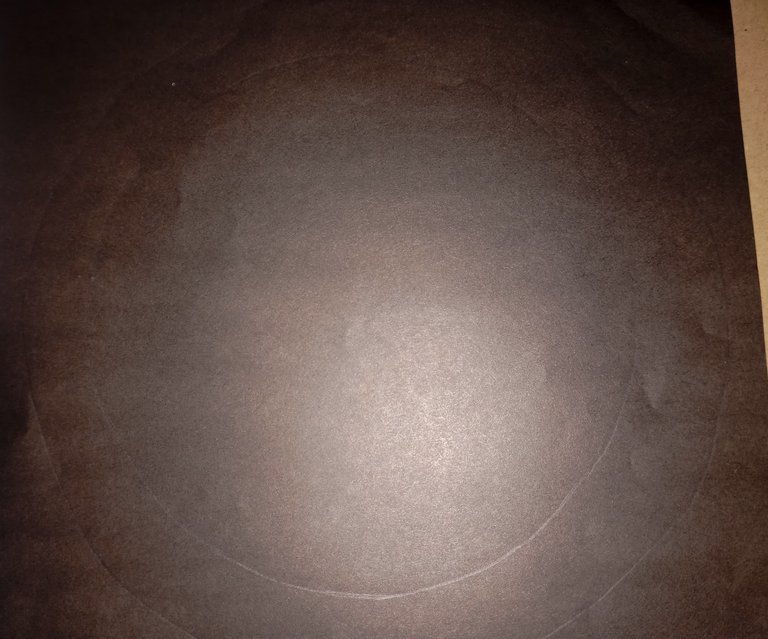
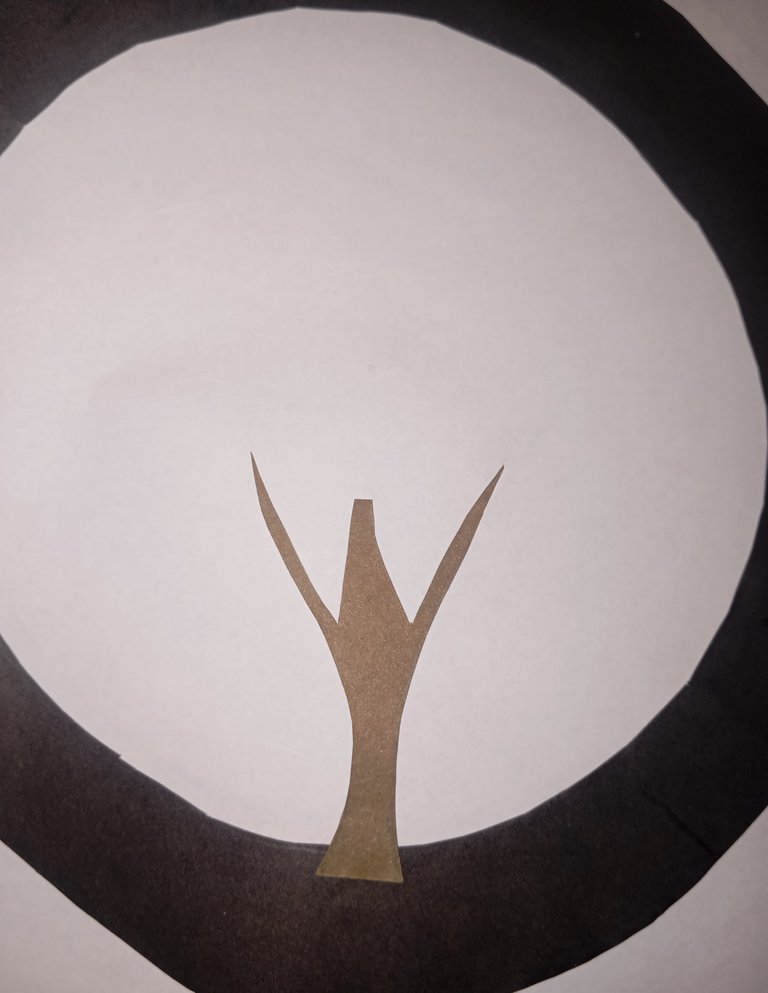
"Then, I cut out the inner small circle, leaving the larger circle intact. Then I attached the larger circle from the black paper onto the larger circle on the white paper."
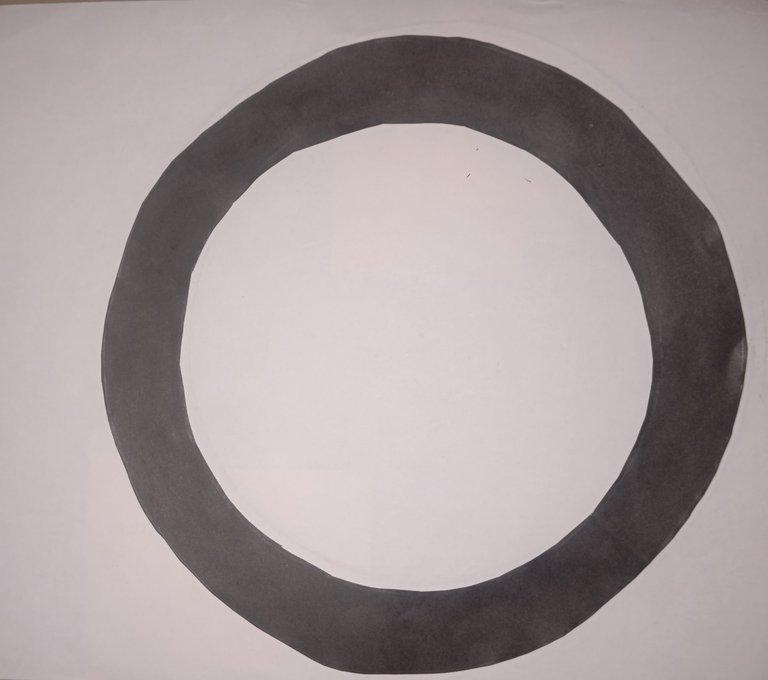
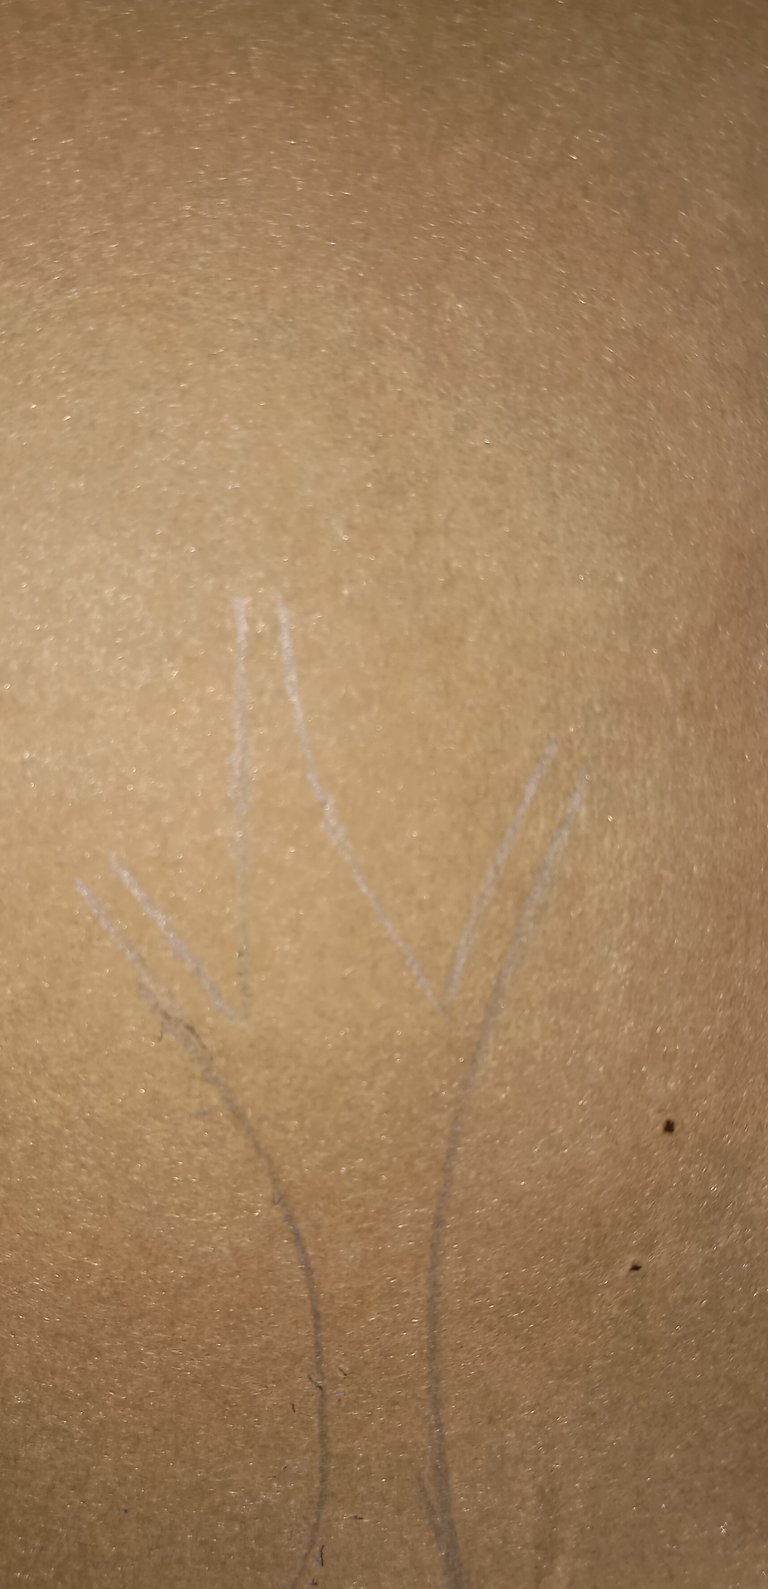
"After that, I took a brown-colored paper and drew a tree on it. Then, I cut it out and pasted it onto the white paper."
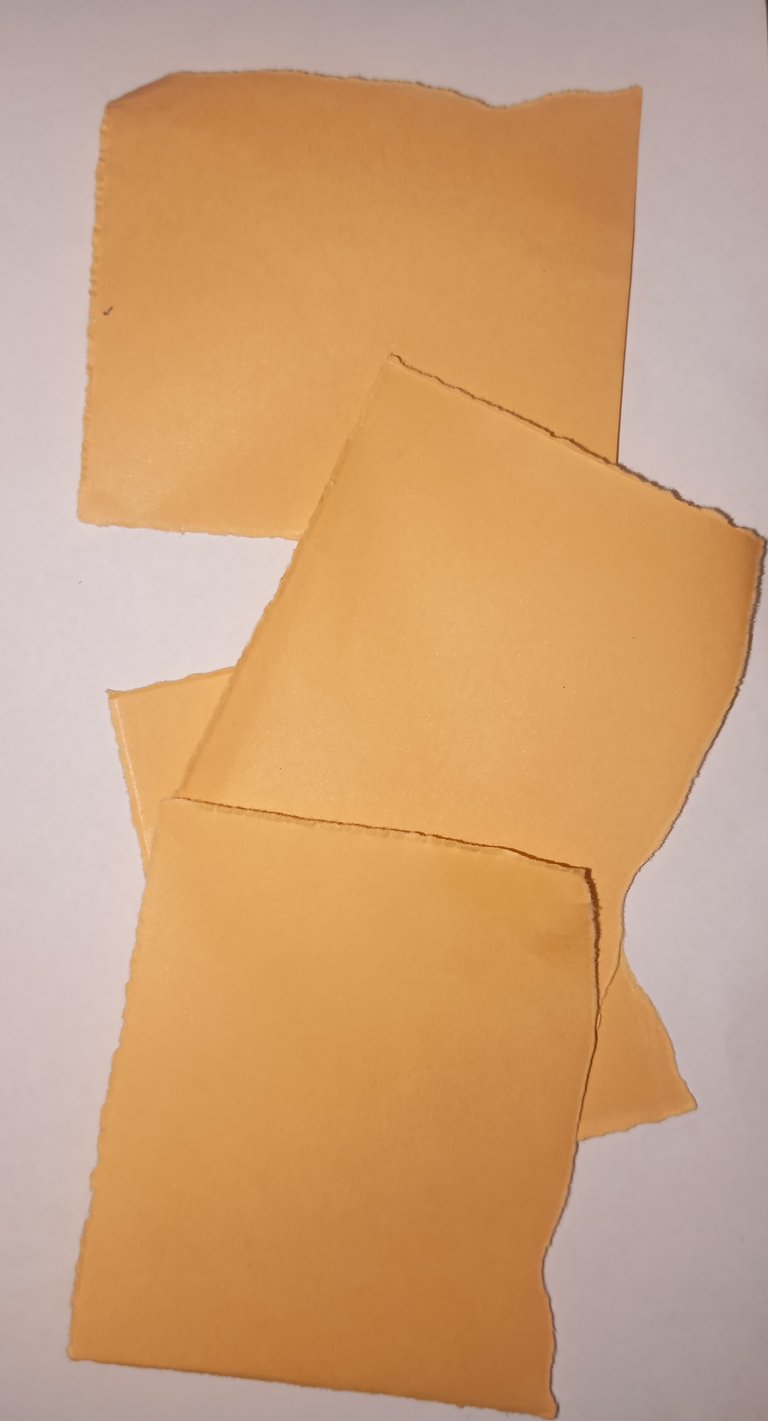
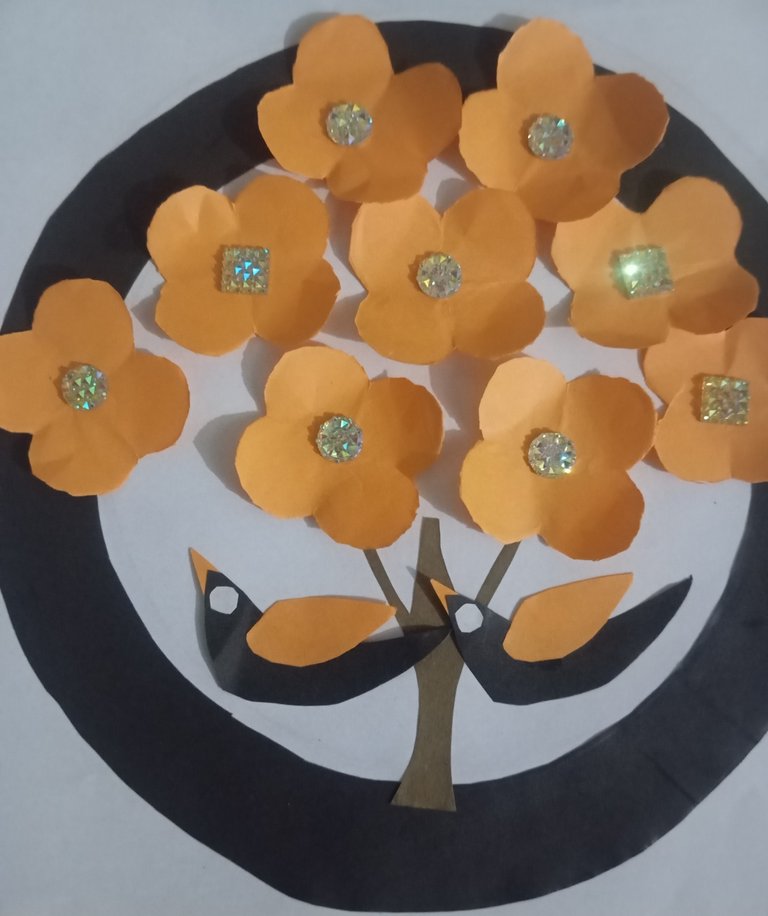
"Next, I took an orange-colored paper and cut out small squares. I then made flowers from these squares. I folded each square into a triangle, then folded it again into another triangle, and finally cut it out into an oval shape. This resulted in small, intricate flowers."
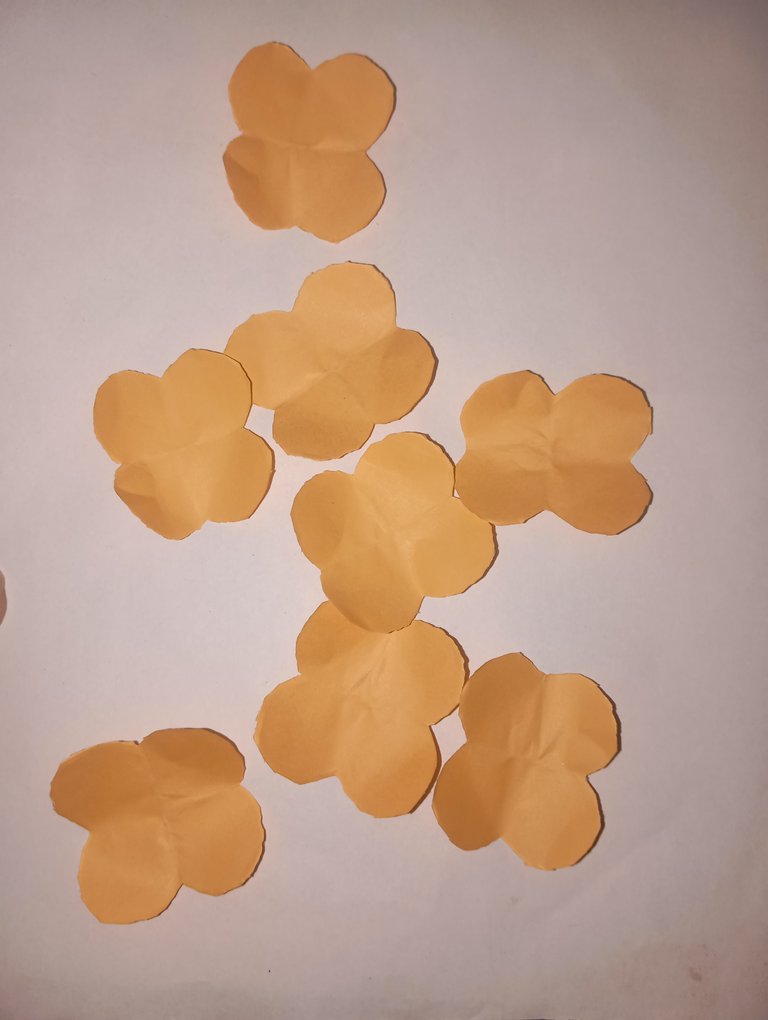
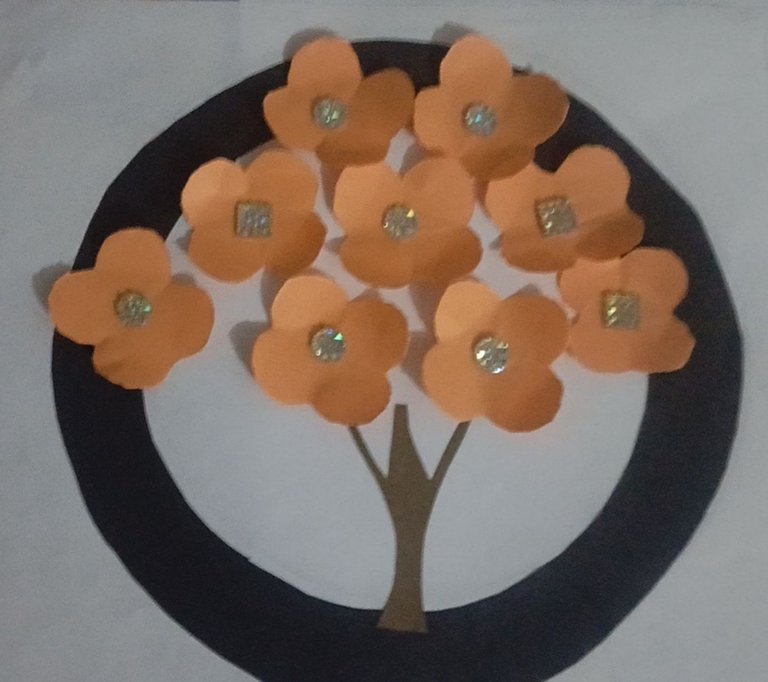
"After that, I added shining beads to the flowers. Then, I attached the flowers to the circle, placing them above the tree."
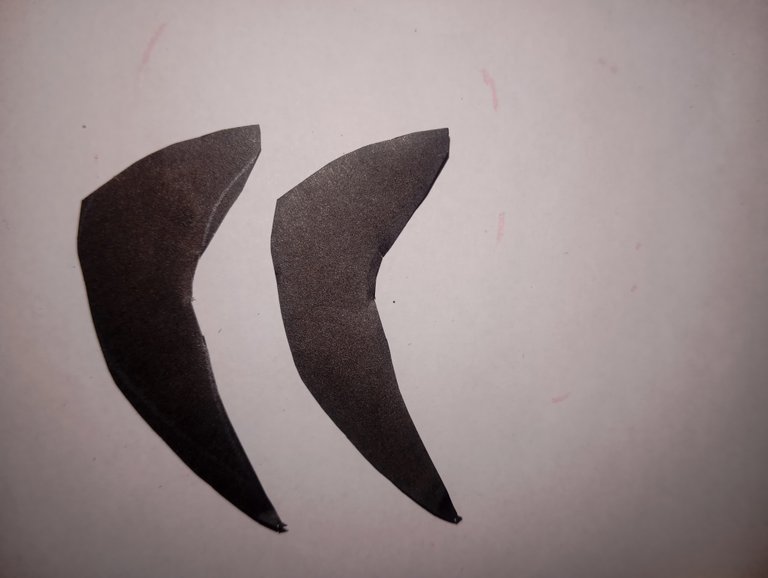
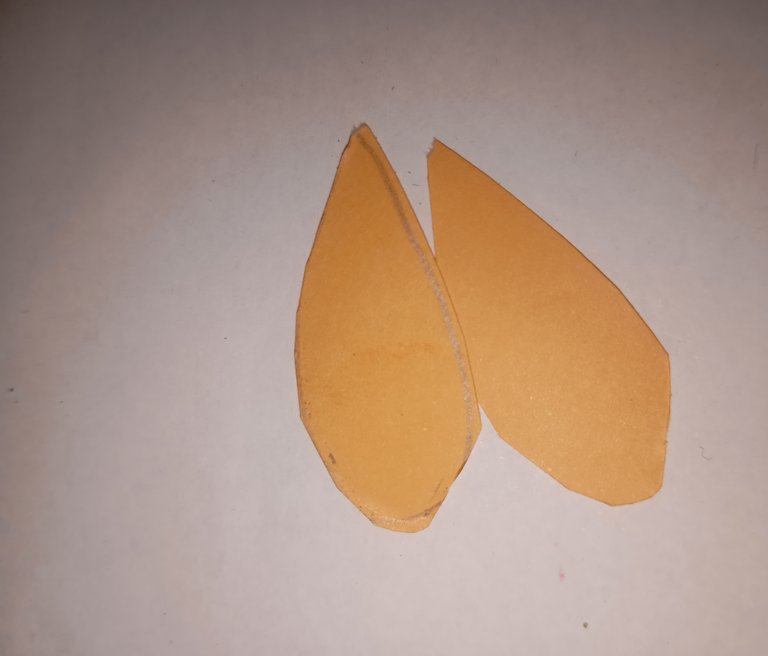
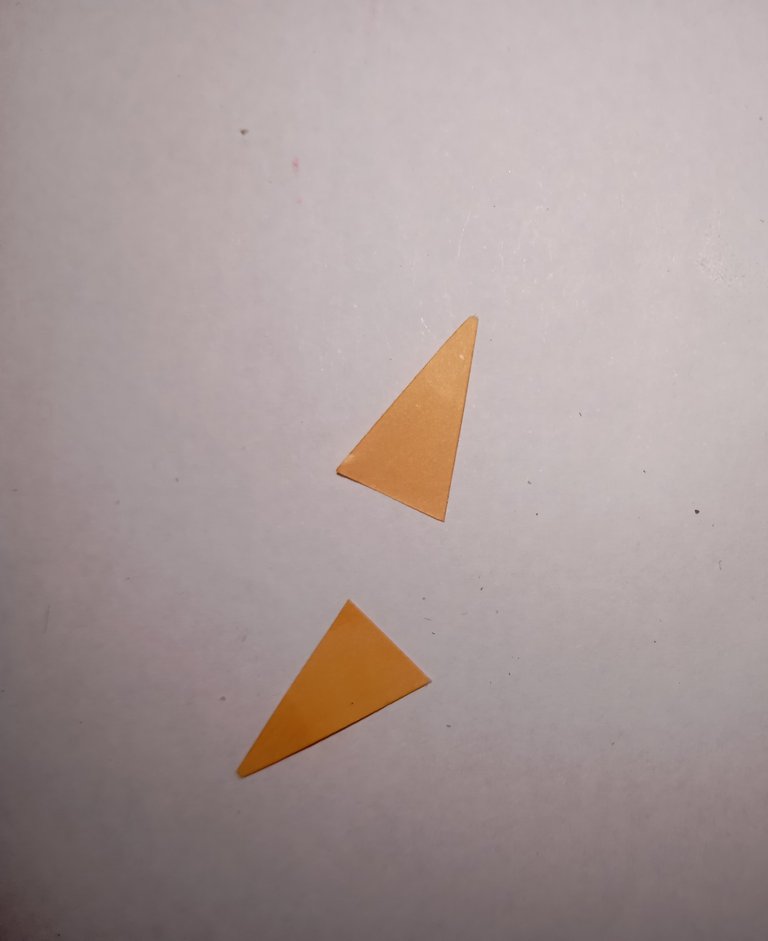
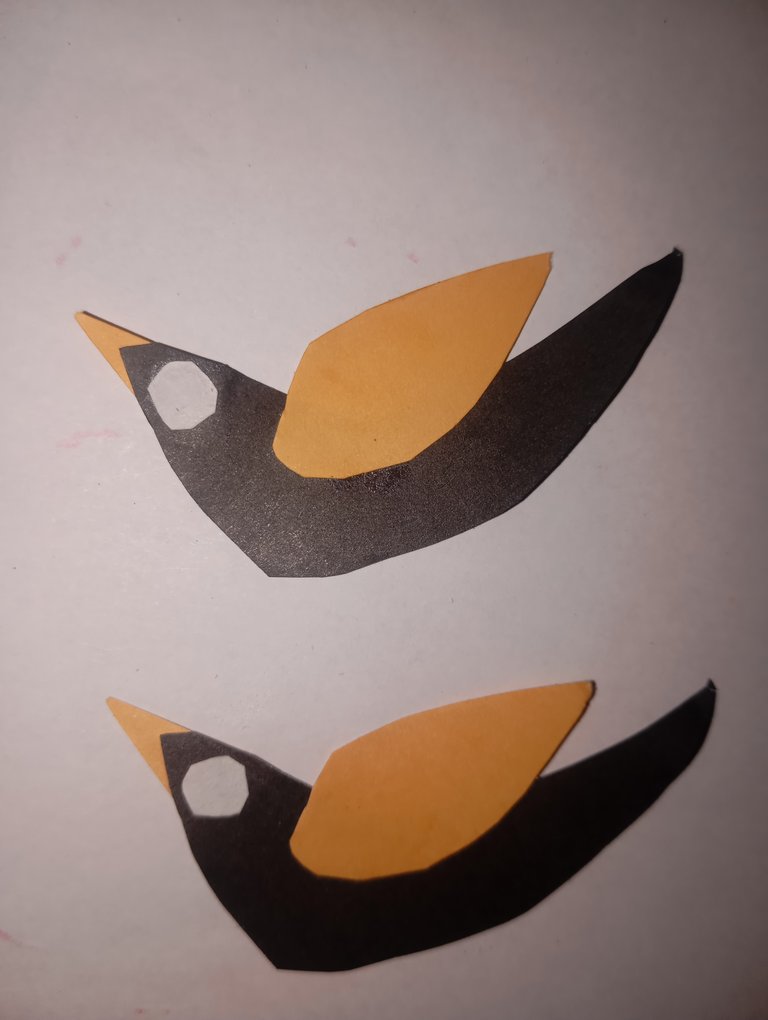
"In this step, I first took a black paper and created a shape on it, then cut it out. Next, I took a white paper and drew a circle on it, then cut it out. Similarly, I created and cut out two shapes from orange paper. When I assembled these pieces, they formed a beautiful bird. Finally, I attached the bird to the tree."
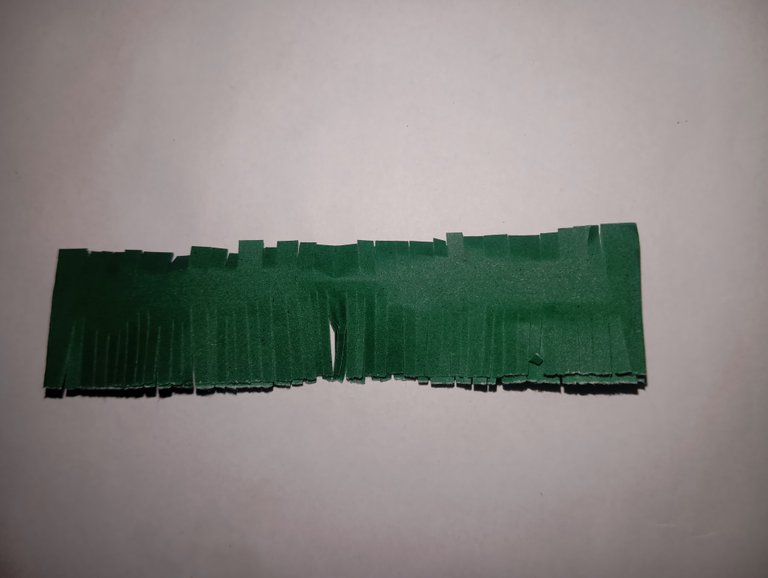
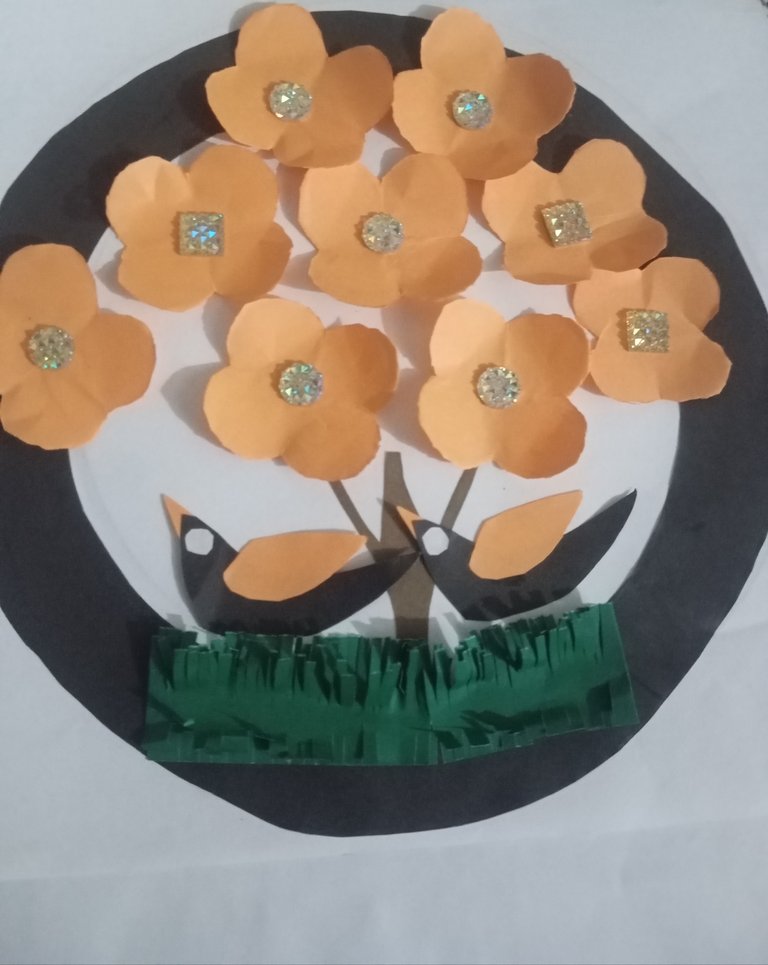
"Then, I took a green paper and cut out a rectangular shape. I folded it and cut a straight line along the folded edge, creating a grass-like shape. Finally, I attached it to the base of the tree."
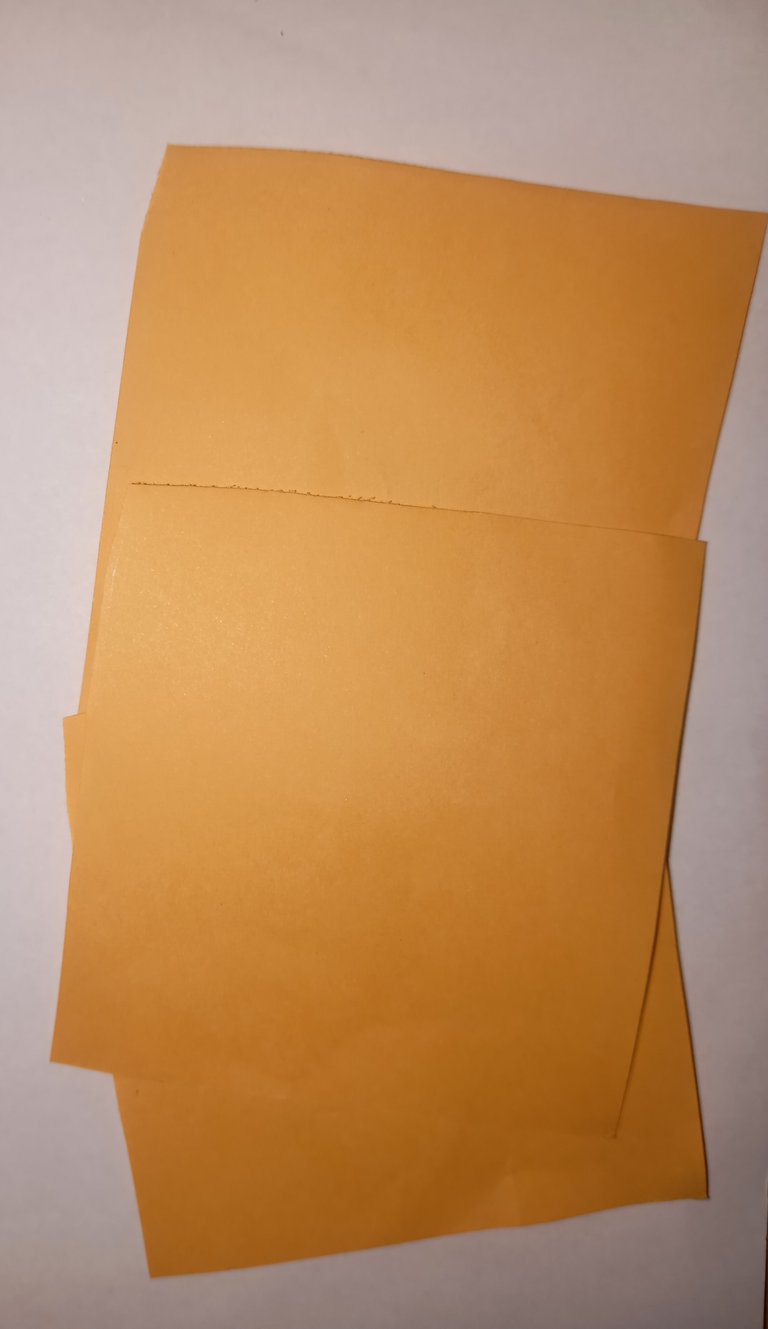
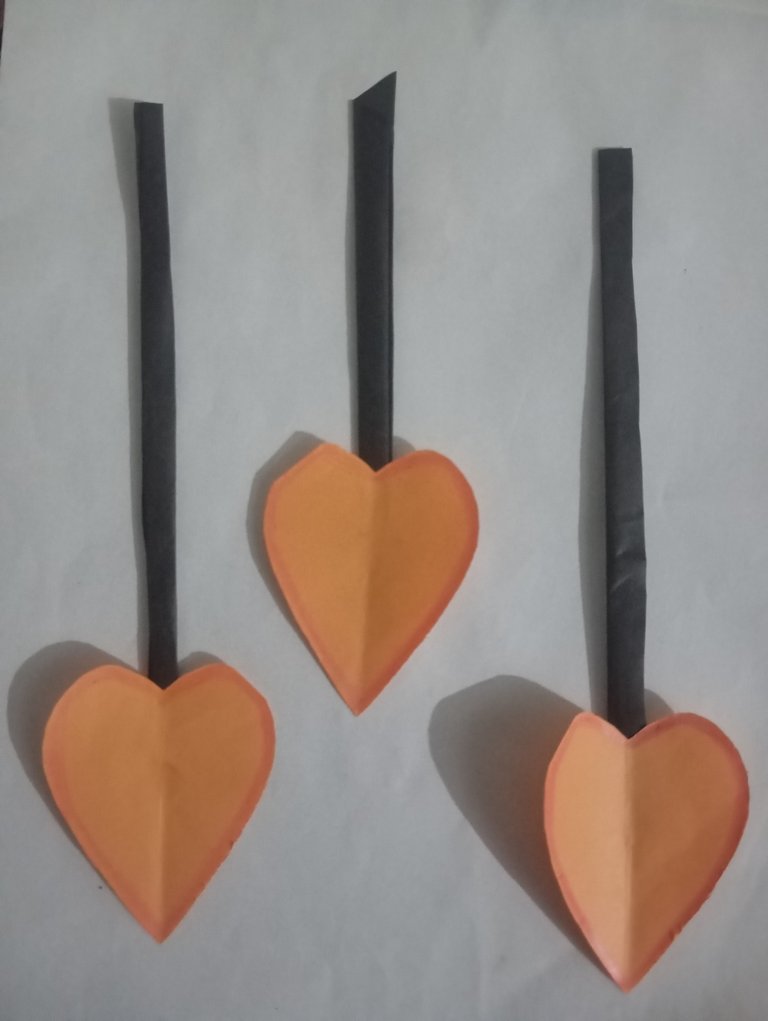
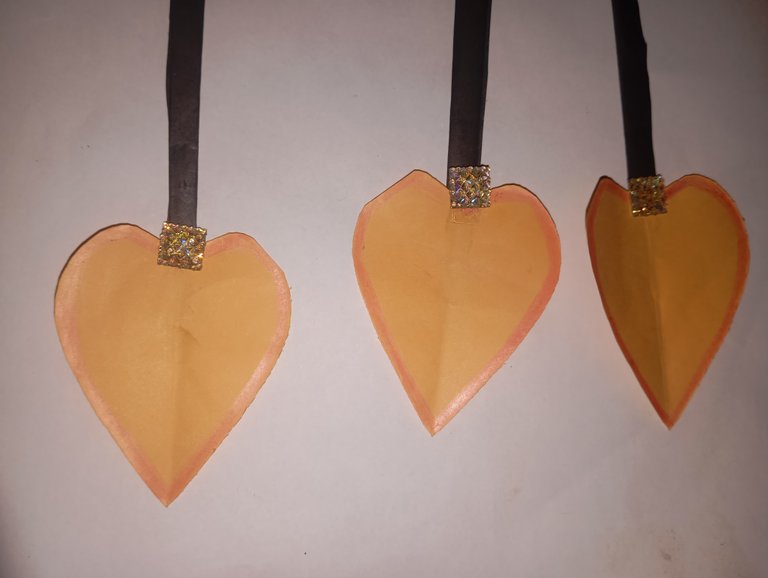
"Next, I took an orange-colored paper and cut out three squares. I then created a heart shape from these squares and cut it out. After that, I outlined the heart shape with pink color.
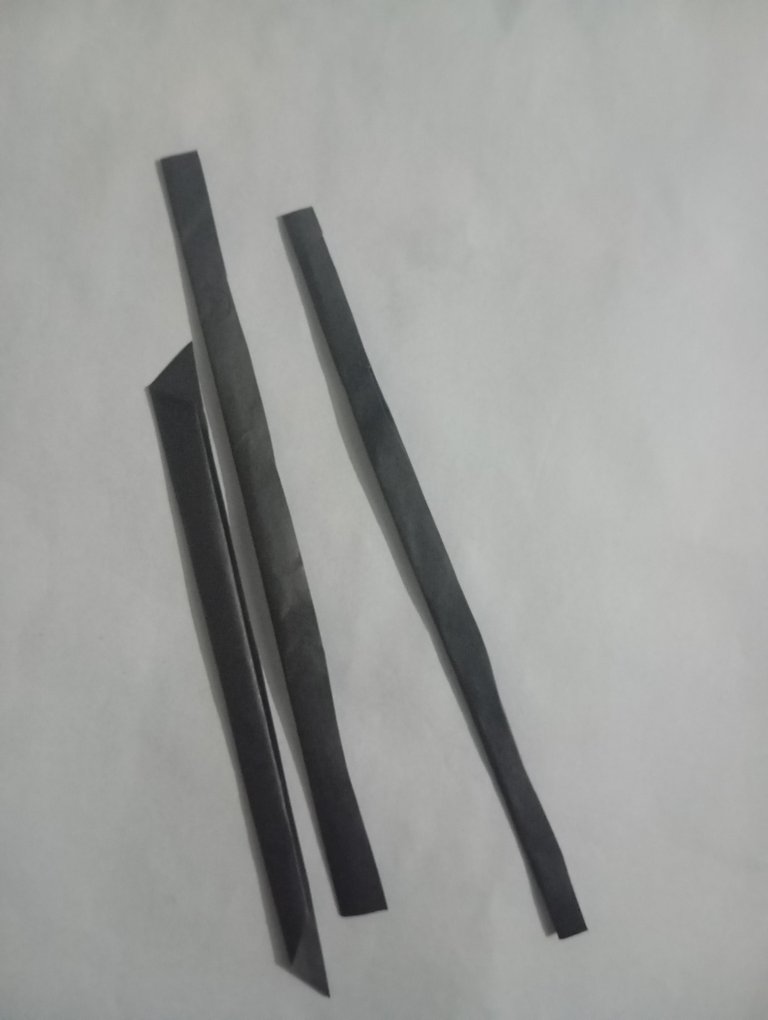
I then folded the black paper to create three sticks, which I attached to the heart shape. Finally, I attached the heart to a frame."

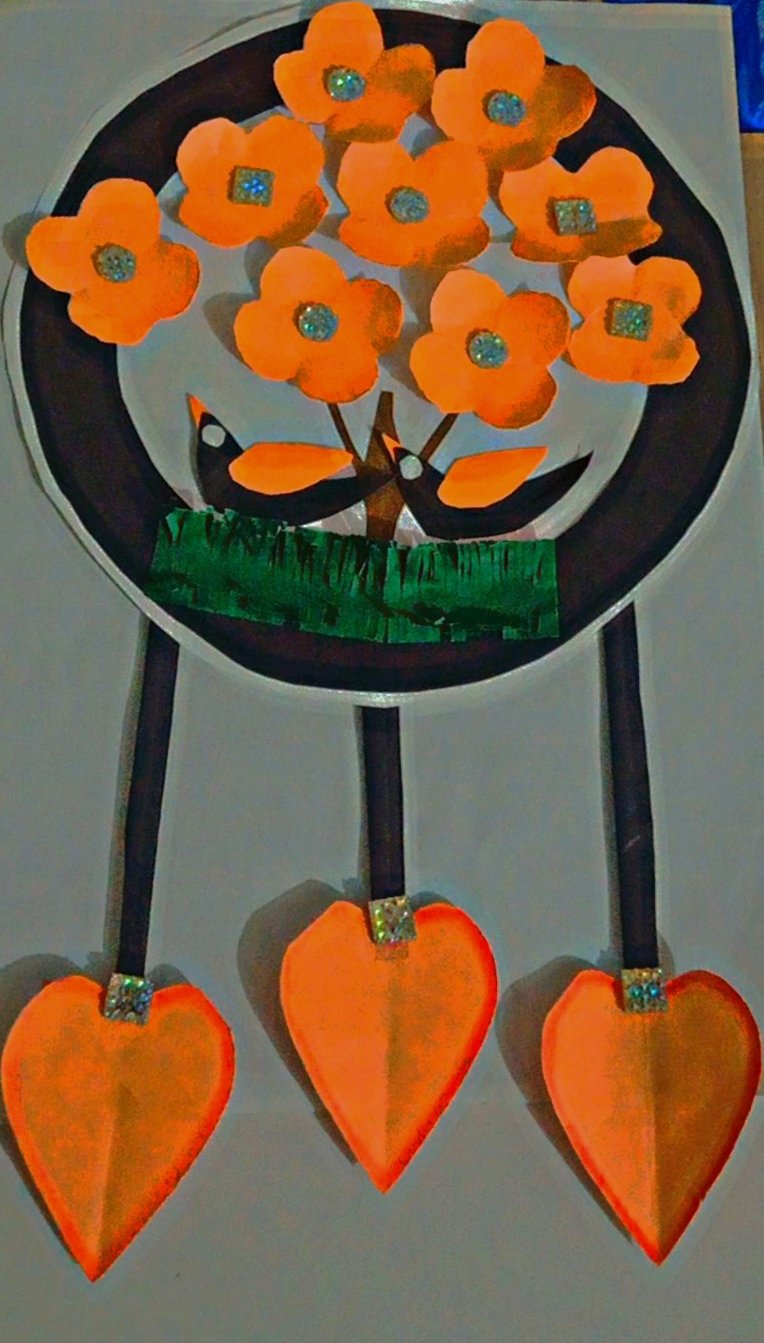
"Finally, I created a hook to hang it and attached it to the back, completing the wall hanging frame."
This is the final look:
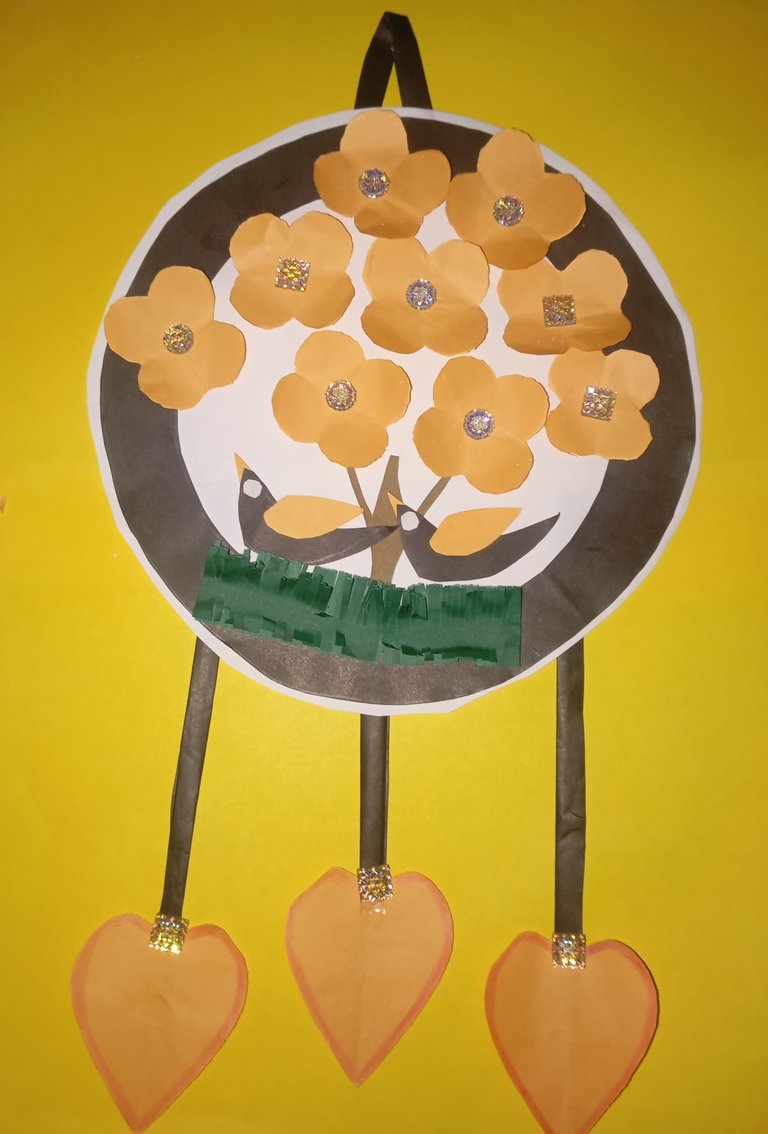
This is the look when I hang in my room.
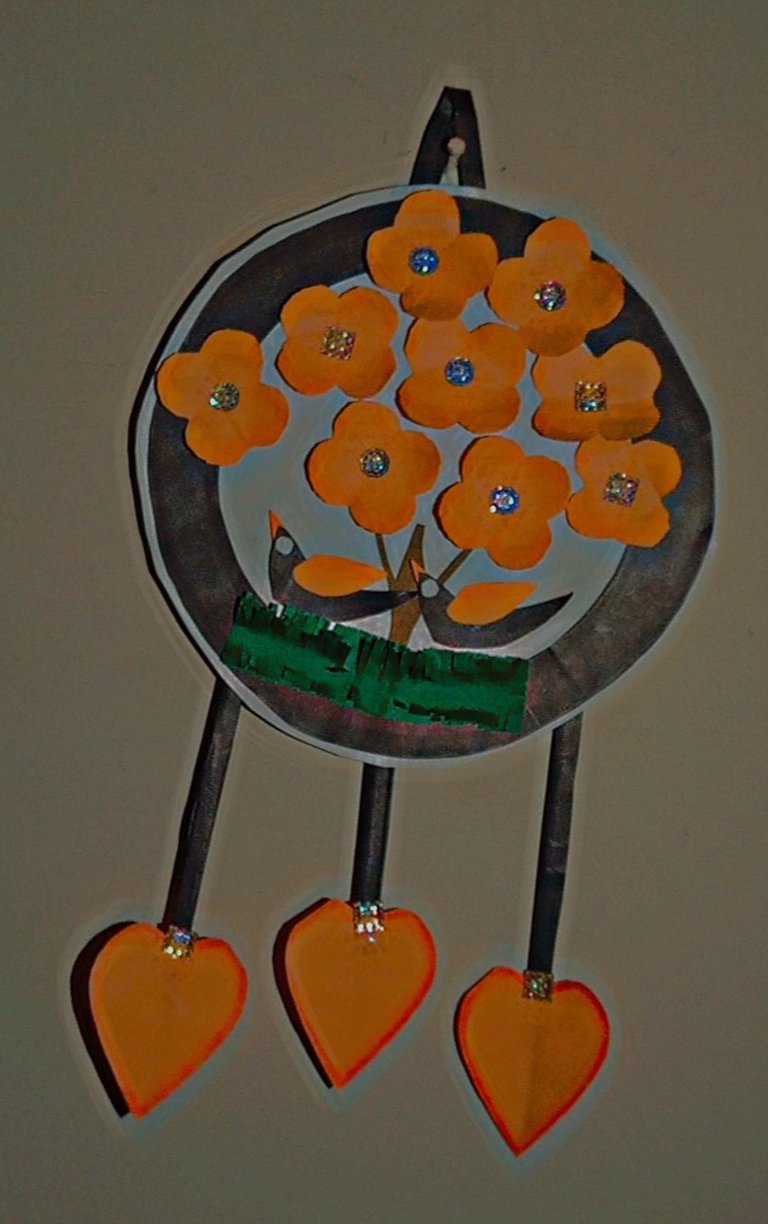
I hope you will like it.
Stay blessed
Allah Hafiz
There’s truly beauty in simplicity. This turned out really great and can be used to decorate our homes and offices, well done.