Magical Fungi ✨🍄 | DIYMAGIC
Process
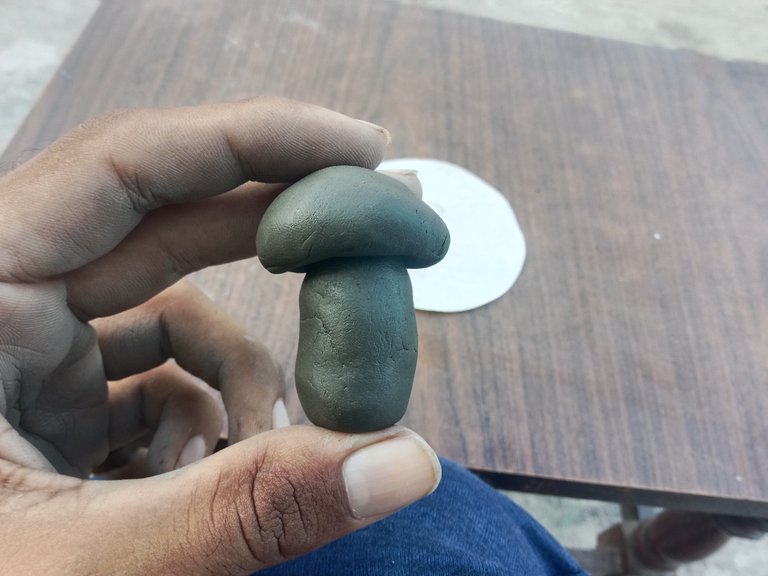
- In the first step just grab the clay and mixed the dough and then create a ball and for creating the bottom part of the fungus create both part separately and then join them with the help of a thin stick which I have stuck inside them to make it more wrong.
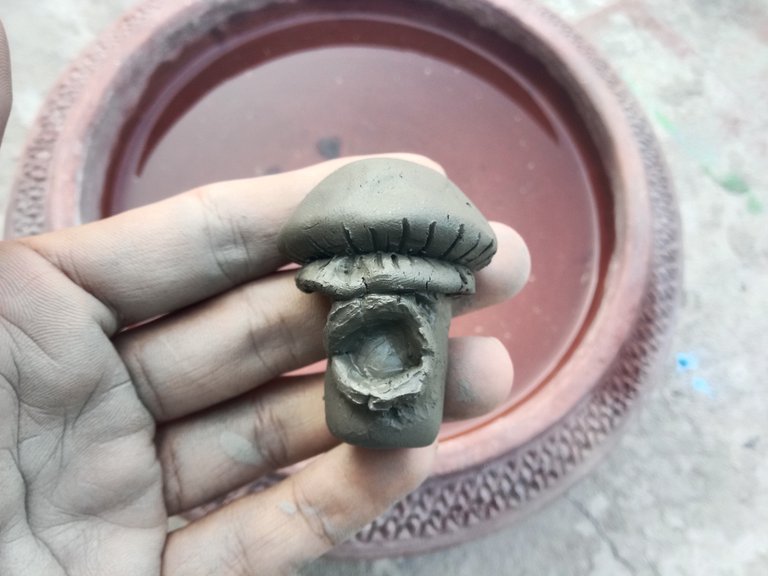
- After that now it come to the time to add other details to the figure in which bike creating thin layers which will work as I leads of the fantasy fungus and create some tiny ball and attached them on the cap of the fungi as well as add some other micro details to make it more realistic.
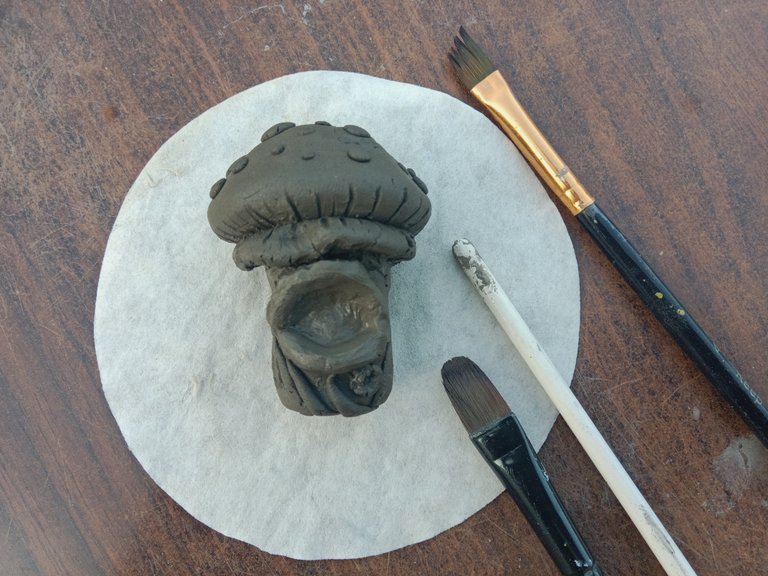
- This is the final image write before I left the sculpture drawing for drawing it I have just put it in the direct sunlight as on the day it is very bright here in my region so it automatically became dried.
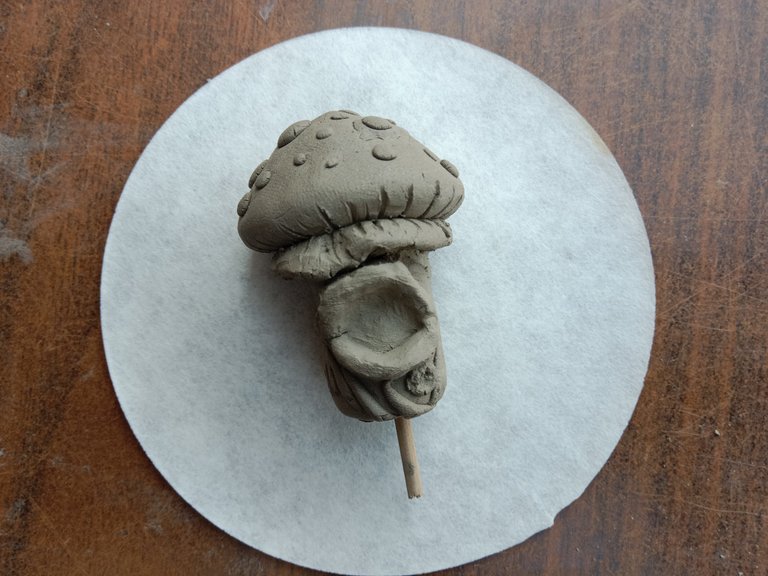
- It took almost 2 days to complete this project I started making it yesterday and left it for drawing for a whole day and our eye coloured it today and I it was left in outdoor today as well.
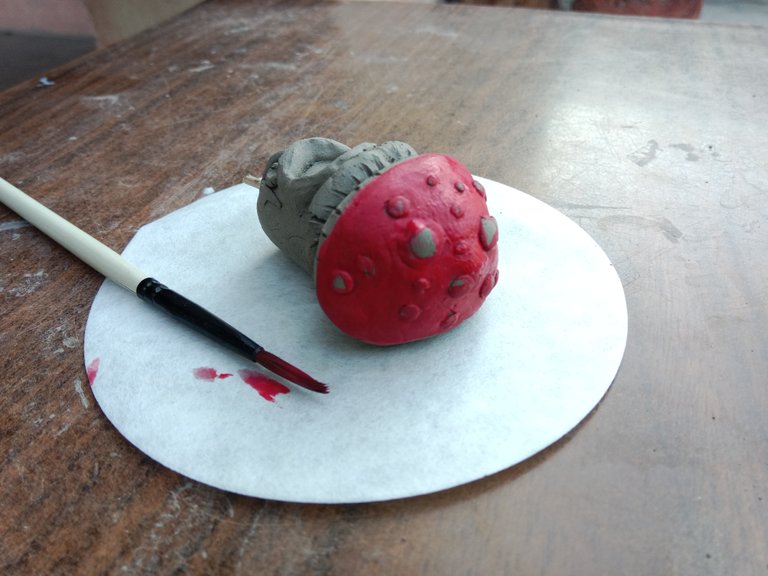
- Now let's turn this clay sculpture into a colourful livingly thing the first colour which I am going to use is red and the type of colour which I am going to use our poster colours and on drawing they are very good looking as well so far the top I have used bright red colour.
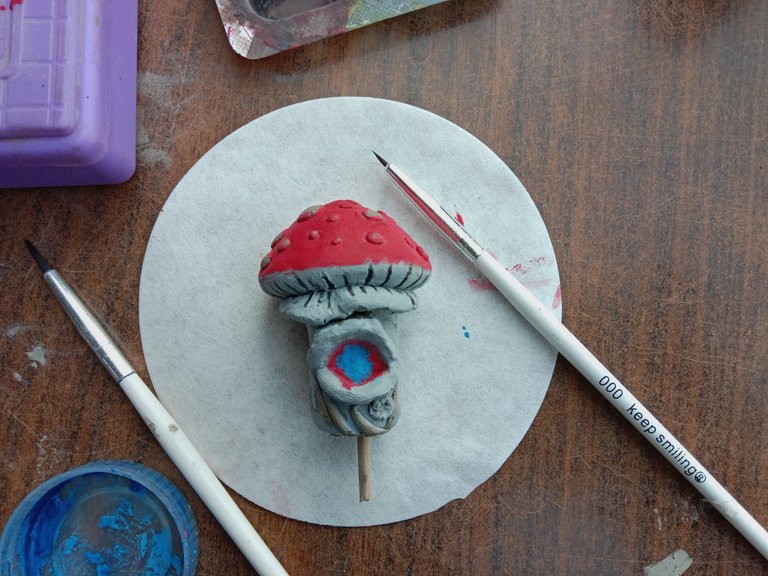
- After painting the red colour the remaining colour which I have used his grey colour and for making the grey colour I have mixed equal amount of black white purple and blue colour and I just randomly painted the whole remaining figure of the sculpture.
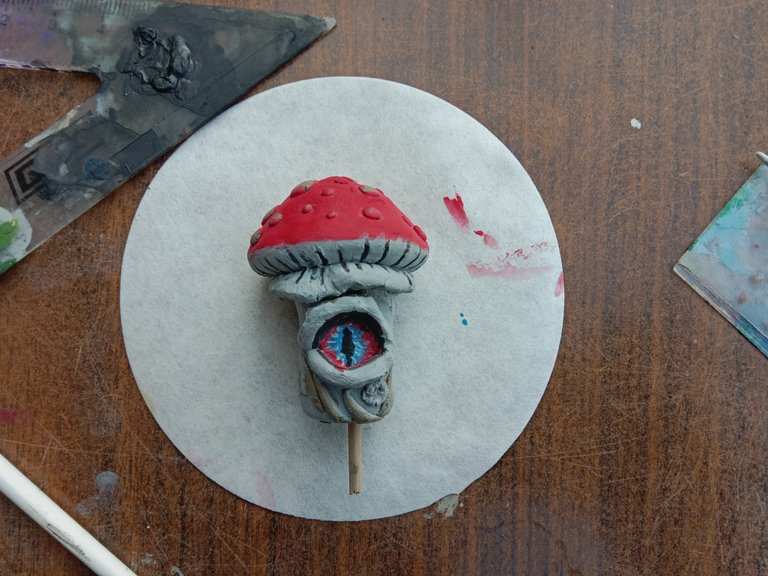
- Not gonna lie but the eye was the only part of the sculpture with took a lot of time almost 10 minutes the trade for making the inside part of the eye as for making it required three colours the outside address her red and inside was blue black and then son white colour for detailing.
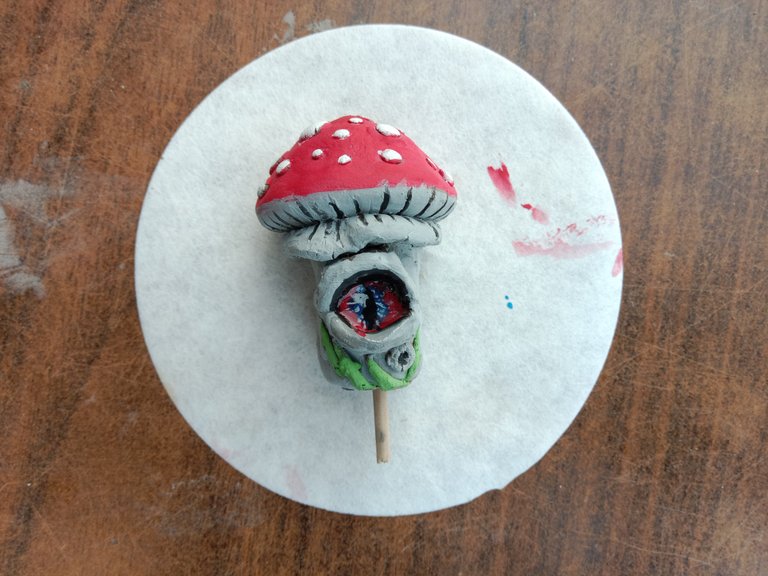
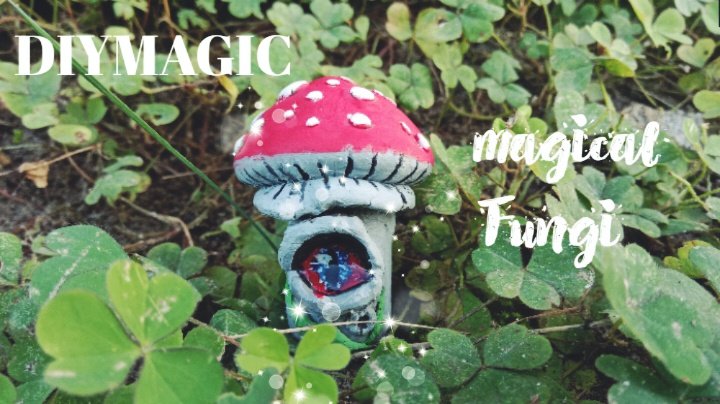
- In the last step I used white poster colour to paint the sports on the top cap of the fungus as well as I have used transparent liquid to make the eye more reflecting and shiny.
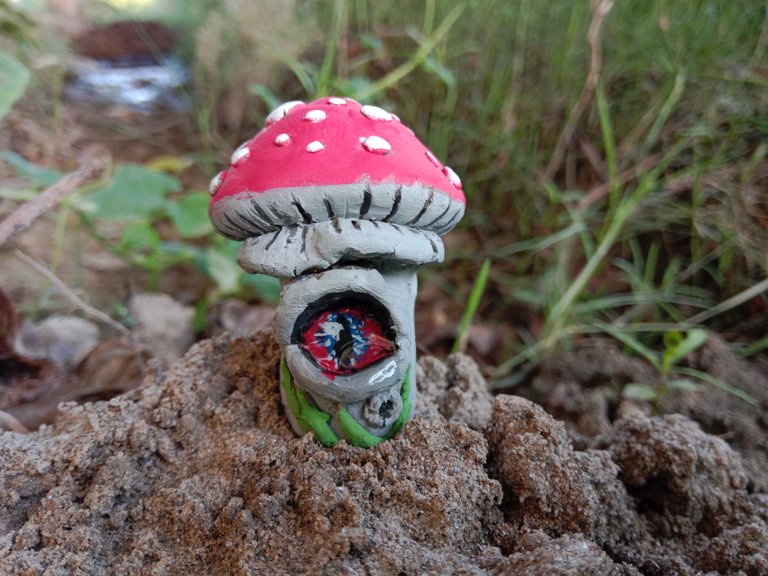
I had to put the final sculpture in different areas for taking photos so I just grabit and I went outdoor first I take in to a file of sand and captured this short and whenever turning home I found some LG near diwal of my home so I captured son random shorts over there.
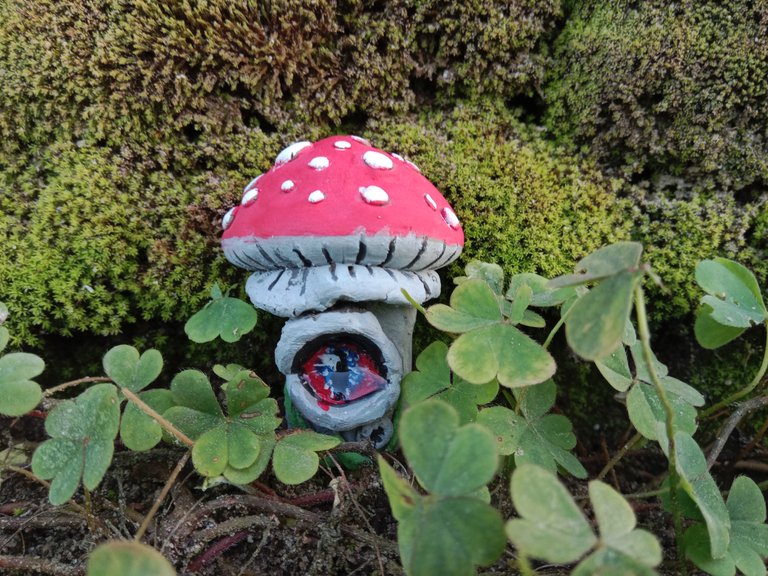
That's it guys this was alpha today's article I hope you guys might have enjoyed the procedure and the final results as well don't forget to give your suggestions below see you next time.
0
0
0.000
You are a great artist bro
!LUV
@mojiko-blog, @sahi1(1/1) sent you LUV. | tools | discord | community | HiveWiki | <>< daily
Thanks for sharing luv
Wow! The fact that you didn’t just stop at creating only the magical mushroom you went ahead to place it outside to take some shots of it is wonderful and this shows how dedicated you are to your craft. We love your magical mushroom and thanks for participating in this month’s contest, have a great day.
Wow this is so creative I love your artwork 🤩
!discovery 30
This post was shared and voted inside the discord by the curators team of discovery-it
Join our Community and follow our Curation Trail
Discovery-it is also a Witness, vote for us here
Delegate to us for passive income. Check our 80% fee-back Program
I love it! I have some clay and I want to make some mushrooms 😊