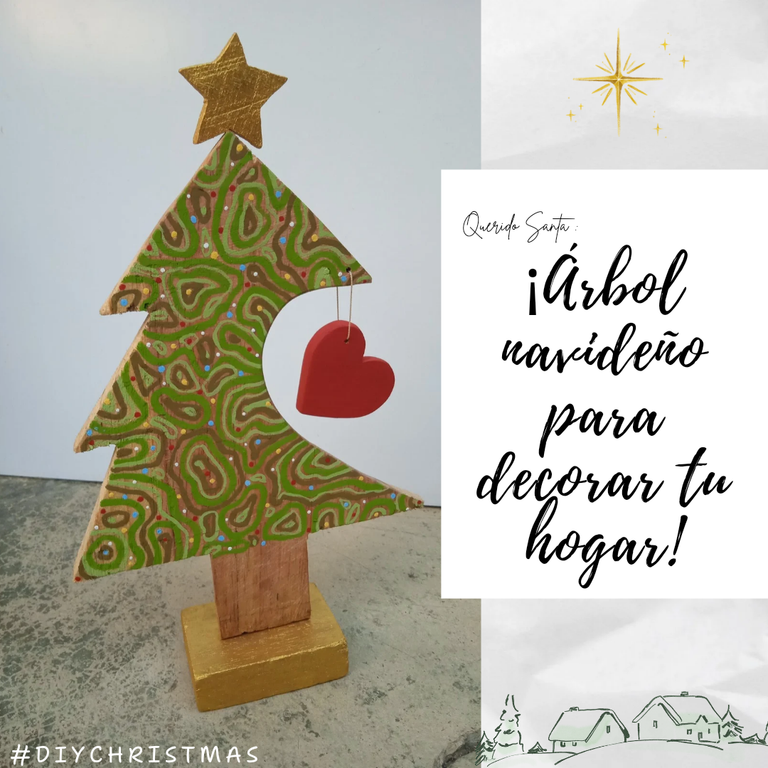
Christmas tree to decorate your home! 🎄❤️ Art and Christmas (Eng/Esp)
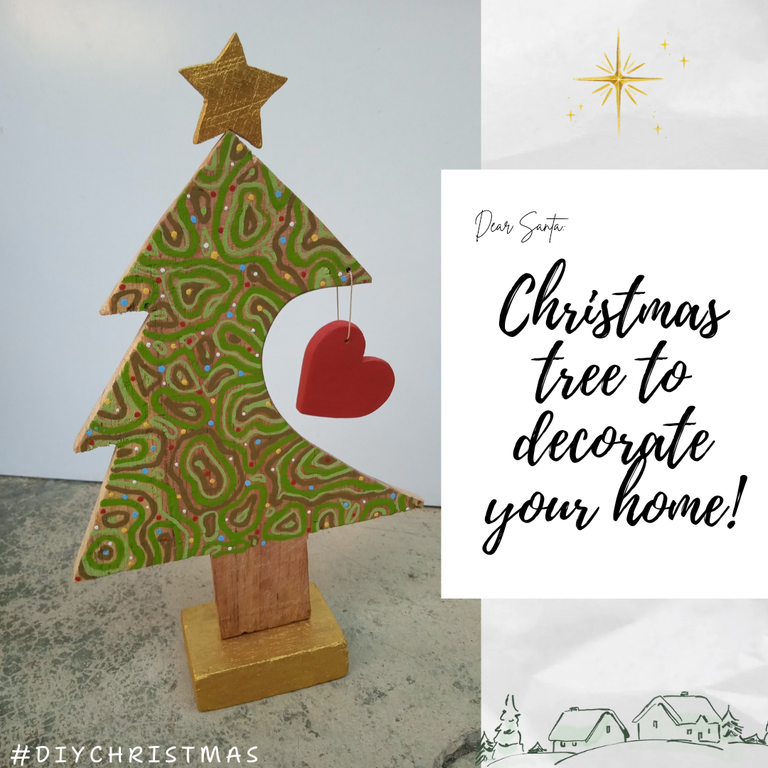
Merry Christmas! To all my fellow DIYHub, I wish you all a harmonious month and an excellent year 2025 filled with many wonderful creations.
I share with you my second entry for the Christmas contest and a little reflection on what inspires it and the anecdotes that arise during the process.
Christmas decorations have always had a considerable cost, whether they are colored lights, garlands, stuffed animals, Christmas tree, cushions... Well, there is everything, even for the dog house 🤭 at this point we can ask ourselves the following question: Buy it or make our own decorations?
There are many things that we see and immediately we think it is better to buy it because it would be difficult to do it at home and the truth is that many times we are wrong and we are more capable than we think. ✌🏼
I could not afford to buy trees online, having so much recycled material that could be well used. So I wanted to recreate a decoration I saw days ago in a shoe store 😁 I found it very simple and beautiful at the same time... It was a small wooden Christmas tree, natural and without varnish, it looked very cute and I couldn't stop imagining it painted with lines, dots or spots.
I also added another feature that I had wanted to try for a while, in other Christmases I have made trees in mdf and wood, but this model I had not tried because it seemed a bit difficult.
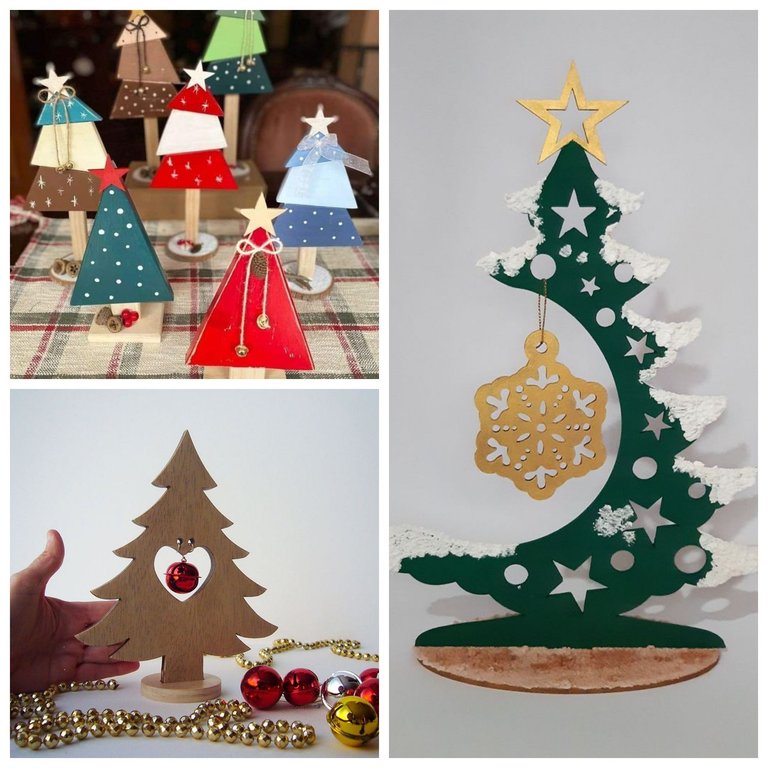
Reference: https://es.pinterest.com/
I don't know if you already guessed, this decoration will be for my mom or rather for my mom's house 🤭 I arrived a week ago to Portuguesa (my mom's house) and it had not been easy to find the time to paint it without her noticing, but finally I did it 😊
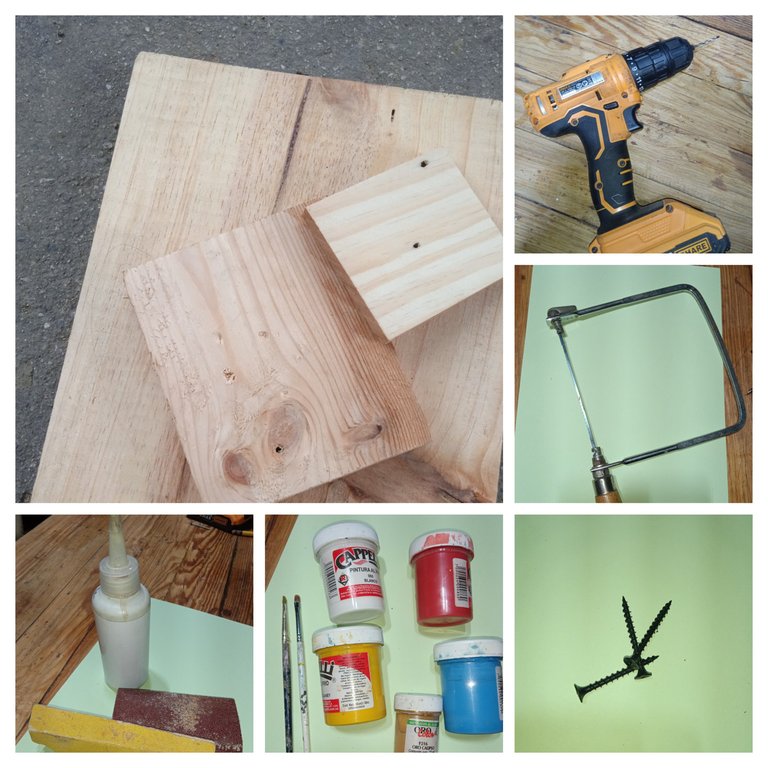
These are all the materials and tools needed for this nice job that will make a difference in your home:
- Wood
- Carpenter's glue.
- Drill.
- Wood stick.
- Hand saw.
- Colored paint: blue, white, yellow, red and gold.
- Brushes of various sizes.
- Rope.
- 1 1/2" screws.
- Coarse and fine sandpaper.

Step 1
We will draw a Christmas tree in the form that we like the most, it could be thinner or with more branches, the base could also have the form that you can think of, I leave this to your criteria, you are free to experimentar✌🏼.
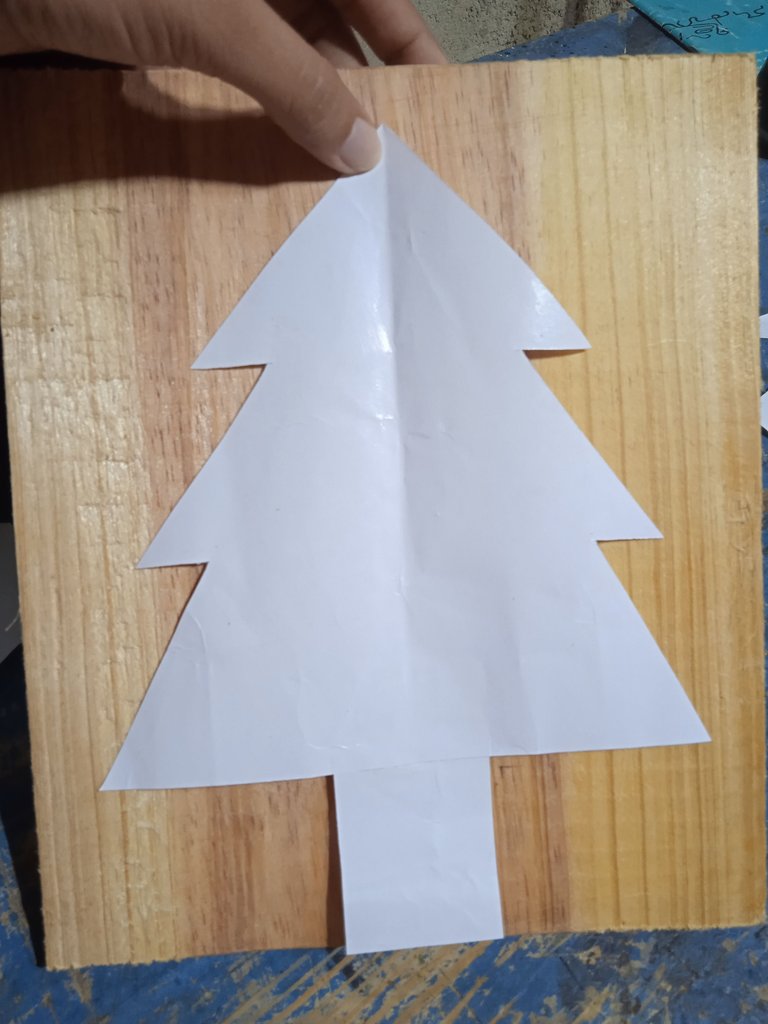
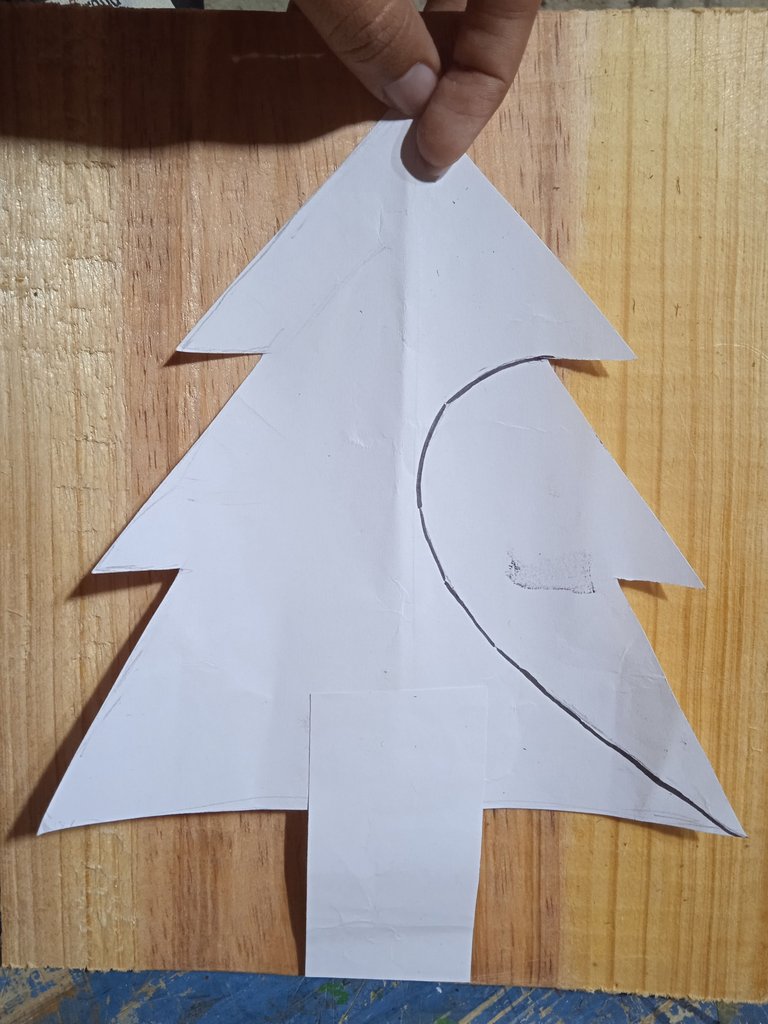
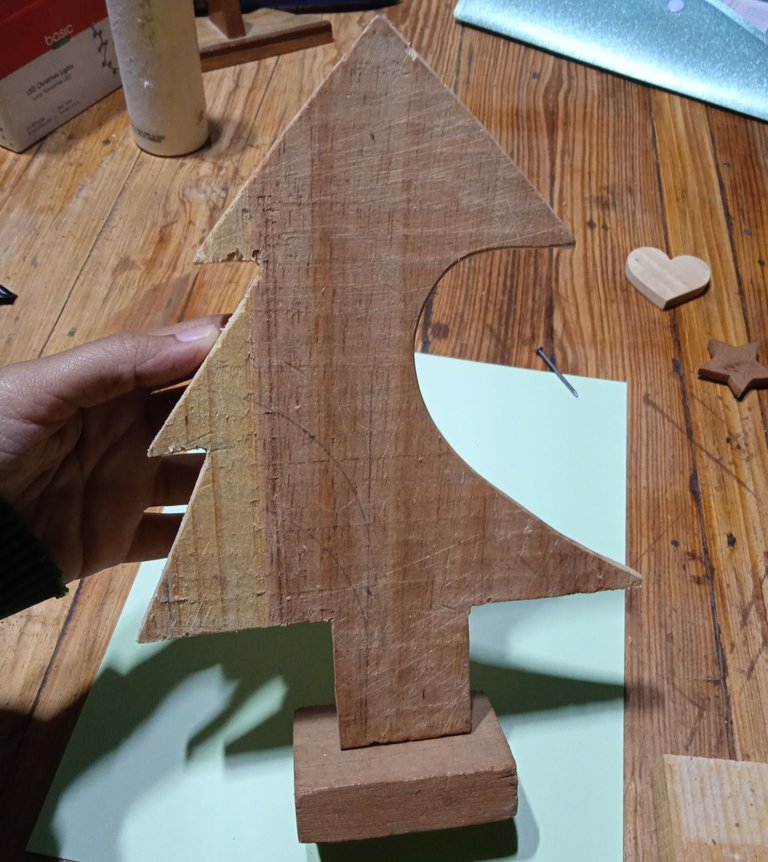
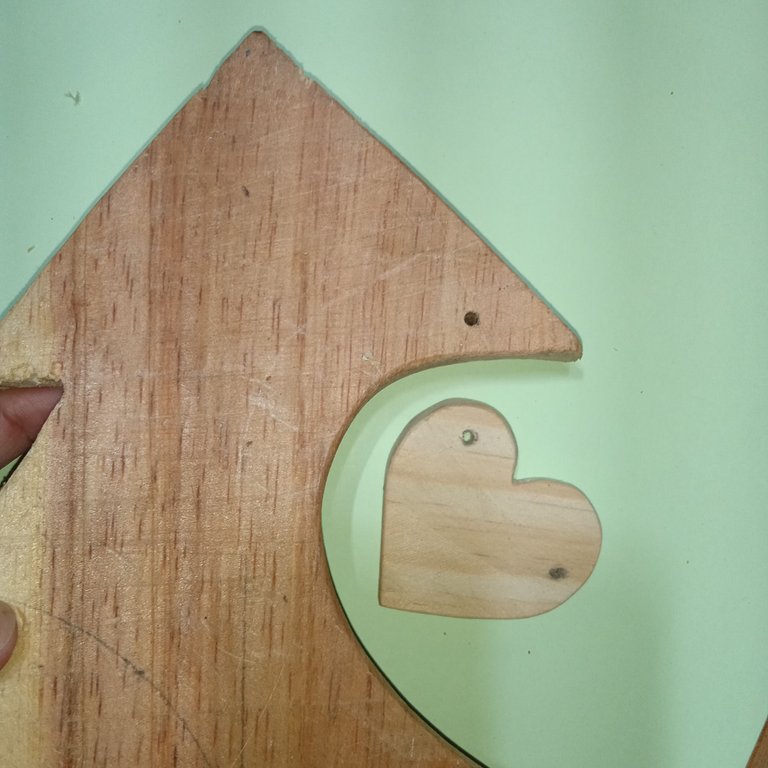
I removed a part of the drawing with the help of a scissors, so you can understand me better, imagine that this missing part is half of a heart.
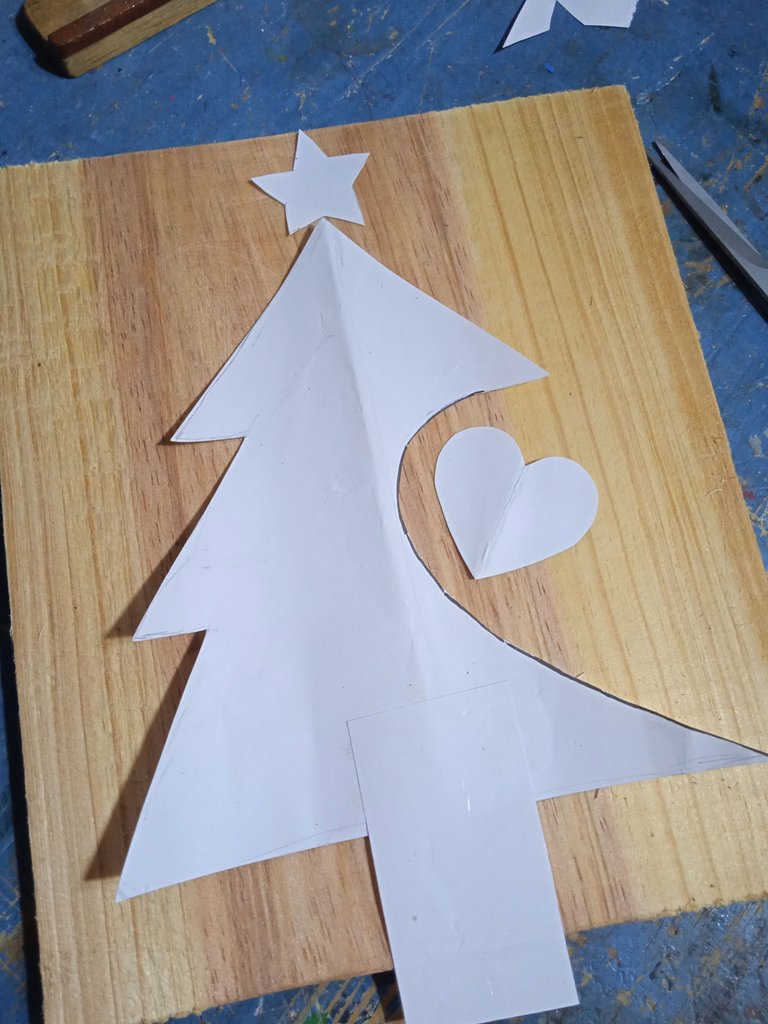
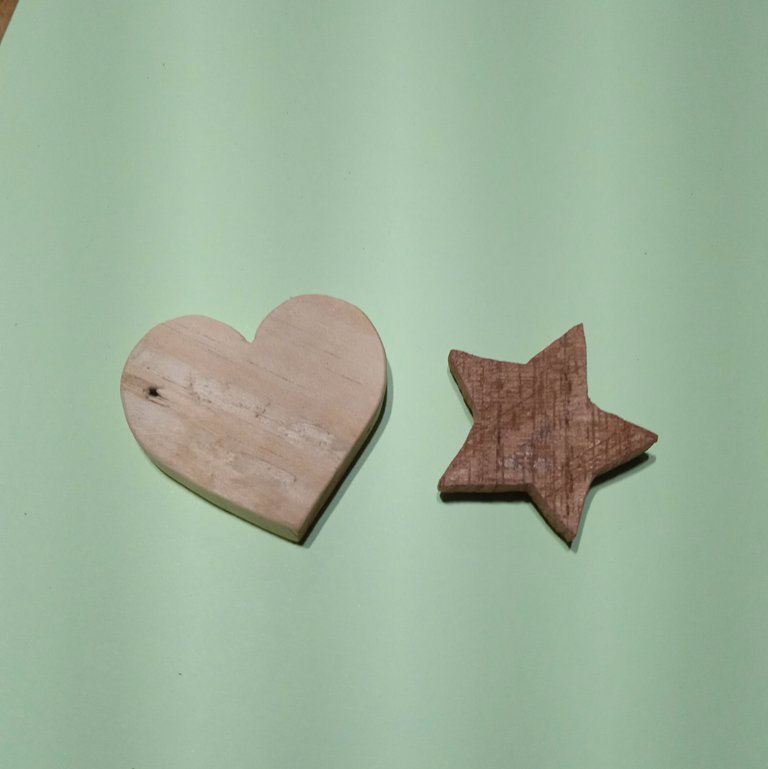
I also draw a star and a heart.
These are the sizes:
Tree: 23 cm x 17 cm x 1 cm.
Star: 4 cm x 4 cm x 0.50 cm.
Heart: 5 cm x 4.5 cm x 0.50 cm.
Base: 7.5 cm x 5 cm x 2 cm.

Step 2
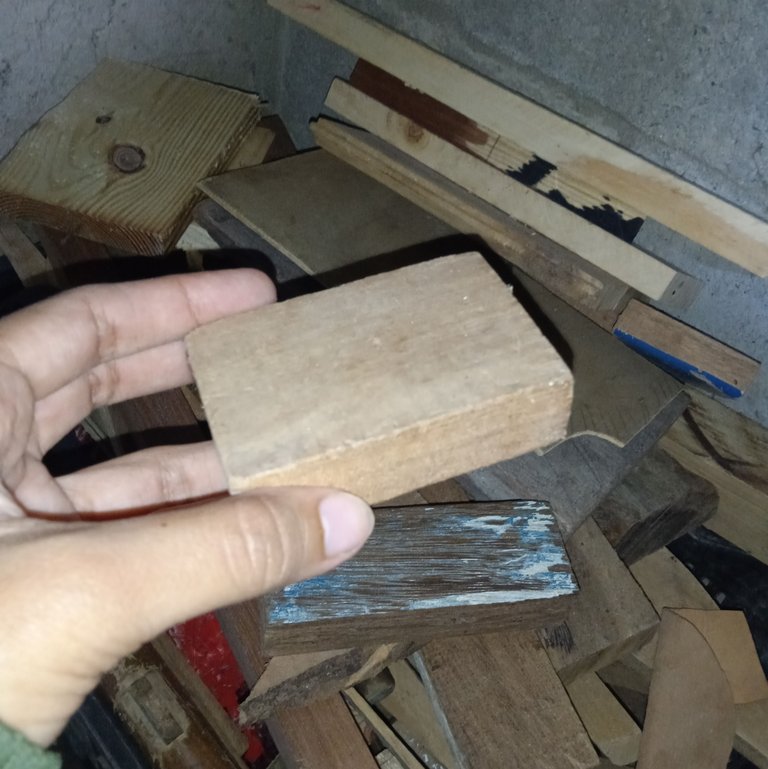
I glued each piece to the wood with white cutting glue. The only thing I didn't cut was the base, as I found a piece that would be perfect for the size of my tree.
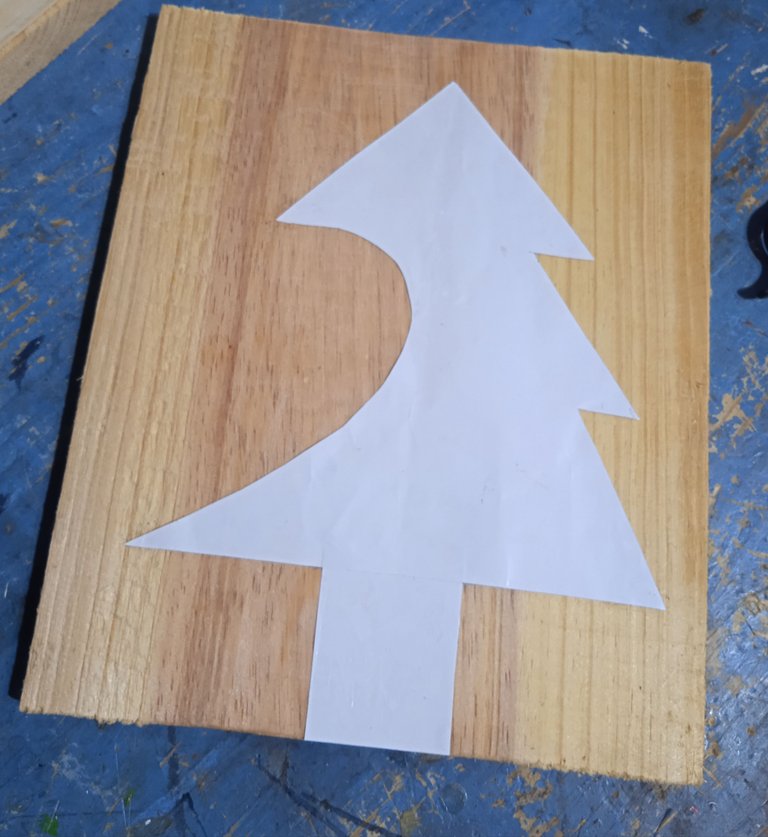
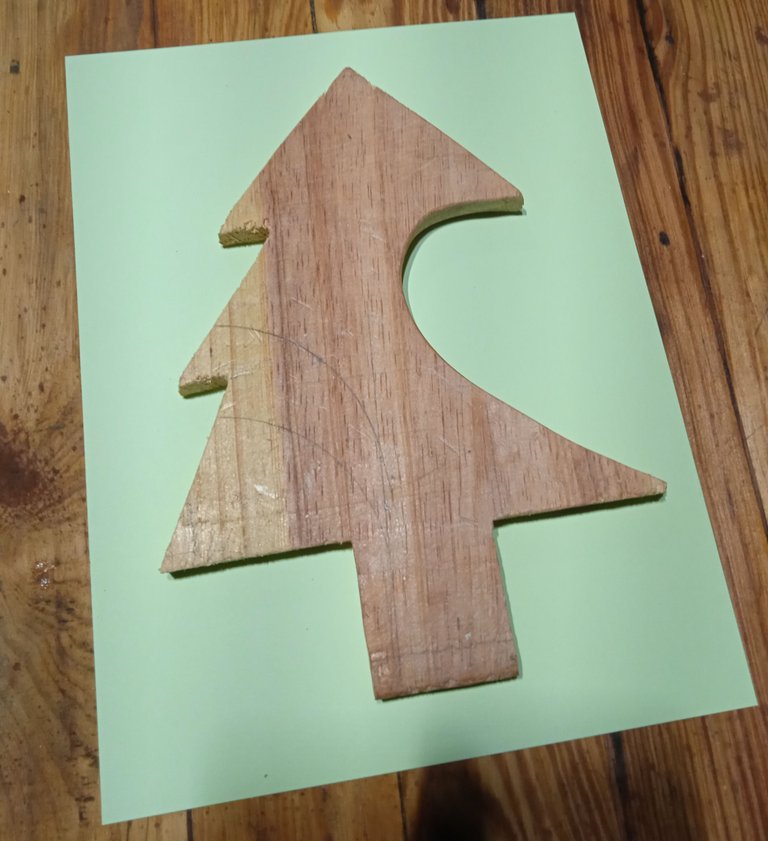
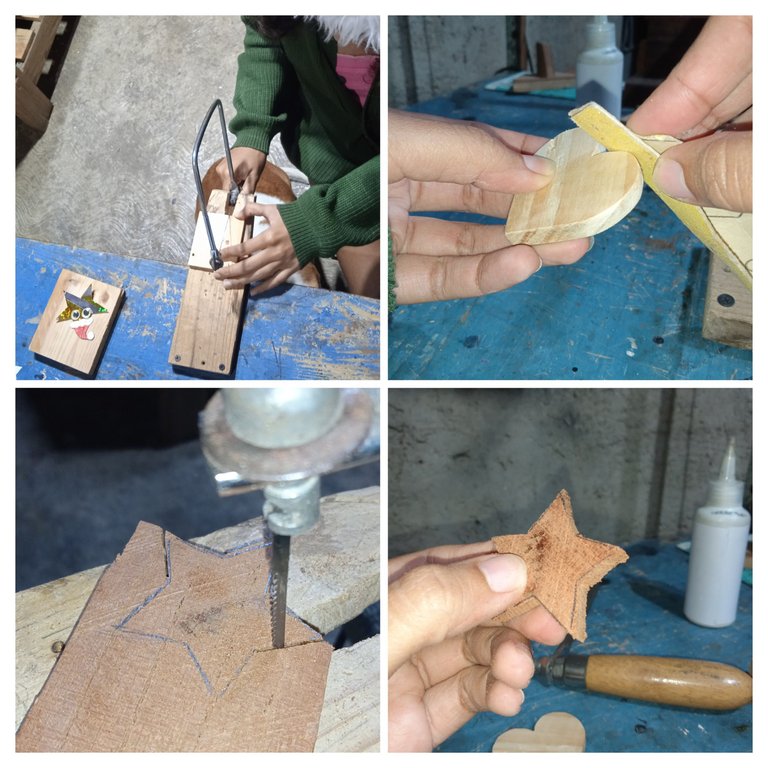
Before assembling the pieces I will sand the edges.

Step 3
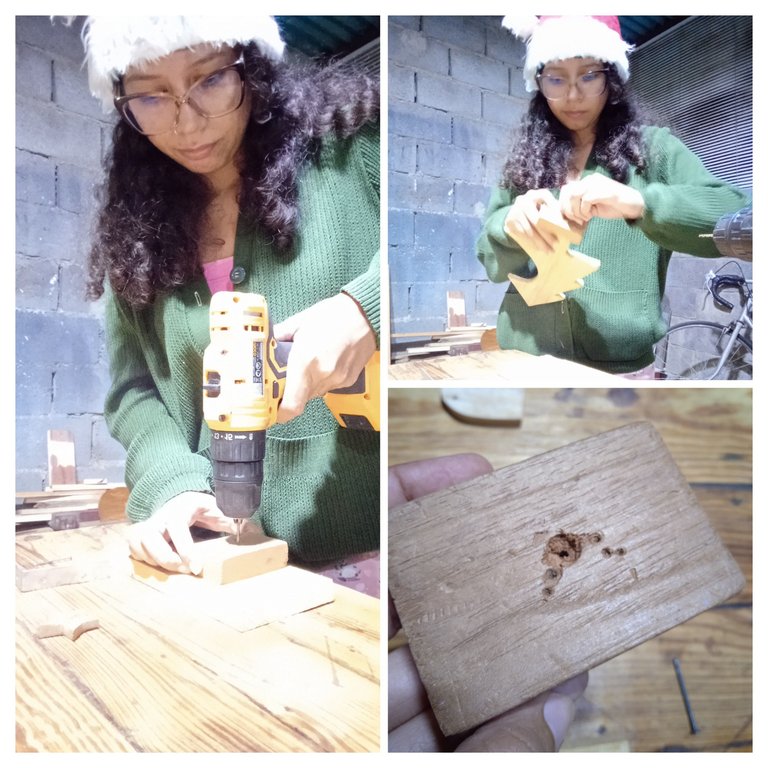
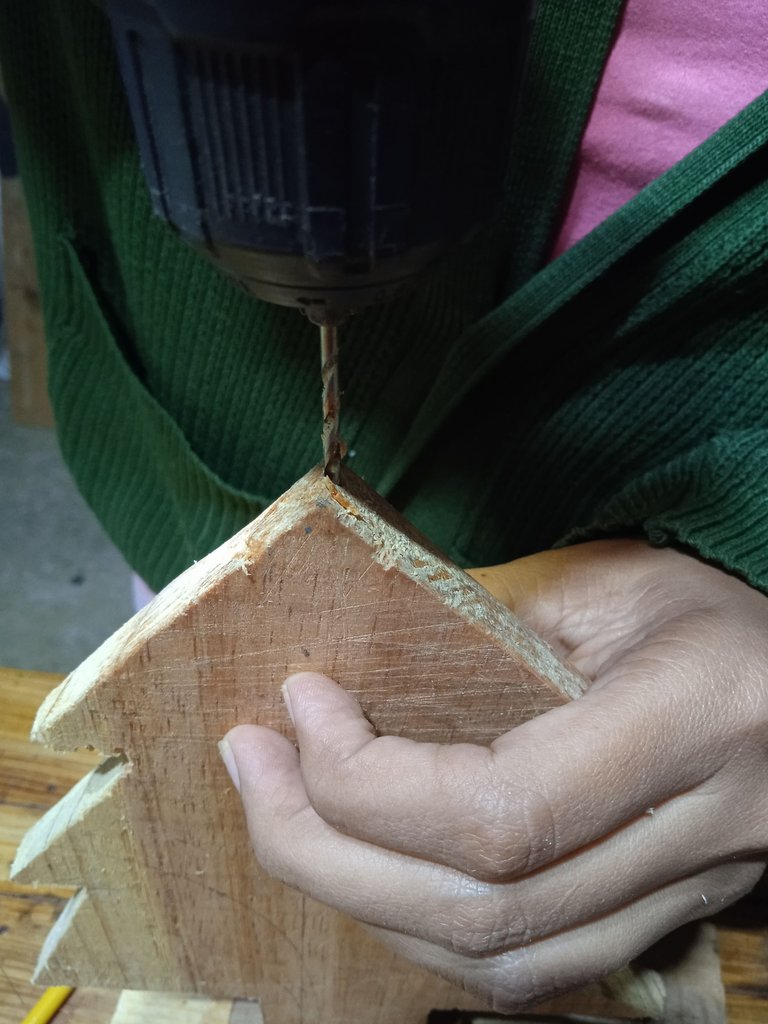
With the help of the drill I drill the holes and then screw.
And although I was very careful, I had a little accident, I broke a part of the tree 😭
Solution: carpenter's glue and
wait.

Step 4
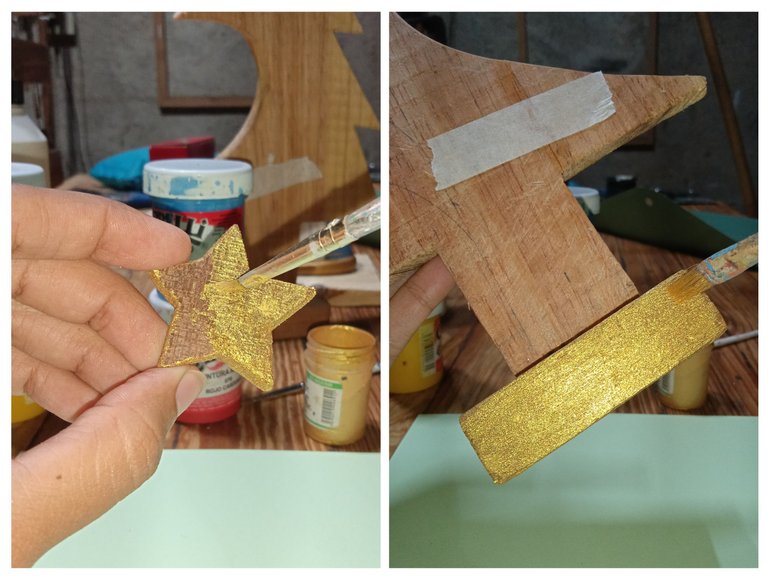
Time to paint 🖌️ the base and star will be gold.
In this part I had to pack my bags and travel to Portuguesa State, the project was paused for a few days and when I resumed it had already passed 1 week 😅. But nothing, let's get down to work and keep putting heart into what we do.
Sometimes we can lose heart and go on with the rhythm of life, without realizing the projects we have left on pause. When this happens to me I try to see why I have been postponing them and it is usually due to lack of rest.
Well, well... Let's get to work.
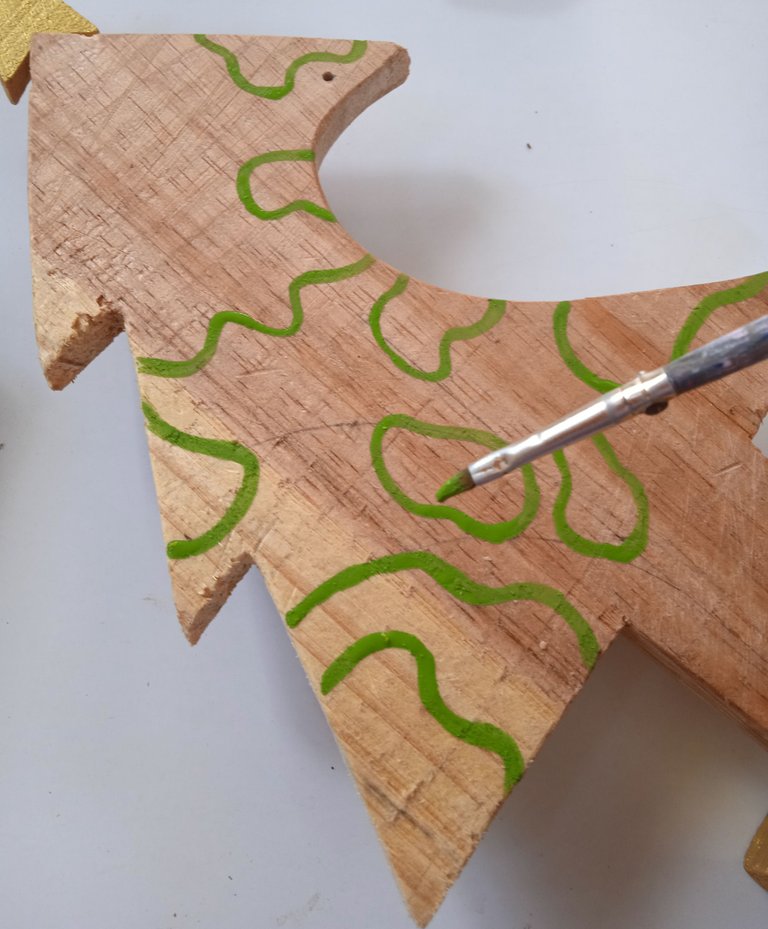
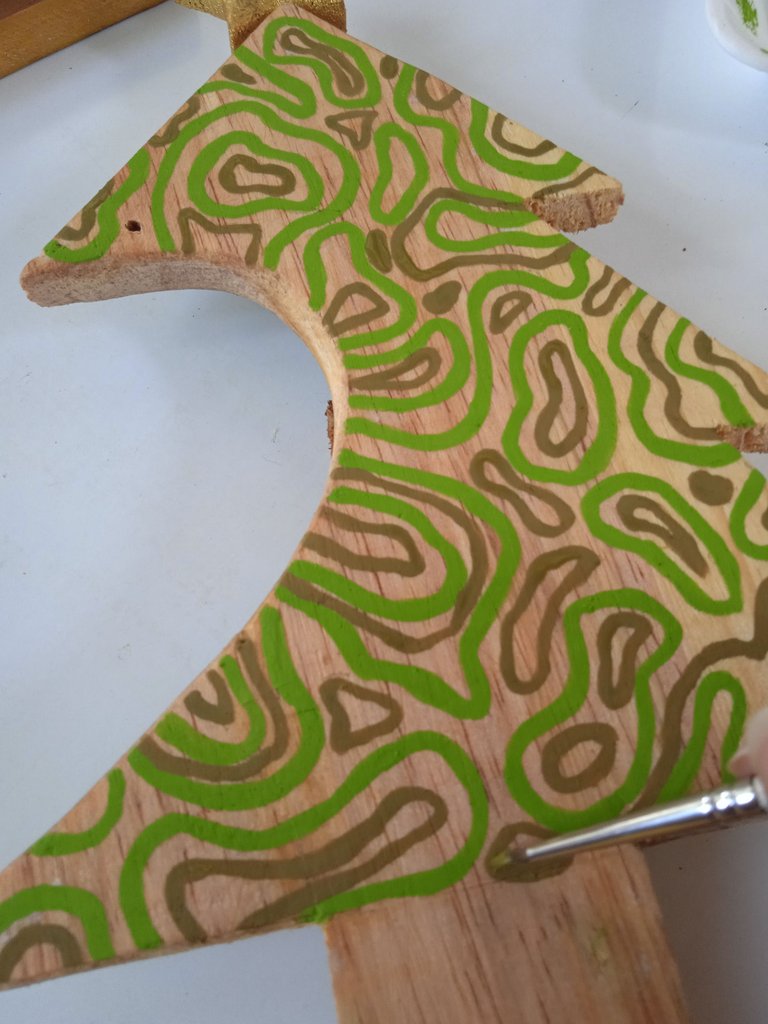
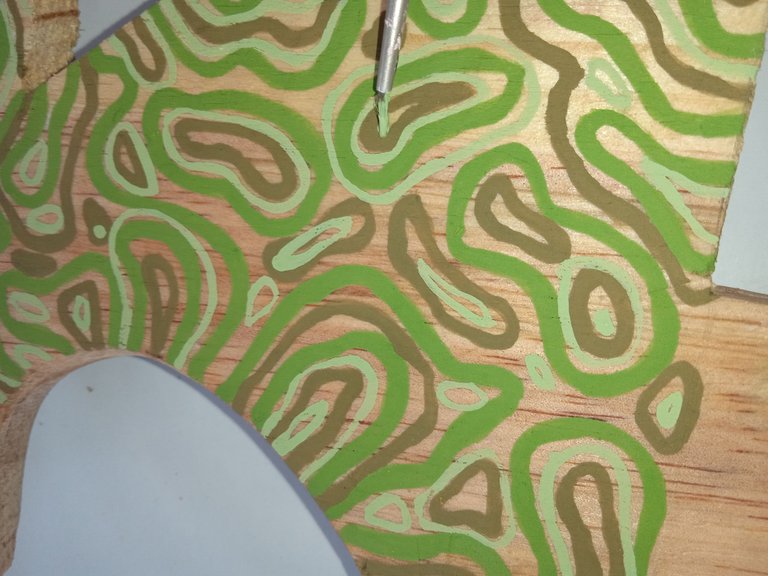
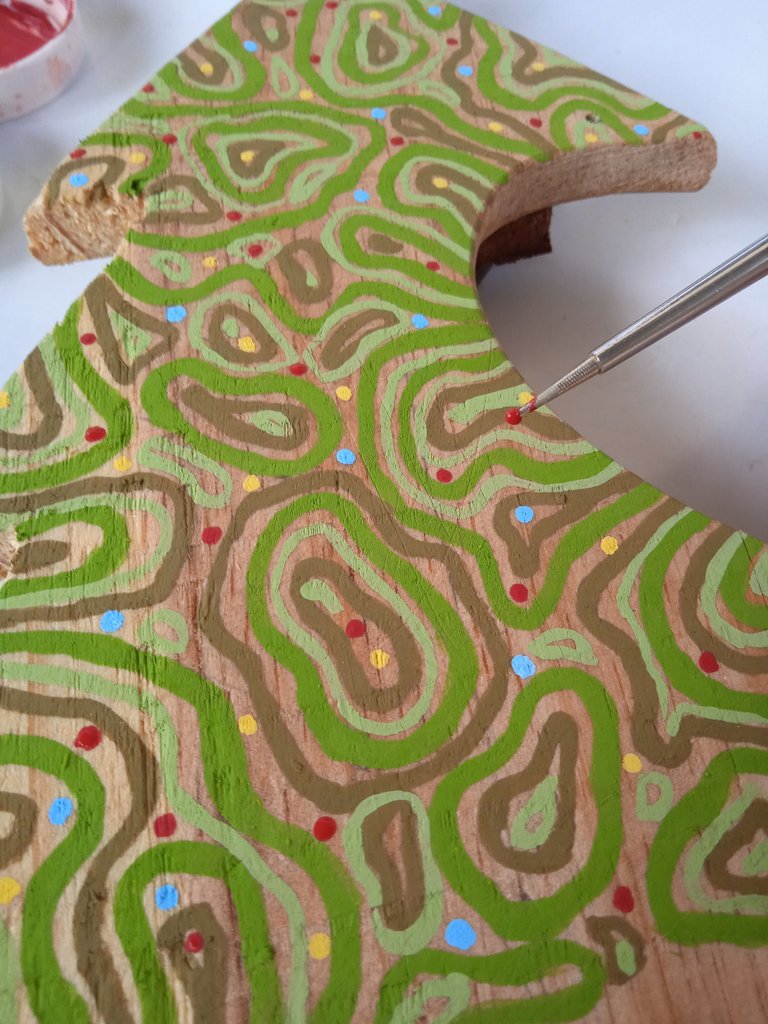
The colors to be used are the result of mixing yellow and blue. Different amounts of white are added to vary the green tones. With three different tones a good contrast is generated.
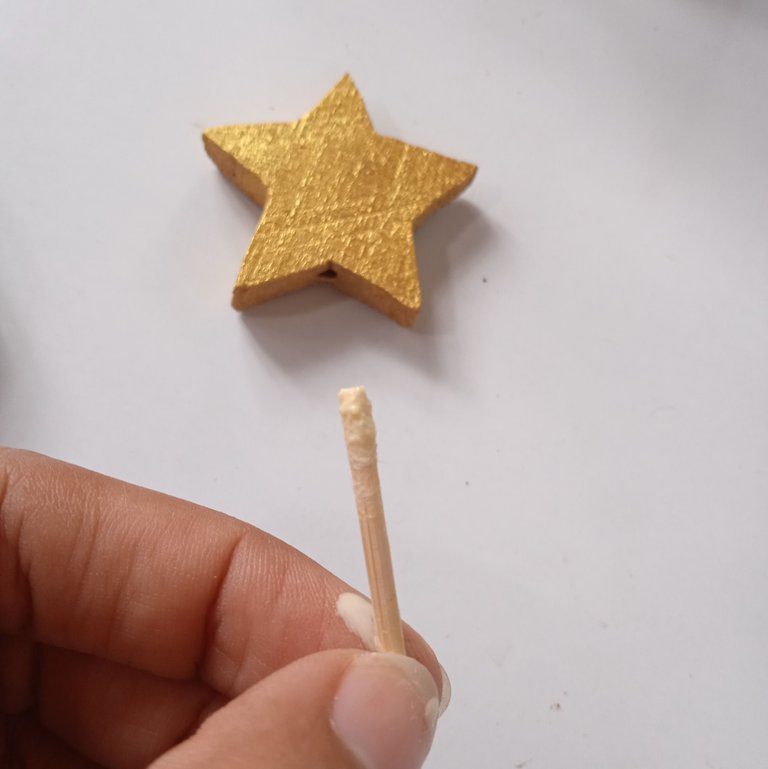
The star and the tree have holes (observe the photo 😁), the star I will glue it to a high stick and this in turn is glued to the tree, the holes I made them with a wick of 3/32 " ".
I make waves of each color on both sides of the piece and leave the area corresponding to the trunk unpainted.

Step 5
The details that make reference to the Christmas lights, are very simple but symbolic, I do it with the help of a pointer and with the colors: yellow, blue, red and white; these are the colors that represent the flag of my country.
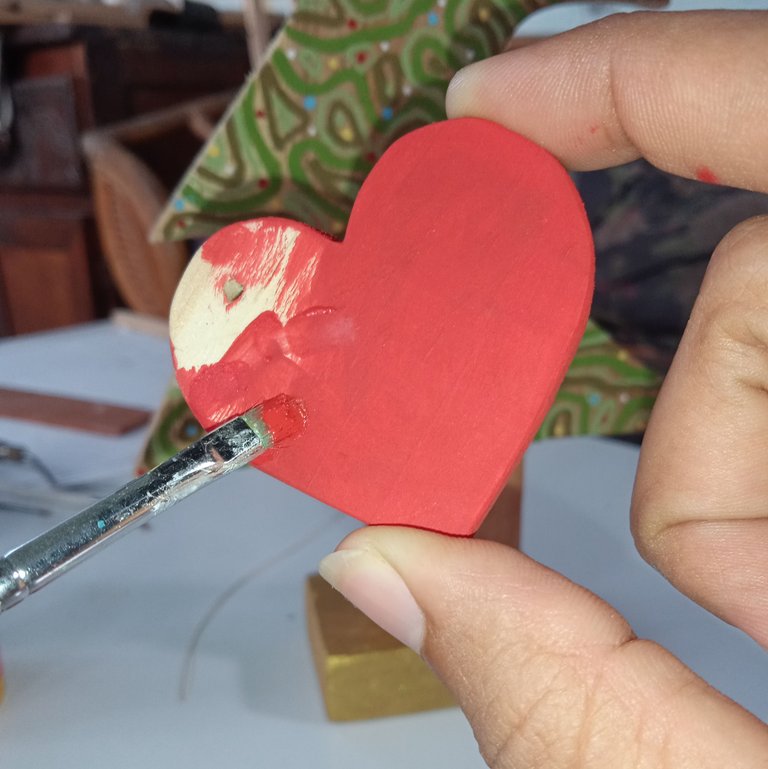
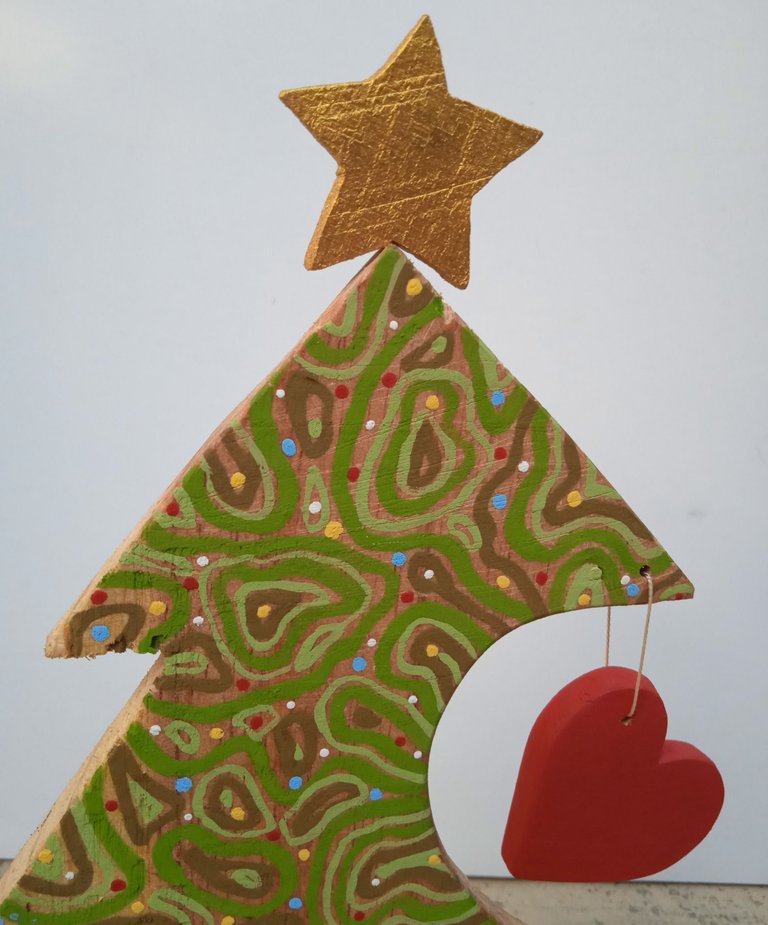
Finally, I paint the heart and it goes immediately to the Christmas tree, it's the special touch ✨. Finally, the moment of the revelation 🎄
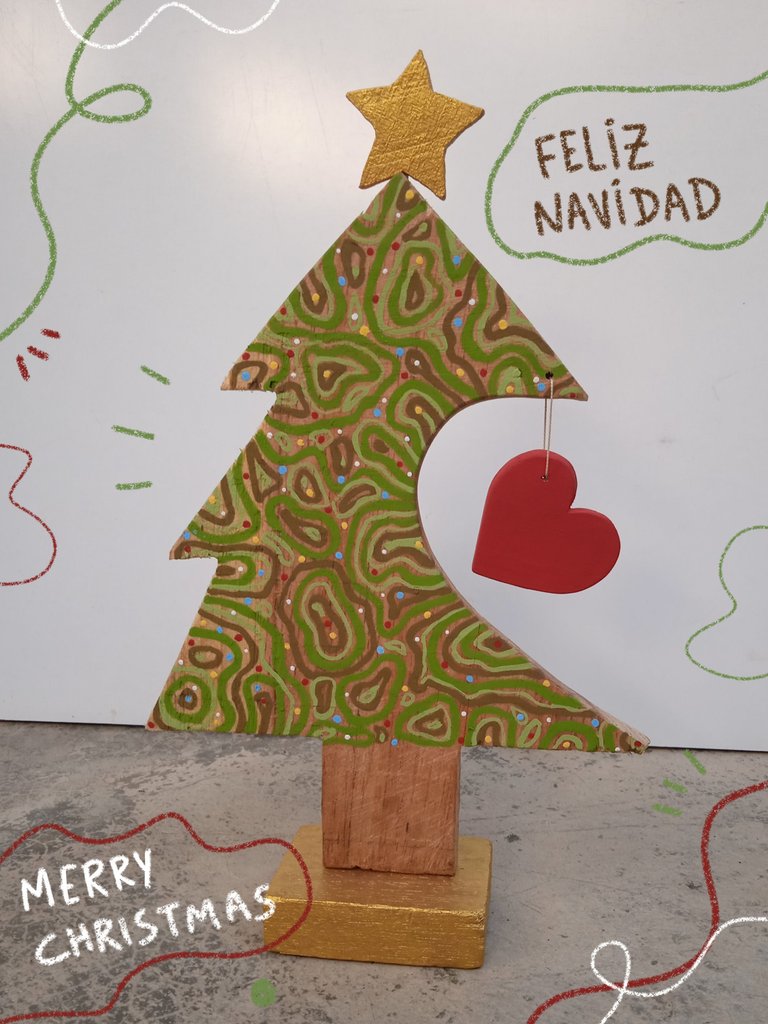
This is the final result, I put a bit of my plastic vision, although it does not have so many bright colors, I think the natural tone of the wood brings out the green tones 🎄✨.
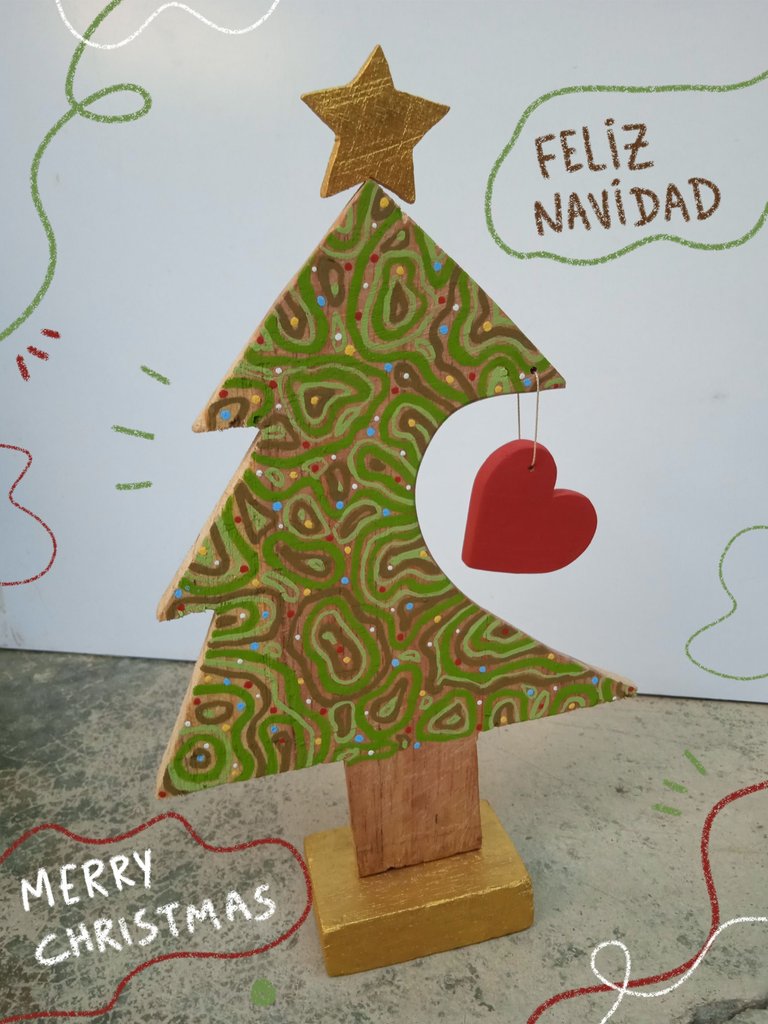
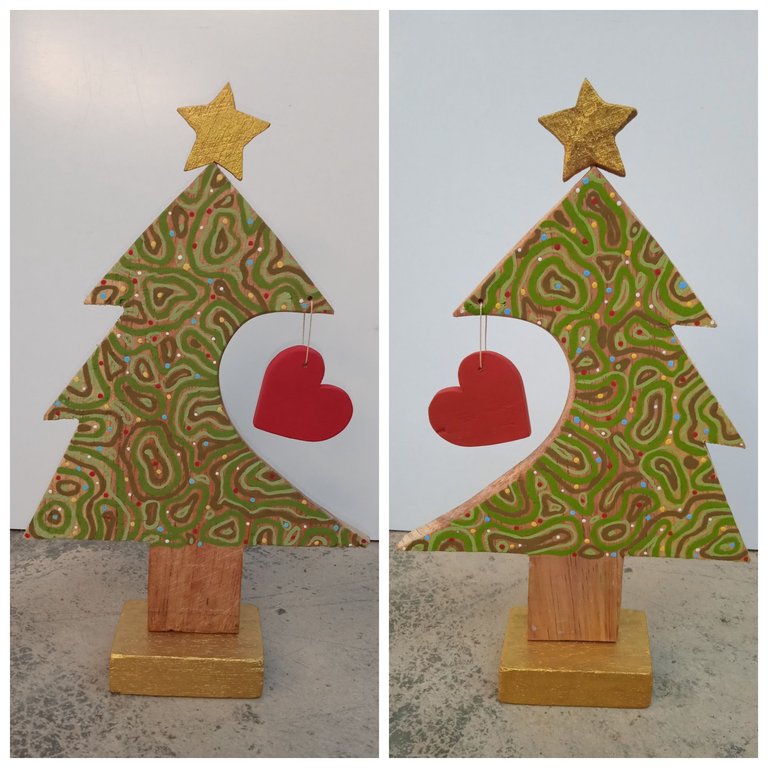
View from both sides.
Fellow DIYHub thanks for reading and supporting my content ✨ hope you have a lovely day today with your friends and family. See you in another tutorial 🐝
Christmas hug to all!✌🏼
Credits
- Translated at DeepL.
- Photos edited with IbisPaint X.
- Separator made in Adobe Illustrator.
- Cover made in Canva.

¡Feliz Navidad! Para todos mis compañeros de DIYHub, les deseo a todos un armonioso mes y un excelente año 2025 lleno de muchas creaciones maravillosas.
Comparto con ustedes mi segunda participación para el concurso Navideño y un poco de reflexión sobre aquello que lo inspira y las anécdotas que surgen durante el proceso.
La decoración navideña desde siempre ha tenido un costo considerable, ya sean luces de colores, guirnaldas, peluches, árbol de Navidad, cojines... Pues existe de todo, hasta para la casita de los perros 🤭 en este momento podemos hacernos la siguiente pregunta: ¿Comprarlo o hacer nuestras propias decoraciones?
Hay muchas cosas que vemos e inmediatamente creemos que es mejor comprarlo porque sería difícil hacerlo en casa y la verdad es que muchas veces nos equivocamos y somos más capaces de lo que creemos. ✌🏼
Yo no podía darme el lujo de comprar arbolitos por internet, teniendo tanto material de reciclaje que podría ser bien usado. Así que quise recrear una decoración que vi hace días en una tienda de zapatos 😁 me pareció muy sencilla y bonita a la vez... Era un pequeño árbol navideño de madera, natural y sin barniz, se veía muy lindo y no pude dejar de imaginarlo pintado con líneas, puntos o manchas.
También le añadí otra característica que quería probar hace tiempo, en otras Navidades he elaborado árboles en mdf y madera, pero este modelo no lo había intentado porque me parecía algo difícil.

Referencia: https://es.pinterest.com/
No sé si ya adivinaron, esta decoración será para mi mamá o más bien para la casa de mi mamá 🤭 llegue hace una semana a Portuguesa (casa de mi mamá) y no había sido fácil encontrar el momento para pintarlo sin que ella se diera cuenta, pero finalmente lo logré 😊
Estos son todos los materiales y herramientas necesarias para este lindo trabajo que marcará la diferencia en tu hogar:
- Madera
- Cola de carpintero.
- Taladro.
- Palillo de madera.
- Sierra de mano.
- Pintura de color: azul, blanco, amarillo, rojo y dorado.
- Pinceles de varios tamaños.
- Cuerda.
- Tornillos de 1 1/2.
- Lija gruesa y fina.


Paso 1
Dibujaremos un arbolito navideño de la forma que más nos guste, o sea podría ser más delgado o con más ramas, la base también podría tener la forma que se te ocurra, esto lo dejo a tu criterio, eres libre de experimentar✌🏼.


Al dibujo le quité una parte con ayuda de una tijera, para que me entiendas mejor, imagina que esa parte faltante es la mitad de un corazón.

También dibujo una estrella y un corazón.
Estos son los tamaños:
Árbol: 23 cm x 17 cm x 1 cm.
Estrella: 4 cm x 4 cm x 0.50 cm.
Corazón: 5 cm x 4.5 cm x 0.50 cm.
Base: 7.5 cm x 5 cm x 2 cm.

Paso 2
Cada pieza la he pegado en la madera con pega blanca para cortar. Lo único que no corté fue la base, ya que encontré una pieza que sería perfecta para el tamaño de mi árbol.


Antes de ensamblar las piezas voy a lijar los bordes.


Paso 3
Con ayuda del taladro hago las perforaciones y luego atornillo.
Y aunque fue con mucho cuidado, tuve un pequeño accidente, se me partió una parte del árbol 😭
Solución: cola de carpintero y
esperar.


Paso 4
Hora de pintar 🖌️ la base y estrella serán de color dorado.

En esta parte me tocó hacer maletas y viajar al Estado Portuguesa, estuvo el proyecto en pausa por unos días y cuando lo retomé ya había pasado 1 semana 😅. Pero nada, manos a las obras y seguir poniendo corazón a lo que hacemos.
A veces podemos perder el ánimo y seguir con el ritmo de la vida, sin darnos cuenta de los proyectos que hemos dejado en pausa. Cuando esto me pasa trato de ver porque los he estado posponiendo y lo normal es que sea por falta de descanso.
Bueno, bueno... Manos a la obra.
Los colores que se usarán son el resultado de la mezcla del color amarillo y azul. Se agregan diferentes cantidades de blanco para variar los tonos verdes. Con tres diferentes tonos se genera un buen contraste.
La estrella y el árbol tienen agujeros (observa la foto 😁), la estrella la pegaré a un palillo de altura y este a su vez está pegado al árbol, los agujeros los hice con una mecha de 3/32 " ".


Hago ondas de cada color por ambos lados de la pieza y dejo sin pintar la zona que corresponde al tronco.


Paso 5
Los detalles que hacen referencia a las luces de Navidad, son muy simples pero simbólicas, lo hago con ayuda de un puntero y con los colores: amarillo, azul, rojo y blanco; estos son los colores que representan la bandera de mi país.


Por último, pinto el corazón y va inmediatamente al árbol navideño, es el toque especial ✨. Por fin, el momento de la revelación 🎄
Este es el resultado final, le puse un poco de mi visión plástica, a pesar de que no tiene tantos colores brillantes, creo que el tono natural de la madera hace resaltar los tonos verdes 🎄✨


Vista de los dos lados.
Compañeros de DIYHub gracias por leer y apoyar mi contenido ✨ espero que hoy pases un día muy bonito junto a tus amigos y familia. Nos vemos en otro tutorial 🐝
¡Abrazo navideño para todos!✌🏼
Créditos
- Fotos editadas con IbisPaint X.
- Separador hecho en Adobe Illustrator.
- Portada hecha en Canva.
Un diseño muy diferente a todos los árboles que he visto esta temporada lo cual hace que sea único en su tipo, es verdad que no hace falta gastar dinero si podemos hacerlo nosotros mismos con materiales que tenemos en casa, te quedó genial.
¡Graciass! 🤗 Sí, uno en casita siempre tiene algún objeto o material esperando a convertirse en algo más 😁 más útil y más bello. ¡Felices días! 🎄
Beautifully and skillfully crafted, you nailed it friend. Thanks for sharing this wonderful tree with our community.
Thank you very much for appreciating my work, hehe as the little tree although small, was the center of attention on the table 😁🎄.
Amé este diseño, es simple pero completo en su mensaje. Te quedó precioso.
Feliz Navidad 🎄🎄
¡Feliz navidad para ti! 🤗🎄 Muchísimas gracias, me alegra que te gustara. Lo único malo es que me da un poco de pena tener que guardarlo cuando termine Navidad 😅
Wow, this is a very beautiful, valuable and christmasy work, impossible not to enjoy your work step by step and the great quality of the final result, congratulations and have a merry christmas with your family...
Thank you, thank you! always hands on, painting started my year and that's the way I would like to end it 🤭 always in constant creation. Thank you very much for your words, I also wish for you a nice Christmas 🎄✨.
Que lindo diseño, es muy diferente a los que comunmente se ven en las tiendas, has hecho un gran trabajo.
!DIY
¡Gracias! 🤗 en esta comunidad todos tenemos un lenguaje plástico que nos diferencia 😁 eso hace que lo que hacemos tenga mucho más valor y personalidad, a mí me encanta compartir lo que hago así que muchas gracias por pasar por aquí y apreciar mi trabajo.
¡Feliz navidad 🎄 y felices días!
You can query your personal balance by
!DIYSTATSque bello, me encanto su forma con el corazón, muy lindo!
how beautiful, I loved its shape with the heart, very cute!
¡Muchas gracias! 🎄 Feliz navidad... Gracias por pasar a ver el proceso 🤗
Está súper lindo
¡Gracias! Feliz Navidad 😁
Una total hermosura de arbolito , me encantó el diseño vibrante y creativo de las formas , se ve super original y como es en madera va a durar muchísimo
¡Aww muchas gracias! ✨🥰 Sí es cierto, incluso de allí se puede partir para hacer más decoraciones que hagan juego con el diseño del arbolito 😁